






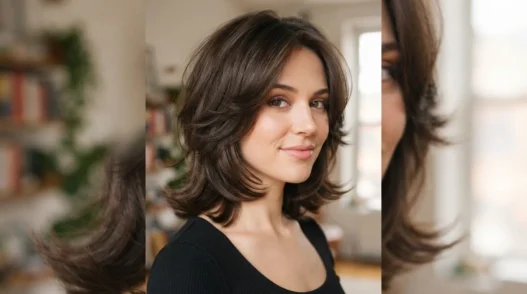
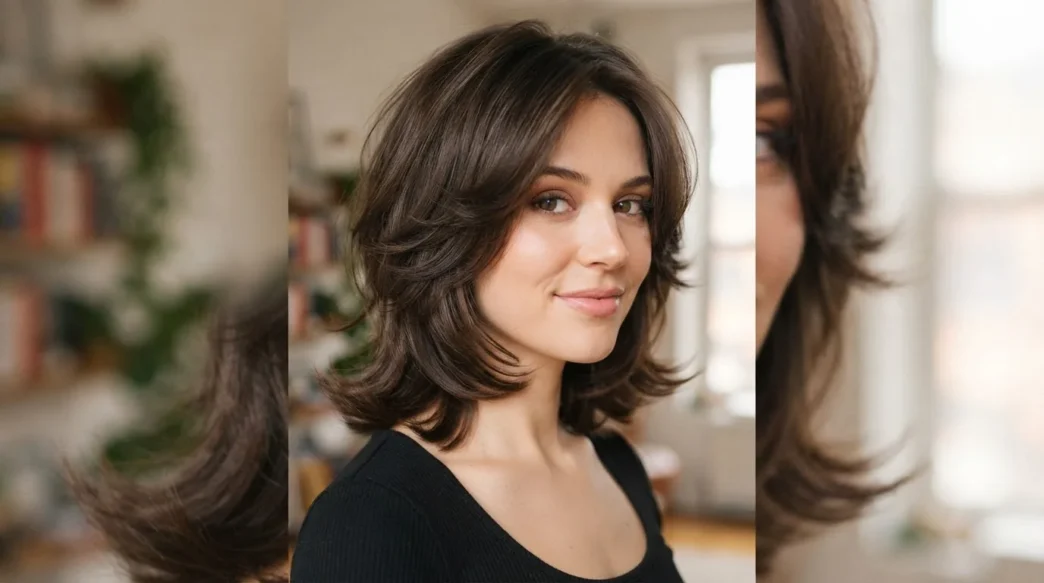
The nineties are the first vintage decade people wear without needing to explain themselves. Nobody pulls out a curtain fringe and says “I’m doing a nineties thing” — they just do it. I’ve been sitting with this list for a while, rearranging it, cutting styles that needed too much equipment, and ending up with eleven looks that go from genuinely zero-effort to the kind that requires booking an appointment two weeks out.
Ordered from least to most effort. That’s the only way to do the nineties justice.
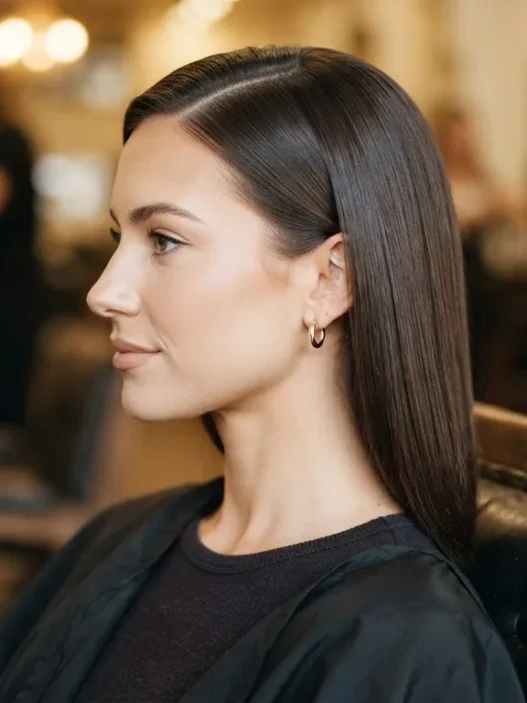
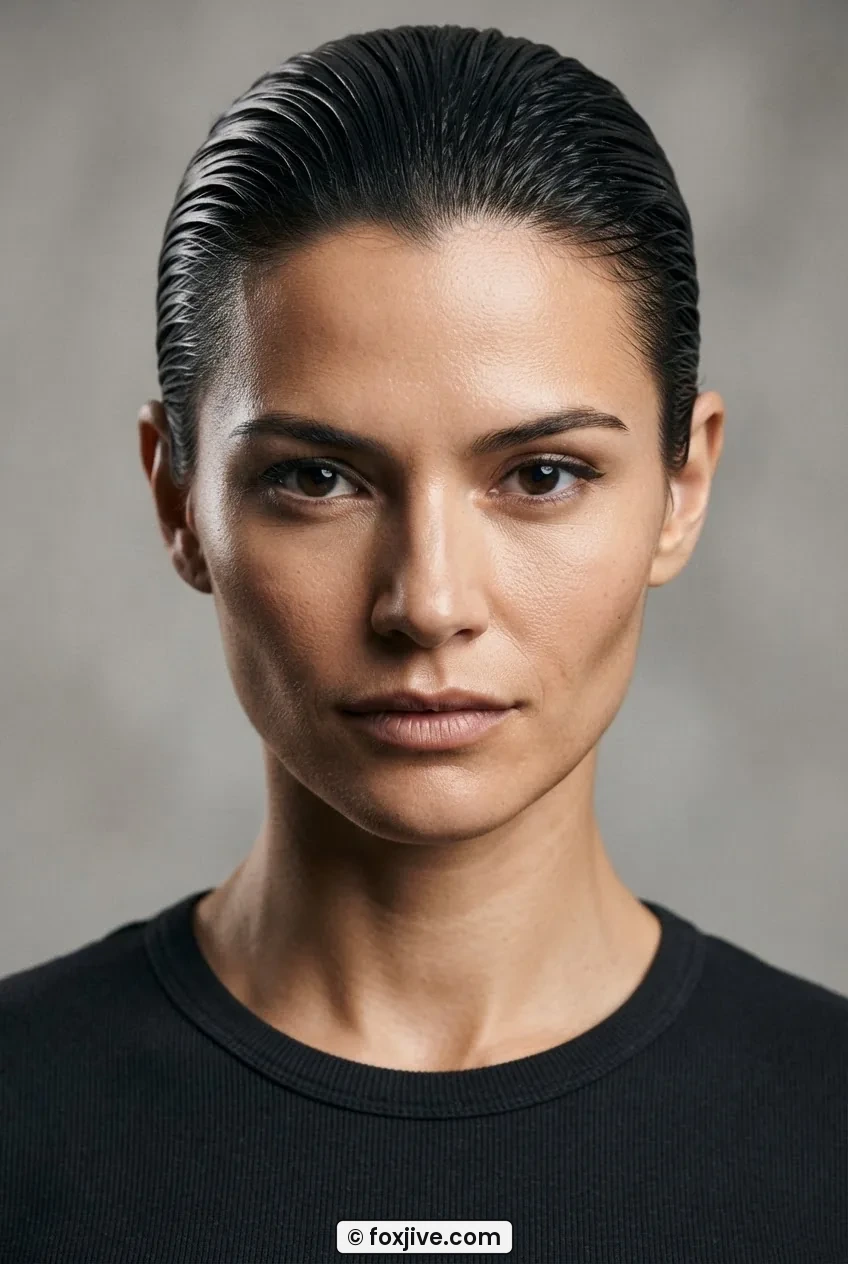
1. The Wet-Look Slick-Back
Two minutes. Gel. Done. This is the one you do when you have genuinely run out of time and don’t want anyone to know. Rake a strong-hold gel through damp hair, push everything straight back from the hairline, and walk out the door. It looked intentional in 1994 and it still does.
Works on any length. The shorter the hair, the sharper it reads. The longer it is, the more editorial. No cut required — just the right gel, applied fast.
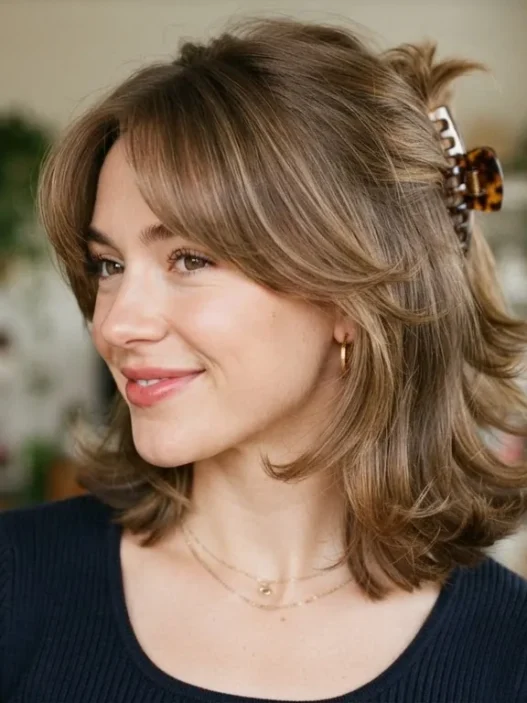
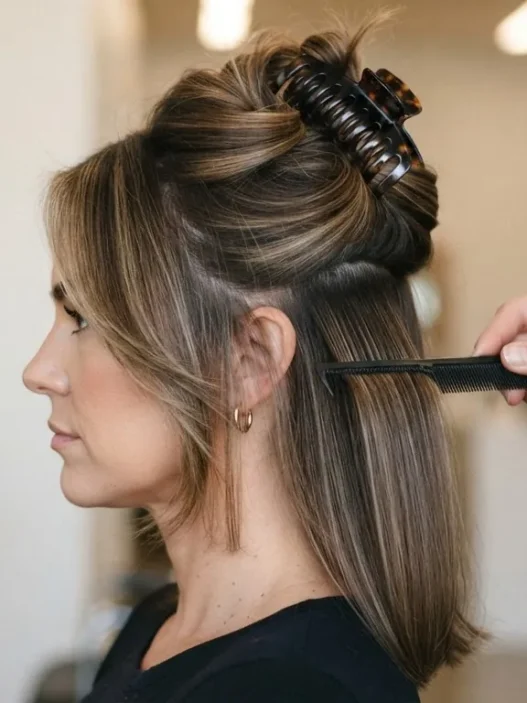
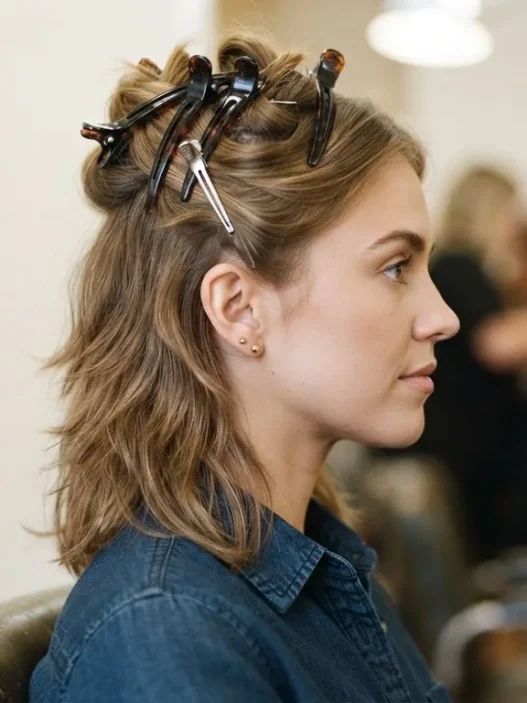
2. The Half-Up Claw Clip
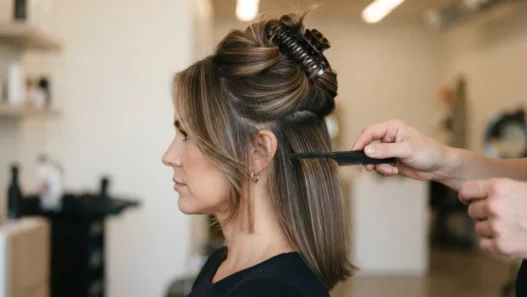
Thirty seconds, if you’re slow about it. Gather the top half of your hair, twist loosely, clip. The messier the better — a too-perfect claw clip somehow reads as trying too hard, which defeats the whole point. The nineties version had volume at the crown and the rest hanging free, slightly undone. That’s still the target.
The claw clip is everywhere right now, and I’ll be honest: the reason it works is because it requires almost nothing. No heat, no product, no particular hair type. Medium-length and long hair both work. Short hair doesn’t, and no amount of creative clipping will fix that — save yourself the effort.

3. The Curtain Fringe
This one isn’t a style — it’s a cut that changes your whole face situation. Curtain bangs part down the middle and fall softly to each side, framing the face without covering the forehead entirely. The nineties version was longer than you’d expect, often grown past the cheekbone. That length is what makes it feel current rather than costume-y.
Styling effort on a good day: five minutes with a round brush. On a lazy day: zero, because grown-out curtain bangs that air-dry into a slight wave still look fine. This is one of the more forgiving nineties cuts to grow out if you decide you hate it, which I appreciate.

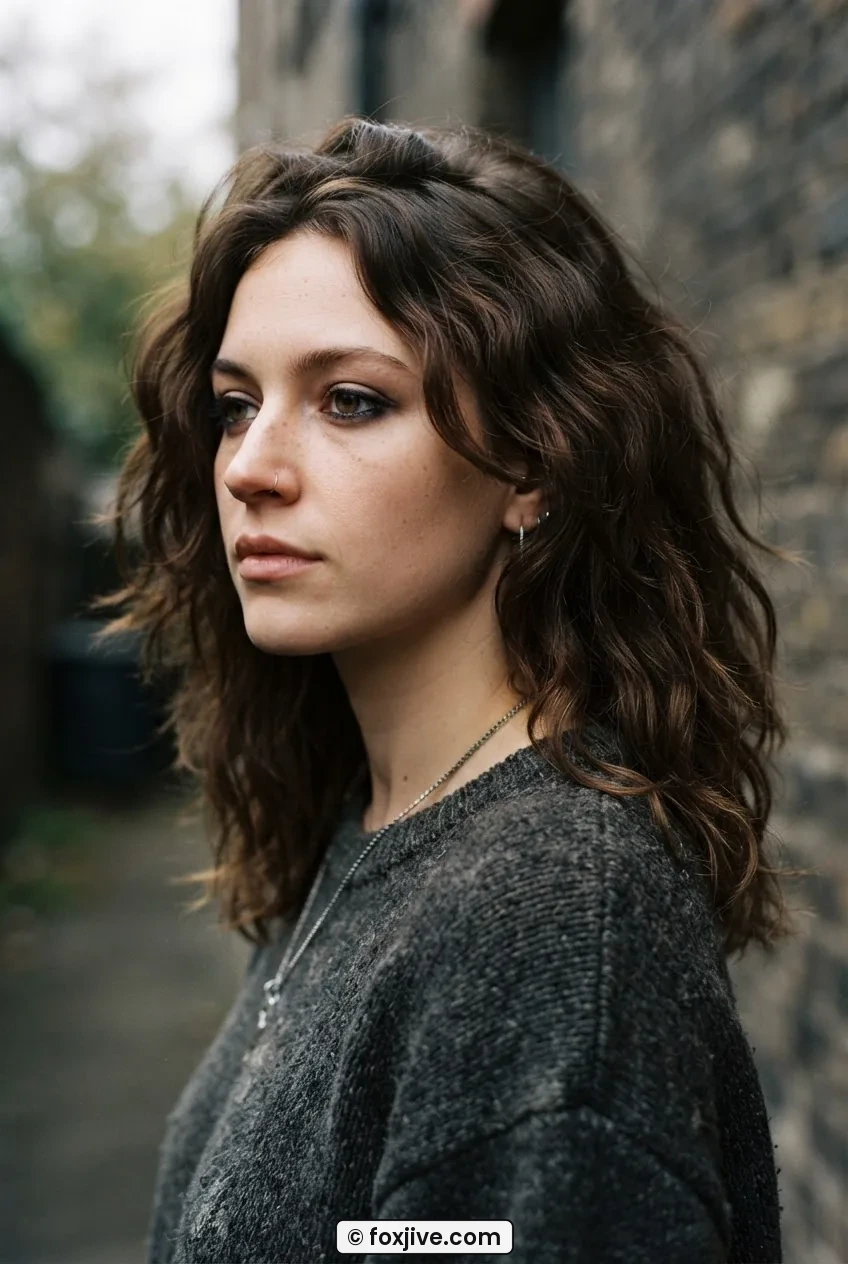
4. The Grunge Wave
The nineties had two modes: polished and completely unbothered. The grunge wave is the second one. Think loose, slightly messy waves with a little definition but no shine product, no perfectly placed curl. The texture should look like you slept on it, and then also maybe went outside in light rain.
To get there without actually sleeping on it: salt spray on damp hair, scrunch, let it air-dry or hit it with a diffuser on low. The look benefits from layers, but you can get a reasonable version on flat hair too. I’ve found that victory rolls and grunge waves occupy opposite ends of the effort spectrum, which is a useful thing to know about yourself — which camp are you in on a Tuesday morning?
5. The Layered Lob
The lob — collarbone-length, layered through the ends — is maybe the most wearable nineties cut right now. It’s not dramatic enough to feel like a statement, but it’s too deliberate to look like you just haven’t had a trim. The layers give it movement without the commitment of something shorter.
Styling time: fifteen minutes with a blow-dryer and a medium round brush if you want the full flipped-ends effect. Or five minutes with a flat iron to make the ends curl under once. Or zero, air-dried, if your natural texture is cooperative. The layered lob is the definition of a cut that does the work for you. Good layered lob technique articles exist if you want to take specific reference photos to your stylist — it’s worth being precise about where the layers start.

6. The Short Textured Bob
Chin-length, slightly textured, not blunt. This is the one Winona Ryder was wearing through half the decade and it hasn’t aged a day. The key word is textured — a blunt bob is a different look entirely (more on that in item eight). The textured version has slight point-cutting at the ends, which creates movement and means it doesn’t need to be set perfectly to look intentional.
Look at how she’s wearing hers in this shot — notice how the ends have that slight flick outward without being set with a curling iron? That’s what good point-cutting does. You could also push the ends under for a more polished read. Twenty minutes either way.

My personal pick is this one. I had a version of the short textured bob for most of my late twenties and the only reason I grew it out was because I got impatient between trims. It looked good every day — even on the days when I did absolutely nothing to it. That’s the benchmark I hold every haircut to now.
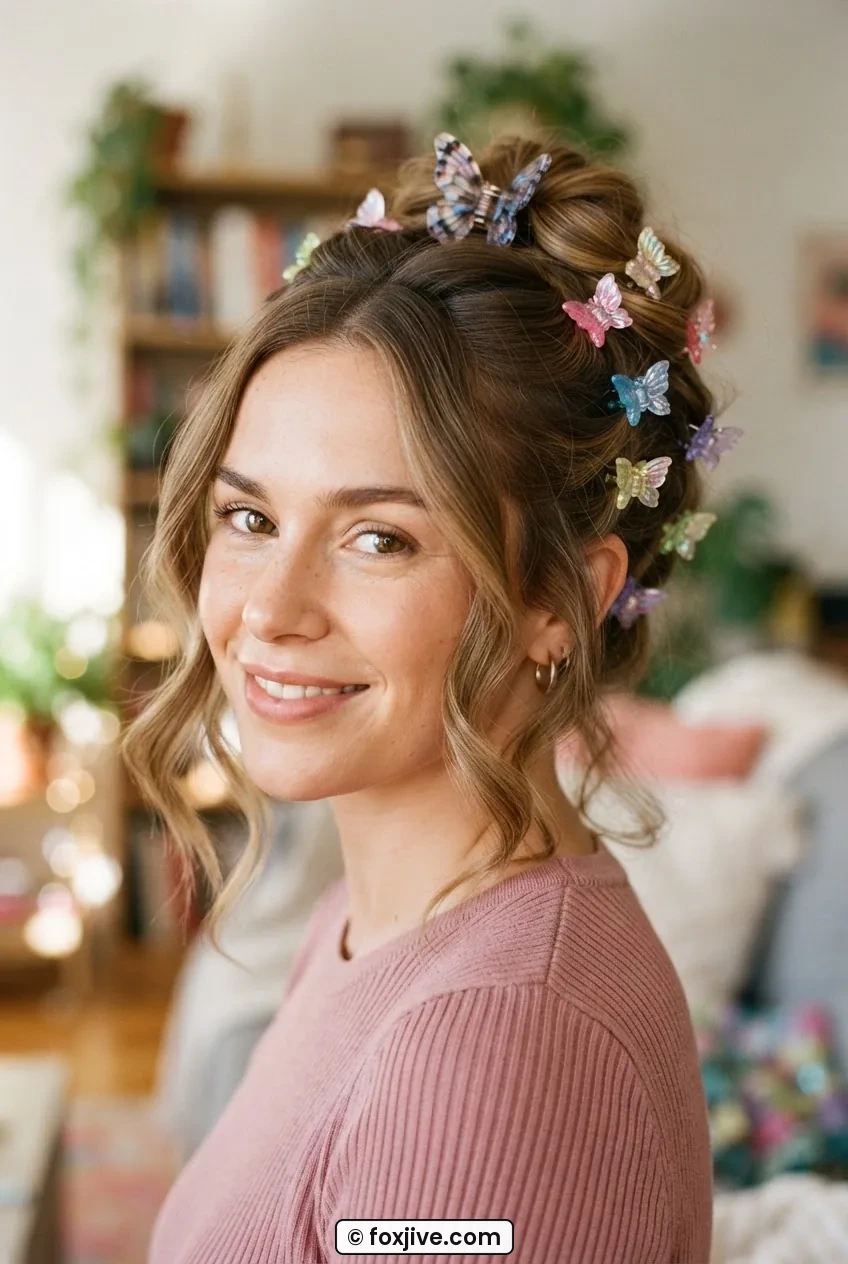
7. The Butterfly Clip Updo
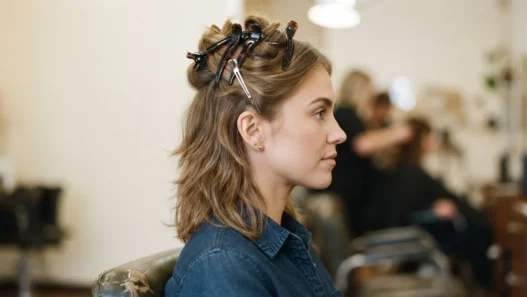
Here’s where we cross into accessory territory. The butterfly clip updo isn’t really a cut — it’s a technique and a hardware situation. You section the hair, clip it in layers, and let the pieces hang or curl around the clips. The nineties version used multiple small clips. The current version often uses one large statement clip and is slightly more architectural about it.
Effort level depends entirely on how many clips you’re working with. One clip: three minutes. Six clips in a deliberate pattern: fifteen minutes and a second mirror. Either way it’s not a heat style, which is genuinely appealing. Works best on medium to long hair with some natural texture — pin-straight hair tends to slip out of clips by mid-afternoon, which is annoying.
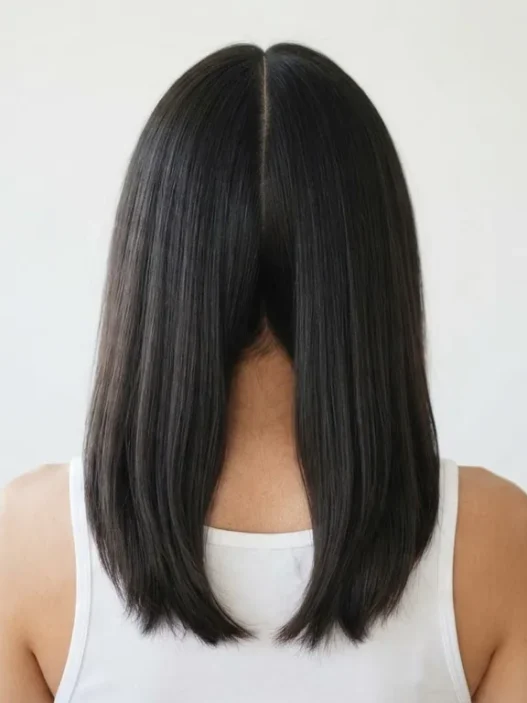
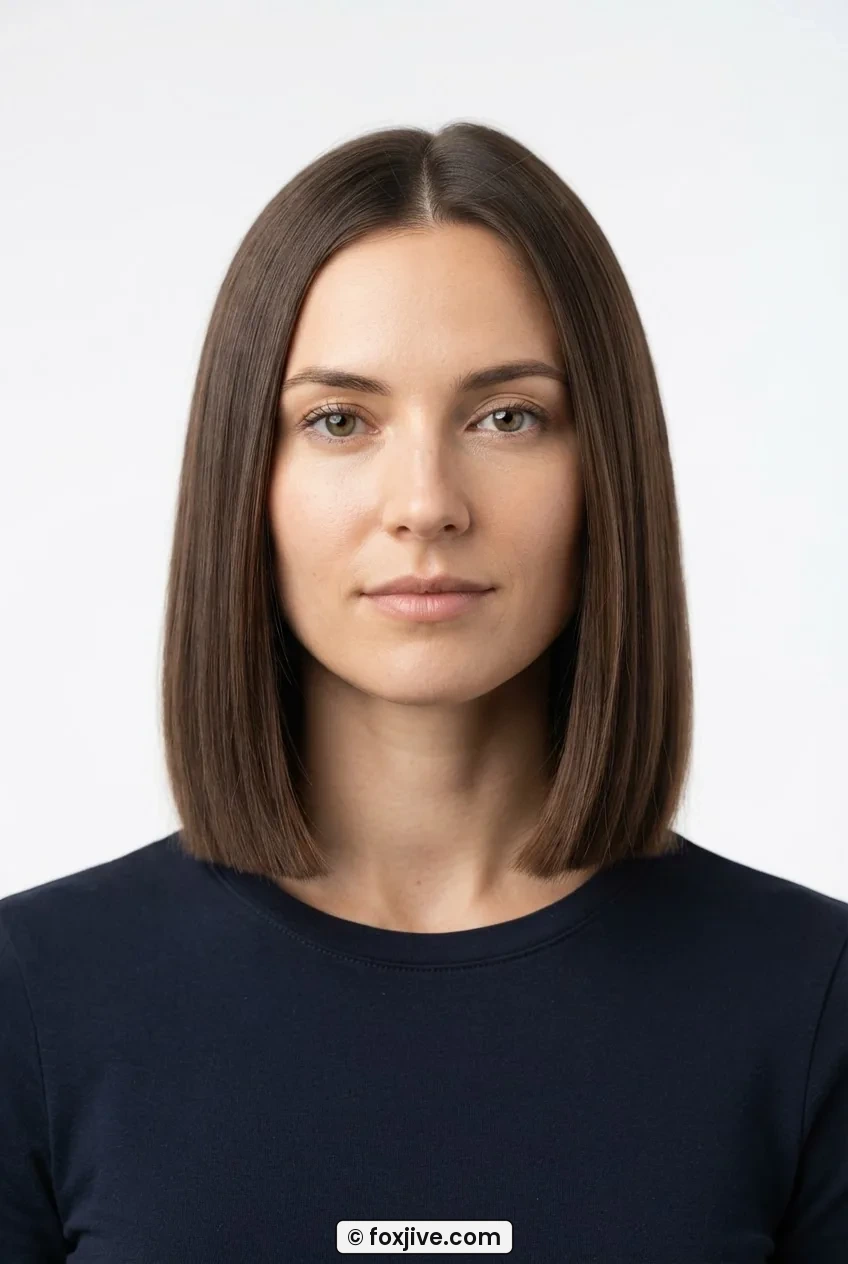
8. The Blunt Long Bob
The blunt lob sits at the collarbone with a clean, ungraduated line. No layers, no point-cutting, just weight. It was everywhere in mid-to-late nineties and it’s back — partly because the heaviness of it photographs well, and partly because it’s the kind of cut that looks expensive even when it isn’t.
The trade-off: it requires more maintenance than a layered version. Without layers, the ends tend to bend in random directions as the hair grows, and that shape looks intentional for about six weeks before it starts looking like a mistake. Plan on a trim every eight weeks if you want to keep the line sharp. Styling is actually easy — a flat iron through the ends to keep them from flipping rogue, ten minutes.
This is also the cut most people mean when they search for a nineties bob. It’s the go-to reference. Worth knowing, because if you ask for “a nineties bob” without specifying length, most stylists will land here.
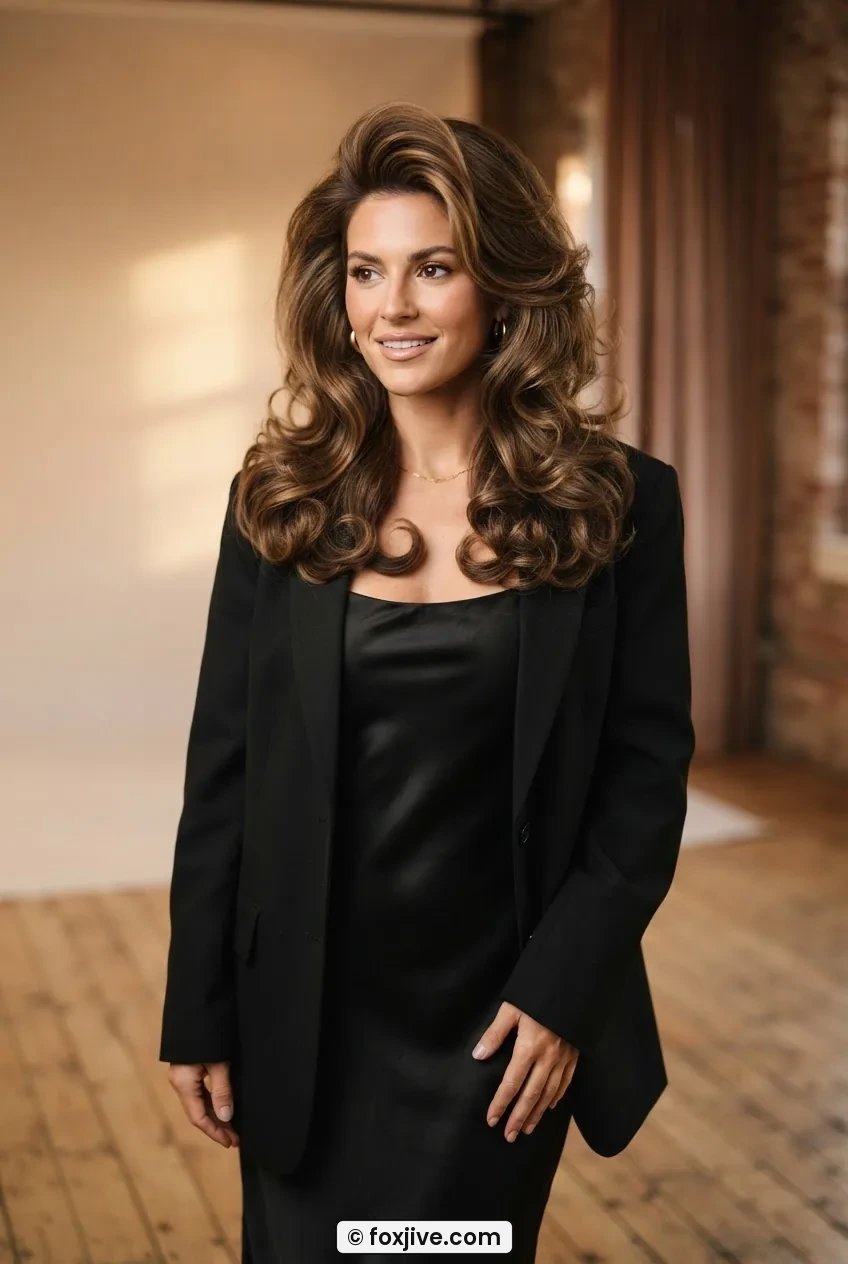
9. The Voluminous Blowout
Thirty minutes minimum. This is not a lazy-morning style and I won’t pretend otherwise. The nineties blowout was big — lift at the roots, full body through the mids, and ends that curved slightly under or flicked out depending on whether you were going for polished or casual. The volume was the point. There was no “sleek and flat” nineties blowout — that’s a different decade entirely.
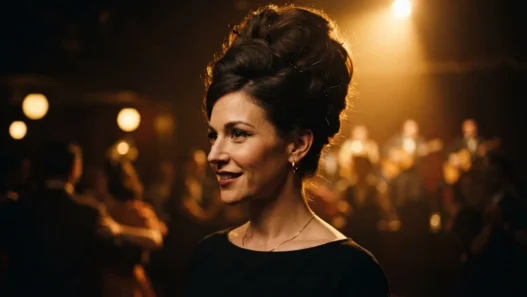
You need a large round brush, a proper blow-dryer with a nozzle attachment, and either a volumizing mousse or a light hold spray at the roots. Work in sections. Don’t rush the root lift — that’s where the whole silhouette comes from. She’s got the volume dialled right in this photo; see how the lift starts at the crown rather than the mid-lengths? That’s the bit most people get wrong.
If you want to go deeper on root-lift blow-dry methods, there are some excellent breakdowns of the sectioning technique that will save you a lot of frustration.
The Root-Lift Technique That Actually Makes Sense
10. The Medium Layered Cut
Mid-length, shoulder to just below the collarbone, with layers cut throughout — not just at the ends. This is the cut that defined nineties long hair. The layers were face-framing, which meant the shortest pieces landed around the cheekbone while the longest hung past the shoulder. The effect is a lot of movement and a silhouette that shifts depending on how you style it.
Curly hair does particularly well here. The layers take the weight out of curls that would otherwise clump into a pyramid shape, and the face-framing pieces work with the curl pattern rather than against it. If you have naturally curly or wavy hair and you’ve been avoiding layers because of bad layer experiences in the past, it’s worth revisiting — the nineties medium layered cut was essentially built for textured hair, even if the decade mostly used a lot of heat on it anyway.
I’ve been writing about vintage cuts for a while now over at Foxjive, and the medium layered cut gets more search traffic than almost anything else in the nineties category — which tells me people are still actively looking for it rather than just nostalgically scrolling past it.

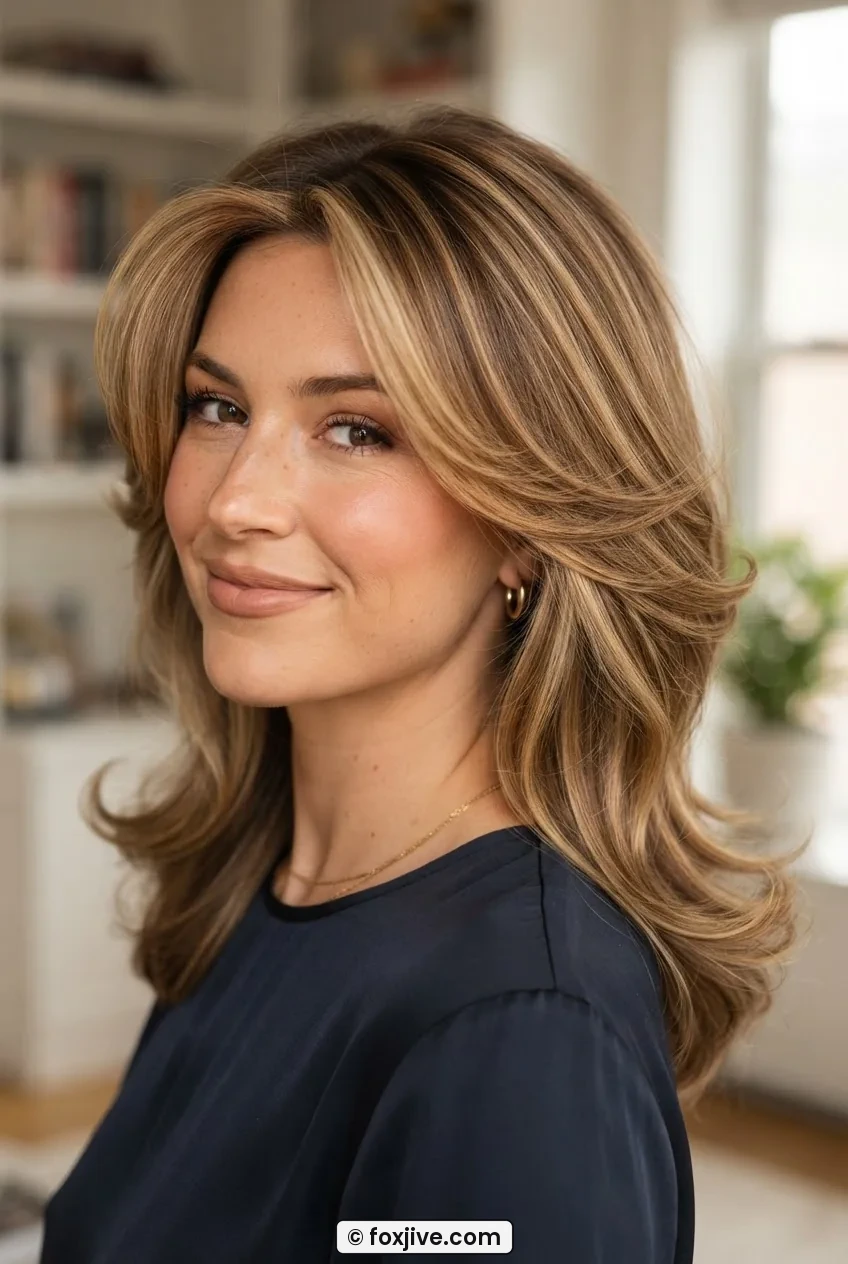
11. The Proper Rachel
And here we are at the one that actually needs a stylist. The Rachel — Jennifer Aniston’s cut from the early seasons of Friends — is a specific, technical piece of work. It’s a layered, face-framing cut with heavy chunky highlights and a blow-dry that adds both volume and a very deliberate flip to the ends. The layers are point-cut, the graduation is precise, and the whole thing is designed to be blown out, not air-dried.
There’s a reason this cut became shorthand for an entire era of 90s hairstyles. It required actual skill to execute and even more to maintain. The color — sun-kissed pieces layered through caramel mid-lengths — is a separate appointment from the cut, or at minimum a long single appointment. Don’t ask for it in a forty-five minute slot.
The good news: in 2026, colorists understand this cut better than they did the first time around. There are proper guides on briefing your stylist for this specific look that cover exactly which reference photos to bring, which saves a lot of back-and-forth. Styling time once you have the cut: twenty-five to forty minutes. It’s the most effortful thing on this list and also, genuinely, one of the best cuts the decade produced. I would not have put it last if I didn’t mean it as a compliment.
If you want to see the full stylist side of things — the booking, the consultation, all of it — the contact page has some useful pointers on how to approach that conversation.
Quick Answers
Which 90s hairstyle is easiest to maintain at home?
The curtain fringe and the layered lob are the two I’d recommend if low-maintenance is your priority. Both grow out gracefully, work with most hair textures, and don’t require precision styling every day. The claw clip half-up is technically zero maintenance, but that’s more of a styling choice than a cut.
Do 90s layers work on curly hair?
Yes — and honestly, they work better on curly hair than straight. The medium layered cut in particular was designed with volume and movement in mind, which is exactly what curly hair already has. Ask your stylist to cut the layers dry so they can see how your curl pattern behaves before they cut.
Is the Rachel still worth asking for in 2026?
It is, but go in with realistic expectations about the upkeep. The cut itself needs trimming every six to eight weeks to keep the layers sharp, and the color — if you’re doing the full highlighted version — is a separate ongoing commitment. If you love a high-maintenance result, it’s absolutely worth it. If you don’t, the layered lob gets you 70% of the way there with a fraction of the effort.
What products do I need for nineties voluminous hair?
A volumizing mousse applied to damp roots is the starting point. Add a heat protectant before you blow-dry, use a large round brush, and finish with a light-hold hairspray rather than anything heavy. The nineties volume came from technique — the sectioning and root-lifting during blow-drying — not from loading the hair with product.
How is the nineties bob different from other bobs?
The nineties bob tends to sit at the chin or collarbone (not as short as a twenties bob), and it usually has either a blunt line with no graduation or soft layers through the ends. The shape is rounder and fuller than a modern geometric bob, and the styling emphasis was on movement and slight flip rather than sleek precision.
Those last two on the list — the voluminous blowout and the Rachel — are the ones worth booking a proper consultation for rather than pointing at a Pinterest photo and hoping for the best. For everything else, a decent reference image and a clear conversation with your stylist will get you there. If you’re curious about how I approach vintage cuts from other decades, there’s a whole rabbit hole available on the about page — including why I think the nineties are genuinely easier to wear now than they were the first time. And if you’ve ever been curious about the full opposite end of the vintage spectrum, the 9 victory roll ideas post is a useful comparison in terms of time commitment.