






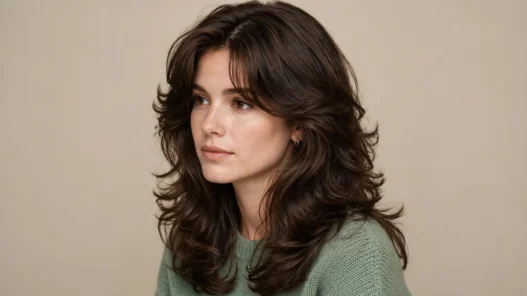
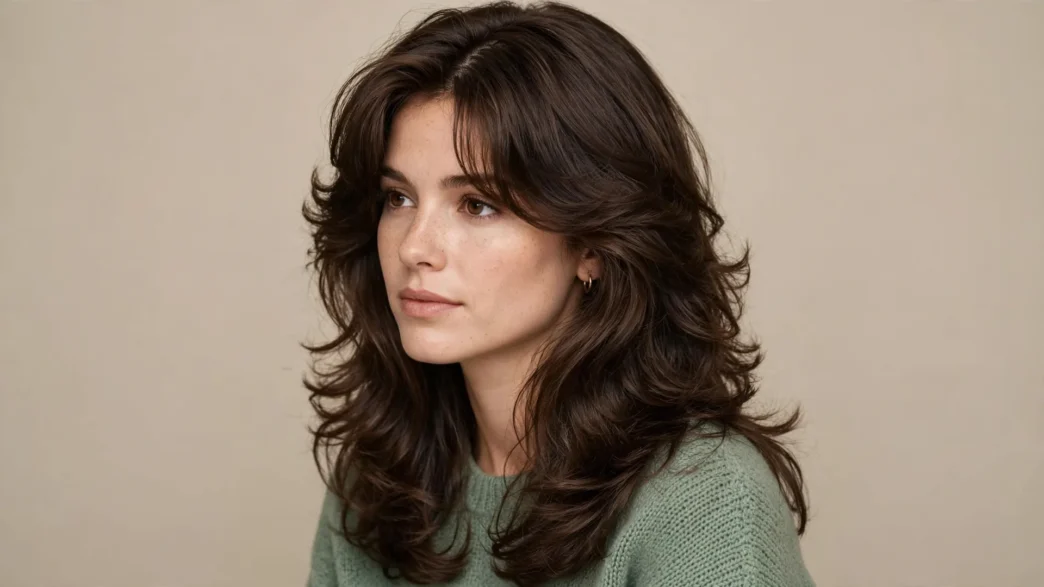
I did not plan to become a 90s-layers person. I just got tired of explaining my hair. The nineties are the first vintage decade I can wear to the grocery store without anyone asking if it is for a party. I wore every one of these cuts or styles for at least a few days, timed them with my phone on the counter, and kept notes on second-day hair.
No nostalgia speech here, I promise. Just what worked, what frizzed, and how long it actually took before coffee. If you live in air-dried hair and dry shampoo like I do, start at the top.
In a Hurry? My 11 Tuesday-Tested Cuts
- 1. The Barely-There Long Layers
- 2. The Half-Hearted Blowout
- 3. The Curtain-Part College Layers
- 4. The Claw-Clip Layers
- 5. The Proper Rachel
- 6. The Flipped-Out Supermodel Layers
- 7. The Piecey Grunge Layers
- 8. The Botticelli-Lite Layers
- 9. The Bouncy Butterfly Cut
- 10. The Swoopy Side-Part Layers
- 11. The Full Round-Brush Drama
1. The Barely-There Long Layers
This is where I tell everyone to start. Two long layers, nothing shorter than your collarbone, and a lot of patience. My hair is thick at the back and wispy at the front, and this was the only cut that behaved on both sides without product.
Ask for a three-inch difference between your shortest and longest layer, max. Any more and you get that shelf thing on day two. I air-dry with a pea-sized drop of cream and tuck the front behind my ears while it is damp. Three minutes, honestly. Maybe four if you count finding the cream.
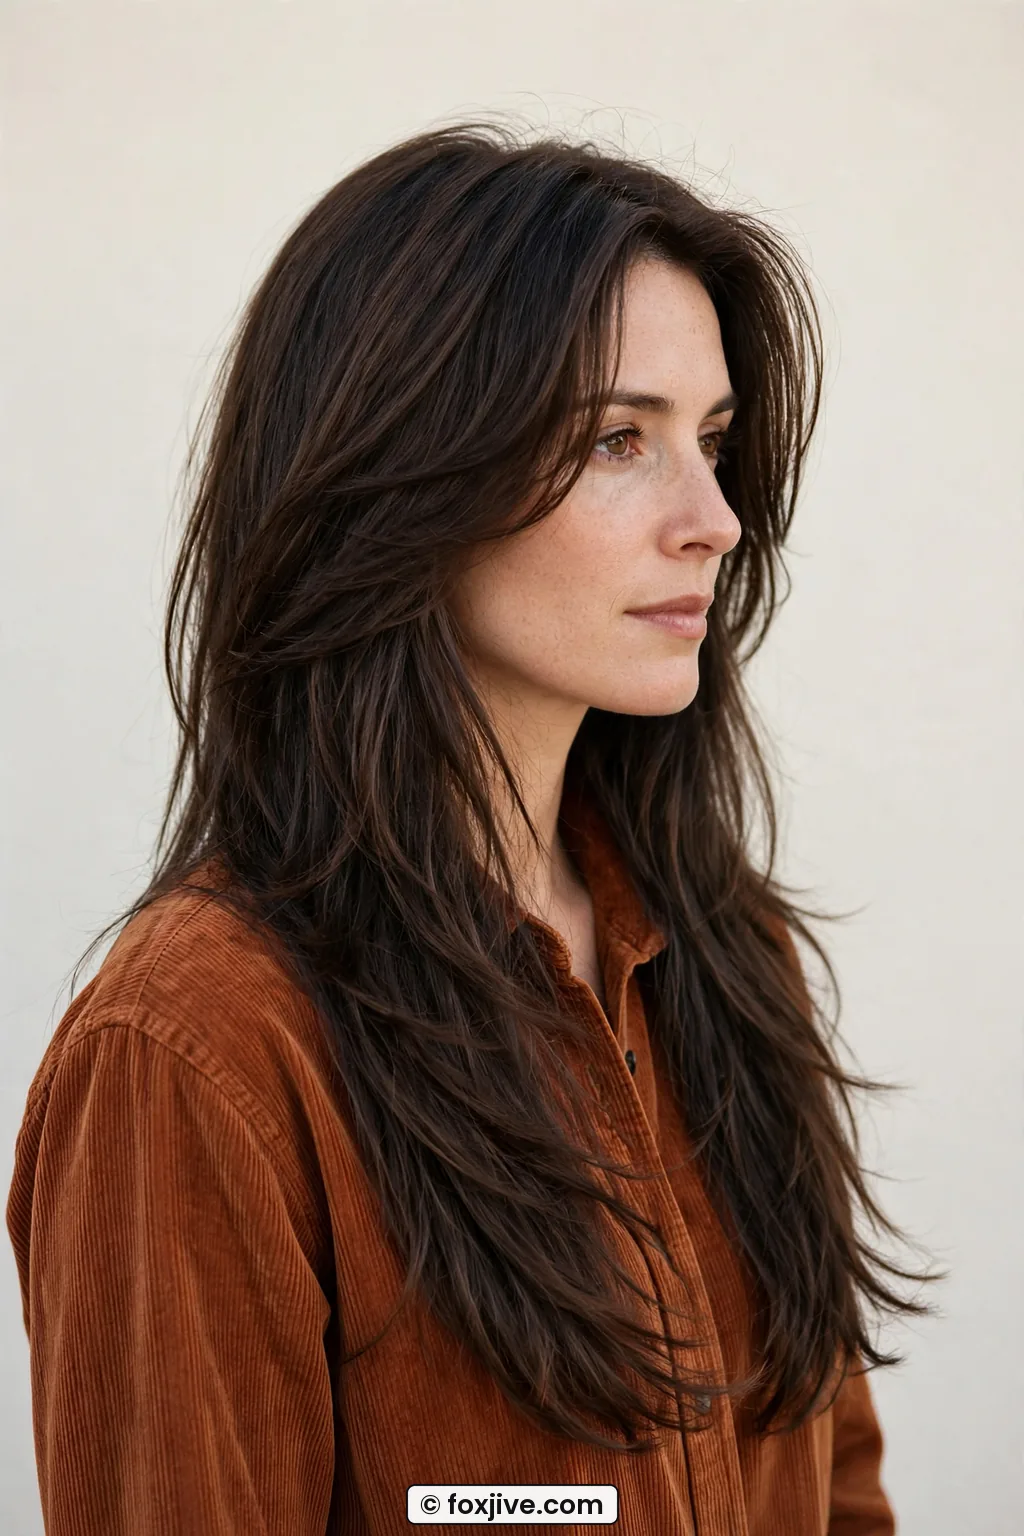
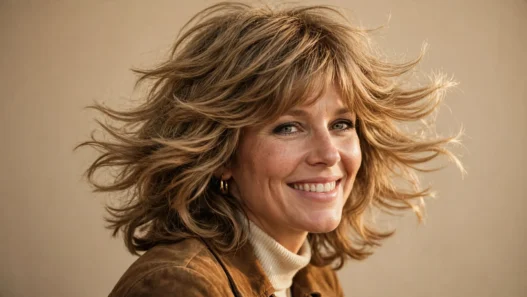
Look at how she is wearing hers in the photo. See how it hits just below her collarbone with almost no visible step? That soft edge is what makes it read nineties instead of just long hair. It also pairs well with feathered layers if your ends are blunt and need movement without losing length.
2. The Half-Hearted Blowout
I love this one because it is lazy on purpose. You rough-dry to about 80 percent, then hit only the front two sections with a round brush. The back just does whatever it wants, which is very 1995 in the best way.
Minute count was eight for me, including the time my dryer rattled off the counter. Use a medium-sized ceramic brush, not one of those giant barrel ones that pulls your arms out. And flip the ends under, just once. Twice looks too done.
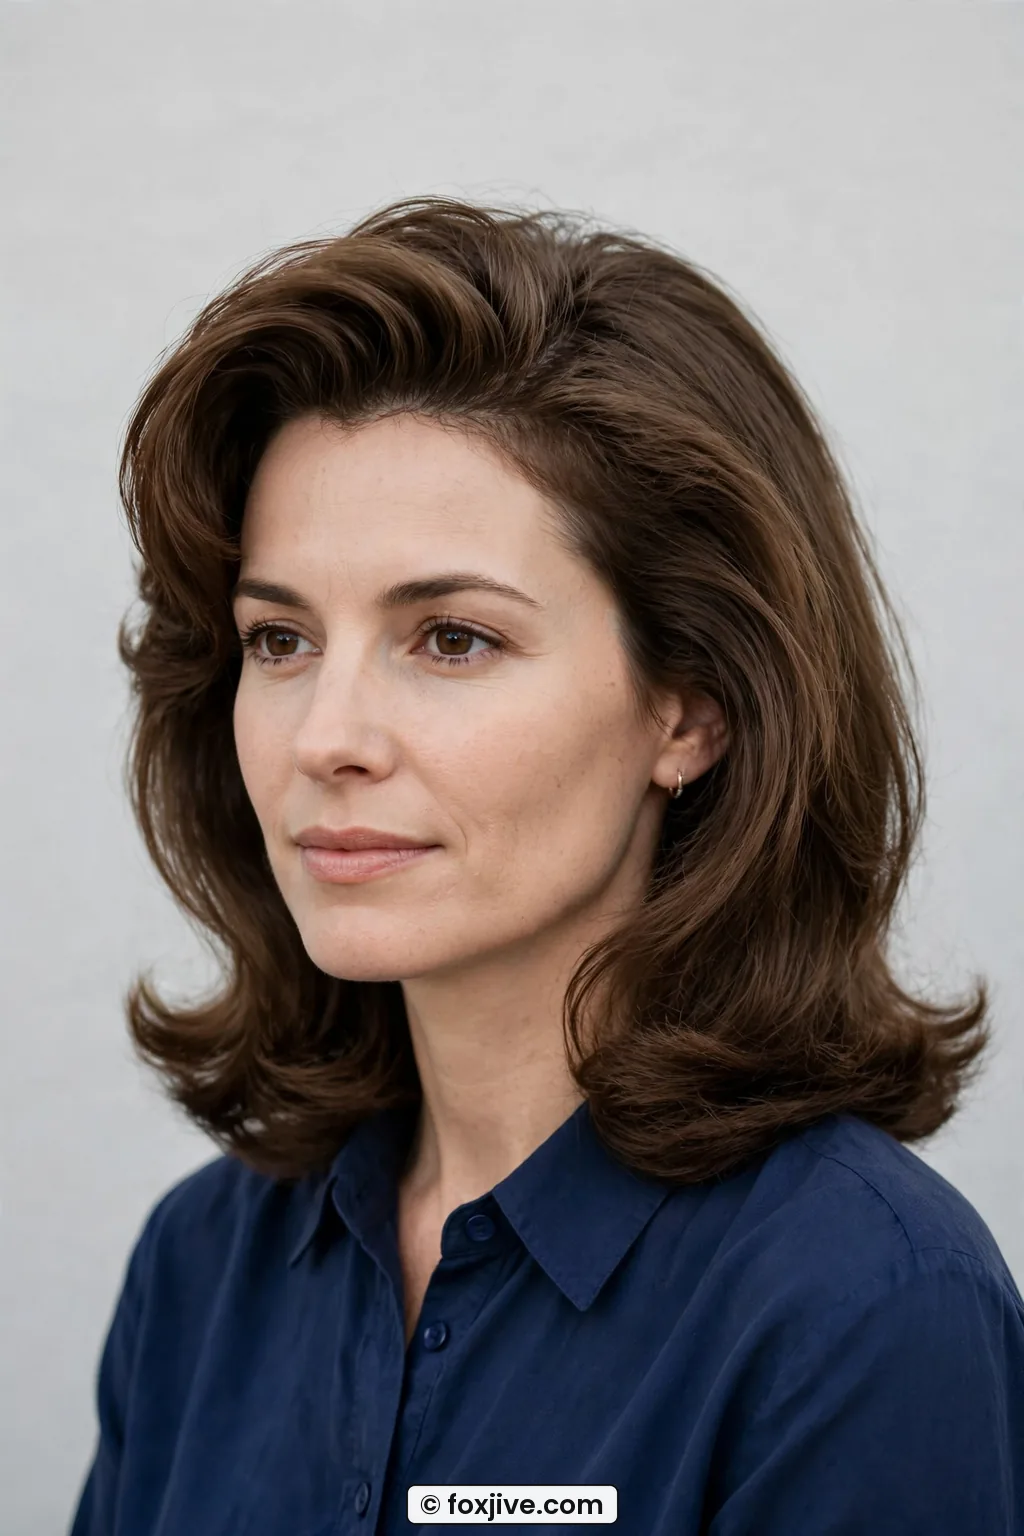
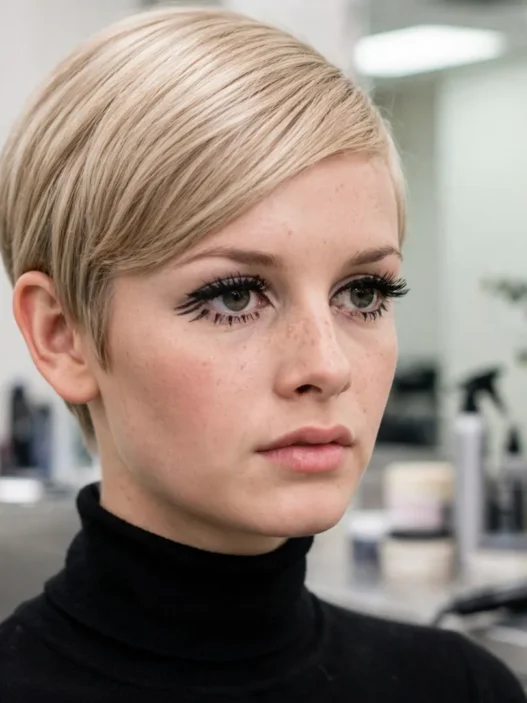
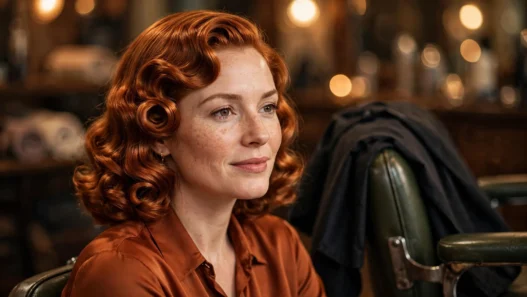
She has got that slightly tucked-under front I keep talking about. That angle is exactly what I mean about jawline framing without a full face frame. I learned the wrist flick from reading up on blowout techniques for layered hair before I stopped burning my left ear, and it finally clicked when I stopped trying to curl and just smoothed.
3. The Curtain-Part College Layers
Middle part, two short front pieces that open like curtains, everything else long. I wore this through an entire rainy week in March and only re-did the part once.
You need face-framing layers that start at your cheekbones, not your chin. Chin is too Rachel, cheekbone is cooler and grows out better. I part it wet with a tail comb, add a little mousse just at the roots in front, and let it be. Six minutes wet to dry-ish, then nothing.
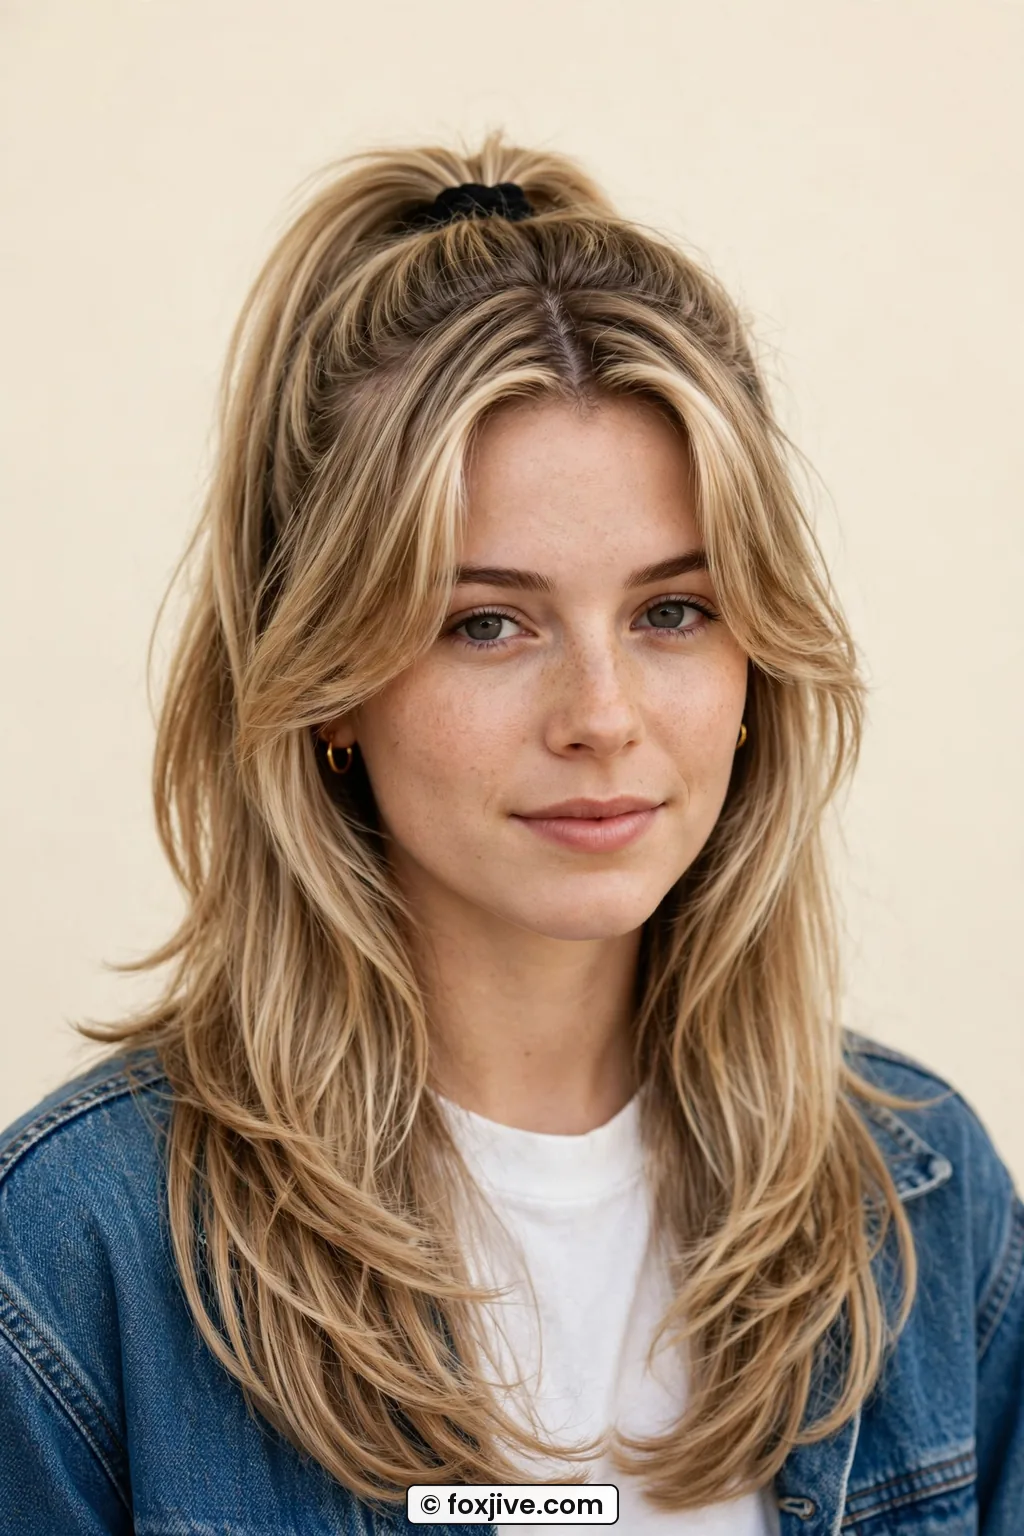
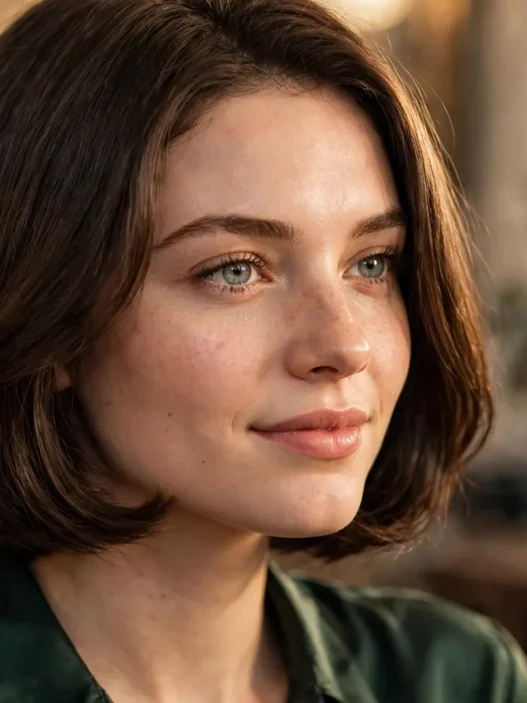
This is the length I am talking about. See how hers breaks open right at the cheek? Mine looked stringy until I started drying those two pieces forward, then pushing them back once they were warm. If you want the broader context, I keep all my 1990s hairstyles in one place because this part keeps coming back.
4. The Claw-Clip Layers
Okay, this is less a cut and more a survival tactic for layered hair that will not sit still. Twist it up, clip it, pull two face pieces out. Done.
It works best on that awkward in-between length where your layers are too short to stay in a ponytail but too long to leave down in heat. Mine is exactly there right now. Two minutes, and one of those minutes is finding the clip in my bag. Leave the ends a little spiky up top. Neat is not the point.
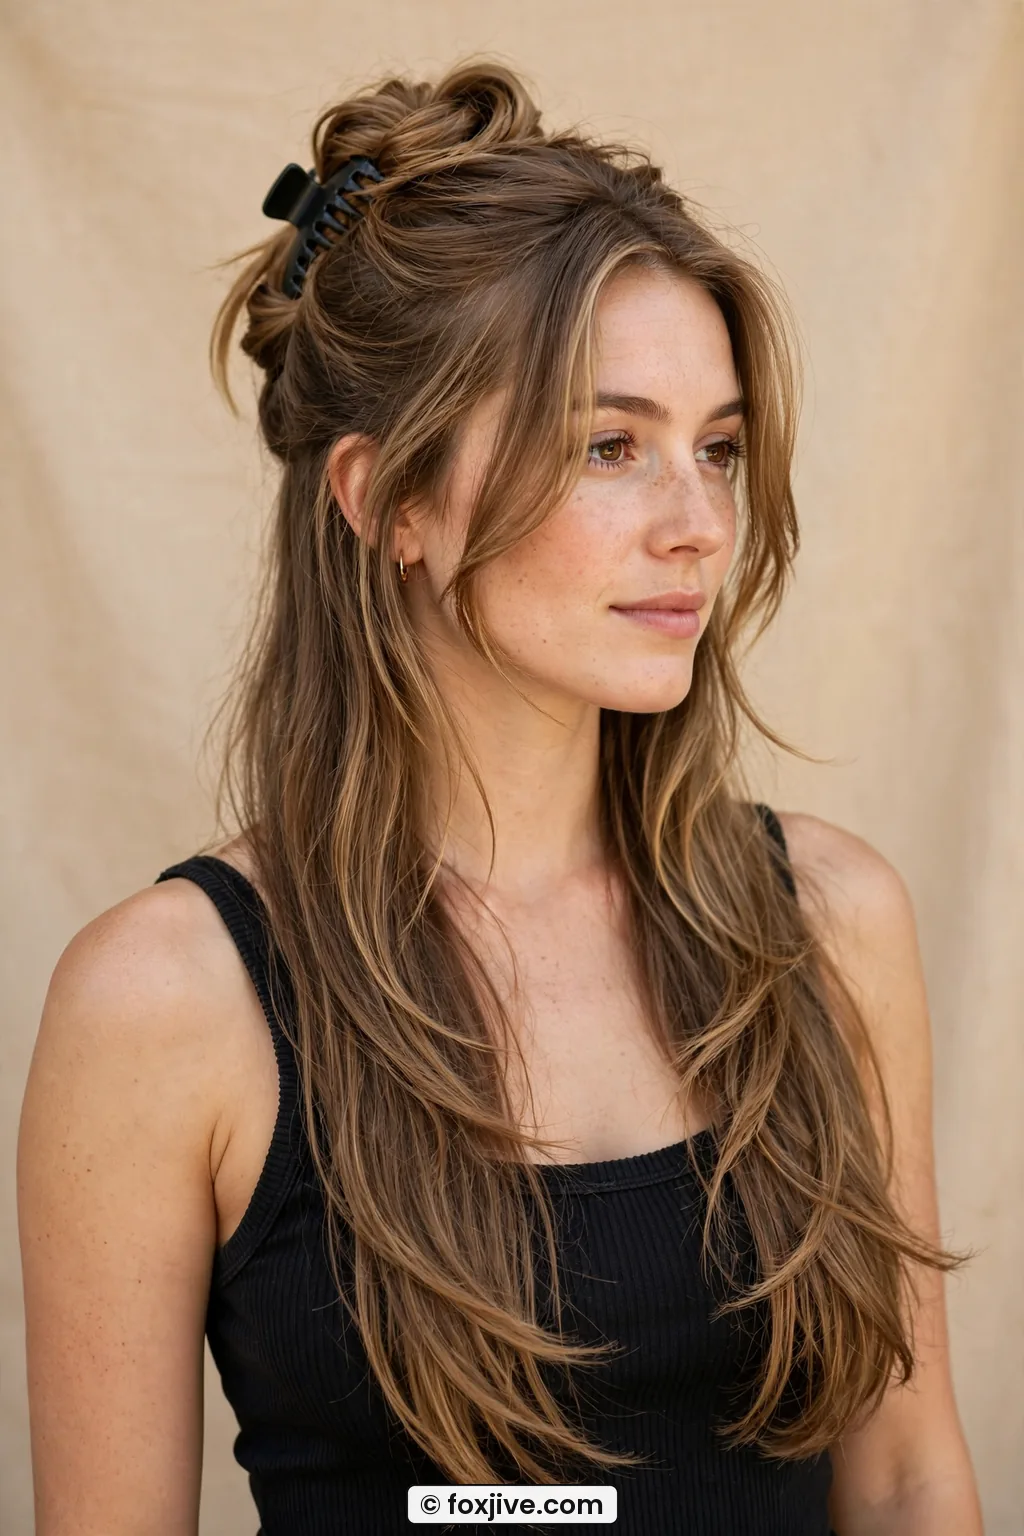
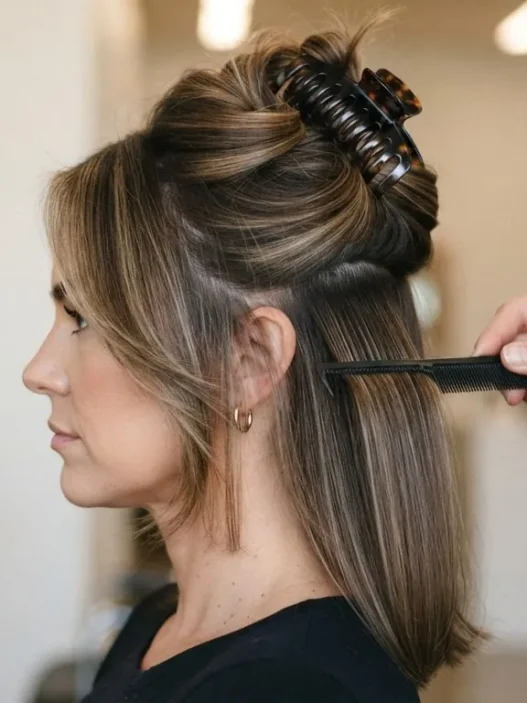
Look at her clip placement, high but not top-of-head high. That little lift is what keeps flat layers from looking tired. And the loose bits in front? They have to be the shortest layers, or they pull weird. I keep a mini claw in every jacket now, which tells you everything about my standards.
5. The Proper Rachel
We have to talk about it. The bouncy, flicky, highly specific one. When I tried this in 2026, I asked for a softer version because my hair is fine and the original can eat fine hair alive.
What you need: chin-length framing through to shoulder layers, with the bottom flipped up and the top rolled under. It sounds contradictory and it is. My stylist used thinning shears just on the very ends so they would flick instead of bunch. At home I needed a round brush, a blow dryer with a nozzle, and 14 minutes I did not really have on a Tuesday.
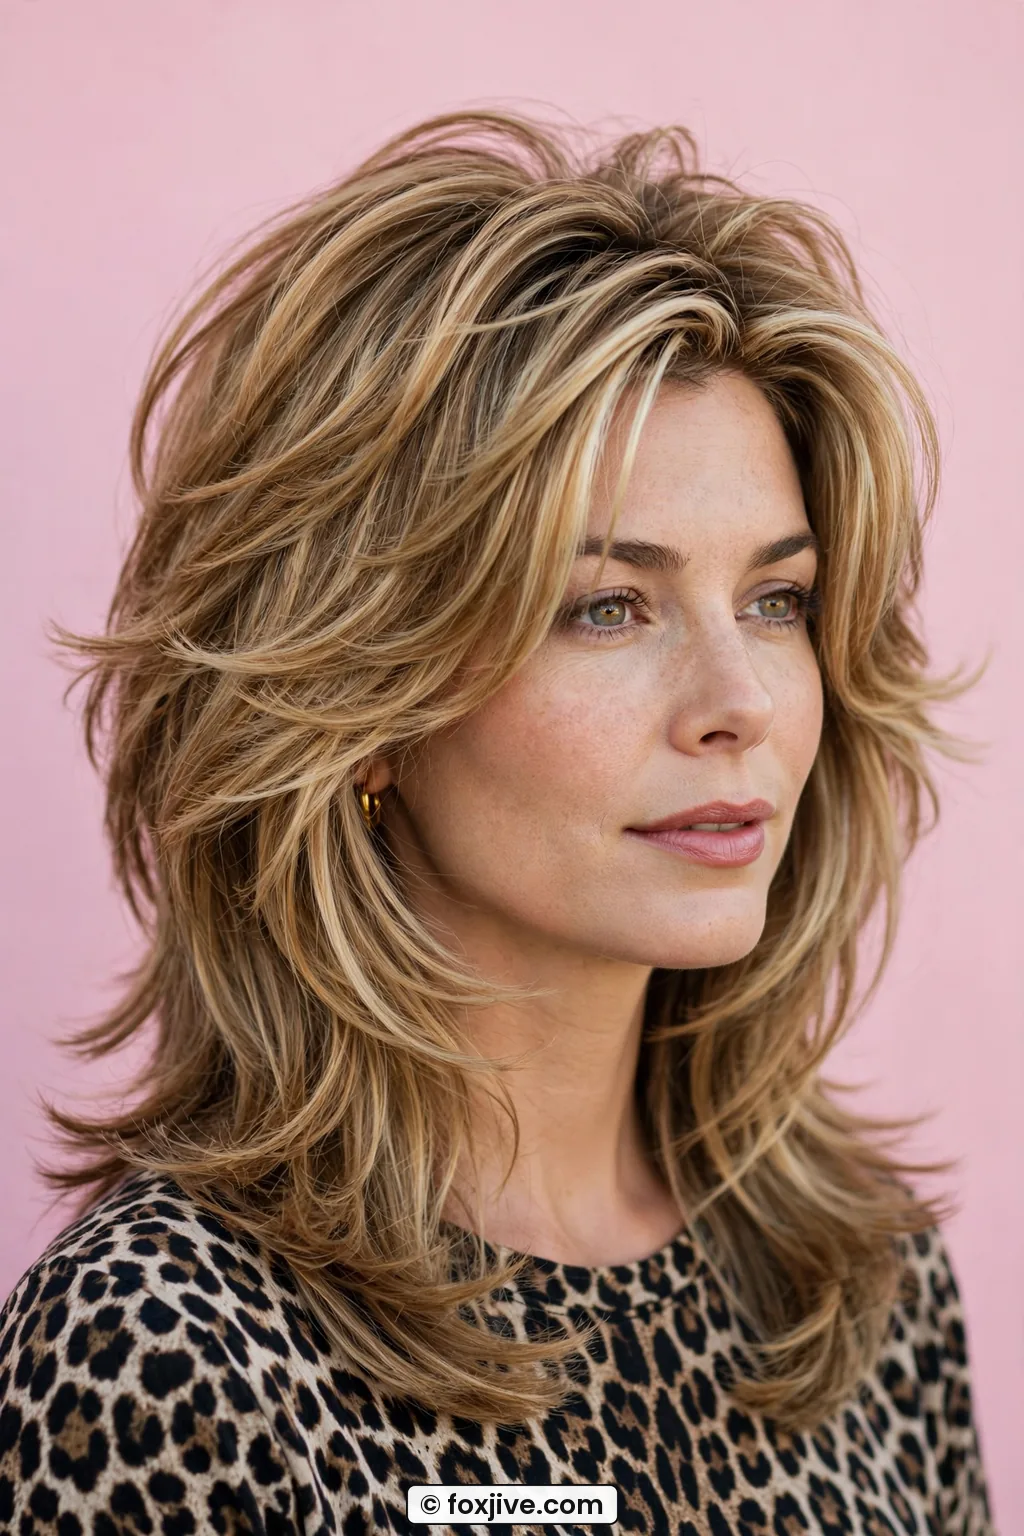
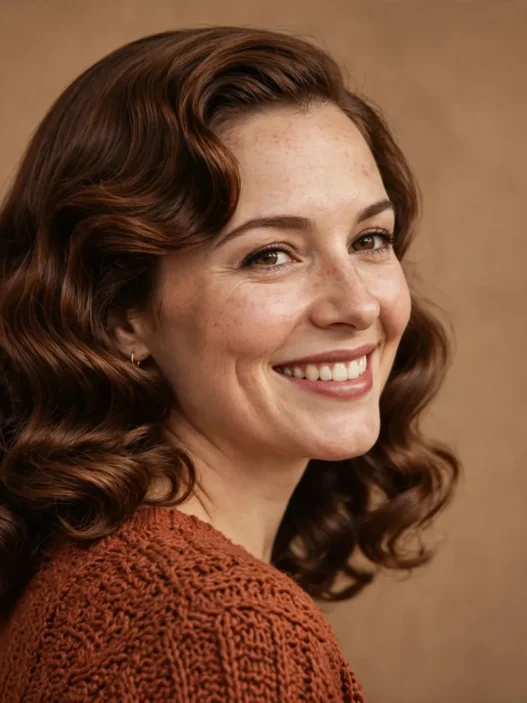
She is wearing the modern version so well. See how the volume sits through the mid-lengths, not just at the crown? That is the update. The old one was all pouf on top. For styling help, my notes on 90s hairstyles that are back cover which pieces you can fake with hot rollers and which you really cannot.
My personal pick is still No. 5, even though it is fussy. Nothing makes me feel more put-together in jeans and a white tee than those flicked ends.
See the Rachel Flick Done Live
6. The Flipped-Out Supermodel Layers
Think Cindy on a talk show. Long layers all flipped out at the bottom like a bell. It is dramatic in photos and surprisingly wearable if you keep the top smooth.
I do this with a flat iron, not a round brush. Dry hair, big sections, bend the iron out at the last two inches. Ten minutes for my whole head because my hair holds a bend. If yours does not, a light-hold spray before you iron helps more than spraying after. I learned that after a whole sad, flat afternoon.
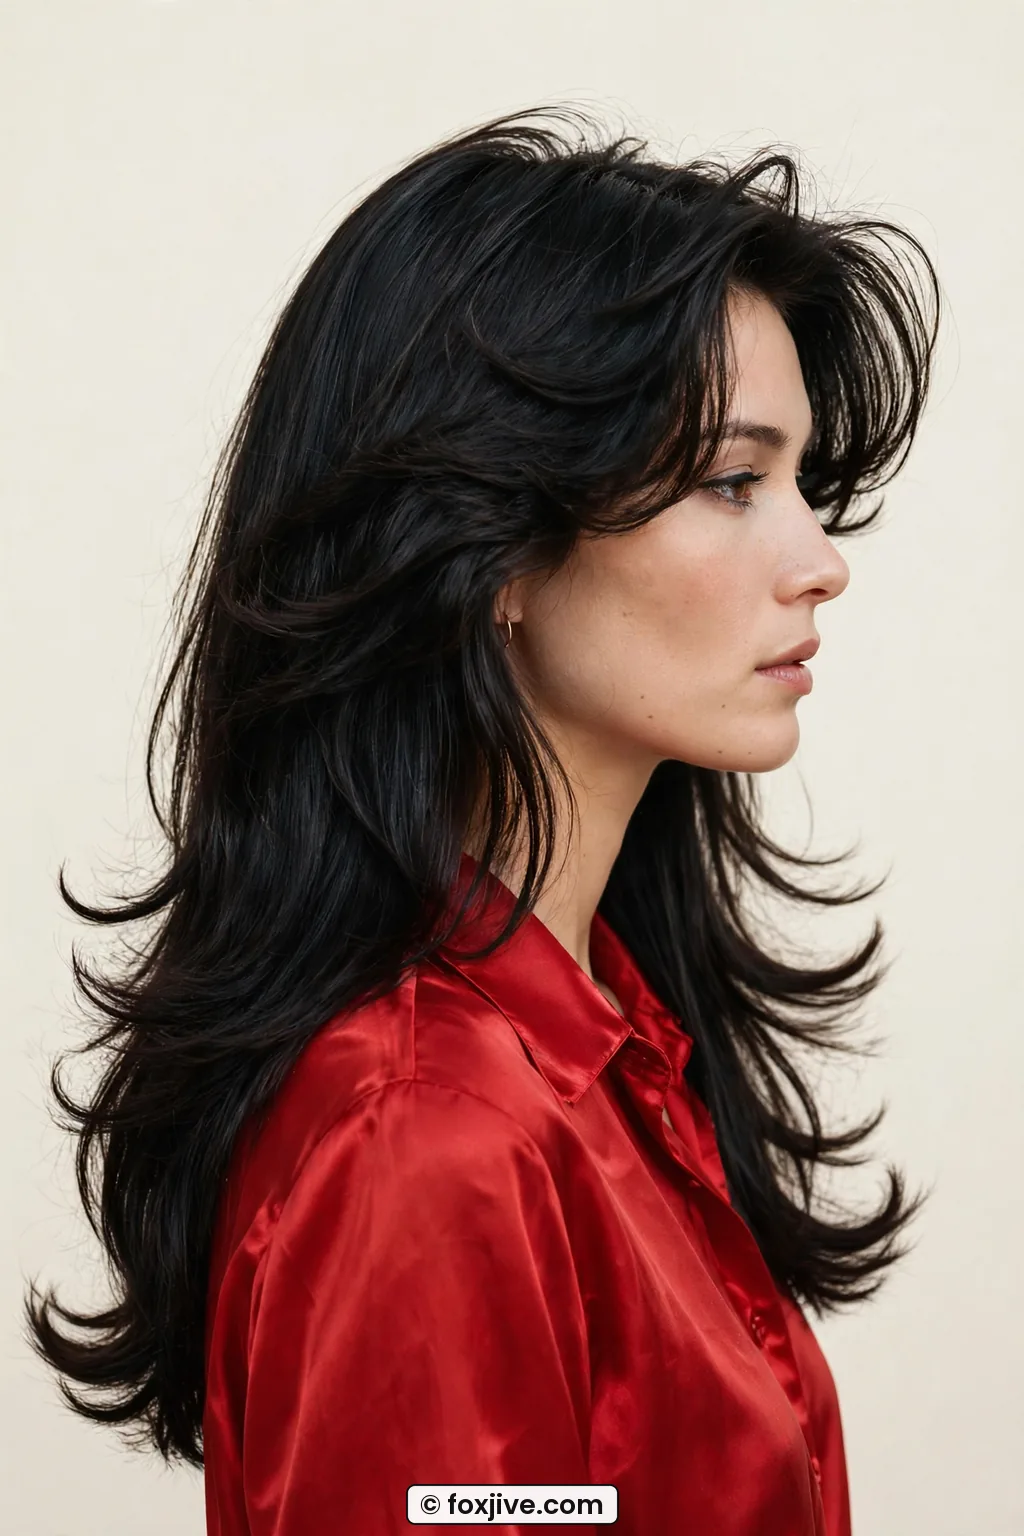
Check her ends in the photo. They kick out in one clean line, not in little separated flips. That is the trick, keep your sections wide. Skinny sections turn into 2000s prom hair fast. You can read more about flipping techniques for smooth ends while your iron heats, since the angle matters more than the heat setting.
7. The Piecey Grunge Layers
This one saved me during a grow-out. Choppy, uneven, a little stringy on purpose. It hides the fact that your layers are all different lengths because that is the look.
Product matters here. A dime-sized bit of wax, warmed between palms, scrunched only into the ends. Not mousse, not oil. Oil makes it look greasy by lunch. Wax keeps the pieces separated. Wash-and-go time is five minutes plus air-dry, but you have to re-scrunch at noon. I keep the wax in my desk drawer next to emergency bobby pins.
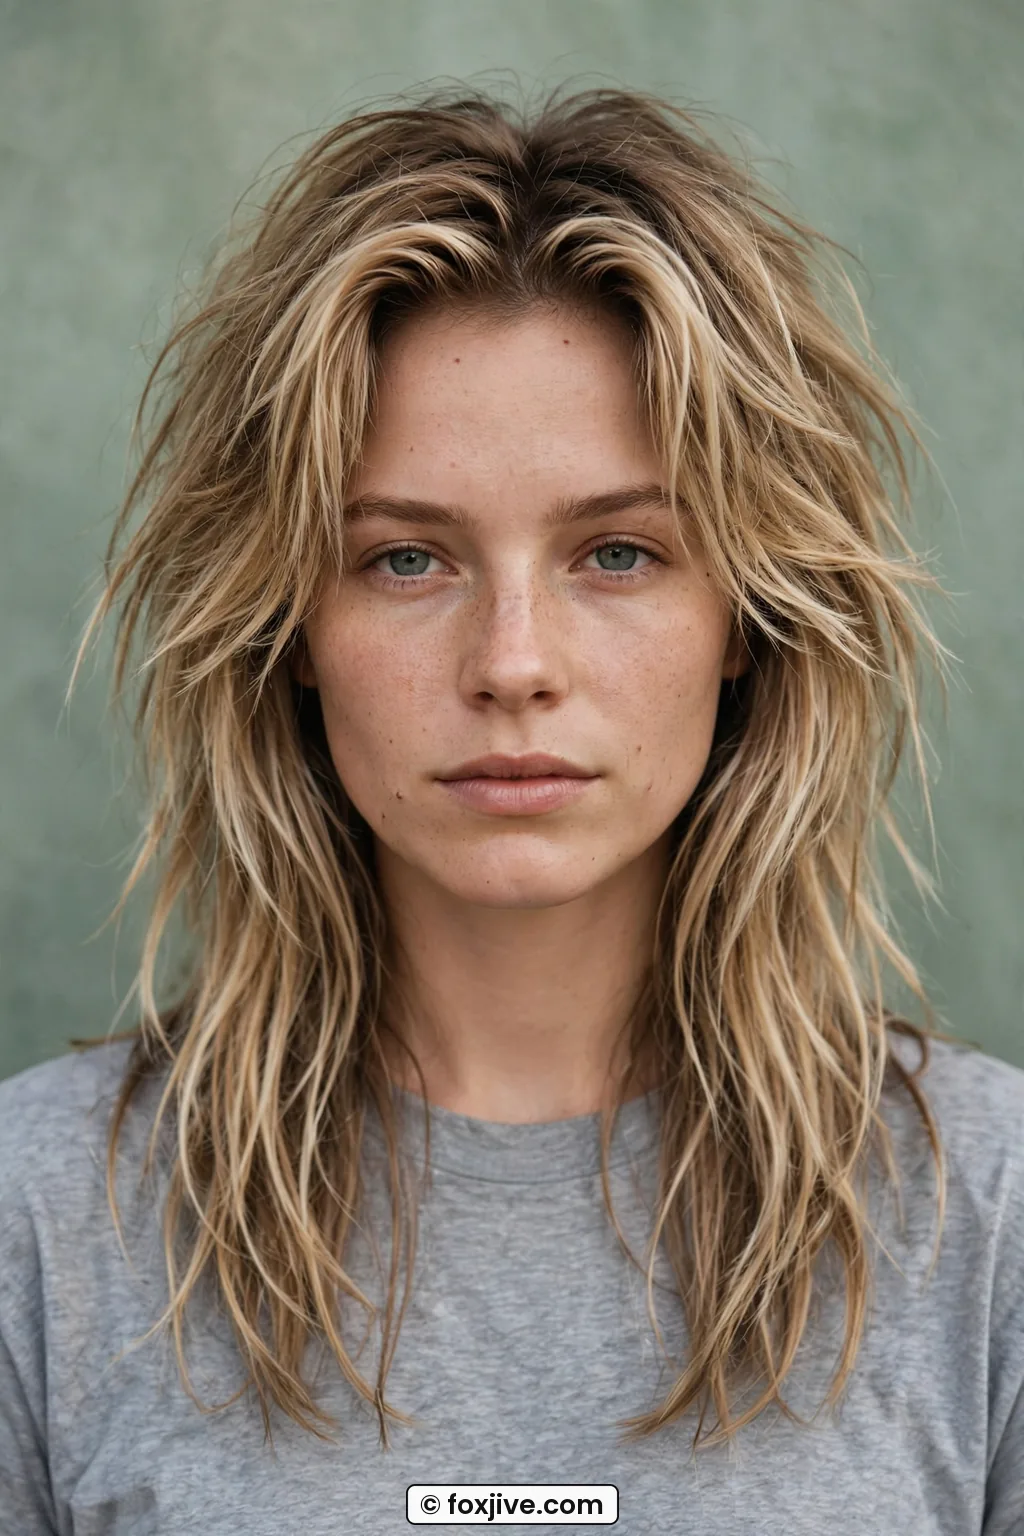
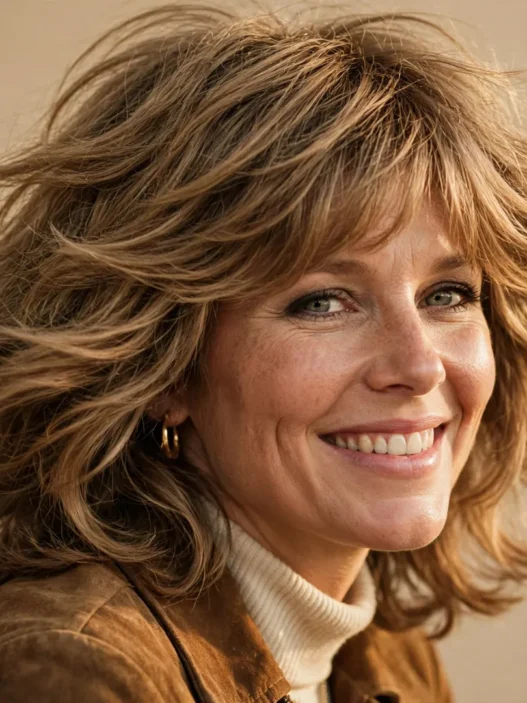
She has got a similar texture to mine, fine but a lot of it, and honestly those separated ends look incredible on her. Do not brush this after it dries. I made that mistake once and turned into a dandelion. Fingers only, and even then, sparingly.
8. The Botticelli-Lite Layers
Long, soft, romantic layers that look like you just walked in from wind. Except it was a diffuser and 18 minutes.
When I tried this, I asked for long layers with no hard lines and a center part that could shift side to side. Styling is upside-down diffusing to about 90 percent dry, then a one-inch iron through just the top layer for polish. Sounds like a lot. It is. But day two and day three are perfect, which evens out the math.
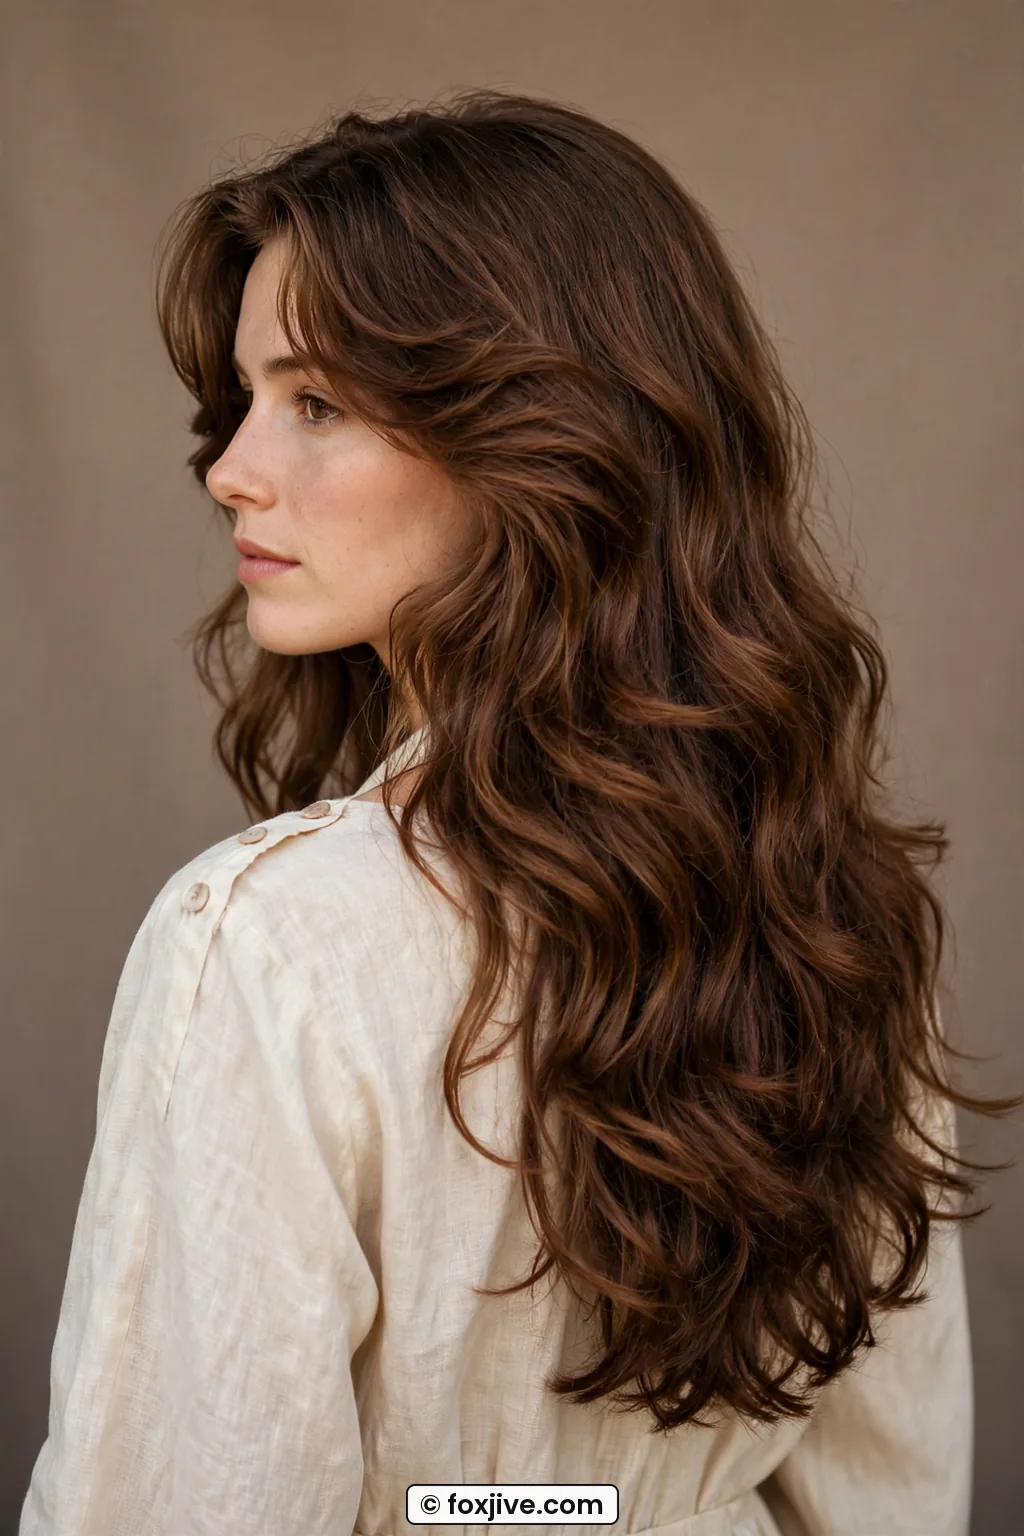
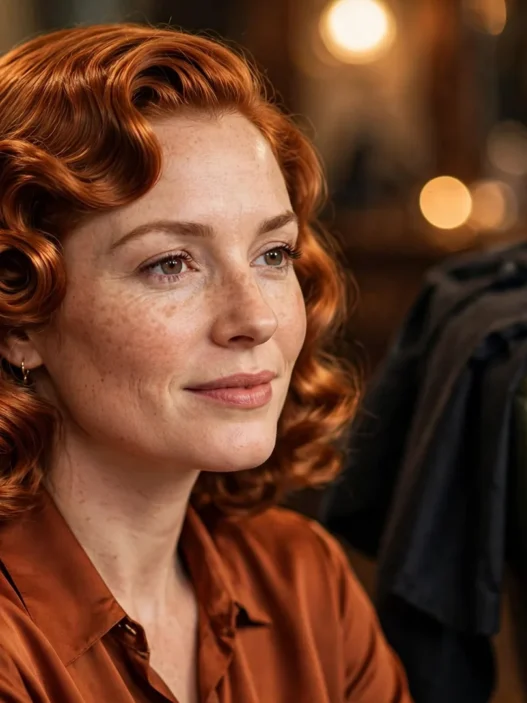
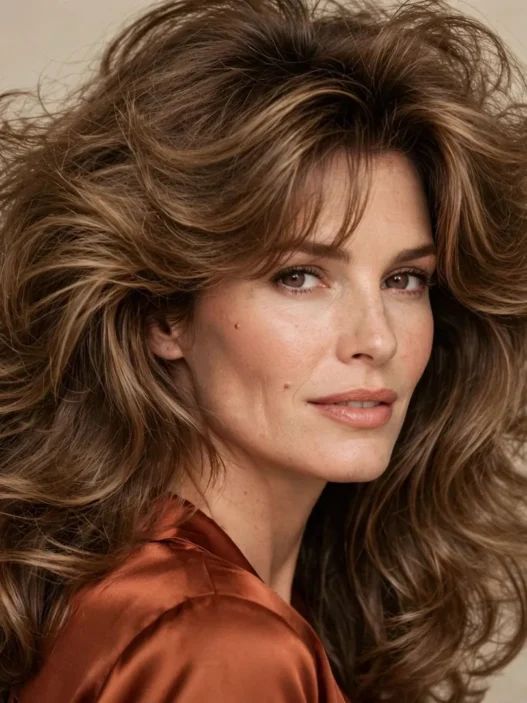
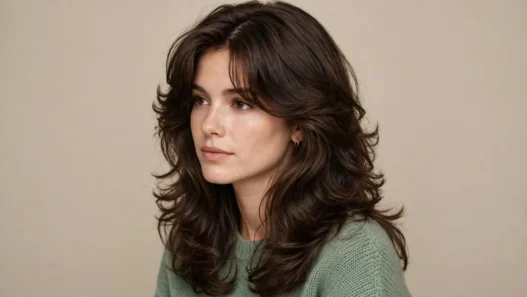
Look at the full length in her shot, all the way past her chest with movement the whole way down. That continuous softness is the giveaway. If you are blonde and layering, 90s hairstyle looks with subtle dimension help this cut read nineties instead of just boho.
9. The Bouncy Butterfly Cut
Short layers on top, long layers underneath. Two haircuts in one, basically. TikTok renamed it, but it is pure 90s layers with a new outfit on.
My version has chin-grazing top layers and waist-grazing bottom ones, which sounds insane and looked great. You need hot rollers or a big round brush to make the two lengths connect, otherwise you get a mullet situation. I use three large Velcro rollers just on the crown while I do makeup. Total active time is 12 minutes, passive time is whatever your mascara takes.
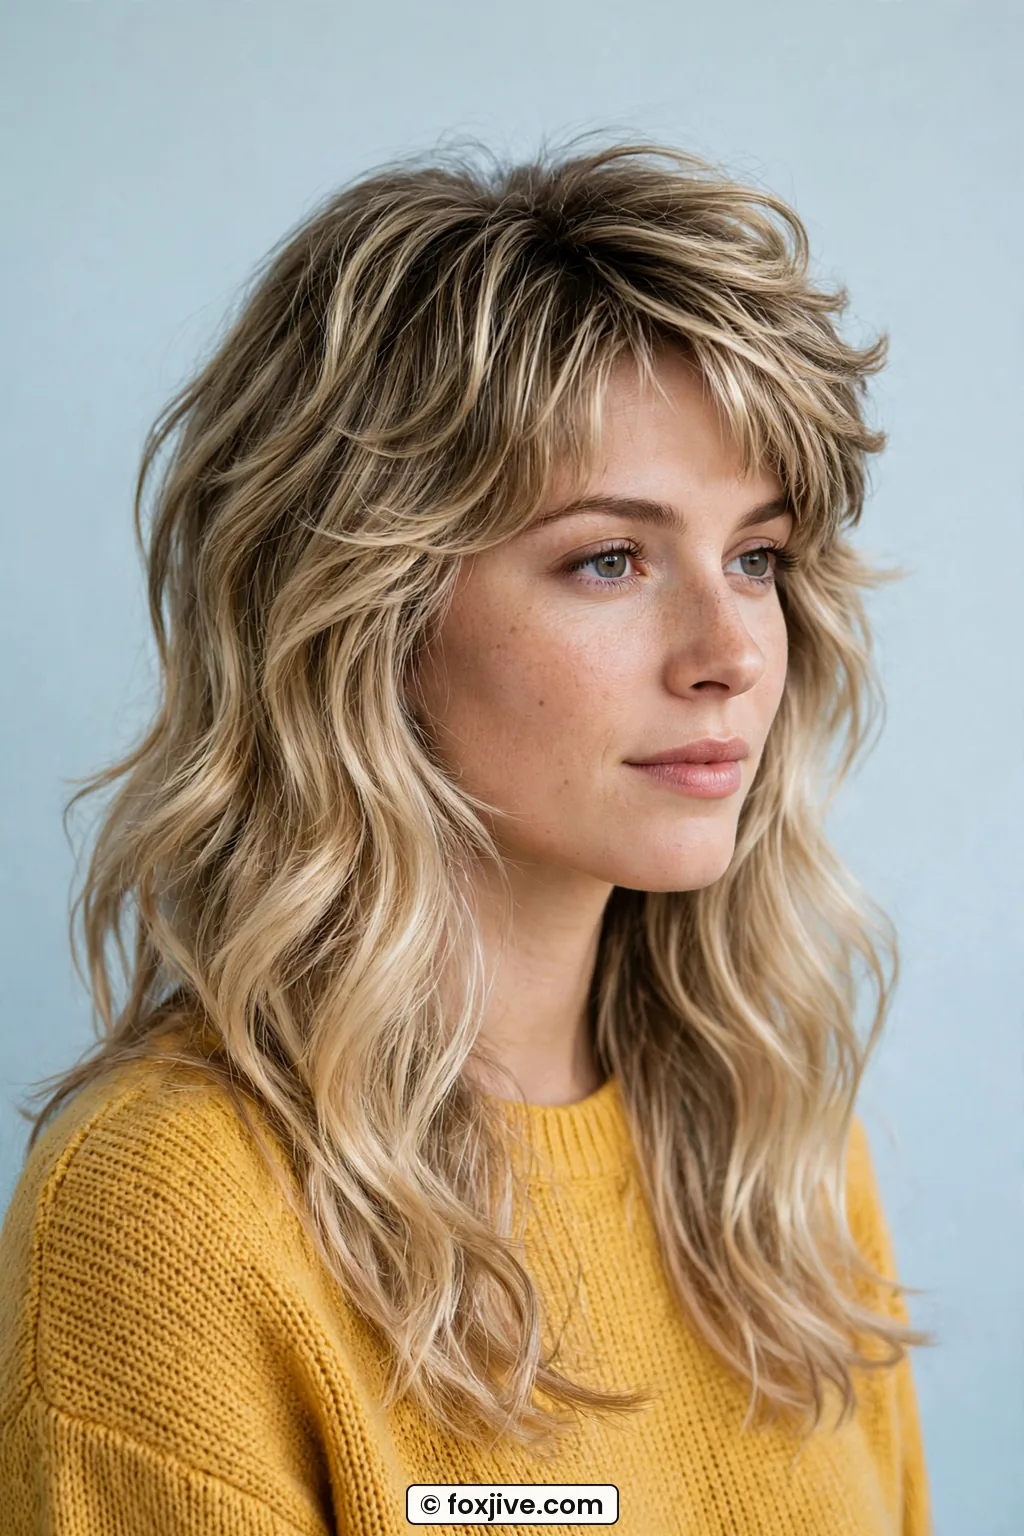
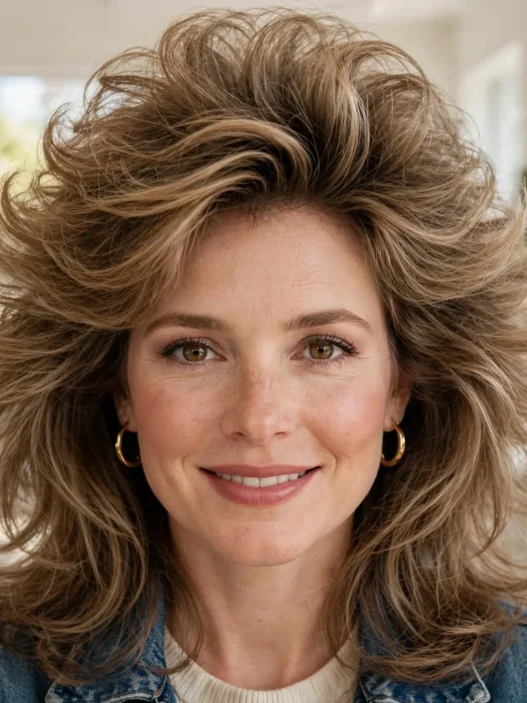
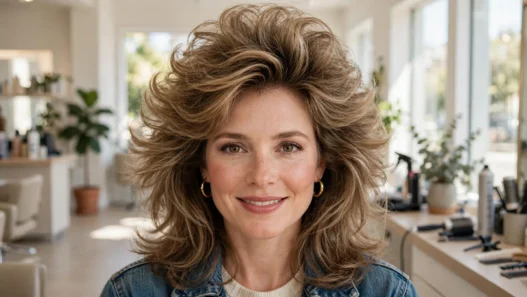
See how hers lifts at the crown but still falls long? That short-to-long blend is everything. Without that lift on top, the whole thing collapses by 2 p.m. I tease just a half-inch section at the crown now, a trick I picked up from reading about volume tips for butterfly cuts after my first flat attempt.
10. The Swoopy Side-Part Layers
Deep side part, big swoop across the forehead, layers that fall forward over one shoulder. Very 1997 awards show, very fun for dinner.
This needs a clean side part set while wet, or it will flop back to middle by noon. I comb it over dramatically, like almost to my ear, then let it fall where it wants as it dries. Clip the root flat for ten minutes if you have a cowlick like mine. Styling time was 11 minutes with a round brush, 16 if I bother to curl the ends under properly.
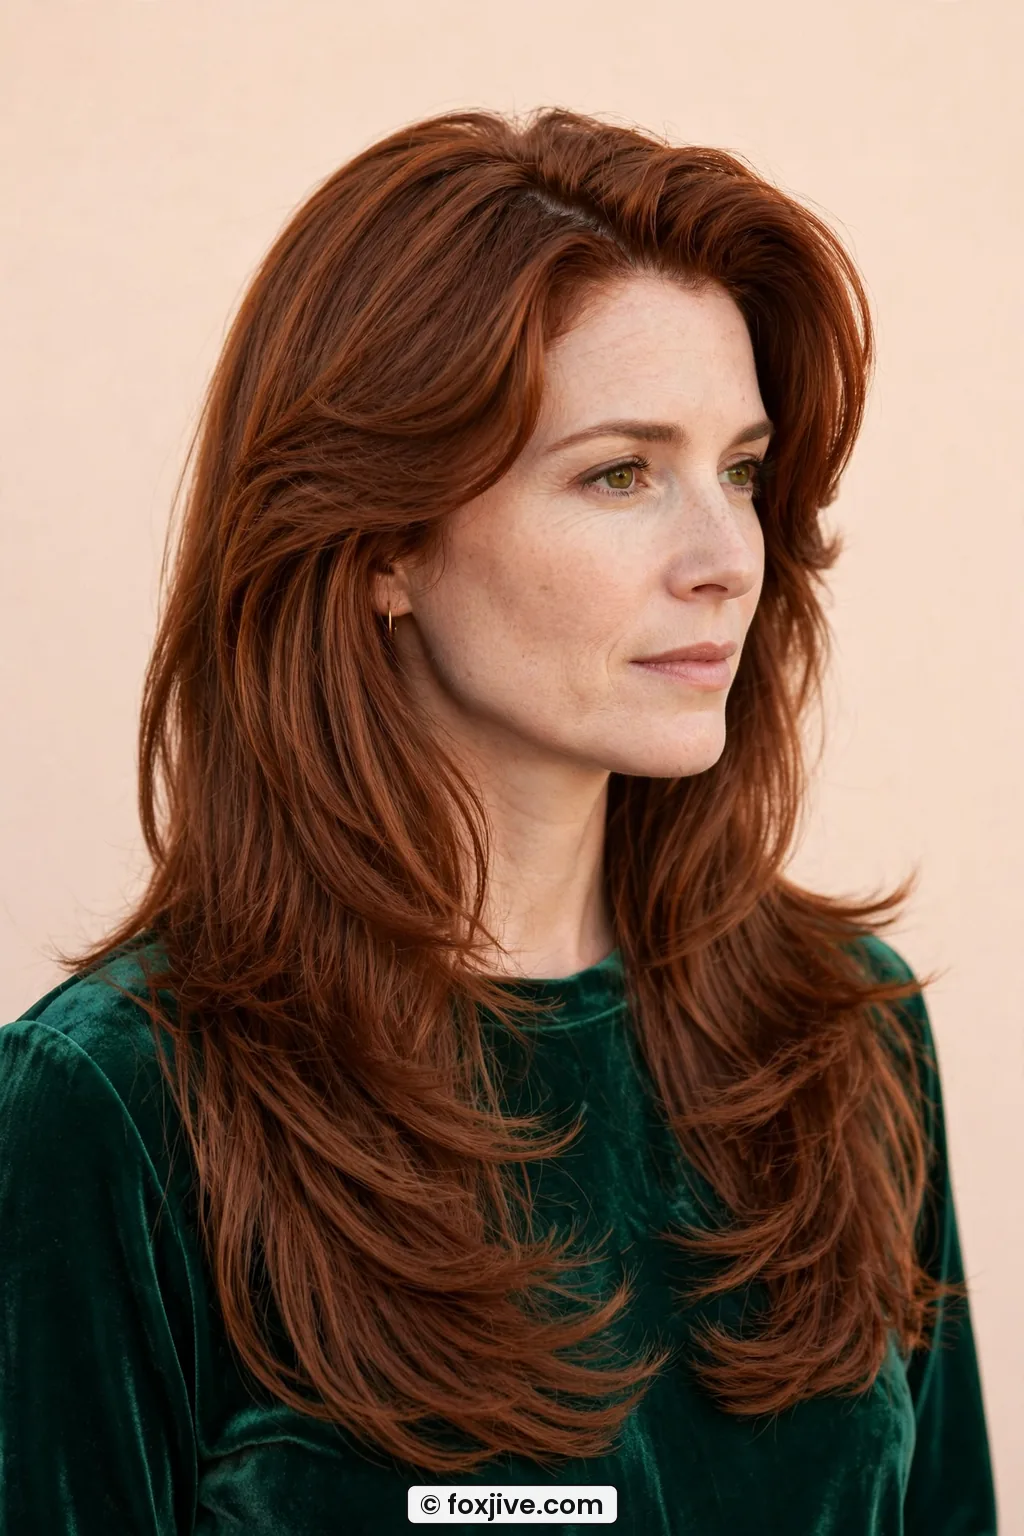
She nails the swoop without covering her eye, which is my eternal struggle. Notice how her shortest layer tucks just under her cheekbone? That keeps it from going emo. If heat tools scare you, my crimp-free notes on how to do a 90s hairstyle tutorial have a no-iron root-lift hack that works here too.
11. The Full Round-Brush Drama
The most effort, the most payoff. Every single layer rolled under with tension, lots of volume, that fresh-from-the-salon bounce. I only do this when I have somewhere to be.
You need freshly washed hair, volumizing mousse at the roots, and a proper blowout brush or a dryer-brush tool. Section into four quadrants, dry each fully before moving on. My timer said 24 minutes, and my arms were tired. But it lasted three days with just a little dry shampoo at the crown, so per-wear it is not terrible.
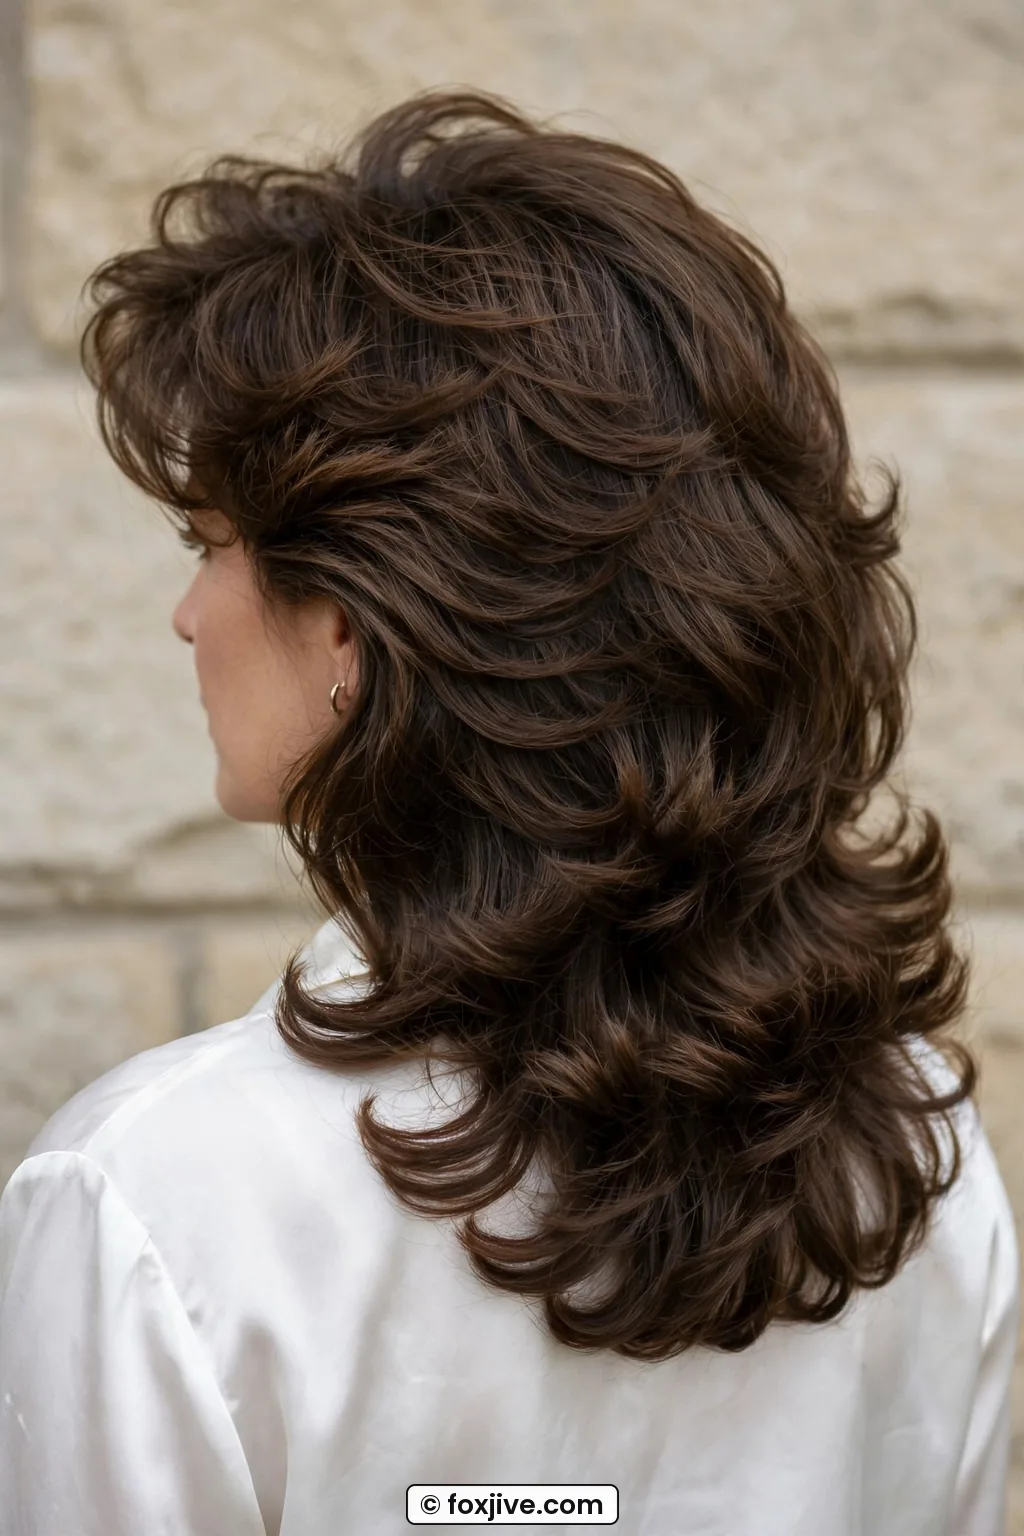
Look at her finish, every step visible but blended, shiny without looking wet. That is a well-executed round brush, not just big hair. And honestly? This and No. 9 are the two that need a stylist rather than a mirror, at least the first time. Get the shape cut right, then you can fake the styling at home.
What People Ask Me About 90s Layers
Do 90s layers work on thin or fine hair?
Yes, but keep them long and few. My fine-haired friends do best with just two levels and lots of root lift, not short choppy pieces that disappear by lunch.
How do I ask my stylist for 90s layers without getting The Rachel by accident?
Bring a photo and use the words soft and long. Say you want face framing that starts at the collarbone, not the chin, unless you actually want that bouncy flick.
How long do 90s layers take to grow out?
About 3-4 months before they blend fully. The in-between stage is perfect for claw clips and grunge styling, so I never mind it much.
Can I get 90s layers without heat styling every day?
Totally. Stick to the first four looks in this post. They were all designed for air-dry life, and a little air-dry cream does most of the work.
So that is my Tuesday ranking. I live in No. 1 through No. 4 most weeks, pull out No. 5 when I want to feel fancy, and save No. 11 for dates. Tell me which one you are trying first, I am nosy about hair.