




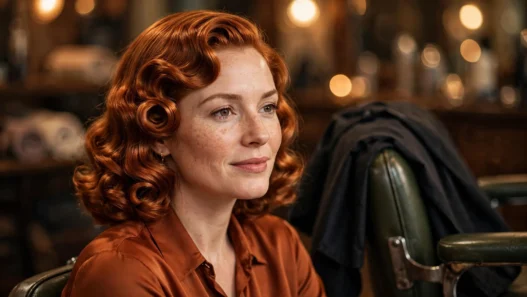


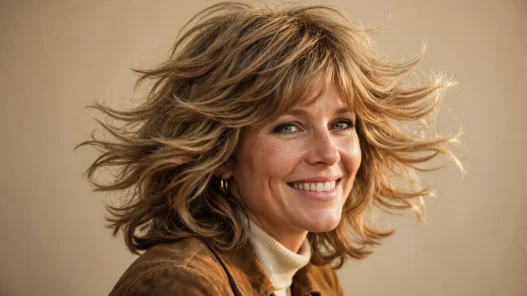
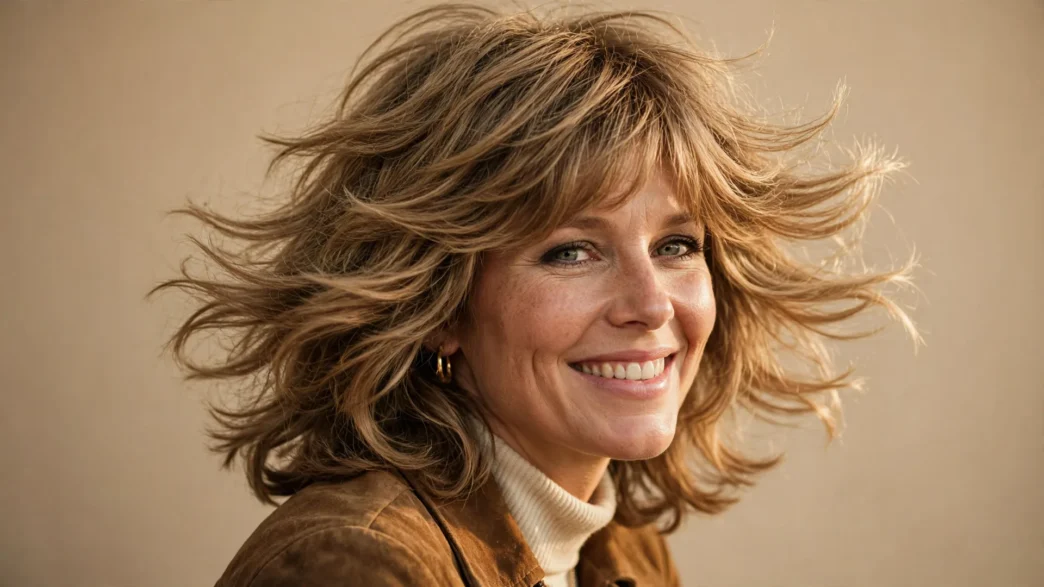
I have always had a soft spot for seventies hair because it was the first decade that let hair look a little unfinished on purpose. Not messy, exactly. Just alive. I tried a proper shag back in college and I swear I walked differently when those layers started swinging.
These shag haircuts are my favorite movers. Every one flicks, falls, or feathers when you turn your head, and I am going to tell you which ones need real layers and which ones you can fake with a brush.
Every Flick, Fall and Flutter in This Roundup
- 1. The Outward Flick
- 2. The Curtain Fall
- 3. The Feathered Flip
- 4. The Center-Part Swoop
- 5. The Cheek-Skimming Wing
- 6. The Long-Layer Drift
- 7. The Bouncy Bottom Flick
- 8. The Face-Frame Flutter
- 9. The Airy Crown Lift
- 10. The Soft Under-Tuck
- 11. The Side-Swept Fall
- 12. The Grown-Out Fringe Float
- 13. The Full Swing Shag
- Do You Actually Need Layers For All This?
1. The Outward Flick
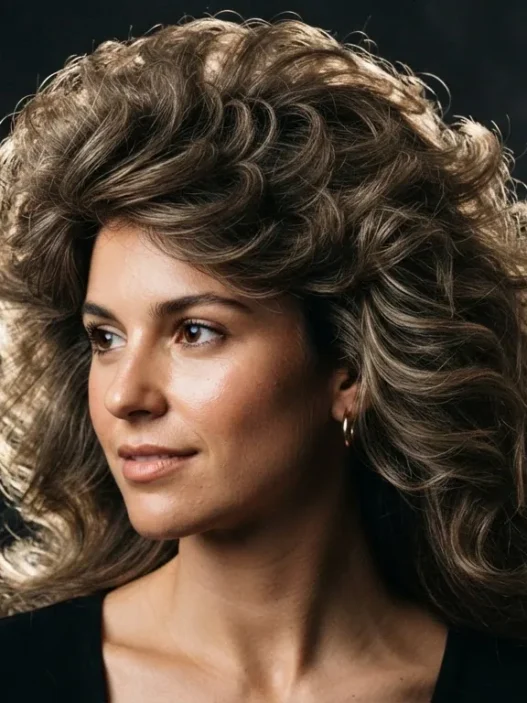
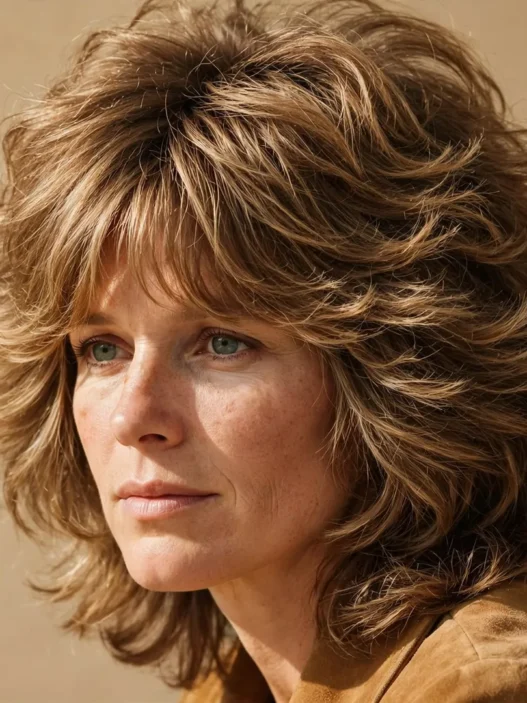
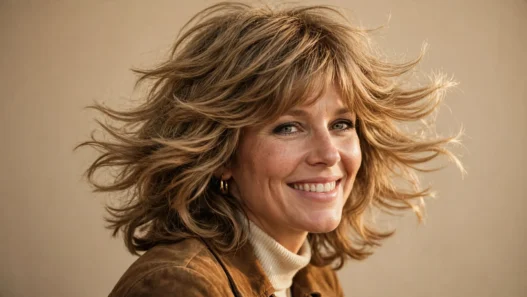
This is the one everyone pictures first. Middle part, cheek-length layers that kick straight out at the ends like little wings. I love this on shoulder-length hair because you feel it lift every time you laugh or look over your shoulder.
Underneath you need a true shag with short-to-long layers and thinned ends. This flick is impossible without layers, I will just say it. A blunt cut will never kick out like that, it will just poof.
My brushwork for it is simple. I blow dry with a medium round brush, and on those front pieces I roll up an inch, then pull straight out to the side. You can read up on shag cuts to see how different lengths change that kick. Look at how she is wearing hers in the photo below, those ends point outward instead of hugging her chin. That angle is exactly what I mean about jawline framing.
2. The Curtain Fall
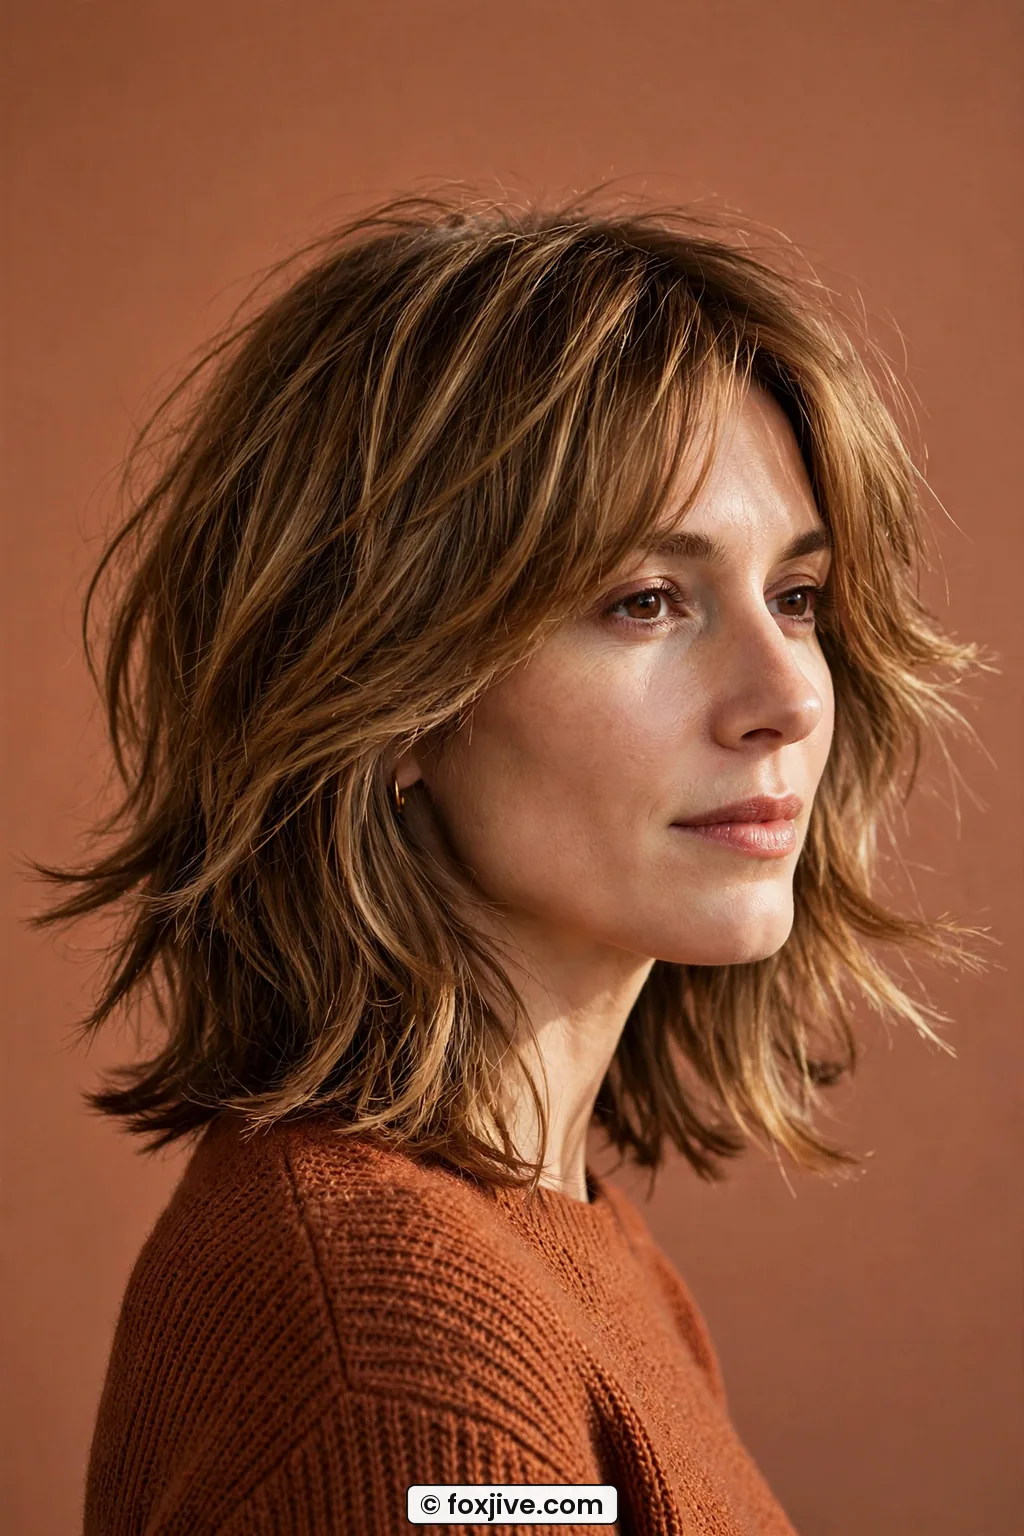
Softer. Longer. Less Farrah, more French girl who time traveled to 1974.
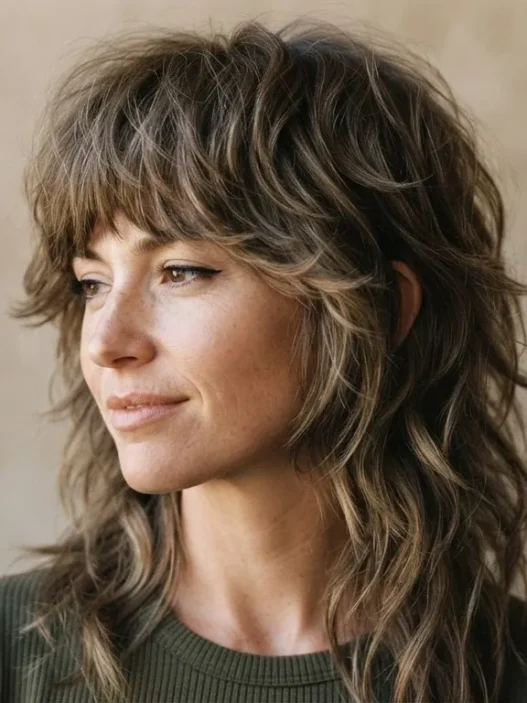
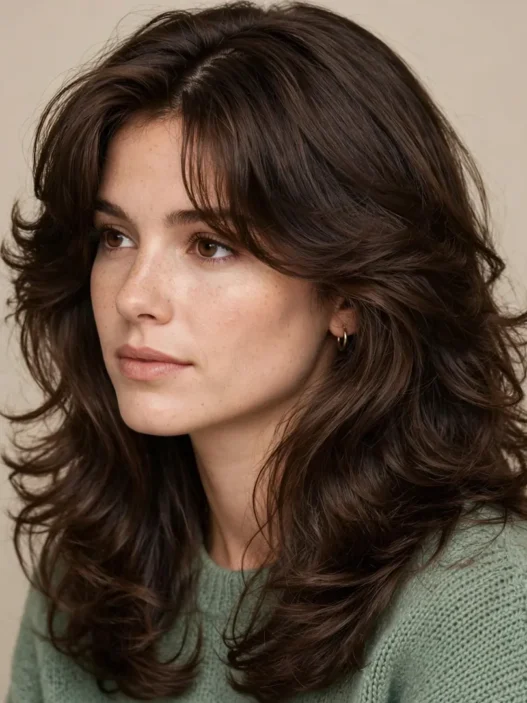
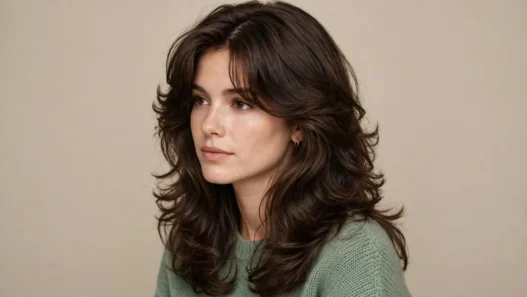
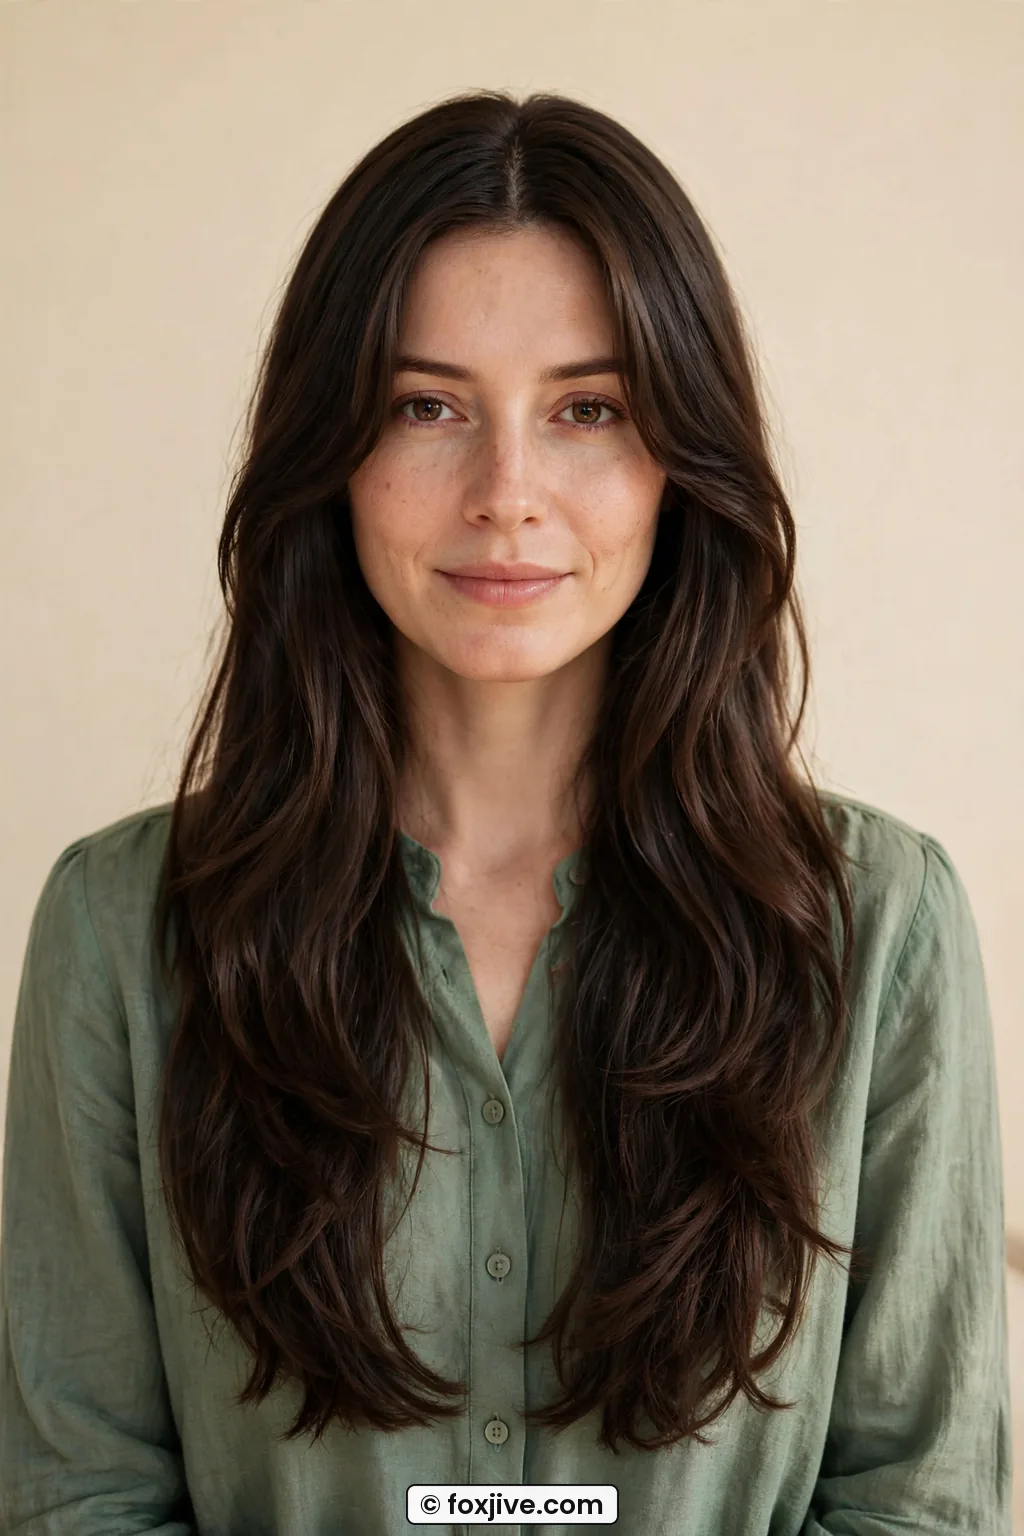
The curtain fall is those long, face-parted layers that drop from the temples and curve just under the cheekbones. They do not flick out, they fall in, and then they move apart when you walk. I wore this version for almost a year because it grew out so gracefully.
Good news, you do not need a full shag for this. Long layers or even a one-length cut with soft face framing will do it. I dry mine with a flat paddle brush pulled forward, then I wrap just the front two sections around a large round brush away from the face for ten seconds. It gives that open curtain shape without a lot of volume on top. She has got a longer length than mine was, and honestly the way it hits just below her collarbone keeps it modern.
3. The Feathered Flip
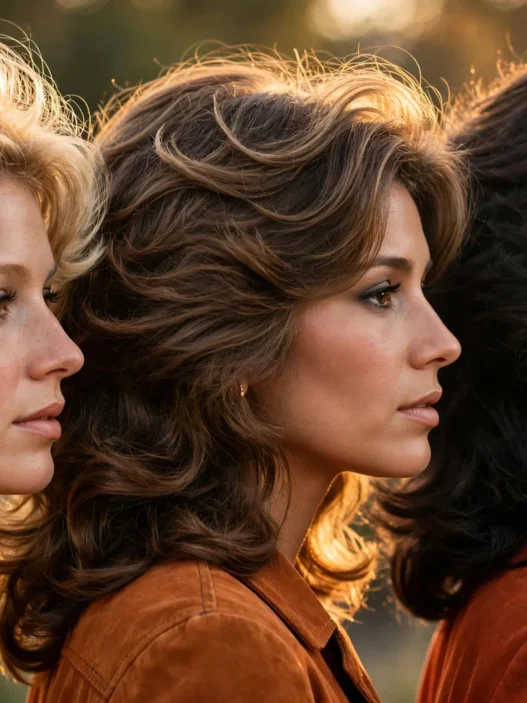
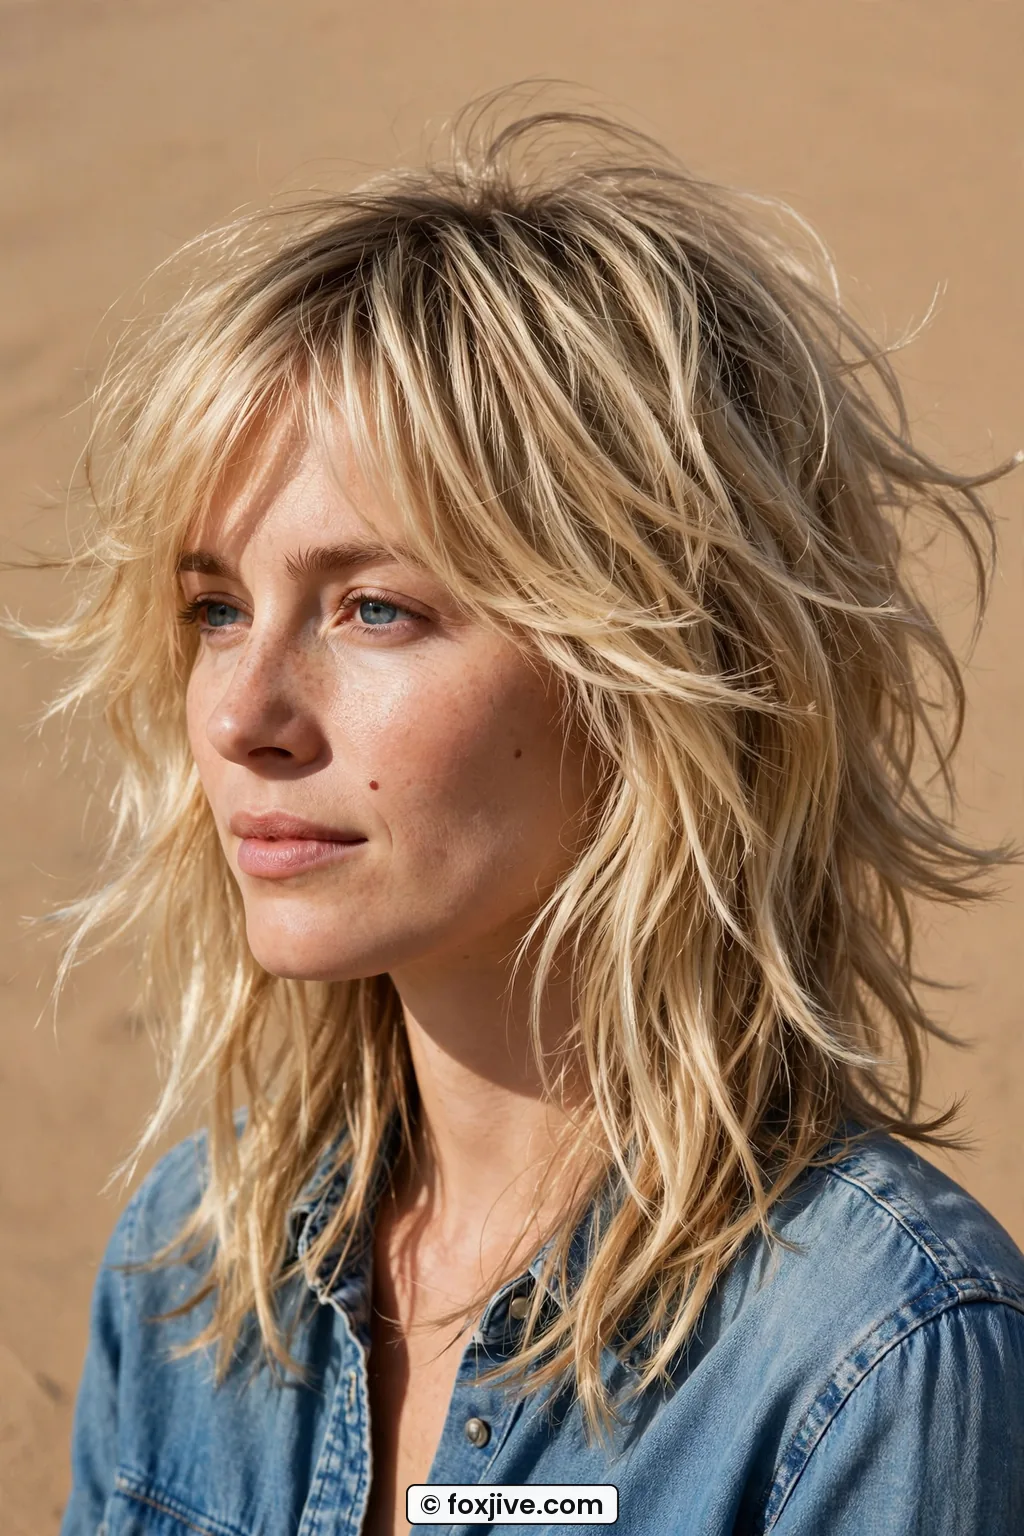
Okay, this is my comfort-zone shag. The feathered flip is all about those wispy, razor-cut ends through the mid lengths that flip back in soft pieces instead of one solid wave. When I tried this with my thick hair, my stylist had to remove a ton of weight or it just sat there.
You do need feathering for this, which really means point-cut or razor-cut layers, not just long layers. Without that texture the flip looks chunky. For styling, I use a vent brush and point the dryer up from underneath, which sounds weird but it separates each feather. I learned the motion from reading about feathered blow-dry techniques that finally made my ends piece out instead of clumping.
Finish with a tiny bit of cream just on the tips. If you oil the roots you lose the whole airy thing.
4. The Center-Part Swoop
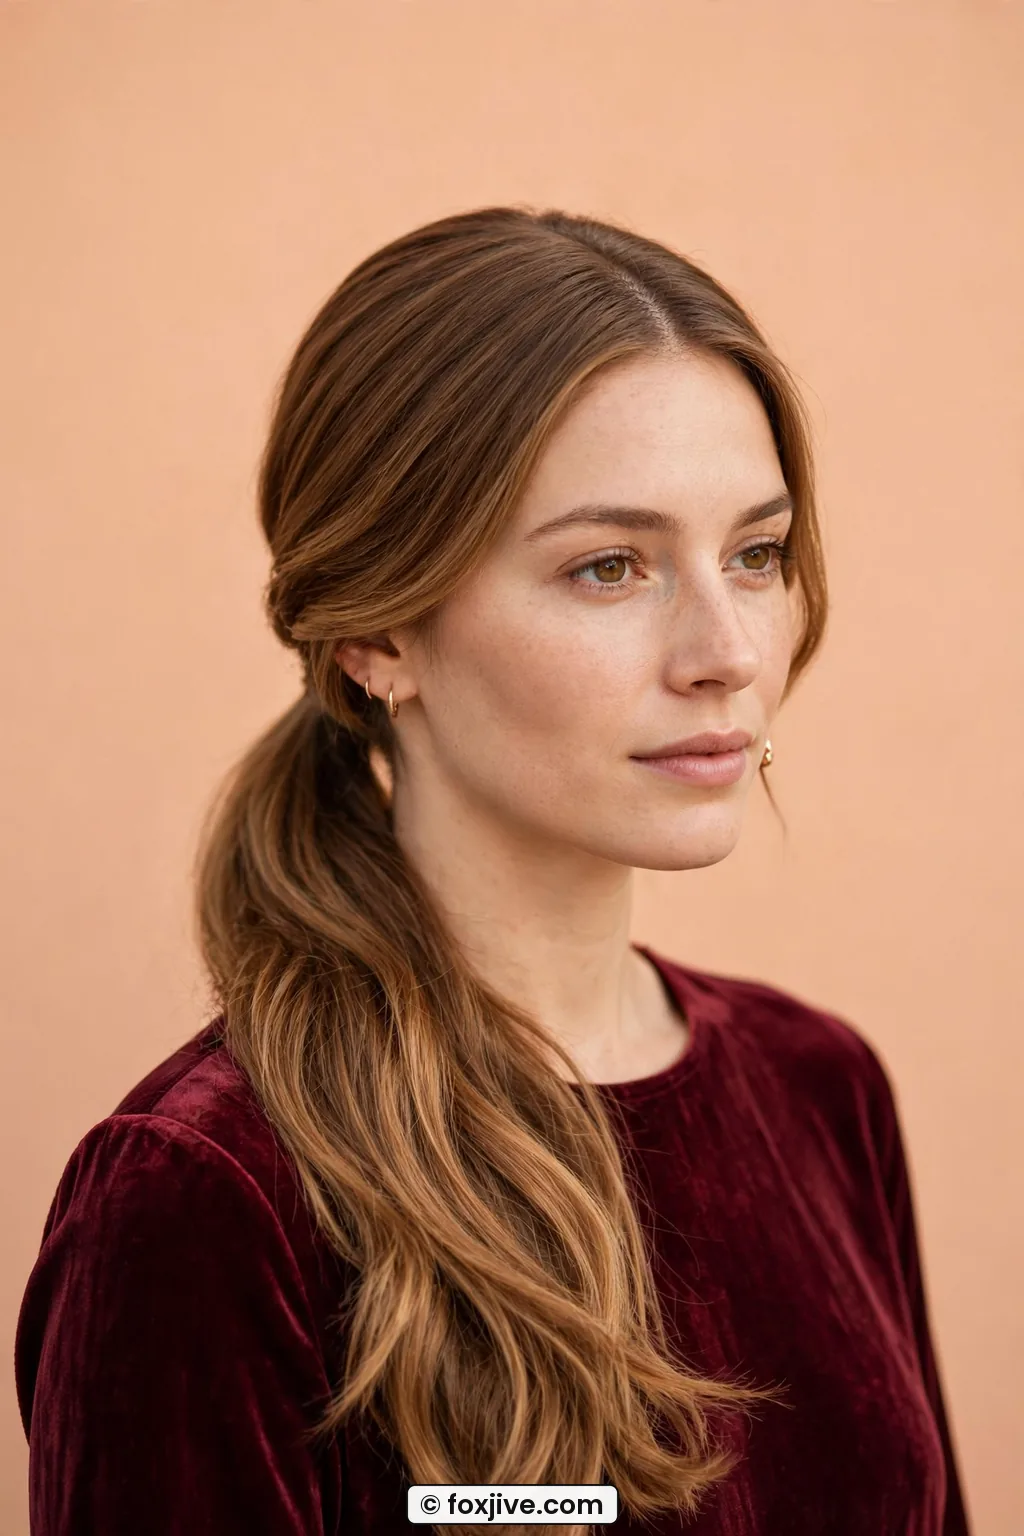
Think of a smooth crown that swoops down and out over the ears. It is polished on top, swingy at the bottom. I love this for work because it reads neat from the front but still moves in the back when you turn.
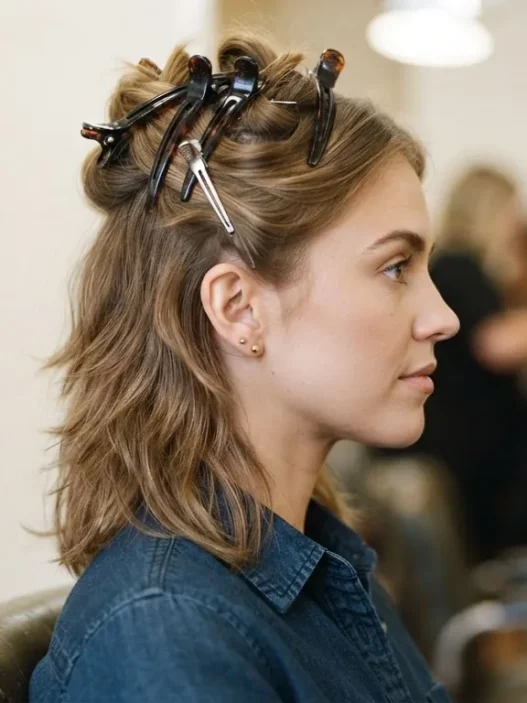
Cut-wise, you want longer layers with weight left at the perimeter, more like a seventies long shag than a choppy wolf cut. You can absolutely fake this one without a fresh cut if your hair is already past your shoulders. Part dead center while damp, smooth the top with a Denman-style brush, then flip only the bottom three inches out with a flat iron. Quick. A little retro. My favorite trick when I am running late is to clip the crown flat while I do makeup, then pull the clips right before I leave. Instant swoop.
5. The Cheek-Skimming Wing
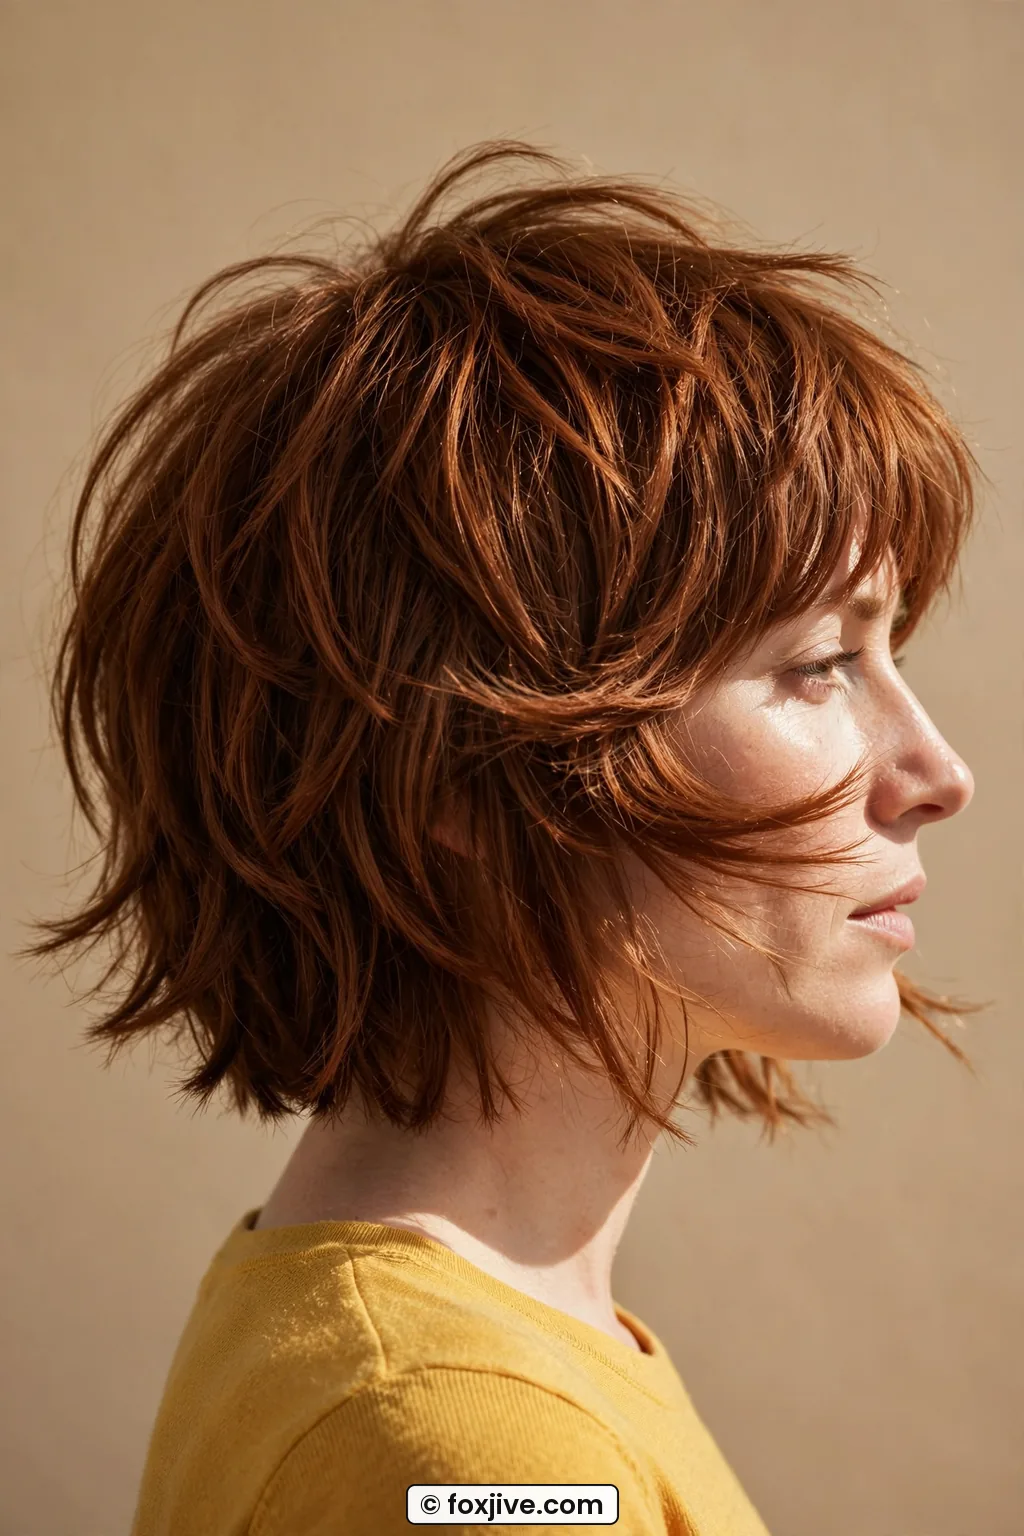
Short, sassy, and very specific. The shortest layer hits right at the cheek and wings outward, while everything else tucks behind it. It gives that little kick by your smile that photographs so well.
Can you guess? Yes, this one needs a specific cut. Without that short cheek layer, you cannot get the lift. I once tried to fake it with a tucked bobby pin and it lasted about twenty minutes.
To style, I blow dry that cheek piece with a small round brush, over-directing it forward first, then back. It sounds fussy but it takes a minute. If you want more background on how short that first layer should be, I love browsing shag haircut shapes for visible layers before a salon visit. Look at her photo here, see how that shortest piece sits away from her cheek? That little pocket of air is the whole look.
6. The Long-Layer Drift
Not every shag has to be short and choppy. The long-layer drift is for my long-hair girls who want movement without losing length.
The pieces fall from the chin down in long, sliding layers that drift across each other when you move. It is quieter than a flick, more like hair swaying in a shampoo commercial. I find this works best on hair that hits mid-back or longer, otherwise you do not get that overlap.
You do not need a shag cut for this, just long layers. Honestly, a good blowout is 90 percent of it. I divide damp hair in three horizontal sections and blow each smooth with tension, then I do two loose twists back from the face and let them cool. When you shake them out, they fall in that soft drift instead of stiff curls. A little flexible hairspray, and you are done.
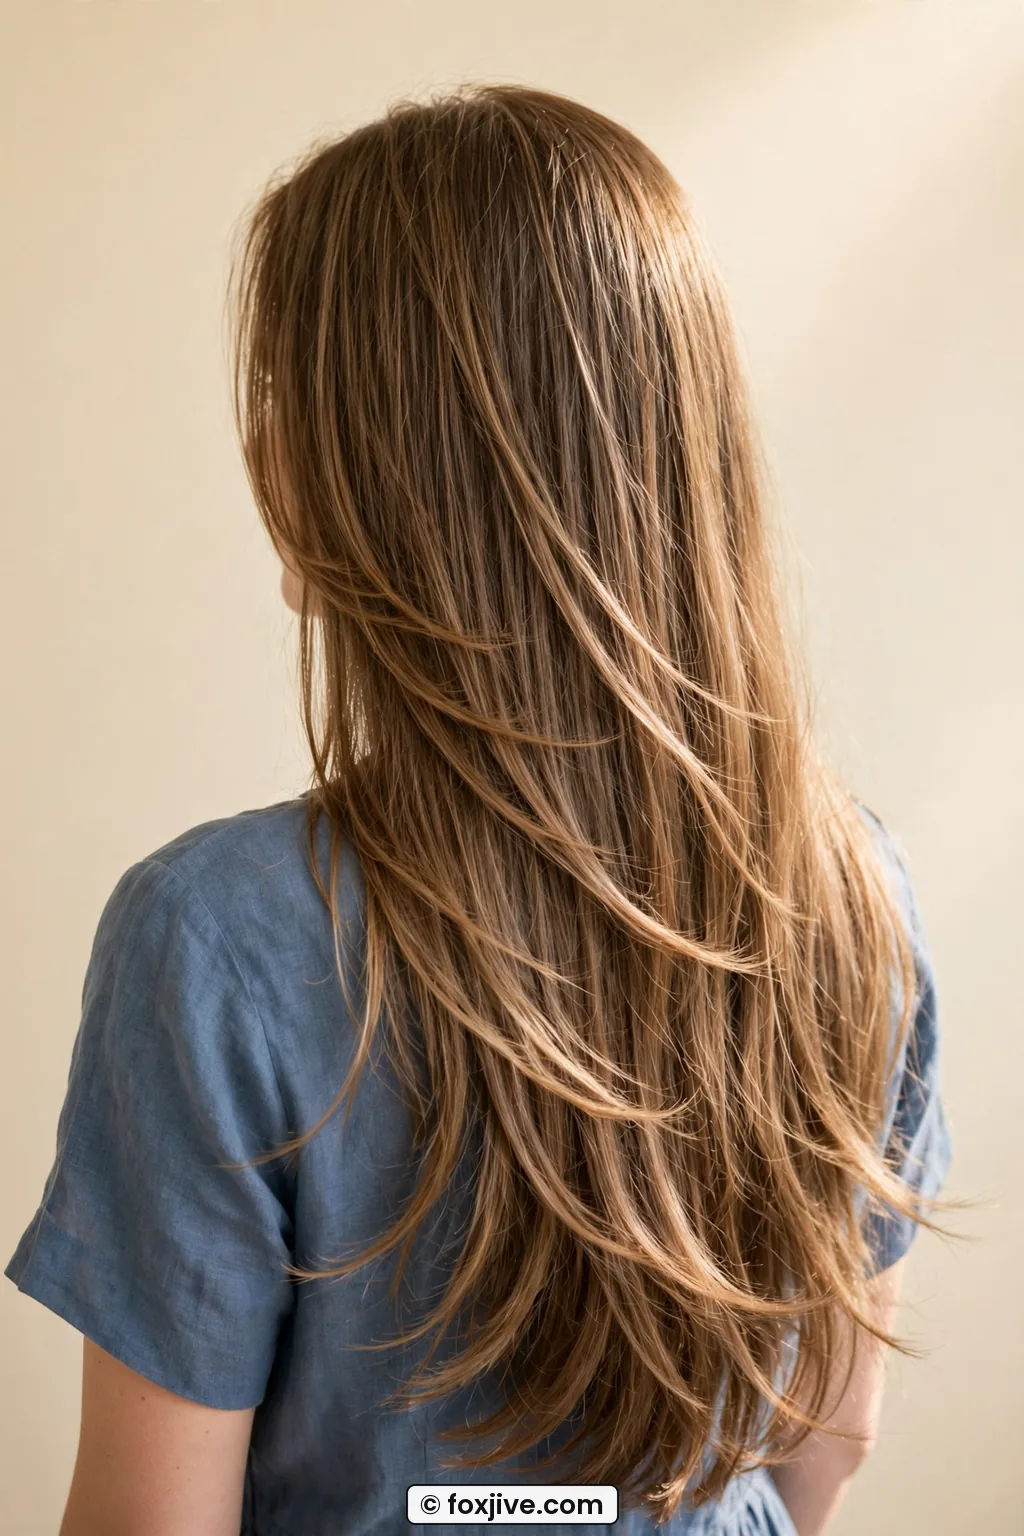
My personal pick is the Feathered Flip at number three. It is the one I keep going back to when my hair feels heavy and boring, one blow dry and I feel like myself again.
7. The Bouncy Bottom Flick
Remember the end of a Farrah episode where she turns and her ends just bounce? That.
The bouncy bottom flick lives only in the last two to three inches. The top stays smooth and close to the head, then everything kicks up and out at the collarbone. I love it on a medium-length cut with a clean perimeter because the contrast makes the movement pop.
You can do this with or without layers, but layers make it easier. On one-length hair I have to use hot rollers to force the bend. On layered hair a round brush does it in minutes. My method is to blow dry the top down for smoothness, then switch to a large round brush just for the ends, rolling under first and then flipping out at the very last second. That under-then-out roll is what gives bounce instead of a stiff pageboy curl. I picked up the timing from a guide on round-brush blowout tips that finally stopped my ends from falling flat by lunch.
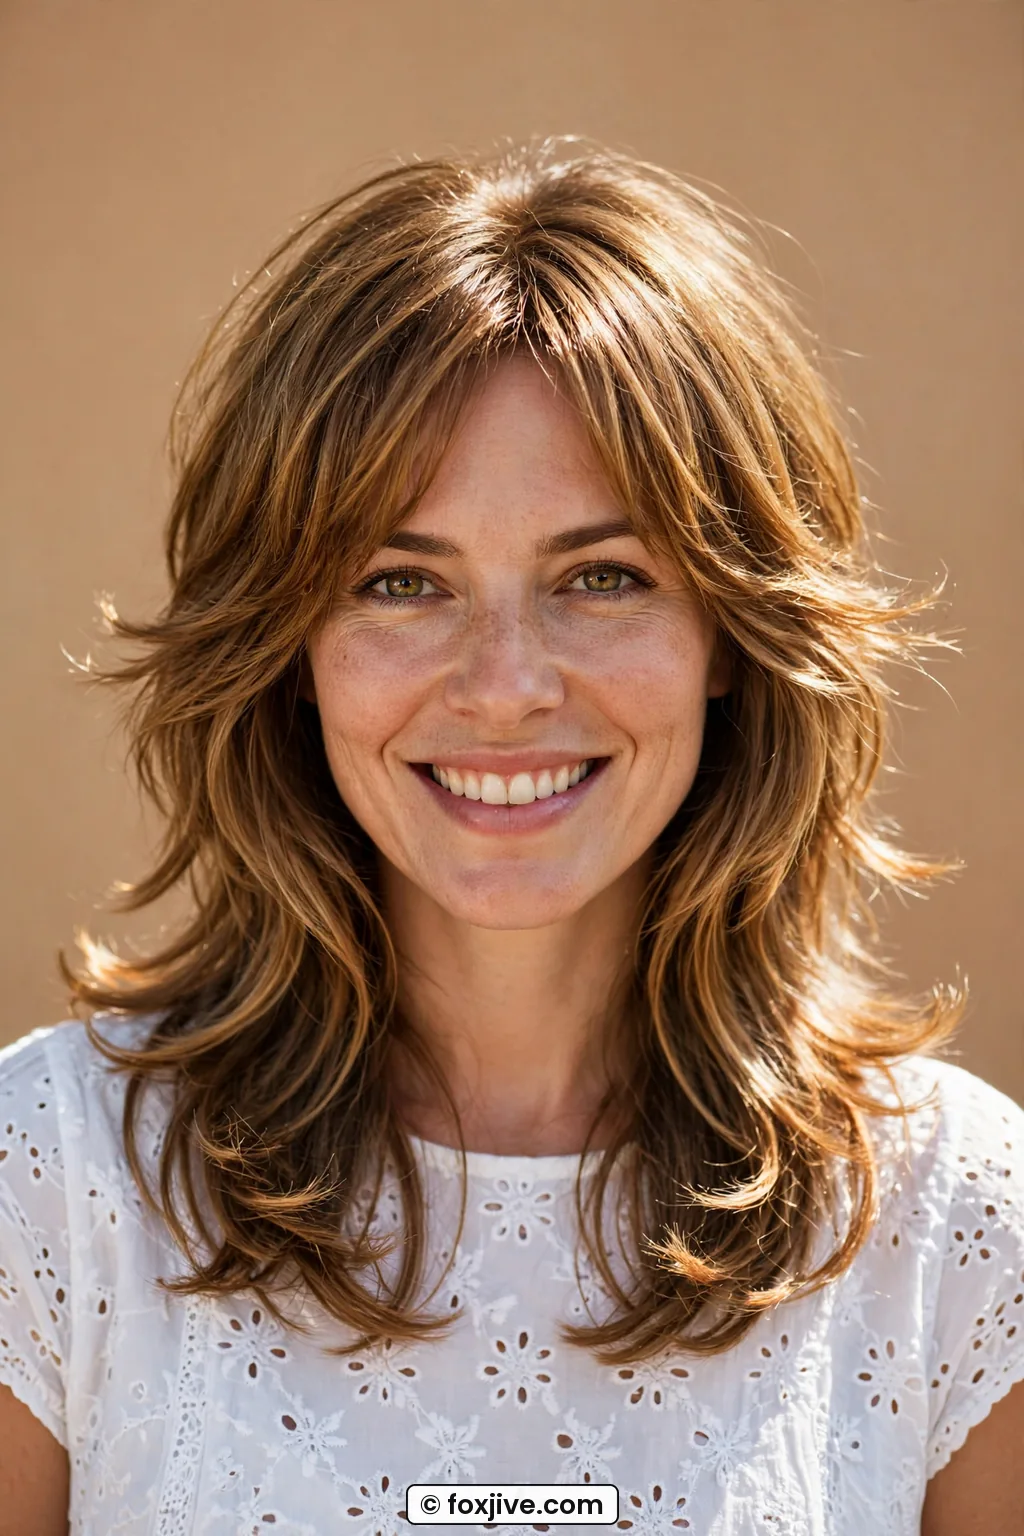
See That Bounce Done Live
8. The Face-Frame Flutter
This is the most delicate movement in the whole roundup. Thin, chin-grazing pieces around the face that flutter when there is even a little breeze. They are not curtain bangs, not quite layers, just those whispery bits.
You need face-framing layers cut in, but they can be added to almost any cut. I ask for two soft pieces starting at the lip and ending at the chin, heavily textured at the ends. Styling is barely styling. I wrap them around my finger away from the face while they are warm from the dryer, hold for five seconds, let go. Done. If you already love side bangs, this flutter blends right into them as it grows. She is wearing hers so lightly in this picture, it barely touches her cheeks, and that is why it moves so much.
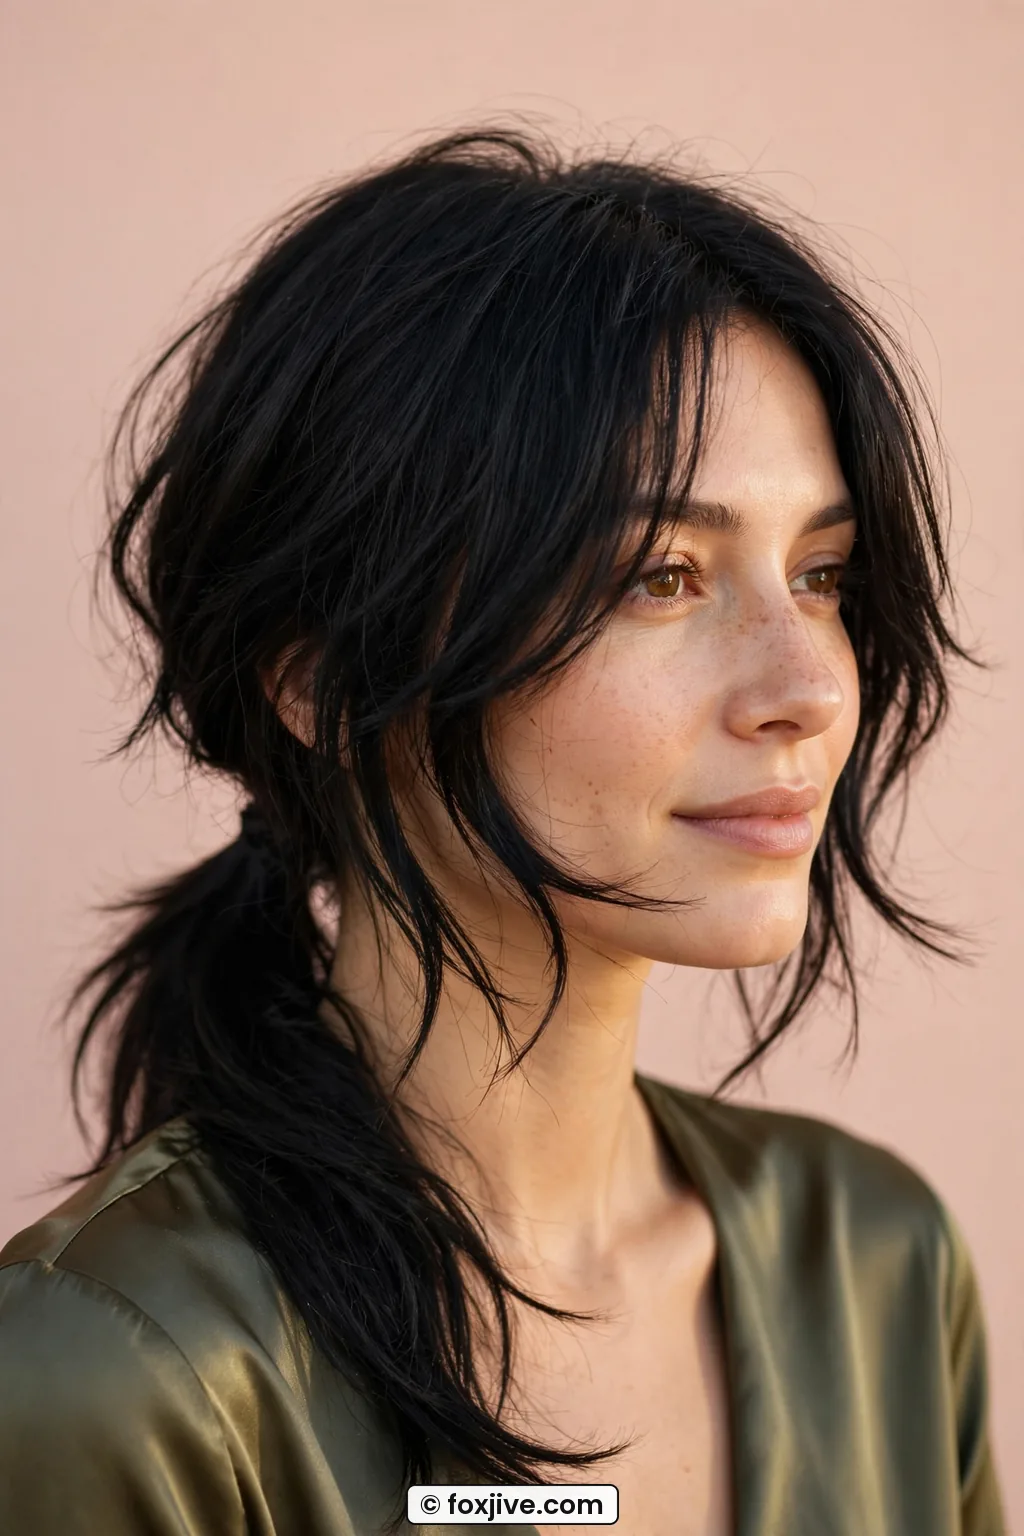
9. The Airy Crown Lift
Movement is not only at the ends. The airy crown lift is that soft puff at the top that shifts when you nod or shake your head. Without it, seventies hair can look flat and wiggy. With it? Instant lift.
Cut help helps here, short layers at the crown, but teasing and rollers do most of the work. I am not a big teasing person because my fine hair tangles if you look at it wrong, so I use two velcro rollers right on top while I finish getting ready. Ten minutes, pull them out, shake with fingers. No brush. If I brush it, poof, flat again. The key is keeping product off the roots. I put mousse only from mid-shaft down, then a puff of dry shampoo right at the part for grip. Bouncy, touchable, and it still moves.
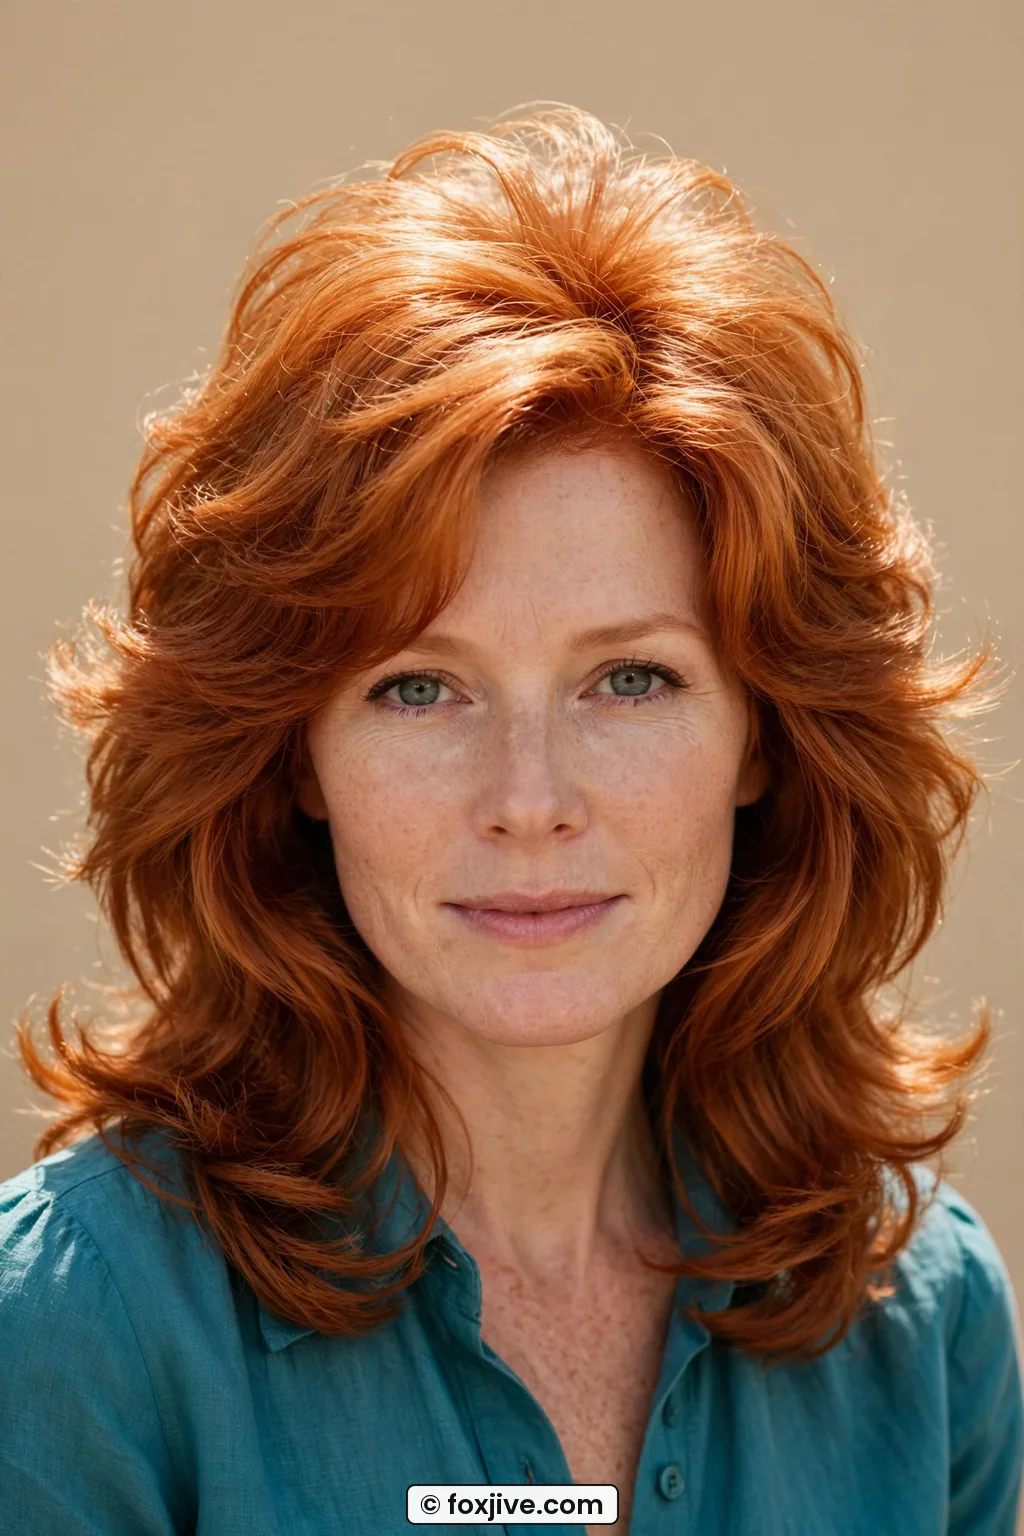
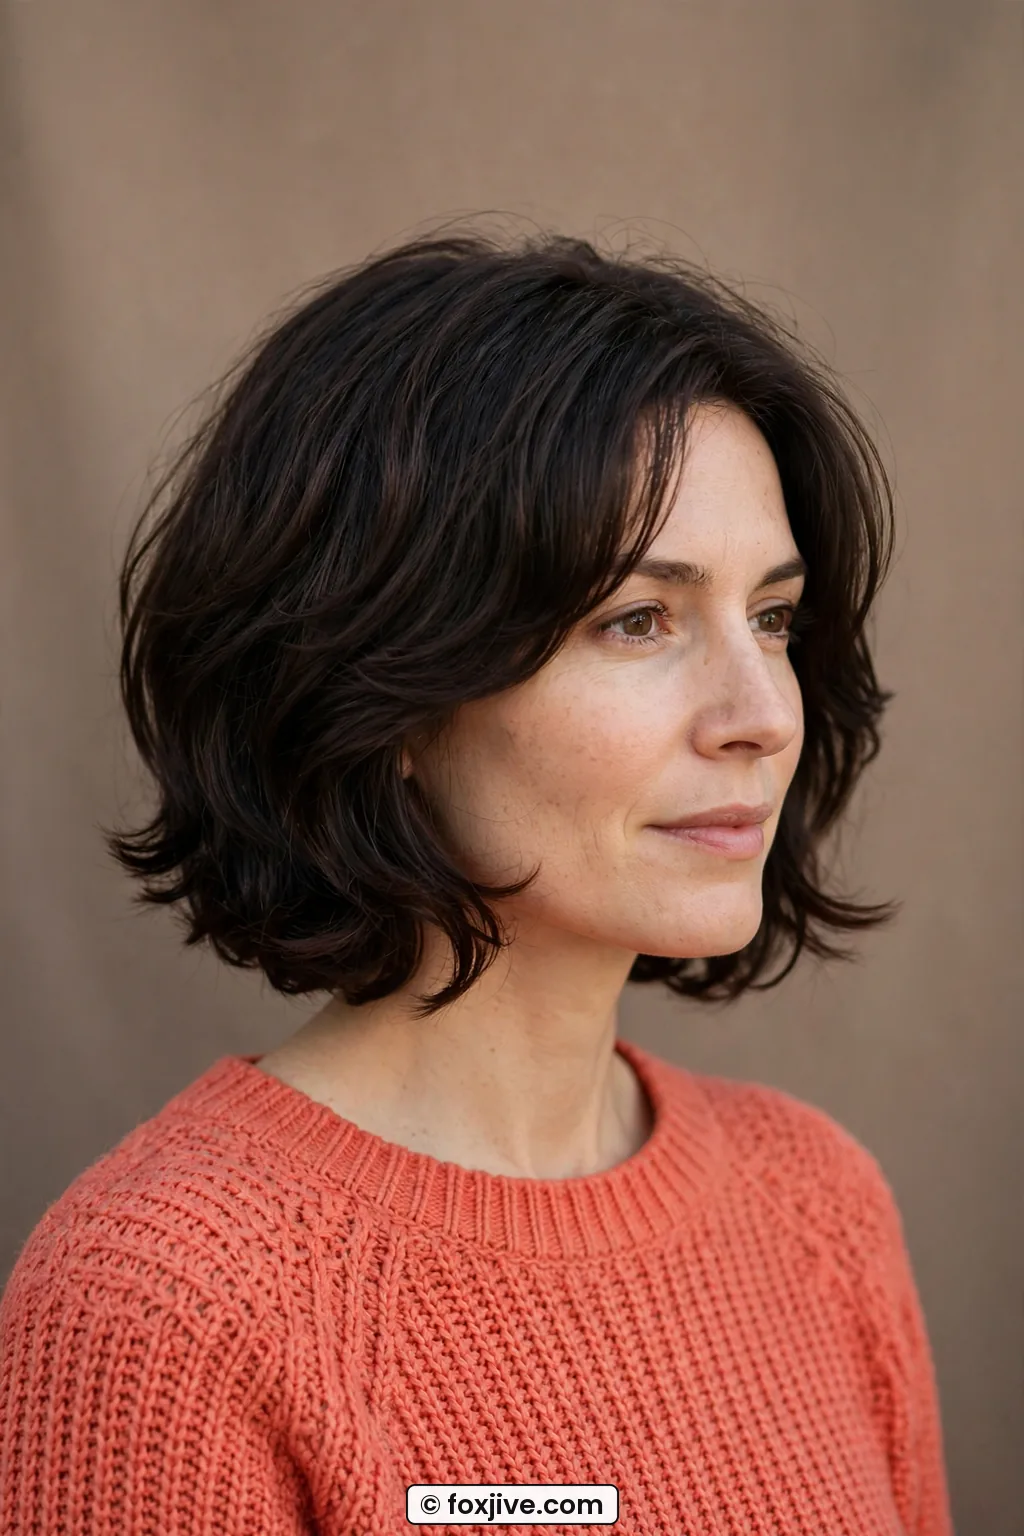
10. The Soft Under-Tuck
A little contrarian, I know. The soft under-tuck curves inward instead of outward, but it still moves beautifully because the ends roll and release as you walk.
I turn to this when my layers are growing out and the flicks start looking straggly. Instead of fighting them outward, I roll everything under for a full, rounded shape that swings as one piece. You do not need a special cut for this at all. In fact it is the best way to fake a shag on a bob or lob.
I blow dry with a large round brush tucked under, then I tuck the front pieces behind my ears for five minutes to set a little bend. When I pull them forward again they fall in that soft C shape. For anyone weighing chop versus grow-out, peeking at shag haircut variations from barely layered to full seventies helped me decide how much layering I actually wanted to keep. Her version here is so smooth through the ends, see how it cups just under her jaw?
11. The Side-Swept Fall
Deep side part, one heavy sweep across the forehead that falls into long layers on the other side. Every time you tilt your head, that whole sheet shifts. Dramatic in the best way.
This is 100 percent styling, no special cut required, though long layers help it blend. I part my damp hair way over, like above the arch of the eyebrow, and dry the sweep flat across with a paddle brush to train it. Then I flip my head upside down, shake, and let it fall where it wants. It sounds chaotic but it gives that lived-in fall instead of a stiff swoop.
What I love most is how forgiving it is on second-day hair. A little dry shampoo, a quick re-sweep, and the movement comes right back. If your bangs are in that awkward grow-out stage, this fall hides a multitude of sins. I lived in this look last winter when I was trying to stretch wash day.
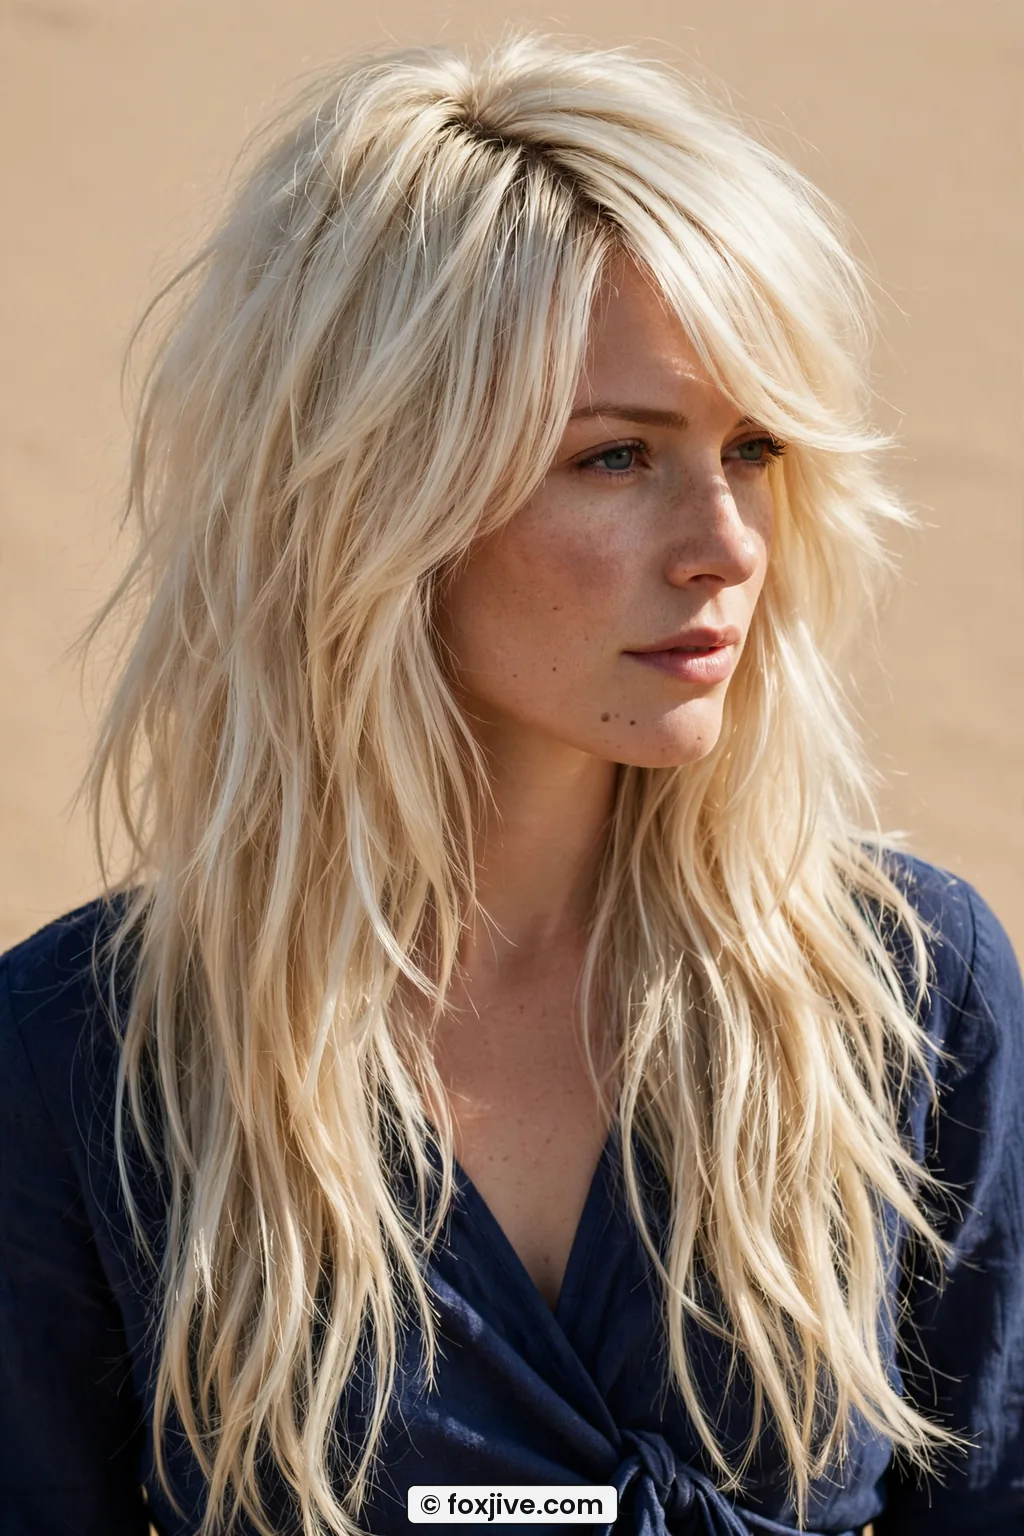
12. The Grown-Out Fringe Float
This is for anyone who cut bangs and then immediately regretted it. Been there.
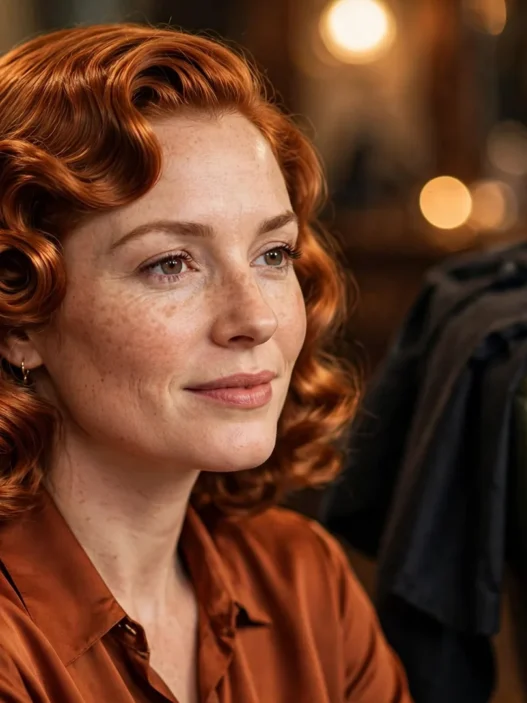
The grown-out fringe float is those collar-grazing bangs that have passed the eyes and now float into the rest of the layers. They part in the middle and hover, they do not lie flat. I think this is the prettiest awkward stage there is.
No new cut needed, obviously, time is the cut. To style I blow dry the fringe forward first when it is wettest, then split it and dry each half to the side with a small brush. That trains it to float instead of flop in your eyes. A bendy, lived-in fringe pairs so well with nineties layers too, which is why I keep rereading my notes on how to get the Rachel haircut that holds when mine gets piecey. Her photo shows it perfectly, soft through the middle, fuller at the sides.
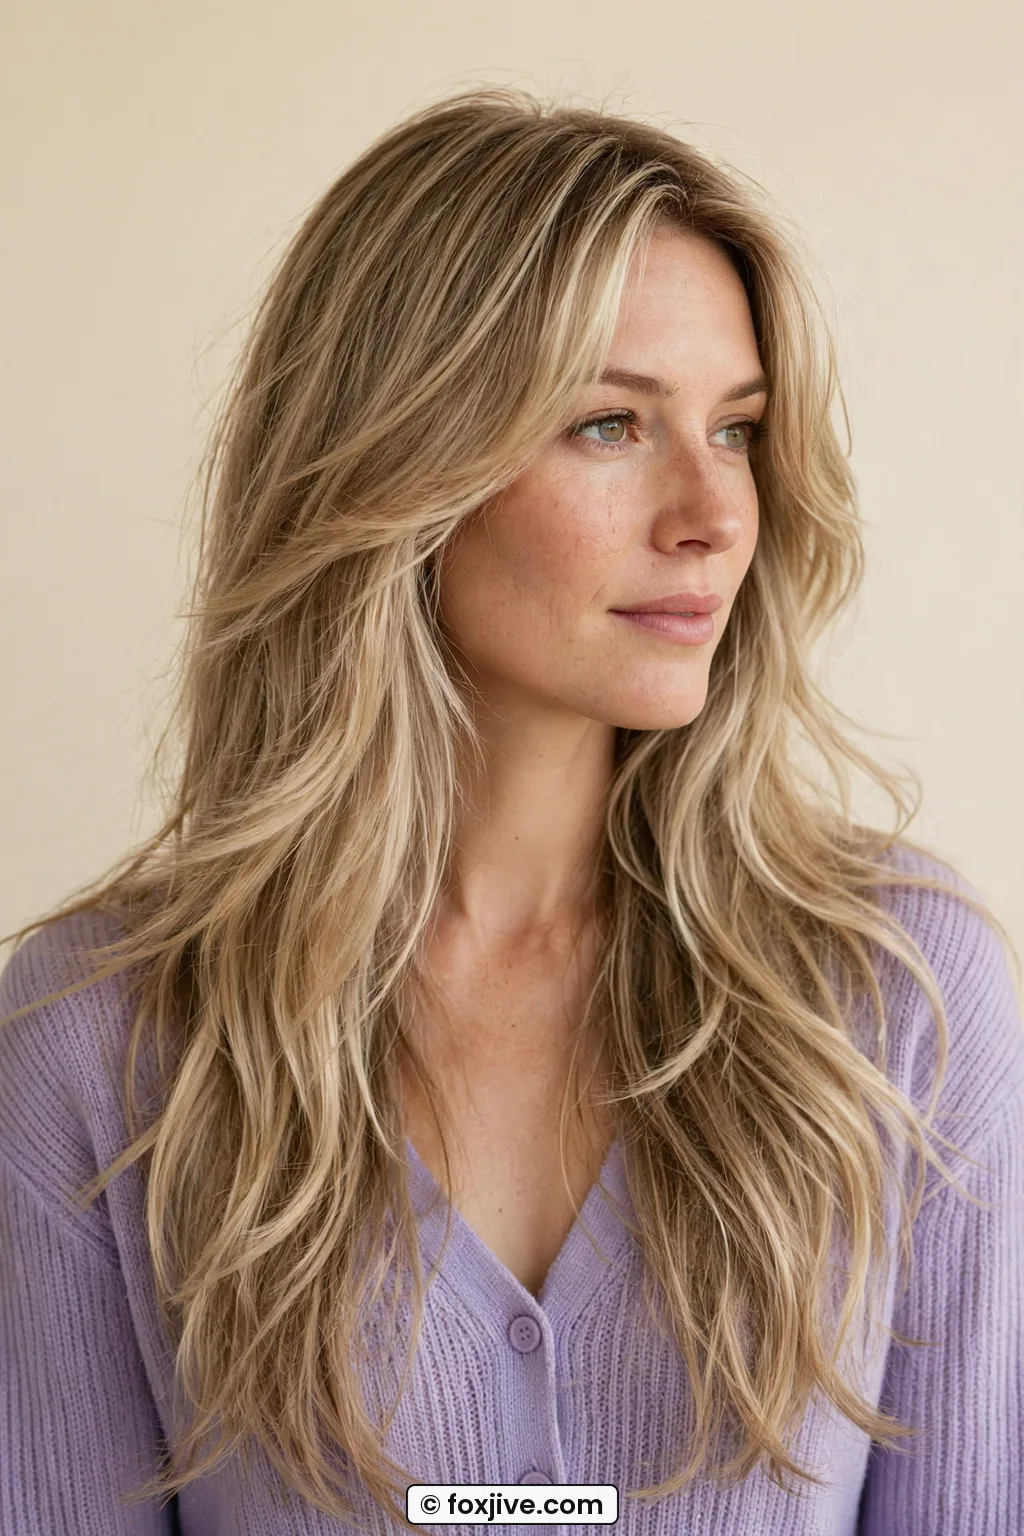
13. The Full Swing Shag
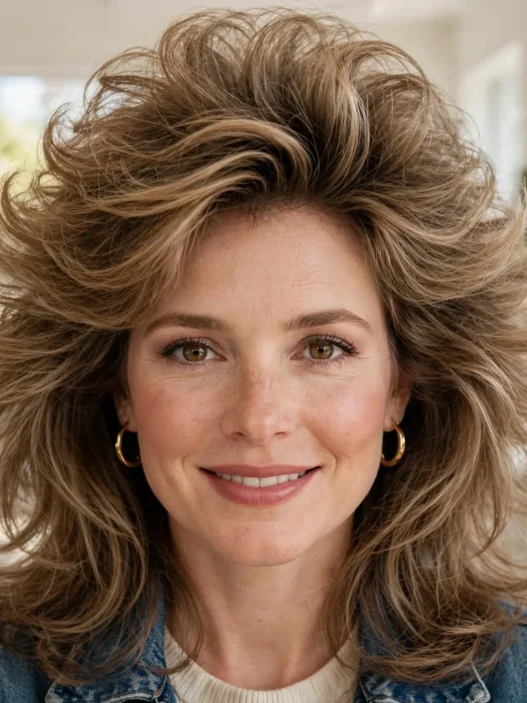
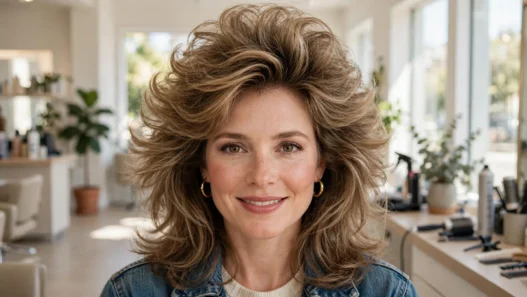
And here is the whole package. Short crown layers, long perimeter, feathered ends everywhere, curtain fringe up front. When you shake your head, everything goes. It is loud. It is fun. It is unmistakably seventies.
This one is impossible without layers, and not just a few. You need a proper shag cut with internal texture, short round layers on top graduating to long flicky ends. Bring reference photos, lots of them, and ask for weight removal, not just length off.
For movement, I diffuse upside down to get lift, then finish with a round brush just on the outer layer to direct the flicks. Do not over-smooth it. The charm is in the separations. I use a pea-size bit of paste, warm it between palms, and pinch two or three ends to define them. The rest I leave alone. I felt a little nervous the first time I wore it to a nice dinner, but honestly it just looked like really happy, healthy hair that could not sit still.

Do You Actually Need Layers For All This?
Short answer? Some of these do, some absolutely do not, and I do not want you booking a big chop you do not need.
Impossible without layers are the Outward Flick, the Feathered Flip, the Cheek-Skimming Wing, and the Full Swing Shag. Those shapes come from short-to-long cutting and thinned ends, no brush can carve them from one-length hair for more than an hour. The rest, the Curtain Fall, Center-Part Swoop, Long-Layer Drift, Bouncy Bottom Flick, Face-Frame Flutter, Airy Crown Lift, Soft Under-Tuck, Side-Swept Fall, and Grown-Out Fringe Float, are mostly brushwork, part placement, and patience while things cool. Start with styling if you are on the fence, then cut if you fall in love with the movement. That is what I did, and I have zero regrets.
Shaggy Swing Questions I Hear a Lot
Will a shag work if my hair is very fine?
Yes, but ask for longer, fewer layers. Too many short layers can make fine hair look thinner. I get more movement from a good blow dry than from over-layering.
How do I keep flicks from falling flat by noon?
Cooling time is everything. Let each section cool in the brush shape for 10 seconds before you let go. A light mist of flexible spray after cooling holds better than a heavy spray on hot hair.
Can I get that feathery look with a flat iron?
You can fake the bend, but not the separation. I use the iron to flip ends out, then I pinch them with a tiny bit of cream to mimic feathering. For the real airy texture, razor-cut ends still win.
So tell me, which mover are you trying first? I am due for a trim and that cheek-skimming wing is calling my name again. Send help, or send rollers.