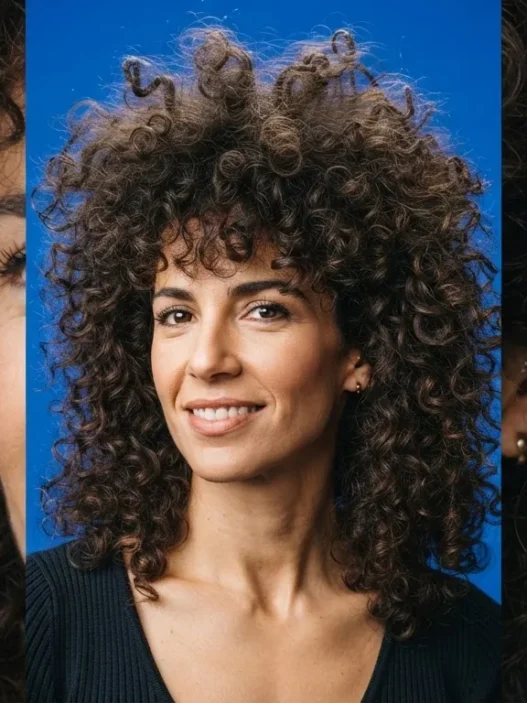








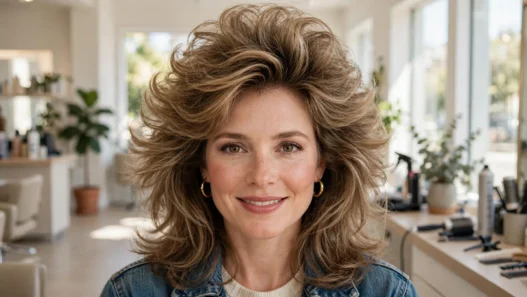




I love 80s big hair. I mean I really love it. That high, soft, touchable lift on top with movement through the sides. But for years I thought I just could not have it because my hair is fine and it snaps if I look at it wrong.
When I tried to tease it in my early twenties, I shredded it. I used the wrong comb, I went too close to my scalp, I ripped the comb back out at night. My crown felt like cotton candy for a week. Sound familiar?
I finally asked a vintage salon owner to watch me do it and correct me in real time. She changed three tiny things and my volume doubled with half the tangling. This is that exact method, start to finish, for one soft, long-lasting, backcombed lift.

What You Will Need
Think small and gentle here. You do not need a whole kit, and you definitely do not need a brush with metal bristles. I keep my teasing kit in a little zip pouch so I am not tempted to grab whatever is closest.
- A fine-tooth tail comb with closely spaced, smooth teeth, freshly washed with no product buildup
- Two to three small alligator clips or duckbill clips to hold clean sections
- A light-hold, brushable hairspray, not a high-freeze cement spray
- A pea-size drop of silicone-free conditioner plus a wide-tooth comb for take-down later
- A soft boar-bristle smoothing brush for the top surface only
Skip anything with widely spaced rake teeth for this. I know the big teasing brushes feel faster, but on my fine hair they grab and pull instead of building that tight little cushion at the base. My favorite is a simple carbon tail comb from the drugstore. It cost less than my coffee.
Step 1: The Comb
Everything starts with the comb, because the comb decides whether you are weaving hair or shredding it. For 80s big hair, you want height that looks soft from the outside and feels springy underneath. That only happens with a fine-tooth comb.
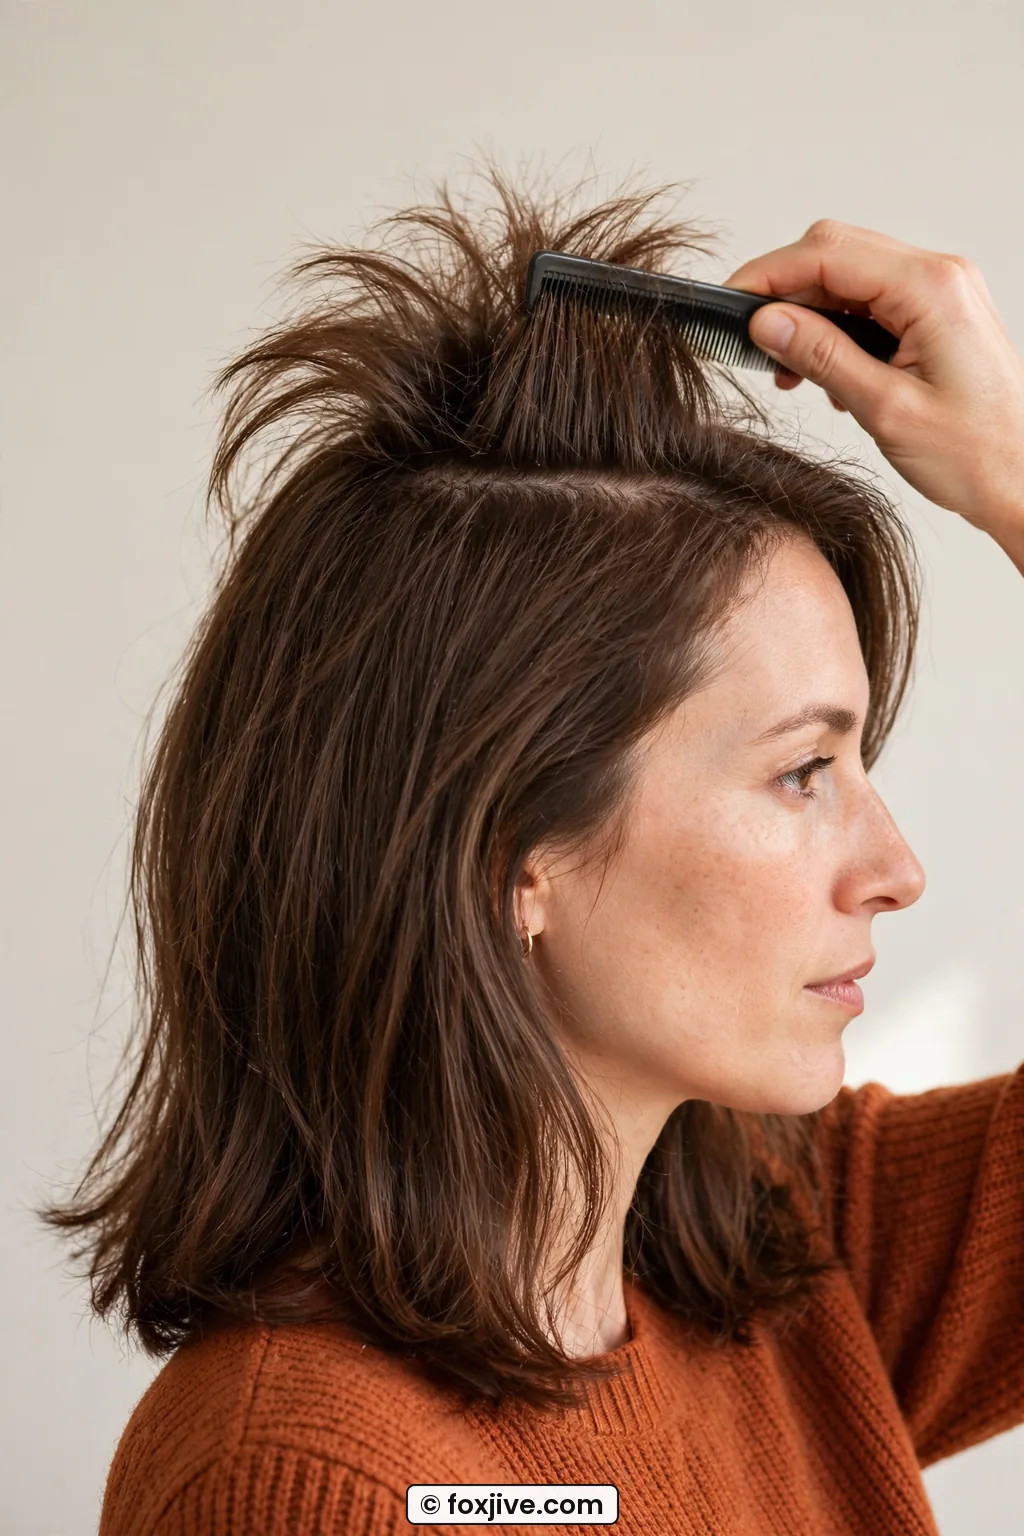
Look at how she is holding hers in the photo below. See how the tail comb is slipped right into the base of that lifted top section, teeth flat and close together? That angle is exactly what I mean about control. She is working a neat, one-inch-wide section, and the cushion of teased hair is already starting to stack up underneath while the ends stay smooth.
Why Fine Teeth Win
Fine, smooth teeth push a lot of tiny hairs down into a dense little pad. Wide teeth or ball-tipped bristles let hair slip through, so you keep going over the same section again and again to get lift. More passes equals more friction equals more breakage. I learned this the hard way after buying a much-hyped teasing brush that left my crown feeling fuzzy for days.
Run your finger along the teeth before you start. They should feel completely smooth with no seam or rough edge. If you feel a snag with your finger, your hair will feel it ten times more. Wash the comb with warm water and a drop of shampoo, then dry it fully. A clean comb grips better, so you need fewer strokes.
I work on dry, day-old hair with almost nothing in it. Freshly washed, super-slippery hair will not hold, and heavy oil will collapse the cushion. If my roots feel squeaky clean, I mist a whisper of light-hold spray on the underside only and let it dry for a minute. You can read more about building lasting lift with 1980s Hairstyles that rely on base support rather than stiff spray.
My prep routine is boring on purpose. Center or slightly off-center part, detangle gently from ends to roots with a wide-tooth comb, then clip the very top smoothing layer out of the way. We will tease under it and let it fall clean over the top later. That hidden-support trick is what makes the finish look soft instead of crunchy.
Step 2: The Depth
This is the part almost nobody is taught. How far from your scalp do you start pushing hair down? My answer is 7 to 8 centimetres from the root for most of the crown. About three inches. Not at the root, not halfway down.
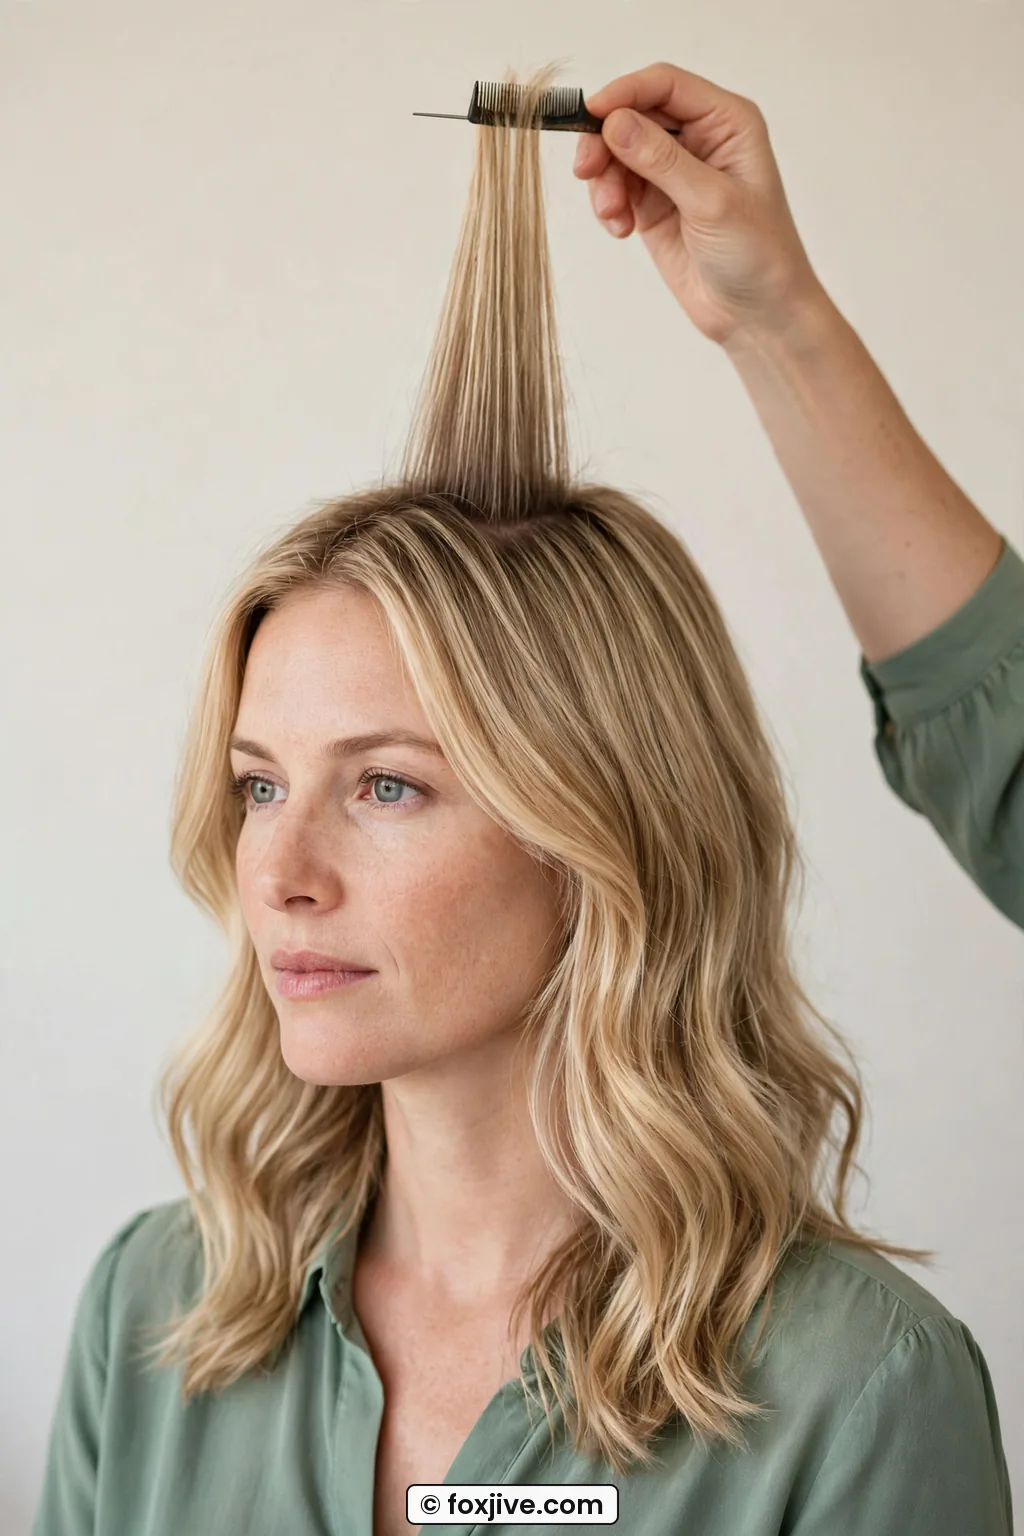
This is the length I am talking about. See how she has lifted that top section straight and the comb is parked a good few inches above the scalp, not jammed down tight? That gap is the whole secret. You are building a spring a little away from the head so the hair can puff up instead of matting flat.
Why does deeper hurt more? When you start only 2 to 3 centimetres from the root, you pack tiny, fragile new hairs into a super-tight knot right against the scalp. There is no room for them to move when you brush out later, so they stretch and snap. Starting 7 to 8 centimetres up lets longer, stronger hair form a looser, airier cushion. It feels bouncy when you press it. The tighter version feels hard and sore.
My mistake was teasing right at the scalp because I thought closer meant higher. I ended up with a sore, matted base and flat hair on top. Moving my start point out to 7 centimetres gave me more height with half the tangles.
Here is how I measure it without a ruler. Lift a one-inch-wide section straight up from the crown with medium tension. Slide the comb teeth in about a hand-width up from your fingers at the scalp. That is your start point. If you have shorter layers, go a touch closer, around 6 centimetres. If your hair is long and heavy, go a touch farther, around 8 to 9 centimetres, so the weight has something to sit on.
I only tease the underside of each section in that first pass. Three short pushes down toward the start point, comb out of the hair completely, then repeat. I never saw back and forth without lifting the comb out. That sawing motion is what frays the cuticle. You can learn to spot the difference between eras by looking at base fullness in Telling the Decades Apart in 80s Hair, and 80s lift always sits a little off the head, not plastered to it.
Step 3: The Direction
Always the same. Down toward the scalp, in one clean line, comb out and reset. I say it to myself like a rhythm while I work. Lift, insert, push down, lift out.
Hold the section straight up with one hand, fairly taut but not yanking. With the other hand, place the comb in at your 7 to 8 centimetre mark. Push straight down in one two-inch stroke toward the root and stop. Lift the comb fully clear of the hair. Place it back in at the same start point and push down again. Three pushes per section is plenty for fine to medium hair. Thick hair might want four.
Look at her side profile here. The section is held at 90 degrees from the head, clearly straight up and not flopped forward and not pulled back. The section is held at 90 degrees from the head, clearly straight up, so the cushion builds evenly underneath with no watermark, no text overlay. When the section leans forward, all the teasing piles to one side and the lift tilts. Straight up gives you even height.
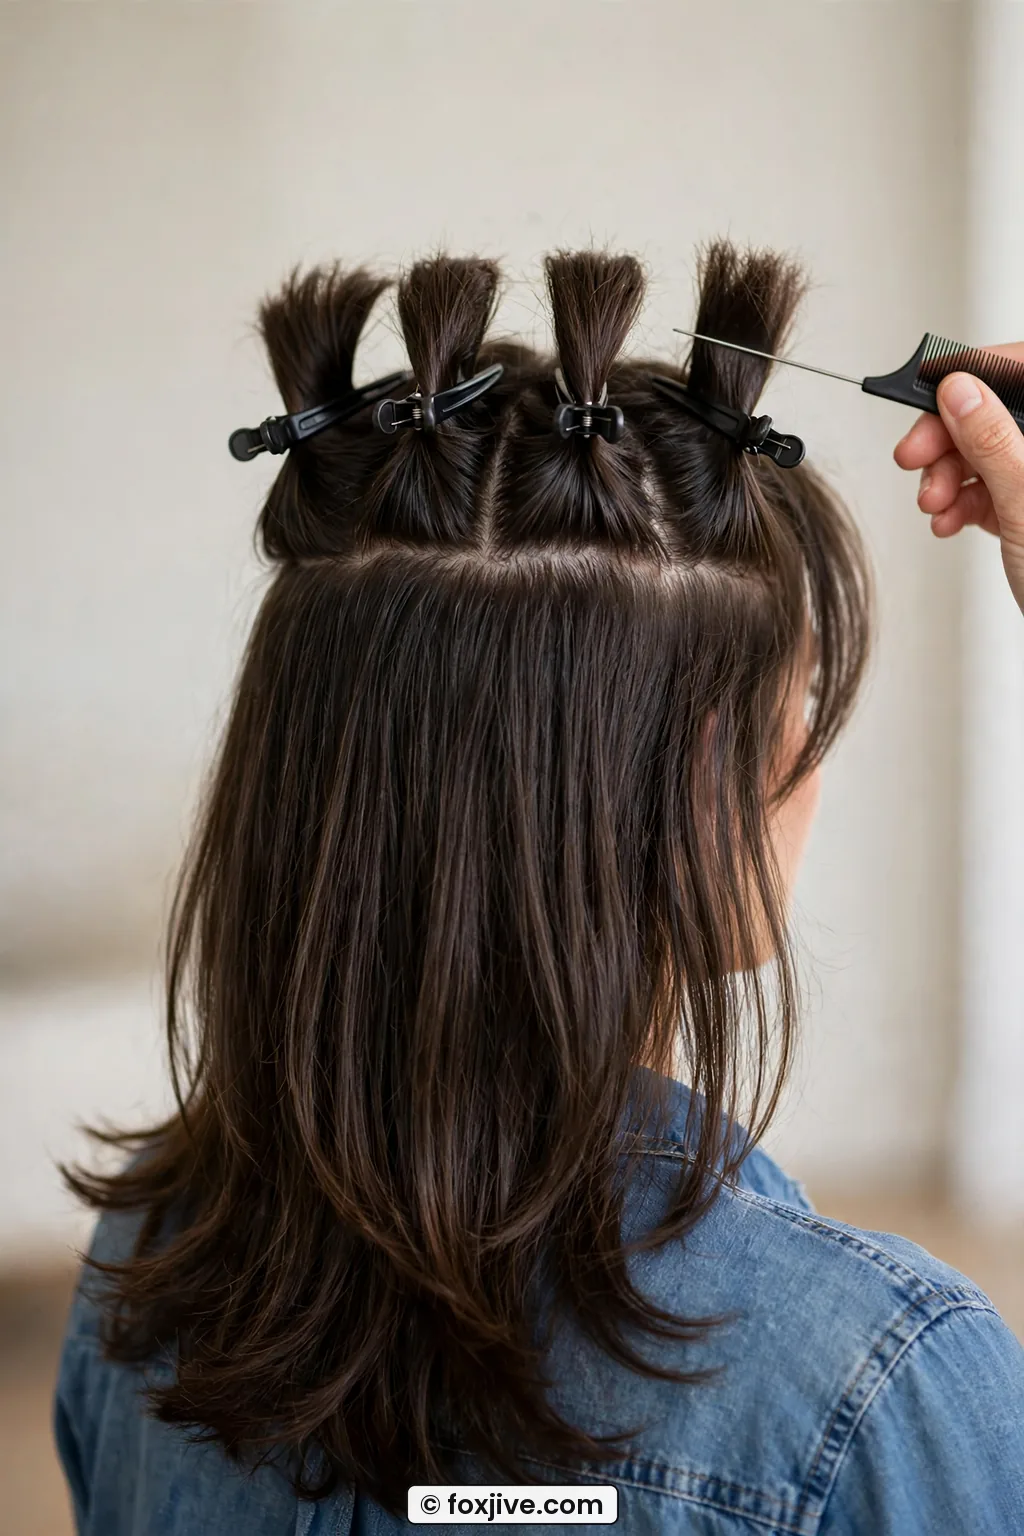
Work front to back in tidy rows. I do two sections at the front crown, one at the high crown, and one just behind it. Clip each finished cushion forward with an alligator clip so it does not get squashed while you do the next one. And keep the same direction every time. If you push down on one section and up on the next, you lock hairs against each other and the take-down becomes miserable.
Once the cushion feels springy, stop touching it. Lightly mist the underside from about 10 inches away, let it set for 30 seconds, then unclip the smooth top layer you saved at the start. Lay it gently over the teasing and smooth only the very surface with a soft boar-bristle brush. I learned about gentle smoothing from reading up on proper teasing techniques before I stopped ripping through the top layer, and it saved my ends.
Does it look a little over-the-top right now? Good. It should look almost too big before you smooth. 80s big hair settles about 20 percent in the first hour. If it looks perfect immediately, it will look flat by lunch. My sweet spot is Dolly-meets-office, then I let it relax.
See the Push-Down Rhythm Live
Step 4: The Take-Down
Okay, this is the unsexy half of the tutorial and honestly the more important half. The teasing takes me eight minutes. The take-down takes me fifteen. Give it equal space or you will pay for it with breakage.
The order is always conditioner first, then fingers, then wide-tooth comb. Never dry-brush teased hair. Never start with a fine comb. I used to hop in the shower and shampoo straight over backcombed hair and wondered why I got dreadlocks at my crown. Do not be me.
Step one, dry separation. With dry hair, put a pea-size drop of conditioner or a light detangling cream on your fingertips, not on the hair directly. Gently pull the smooth top layer aside so you can see the cushion underneath. Use your fingers like a wide rake to slowly open that cushion apart, starting at the top edge of the teasing and working down toward the scalp. You are reversing the direction you built it in, one small pinch at a time.
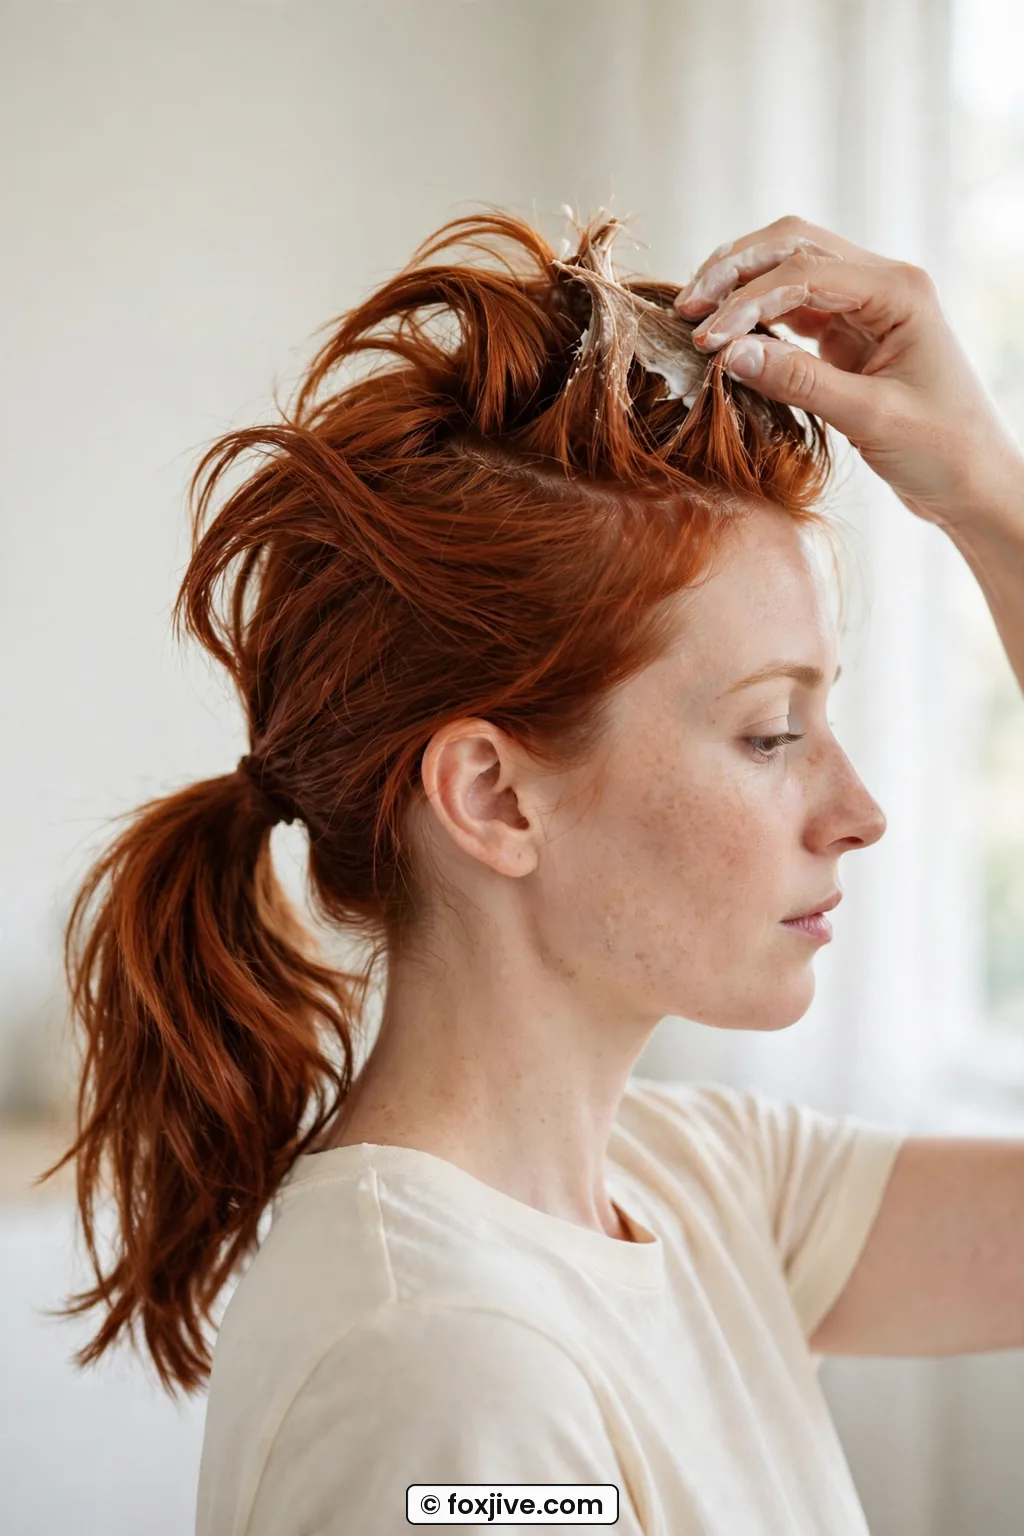
She has got a similar texture to mine, and honestly, her take-down photo is exactly what I want you to copy. See how her fingers are working into the mid-lengths with conditioner on them, not yanking from the ends? That slow, patient separation is what keeps the cuticle smooth. I sit on my bed for this part and put on a podcast. Rushing is what snaps hair.
Once your fingers slide through without catching, go in with a wide-tooth comb, ends first. Hold the hair above the spot you are combing so there is no pulling at the root. Short, gentle strokes. Only when the wide-tooth comb slides clean do you even think about a finer comb, and most nights you will not need it.
Step two, the shower. Soak the hair fully with warm water, then press a generous amount of silicone-free conditioner into the previously teased areas and leave it for three to five minutes. Let the water and conditioner do the loosening. Then comb through with fingers or a wide-tooth comb under the water before you shampoo. I shampoo after, not before, so the suds rinse the conditioner out clean without stripping.
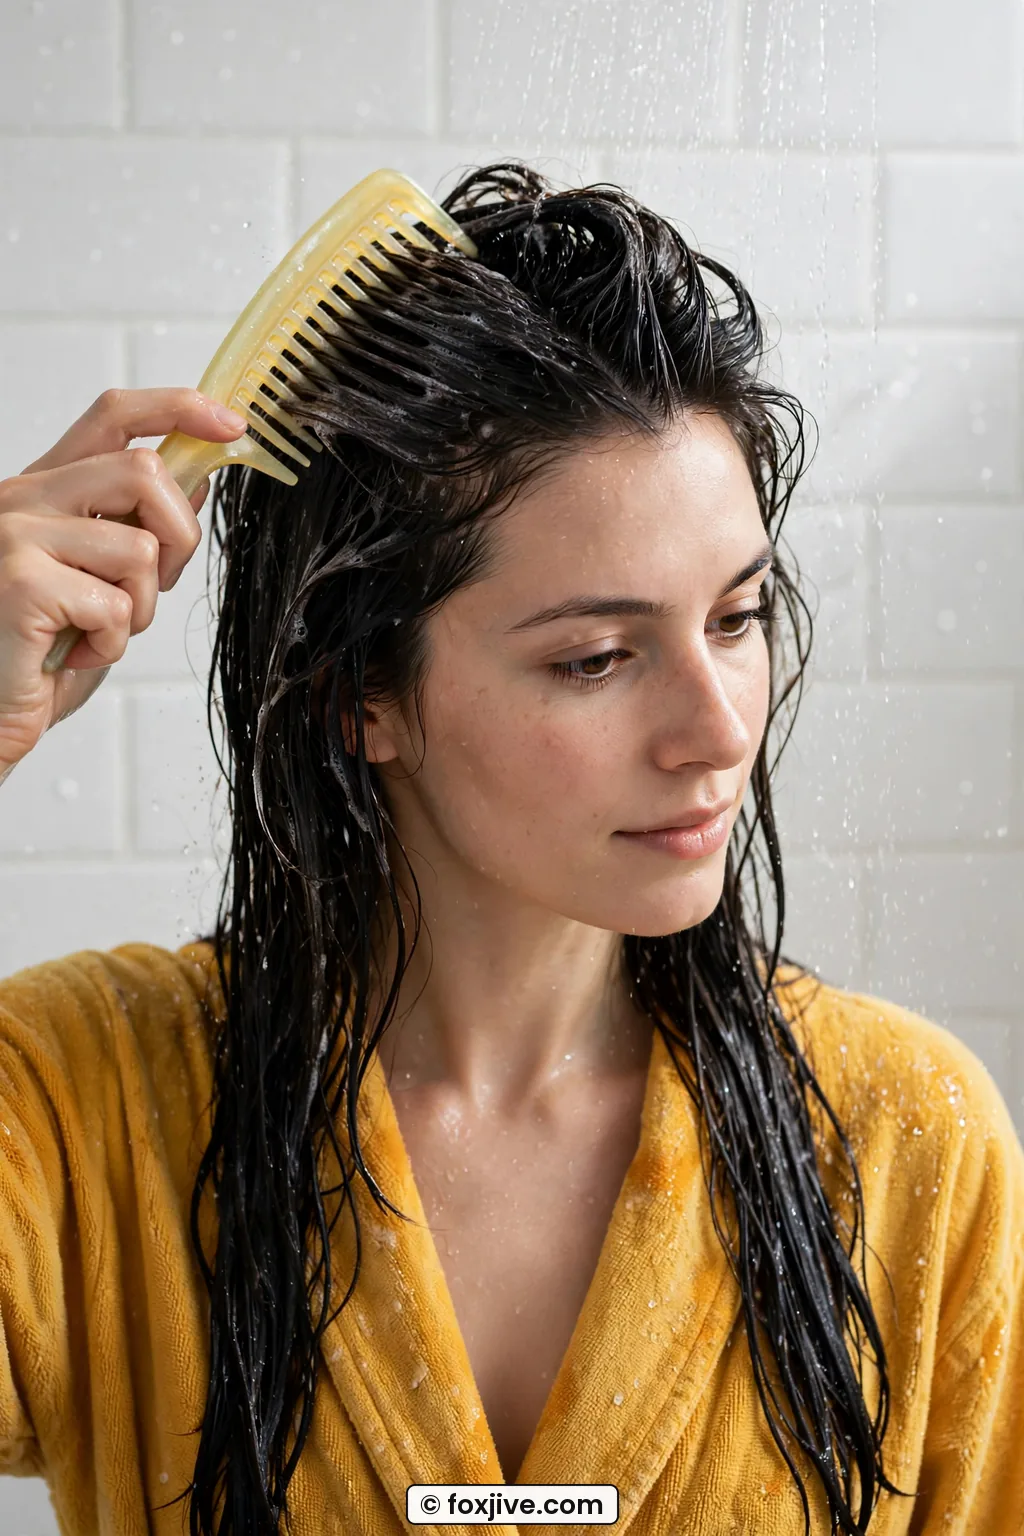
A creamy conditioner makes all the difference here. I massage it into the cushion and let it sit while I do everything else, and by the time I rinse the hair feels like hair again. If a little knot remains at the crown, I add a touch more conditioner and tease it apart sideways with my fingertips instead of pulling down. Sideways opens the knot. Down tightens it.
I finish with a cool rinse and a light leave-in on the ends only. No heavy oil at the crown or your next-day volume will fall flat. Let it air-dry or diffuse on low if you are setting vintage waves the next day. I love pairing a rested crown with soft Old Hollywood Waves the day after, because the hair already has memory and movement.
Step 5: How Often Is Too Often
Can you backcomb every day? I tried. My hair said absolutely not. Even with the gentlest method, daily teasing on the same spot builds cumulative friction, especially on bleached or fine hair.
My rule now is twice a week max on the same crown sections, with at least two rest days in between. If I want big hair for a party on Saturday and I already teased on Thursday, I will refresh Saturday with clips and spray rather than re-teasing the same cushion. A couple of hidden volumizing clips at the crown give lift without another round of friction.

She is wearing hers second-day here, and that softer, slightly lived-in lift is exactly what I aim for on day two. See how it still has height through the crown but the sides look relaxed? That is refreshed, not re-teased. A little dry shampoo at the roots, flip your head upside down, shake gently, smooth the top. Done.
Watch for warning signs. If your crown feels rough when dry, if your wide-tooth comb starts catching where it never used to, or if you see lots of short flyaways standing straight up at the part, take a full week off teasing. Do a deep-conditioning mask, wear Big Perms inspired texture or loose waves that do not need a teased base, and let the cuticle settle. I also loved reading I Committed to 80s Hair. Some of It Went Badly because it reminded me that even committed vintage girls need rest days.
I also rotate my part and my sections. One week I build height right at the front hairline, the next week I build it a little farther back. Spreading the wear around means no single patch takes all the friction. And I get my ends trimmed on schedule, because split ends travel up and tangle faster around a teased cushion. You can also brush up on heat protectant for fragile hair when you set your smoothed top layer with warmth, since a protected surface needs less teasing underneath.
What did I actually get after switching to this method? Last month I wore a soft, high crown for a retro party, danced for four hours, slept with my hair in a loose high pineapple, and still had lift the next morning. And take-down took twelve minutes with conditioner and fingers, no tears, no sink full of broken hairs. That has never happened to me before with 80s big hair.
If you try one thing, try the 7-centimetre start point. It feels wrong the first time, too high up, like it cannot possibly hold. Then you smooth that top layer over and suddenly you have airy, bouncy height that moves when you turn your head. That is the good stuff.
What People Ask Me About Backcombing for 80s Big Hair
Does backcombing always damage hair?
Not if you keep the strokes few, the start point a few inches off the scalp, and the take-down gentle. Most damage I see comes from dry-brushing the teasing out or using a rough comb, not from the lift itself.
What comb is safest for fine hair?
A smooth, fine-tooth tail comb with no seams on the teeth. It builds a dense cushion in three strokes, so you stop sooner. Wide-tooth tools need more passes and create more frizz on my hair type.
How do I keep 80s volume without re-teasing daily?
Sleep in a loose high ponytail on a silk pillowcase, refresh roots with dry shampoo, and smooth only the top layer in the morning. I save full teasing for two times a week and use clips for touch-ups between.
Why does my teased hair fall flat in an hour?
Usually the sections were too big or the start point was too low. Try smaller one-inch sections, start 7 to 8 centimetres up, and mist the underside lightly while the cushion is still held upright.
And tell me if you try it, okay? I want to know if the conditioner-first take-down saves your crown like it saved mine.