






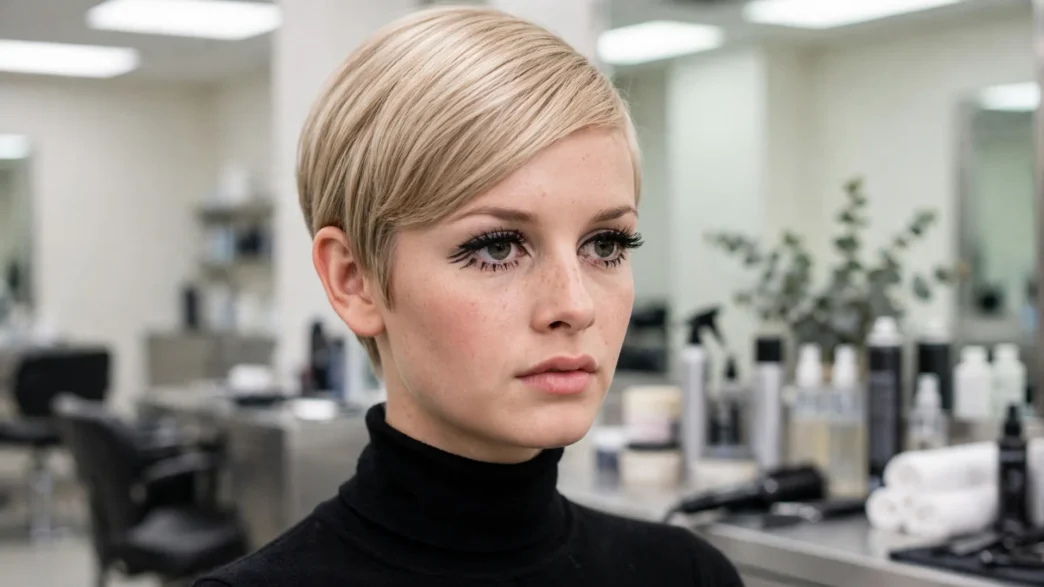
Most vintage tutorials assume you have a bob to work with. I learned that the hard way when I chopped my hair into a pixie and then tried to do a Twiggy 1960s look for a mod-themed party. Every video wanted rollers, backcombing, length I simply did not have.
So I stopped trying to fake height and started obsessing over outline instead. That is the whole secret to this look. And once I figured out the short-hair version, I have worn it more than any other vintage style I know.
This is my one-method guide for getting that neat, boyish, deep-parted Twiggy 1960s shape when your hair is short. We are doing one specific result, start to finish, in order.

What You’ll Need
I keep this kit tiny on purpose. Short vintage hair hates too much product, and you can read up on 60s hair styles that still look sharp to see why the neat ones last, they rely on control, not weight. Here is what I actually use.
- a fine-tooth tail comb for that sharp deep side parting
- small duckbill clips, at least 8, the short two-inch kind
- a light-weight mousse, golf-ball size only
- a pea-size matte paste or a soft-hold cream
- a mini flat iron or a small round brush and a low-heat dryer
- a soft boar-bristle brush for smoothing the crown
- a fine-mist hairspray, not a freeze spray
- a hand mirror for checking the back outline
Skip the big round brush and the heavy wax for this. I love a strong wax for other mod looks, but on this Twiggy-inspired crop it makes the ends clump and kills that soft, combed-through finish.
Step 1: What Length You Need, Honestly
Let me give you the number straight: you need at least 5 centimetres on top to get a real Twiggy 1960s shape. That is about two inches. Less than that and the deep part will not sit, it just springs back up.
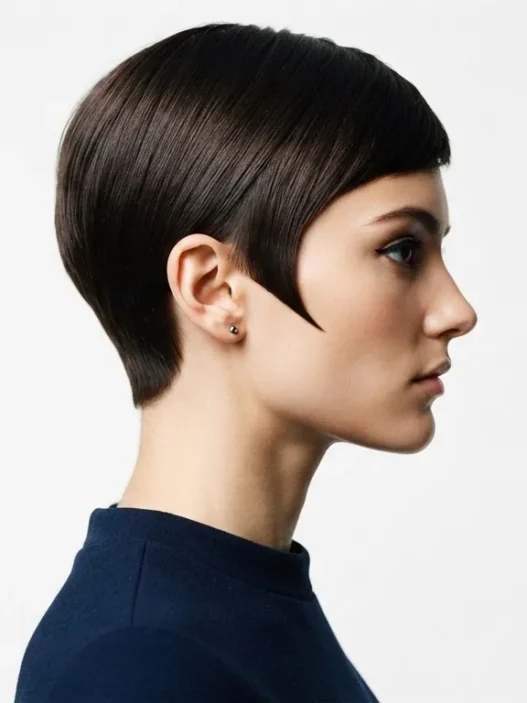
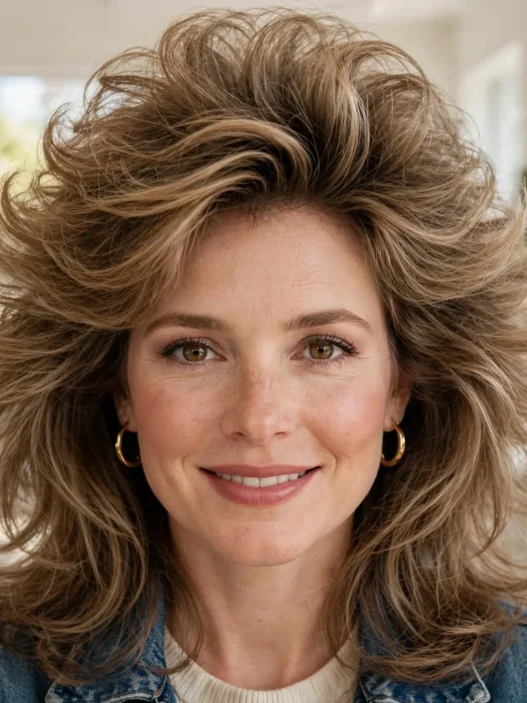
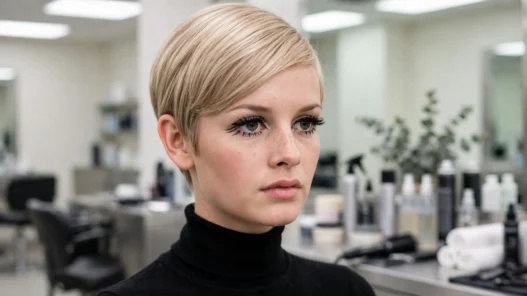
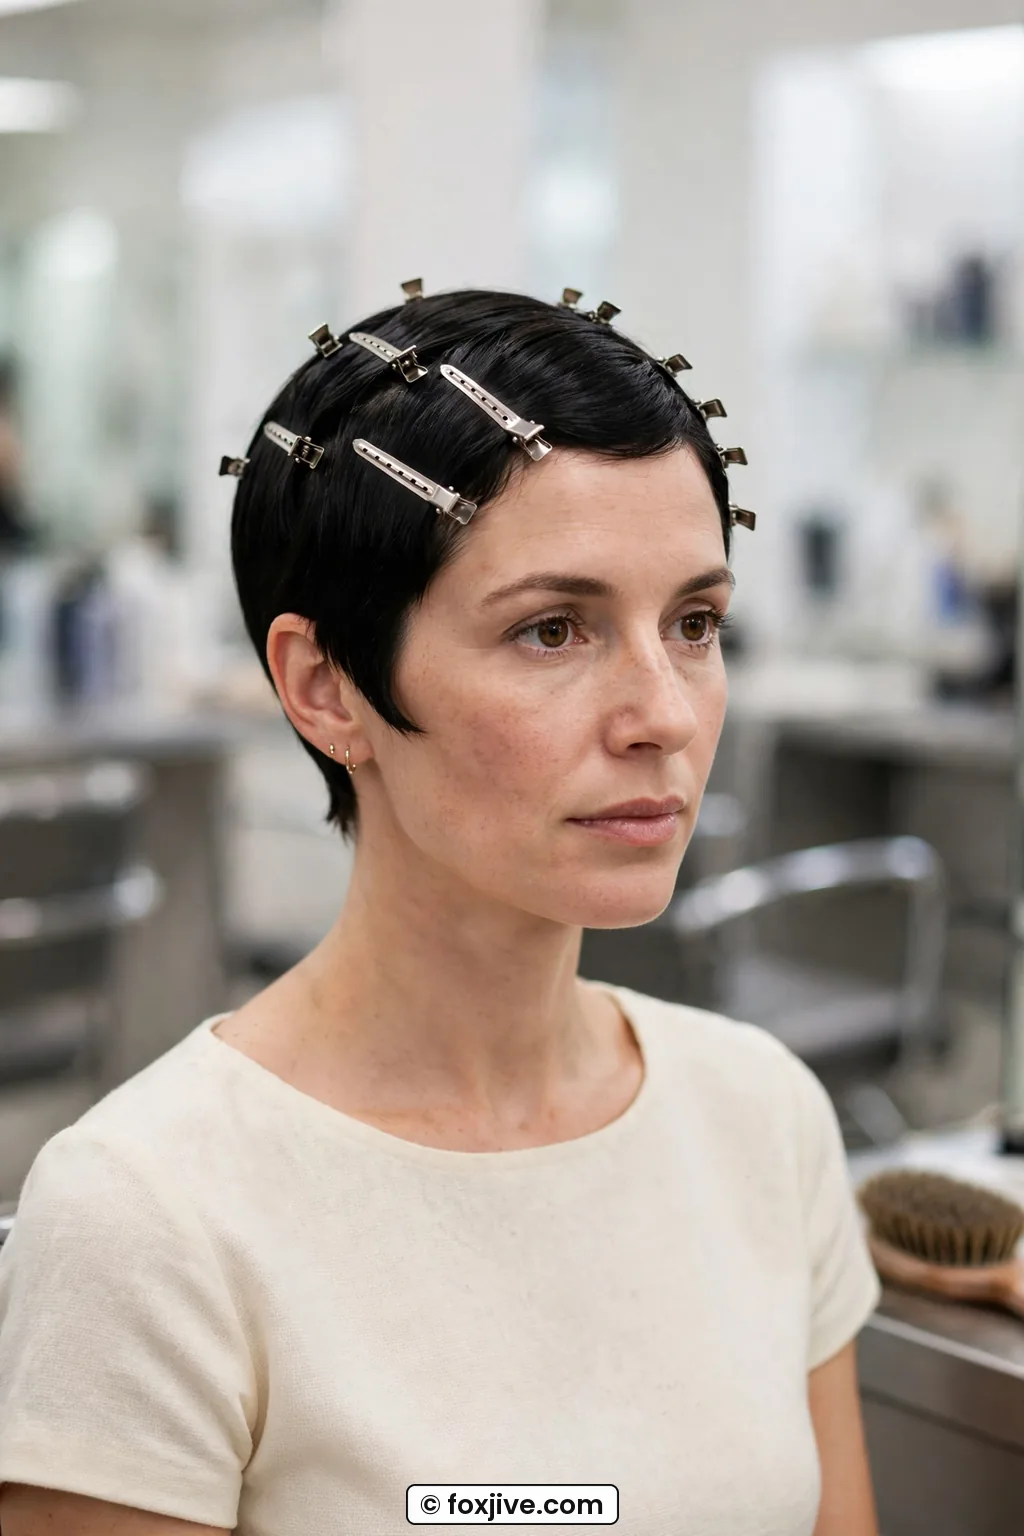
Mine was 6 centimetres on top, 3 centimetres at the sides, and about 2 centimetres at the nape when I first nailed it. That little bit of extra length on top is what lets you sweep everything cleanly to one side without bobby pins everywhere. Look at how she is wearing hers in this first photo, that top length just kisses the crown and then lies flat. That angle is exactly what I mean about a low-profile crown.
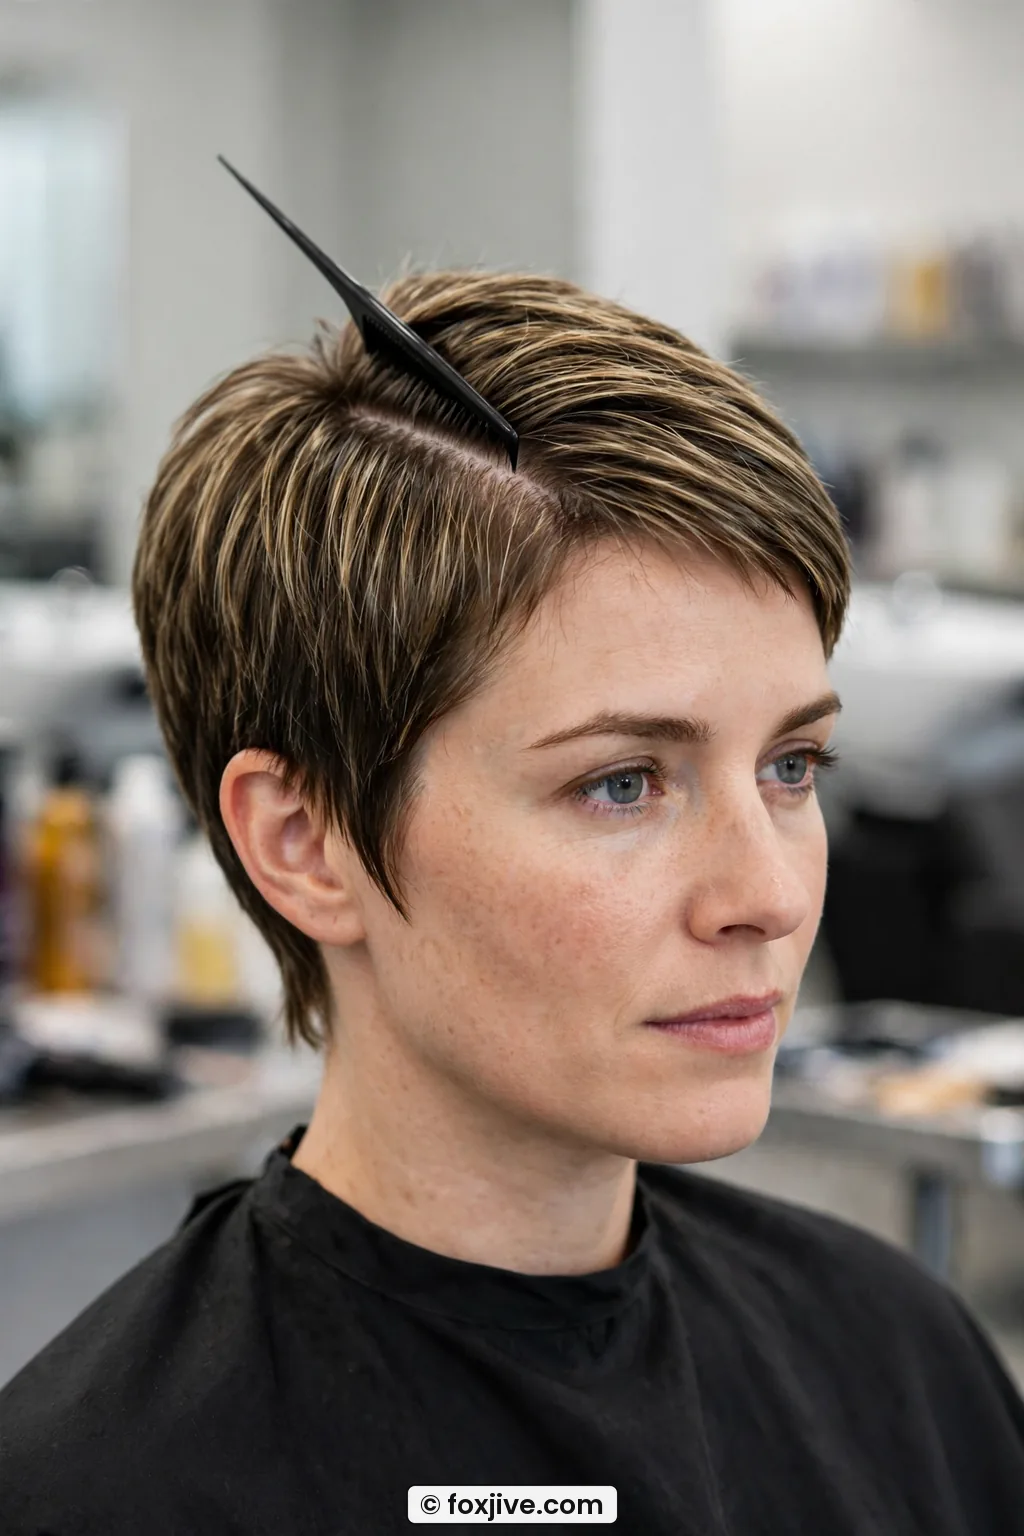
Sides can be shorter, honestly. I prefer a tapered side that tucks right behind the ear, around 2 to 4 centimetres. If your sides are longer than 7 centimetres, you are closer to a mod pixie with flippy ends, which is pretty but it is a different silhouette. This Twiggy version is closer to the head, neater at the ear, with no flick.
Do the pinch test right now. Wash your hair, let it air dry with no product, then pinch the longest piece on top straight up. If you can pinch a full inch between your fingers, you are in. If your fringe is micro-short, under 3 centimetres, you can still do this, but you will wear more of a forward sweep than a true side sweep. And that is okay.
When I tried this with a fresh buzzed nape, I thought I had ruined it. I had not. The nape just needs to be clean and close. The work happens on top and through the parting, not at the back.
Step 2: Small Sections
Short hair punishes big sections. I mean it. If you try to smooth half your head at once, the under layers puff up and the top layer slides off. You get mushroom, not mod.
Start with damp, towel-dried hair. Work in a pea-size amount of mousse through the top only, then comb everything forward first to find your natural growth pattern. My crown has a stubborn swirl on the left, so I always know I will need an extra clip there.
Now draw your deep side parting with the tail of your comb. Mine sits about two inches above my left eyebrow arch, almost above the outer corner of my eye. That deep placement is what makes it read 1960s rather than just office pixie. You want to hear a little zip sound as the tail moves back toward the crown. That means the line is clean down to the scalp.
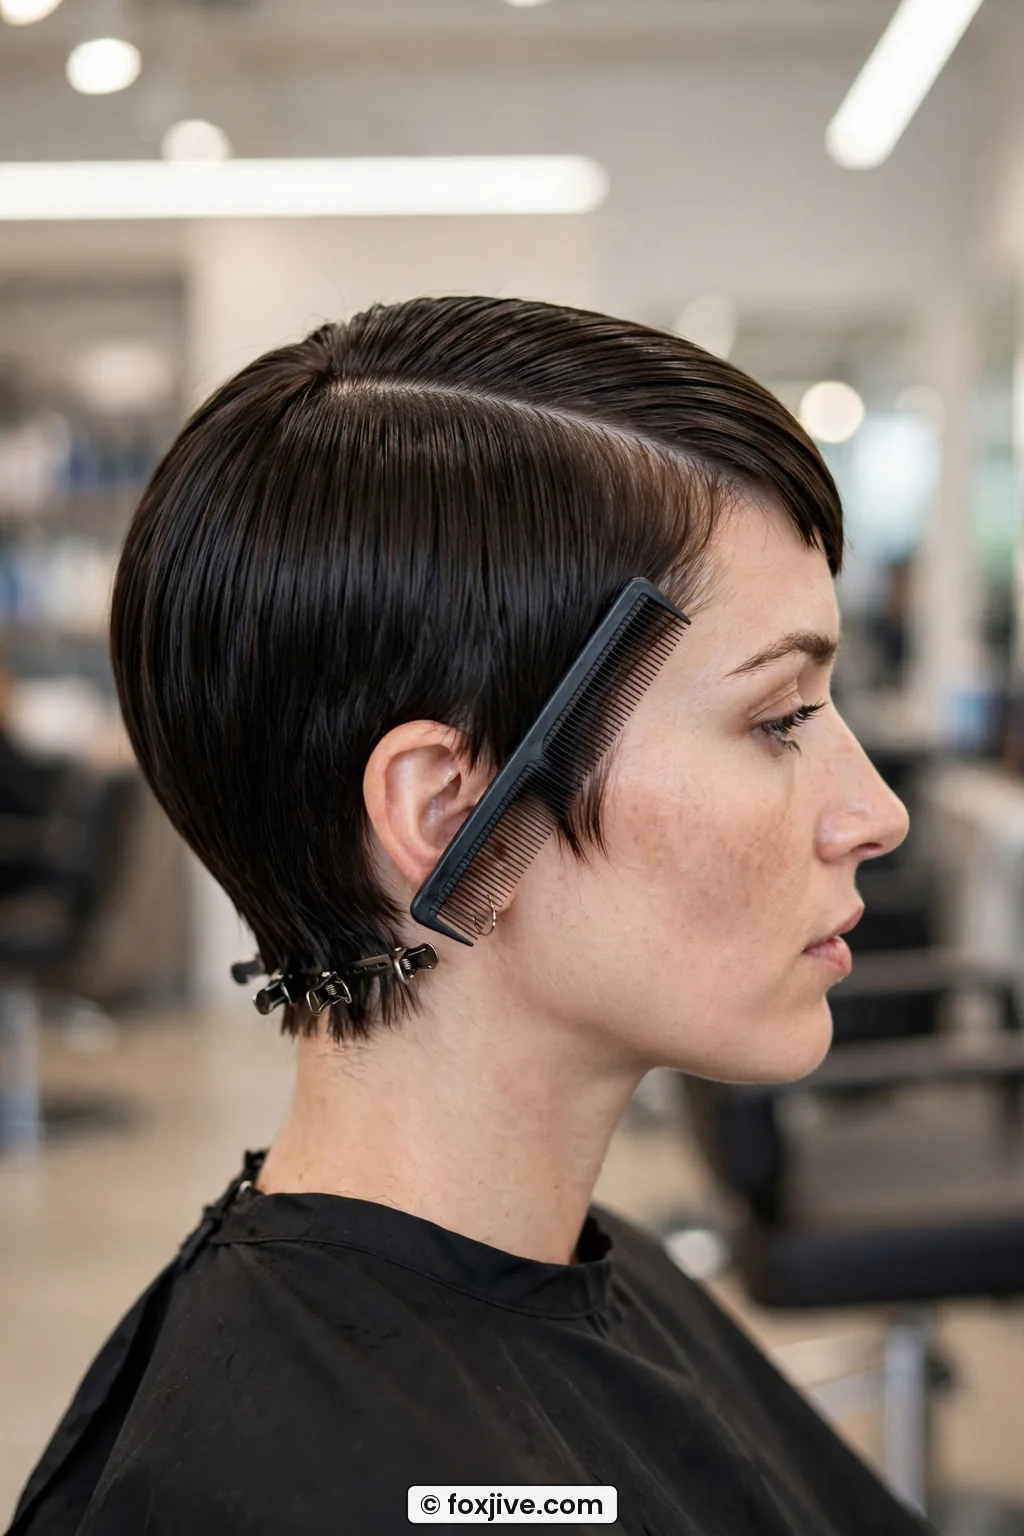
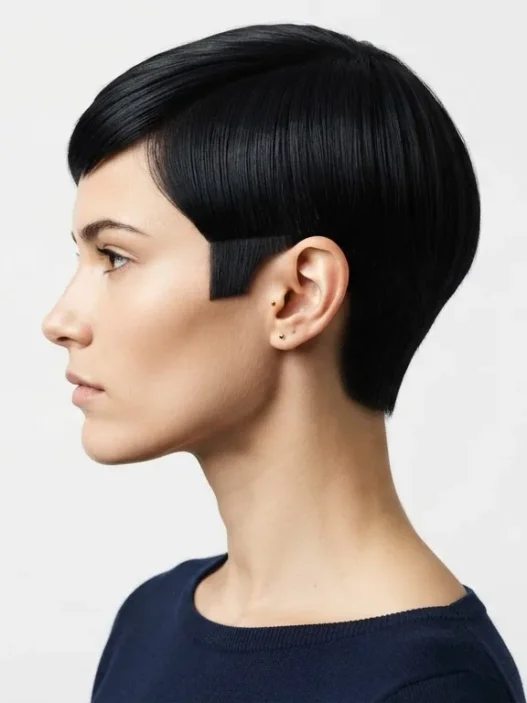
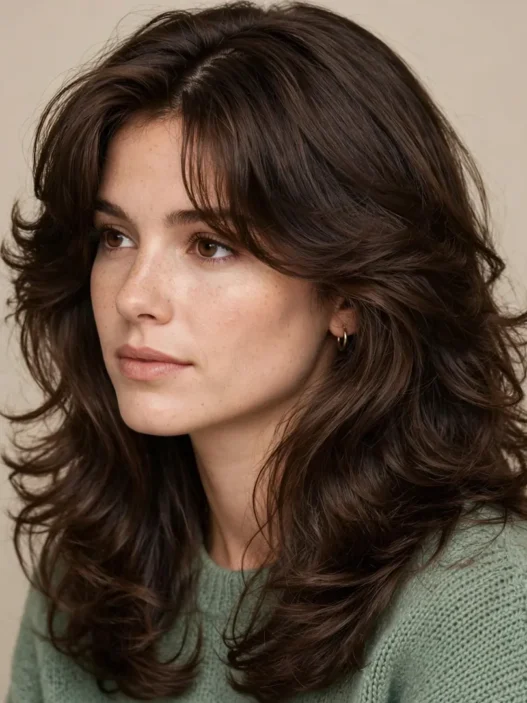
Clip in small rows. Take half-inch horizontal sections across the heavy side, smooth each one flat with your fine-tooth comb, and clip at the base. I use four clips on the heavy side, two on the short side, and two at the crown to hold the direction. She has got a similar density to mine in this photo, and honestly you can see why small sections matter, every strand is lying in the same direction with no lift at the roots.
My favorite trick is to leave the clips in for five minutes while I do makeup. It trains short hair without heat. When I tried blow-drying right away without clipping, my part wandered back to the middle by lunch. Clips first, heat second. Always.
Mistake I made: I used to part my hair dry and then wet it to set. The line always went crooked. Part it damp, clip it damp, then dry it. My part finally stayed sharp all day once I stopped being lazy about that order.
If you want more lift ideas for other lengths, I still browse 13 60s hair styles with real height and no wig for inspiration, but for this Twiggy crop do not chase height. Chase flat and sharp. The contrast is the point.
Step 3: The Set
This is where people expect rollers. You do not need them here. A Twiggy 1960s set on short hair is about direction and polish, not curl.
Unclip one section at a time on the heavy side. With a mini flat iron on low heat, glide from about one inch off the scalp to the ends, curving very slightly under at the tips. You are not making a bend you can see from across the room. You are just taking the flip out. Think pressed, not straightened poker-flat.
No mini iron? Use a small round brush and a dryer on low. I actually prefer this on second-day hair because it gives a softer edge. Wrap the section around the brush once, point the nozzle down the hair shaft, and pull forward and sideways, following the part. Keep tension gentle. Short hair dents so easily.
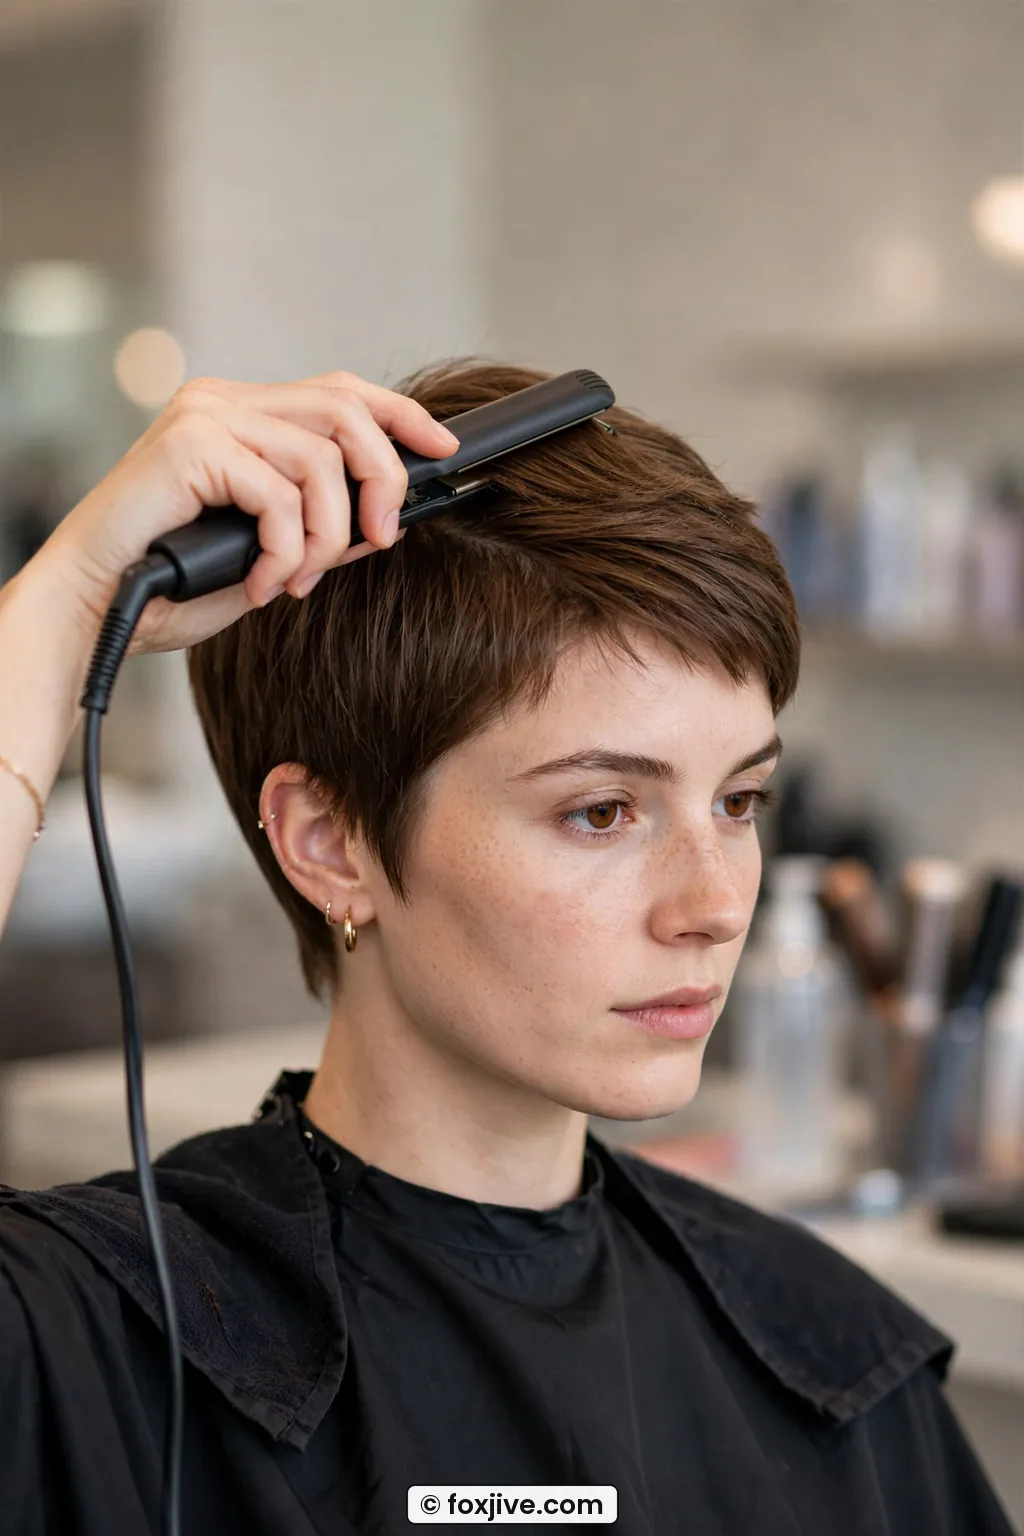
Work front to back. Fringe first, then the side over the ear, then the crown. Re-clip each section lightly after heat for two minutes to cool it flat. This cooling step is boring and it is everything. I make tea while I wait.
For the short side of the part, comb it down and slightly back behind the ear. No volume there at all. If it puffs, I press it with the back of my boar brush and a shot of cool air. You can read up on smoothing short pixie hair before you add more heat, because most of the time it is technique, not temperature.
Finish the set with a whisper of fine-mist spray, arm’s length away. One pass only. If your hair feels crunchy, you used too much. Brush it out softly and redo with less. This should still move when you shake your head.
See the Press and Sweep Live
Step 4: Shaping the Outline
At this length, the outline does 80 percent of the work. No one sees layers inside a two-inch crop, they see the edge around your face, ears, and nape. Get that edge clean and suddenly it looks vintage.
Warm that pea-size paste between your palms until it disappears. Seriously, rub until you think there is nothing left. Then pinch just the very tips around your face, pulling them slightly forward and down. On me, that means the sideburn piece touches the middle of my ear, and the fringe tips just brush my eyebrows on the heavy side.
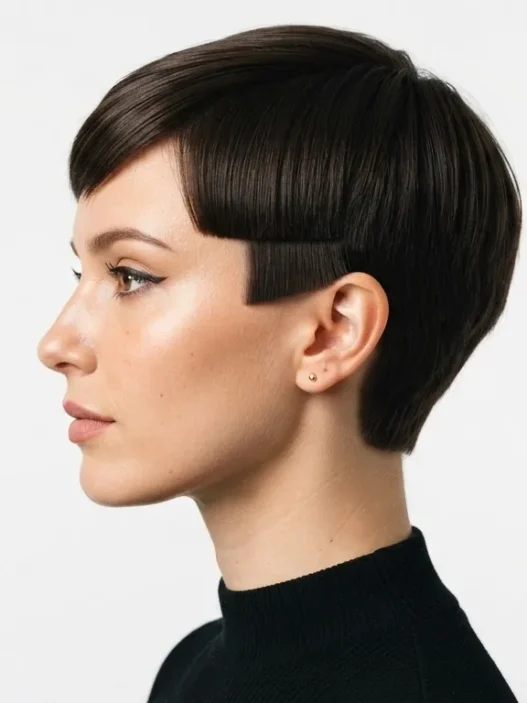
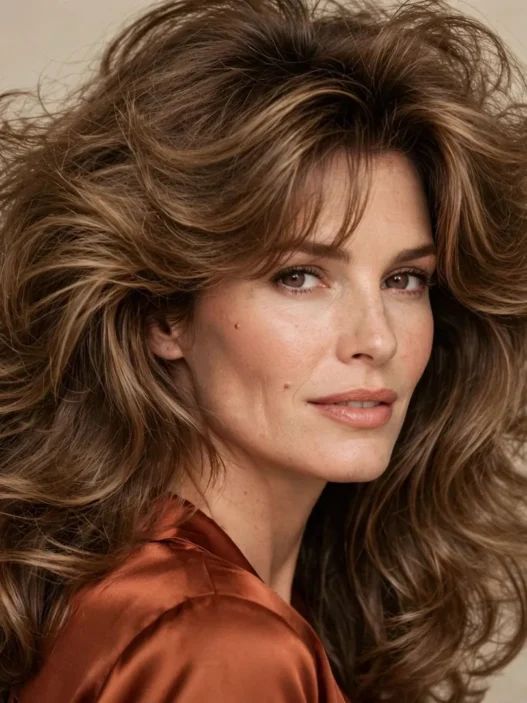
This is the length I am talking about. See how it hits just at her sideburn in this photo? It is tapered, not blunt, and it follows her cheekbone instead of sticking out. That is the sweet spot for a Twiggy line.
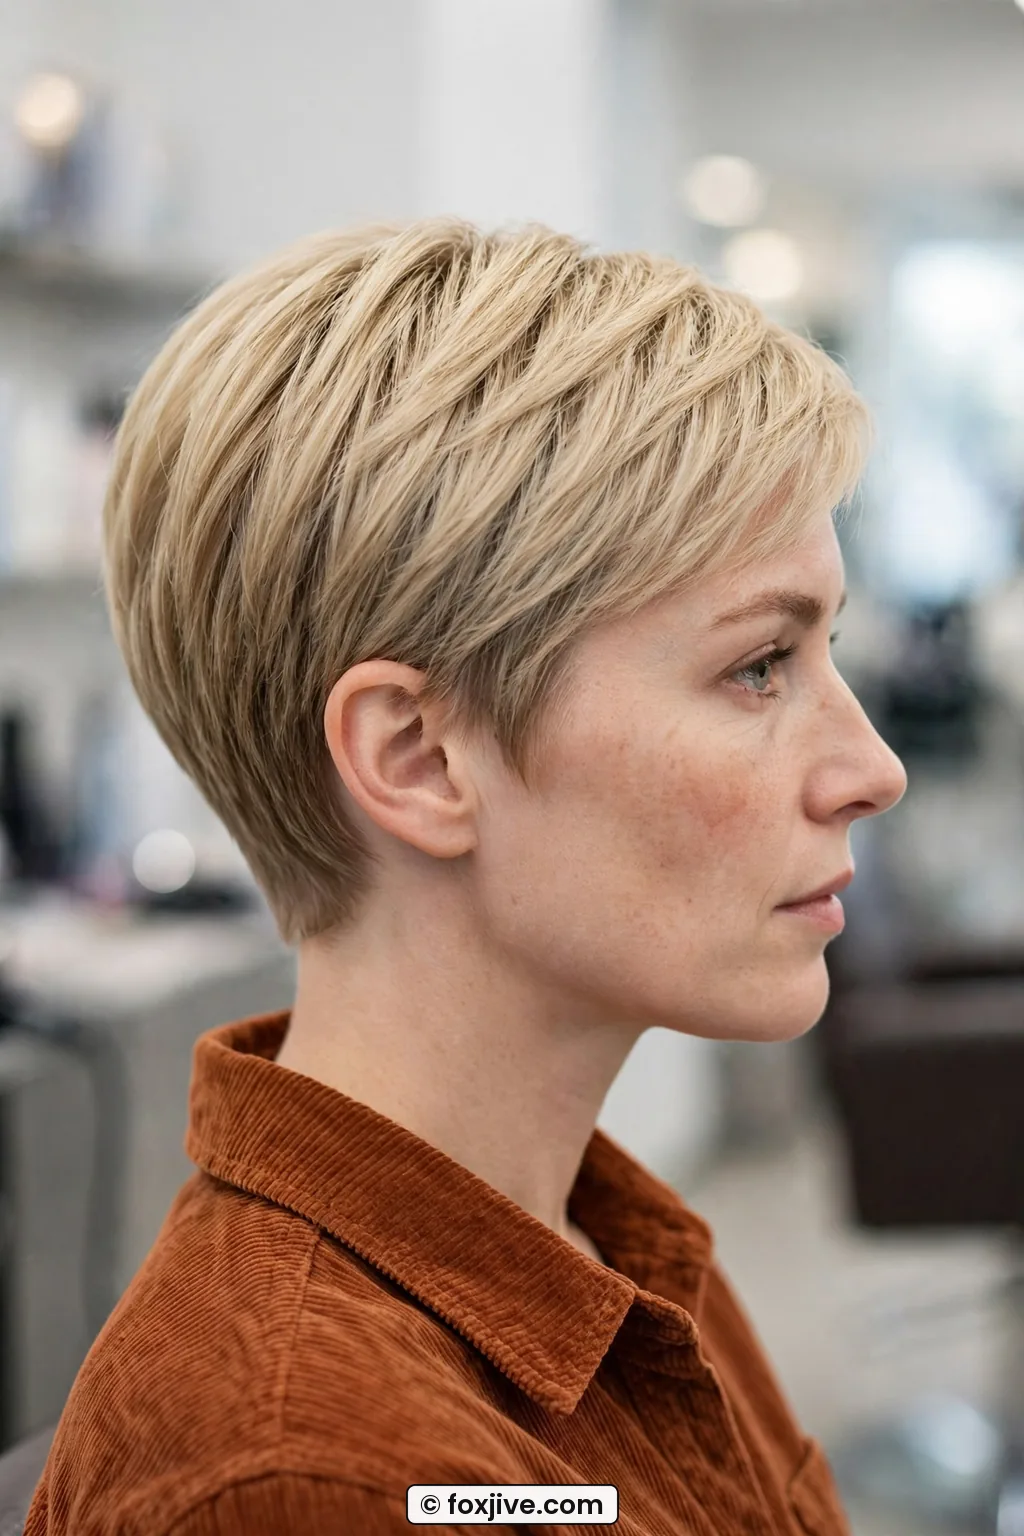
Check the back with your hand mirror. The nape should taper in, not kick out. If yours kicks, take the mini iron and press those nape hairs down toward the neck, then tap a tiny bit of leftover paste on them. No one will see the back in selfies, but you feel the whole haircut sit better when it is neat back there.
Now step back. Does one side look heavier? Good. That asymmetry is correct. Twiggy’s own crop was never balanced, the heavy sweep was the style. I used to even mine out and wondered why it looked modern. Leave it lopsided. Comb the heavy side forward half an inch more than feels natural, that forward nudge keeps the 1960s feel.
For evenings out I sometimes pair this neat base with stronger eyes, and learning classic mod eye makeup helped me keep the hair simple and let the makeup do the drama. Big hair plus big eyes fights for attention. Flat crop plus bold lashes? Perfect balance.
Step 5: The Cut This Needs
Can you style this without the right cut? Sort of, for a day. But to wear it for weeks, the cut has to support it. So here is what to ask for.
Ask for a tapered pixie with length left on top, disconnected just enough to sweep. I tell my stylist: keep 5 to 7 centimetres on top, texture the ends with point cutting, taper the sides to the ear without a hard undercut, and clean the nape close but soft. Bring two photos of the outline you want, not the top, because stylists cut what they see.
What not to get: a heavy blunt fringe cut straight across, or long shaggy layers that flip. Both fight the deep part. You want a well-placed side fringe that can be swept, with soft internal texture so it lies flat. If your hair is very thick, ask for internal thinning at the crown only, never at the outline, or the edge goes wispy.
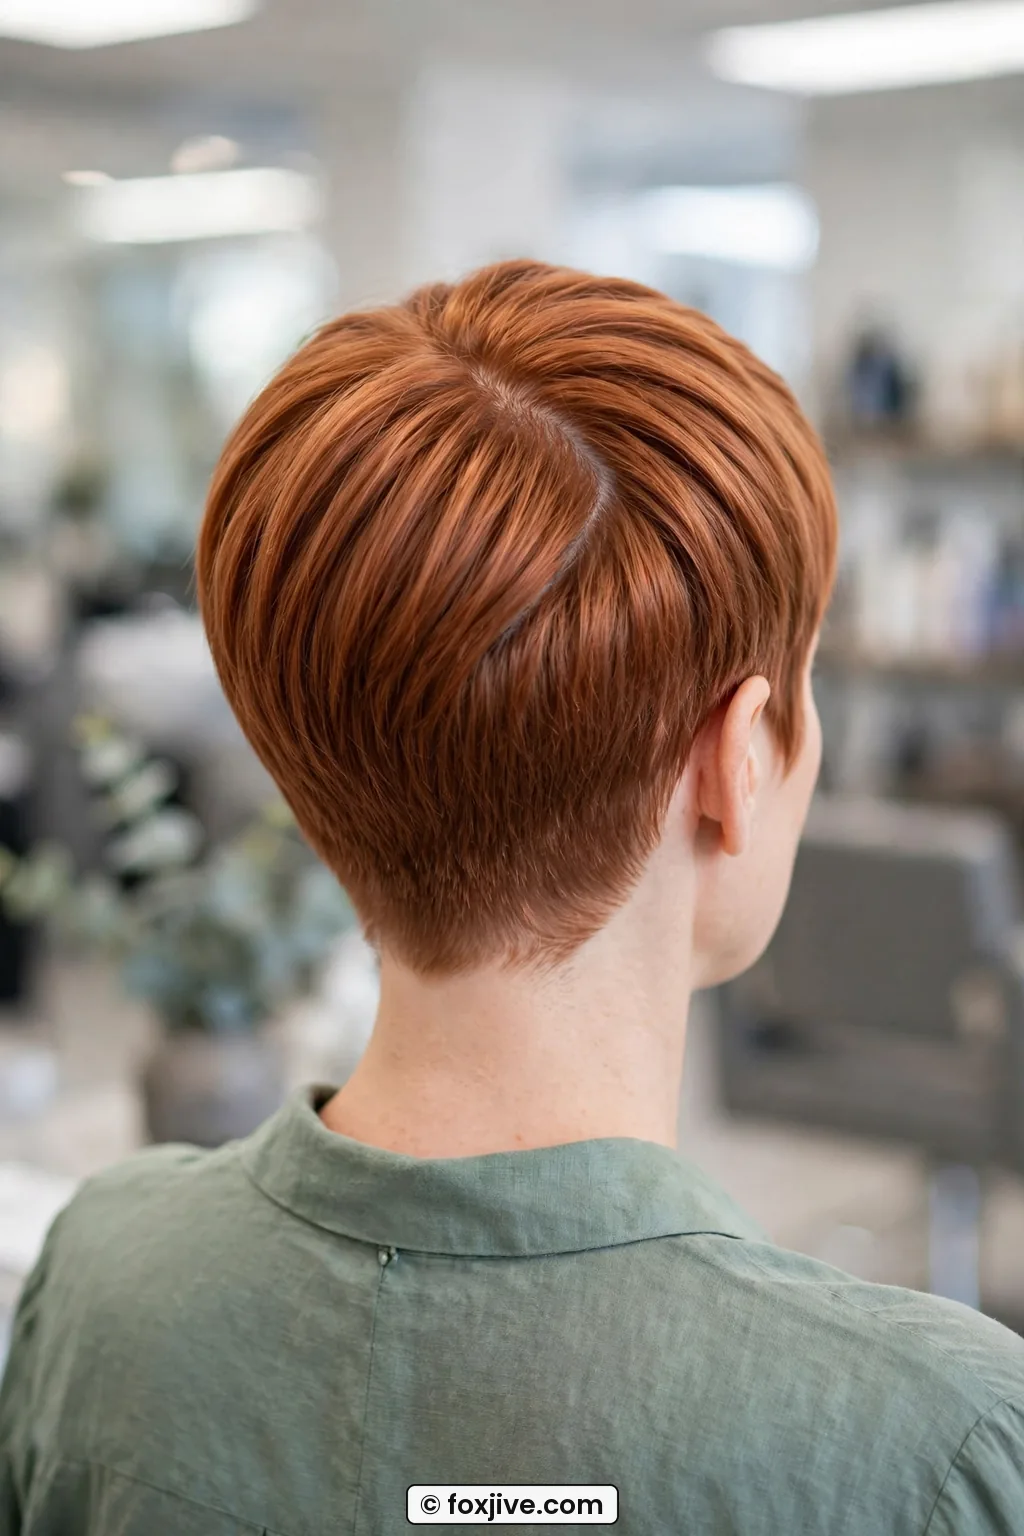
My hair is fine and straight, and this cut lasts me about four weeks before the part starts to lift. My friend with thick wavy hair gets hers texturized more and goes six weeks. Either way, book a five-minute nape tidy between full cuts. It is cheap and it keeps the vintage line sharp.
If you are growing out a buzz or an undercut, you can still fake this by pinning the shorter side flat and focusing length on top. I did that for two months. It is not perfect, but with clips and paste no one notices. And if you love updos later as it grows, save vintage updos for when you hit chin length, this crop is a waiting game with style.
For context on how Bardot-era volume differs from this flat mod crop, I love comparing notes with 11 Brigitte Bardot looks and how they were actually built because she is all soft height while Twiggy is all clean line. Knowing which decade trick you are using stops you mixing them into a muddle.
Twiggy Crop Questions From My Chair
Can I get a Twiggy 1960s shape with curly hair?
Yes, but you will press the top smooth for this specific look. I blow out just the top sections on low tension and leave a little texture at the nape. A soft-hold cream works better than gel for keeping curl from springing back.
How short is too short for the deep side part?
Under 4 centimetres on top, the part will not hold without a clip. I would wear a tiny flat bobby pinned under the sweep until it grows. Once you hit that 5-centimetre mark, the weight does the work for you.
Does this work on fine hair that goes flat?
Fine hair is actually ideal here because flat is the goal. Use mousse only at the roots on top, skip conditioner on styling day, and re-check your outline at lunch. My fine hair holds this longer than any beehive I ever tried.
How do I keep it from looking like a modern pixie?
Three details sell the decade: the extra-deep part, the tucked short side, and matte texture with no spikes. Modern pixies piece up and out. This one combs down and forward. That direction change reads instantly vintage.
I wore mine to a gallery opening last month with a black turtleneck and big lashes, and three different women asked if it was a wig. Nope, just small sections, a cool-down clip, and an outline I finally stopped over-styling. My crown lay flat all night, my part stayed sharp, and I did not touch it once. For short hair, that is the real win.