






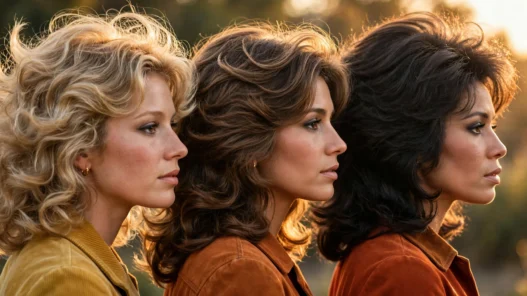
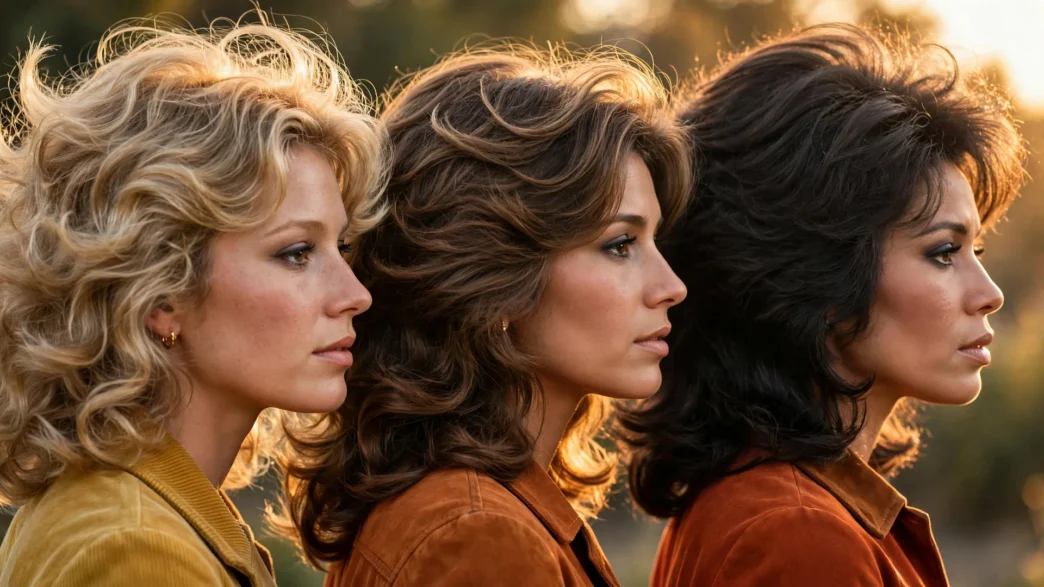
I have always loved 70s Hair for one reason. It was the first decade that let hair look a little unfinished on purpose. Not teased to death, not sprayed into a helmet, just moving. When I tried to wear it myself, though, every tutorial wanted a round brush, a blow-dryer, and 40 minutes I do not have. So I started figuring out which flicks actually need heat and which ones just need the right cut and a little finger-work.
This is my lazy-girl roundup. Eleven movements, not eleven carbon-copy haircuts. Some are flips, some are falls, some are just the way the layers sit when you leave them alone.

1. The Outward Flick
I love this one because it is the most 70s movement there is. That little kick away from the cheeks, right at the jaw or just below. Mine never looked right until I stopped curling it on purpose. The trick is the cut underneath. You need a face-framing layer that starts at the lip or chin, cut on a slight outward angle, so the hair wants to turn out by itself.
To get it without a blow-dryer marathon, I wash at night, part it in the middle, and clip those front pieces flat against my cheeks, then bend just the ends outward over the clip. Sounds weird. Works great. In the morning I pull the clips, shake, and smooth the top with my palms. If you are used to the polished take, you will love reading the fast Farrah Fawcett hair version too because it shows the same outward logic in a ten-minute style.
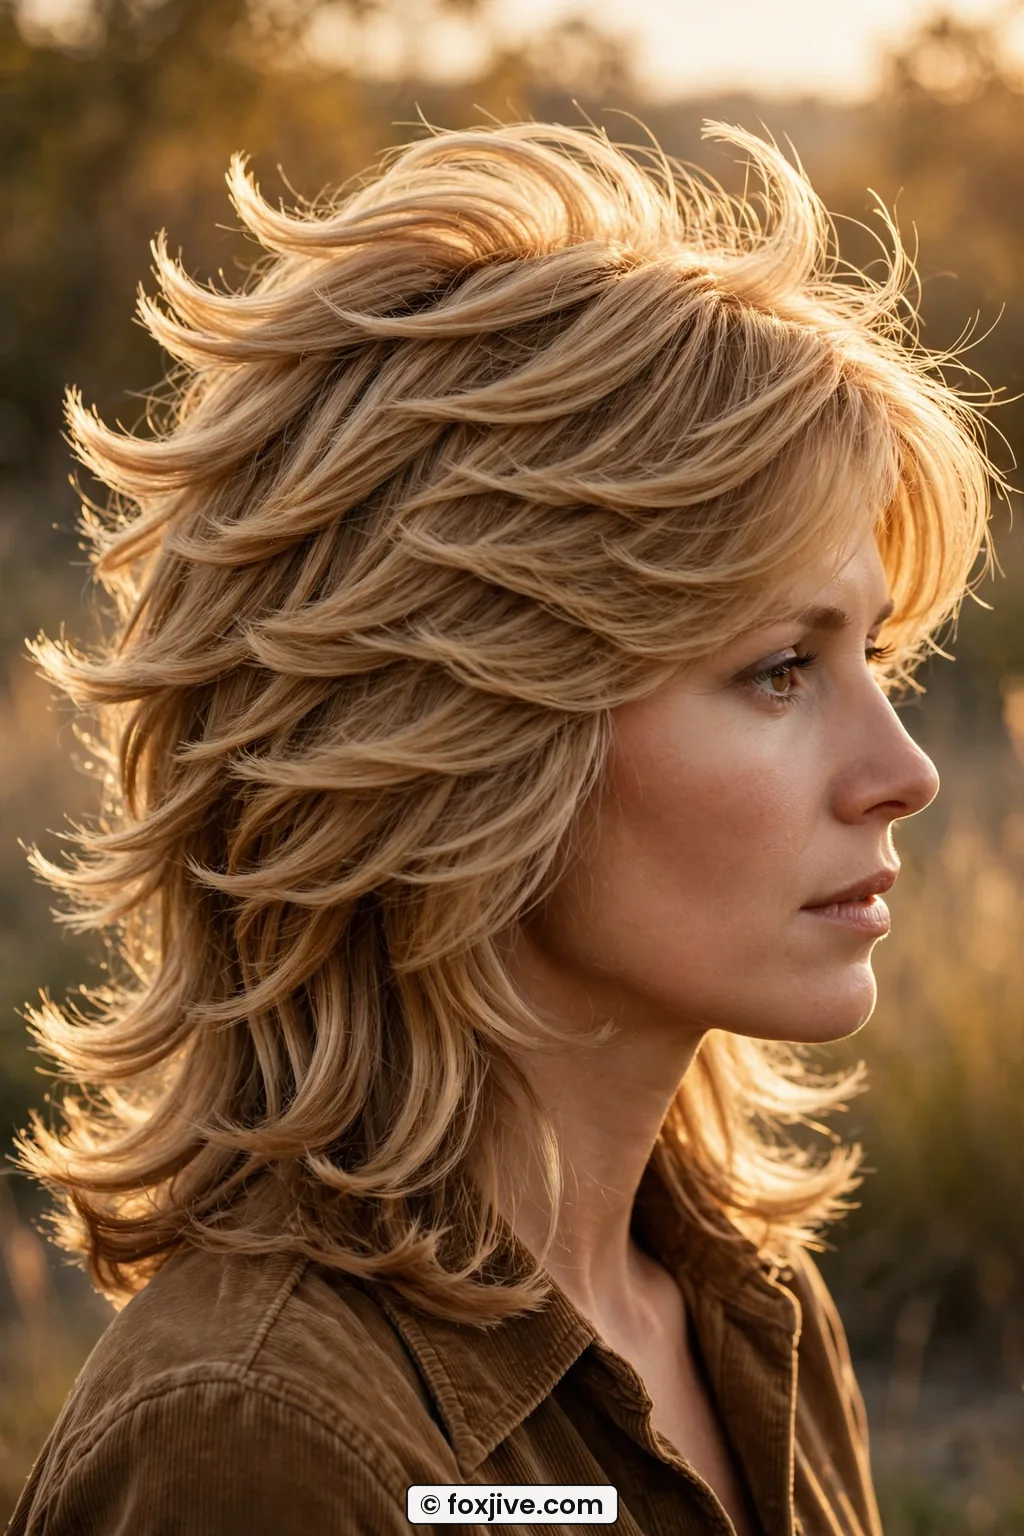
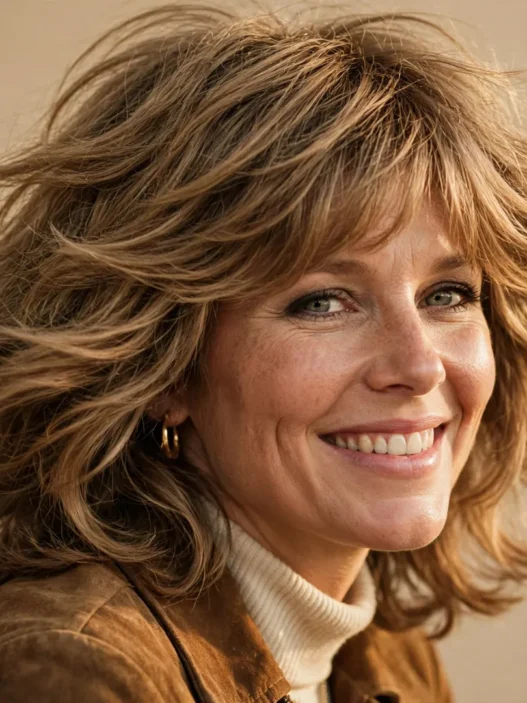
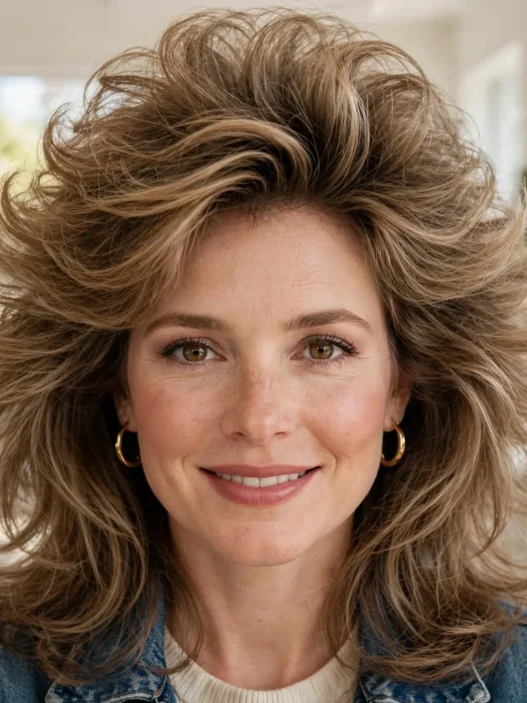
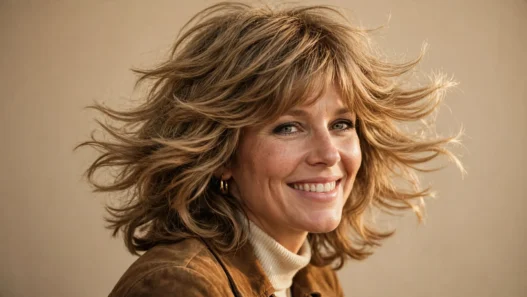
Look at how she is wearing hers in this photo, that clean turn-away from the face is exactly what I mean about jawline framing. She is not overly curled, she is just directed. This one is impossible without layers, by the way. One-length hair will not flick. It will just bend and fall flat.
2. The Curtain Fall
This is softer than a full curtain bang. Think two long front panels that fall and part, then melt into the rest of the hair. My favorite is when they are a little grown out and a little uneven. Very lived-in.
You do not need a specific cut for the full effect? Sort of. You can fake it with a middle part and two pinned-back sections even if you have one length, but it holds so much better with a chin-length front layer. My no-heat method is dead simple. On damp hair I twist each front section away from the face, just once, and tuck it behind my ears for 20 minutes. When I release, they fall in that easy parted shape. I learned a lot about shaping from reading up on round-brush curtain bang techniques and then just doing the finger version of the same motion.
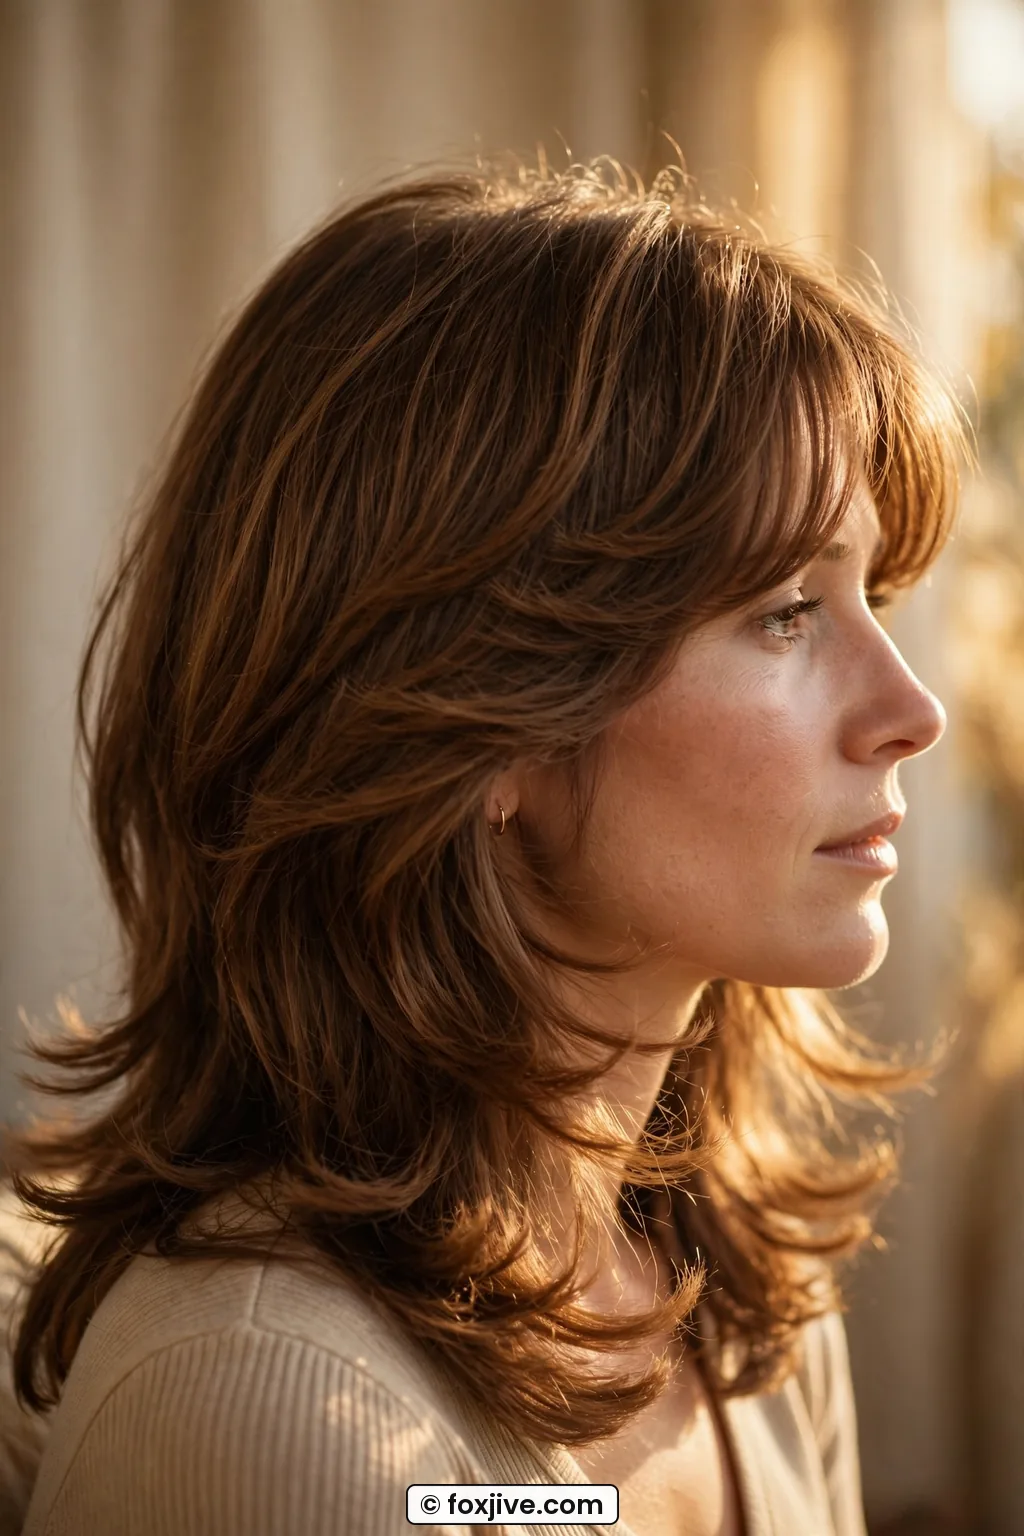
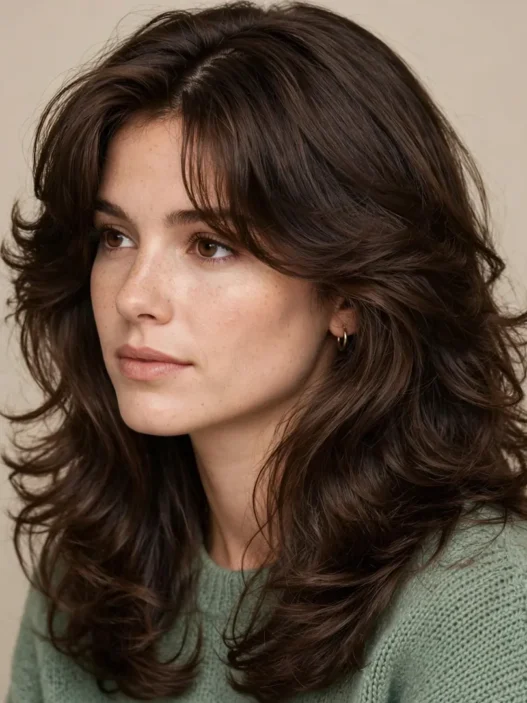
This is the length I am talking about. See how it hits just below her chin and then disappears? That is the sweet spot for 2026 because we are all growing out blunt fringes and need something forgiving in between.
3. The Center-Part Sweep
Okay, can we talk about how underrated a hard middle part is? In the seventies it was not edgy, it was just normal. Hair parted dead center and then swept back behind the shoulders so the front layers could do their feathery thing. When I tried this for a week straight last spring, my morning routine got down to about three minutes.
You need long hair for this, collarbone or longer, and you honestly do not need layers to pull off the base version. Layers make it prettier, but the sweep itself works on one length. I put in a pea-size drop of cream on damp ends, part with my fingers, not a comb, and push everything forward over my shoulders to dry. Then I flip it all back. That forward-then-back move is what gives that loose lift at the crown without teasing. Compared to the poufier stories you see in 1980s hairstyles, this sits flatter and calmer, which I prefer for everyday.
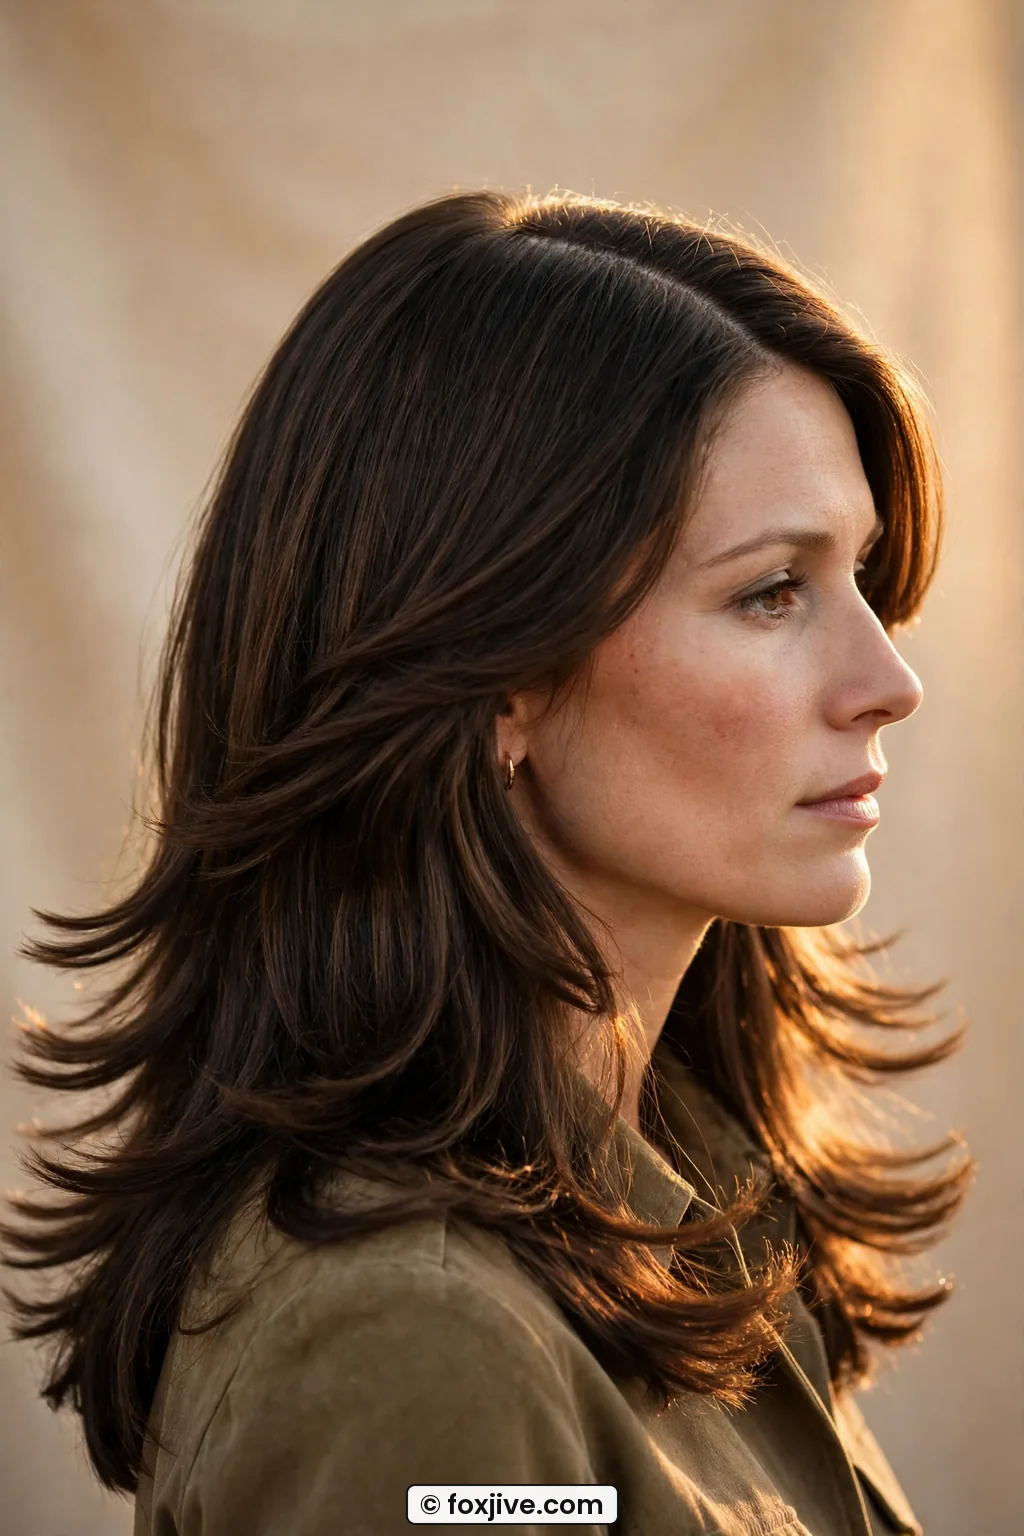
She has got that warm seventies center line and the hair just drops on both sides with zero stiffness. If your hair is fine like mine, do not oil the roots here. Just the mid-lengths, or you will lose the sweep by lunch.
4. The Cheekbone Kick
This one is short, sassy, and a little bossy. The shortest face layer hits right at the cheekbone and kicks out, while everything else stays longer. I first saw it on an old yearbook photo of my aunt and I have been obsessed since. It makes cheekbones look amazing without any contour.
Let me be blunt. This entry is impossible without layers, and specifically short ones. You cannot fake a cheekbone kick if your shortest layer is at your shoulders. You need that well-placed chop. But once you have it, styling is easy. I dry that piece with my fingers pulling outward, almost sideways, and it dries with a bend because it is short enough to have a mind of its own. A tiny flat-twist overnight also works. I twist only that cheek piece away from my face and sleep on it. Morning flick, done.
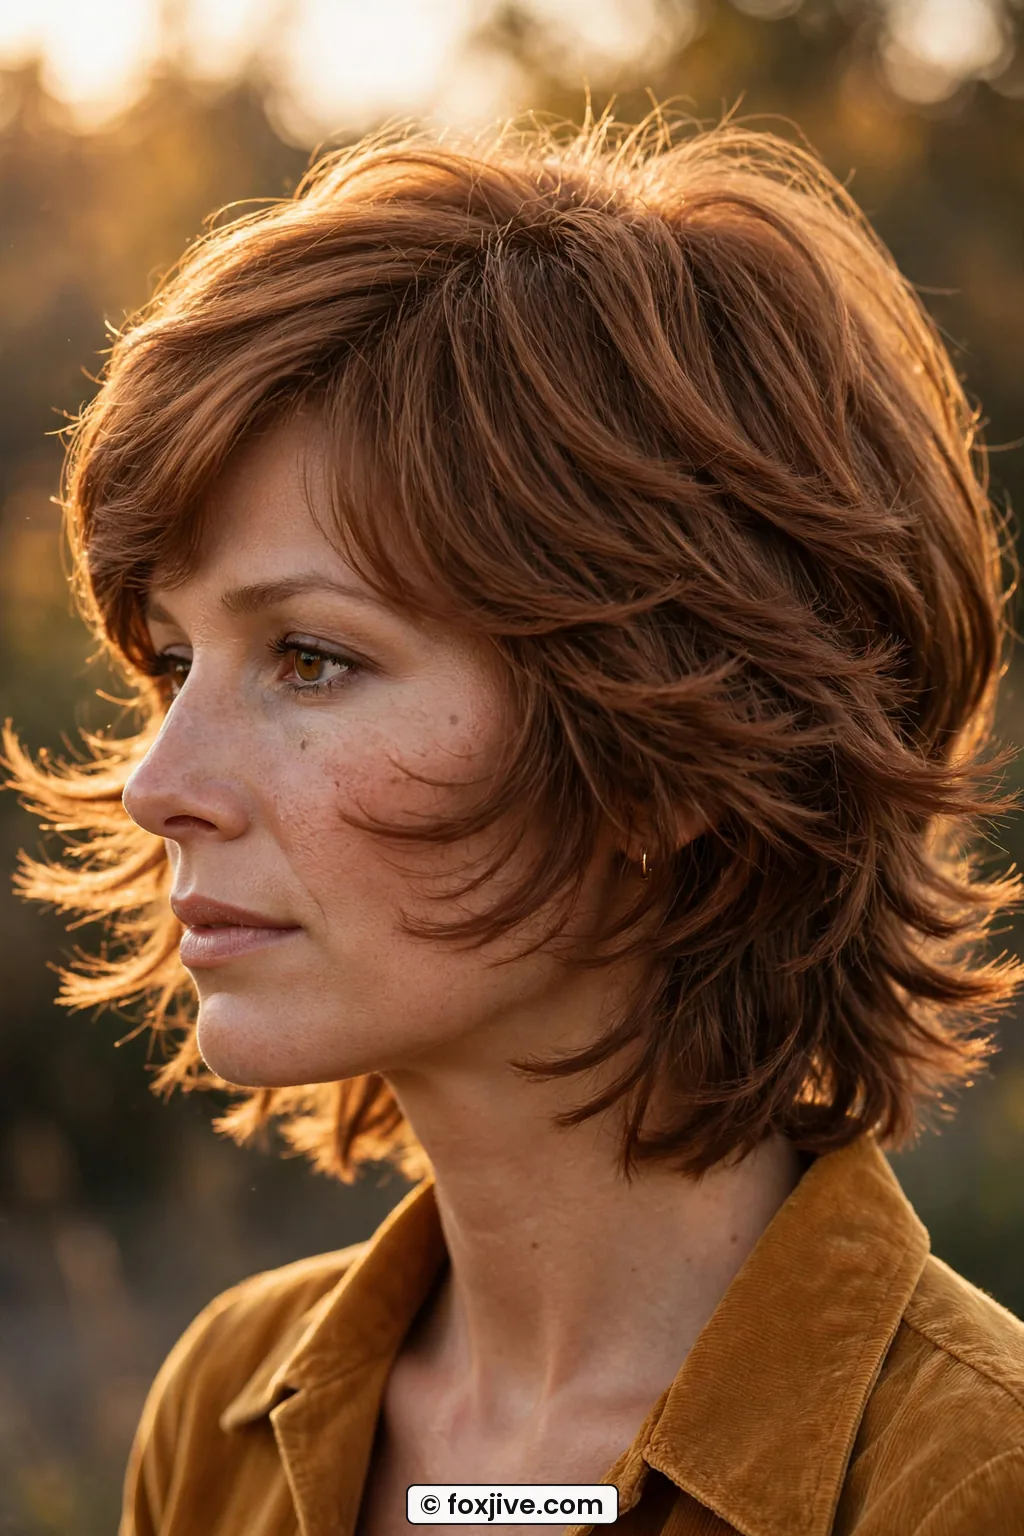
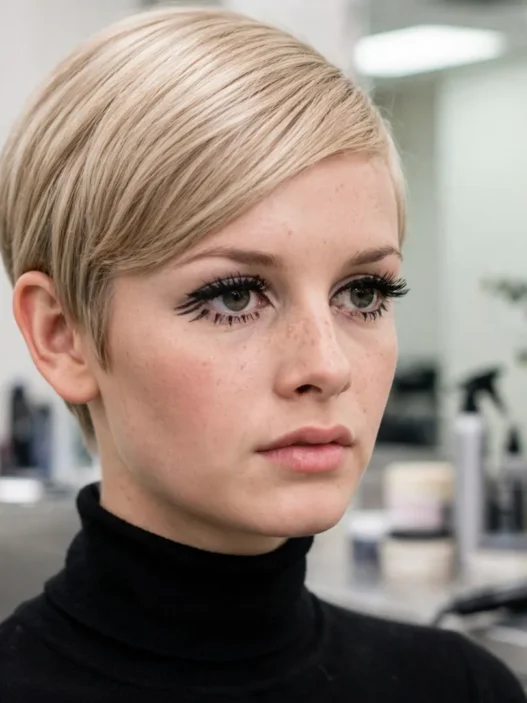
Look at how her shortest end lifts right off the cheek. That separation is the whole point. If yours is puffing instead of flicking, you are using too much product. Less is more here.
5. The Long-Layer Drift
Not every seventies look was flicky. Some of it just drifted. Long, barely-there layers from the chest down that moved when you walked. This is my low-maintenance soulmate. I wore this all through a two-week road trip and barely touched my hair.
The cut underneath matters less than you would think. You can get drift with only two or three long layers, even on thick hair, because the weight does the work. On very damp hair I do two loose low braids, not tight, just to put a soft wave in the bottom six inches. Undo after an hour or after it air-dries. Brush once with a wide-tooth comb. That is it. No round brush, no sections, no drama. You can also read up on air-drying tips for long hair before wash day because the same frizz control rules apply here, smoothing cream on ends only.
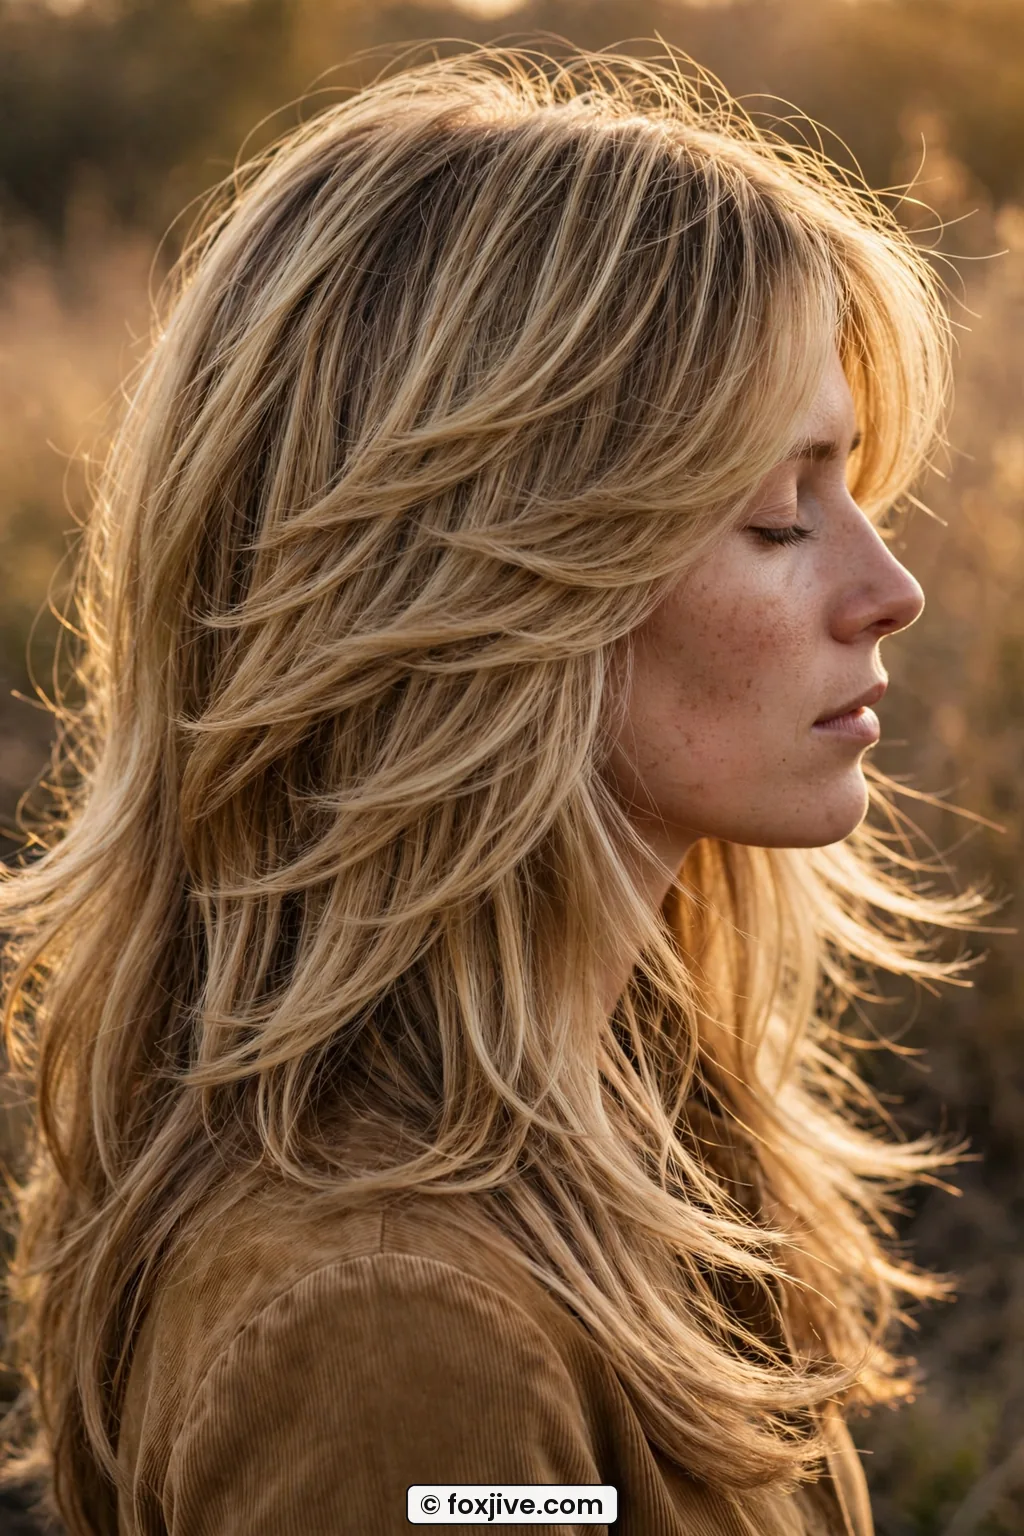
She is wearing the long version so well, see how the ends are not all one blunt line? They are broken up just enough to move. If you have one-length hair past your chest, this is the one entry you can do with zero cut changes.
6. The Bottleneck Bend
This is the seventies fringe that narrows at the top and widens at the cheeks. Like the neck of a bottle. I resisted it for ages because I thought bangs meant daily styling. Nope. This is actually one of the easiest no-heat bangs if you let it do its thing.
You do need fringe cut for it, obviously, but it does not have to be perfect. In fact, a slightly overgrown bottleneck is better air-dried. I part my damp bangs down the middle, push each half to the side, and let them dry tucked behind a headband for 15 minutes. They dry with that curve. When I take the band off, I do not touch them. Touching makes them stringy on me.
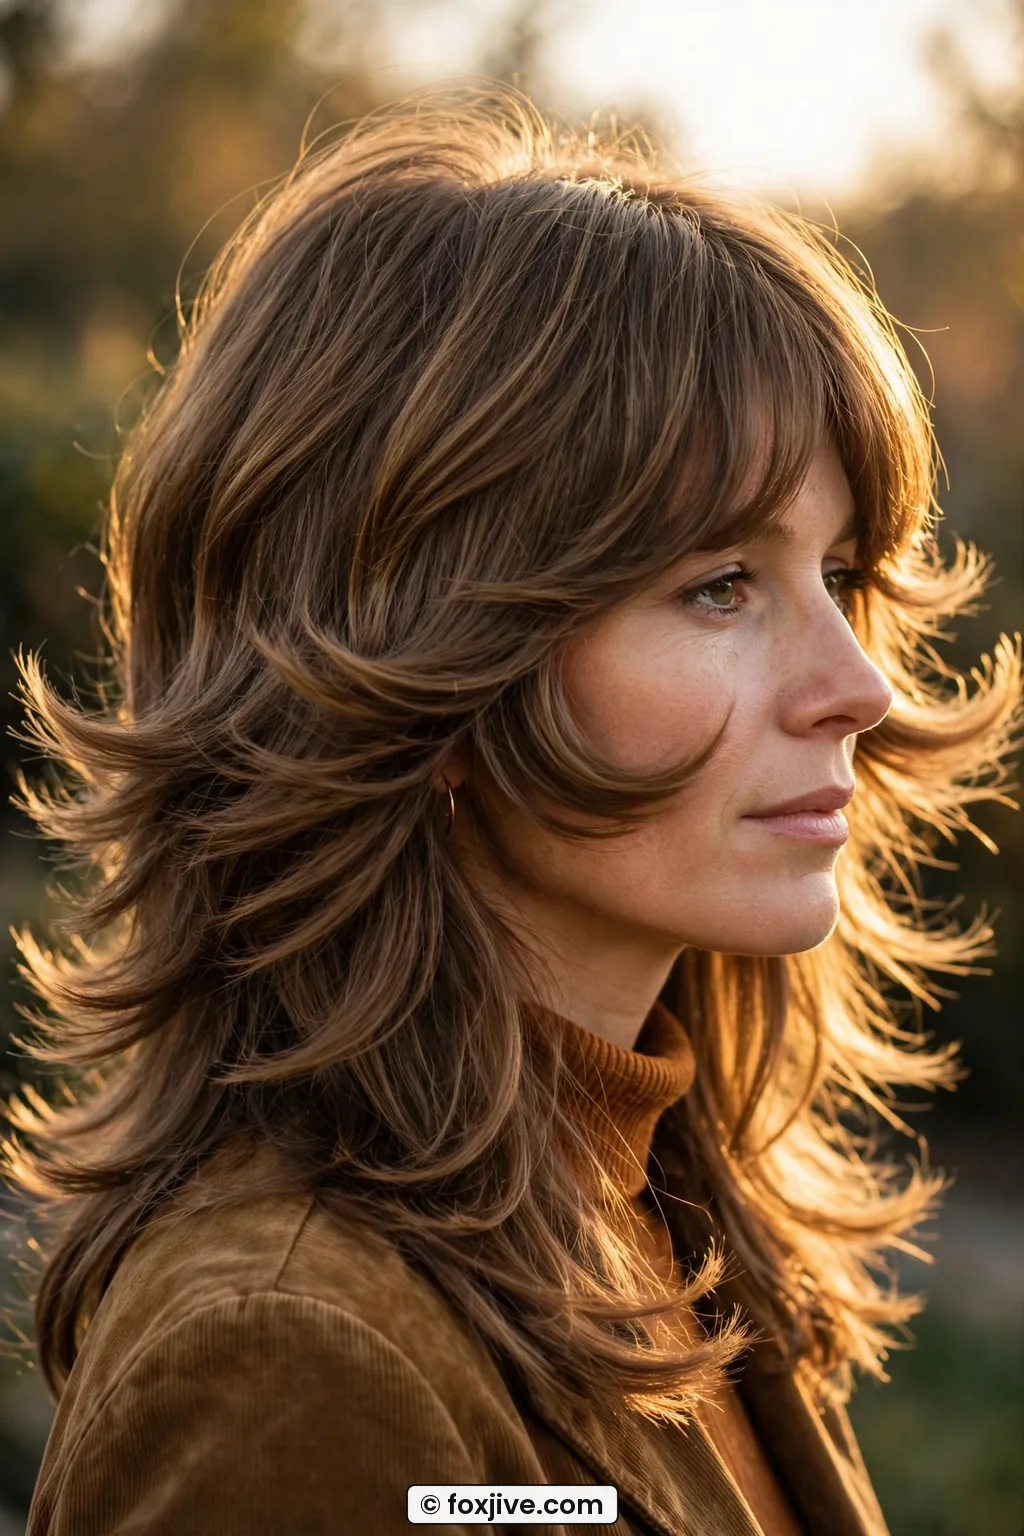
My personal pick is this one. I have a cowlick, thin temples, the works, and the bottleneck is the only fringe that still looks intentional on day three.
Compared to a heavy straight fringe you might see in 1950s hairstyles, this one is piecey and forgiving, and that is why I keep going back to it in 2026.
7. The Flip-Under Tuck
Here is the quiet one. Ends that turn under, not out, and tuck toward the neck. Very stewardess, very clean, very seventies working girl. I love it on shoulder-length hair because it makes ends look thicker instantly.
Good news. You do not need layers for this at all. One length actually tucks better. I get the flip by drying with my ends tucked under a silk scarf around my neck, like a loose headband low down. Ten minutes while I do makeup. Or I do the old roller trick with just two big velcro rollers turned under at the nape, no heat. Brush under with a flat paddle brush and you are done. Do you need hairspray? I skip it. A light cream keeps it soft.
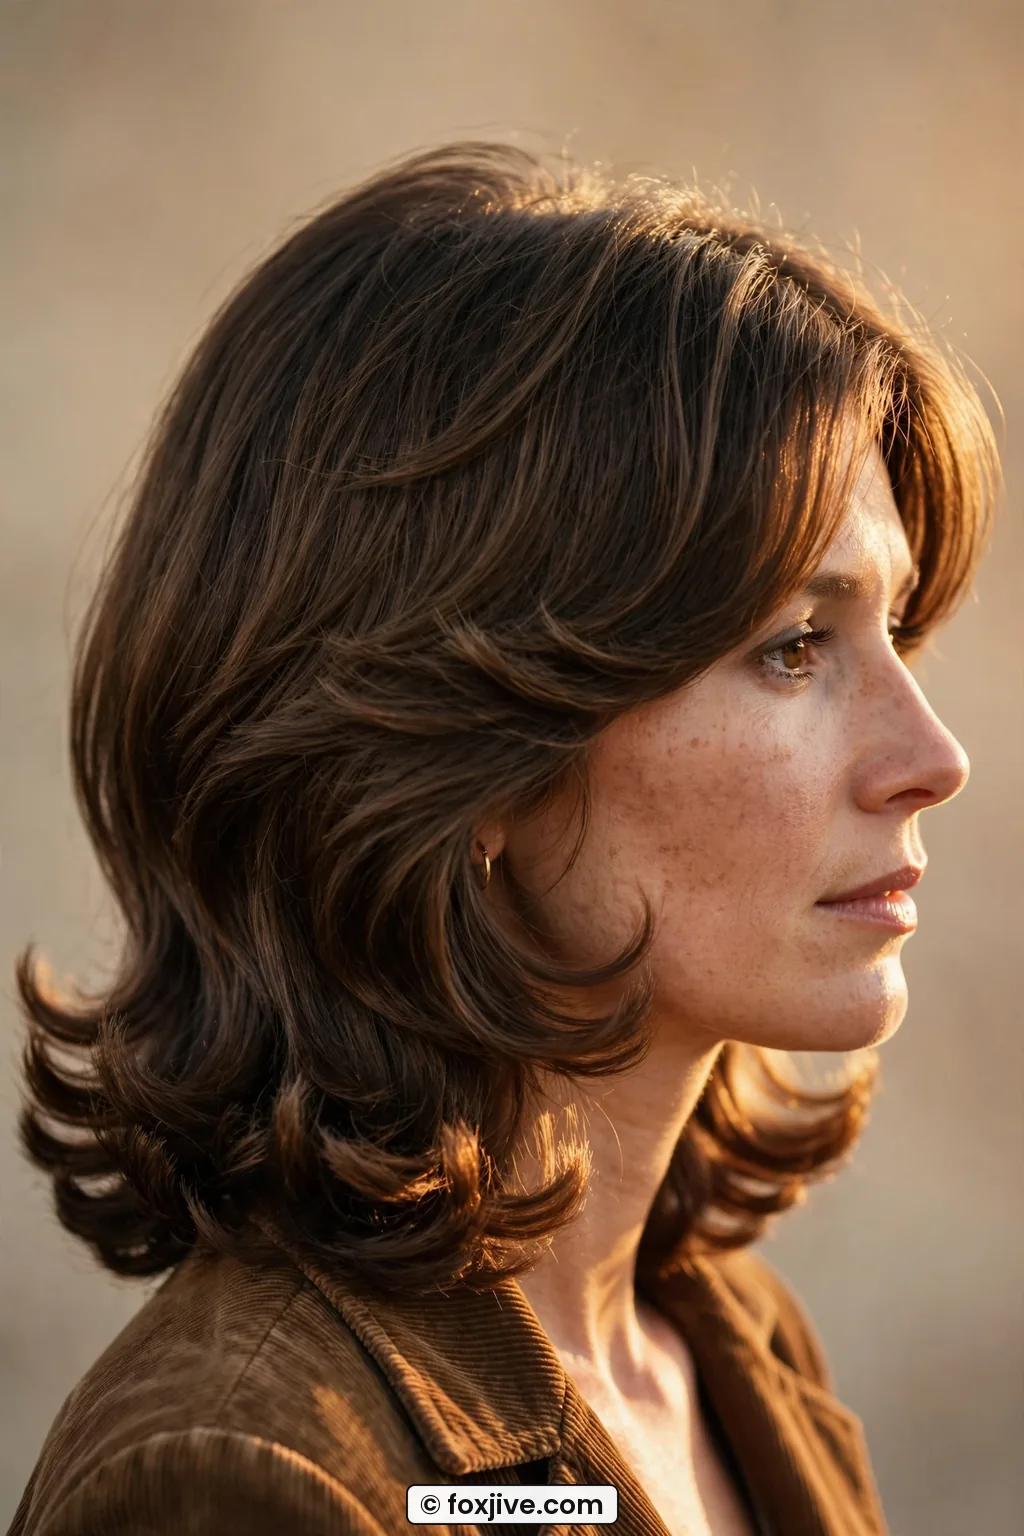
See how her ends curve in toward her collarbone in the photo? That under-turn is what makes the neck look longer. If your ends flip out instead, they are probably too layered or too dry. Snip or oil, your call.
8. The Disco Lift
Big crown, soft sides. Not crunchy, just lifted like you were dancing all night and your hair stayed up anyway. I used to think volume meant a blowout. Then I figured out seventies volume was mostly at the roots, and you can fake roots with placement.
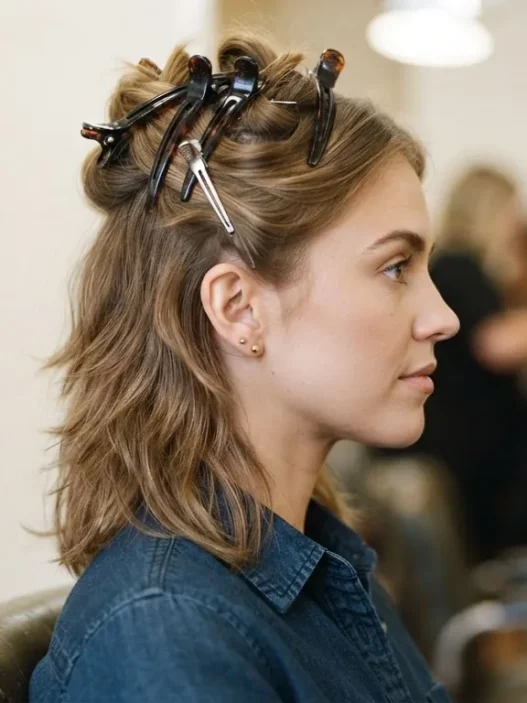
You do not need a shag or layers here, though layers help. What you need is a way to dry the crown lifted. I flip my part to the opposite side while damp, clip the crown up with two duckbill clips in a little mohawk row, and let it air-dry that way. Flip the part back when dry. Instant lift. If you want to go further down the rabbit hole of big-hair history, the contrast with telling the decades apart in 80s hair is fascinating because 80s lift was all over, while this disco lift is only on top with smooth sides. Way easier to wear now.
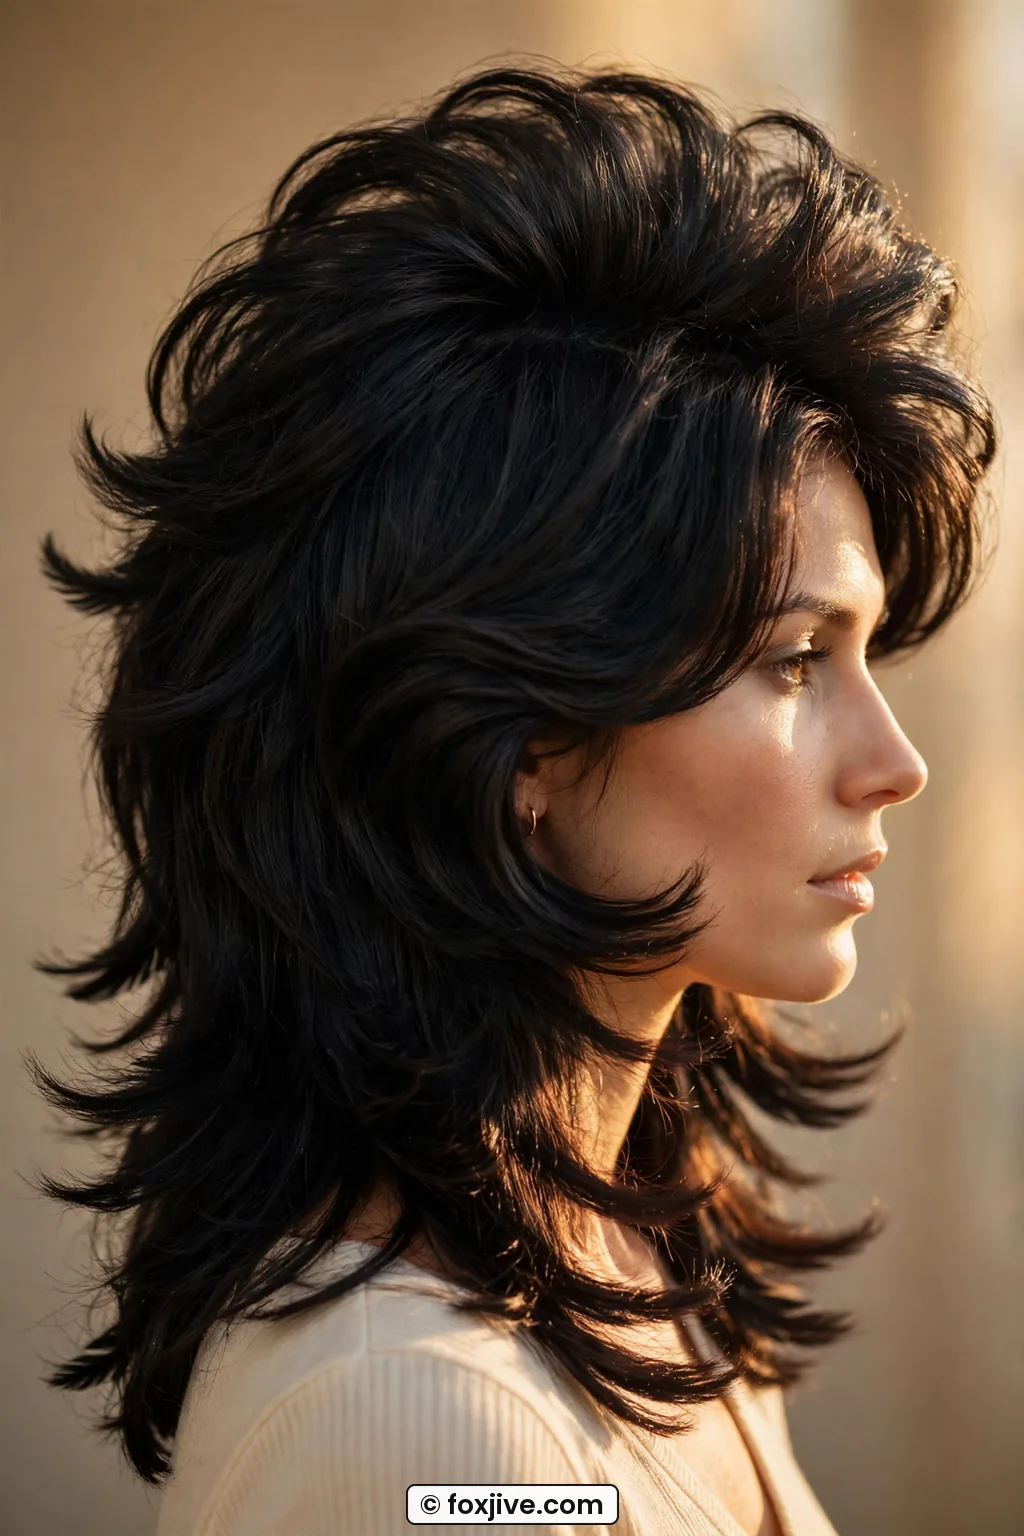
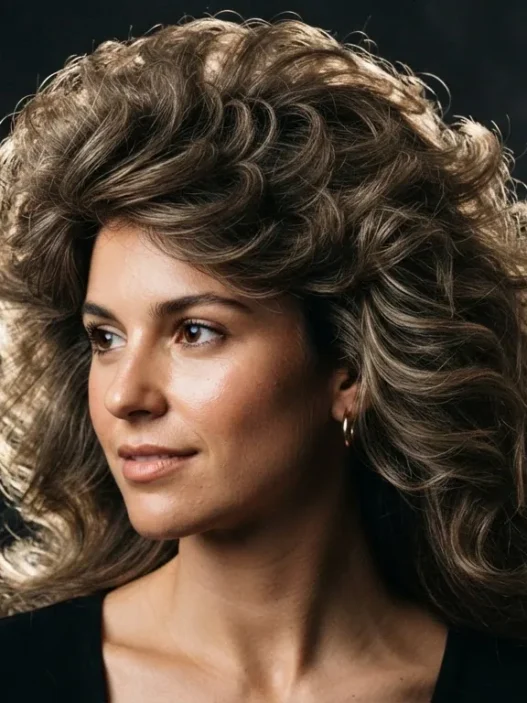
Look at her crown height from the side. It is not teased, it is just up. That is the air-dried clip trick doing its job. I use dry shampoo at the roots even on clean hair just for grip.
9. The Soft Shag Fall
The shag scares people. I get it. We picture jagged 80s mullets or harsh stair-steps. But the soft seventies shag is different. It falls forward, piecey around the face, shorter on top and longer at the back, and it is supposed to look a little messy. When I got mine, my stylist called it a slow shag because we kept the layers long enough to air-dry.
This one? Absolutely impossible without layers. In fact, it is impossible without a lot of them, short to long, all through the crown. Do not try to fake a shag with one length and texture spray, you will just get frizz. Once you have the cut, though, heat is optional. I scrunch damp hair with a little mousse, twist random one-inch sections away in different directions, and leave them alone. The twists fall apart into that feathered fall by themselves. I picked up the twisting idea after reading about styling a shaggy layered cut and skipping the hot tools part entirely.
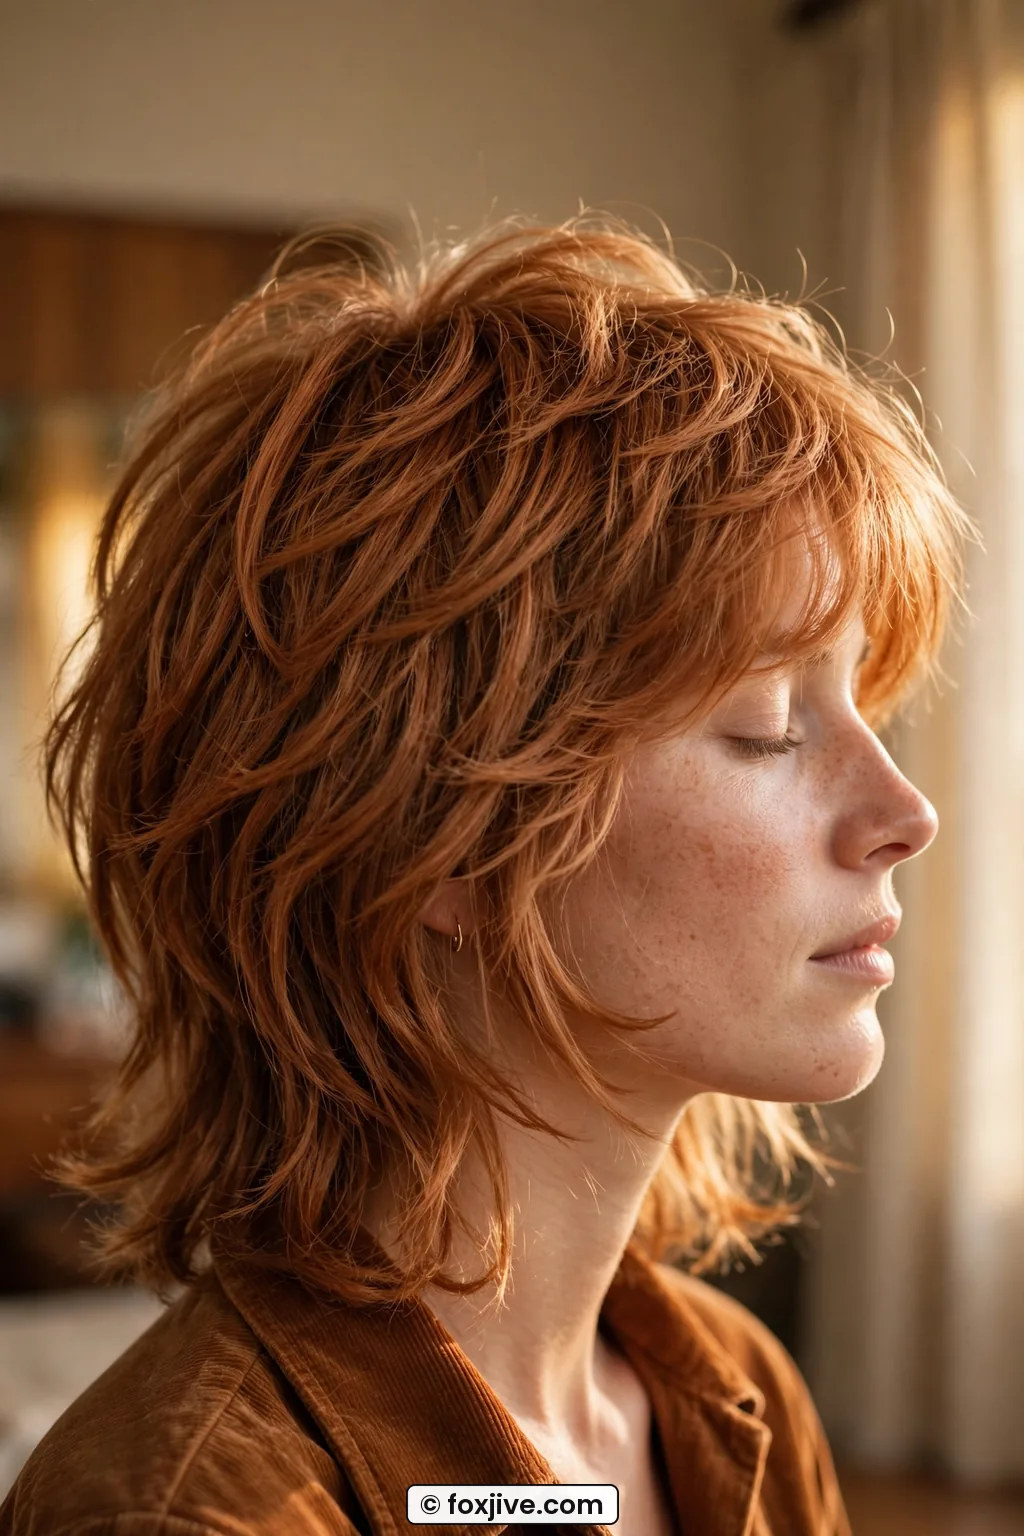
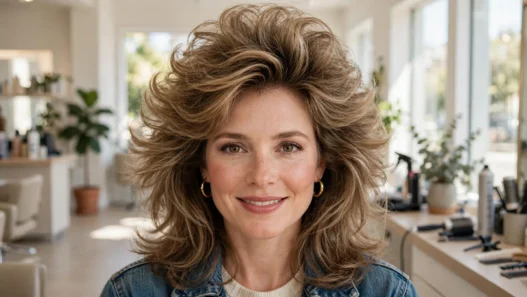
She has a similar face shape to mine, rounder in the cheeks, and honestly this cut looks incredible on her because the top pieces lift while the bottom stays narrow. That balance is everything.
See Feathered Layers Done Live
10. The Side-Part Swoop
Sometimes I just want old-school glamour without trying. Deep side part, one big swoop across the forehead that joins the side layer. Very Bianca, very Studio 54 going to brunch. I wear this when my front layers are being stubborn because the deep part forces them to behave.
No special cut required, though a long front layer helps the swoop lie flat. I set it on damp hair with a deep part, comb the heavy side over, and clip it flat with a barrette while I get dressed. That is my whole heatless set. Ten minutes. Remove the clip, tuck the light side behind the ear, leave the heavy side to drift. If you love side-swept history in general, the softer takes in 1990s hairstyles are worth a peek, but the 70s swoop is longer and looser, less piecey.
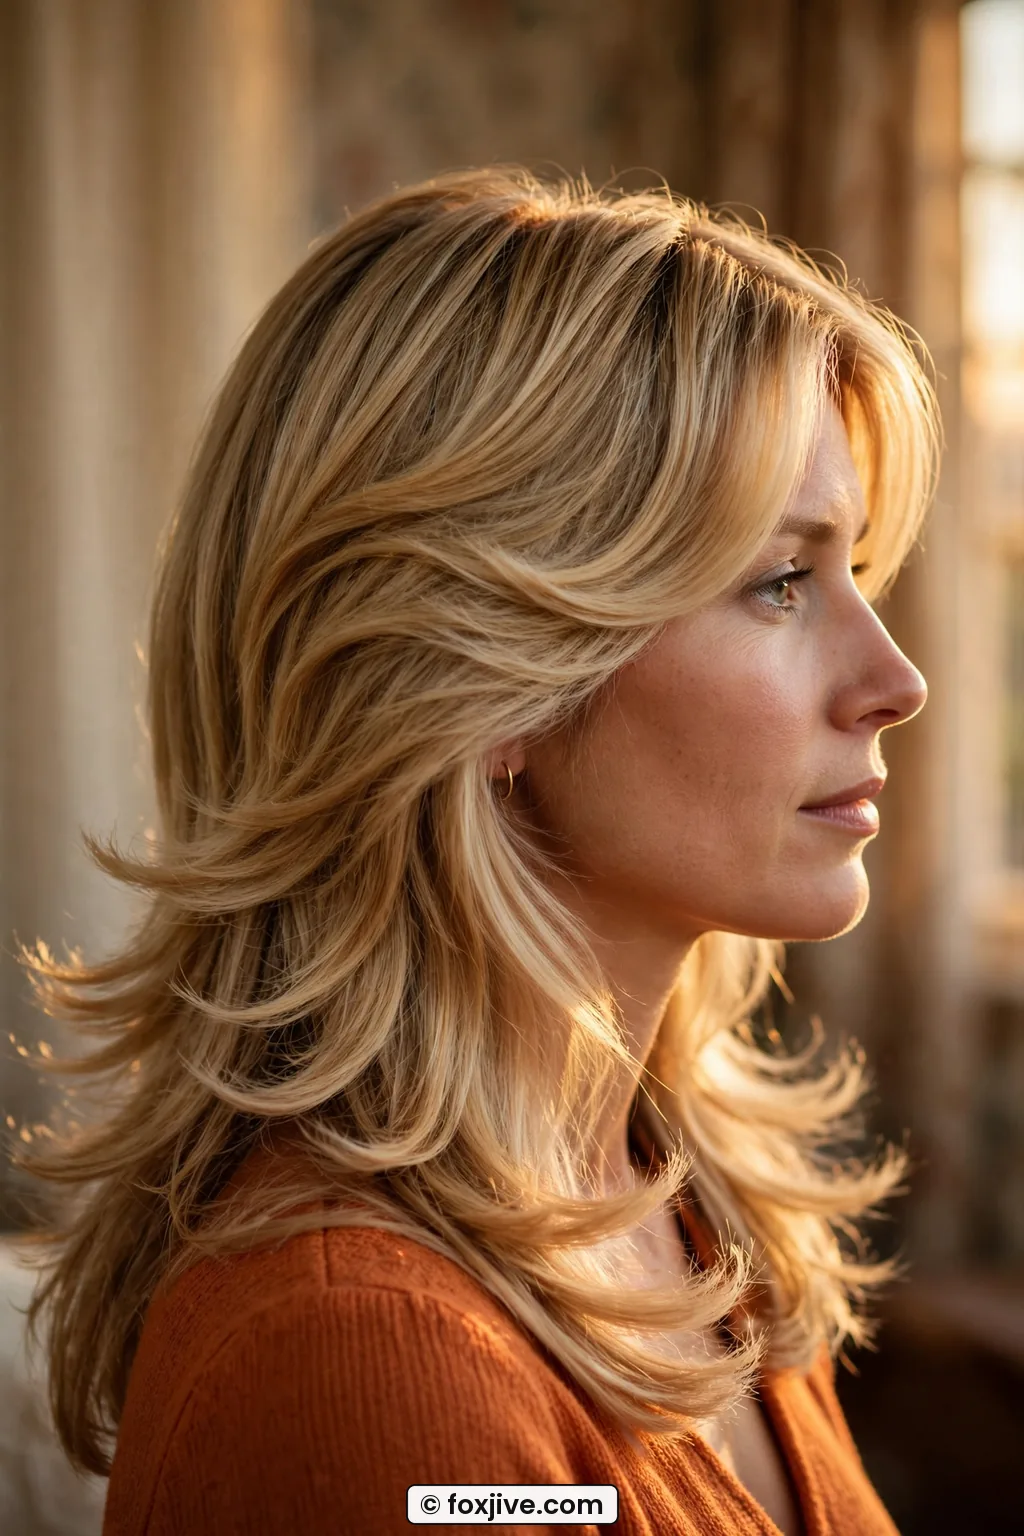
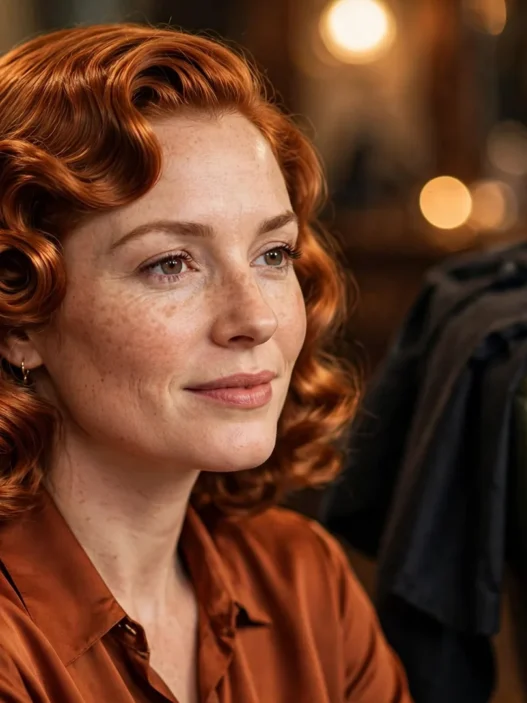
See how her sweep starts low and moves back, not up? That low start is what keeps it seventies instead of pageant. I always have to remind myself not to lift it too high.
11. The Air-Dried Feather
And here is my closer, the one I wear most. True feathering, where each layered end is separated and light, but done with zero blow-dryer. Just washed, scrunched, and left alone in golden afternoon air if I am lucky.
Can you feather without layers? No. Saying it plainly like I promised. Numbers 1, 4, 9, and this one need a layered cut underneath. No way around it. Numbers 3, 5, 7, 8, and 10 can be faked on one length or with grown-out layers. Numbers 2 and 6 live in the middle, better with a cut but wearable without. For this final feather, you need those short-to-long, feathery ends cut with texture, not blunt. Then the brushwork is fingers only. I rub a tiny bit of cream between palms, pinch ends in small sections while damp, and pull outward lightly. As it dries, each feather separates. Do not brush after. Just shake.
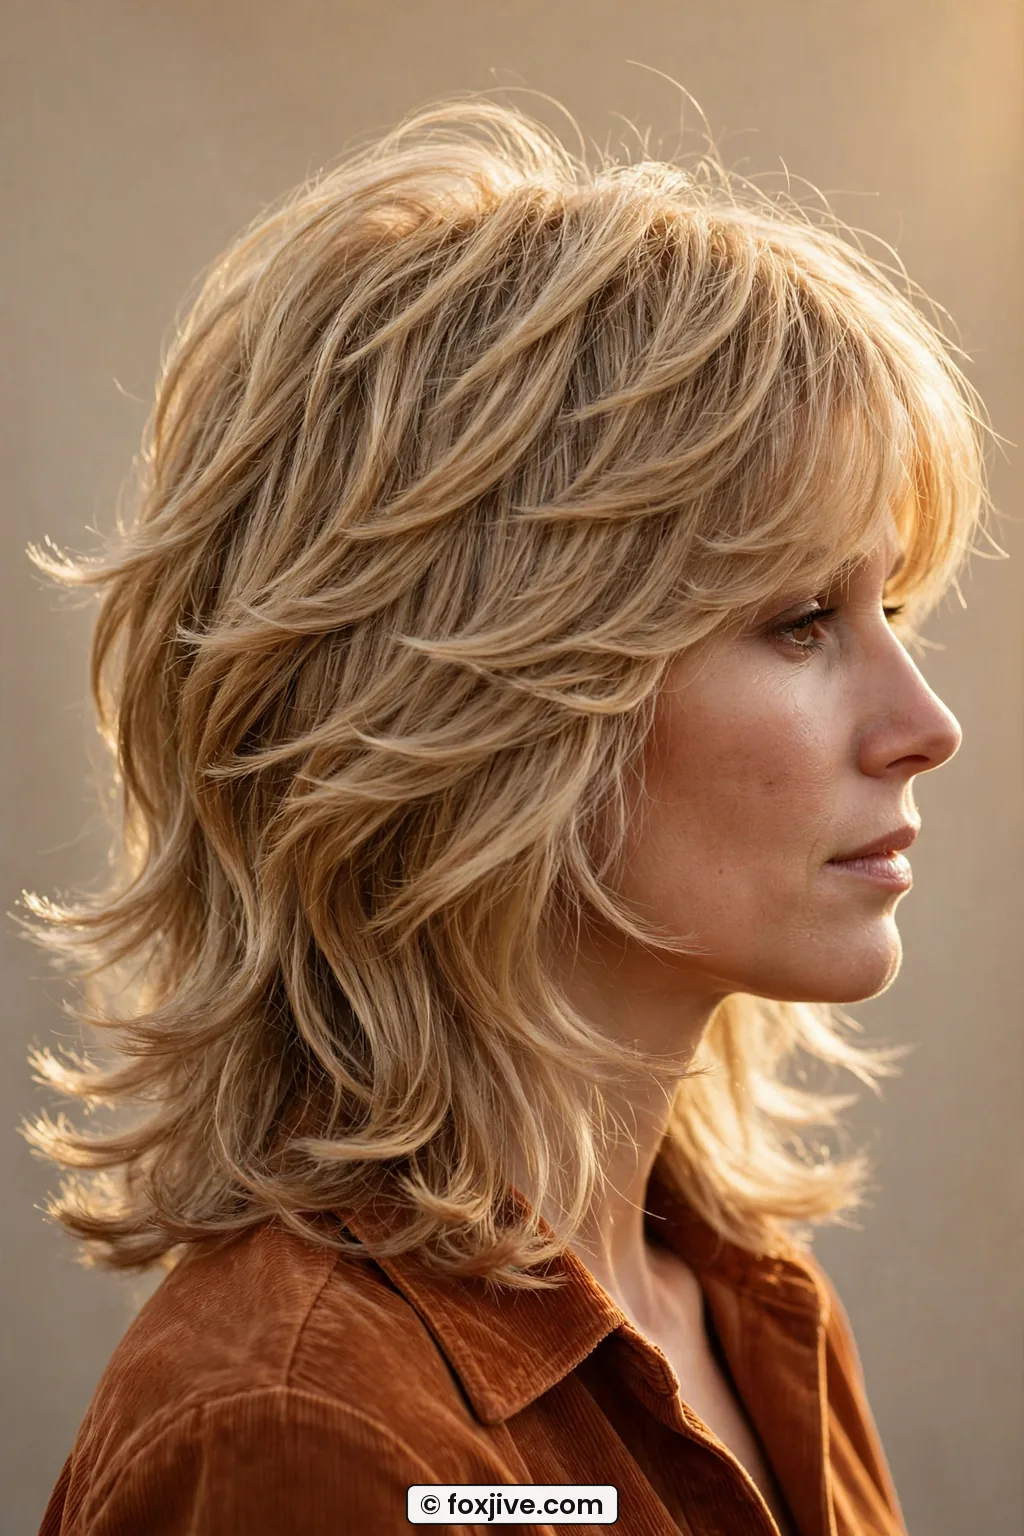
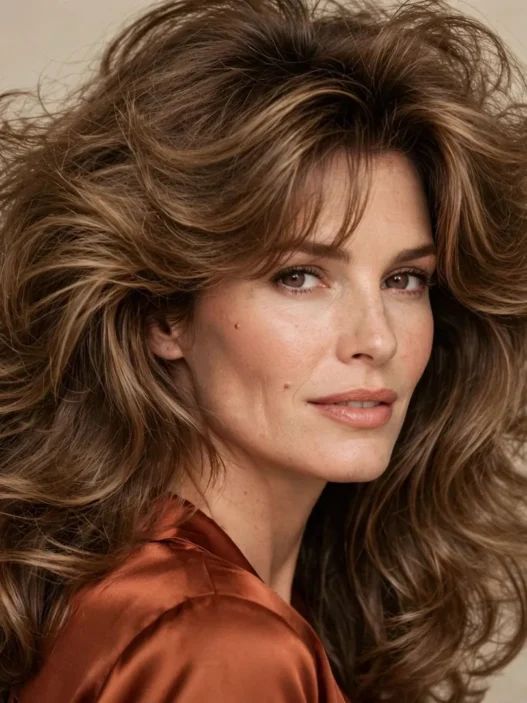
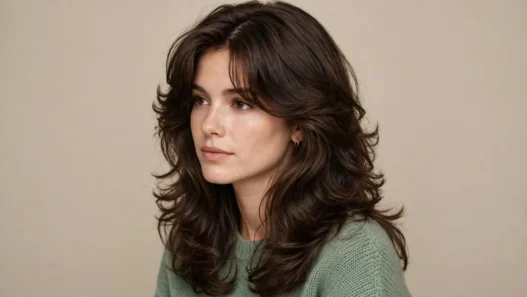
This photo is the textbook. Side view, warm light, every feathered end sitting apart from the next. When mine looks like that, I do not even care that the back is a mess. The front carries the whole style.
What I Get Asked About 70s Flicks and Feathers
Do I really need layers for feathered 70s looks?
For true flicks, yes. The outward kick, the cheek piece, the shag, and the separated feather need texture cut in. The sweeps, tucks, and lift can be faked beautifully on one length.
What is the fastest no-heat method for flicked ends?
Clip-setting damp ends. Bend the front layers outward over small clips or tucked behind ears for 20 minutes. It gives a soft flick without any hot tools.
How do I keep feathered layers from going frizzy?
Keep product off the roots and only pinch cream through the ends. I also sleep on a satin pillowcase because cotton roughs up those thin ends overnight.
Can fine hair wear 70s volume?
Absolutely, just keep it at the crown. Flip your part while damp and clip the top up. Leave the sides smooth so fine hair does not puff out sideways.
So that is my little movement guide. If you try just one, try the outward flick or the air-dried feather on your next wash day and tell me how it goes. I am still playing with mine, and honestly? The imperfect days are the most seventies anyway.