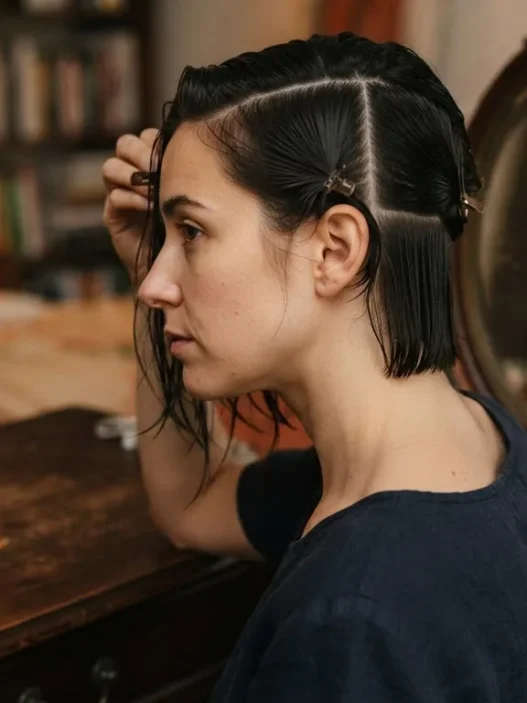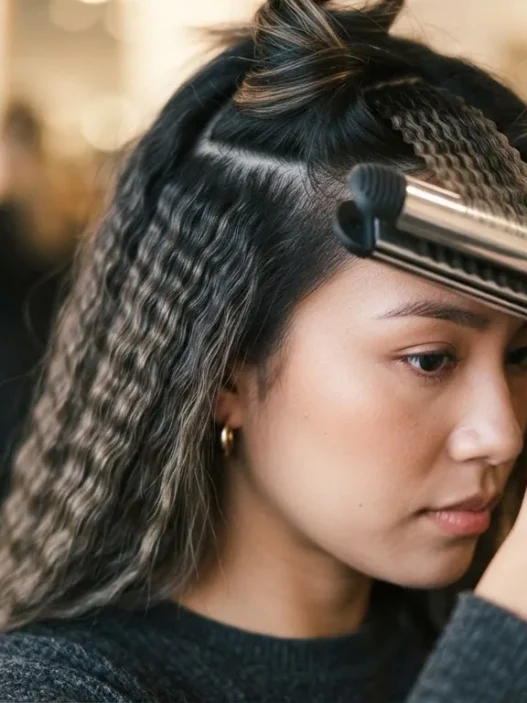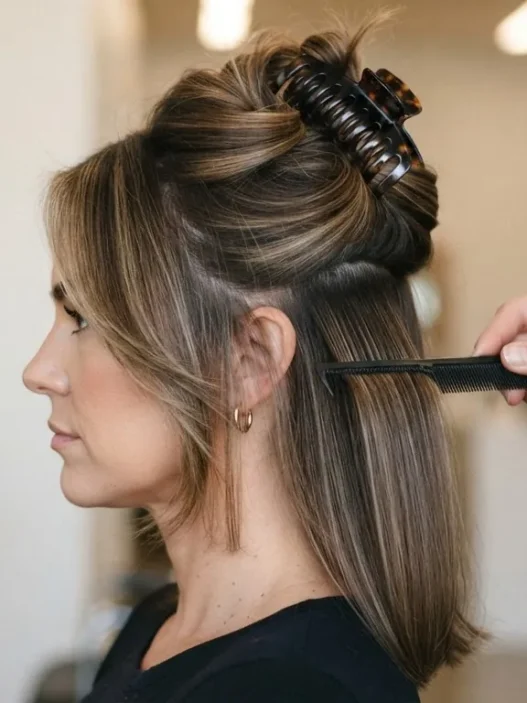







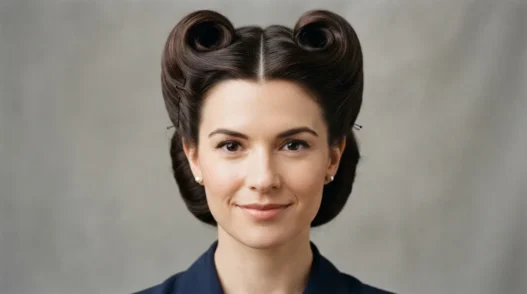
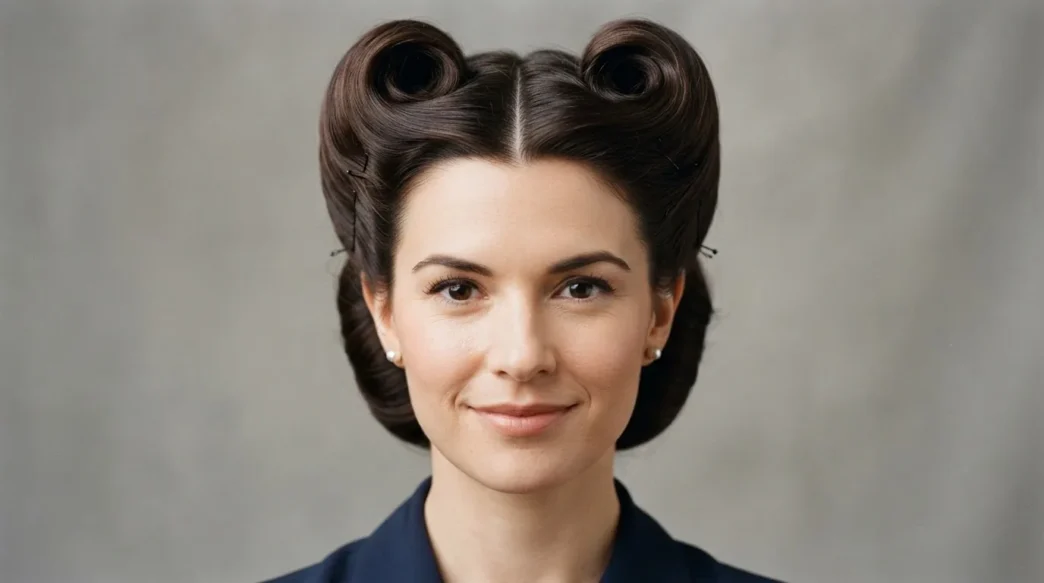
I got obsessed with forties hair the way most people do — watching old films at 2am and wondering how women managed to look that composed while the world was genuinely falling apart. The thing I figured out pretty fast is that 1940s hairstyles aren’t styled in the way we think of styling now. They’re built. Constructed. You set the shape while the hair is wet or warm, let it dry or cool completely, then release it. The finished result is essentially a mold. That shift in thinking changed everything for me, because I stopped fighting the technique and started working with it.
Below I’ve ordered eleven forties looks by time cost — fastest first. Every entry tells you the honest minutes, what holds it in place, and what the finished shape actually looks like. I’ve also noted where things tend to go wrong the first time, because they will go wrong and that’s completely fine.
What’s Inside: Your Forties Hair Roadmap
- 1. The Single Victory Roll — 20 Minutes
- 2. The Double Victory Roll — 35 Minutes
- 3. The Side-Swept Pompadour — 25 Minutes
- 4. The Pageboy — 40 Minutes
- 5. The Half-Up Snood Style — 45 Minutes
- 6. The Front Roll with Loose Waves — 50 Minutes
- 7. The Simple Updo Tuck — 55 Minutes
- 8. The Full Pin Curl Set — Overnight
- 9. The Victory Roll Updo — 1 Hour 15 Minutes
- 10. The Marcel-Wave Finish — 1 Hour 30 Minutes
- 11. The Full Forties Glamour Set — 2 Hours Plus
1. The Single Victory Roll — 20 Minutes
This is the entry point. One roll, usually placed at the front-center or off to one side, sitting like a little crown above your forehead. You section out about two inches of hair from the front hairline, backcomb the section lightly, roll it away from your face, and pin it underneath so no bobby pins are visible from the front. The hold comes from the backcombing plus a mist of firm-hold hairspray applied before you roll, not after.
The finished shape is a clean, rounded tube that sits above the hairline. It works on short, medium, and long hair because the rest of the hair is simply worn down or tucked away. If you want to go deeper on all the single-roll variations, 9 victory roll ideas ranked by how long they take is worth a read — it goes into detail I don’t have space for here.
What goes wrong the first time: the roll collapses because you didn’t backcomb enough, or it sits too flat because you rolled it too loosely. The diameter should be about the size of your thumb. Practice that.
2. The Double Victory Roll — 35 Minutes
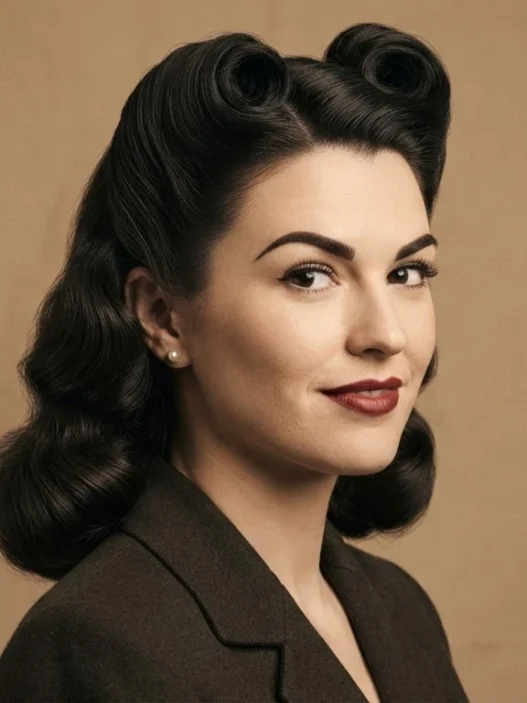
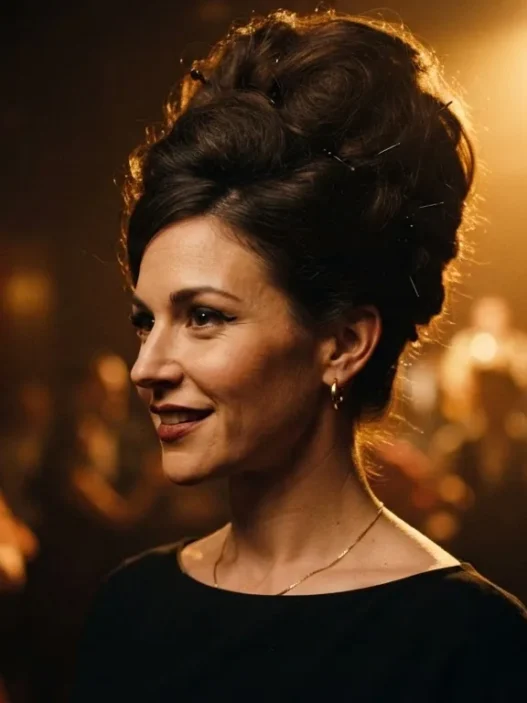
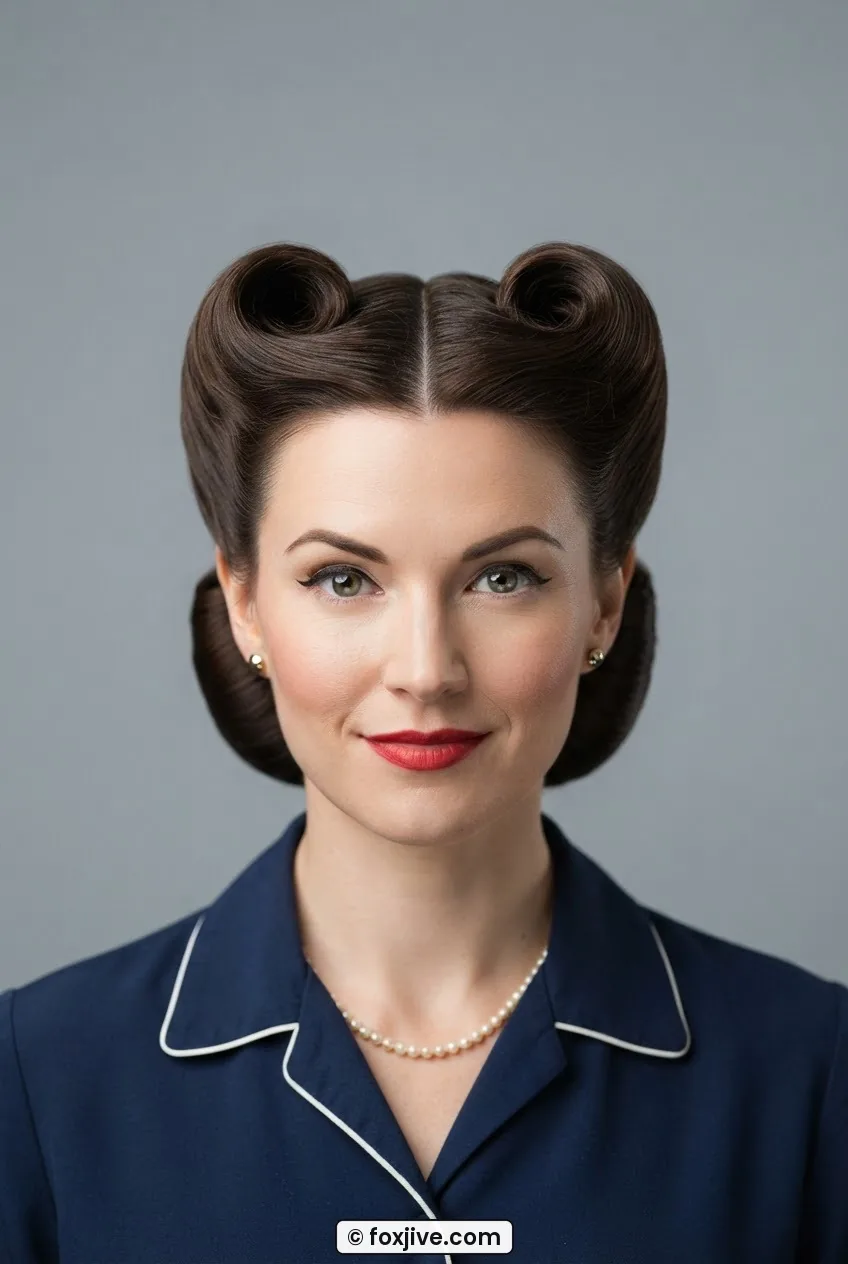
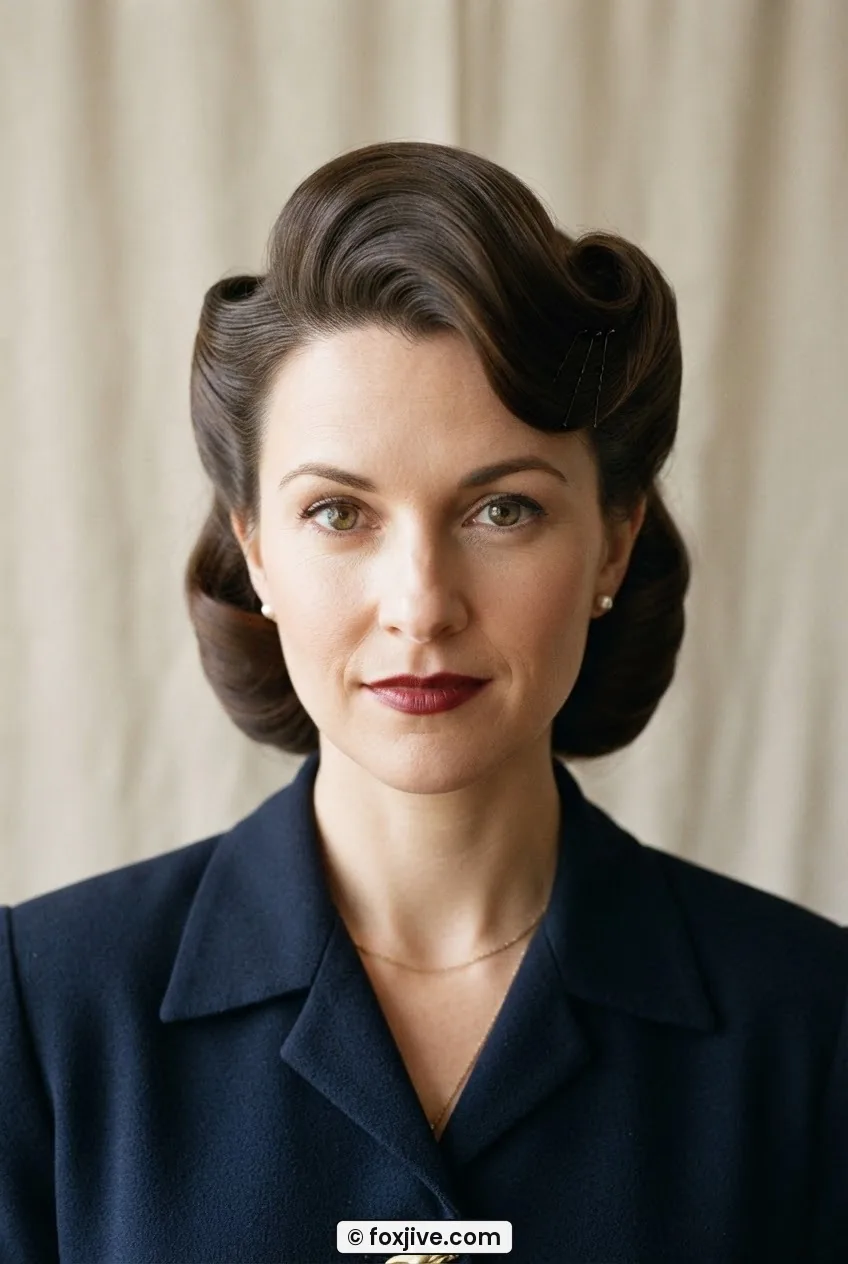
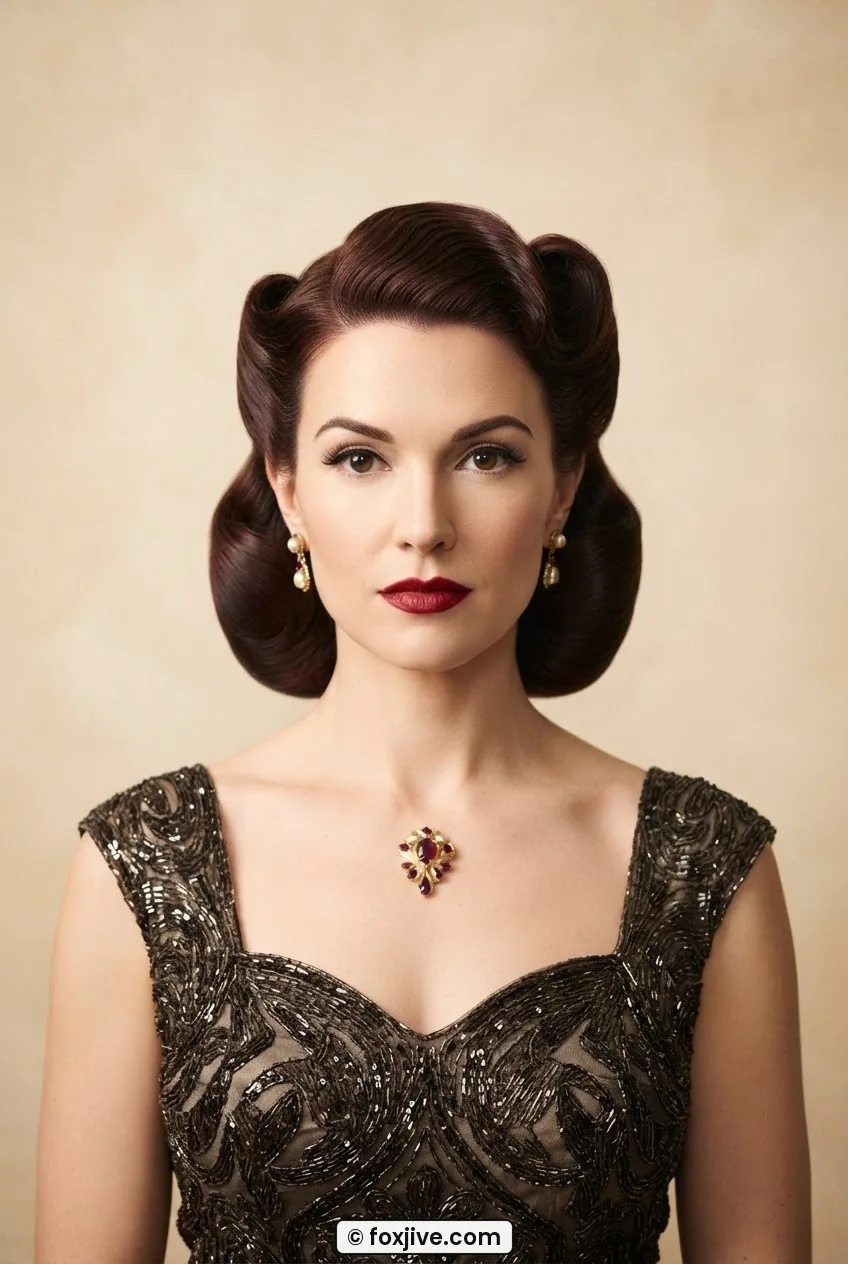
Two symmetrical rolls, one on each side of a center part, curving away from the face. This is the look most people picture when they hear “forties hair” — and looking at how she’s wearing hers in the photo, that angle is exactly what I mean about the parting doing half the work. A clean, precise center part is non-negotiable. The rolls should mirror each other perfectly.
Each roll takes the same technique as the single: backcomb, spray, roll, pin underneath. The extra time comes from getting the symmetry right. I section each side with a rat-tail comb before I touch the hair, and I do both sides simultaneously — a little on one, a little on the other — rather than finishing one completely before starting the second. That keeps them even.
Hold: firm-hold pomade on your fingertips to smooth flyaways once the rolls are pinned, then a final mist of hairspray. What goes wrong: uneven roll sizes because you grabbed different amounts of hair from each side. Measure the sections.
3. The Side-Swept Pompadour — 25 Minutes
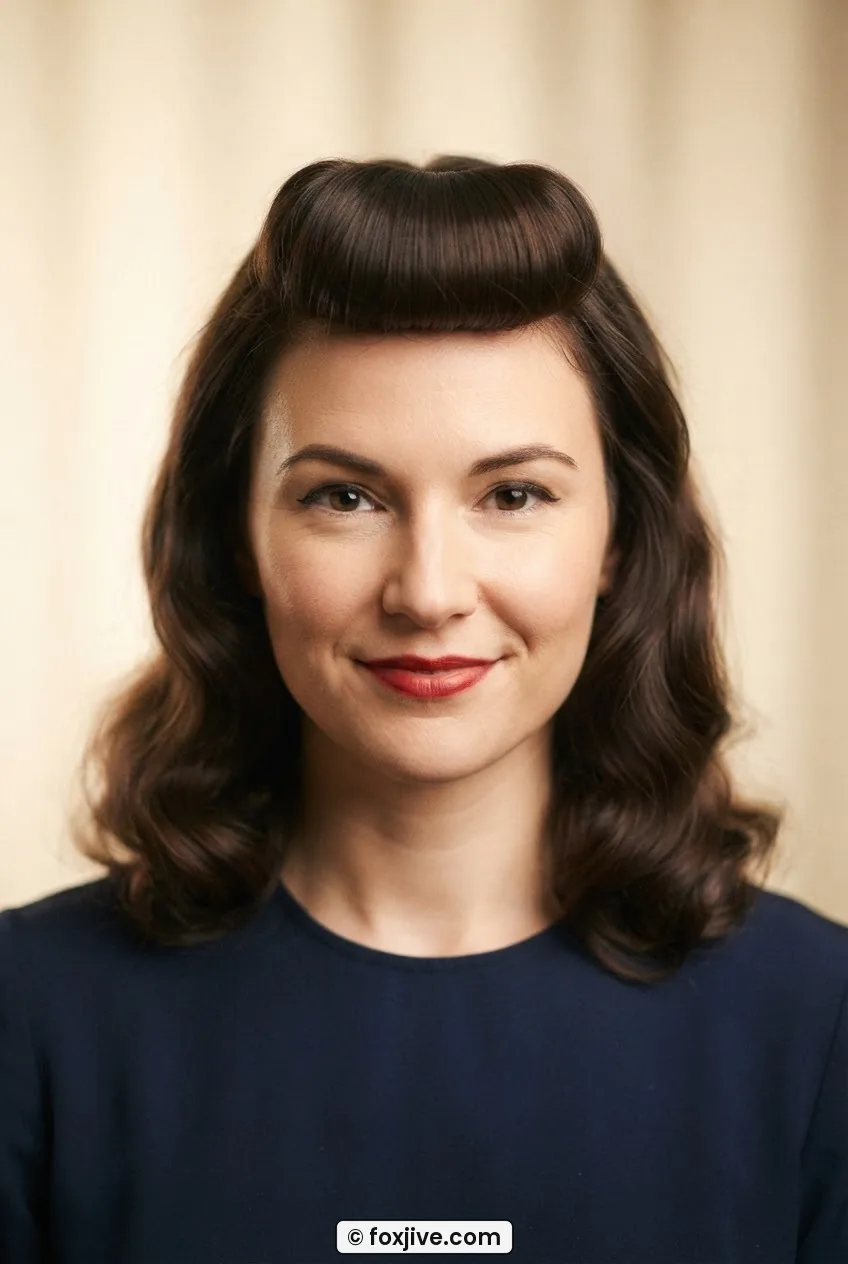
Technically faster than the double roll because you’re only working with one front section. You take a large section from your hairline — temple to temple — tease it for volume, then sweep it to one side and secure it in a soft, looping fold pinned flat against the head. It’s more of a wave than a roll, giving a gentler silhouette than the classic victory roll tube.
This one suits longer faces especially well because the side sweep adds horizontal width without height. Hold comes from a combination of backcombing and a medium-grip pin that goes horizontally through the fold. What goes wrong: the fold slumps forward. You need to pin it at a slight upward angle — push the pin toward the crown, not toward the forehead.
4. The Pageboy — 40 Minutes
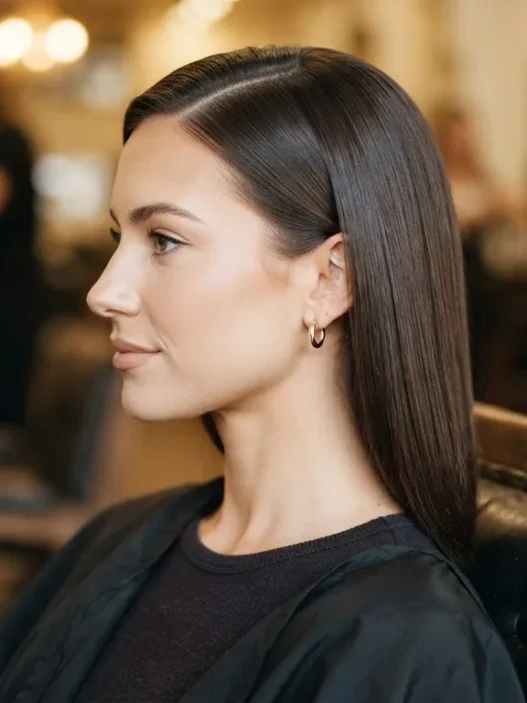
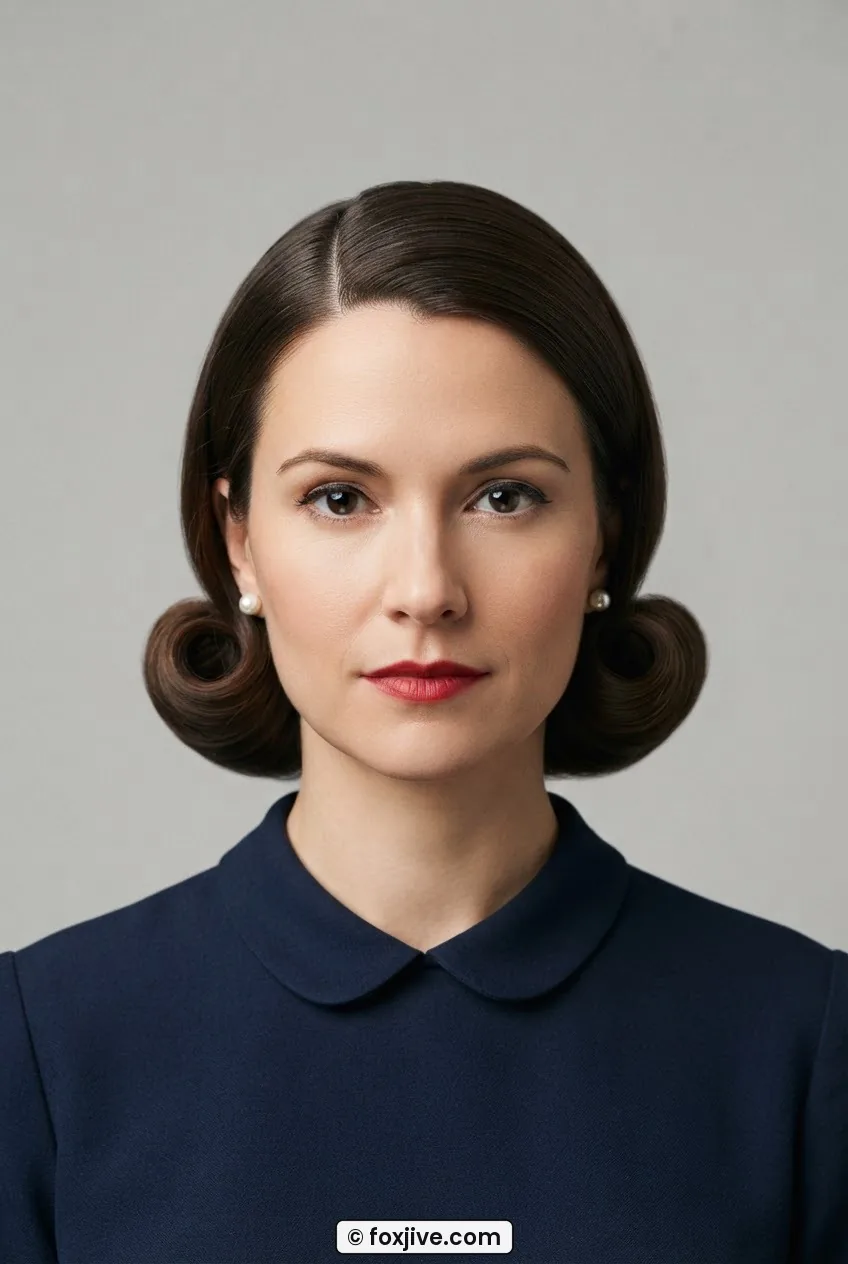
The pageboy is the forties’ answer to “I want something polished but not fussy.” Hair is set on large rollers or pin curls around the bottom perimeter of the head, then released to create ends that curl under — not out, not forward, but cleanly under — creating a smooth, rounded hem at jaw or shoulder length.
The set takes about twenty minutes, then you need at least another twenty for it to cool if you’re using a curling iron (or much longer for a wet set). You’re aiming for that clean, blunt-looking hem that bounces very slightly when she walks — see how uniform that curve is? That’s the hallmark of the style. Hold comes from the structure of the curl itself, plus light pomade on the ends. What goes wrong: ends flick out instead of under because you rolled them from the outside. Roll from underneath — wrap the ends inward before you add the roller.
5. The Half-Up Snood Style — 45 Minutes
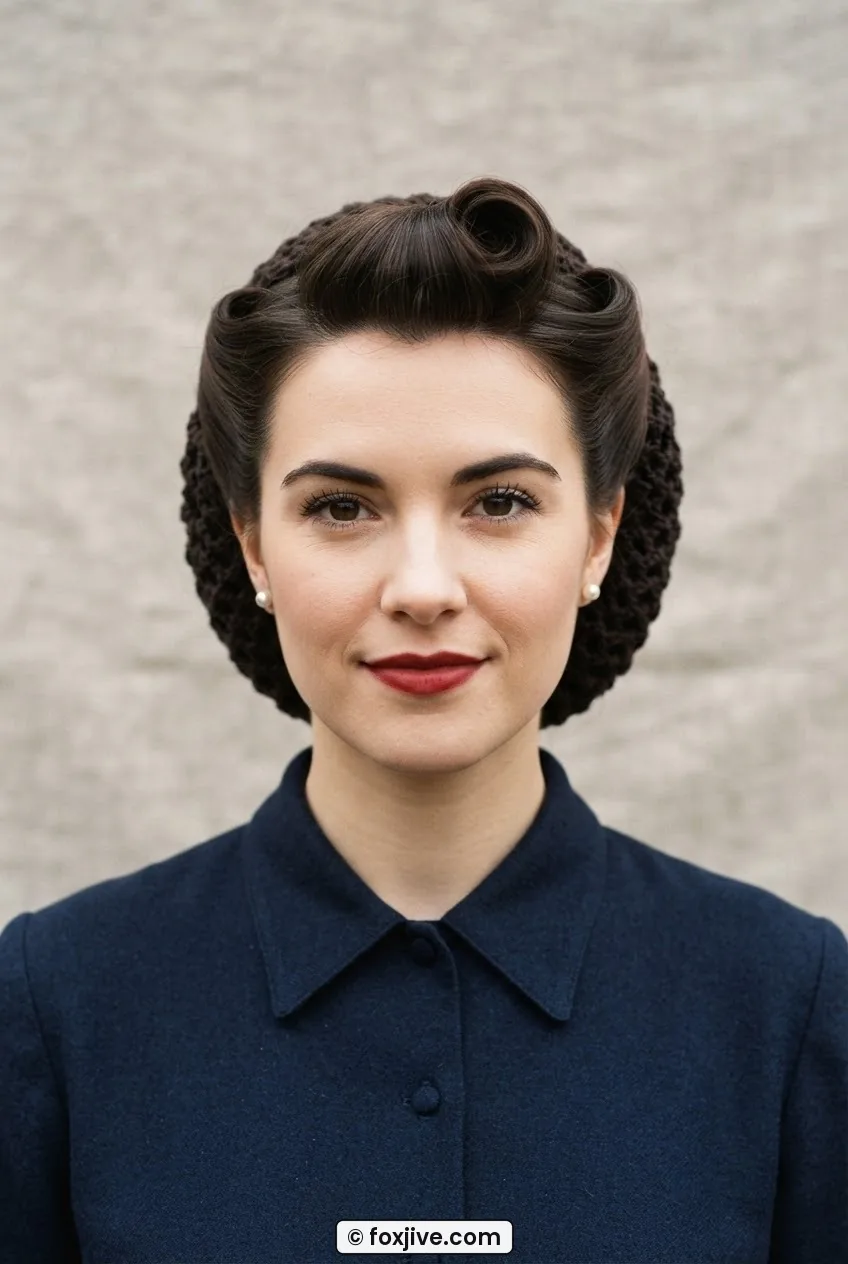
The snood was everywhere in the forties, partly because it was practical and partly because the government actually rationed bobby pins at various points and women had to improvise. The style involves pinning the top and sides of the hair up (often with a small roll or sweep at the front), then tucking the remaining length into a crocheted or fabric snood at the nape.
Most of the forty-five minutes here goes into setting the front section. The snood itself takes thirty seconds — you literally just gather the lower hair and pull the snood over it. If you don’t own a snood, a wide ribbon tied into a pouch works. This is also a genuinely forgiving look for fine hair because the snood hides any flatness at the back.
6. The Front Roll with Loose Waves — 50 Minutes
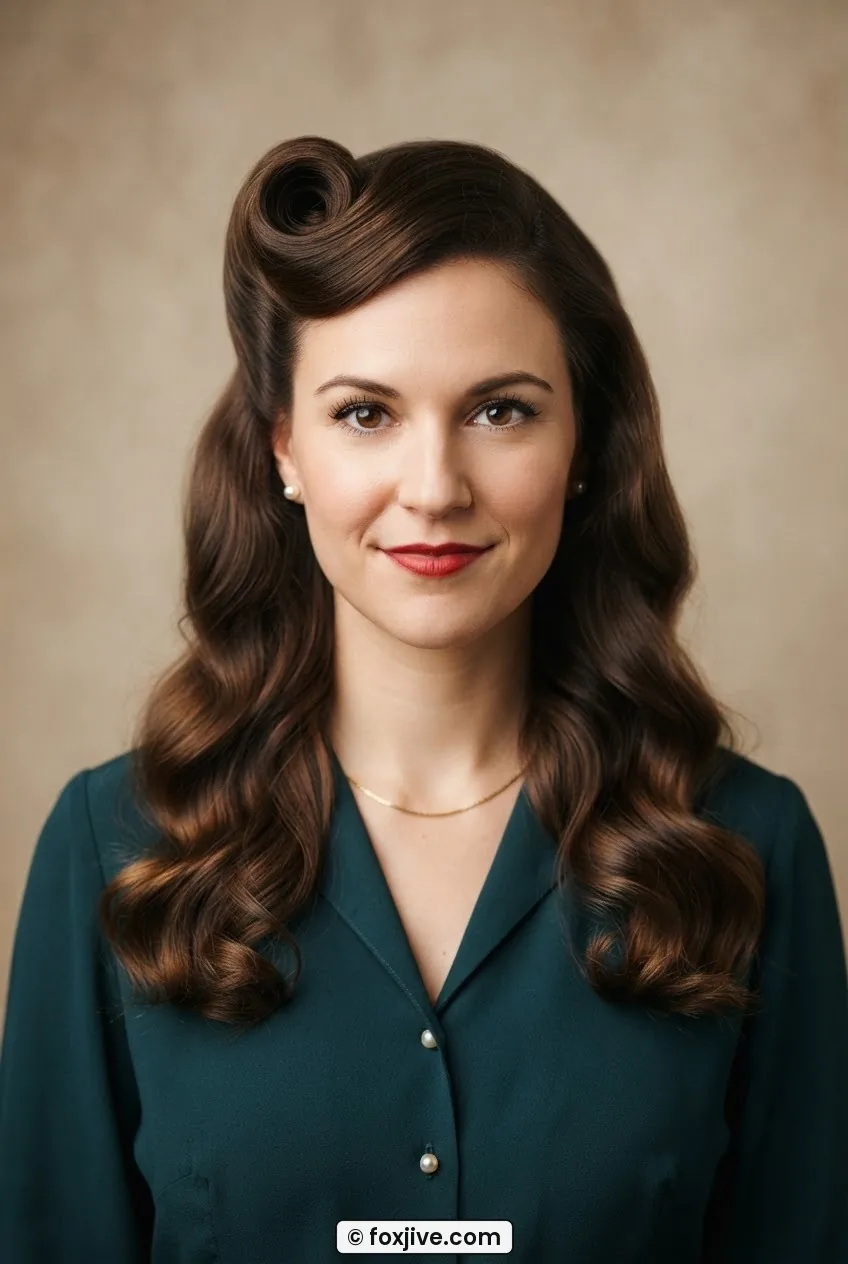
One victory roll at the front — center or off-center — with the rest of the hair worn in loose, rolling waves rather than a full set. This is my personal daily go-to when I want to look forties-adjacent without committing to a full production. The waves are formed with a large-barrel curling iron, then brushed out with a boar-bristle brush while the curls are still warm to soften them into proper forties-era waves rather than modern ringlets.
This is my personal pick for the style most worth learning first. The single front roll with loose waves gives you ninety percent of the forties aesthetic for about thirty percent of the effort. Once the roll clicks for you — and it will click, usually on attempt three — the rest of the look feels easy by comparison.
Hold: firm-hold hairspray on the roll, light-hold spray on the waves. What goes wrong: the waves are too tight and look too modern. Brush them out more aggressively than feels comfortable. You want S-bends, not spirals.
7. The Simple Updo Tuck — 55 Minutes
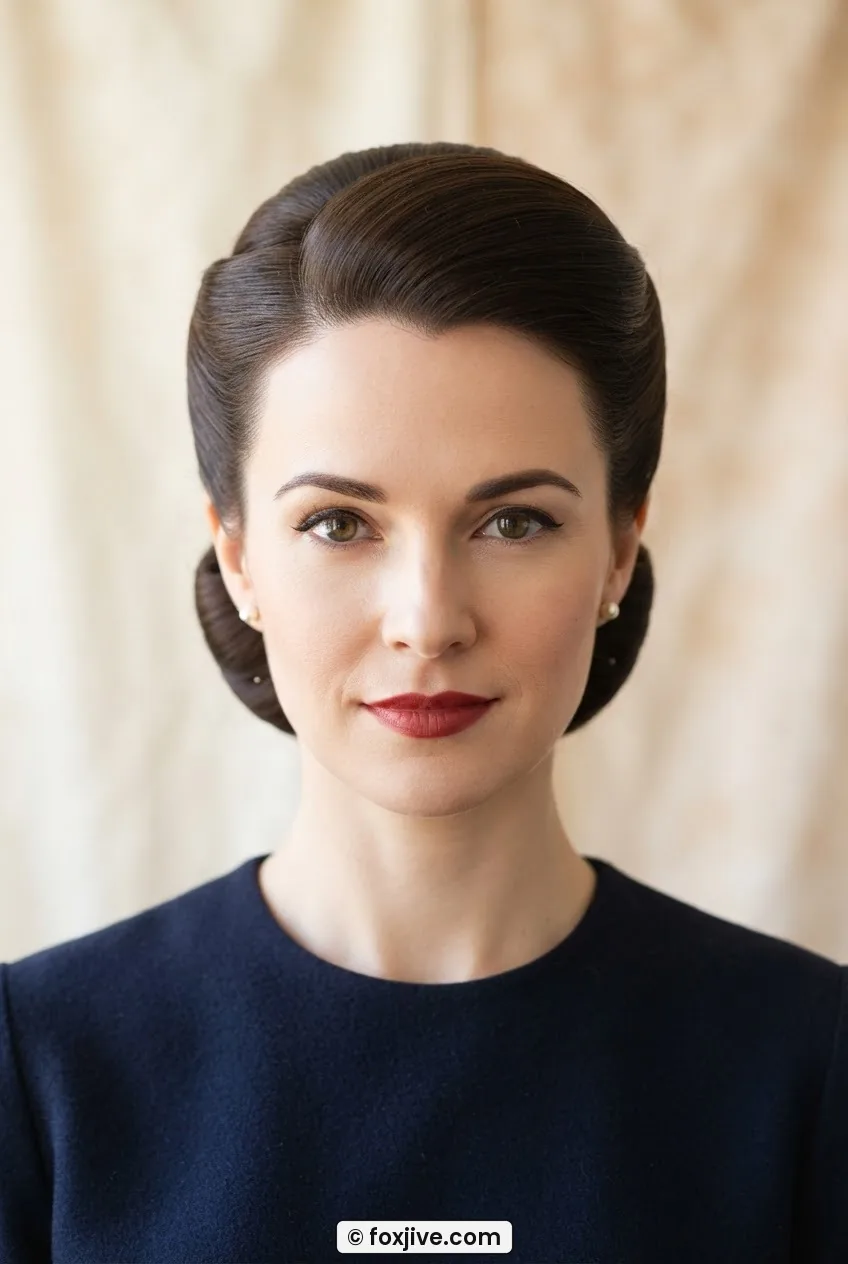
A full updo where the hair is twisted, folded, and tucked at the back of the head, with a smooth, slightly elevated crown at the top. No rolls at the front — just a clean, swept look that relies entirely on tension and pinning. This is the “I have somewhere important to be” look, and it aged remarkably well into 2026 because it works with modern suiting and minimal jewelry perfectly.
The time investment here is mostly in smoothing — getting rid of lumps and bumps in the back section. A good quality vintage hairstyling resource like Foxjive.com can be useful when you’re troubleshooting the back of your head, which is genuinely hard to see. What goes wrong: the tuck drops at the nape. Use a horizontal pin through the base of the fold first, then add vertical pins on either side.
8. The Full Pin Curl Set — Overnight
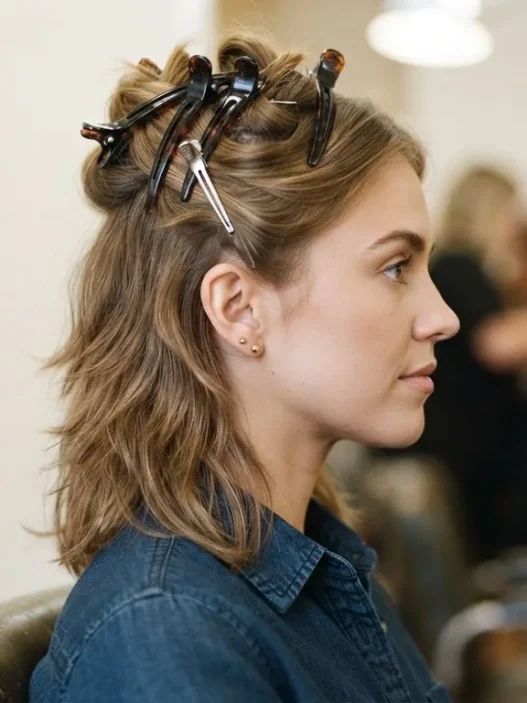
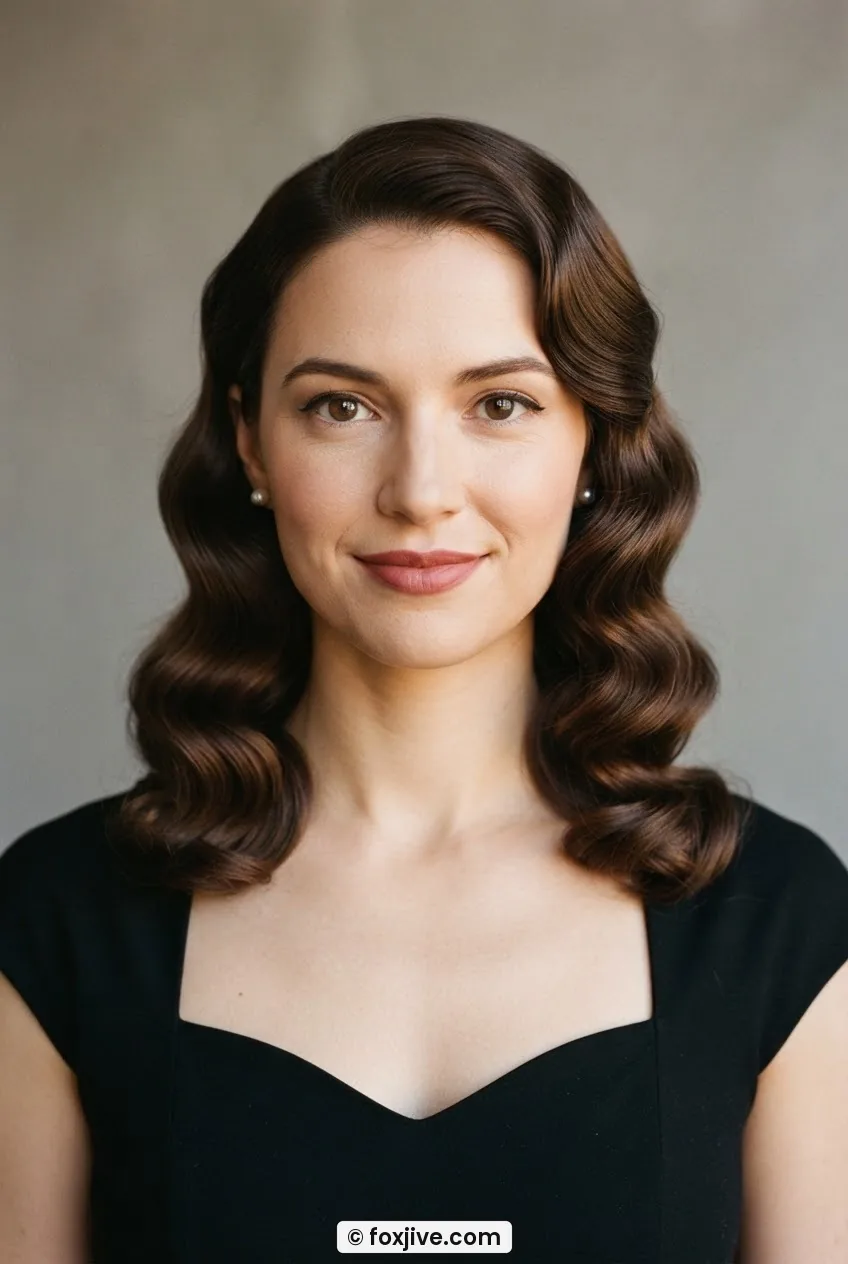
Here’s where forties hair gets serious. Pin curls are the engine that powers most of the classic looks — including the pageboy, the soft wave, and the brushed-out glamour set further down this list. You section damp hair into small uniform sections, coil each one flat against the head with your fingers (no rollers), and pin it in place. Then you sit under a dryer for an hour, or wrap your head in a silk scarf and sleep on it.
The results are genuinely different from anything you get with a curling iron. The curl is softer, longer-lasting, and holds its shape without product in a way that modern heat-styled curls simply don’t. I did my first full pin curl set on a Friday night, slept in it, and spent all of Saturday with hair that required almost zero touching up. It’s a time investment that actually saves time the next day.
Understanding how pin curls create their shape is genuinely helpful before you start, because once you understand the direction logic — clockwise curls create different wave directions than counter-clockwise — it stops feeling random and starts feeling like a pattern. What goes wrong: uneven curl sizes and too much moisture still left in the hair when you unpin. Both result in frizz.
A Pin Curl Tutorial That Finally Made It Click
9. The Victory Roll Updo — 1 Hour 15 Minutes
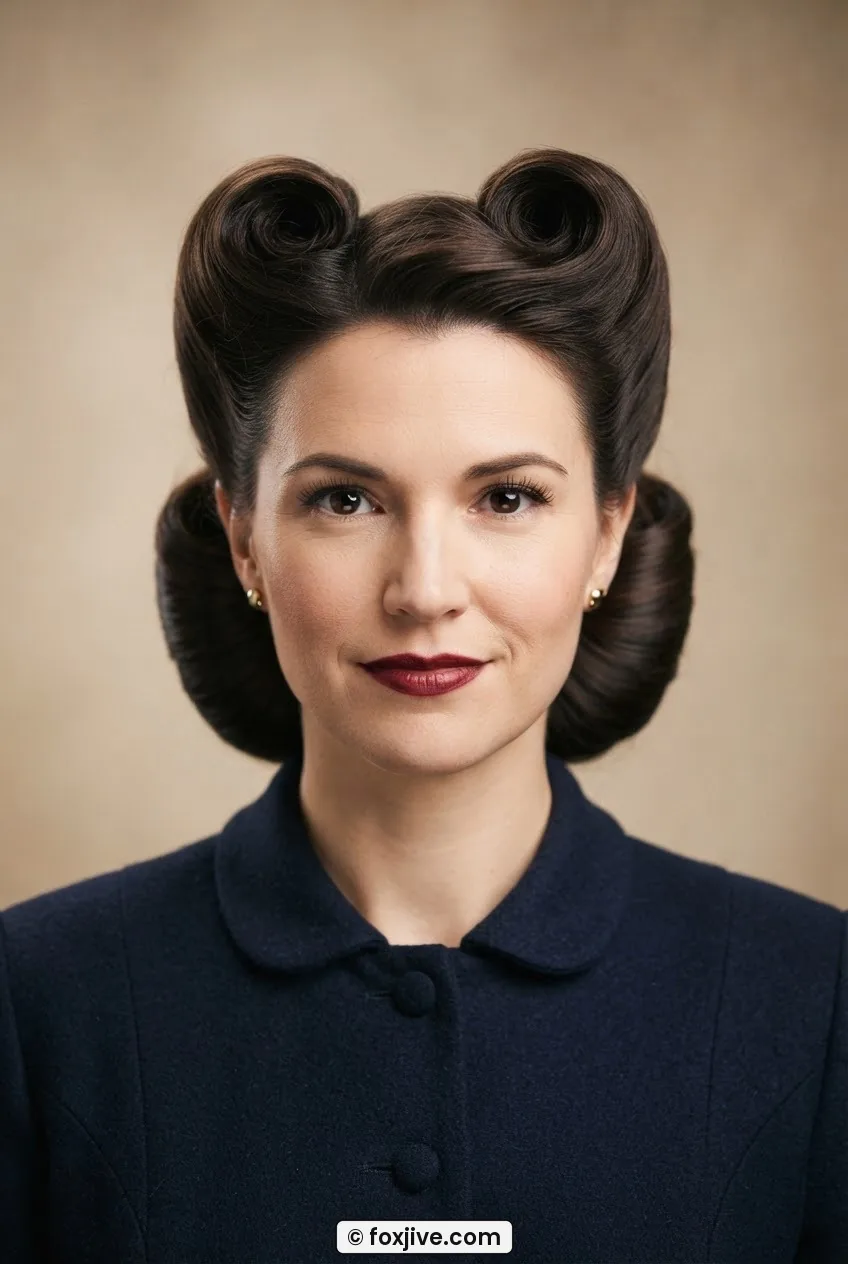
Both victory rolls plus a full updo at the back. This is the style people try to recreate for vintage weddings and themed events, and it’s absolutely worth the time — but it’s not something to attempt for the first time thirty minutes before you need to leave the house.
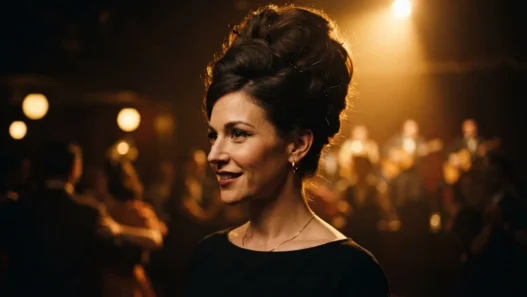
The process: do the rolls first while the hair is fresh and grippy, then build the back updo while the rolls are pinned but still accessible for small adjustments. The back can be a twist-and-tuck, a chignon, or a netted snood depending on how formal you want the result. She’s got her rolls pinned slightly higher than mid-forehead in this image — see that? That placement elongates rather than widens. Really smart choice for her face shape.
Hold: this style uses more pins than any other on this list. Budget around twenty bobby pins minimum, and use the wave-edged ones rather than smooth — they grip dramatically better. What goes wrong: the rolls loosen as you’re building the back. Spray each roll with firm-hold hairspray and wait thirty seconds before moving on.
10. The Marcel-Wave Finish — 1 Hour 30 Minutes
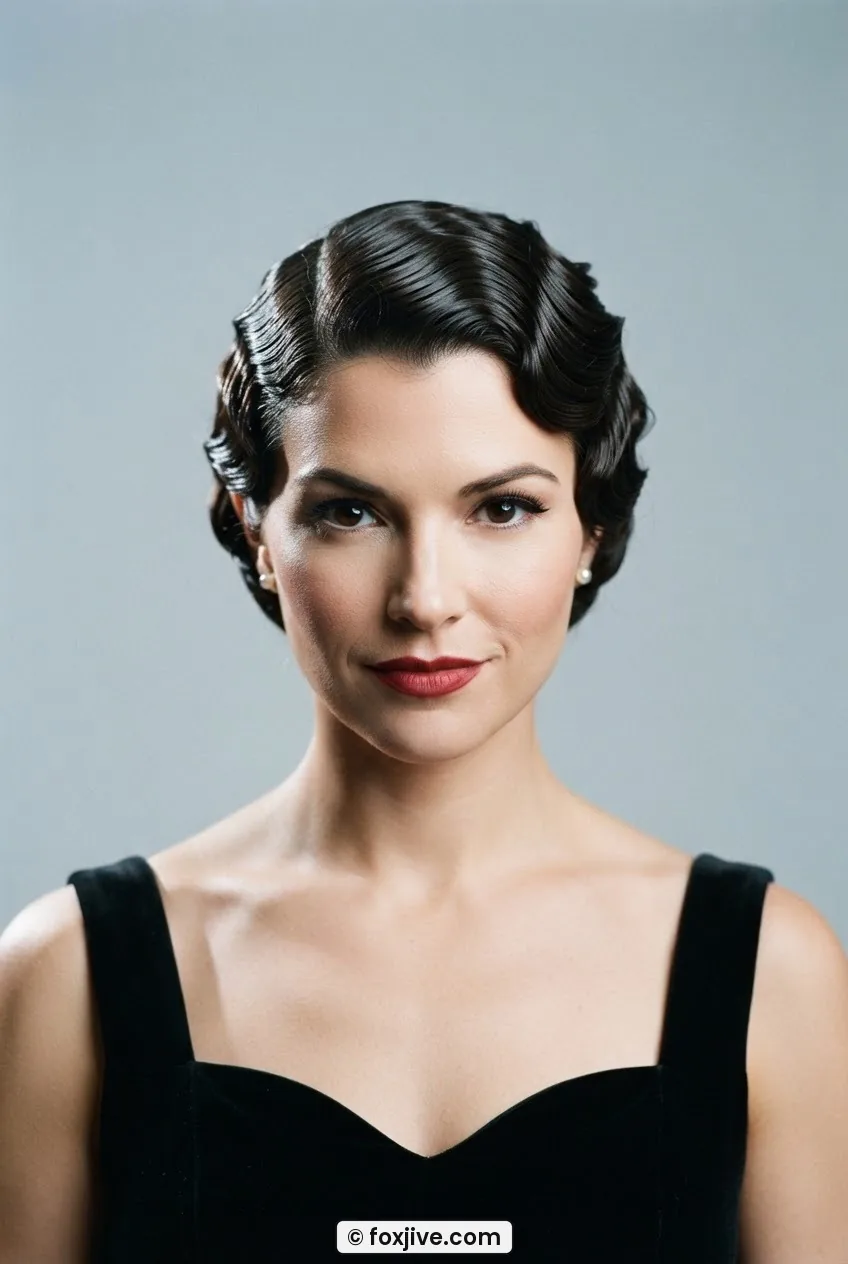
Marcel waving is a specific technique — you use a Marcel iron (basically a curling iron with a different grip mechanism) or a standard curling iron with intentional S-bending technique to create deep, even, sculpted waves that move in alternating directions across the head. Think Veronica Lake or any of the Old Hollywood screen sirens whose hair looked like it was carved from satin.
It’s slow because each wave requires a precise crimp-and-reverse action, and you have to work in very small sections. But the results are extraordinary. This is one of those techniques where historical waving guides show useful period-accurate technique that modern tutorials often skip. The setting lotion you use matters enormously here — something with firm hold and heat protection both, applied to damp hair and blown out before you start waving.
What goes wrong: the waves are uneven because the sections were different sizes. Use a rat-tail comb to measure every single section against the last one.
11. The Full Forties Glamour Set — 2 Hours Plus
This is the whole production. Wet set on pin curls or rollers. Hood dryer. Dry completely. Release. Brush through with a boar-bristle brush until the curls merge into unified waves. Section and form the front — rolls, pompadour, or swept side. Smooth the crown. Finish the back. Apply setting spray. Wait. The finished result looks like something from a 1940s film poster, which is not an accident — it’s literally the same process.
This works particularly well on long hair because the weight helps the waves fall in those beautiful deep S-bends you can’t quite fake with a curling iron. I want to be honest: this takes practice. My first full glamour set took nearly three hours and looked slightly deranged. By the fifth attempt, I was down to just over two hours and happy with the result. The learning curve is real but it plateaus fairly fast.
Hold: a combination of setting lotion applied before the set, the structural integrity of the pin curls themselves, and a very light final mist of hairspray after brushing. You want the hair to move, not be lacquered. What goes wrong: almost everything, at first. Uneven curls, incomplete drying, too-aggressive brushing that breaks the wave pattern. But keep going.
Before You Start — Common Questions
Do I need special products for 1940s hairstyles?
Not necessarily special, but specific. A firm-hold setting lotion makes a real difference for wet sets, and a non-greasy pomade is useful for smoothing victory rolls. Modern firm-hold hairspray is honestly fine — the main thing you’re replacing is the lacquers they used back then, and modern equivalents hold just as well without the helmet effect.
Can I do forties hairstyles on short hair?
Yes, and several of these styles actually suit short hair beautifully. The single victory roll, the side-swept pompadour, and the pin curl set all work on hair from about three inches upward. Short hair in the forties was common — women who worked in factories had hair cropped close for safety, and the rolls and curls were concentrated at the front and top.
How do I make a victory roll stay up all day?
Backcombing is the real answer — it creates a grippy interior structure that the roll holds onto. Add firm-hold spray before you roll, pin underneath with wave-edged bobby pins pointing inward toward the center of the roll, and finish with one final spritz aimed directly at the underside of the roll where it meets the scalp. That base is where collapse starts if it’s going to happen.
Do forties hairstyles work on fine hair?
Fine hair is actually well-suited to pin curls and roller sets because fine strands take the shape more readily than thick hair. The challenge is volume — backcomb more aggressively than you think you need to, use a volumizing mousse before any wet set, and don’t brush too hard after releasing the curls or you’ll lose the structure. The snood style is also genuinely great for fine hair because it conceals any flatness at the back.
That’s eleven looks, ordered honestly by time. If you’re just starting out, do the single victory roll five times before moving on to anything else. Seriously — five times. By the time you nail it on attempt five you’ll have learned ninety percent of what you need for everything above it on this list. And if you want to keep exploring beyond these eleven, there’s a lot more detail on individual roll variations over at the Foxjive about page and throughout the site. Forties hair rewards patience and repetition in a way that modern styling honestly doesn’t — and I think that’s exactly why it’s been worth every minute I’ve spent on it.