







I used to dread the brush-out more than the set itself. I would spend an hour making perfect little pin curls, sleep like a vampire, then brush them into a frizzy triangle in about ten seconds flat. It honestly made me want to quit vintage hair completely.
What changed things for me was realizing the brush-out is not the end. It is the style. The set just gives you raw material. Once I learned to slow down and treat that final ten minutes with respect, my waves finally started looking like the photos I saved.
This is my full-set method for soft, defined waves, from damp hair to finish. Follow it in order and do not skip ahead.
What You’ll Need
I keep my kit stupidly simple now. I used to buy every lotion and foam on the shelf, and my bathroom looked like a backstage table. These days I reach for the same five things because they actually work together and they do not leave that sticky, helmet feeling.
- A spray bottle with water, for getting that even, just-damp finish without soaking the ends
- A light setting lotion or a pea-sized amount of curl cream mixed with water, nothing heavy
- 24 to 30 small single-prong clips or double-prong clips, all the same size so the curls dry evenly
- A fine-tooth comb with a long tail for clean sections
- A soft boar-bristle brush plus one small smoothing brush for the hairline
- A silk scarf for sleeping in the set, and a little pomade for flyaways at the end
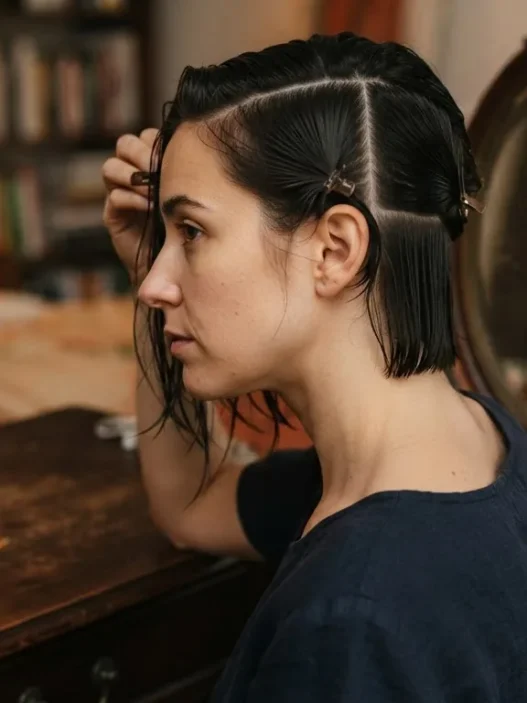
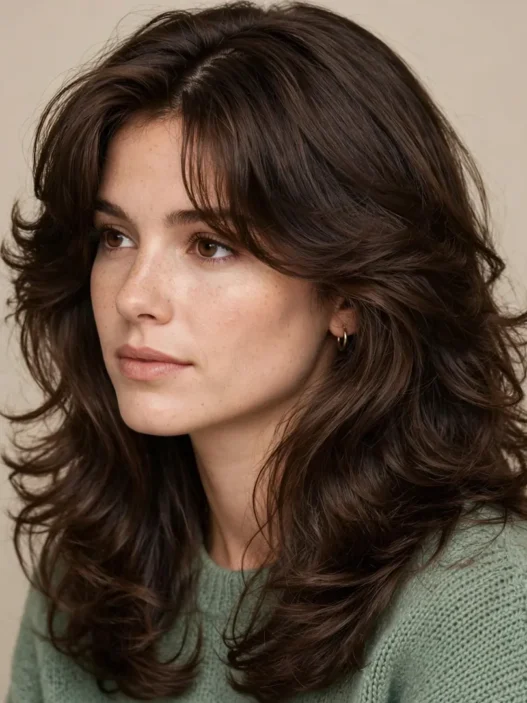
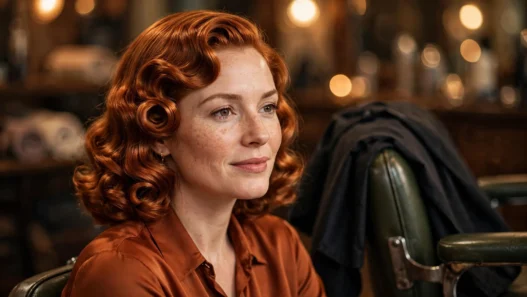
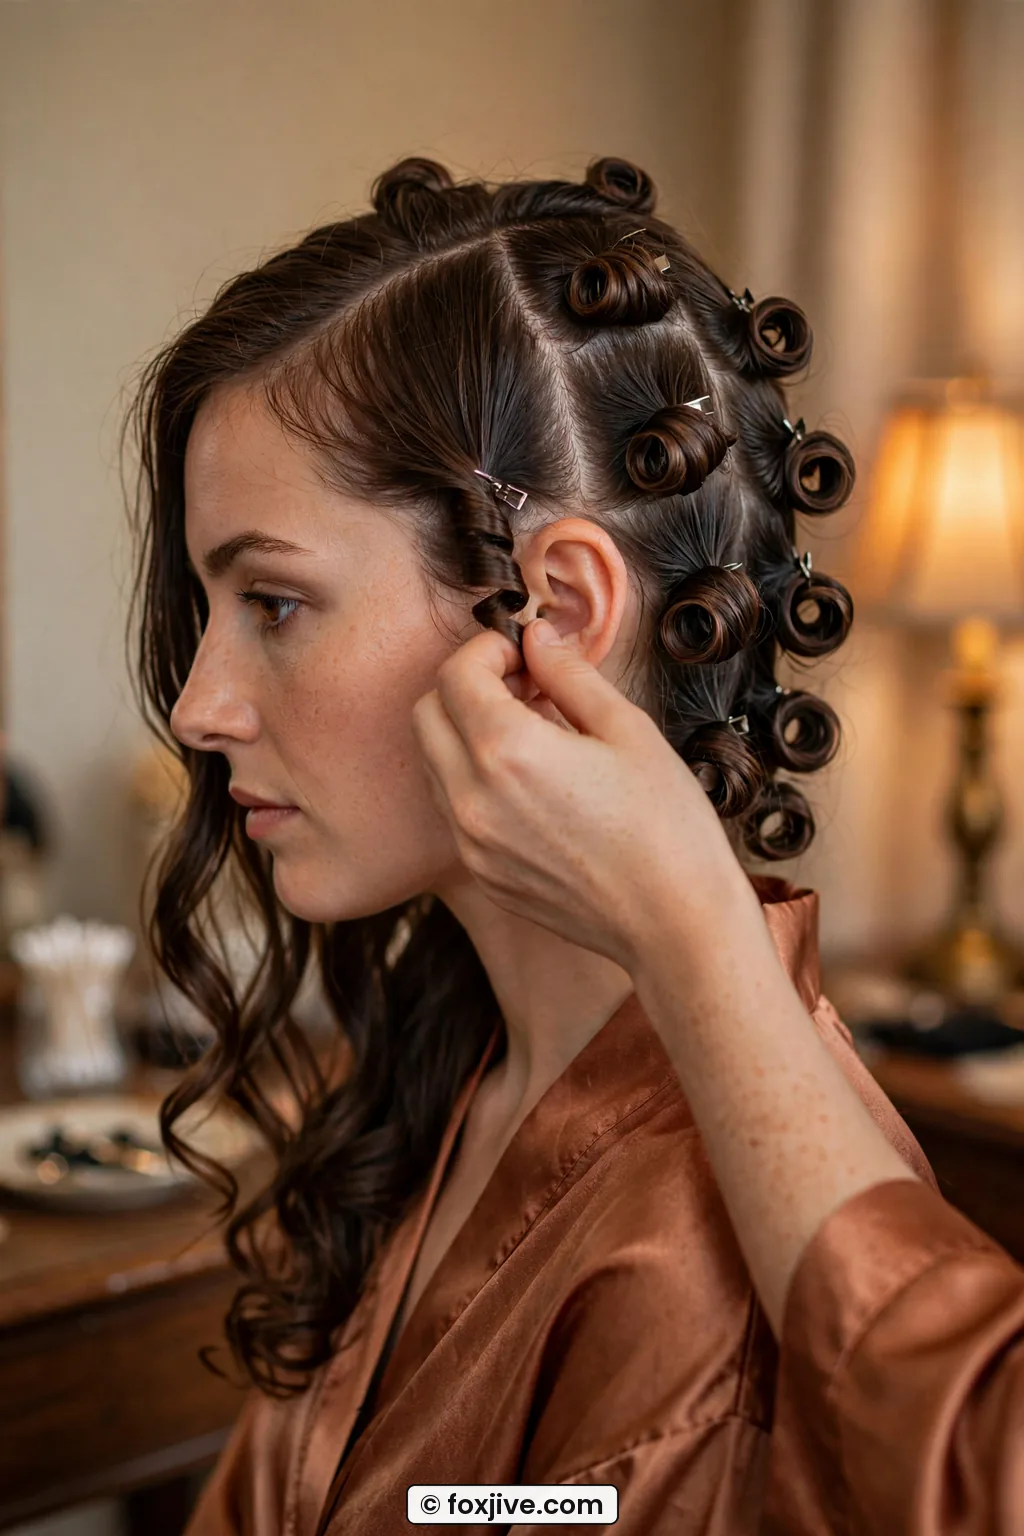
Look at how she is working in the photo below. That is exactly the setup I mean. She is in profile at her dressing corner, coiling one section flat against her head and pinning it while the finished pin curls sit neatly beside it. Notice her hands are right at the scalp, not floating out in the air. That close-to-the-head control is everything.
Step 1: Prep at the Right Damp Level
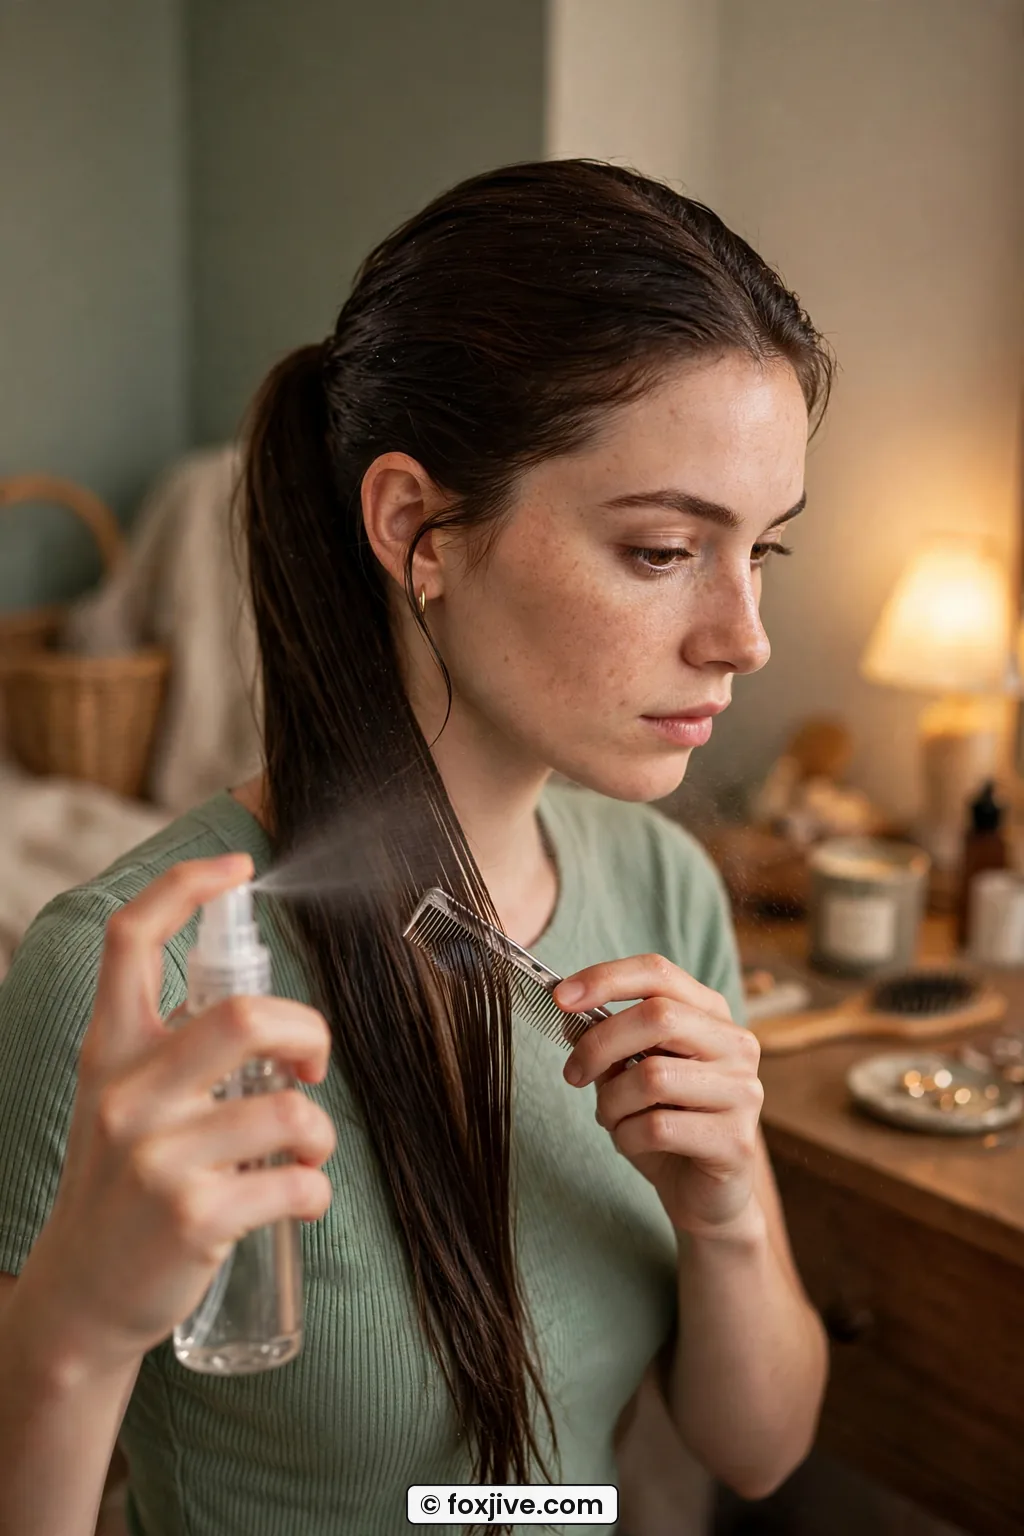
This is where I messed up for years. I either started soaking-wet and woke up with damp middles, or I started dry and wondered why nothing held. Pin curls need that in-between dampness. Think like a wrung-out towel, cool to the touch but not dripping. If you press a tissue to a section and it comes away soaked, you are too wet. If the hair springs back dry and crackly, you are too dry.
I start with freshly washed hair or day-old hair misted down. I spritz section by section, not the whole head at once, because the top dries while you are still working on the back. Then I rake a tiny amount of diluted setting lotion through each section before I wind it. You want slip, not crunch. A dime-sized amount of lotion in a palmful of water in a little dish is plenty for my shoulder-length hair. Longer hair might need a touch more, but resist the urge to glop it on. Product buildup is what makes a brush-out go sticky instead of silky.
My favorite trick is to comb each section smooth with the fine-tooth comb first and let it fall where it wants to part. I wear a slightly off-center part on the left, and I set the whole head to respect that part from the start. It saves so much fighting later. If you love a deep side part like Old Hollywood Waves, set your part now, not after you brush out. I also smooth the very front hairline pieces last so they stay the dampest. Those baby-fine front bits dry in five minutes and then refuse to curl, which drove me crazy until I figured that out.
You can read up on why damp-setting works so well for vintage shapes, and I found the advice on setting patterns in articles about vintage wet-setting techniques really useful when I was learning how moisture shapes the cuticle before you wind.
Step 2: The Sectioning Map
Okay, here is my map. I do 26 pin curls total for my medium-density, collarbone-length hair. If your hair is very thick or long, go up to 30. If it is fine or chin-length, 22 to 24 is fine. The count matters because too few big curls will brush out into one wide poof, and too many tiny curls will take forever to dry and then go frizzy. Twenty-six is my sweet spot for a soft, brushable wave.
Picture three rows. Front hairline row: 6 curls, three on each side of my off-center part, each about one-inch square. Middle halo row from temple to crown to other temple: 10 curls, all one-inch sections. Back and nape rows: 10 curls, slightly larger at one-and-a-quarter inches because the back can handle more weight. I draw it lightly with the tail comb so every section is clean. Messy, zigzag partings inside the set equal fuzzy, undefined waves later. Clean now means clean later.
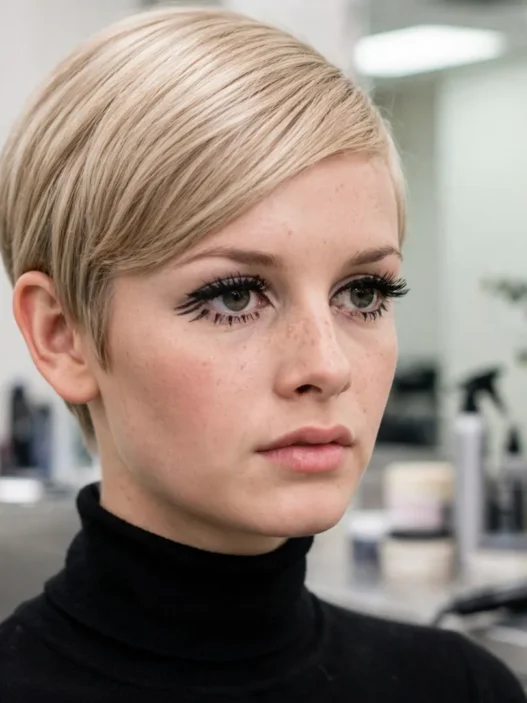
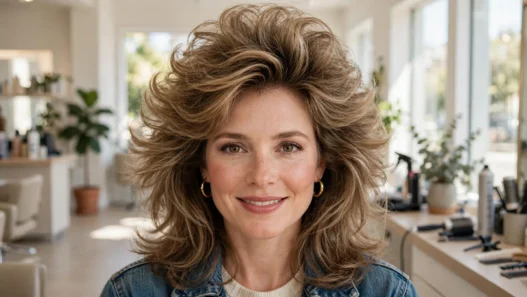
She has got a similar density to mine in this next photo, and honestly you can see the map so clearly on her. Each clipped coil is sitting flat and separate, not stacked on top of each other. That spacing lets air get in, which is why hers will dry smooth. When I tried cramming curls on top of each other to save clips, the middles stayed gummy. Never again.
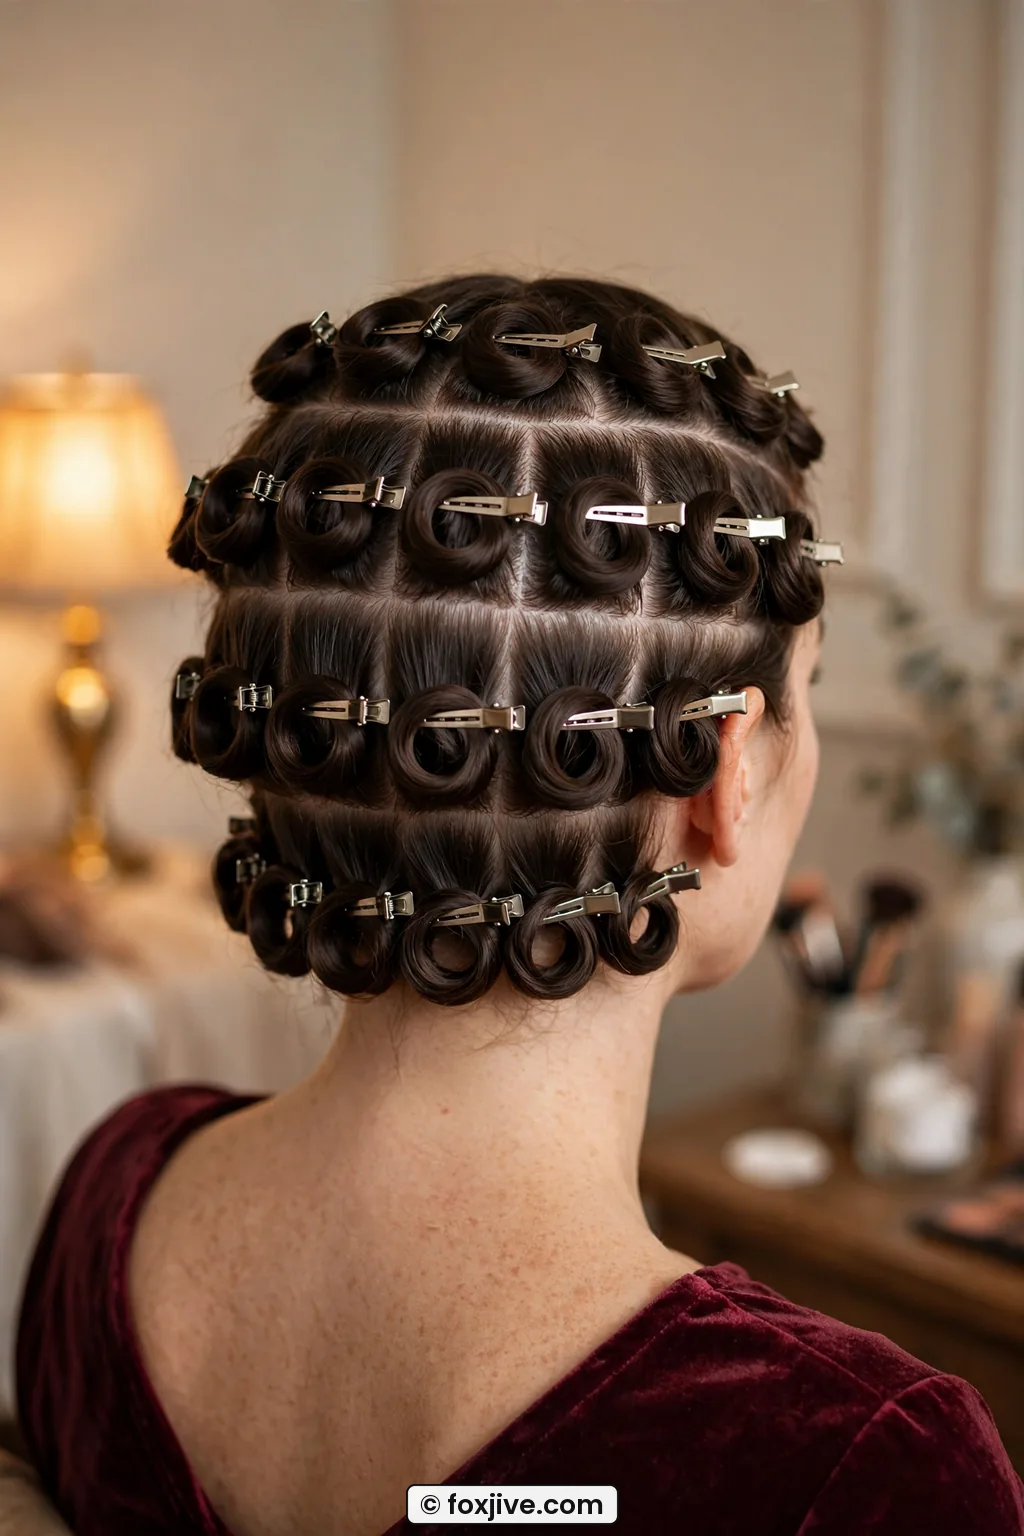
I clip as I go, and I always point the clip opening toward the direction I wound. It sounds fussy, but when you take them out eight hours later you will thank yourself because you can read the pattern. My front six all face away from my face on the heavy side to give me that swooping 1940s line. My nape curls all wind downward so the back lies flat instead of flipping out. And if you are torn between a flat pin-curl set and sculpted waves, my guide to How to Do Finger Waves That Actually Hold helped me understand tension and direction in a way that made my pin curls way better too.
Mistake I made: I used to take huge two-inch sections to finish faster. They looked fine pinned, but inside each fat coil the hair was still damp in the morning. I brushed them out anyway and got limp bends with frizzy ends. Smaller one-inch coils dry all the way through and brush out ten times smoother.
Step 3: Winding Direction
Direction decides the finished shape. This is the least-talked-about part and the most important. Wind everything the same way and you get a pageant sausage roll. Wind with intention and you get movement that looks modern and wearable.
Here is what I do, area by area. On the heavy side of my part, the front three curls, I wind forward and down, clockwise on the left side, so the hair rolls away from my face. That gives lift at the root and that long S swoop over the forehead. On the light side, the front three curls, I wind backward and flat, counter-clockwise, hugging the head. That keeps that side close and neat instead of puffing out like a triangle. Through the crown halo, I wind everything downward toward the shoulders. Why? Because crown hair brushed out wants to expand. Winding it down trains the root to lie smooth.
For the back ten, I alternate one forward, one backward. It sounds random but it stops the back from forming one solid curtain. Alternating creates those broken-up, touchable waves that do not stick together. I learned this from messing with Finger Waves for a party last year. Sculpted waves taught me that opposing directions cancel bulk, and the same idea saves a pin-curl brush-out from looking too perfect.
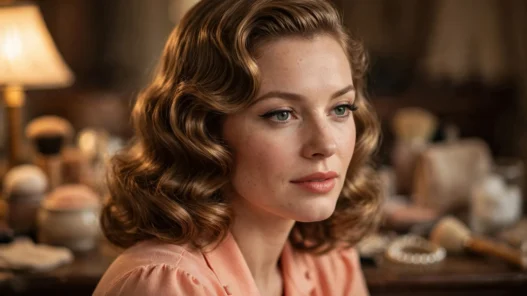
How to wind without twisting: hold the ends smooth between two fingers, drape them over one finger, then roll the coil flat onto the scalp like a tiny cinnamon roll, not twisted like a rope. The ends must be tucked inside, smooth. Poke-out ends become fishhooks after brushing. I hold the coil flat with one hand and slide the clip in with the other, catching scalp hair in the clip so it does not hang. In this close photo you can see exactly what I mean, the section is ribbon-smooth with no twist, coiled flat to the scalp. That flat, ribbon-like wind is what brushes out glossy.
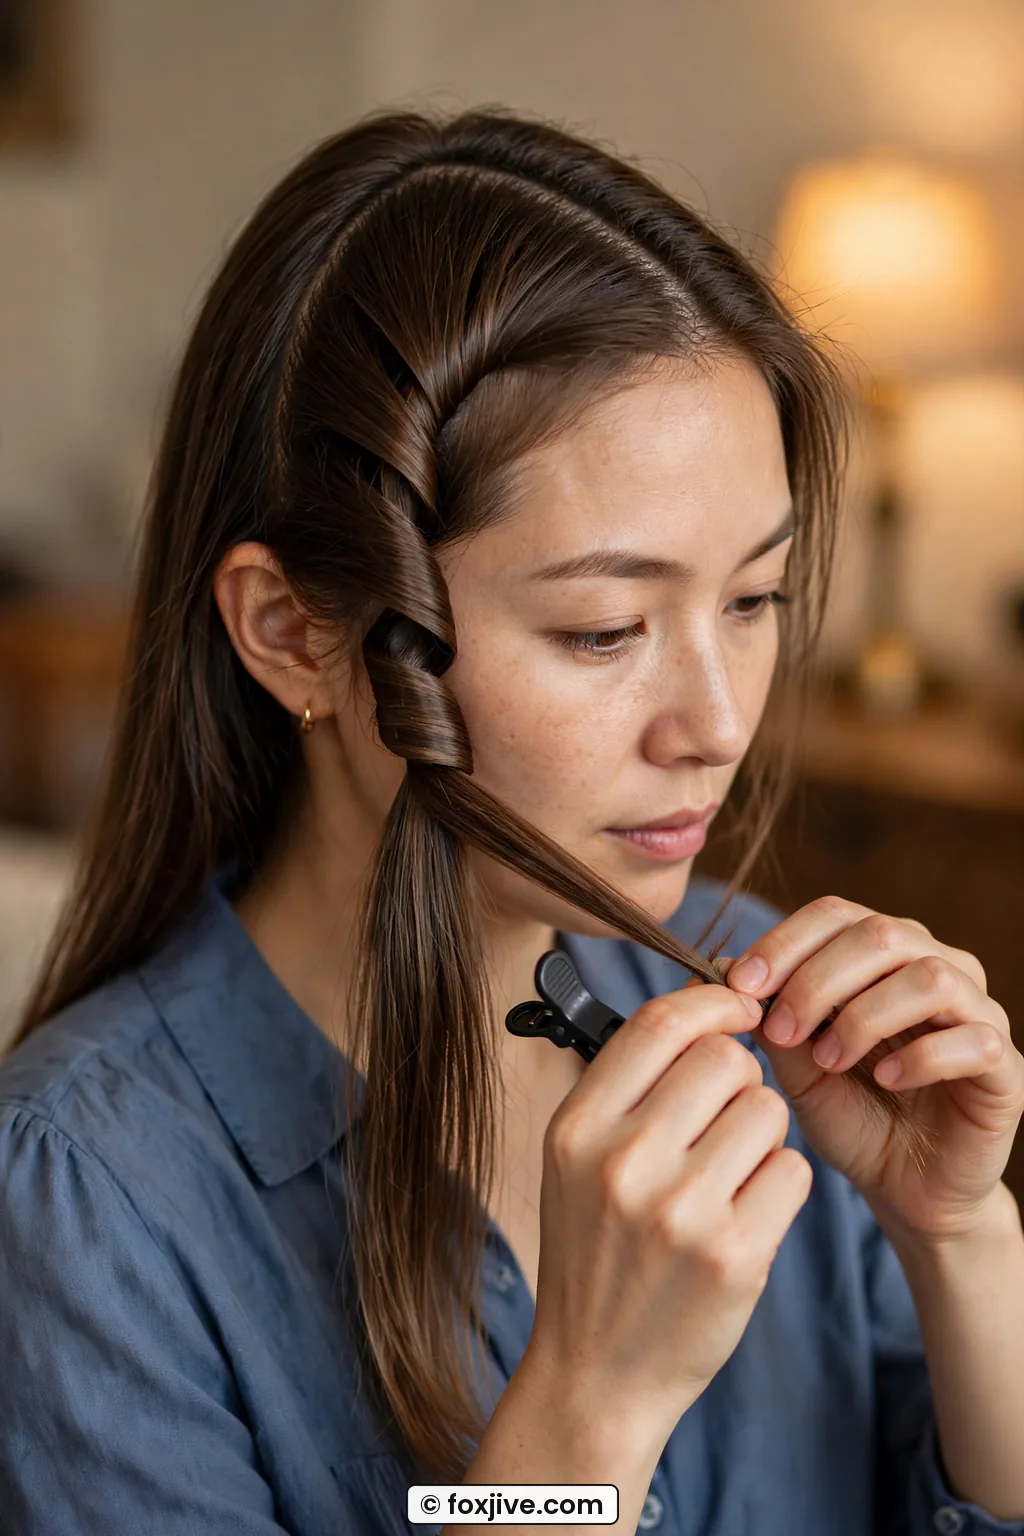
I also keep tension even but gentle. Too tight and you get sore roots and weird kinks that will not brush out. Too loose and the coil droops. Think snug hug, not ponytail-tight. And if a section starts drying while I work, I re-mist just the ends. Dry ends will not stay tucked, and they frizz first in the brush-out.
Step 4: Drying Time That Actually Sets
Here are my numbers, because vague advice ruined my sets for months. I need a full 7 to 8 hours air-dry, usually overnight, for 26 damp, one-inch pin curls to dry bone-dry. Not mostly dry. Bone-dry and cool to the touch when you press a knuckle into the center of a coil. If you feel even a whisper of cool dampness, it is not done.
My routine: finish setting by 10 p.m., cover with a silk scarf tied loosely, not tight, sleep on a satin pillowcase, unclip around 6 a.m. If I am short on time, I sit under a hooded dryer or use a diffuser on low warm heat for 35 to 45 minutes, then let the curls cool pinned for another hour. That cool-down hour counts. Hot hair brushed out stretches and drops. Cool hair holds.
Can you feel how crisp her set looks in this morning-after shot? Every coil is matte and firm, standing a little proud of the head, with no dark damp spots at the scalp. That is a fully dry set. Mine looks just like that when it is ready, almost papery. If yours looks shiny-wet at the base, give it another hour. I would rather be late than brush out a damp set.
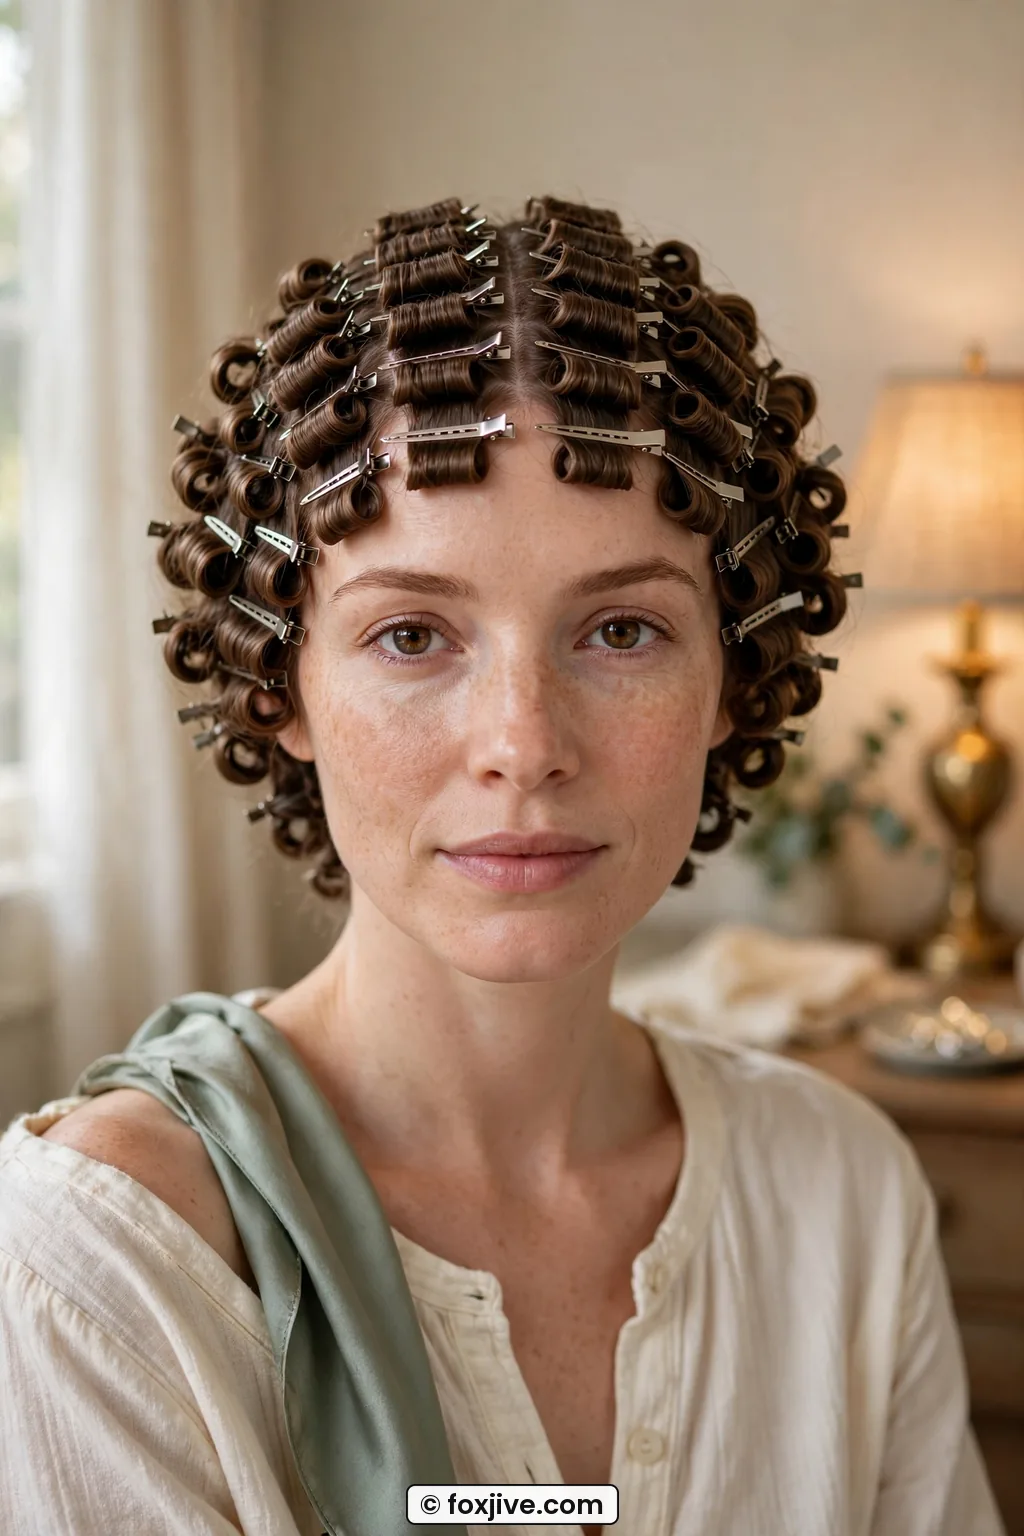
Humidity note, because I live with it half the year. In summer I add an extra hour and I do not brush out in a steamy bathroom. I unclip in my bedroom with a fan off. Any direct breeze while unclipping seems to puff the surface. And I never, ever unclip and immediately run out the door. The curls need at least 10 minutes of air after unclipping to settle before brushing. If you love updos after a set, a set like this is also a perfect base for Vintage Updos on day two when the waves have relaxed just enough to pin smoothly.
Mistake I made: I rushed a set with a hot blow-dryer on high, right on the clips. The outside felt dry in 20 minutes so I brushed. The insides were still damp and the whole thing fell by lunch into sad bends. Low heat plus a cool-down always beats fast heat. Always.
Step 5: The Brush-Out
This is the long part, so pour some coffee. Most people stop too early, right when it looks scary. You have to go through the scary poofy stage to get to the smooth stage. Promise.
First, unclip without pulling. I slide each clip out in the direction it went in, then let the coil drop. I do not separate yet. I let all 26 coils hang for 10 minutes. Then I put two drops of serum or a pea-sized smear of pomade on my palms, rub them warm, and lightly palm the surface. Do not rake. Just smooth the airy top layer. This little oil barrier keeps the boar bristles from roughing up the cuticle.
Now brush in passes. I do slow, full-length strokes from scalp to ends with my soft boar-bristle brush, about 30 to 40 strokes total for the whole head. Count if you have to. The first 10 strokes will look wild. Big, wide, almost 1970s. Do not panic. Around stroke 15 the separate curls start marrying into waves. Around stroke 25 you get shine. I brush the heavy side forward and over, the light side back and flat, following the winding direction I set on day one. Brushing against your set direction is how you lose the set in one go. I also bend my head upside down for the last five strokes underneath, just to break up the nape without flattening the top.
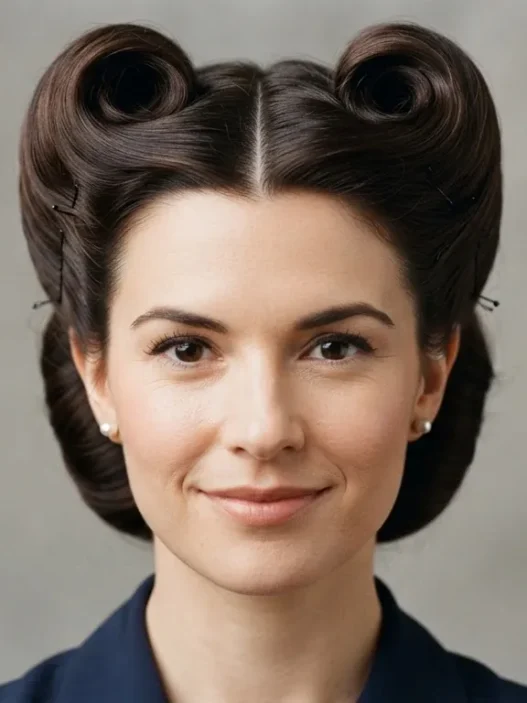
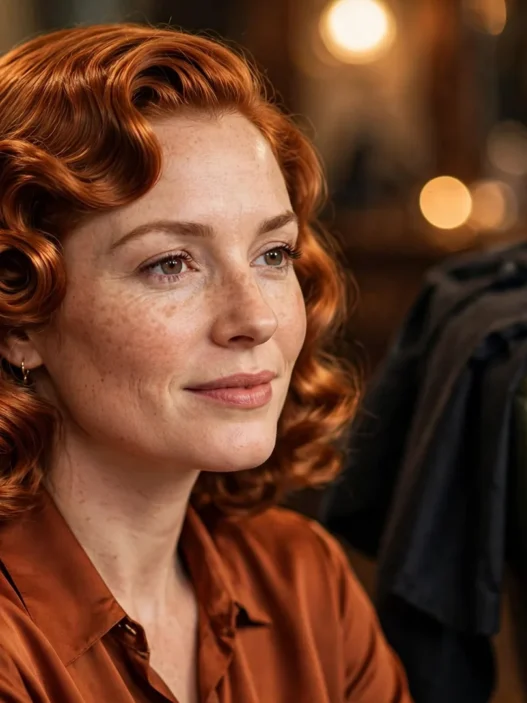
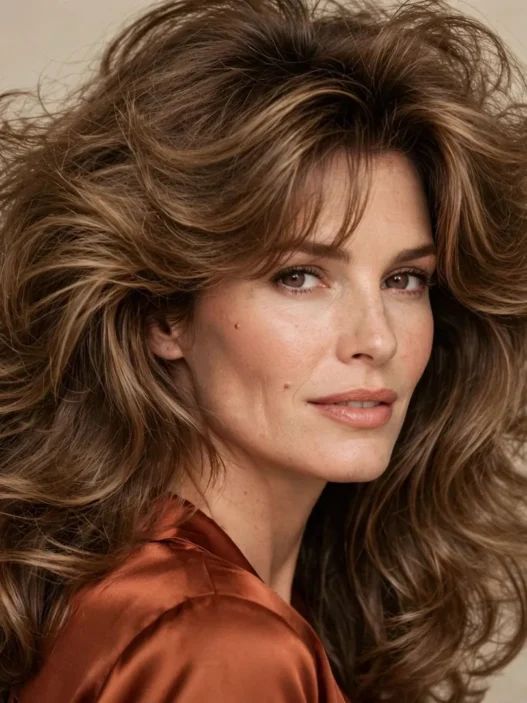
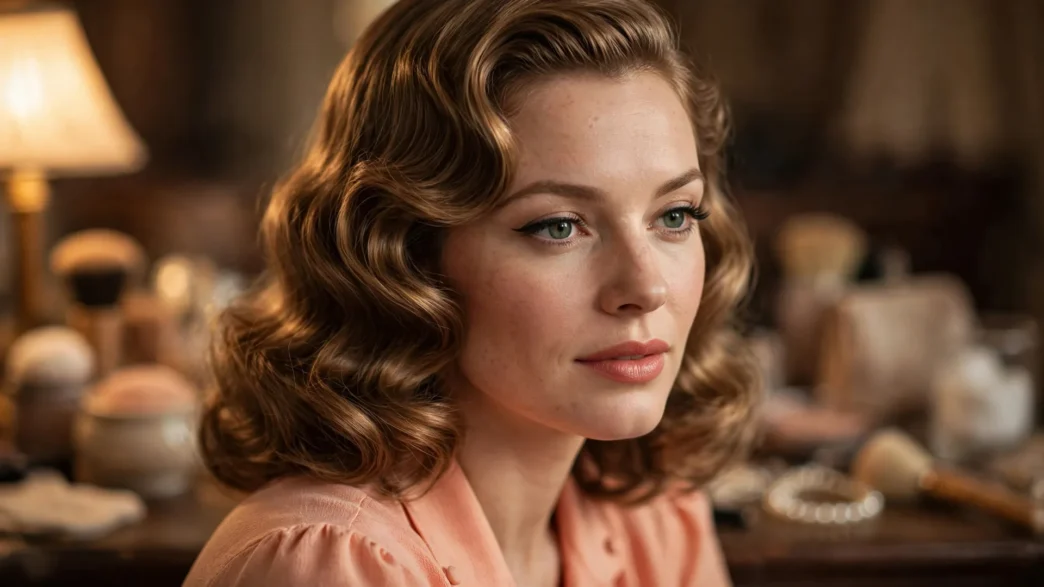
Look at her finish here. See how the wave is one continuous S from temple to ends, not separate ringlets? That merged, brushed ribbon is the goal. She is wearing it with that soft side part, and the ends kick just a little. Mine does the same thing when I actually do the full 30 strokes instead of quitting at 12 because I got scared.
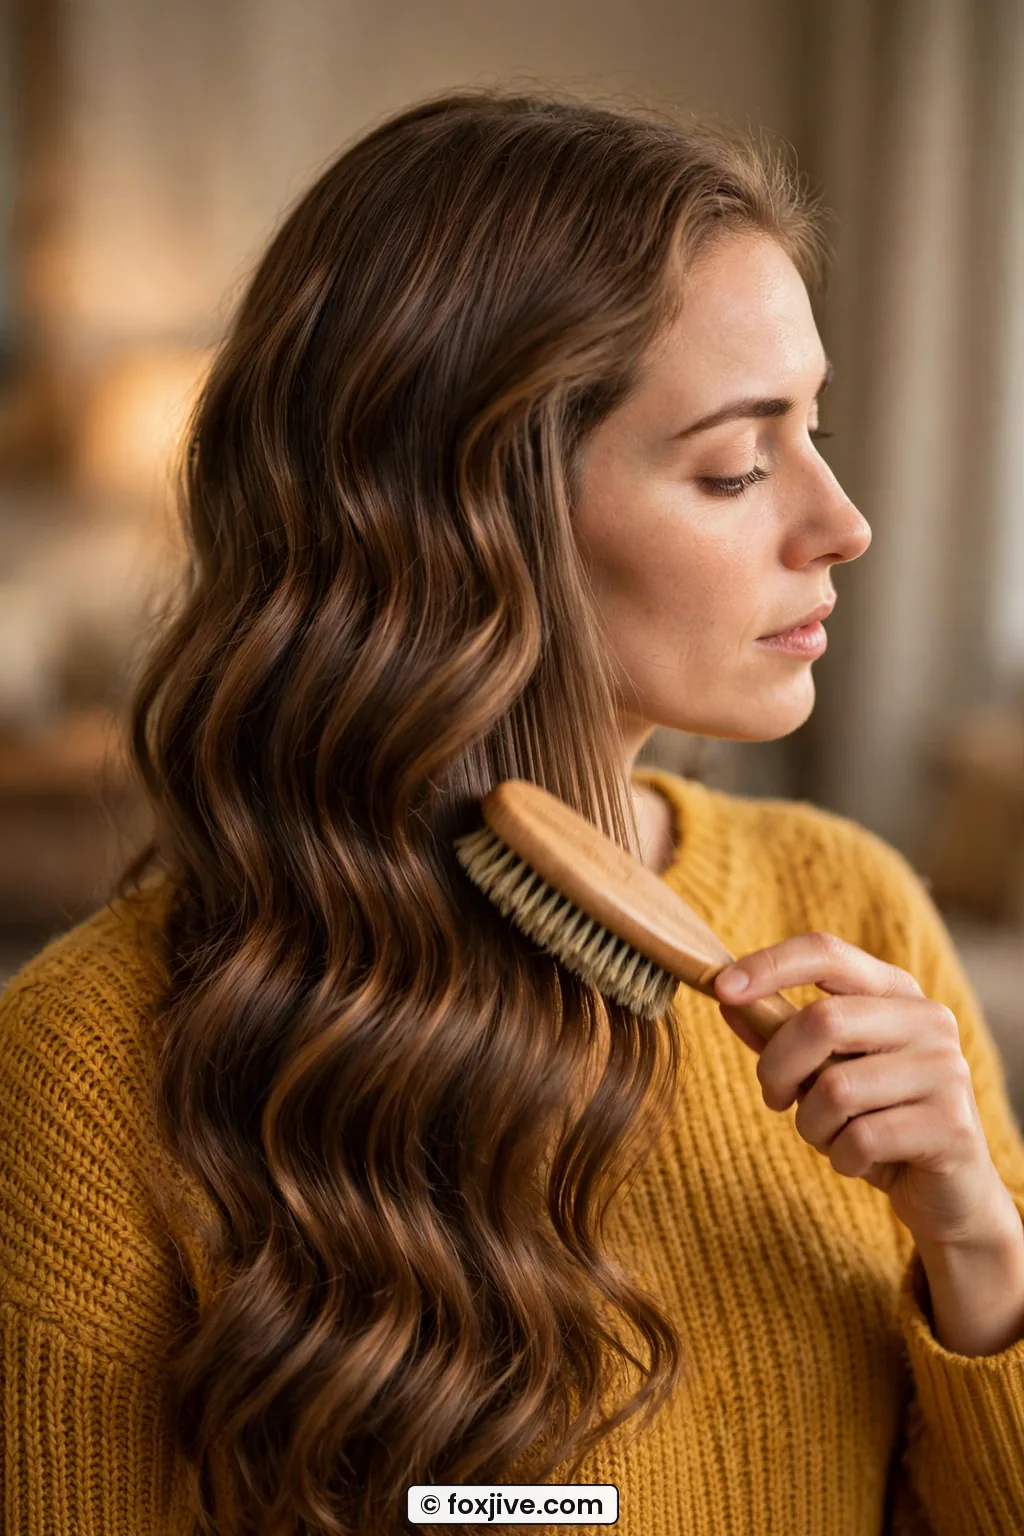
After brushing, I shape. I use the small smoothing brush and my fingers to coax the front swoop, tucking the light side behind my ear for an hour to train it flat. A single duckbill clip at the temple wave for 15 minutes while I do makeup sets that ridge beautifully. Then I mist lightly, very lightly, with flexible hairspray from 12 inches away. Not a soaking cloud. One pass. If you want more height for evening, backcomb just a one-inch square at the crown, smooth the top over it, and pin. That little padded base also makes next-day Pin Styles so much easier because the hair already has memory.
For frizz control through the day, I keep technique notes from pros about smoothing without flattening, especially the tips on brushing curls smooth in guides about brushing curls without frizz and brushes for vintage waves before I bought my boar-bristle brush, and it saved me from using a harsh paddle brush that just shredded everything.
Watch the Brush-Out in Slow Motion
Pin Curl Brush-Out Questions I Hear a Lot
How damp should my hair be when I start pin curls?
Evenly damp, not wet. Like a wrung-out towel. If water drips or tissue comes away soaked, blot and wait. Too wet means a gummy center that will not dry in 8 hours, too dry means no hold.
Why do my pin curls fall as soon as I brush them?
Usually three culprits: the set was still cool-damp inside, the sections were too big, or you brushed against your winding direction. Try smaller one-inch sections, a full 7 to 8 hour dry, and brush following the coil direction.
How many brush strokes do I actually need?
More than you think. I do 30 to 40 slow strokes with a soft boar-bristle brush. The first 10 look poofy, the magic happens around 20 to 30 when the curls merge into a wave. Stopping at 10 leaves you stuck in the poof stage.
Can I do pin curls on short hair or fine hair?
Yes, and fine hair actually sets beautifully. Use 22 to 24 smaller curls, go lighter on lotion, and use small clips so they do not dent. Short hair just needs extra care tucking the ends so they do not poke out and frizz.
My last set lasted three days with just a silk scarf at night and a little dry shampoo at the roots on day two. The first morning it was polished and swirly, the second morning it was softer and more lived-in, which I actually loved more. And for once I did not get that dreaded triangle. Just smooth, touchable waves that moved when I moved. I finally feel like the brush is my friend, not the thing that ruins everything.