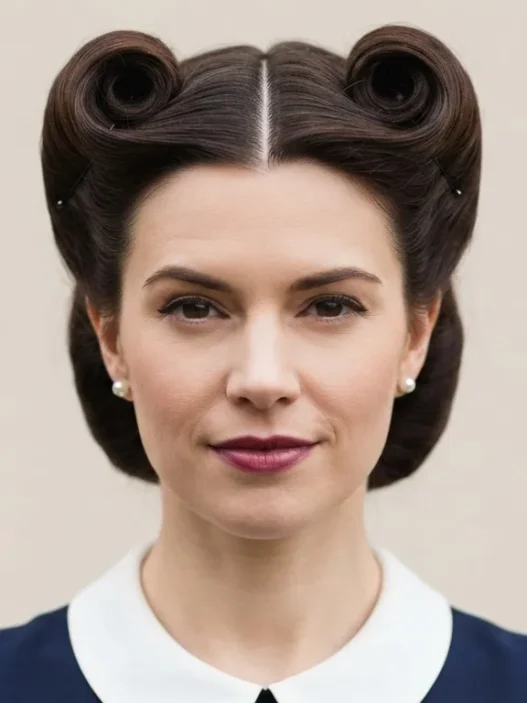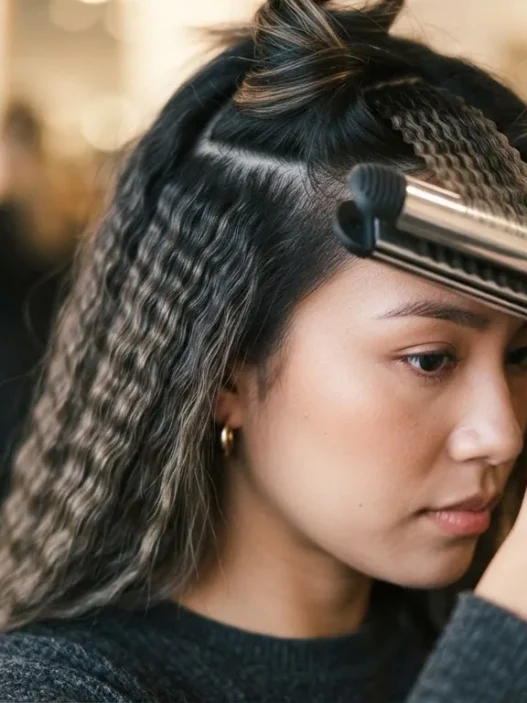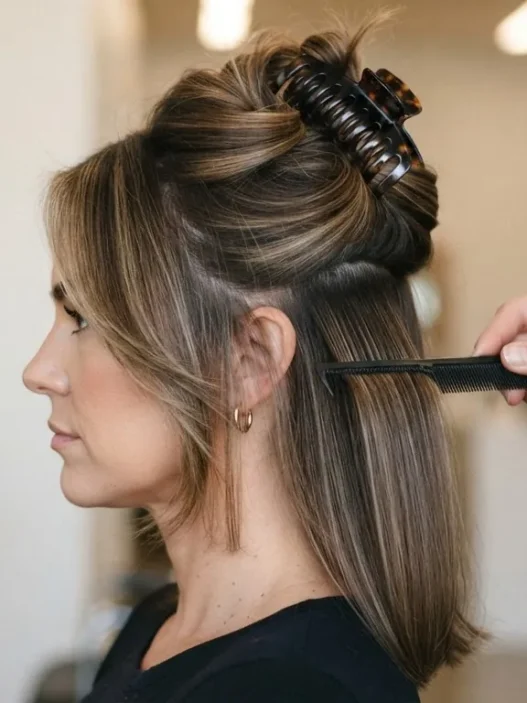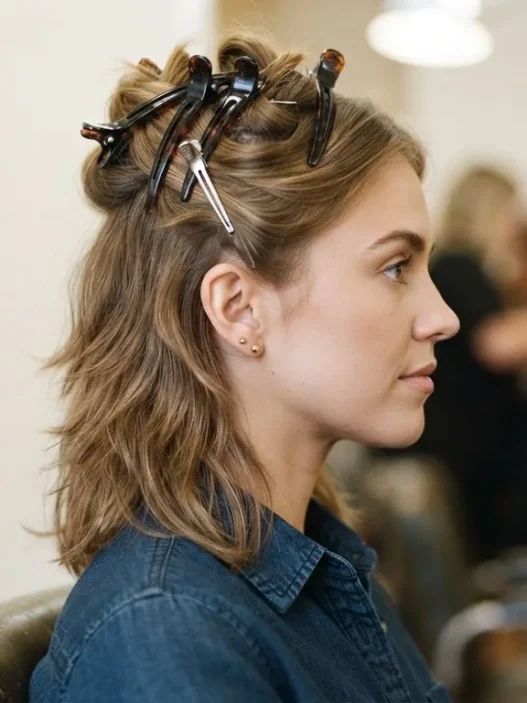






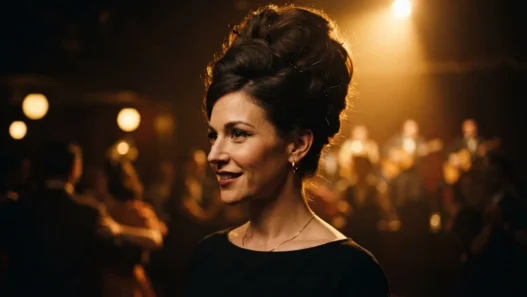

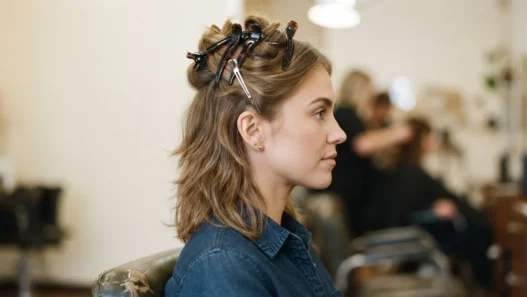
The first time I tried to do a proper rockabilly set I grabbed whatever rollers were in the back of my drawer, wound everything the same direction, and ended up looking vaguely like a 1980s soap actress. Nice waves, wrong decade entirely. I needed someone to just tell me which diameter goes where and which way to wind each section — because apparently that combination is the whole secret. This guide is that thing I wish I’d had.
Your Roller Road Map — Jump to Any Section
Why Roller Size Decides the Era
This is the part most tutorials skip, and it genuinely matters. The diameter of your roller controls the tightness of the curl, and the tightness of the curl signals a decade. A 1-inch roller gives you a defined, bouncy 1950s curl — the kind you see on every pin-up illustration ever drawn. Go up to 2.5 inches and suddenly you’re veering toward a 1960s bubble set, all airy and soft. If you actually want that tight, high-volume rockabilly look — think psychobilly queens and vintage pin-up competitions — you want small to medium, specifically 3/4 inch to 1.5 inch depending on the section of the head.
The other thing direction controls? Which era your finished style reads as. Rolled under (toward your face from the top, away from your face from underneath) creates that inward flip that’s so distinctly ’50s. Rolled over (away from the face) gives a more open, outward wave. For a proper retro set, you’re mostly rolling under, with strategic exceptions in the back. I’ll specify direction for every single row below.
For this tutorial I’m going to walk you through the complete wet set — damp hair, foam or magnetic rollers, dried until bone dry before you even touch a brush. That’s the method. You can read more about the science of why rollers work on how foam rollers set a curl — it genuinely helped me understand why patience matters here.
What You’ll Need
Nothing exotic, I promise. Here’s what I actually use:
- Foam or magnetic rollers — 3/4 inch (small), 1 inch (medium), 1.5 inch (large)
- Rat-tail comb for sectioning
- Spray bottle with water (or setting lotion mixed in — I use one part lotion, four parts water)
- Setting lotion or a light mousse — I like a vintage-formula lotion for hold without crunch
- Roller clips or bobby pins to secure foam rollers
- Fine-tooth sectioning clips to keep unrolled sections out of the way
- Hood dryer or a bonnet dryer attachment for your regular hair dryer — OR a very patient overnight mindset
- A medium-firm bristle brush for the brush-out (boar bristle works beautifully)
- Fine-tooth teasing comb for volume after the brush-out
- Strong-hold hairspray — the kind with actual staying power, not the “light touch” stuff
- Bobby pins and a few longer hair pins for shaping afterward
One note on setting lotion: it makes an enormous difference. Plain water will give you a curl that drops by hour three. A proper setting lotion — even a cheap one from a beauty supply shop — gives the hair something to hold onto while it dries. If you want to dig into which formulas work best for different hair types, check out the guidance on vintage setting lotions guide before you buy.
Step 1: The Crown Row
Start here. The crown makes or breaks the whole look — it’s the most visible part and it sets the height that makes rockabilly hair actually read as rockabilly instead of just “wavy.” Get this row right and everything else falls into place around it.
Section off a rectangle across the very top of your head, from your front hairline back about three inches. Divide this into two or three sections depending on your hair’s thickness. Spray each section damp — not soaking, just evenly wet — and work your setting lotion through it with your fingers.
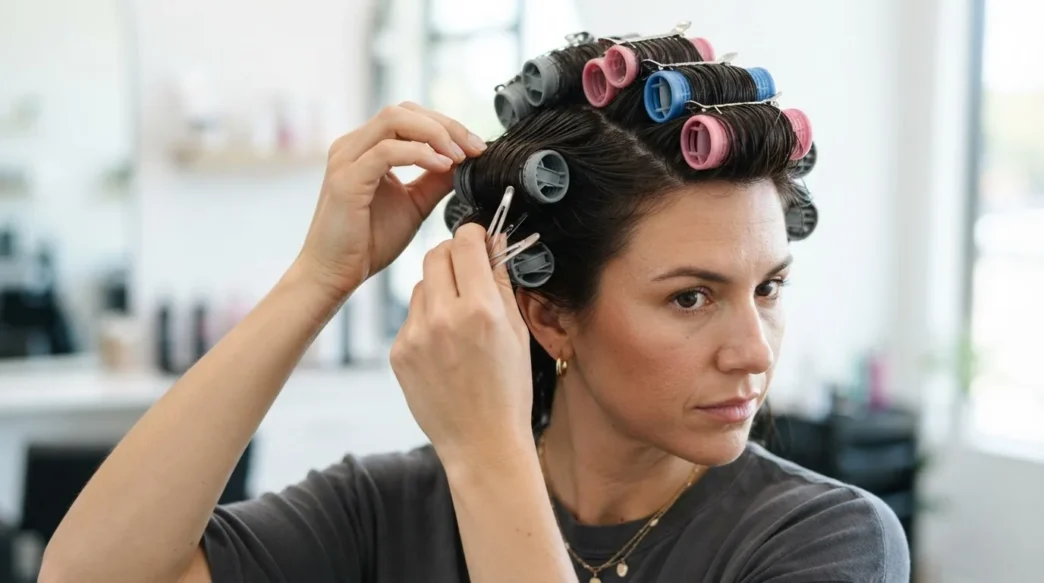
Use a 1-inch roller for the crown. Wind each section forward and over — that means rolling toward your face, coming from the top. This creates that signature lift and forward curl at the front. When the roller hits your scalp, pin it firmly. If the roller wobbles even slightly, the section won’t set cleanly. I use two pins in an X through each foam roller, which sounds paranoid but genuinely prevents the shift that ruins the shape.
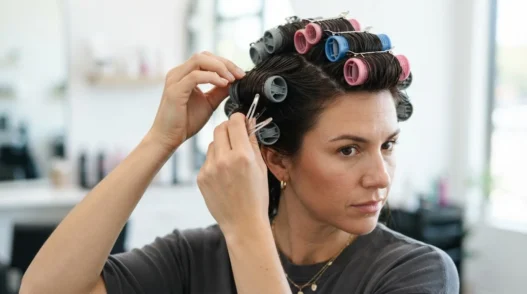
See how she’s holding her section just here — that’s the tension level you want. Not yanked taut, just held firm while you wind.
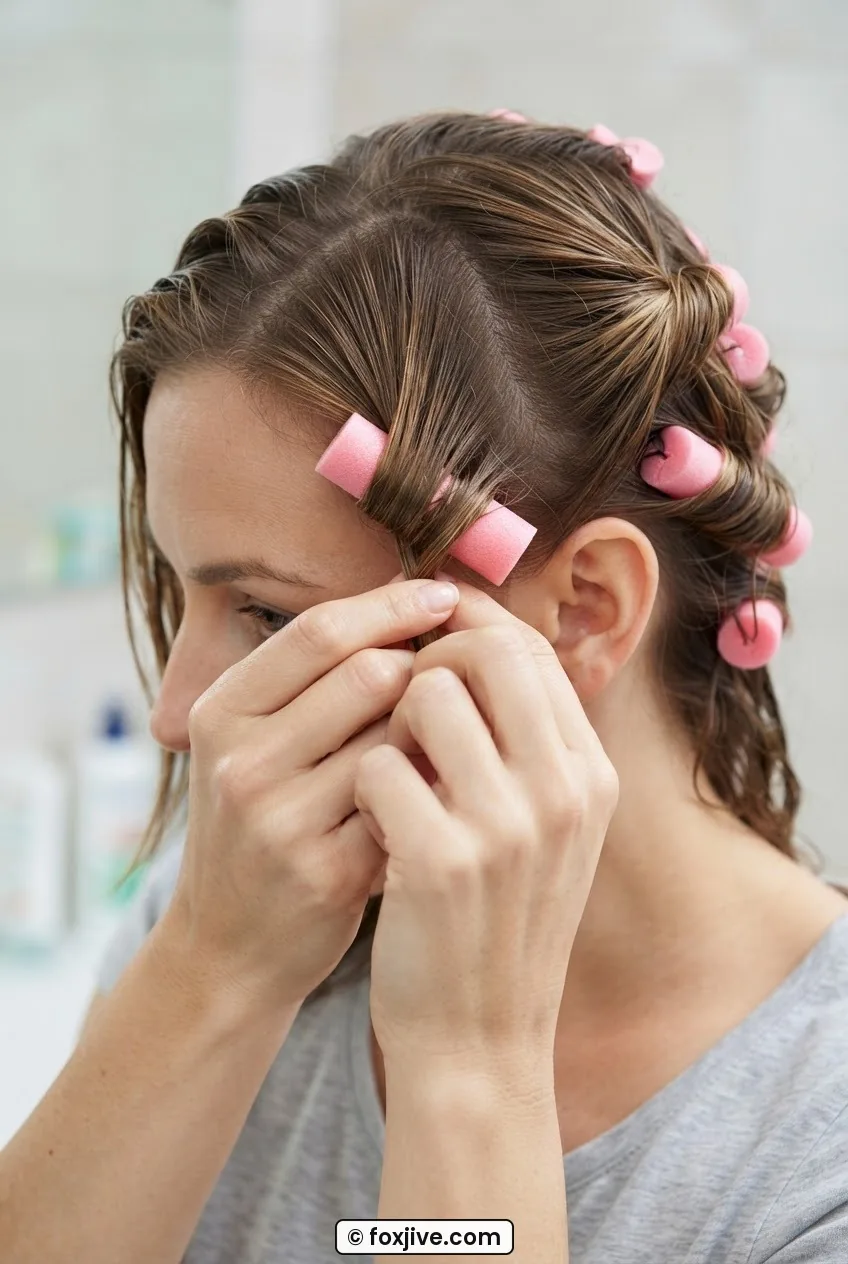
My first big crown-row mistake: I sectioned too wide. Each roller section needs to be no wider than the roller itself, or the hair on the edges doesn’t actually contact the roller properly and you get a half-formed curl with a flat stripe down the middle. Narrower sections, always.
Step 2: The Sides, Rolled Under
Move to the sides next — this is where the direction change happens, and it’s what creates that inward, face-framing curl that’s so specific to the 1950s. The sides roll under and toward the face, meaning you bring the ends under the roller first and wind it backward, away from the face, rolling against the face-framing direction.
Use a 3/4-inch roller for the very front section at the temples — that tighter curl there creates definition next to your face and balances the bigger volume at the crown. Move to a 1-inch roller for the mid-side sections, which are usually one or two rollers depending on your hair’s length and density.
Section horizontally — brick-laying pattern, where the rollers in the second row don’t align directly with the rollers in the first row. This prevents a ridge from forming on your hair that’ll be visible after the brush-out. It’s one of those techniques that feels fiddly at first and then you can’t imagine skipping it.
Roll snugly to the scalp, pin each one through. If you have shorter pieces around the ears that won’t quite reach the roller, you can set those with a pin curl instead — a flat spiral pinned to the scalp works fine and integrates into the brush-out.
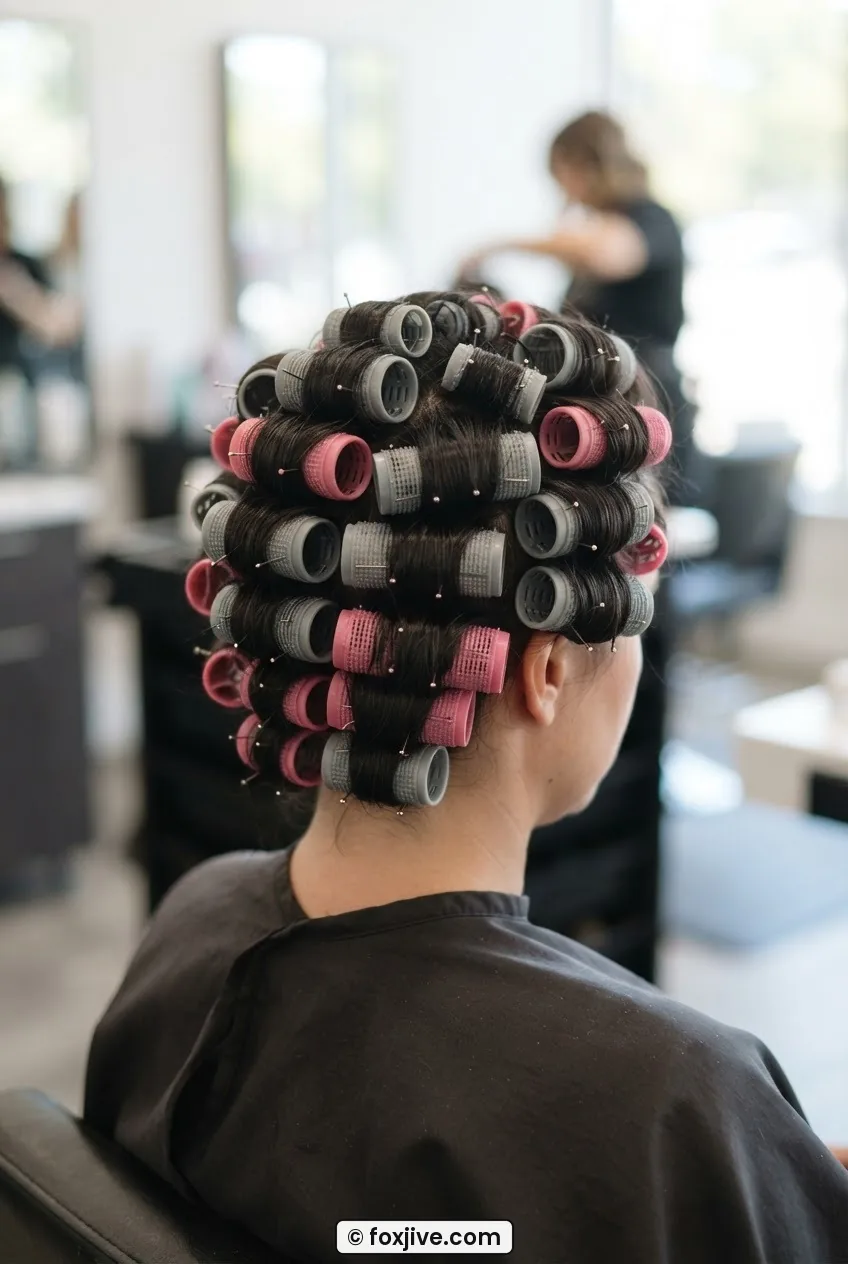
Look at the roller direction in this photo — you can see exactly how the sections angle away from the face on the side panel. That angle is everything.
Step 3: The Back Panel
The back is where most people just go on autopilot, and I understand the impulse — you can’t see it. But the back supports all the volume on top, and how you set it determines whether your finished style looks three-dimensional or just weirdly flat at the nape.
Divide the back into two or three horizontal rows. The top row of the back, just below the crown row, uses a 1-inch roller rolled under (away from the face, toward the nape). This continues the curve of the crown and keeps the silhouette rounded rather than flat.
The middle row gets a 1-inch or 1.5-inch roller — you can go slightly larger here because you’re further from the face and the curl won’t need to be as defined. Roll under again.
The nape row — the bottom — gets a 3/4-inch or 1-inch roller depending on how much hair you have there, and you roll it upward toward the nape, against gravity. This sounds counterintuitive, but it means when your hair is down the nape section curls under and in, not out and away, which keeps the bottom of your style from flipping outward and ruining the silhouette.
With all three areas set, step back and look at your head from the side. The rollers should form a clean curved shape — not random bumps scattered at different angles. If something looks off before drying, fix it now.
Step 4: Under the Dryer or Overnight
This is non-negotiable: the hair must be completely, entirely, 100% dry before you take a single roller out. I cannot stress this enough. A roller set that comes out while even slightly damp will drop within an hour. The hydrogen bonds in the hair that make the new shape “stick” only fully form when the hair dries in the new position.
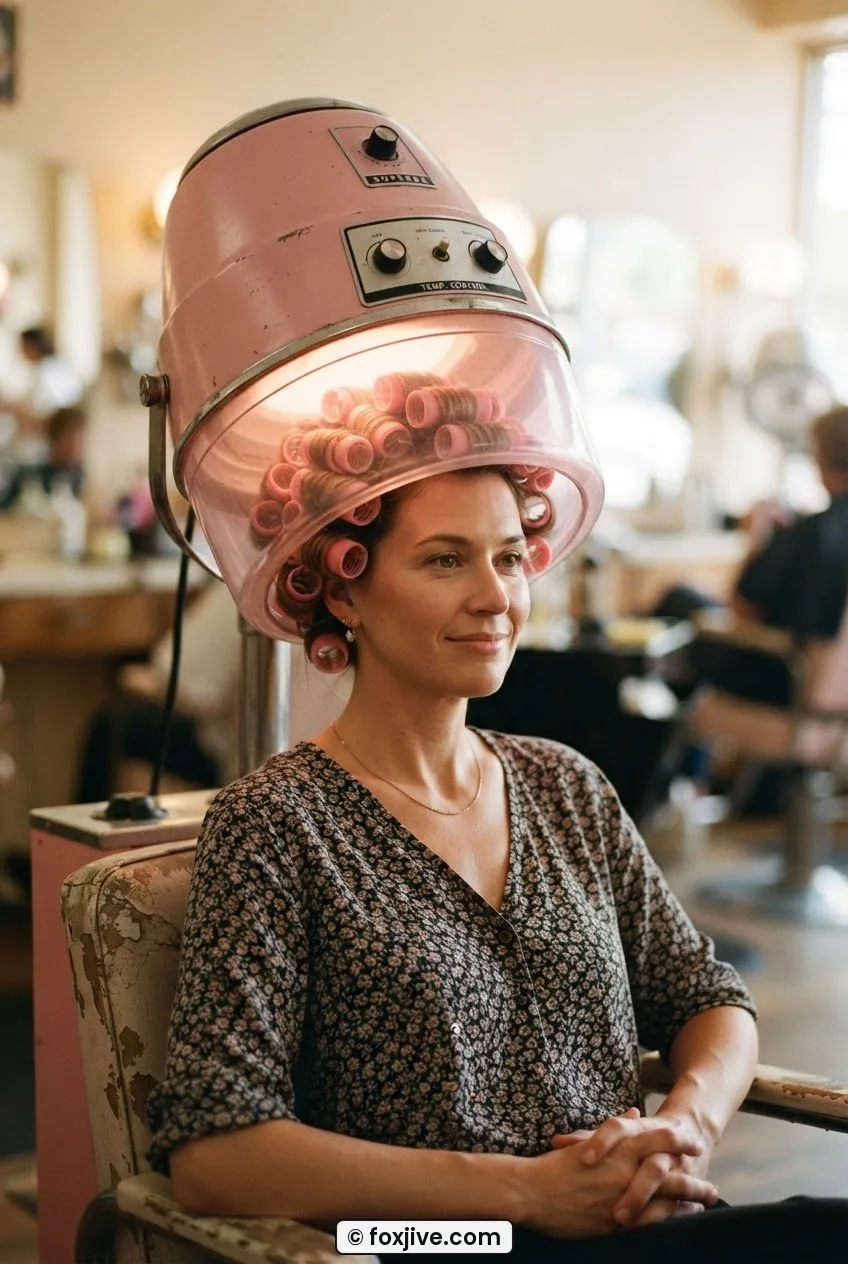
Hood dryer route: Sit under a medium-heat hood dryer for 45 minutes to an hour. Thick hair may need closer to 90 minutes. Do a test — reach in and press the hair near your scalp through the roller. If it feels even slightly cool or yields at all, it needs more time. I usually do 60 minutes and then let the hair cool in the rollers for another 20 minutes after I turn the dryer off. Cooling in the set is almost as important as the heat itself.
Overnight route: If you don’t have a hood dryer, set your hair damp in the evening, cover with a thin cotton scarf or a soft hair net (not a tight one — you don’t want imprints), and sleep. By morning, eight to nine hours later, the hair should be dry. The results are often even better than the dryer route because the set cools extremely slowly and the wave has time to really form. The downside is that sleeping on rollers takes some getting used to — I put a pillow under my neck rather than my head for the first few weeks, which helped enormously.
Don’t rush this stage. I have genuinely taken rollers out fifteen minutes too early and watched a beautiful set deflate in real time. Just wait.
Step 5: The Brush-Out
Remove all the rollers before you touch a brush. Get them all out, let the curls sit for a moment, and look at what you’ve got. They’ll look tight and maybe a little terrifying — that’s correct.
Take your boar bristle brush and start from the nape, working upward. Use long, smooth strokes — not fast, nervous little strokes. You’re blending the individual curls into a continuous wave, and that takes slow, deliberate motion. Each brush stroke should travel the full length of the hair section.
Work up the sides, brushing in the direction of the wave. When you get to the crown, this is where you build the volume. Brush the front sections slightly upward and back, following the direction you set the rollers. Use your other hand to hold the root area so you’re not pulling the volume flat — you want the brush to travel through the length, not drag at the scalp.
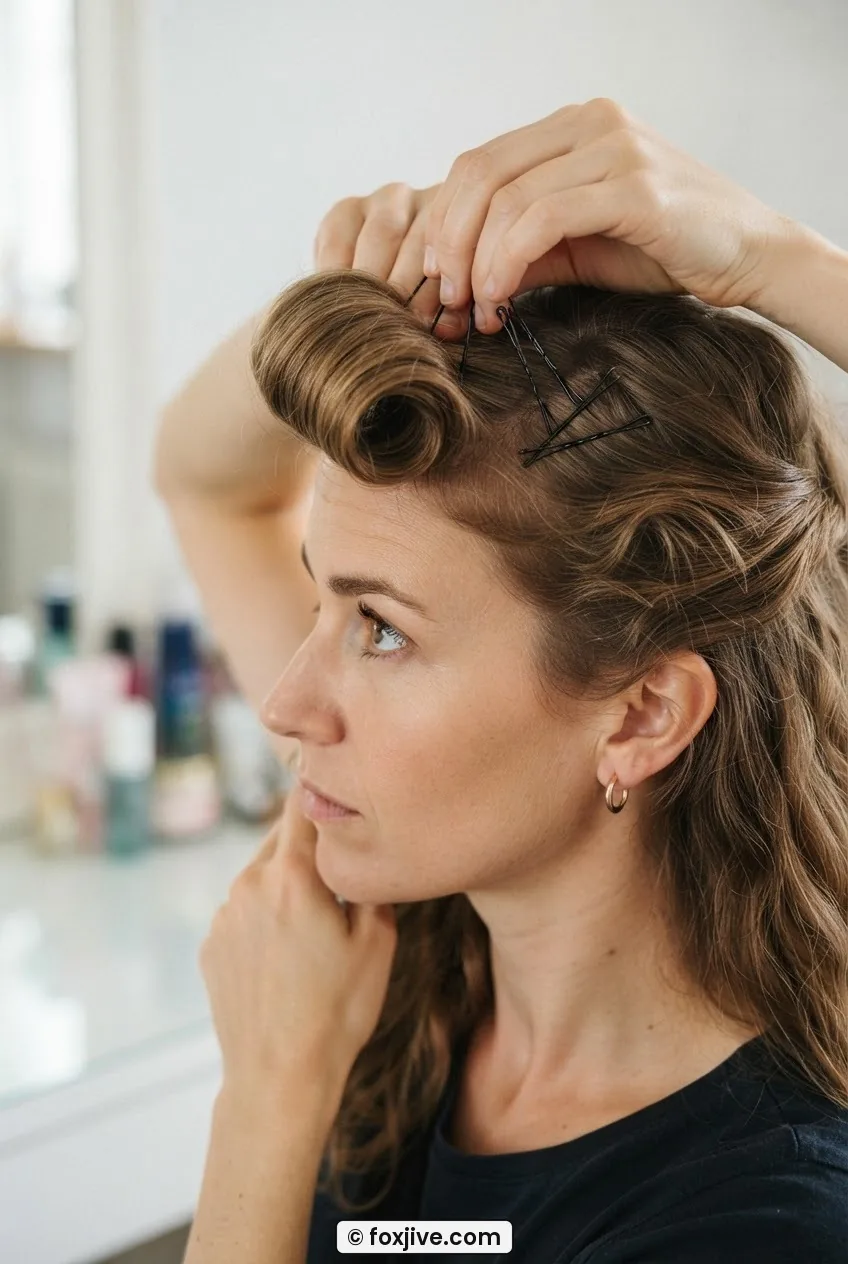
Once you’ve done the first pass, use your fine-tooth teasing comb very lightly at the roots under the crown — just a few passes, not a full tease, enough to support the height. Then smooth the surface over with the brush. Shape the front curl or victory roll section with your fingers and secure with pins if needed. The classic rockabilly front involves rolling the front section over your fingers and pinning it at the crown — which is basically a one-roll victory roll variation, one of those techniques that bridges the ’40s and ’50s. If you want to go deeper on that specific technique, there are some brilliant victory roll ideas ranked by how long they take — very useful for deciding how elaborate you want to go on a given day.
Look at how she’s positioned the pin right at the base of the roll — that’s exactly where it needs to go for the curl to hold its arc without slipping forward.
Finish with a generous mist of strong-hold hairspray. Hold the can at least twelve inches away and move it in a sweeping arc rather than aiming at one spot. Let each layer dry before adding more — layering the spray builds hold without crunch.
A Brush-Out Tutorial Worth Watching Twice
What a Too-Large Roller Actually Gives You
It gives you the wrong decade — and sometimes the wrong decade for your face shape, which is a double problem. A 2.5-inch roller on fine hair at the crown gives you a loose, open wave that reads as late 1960s or early 1970s. It’s not a bad look at all, but if you wanted tight rockabilly curl and you got a loose flipped wave, you’ll feel like something went wrong even if the hair itself looks pretty.
For psychobilly hair specifically — the more extreme, high-pompadour adjacent version of this aesthetic — you actually want to go smaller than standard rockabilly. Some psychobilly sets use 5/8-inch rollers at the crown to get a curl tight enough to backcomb into a tall peak. That’s a level of planning I respect enormously even when I’m not personally attempting it.
Too-large rollers also create a problem with longevity. A tighter curl has more structural integrity — it’s essentially more hair in a coiled position, and it takes longer for gravity and humidity to pull it straight. A big loose wave from a big roller falls faster, especially on fine or low-porosity hair. If you’re setting your hair for a whole day out, smaller is your friend. You can always brush out a tight curl to make it softer; you cannot tighten a wave that was set too loosely.
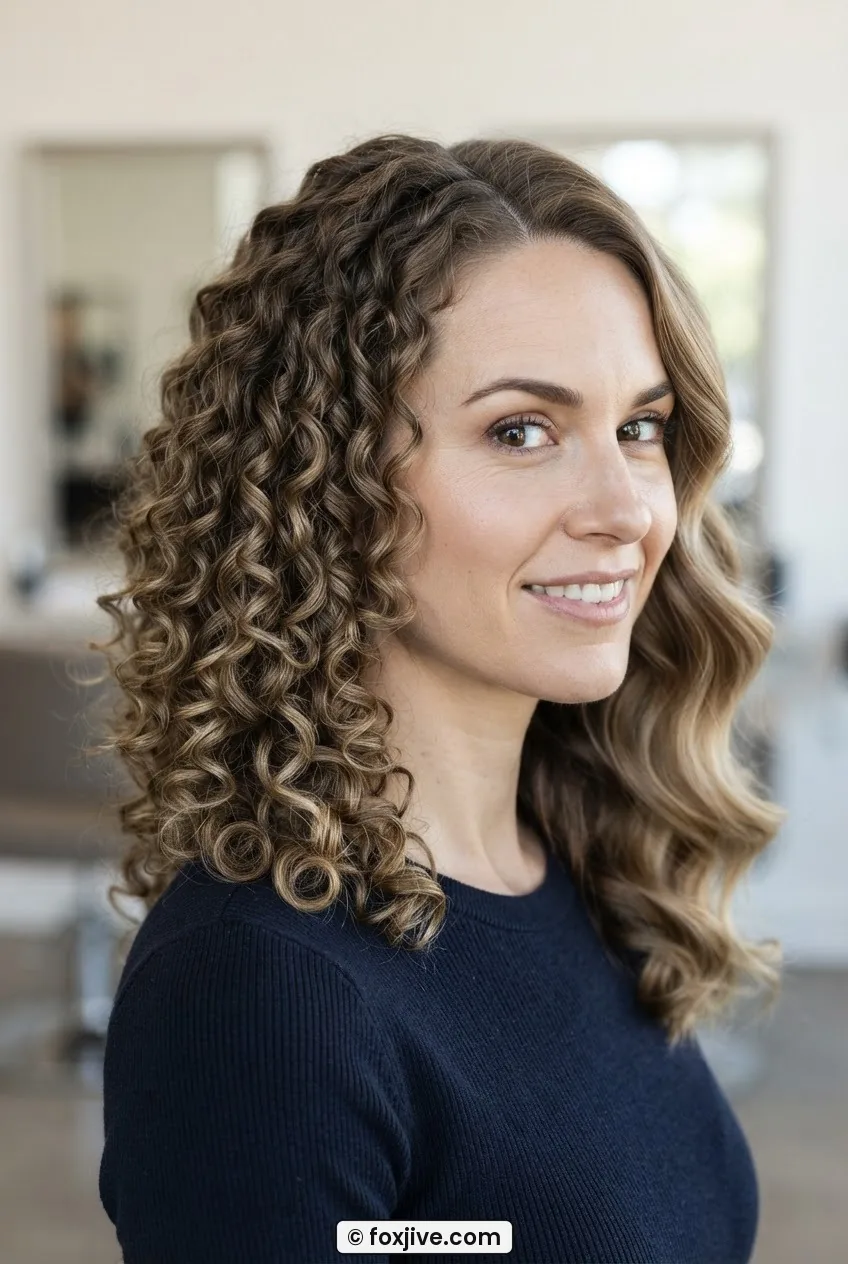
This is the difference a size down makes — that extra definition is what makes a brush-out look intentional rather than just wavy.
If you’re new to the broader world of vintage sets and want to understand where this technique sits in the full sweep of retro styling, I’d point you toward the community at Foxjive.Com — there’s a real depth of decade-by-decade technique there that I keep going back to. And if you ever have questions about your own specific hair situation or want to share how your set turned out, the Contact page is genuinely read by a human who cares about this stuff.
Quick Answers Before You Roll
Can I do a roller set on dry hair?
Technically yes, with steam rollers — but for a rockabilly wet set, you need damp hair and setting lotion. Dry rollers on dry hair mostly just add heat-based curl that drops quickly. The wet set is what gives you multi-day hold.
How long does a roller set actually last?
Done correctly — fully dry before removal, good setting lotion, proper hairspray — I get two to three days on my medium-density hair. The second day is often my favorite because the waves have relaxed just slightly and look more natural. Sleep in a silk scarf or bonnet to protect the set overnight.
Does hair length affect the roller placement?
Yes, significantly. If your hair is on the shorter side — think chin length — you’ll use fewer rows and smaller rollers throughout because there’s less hair to wind. The crown-row-first priority stays the same regardless of length. For very short hair approaching a pixie or a cropped bob, pin curls often work better than rollers for the back and nape sections where there isn’t enough length to wind around a barrel. You can also read about how pin curls work on short hair to supplement your roller set where needed.
What’s the difference between foam and magnetic rollers for this technique?
Foam rollers are lighter and much more comfortable for sleeping in overnight. Magnetic rollers give a slightly smoother, shinier result because the hard surface doesn’t disrupt the cuticle the same way foam does — but they need clips to stay in, and sleeping in hard plastic is genuinely unpleasant. My preference is foam for overnight sets, magnetic for dryer sets.
My first complete rockabilly set using this exact row-by-row method lasted nearly three days, and more importantly it actually looked like what I was going for — tight, high, deliberately retro. The brush-out moment went from something I dreaded to genuinely my favorite part of the whole process. I hope yours feels the same way.