






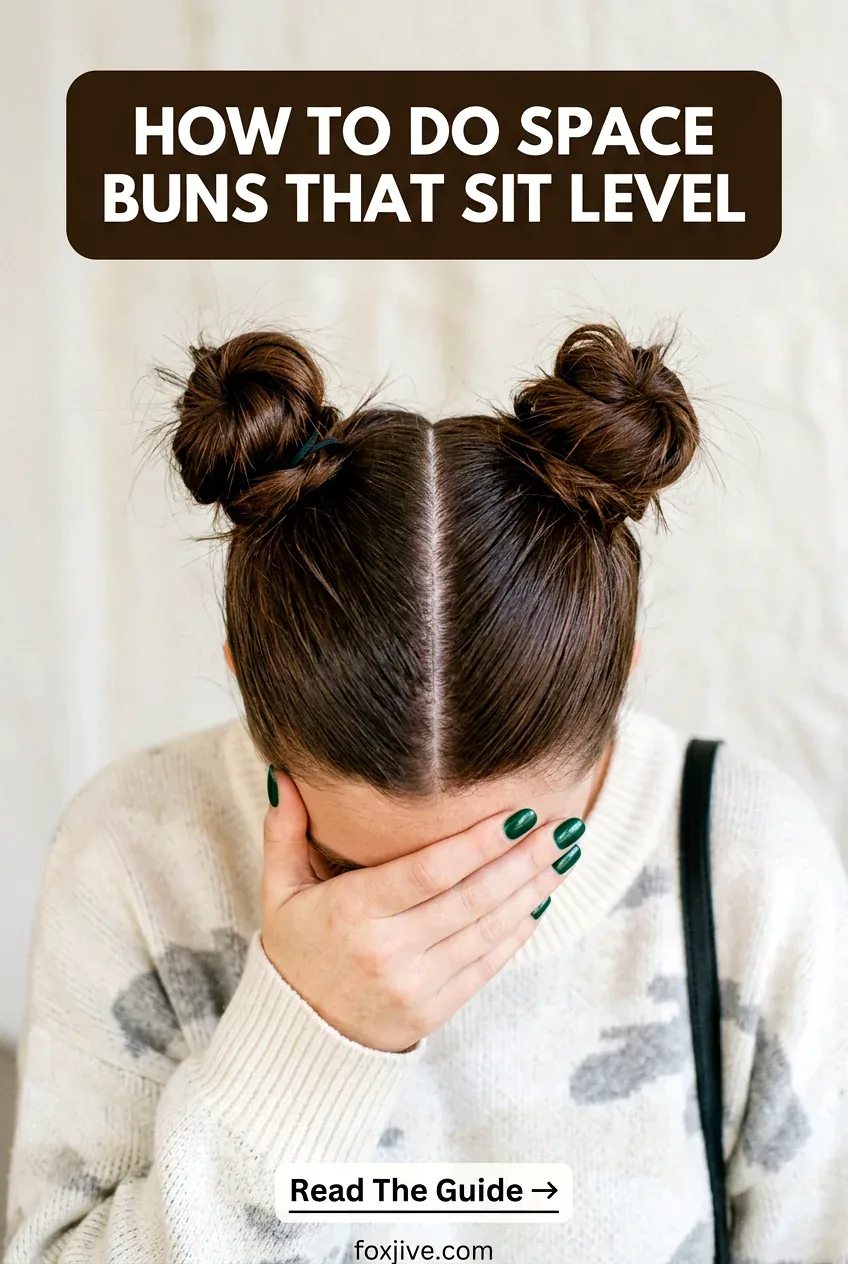
I love space buns, but for a whole year mine looked a little drunk. One always sat higher than the other and by lunch they flopped forward like antennae. I finally realized it was never my twisting technique, it was placement.
Once I started measuring from the same head landmarks every time, they just clicked into place. Now I can do them half-asleep before coffee and they still photograph level.
What You’ll Need
I tried doing this with one elastic and a prayer for months. Do not be like me. Grab the little stuff first and the whole thing takes about ten minutes.
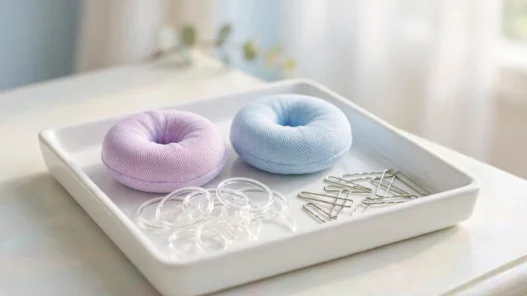
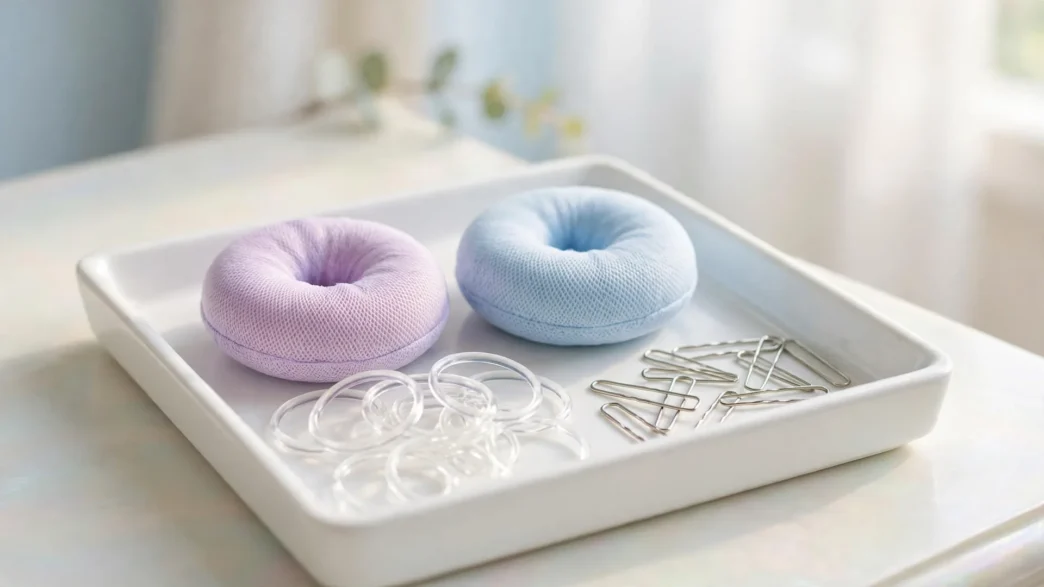
- two snag-free elastics in your hair color, plus one spare because one always vanishes
- four to six U-shaped pins, not the flat wavy ones, the chubby open ones hold a twist so much better
- a rat-tail comb for a clean center part, my plastic one from the drugstore works fine
- a light-hold texture spray or dry shampoo, second-day hair is honestly perfect here
- two small jaw clips to park each side while you work, I use the mini claw kind
- a hand mirror plus your bathroom mirror so you can check the back line
- optional: a small donut pad or a cut-up sock bun maker if your hair is fine like mine
My hair is just past my shoulders, fine and slippery when it is clean. If yours is freshly washed, you will want that texture spray even more. I learned about how much grip matters for a long-lasting twist when I was reading about second-day texture holds for vintage updos, and you can read up on second-day texture holds before you start if your hair always slips.
Step 1: The Parting
The parting is where level buns are won or lost. If the part wobbles, your buns will never look even no matter how carefully you twist. I start with dry, brushed hair and shake my head upside down once just to get rid of any flat spot at the crown, then flip back up.
I use the tip of my rat-tail comb to draw a center part from my forehead straight back to the nape. Not a side part, a dead-center part. My nose is my guide. I line the comb up with the bridge of my nose and pull back. Then I clip one side up so I am not chasing stray pieces.
Here is my check that actually works. Hold your phone flashlight or stand facing a window, look straight into your bathroom mirror, and hold the hand mirror behind you. You want one straight white line of scalp from front to back. If it jogs left near the crown, and mine always wants to, just redraw it. Clean it up with the comb tip until that line looks like a ruler.
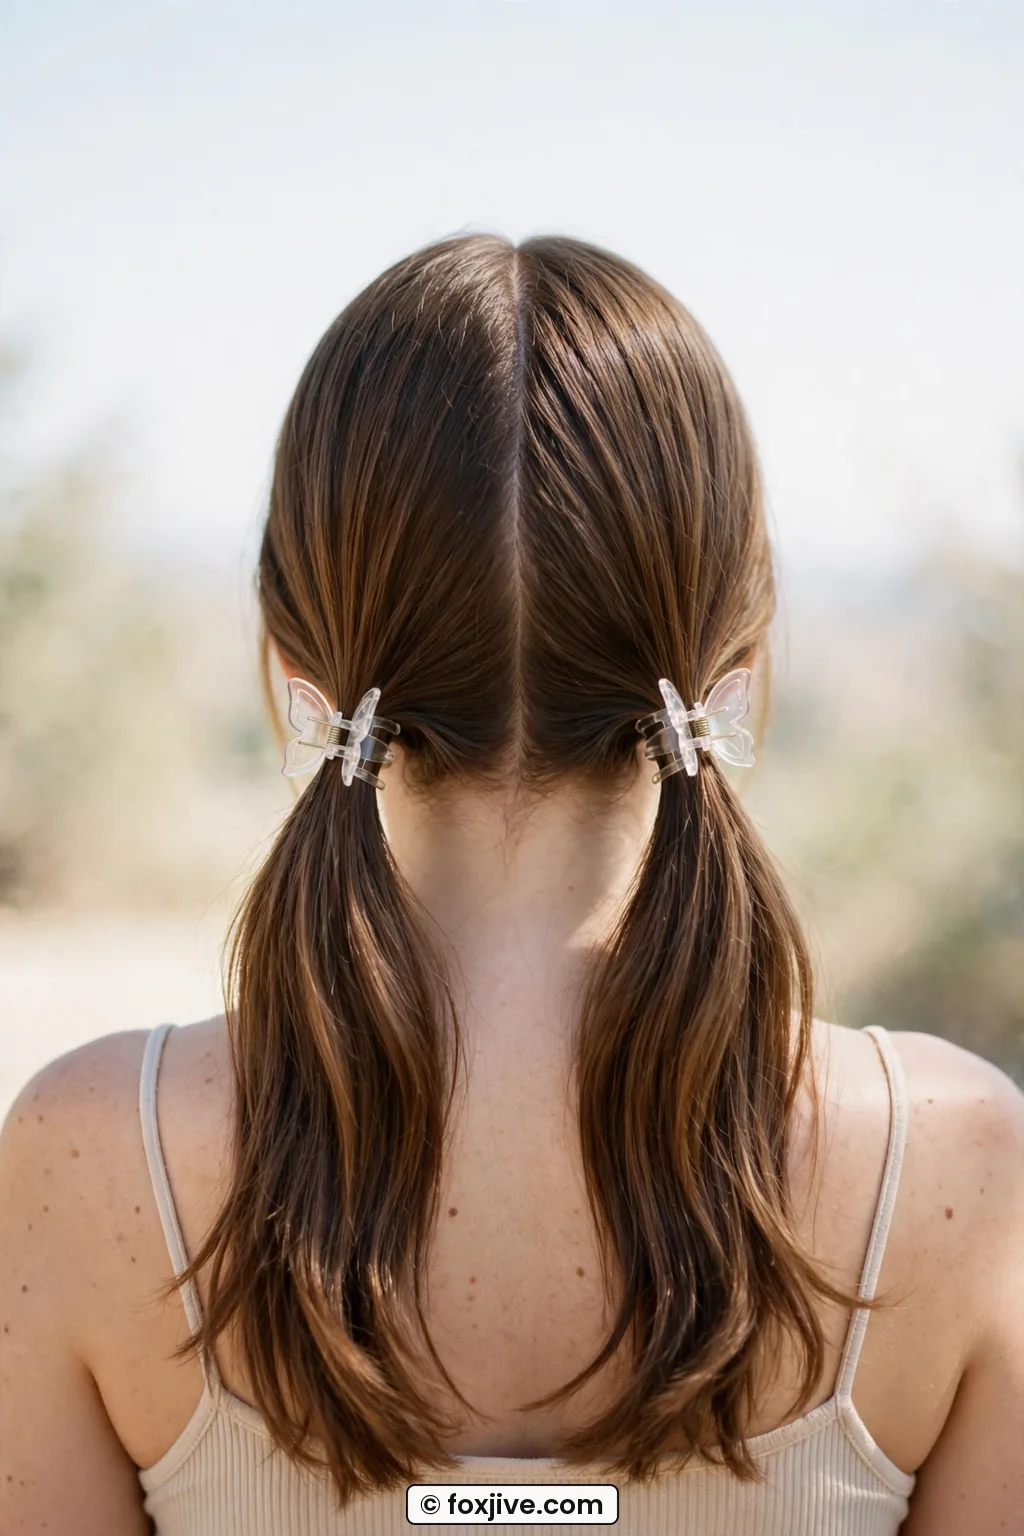
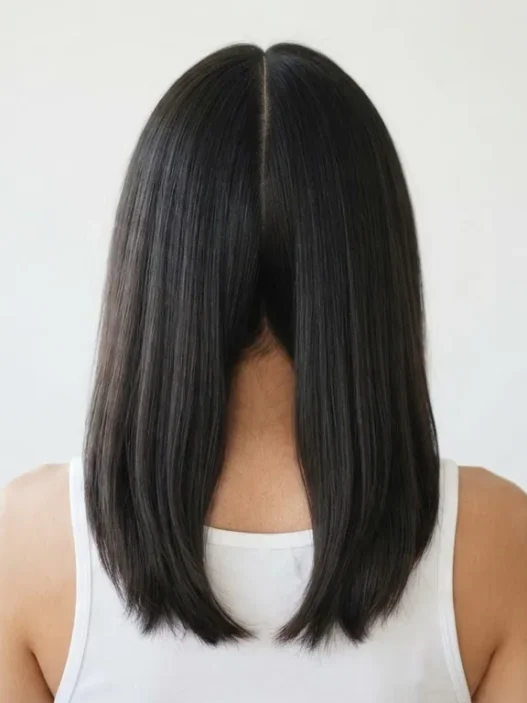
Look at how she is wearing hers in this back shot, that center line is crisp from crown to nape and both sections look equal. That is exactly what I aim for before I even touch an elastic. If one side looks puffier, I comb a little hair from the heavy side over. I would rather spend two extra minutes here than have lopsided buns all day.
I also mist a little texture spray through the mid-lengths now, not at the roots yet. My fine hair gets stringy if I overdo the roots early. Just a light all-over puff, then brush through with fingers. Think lived-in, not sticky. This is the same reason I love old-school sets like classic victory rolls for grip, they were built on slightly dirty hair too. My mom did a high-fashion version with classic victory rolls and she always said day-two hair was non-negotiable.
Once the part is straight and both ponytail sections feel roughly the same weight in your hands, you are ready for placement. Do not ponytail them yet. I leave them clipped loose so I can move the base around in the next step.
Step 2: Placement, Measured
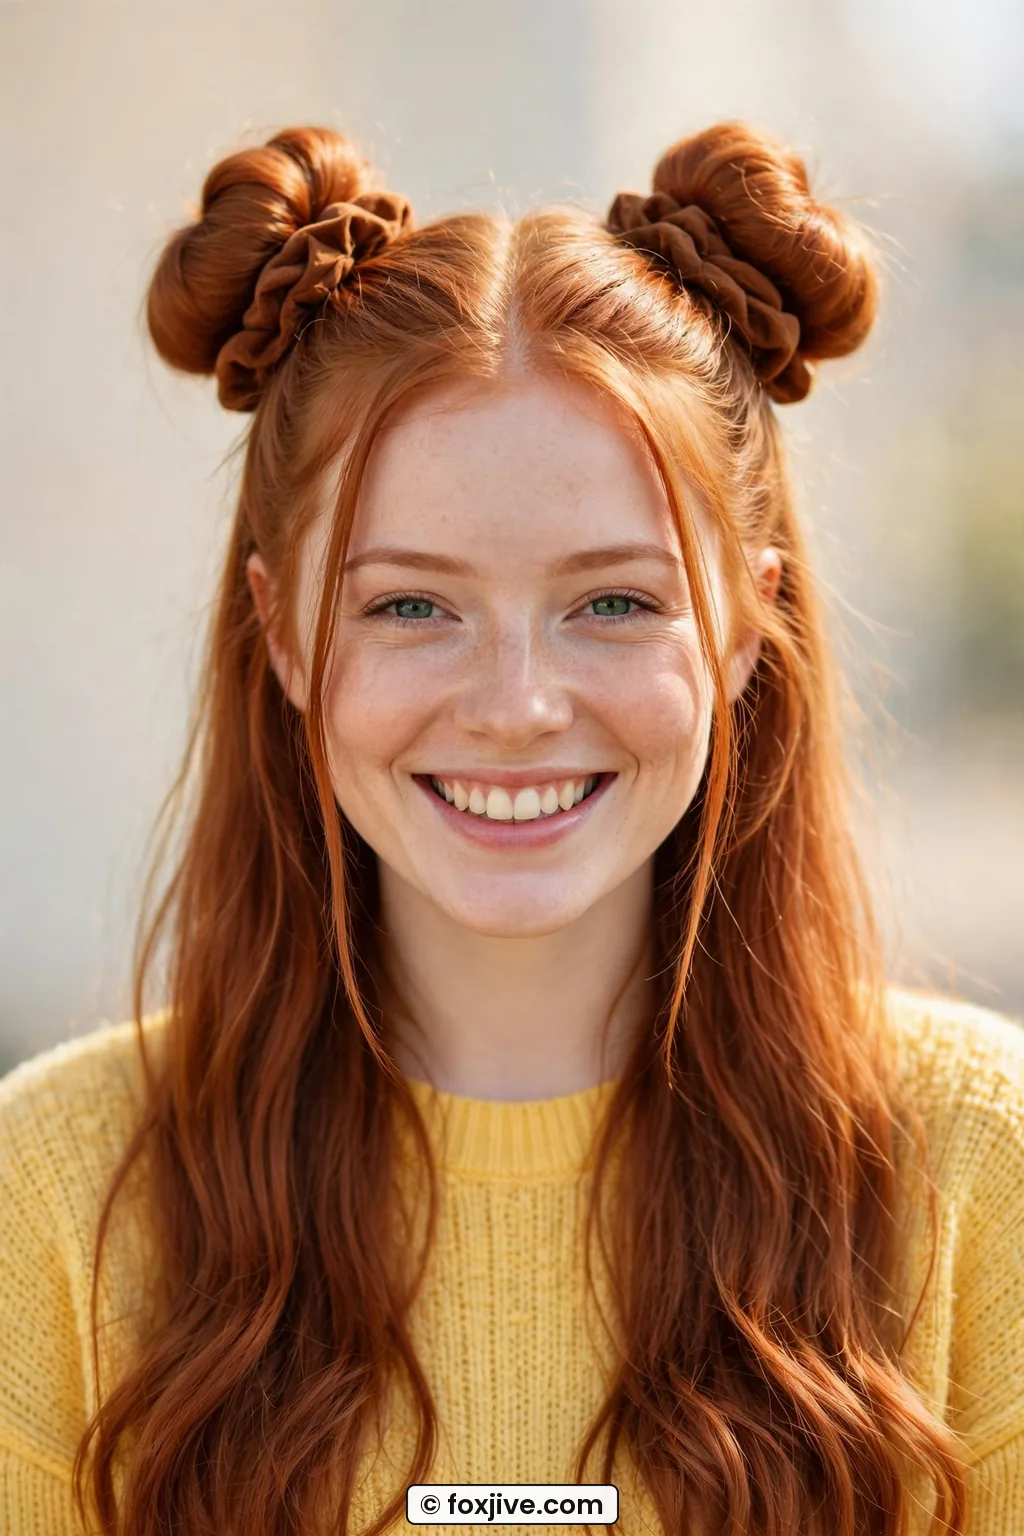
Placement is the whole ballgame with space buns. Super-high, right on top of the head feels very costume-y on me now in my thirties. I like what I call the adult-lower spot, still playful and very Y2K, but wearable to brunch without feeling like I am headed to a festival.
My landmark never changes. Find the top of your ear, trace an imaginary diagonal line up and back toward the crown, about two finger-widths behind your natural high-ponytail spot. If you put your thumb on the top of your ear and your index finger straight up, the bun base should sit where your index fingertip lands when you angle it slightly back. That is it. That is my ear-line trick.
I hold each loose section up to that spot and look side-on in the mirror. From the side, the base should peek just above the curve of the head, not disappear behind it and not stick straight up like a fountain. From the front, you should see just a little lift of each bun over your head. If you only see hair and no bump, go a touch higher. If you see full golf balls, drop them down half an inch.
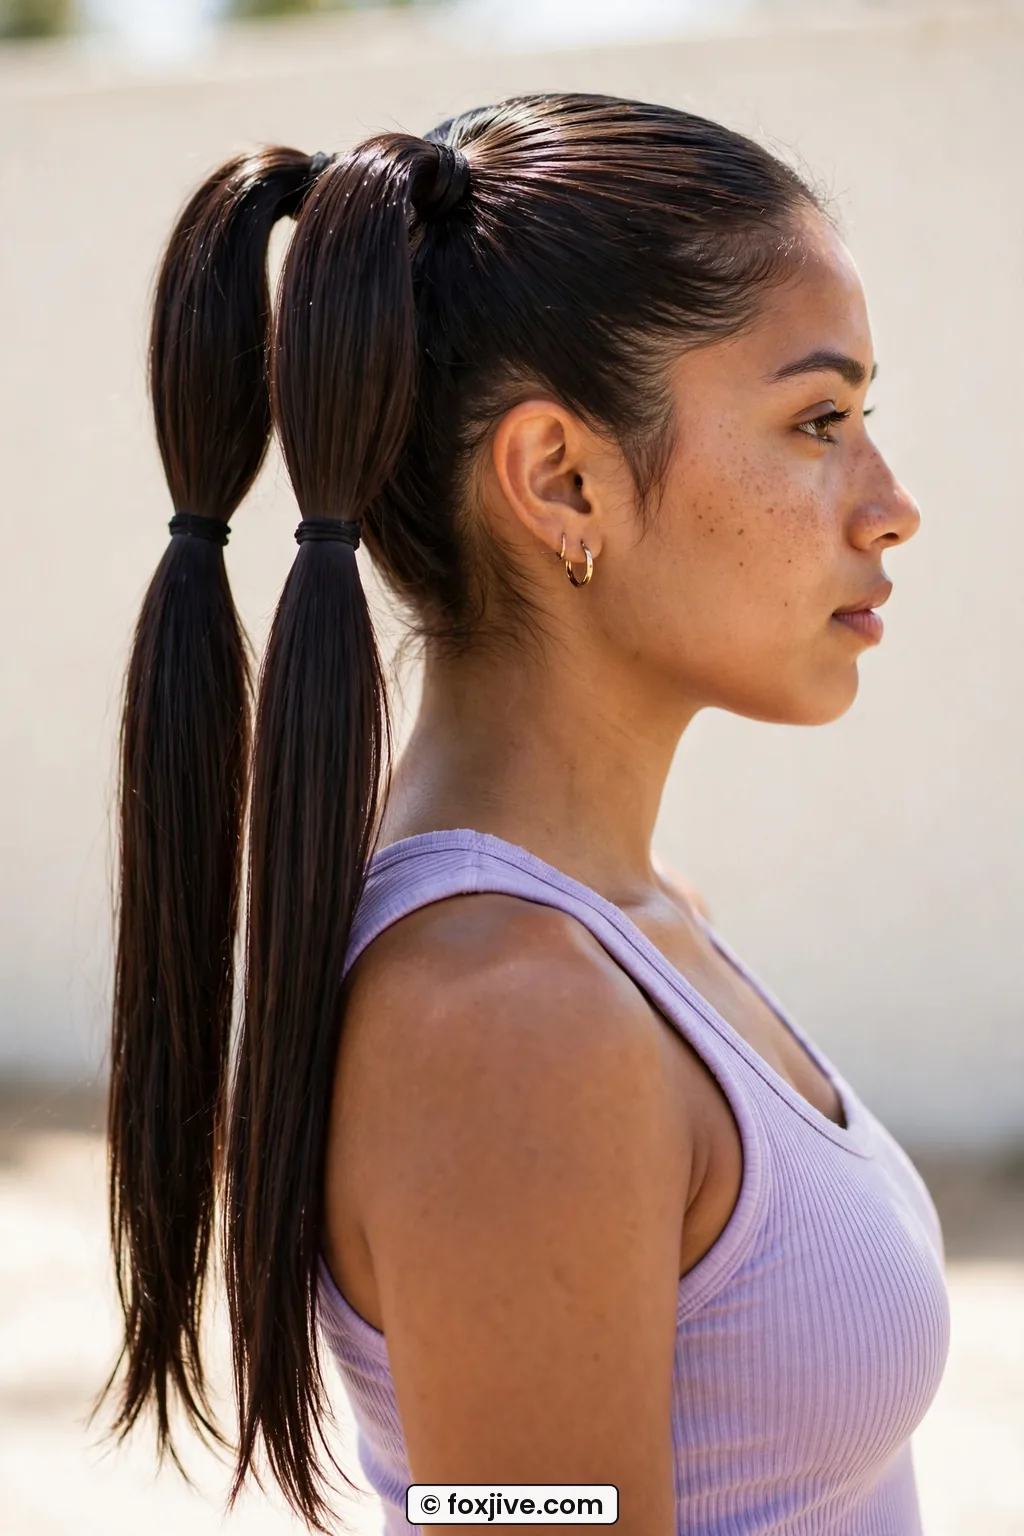
She has got hers right in that sweet spot I mean, see how the base sits up and behind the ear line instead of dead-center on top? That angle keeps them cute but not cartoony. I have mine in a cherry-red tee in that photo memory in my head and hers in the soft gray just reads the same, a little lower feels calmer.
Now make your first ponytails. Smooth each side up to its mark with a paddle brush or your fingers, I prefer fingers for a softer Y2K finish. Secure with a snug elastic, two wraps for thick hair, three for fine hair. Then here is the level check I swear by. Put your index fingers on top of each elastic, close your eyes, and feel if they match. Then open your eyes and check front, side, and back with the hand mirror.
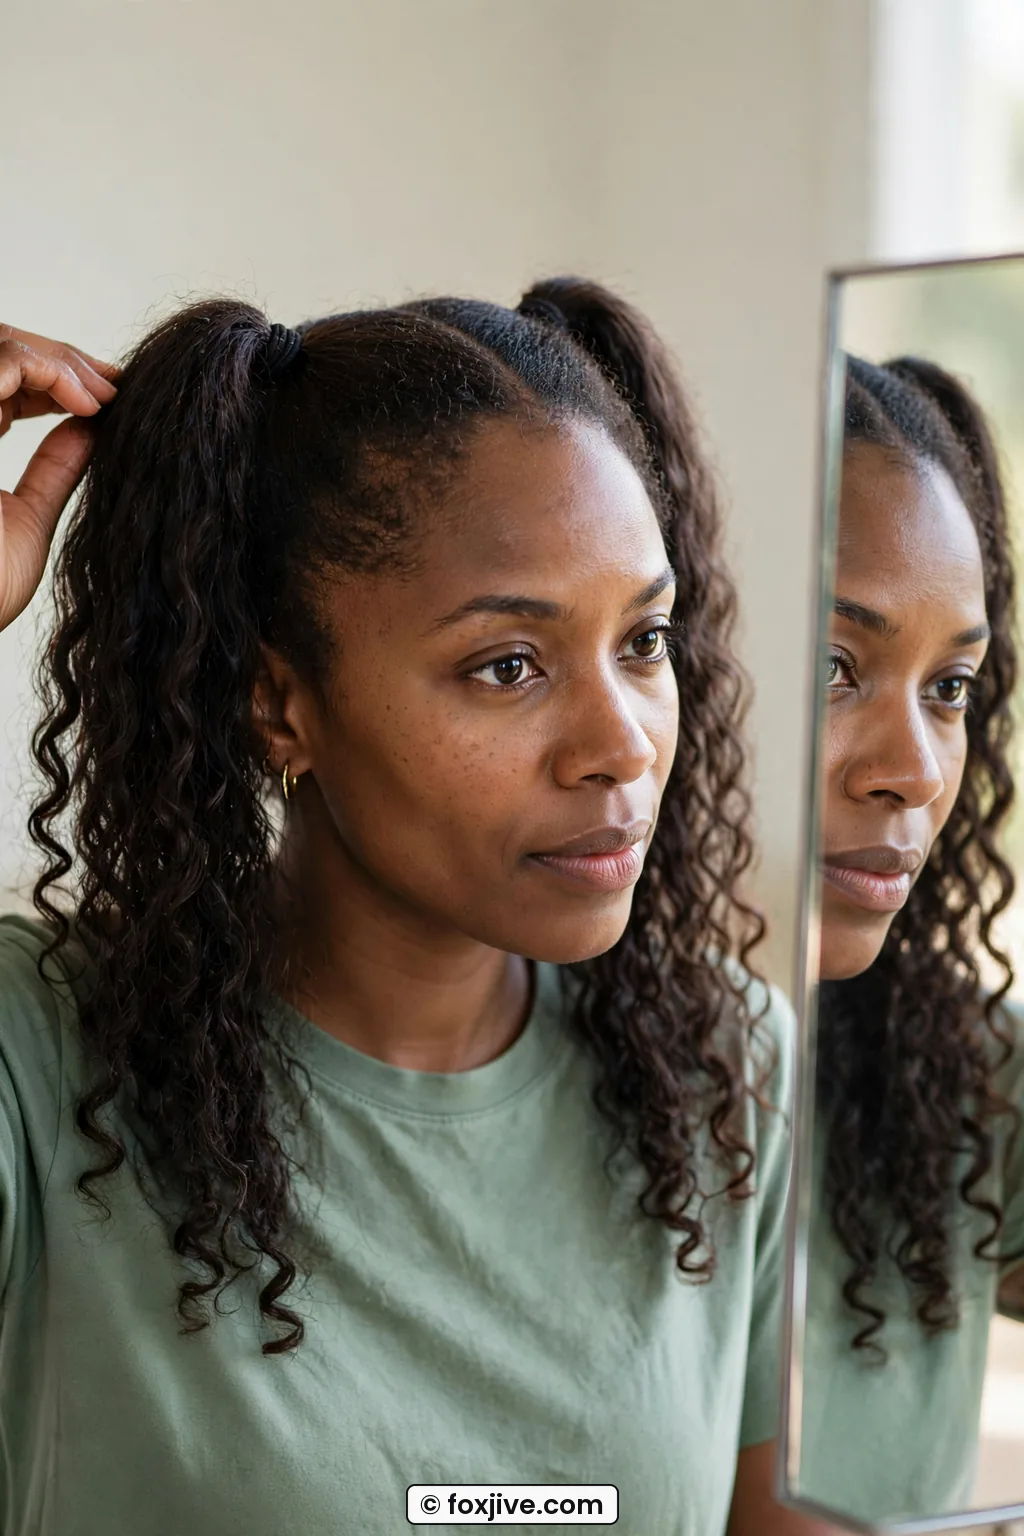
This three-quarter view is what I check in my own mirror, both elastics visible at the same height with the same tilt. If the right one feels even a quarter-inch higher, I redo it now. It takes thirty seconds and saves the whole style. Do not tell yourself no one will notice. Cameras notice.
I used to love pairing this placement with soft 2000s extras like wispy side bangs, and if you do too you can pull two thin face-framing pieces out now before twisting. I leave mine out when I want that early-aughts pop look I associate with wispy side bangs from old magazines.
Step 3: Securing Each One
Okay, ponytails are level. Now we twist. I do one side at a time and I do not rush this part even if I am late. Take the right ponytail, hold it straight up from the base for volume, then twist it gently in one direction until it starts to coil on itself.
Let it fold around the elastic in a flat cinnamon-roll shape, not a tall cone. I wrap my ends under as I go and keep the coil wide with my thumbs. Wide and flat reads modern. Tall and pointy reads elf. I learned that the hard way at a backyard barbecue and there are photos.
My big mistake was winding the elastic around the finished bun like a rubber band on broccoli. It squashed everything flat and gave me a headache by noon. Two spare elastics just for the bases plus pins for the bun itself changed everything.
For securing, I use a second elastic loosely around the coiled bun, just one or two wraps, then I pin. My pin count is four U-pins per bun. Twelve o’clock, three, six, and nine, pushed in against the twist direction so they actually grab scalp hair. I wiggle each one to test. If a bun shifts when I shake my head gently, it needs another pin, not a tighter elastic.
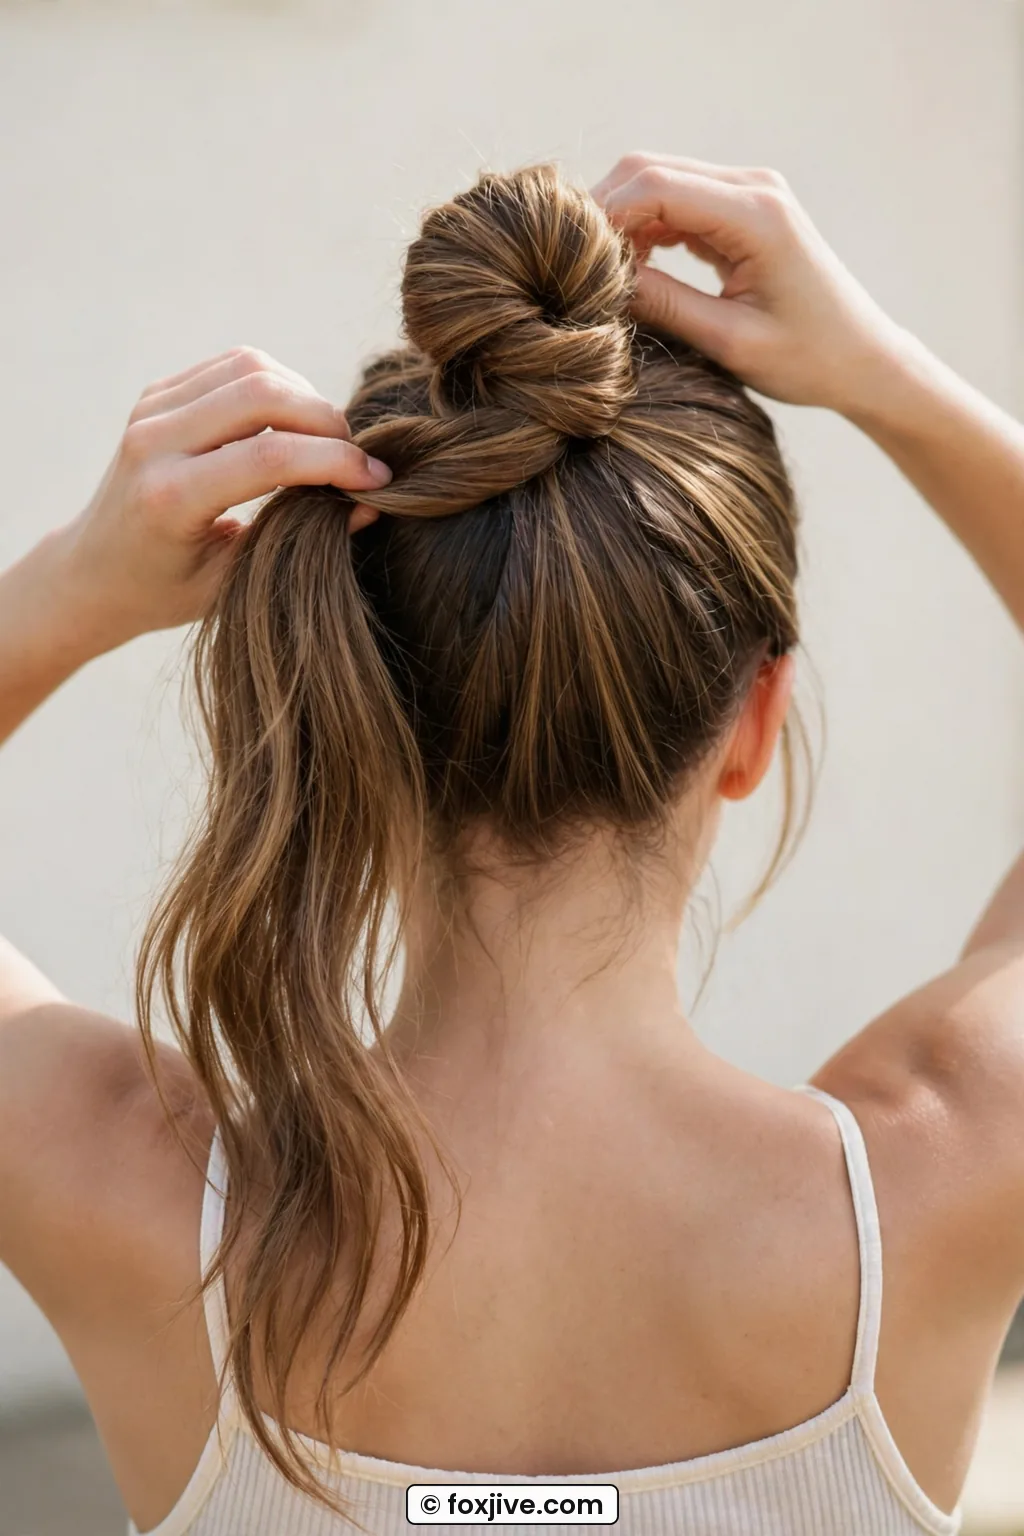
Look at her hands here, she is wrapping that second section while the first bun is already pinned and sitting level. That is my exact order too. Finish one completely, check it, then start the other. Do not twist both and pin both at the end or you will chase symmetry forever.
Repeat on the left, twisting the same direction for matching swirls. I stand square to the mirror and glance up without tilting my head. Are both buns the same width? The same height off the head? I will pull gently at the outer edge of a smaller bun to puff it out. A little pancaking with fingertips makes them look even even if your hair is thicker on one side like mine is.
Finish with a light mist all over and smooth any halo with a clean toothbrush sprayed with hairspray. I also learned a lot about pin direction from night-before sets like heatless overnight pin curls, and reading about overnight pin curl tension helped me stop stabbing pins straight down.
Step 4: Fine Hair and Padding
If your hair is fine, this is the step that makes space buns actually look like buns instead of walnuts. My ponytails are skinny, so without padding my buns vanish in photos. I do not tease much anymore because my ends hate it, I pad instead.
Before twisting, I slide a small nude mesh donut over each ponytail base, or in a pinch I use a sock bun cut in half. You do not see it at all if you wrap correctly. Then I twist the hair around the pad, letting the hair cover it completely. The pad gives my twist something to grip and instantly doubles the size.
Alternative if you hate donuts. Split each ponytail into two mini sections, twist them separately, then cross them around each other before coiling. That criss-cross builds its own padding and holds way better on slippery hair. I do this when it is humid because foam donuts get sweaty on my scalp.
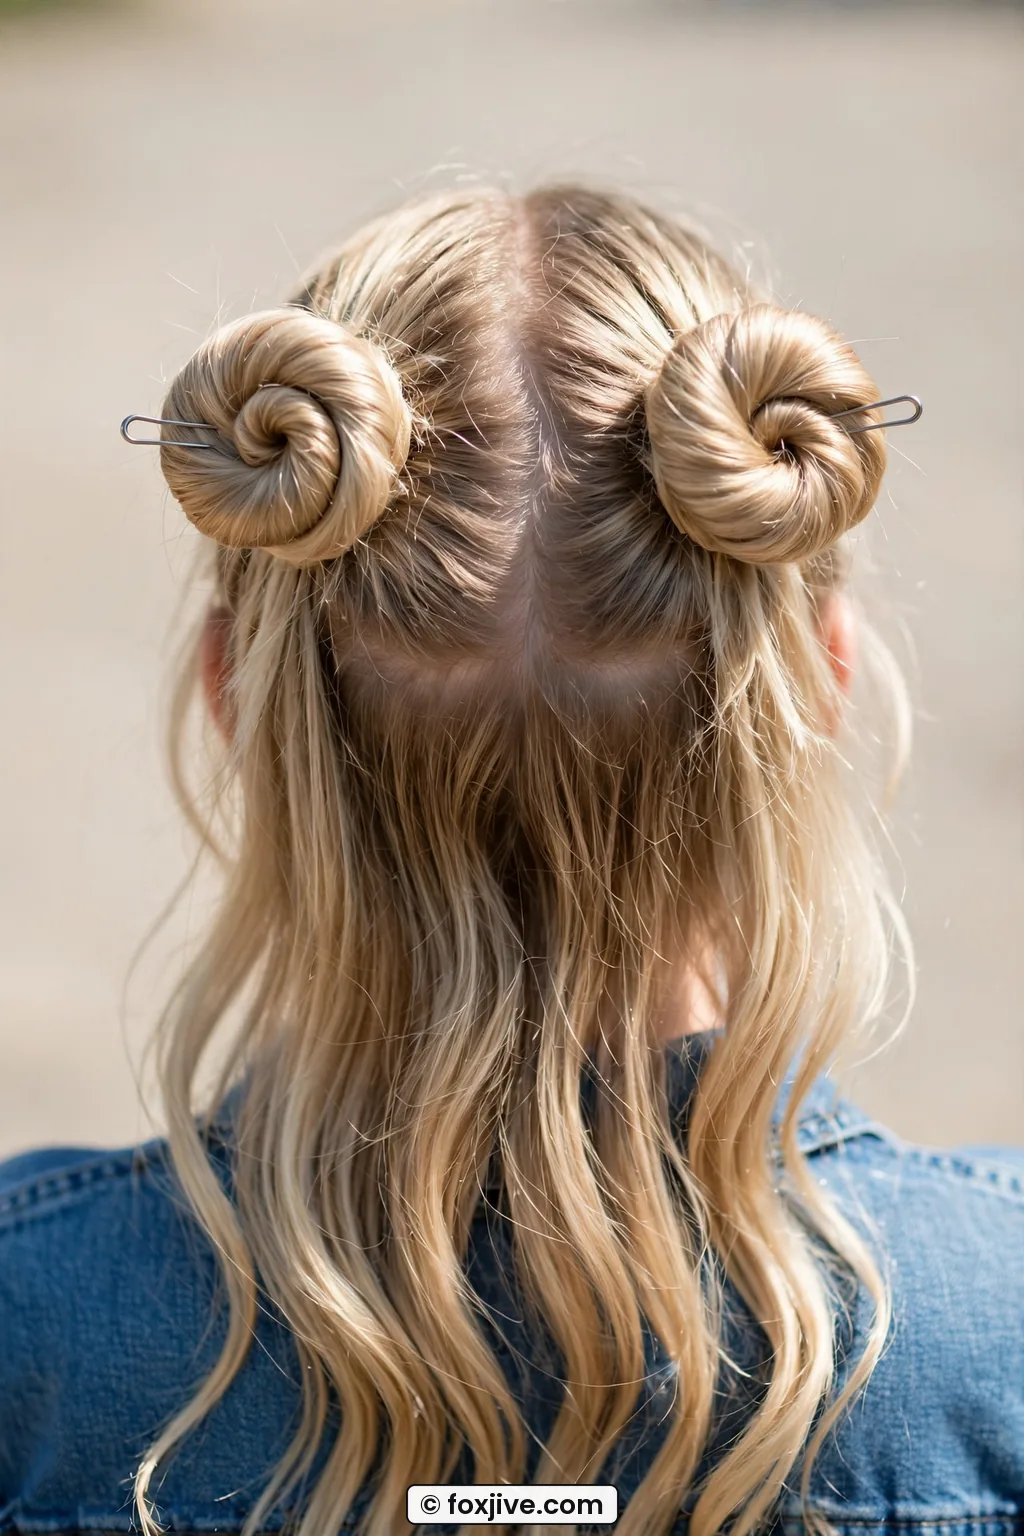
She is showing the difference padding makes so well here, full and round without looking stiff, and her ends are tucked cleanly under. Mine looked just like the smaller before-version for years. The after is all that hidden donut, not extra hair.
A few fine-hair rules I live by now. Keep elastics tight at the base but loose around the bun itself, over-tightening flattens fine hair. Use U-pins instead of bobby pins for the main hold, they do not slide out of silky hair. And skip heavy oils that morning. I save those for after I take the buns out, when I want soft waves for day two.
I think of this the same way I think about other constructed vintage updos where the shape comes from the base, not the length. Once you get padding, even a shoulder-length bob can do this look. If you love big shapes generally, browse classic vintage updos for ideas, a lot of them use the same donut trick. And for a no-pin party trick on the days my arms are tired, I stole the wrapping idea from how to do bandana hairstyles without a single bobby pin and just wrap a scarf around the bases instead of pinning flyaways to death. For sleep protection I still use loose soft overnight pin curls on the front pieces so my face-framing bits survive.
I wore mine to run errands last Saturday, lower placement, four pins each, little donut inside. They stayed level through Trader Joe’s, a windy parking lot, and my toddler yanking one in the car seat. I got home and they still matched in the mirror. That has never happened before and I did a tiny happy dance in the hallway.
Space Buns Questions I Hear a Lot
Why do my space buns always end up uneven?
For me it was almost never the twist, it was the base. If your part curves at the crown or one ponytail sits forward of the ear line, the buns cannot match. Redo the part and feel for height with your eyes closed, that catches what mirrors miss.
How high should space buns sit for adults?
I like them two finger-widths behind the high-ponytail spot, on that diagonal line up from the top of the ear. You still get lift in photos but they do not read as costume. Any higher and I feel like I need glitter, which is fun sometimes, just not for work.
Can fine or short hair do space buns?
Yes, I do it with fine shoulder-length hair. A mini donut pad or splitting each tail in two before twisting gives you the width. Keep the coil flat and pancake the edges, you will be surprised how big they look.
How do I keep them from hurting by afternoon?
Pain usually means the base elastic is doing all the work. Keep the base snug but let U-pins hold the bun weight against your head. Four per side is my sweet spot, and I always take them out in the opposite direction I put them in.
If you try the ear-line placement, tell me if it fixes the tilt for you too. Mine finally feel like my hair, just more fun.