




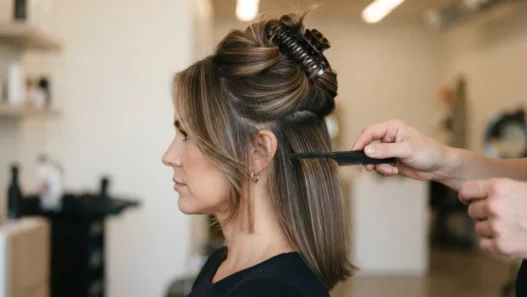

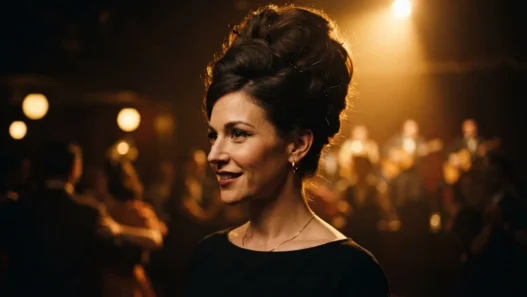

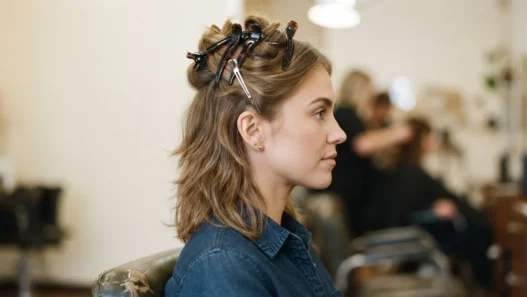


My hair is fine, straight, and acts like it’s been coated in cooking spray whenever I try to anchor anything into it. I’ve lost more bobby pins to this head than I can count — they just migrate out by mid-morning, taking whatever style I was attempting along with them. When I started getting into 1940s and 1950s retro looks, bandana hairstyles became an obsession, but everything I read assumed you’d be pinning the thing in place. Nobody acknowledged what to do when your hair simply won’t cooperate with pins. So I figured it out the slow, frustrated way, and I’m writing the guide I wish I’d had.
Find Your Step — Jump Ahead
- Why Pins Keep Failing You
- What You’ll Need
- Step 1: Prep the Hair So Tension Has Something to Grip
- Step 2: Fold the Bandana Into a Band
- Step 3: The Front Roll
- Step 4: The Crown Tuck
- Step 5: The Wrap
- Step 6: Securing It With Elastics Only
- Step 7: Final Shape and Tidy
- What Genuinely Cannot Be Done This Way
- Quick Answers Before You Start
Why Pins Keep Failing You
Here’s the mechanical truth nobody explains: bobby pins work by clamping onto a bundle of hair with enough friction to hold. On coarse or thick hair there’s plenty of texture for the pin to bite into. On fine, straight, or chemically smoothed hair — or on silk and satin bandanas specifically — there’s almost nothing for the pin to grip. The ribbed side of the pin catches a few strands, the silk slides, and two hours later the whole thing has rotated around your head like a slow-motion carousel. It isn’t you. It’s physics.
Pins also rely on being anchored into hair. If your layers are short, or if your hair is freshly washed and slick, there simply isn’t enough density at any one point for a pin to seat firmly. Adding more pins doesn’t solve this — it just gives you more sharp things falling onto your bathroom tiles.
The method I use instead relies entirely on tension. The bandana and the hair work against each other — the tuck, the wrap, and the elastic create a locked system where pulling in one direction actually tightens everything else. No single anchor point. No pins. It works on fine hair, on layered hair, and even on freshly blown-out hair if you’ve added a little texture first.
What You’ll Need
Keep this short. The whole point is to do this with almost nothing.
- A square bandana — cotton holds better than silk for this method; 22″ square is the sweet spot
- Two small, clear elastics (the kind that come in bulk bags — you’ll go through them)
- One regular hair elastic that matches your hair color
- A light-hold texturizing spray or dry shampoo — even one pass makes a difference
- A wide-tooth comb or your fingers
- A mirror you can see the back of your head in (a hand mirror plus a wall mirror works fine)
That’s genuinely it. No pins, no clips, no spray wax, no hairnet. If you want to look at the broader context of accessories like this, it’s worth reading up on the history of how women in the 1940s actually styled these — the victory rolls of that era share the same fundamental tension-over-pins logic, which is part of why this method translates so well.
Step 1: Prep the Hair So Tension Has Something to Grip
If you do this on freshly washed hair with nothing on it, the whole thing will slide off by the time you leave the house. I learned this the hard way on a very hot August day. The single most important prep step is adding texture — and you don’t need much.
Spray a light texturizing spray or dry shampoo from about eight inches away, focusing on the crown area and the first two inches of your hairline all the way around. Work it in with your fingertips using a scrunching motion rather than smoothing — you want a little grip, not volume necessarily. If your hair is already a day old and slightly gritty, you’re already ahead; you can skip this step entirely.
Don’t brush after you texture. Brushing redistributes the product and smooths the shaft again. Just use your fingers to arrange the general shape, then move on.
Step 2: Fold the Bandana Into a Band
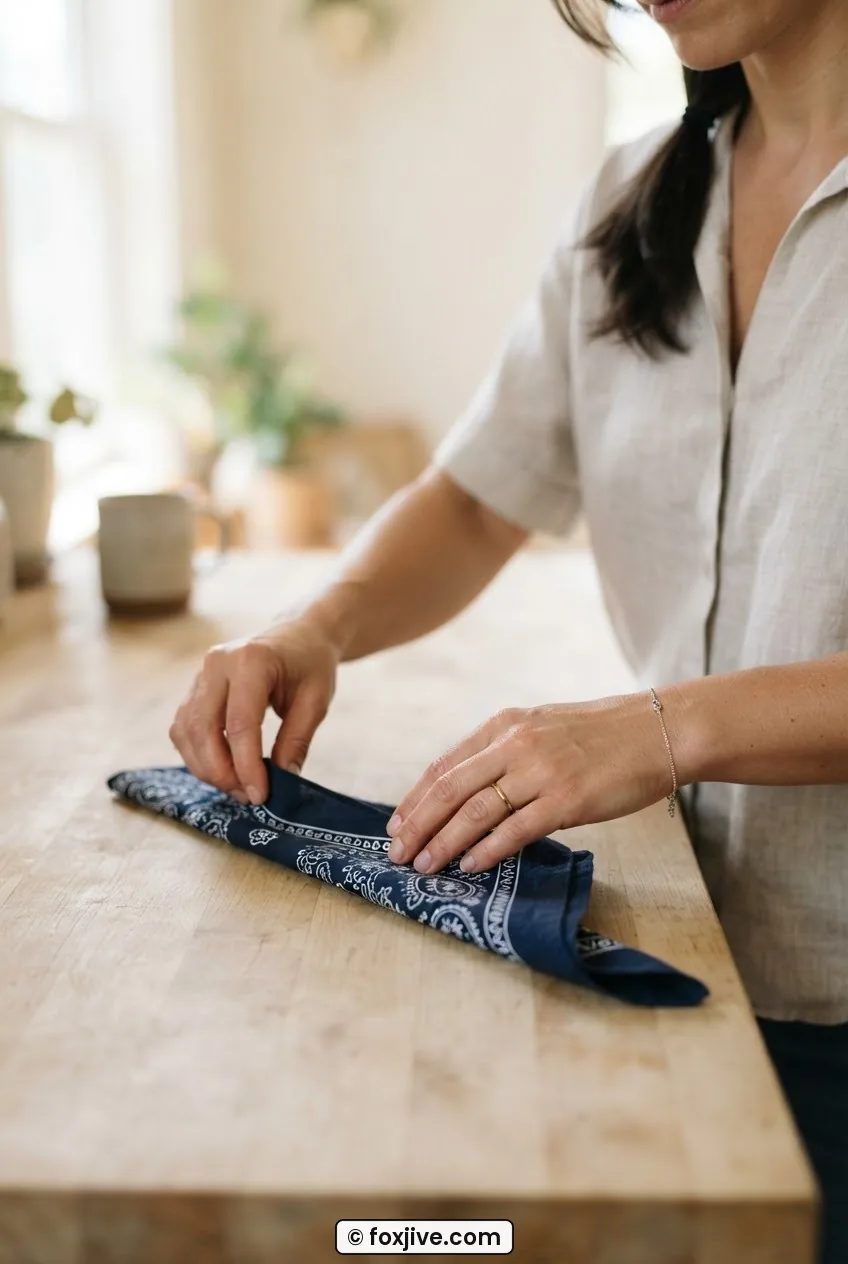
Take your square bandana and lay it flat. Fold it in half diagonally to make a triangle, point facing away from you. Now fold the long straight edge up toward the point — about an inch and a half at a time — until you have a thick band roughly two to three inches wide. The fold direction matters: you want the folded edges tucked inward and the bias of the fabric (the diagonal grain) running along the length of the band. That diagonal gives it stretch, which is what allows it to conform to your head without buckling.
Hold the band up to the light. You should see a neat, mostly smooth surface on the side that will show. The raw point of the triangle should be hidden inside the folds. If it’s poking out, tuck it in and re-roll.
Mistake I Made: I used to fold the bandana so the decorative side faced inward — which meant I was wearing the plain back of the fabric on the outside for about three months before a friend pointed it out. Hold the band up and check which side has the print before you put it on your head. Simple fix, embarrassing lesson.
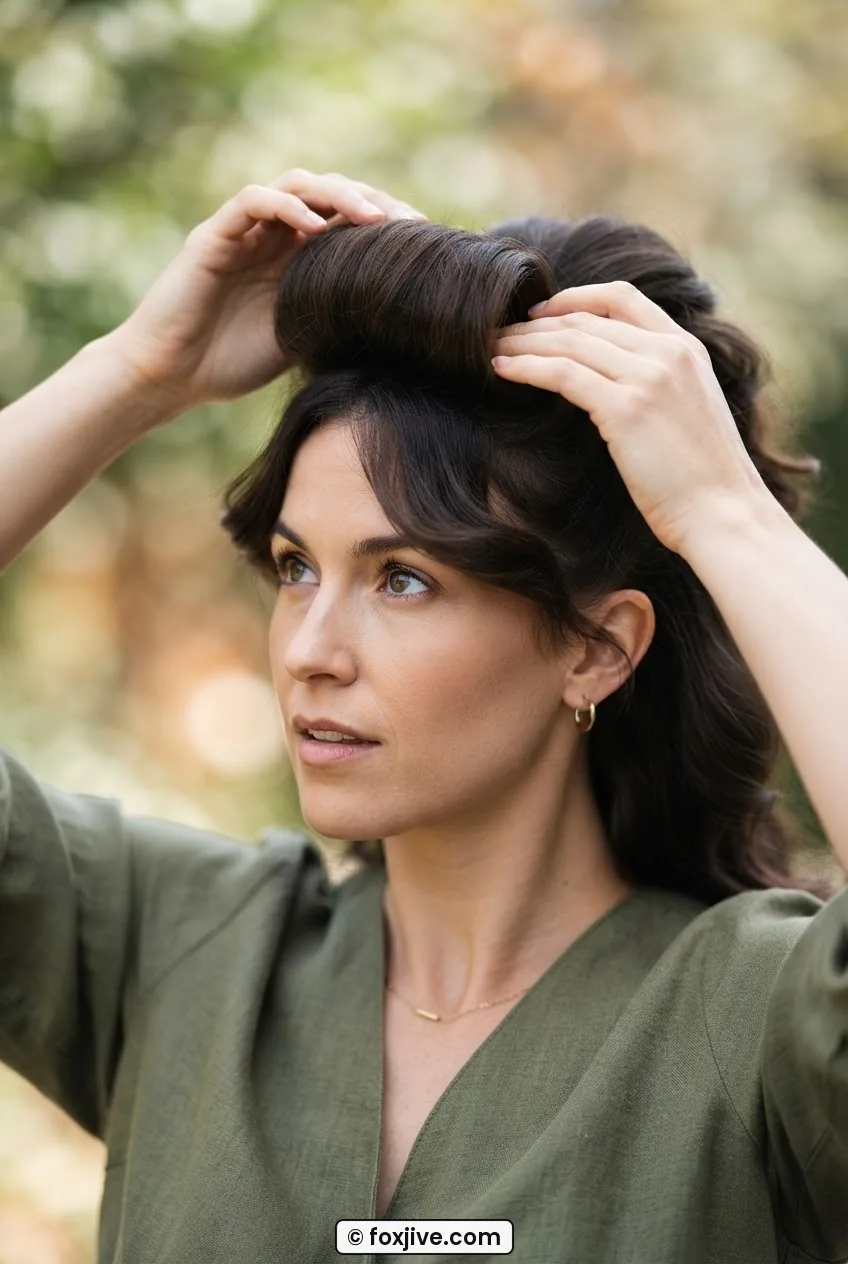
Step 3: The Front Roll
This is the vintage detail that makes the whole look — and also the step where most people give up and reach for a pin. Don’t. You can hold this with tension alone if you execute the next two steps correctly.
Section out the front portion of your hair — roughly everything between your temples, from the hairline back about two inches. This is the section that becomes the roll. Gather it loosely between your fingers and roll it away from your face, toward the top of your head, in a gentle cylindrical shape. Think of a loose crescent sitting just inside your hairline, not a tight sausage curl. The roll should be soft and a little floppy at this point — that’s fine. You aren’t securing it yet.
Hold the roll in place with your non-dominant hand and take a breath. The next step locks it in.
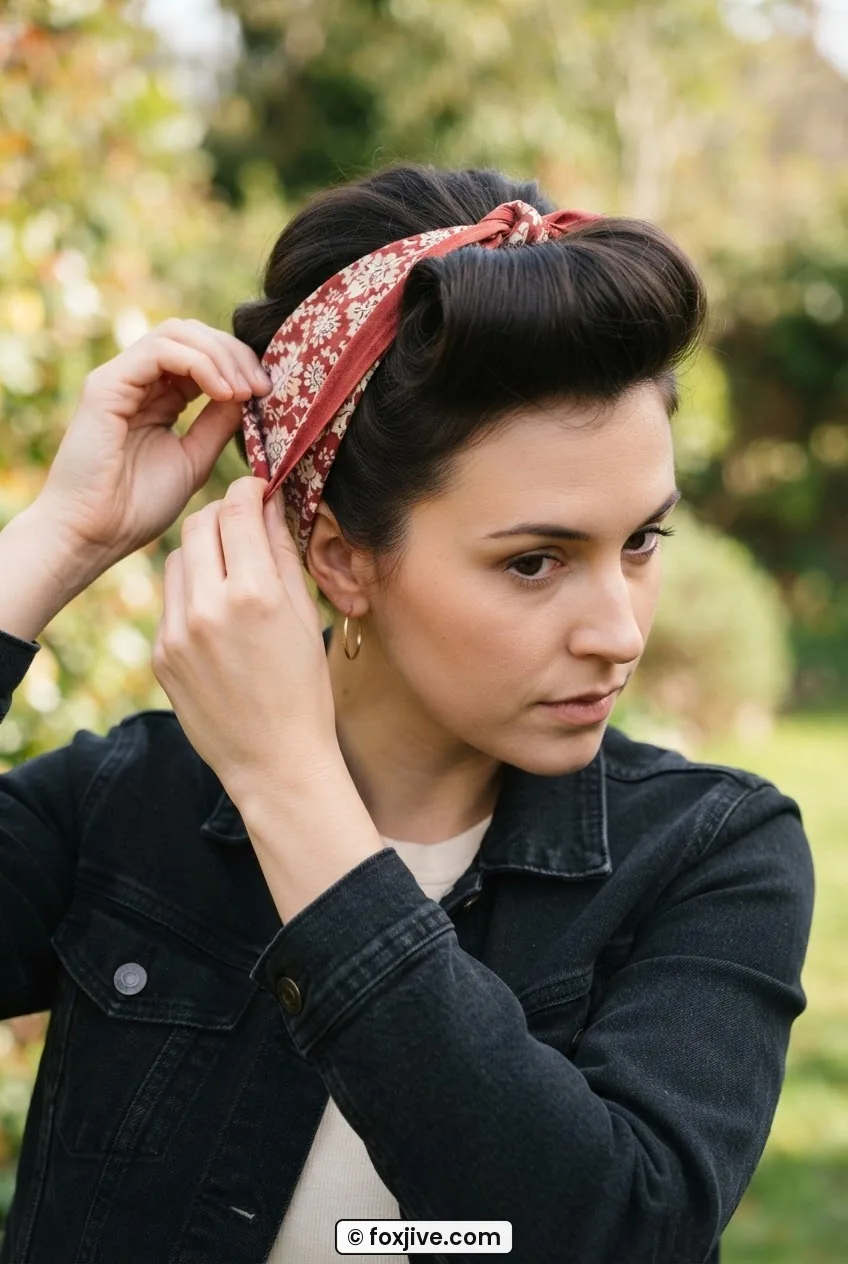
Step 4: The Crown Tuck
This is the step nobody talks about in bandana tutorials, and it’s the entire reason the elastic method works on slippery hair. Still holding the front roll in place, take your bandana band and position the center of it at the nape of your neck. Bring both ends forward along the sides of your head toward the crown — but don’t cross them over the top yet.
With both ends held taut at the crown, slip the back edge of the bandana (the edge that’s sitting just above your nape) under the tail of your front roll. You’re physically tucking the hair roll into the bandana from below. The bandana goes: under the roll, over the crown hair behind the roll, and holds everything sandwiched. This is the tuck. The roll now has the bandana acting as a ledge beneath it, which means it has something to rest against and can’t tumble forward.
You can feel when it’s right — there’s a slight resistance when you pull the bandana ends forward, because the roll is now engaged in the structure rather than floating free. The bandana and the hair are working together mechanically.
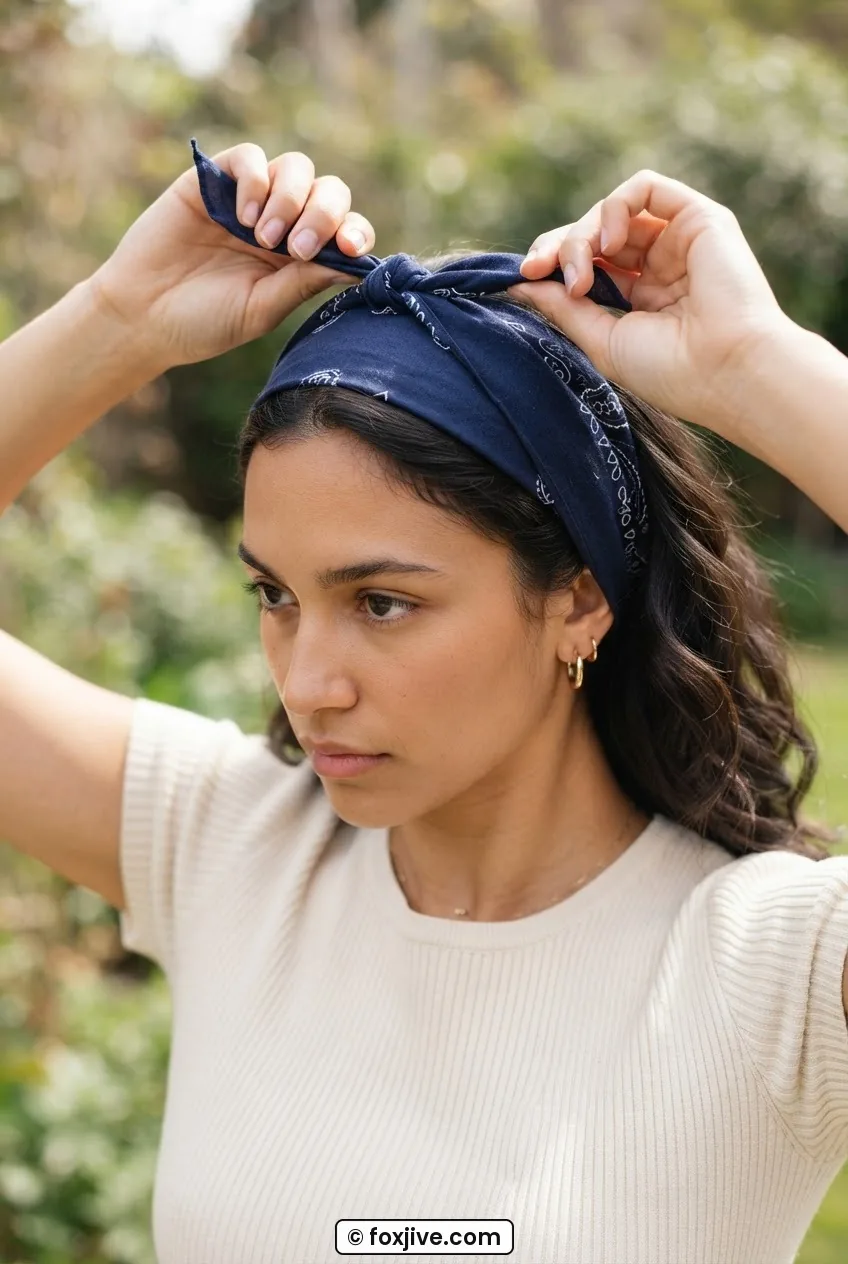
Seeing the Crown Tuck in Real Time
Step 5: The Wrap
Now bring both ends of the bandana forward over the top of the crown — crossing right over left, or left over right, whichever feels more natural. Cross them once, snugly but not tight enough to hurt. You’re building tension across the crown, and that tension is what pins were trying (and failing) to create.
Bring the ends back toward the nape. Cross them again at the nape — this second cross is important because it locks the first one. At this point the bandana has gone: nape → up sides → over crown → back to nape. That’s a complete circuit around the head. The whole thing is now under uniform tension, and the front roll is held in place by the downward pressure of the bandana passing over it.
Look at the model in this photo — see how the bandana sits flat across the crown with no visible puckering? That flatness comes from the bias fold in Step 2 allowing the fabric to curve rather than crease. If yours is bunching, re-fold the band slightly narrower.
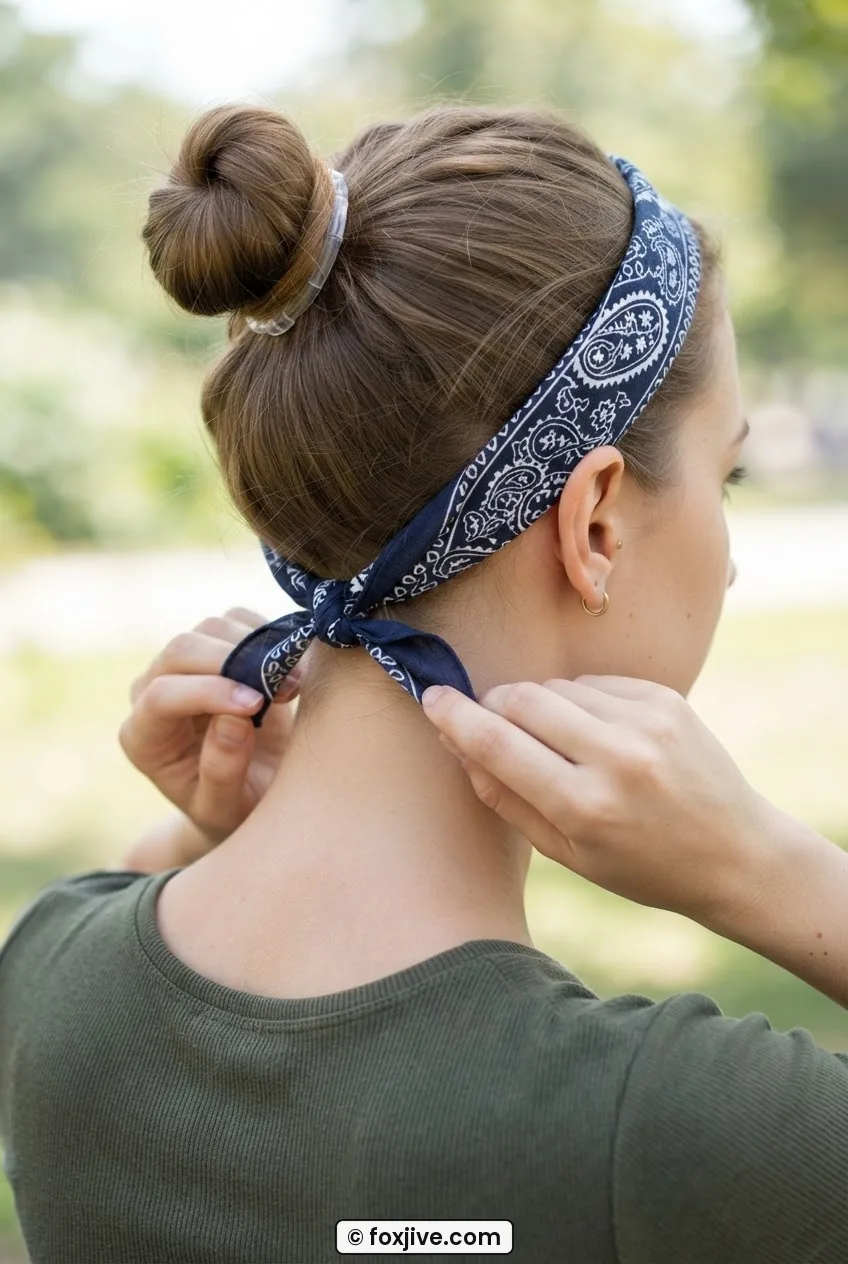
Step 6: Securing It With Elastics Only
You now have two bandana ends meeting at the nape, under tension, and crossed. Take one small clear elastic and loop it around both ends together, right at the point where they cross. Don’t tie them — just the elastic. This is temporary. What you’re doing is freeing both hands so you can arrange the tails before making it permanent.
Once the elastic holds the cross in place, take the tails and either tuck them under the bandana circuit at the nape (for a clean finish), tie them in a small knot and tuck, or tie a proper bow if your bandana has enough length. Most 22″ bandanas have just enough tail for a small bow sitting at the nape — which is the classic 1940s finish. Replace the temporary elastic with your regular hair elastic or a second small clear one, wrapped around the base of the bow to keep it anchored.
You can read more about vintage bandana styling for variations on where to place the knot — back, side, or even tucked behind one ear for a more casual feel. Each placement has a slightly different tension profile, and the tuck-and-wrap method adapts to all of them.
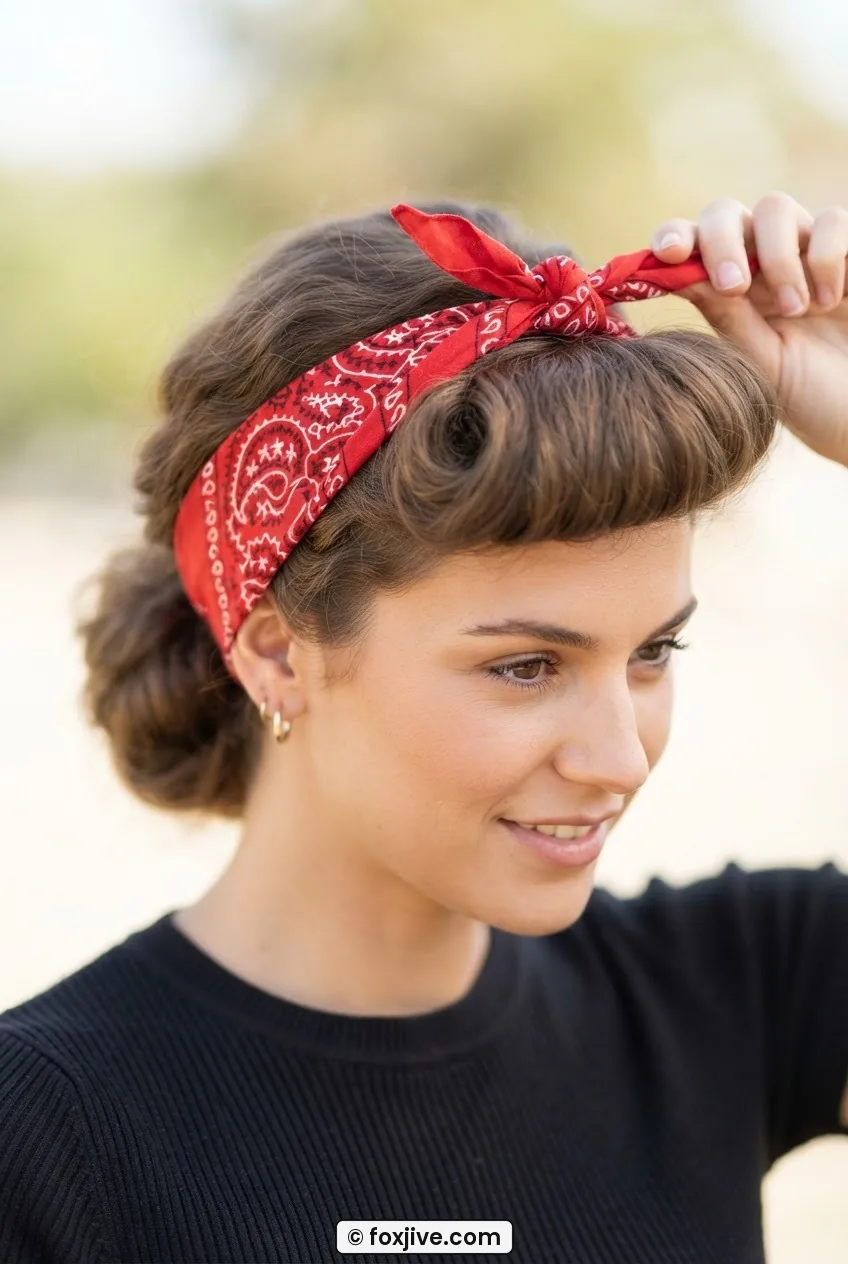
Step 7: Final Shape and Tidy
Now step back and look. Check the front roll — it should be sitting neatly just inside the bandana’s front edge, arching gently over your forehead. If it’s lopsided, you can coax it with your fingers by rolling it a touch more in one direction. The beauty of having it held by tension rather than pins is that it’s actually adjustable at this stage without dismantling everything.
Check the sides of the bandana. They should lie flat against your temples. If there’s any lifting at the edges, press them down gently and then pull the back ends of the bandana slightly tighter — this re-engages the tension circuit and usually solves it without any extra work.
For the back hair — anything that’s not in the roll — smooth it, pull it into a low ponytail, or leave it loose depending on the length. If you’re going for a fully vintage look, a soft chignon or low roll at the nape pairs beautifully here. The guide on 9 victory roll ideas ranked by how long they take has some useful inspiration for what to do with the back section once your bandana is locked in.
Give the whole thing a light mist of finishing spray from about a foot away — just enough to tame any flyaways at the hairline without stiffening the roll. You’re done.
What Genuinely Cannot Be Done This Way
I want to be straight with you here, because most tutorials pretend the method works for everything. It doesn’t, and knowing the limits saves you a frustrating hour in front of a mirror.
Very high updos — the kind where the bandana sits on top of the head with the bulk of the hair piled above it — genuinely need pins. The tension circuit I described works because the bandana travels around the perimeter of the head, and the hair inside that circuit provides resistance. If the hair is piled so high that the bandana can’t create that perimeter, the whole thing collapses. You can explore victory roll styles to see what I mean — the styles that work pin-free are always the ones where the roll sits inside the bandana circuit, not above it.
Intricate braids woven into or through the bandana are also very difficult without pins, because the braid sections need to be tacked at specific points to maintain the pattern. A simple braid threaded through a bandana is possible if you weave the bandana through a loose three-strand braid before the wrap step, but anything more complex than that — Dutch braid with bandana weaving, for example — really does need at least a few anchor points.
Silk bandanas are also borderline. The method works, but you’ll want to use the extra elastic at Step 6 and possibly a second wrap around the nape. Cotton grips hair. Silk does not. It’s a beautiful fabric and it photographs gorgeously, but on truly slippery hair it’s the highest difficulty setting.
Short hair — anything under three or four inches at the front — can’t form the roll at all. The bandana itself will still stay put using this method, but it’ll function purely as a headband rather than a structured style, and there’s nothing wrong with that. Knowing which version you’re actually doing helps set expectations.
Quick Answers Before You Start
Does this work on very short hair?
The wrap-and-tuck method works on hair of any length — but the front roll in Step 3 needs at least three to four inches at the hairline to form properly. If your hair is shorter than that, skip the roll and just do the tuck and wrap. The bandana will stay put; it just won’t have the vintage roll shape underneath it.
How long does this actually hold through a full day?
On my hair — fine and straight — it holds reliably for six to eight hours if I prepped with texturizing spray and used the double elastic at the nape. Heat and humidity soften the grip a little, so on very hot days I re-tension the nape cross at lunchtime, which takes about ten seconds. The tricks for making hair accessories stay longer is worth reading if you live somewhere humid.
Can I use a silk bandana instead of cotton?
Yes, but it’s the hard mode version of this tutorial. Silk has almost no grip on fine hair, so you need to texturize more aggressively in Step 1 and use a second elastic wrap at the nape. The payoff is that silk photographs beautifully and feels incredible — worth the effort for a special occasion, but for everyday wear I stick to cotton.
What size bandana works best?
A 22″ square is the sweet spot for most head sizes. Smaller than that and you won’t have enough length to complete the nape circuit with tails left to tie. Larger (27″ or 30″ squares, sometimes sold as neck scarves) give you more tail to work with and can make a fuller bow, but they also add more bulk at the nape, which can look heavy. If you’re between sizes, go larger — you can always tuck extra tail.
Is this considered a vintage style or is it current?
Both, honestly — and that’s part of why it’s had such a sustained moment in 2026. The shape is directly descended from 1940s factory-worker and pin-up styling, but it’s been adopted widely as a clean, put-together everyday look. You can find about this site’s take on retro revival styling on the about page if you want more context on how this blog approaches decade-by-decade authenticity versus modern adaptation.
The first time I wore this out — to a vintage market, fittingly — it held all morning through wind and exactly one emergency bathroom mirror check where I expected it to have completely dissolved. It hadn’t. The roll was slightly looser than when I started, but the bandana itself hadn’t moved a millimeter. That was the moment I stopped reaching for pins entirely. If your hair is the kind that refuses to cooperate with conventional advice, this is genuinely worth trying. If you run into trouble or have a variation I haven’t addressed, the contact page is always open — I’d actually love to hear what hair type you’re working with and whether the tension method held up.