




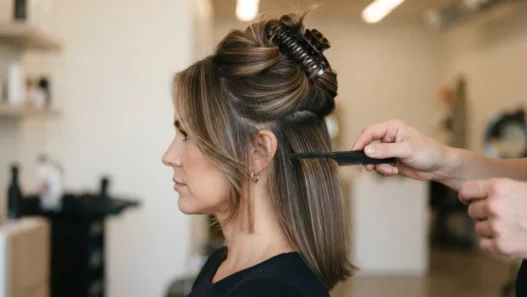

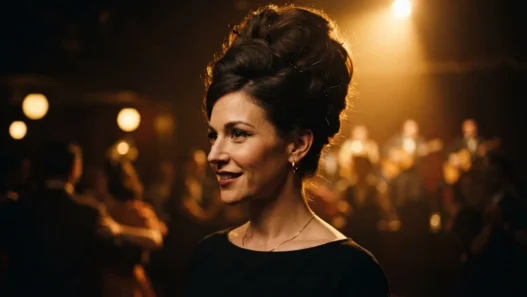

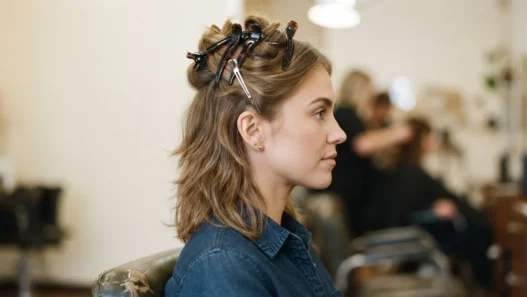


A shag is a cut, not a style. That distinction matters more than almost anything else I could tell you before you book your appointment. I learned this the hard way when I walked in asking for “that layered, textured thing” and walked out with something that looked amazing in the chair and completely unrecognizable the next morning once I’d tried to recreate it myself. The shag haircut has a structure — a specific way the layers are cut and distributed — and how aggressive that structure is determines everything: how much styling you’ll need, how often you’ll be back at the salon, and how long the grow-out will take you. This list is graded by layer intensity, from the barely-there end of the scale all the way to the kind of full, heavily disconnected cut that would have looked at home in a 1975 rock concert photo.
What’s Your Layer Depth? Jump to the Cut
- 1. The Whisper Shag
- 2. The Soft Curtain Shag
- 3. The Blunt-Fringe Shag
- 4. The Short Stacked Shag
- 5. The Medium Lived-In Shag
- 6. The Wavy Bohemian Shag
- 7. The Classic Seventies Shag
- 8. The Long Curtain Shag
- 9. The Full Seventies Shag
- 10. The Long Wispy Rock Shag
- 11. The Maximum Layer Shag
- The Grow-Out Reality
- Questions I Get About This
1. The Whisper Shag
This is the version you get when someone wants the movement of a shag without committing to the drama. The layers are long and gradual — cut to create a slight weight reduction at the ends rather than any true disconnection through the crown. Think of it as giving your hair permission to breathe. The layering starts below the chin and works downward, so from the front it reads almost like a one-length cut with a loose, flowing quality.
Best for fine to medium hair with some natural movement. Completely straight, pin-flat hair will look exactly the same as before the cut. Styling time: about 5 minutes with a salt spray or lightweight mousse scrunched in and left to air-dry.

2. The Soft Curtain Shag
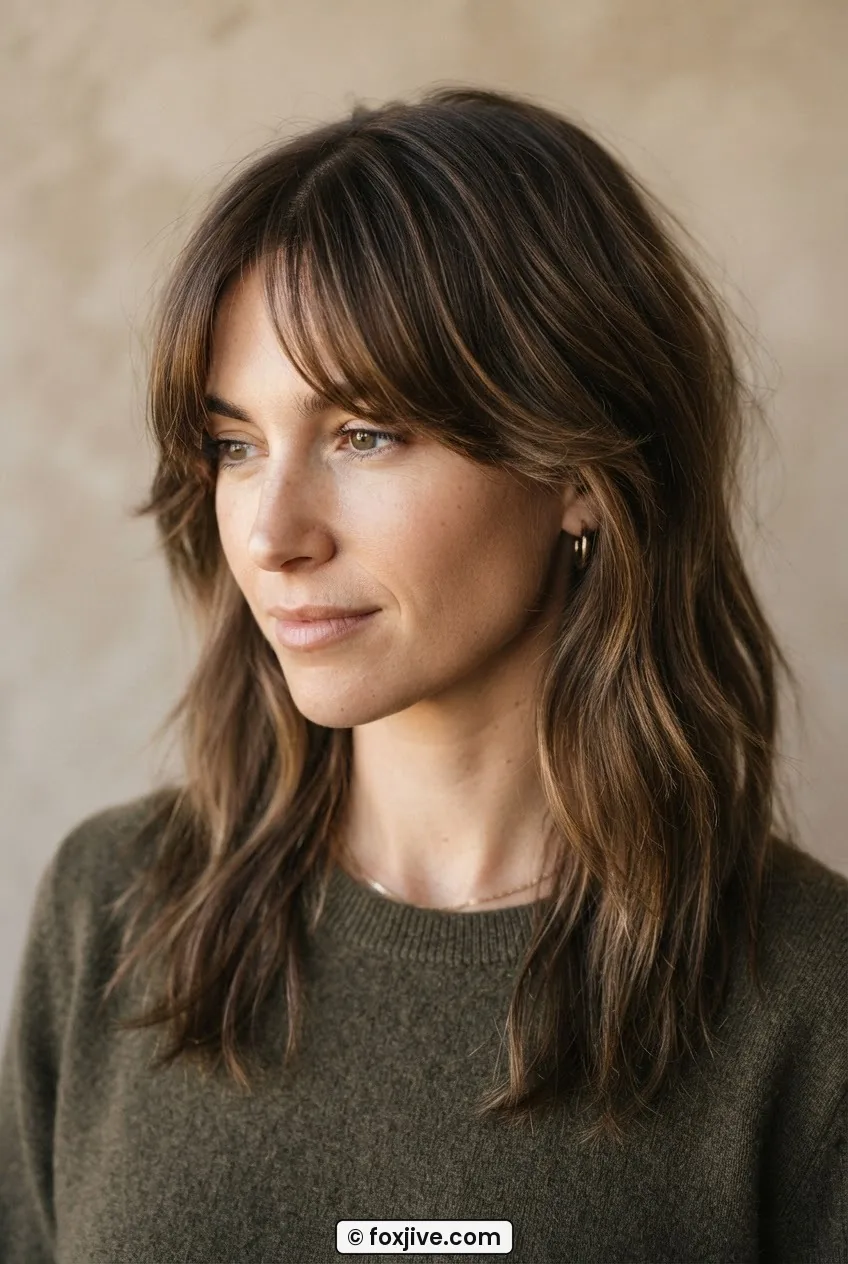
Add curtain bangs to the Whisper Shag and you get this. The framing pieces fall from a center or slightly off-center part and curve gently past the cheekbones, and the layers behind them are kept long enough to blend in rather than stick out. It’s a popular ask right now because it photographs beautifully — look at how she’s wearing hers in the photo, the way the front pieces almost cup her face. That’s the effect.
Works on most hair types. Wavy hair gets extra lift here without much effort. Styling time: 10 minutes — a round brush or a large barrel iron on the fringe pieces, and the rest can go natural.
3. The Blunt-Fringe Shag
Here the layers pick up intensity through the crown, and the fringe — instead of curtain pieces — is cut straight across, landing somewhere between the brow and the eyelash line. The rest of the cut has more disconnection than the first two entries, meaning the sections don’t blend seamlessly. You can actually see distinct layers when the hair moves. It’s a bolder choice, and honestly one I find more interesting than the curtain version simply because the blunt fringe stops the face so cleanly.
Straight or slightly wavy hair handles this best. Curly hair will shorten that fringe significantly once it springs up. Styling time: 15 minutes — the bangs need a blowout with a flat brush to stay blunt, otherwise they’ll go wherever they want.

4. The Short Stacked Shag
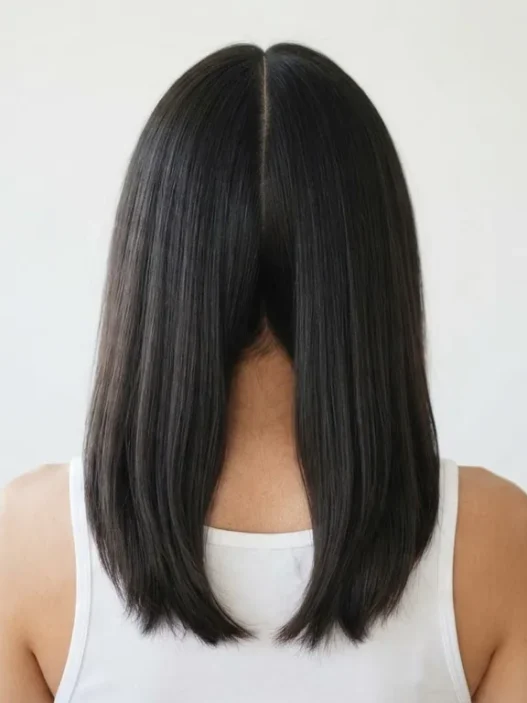
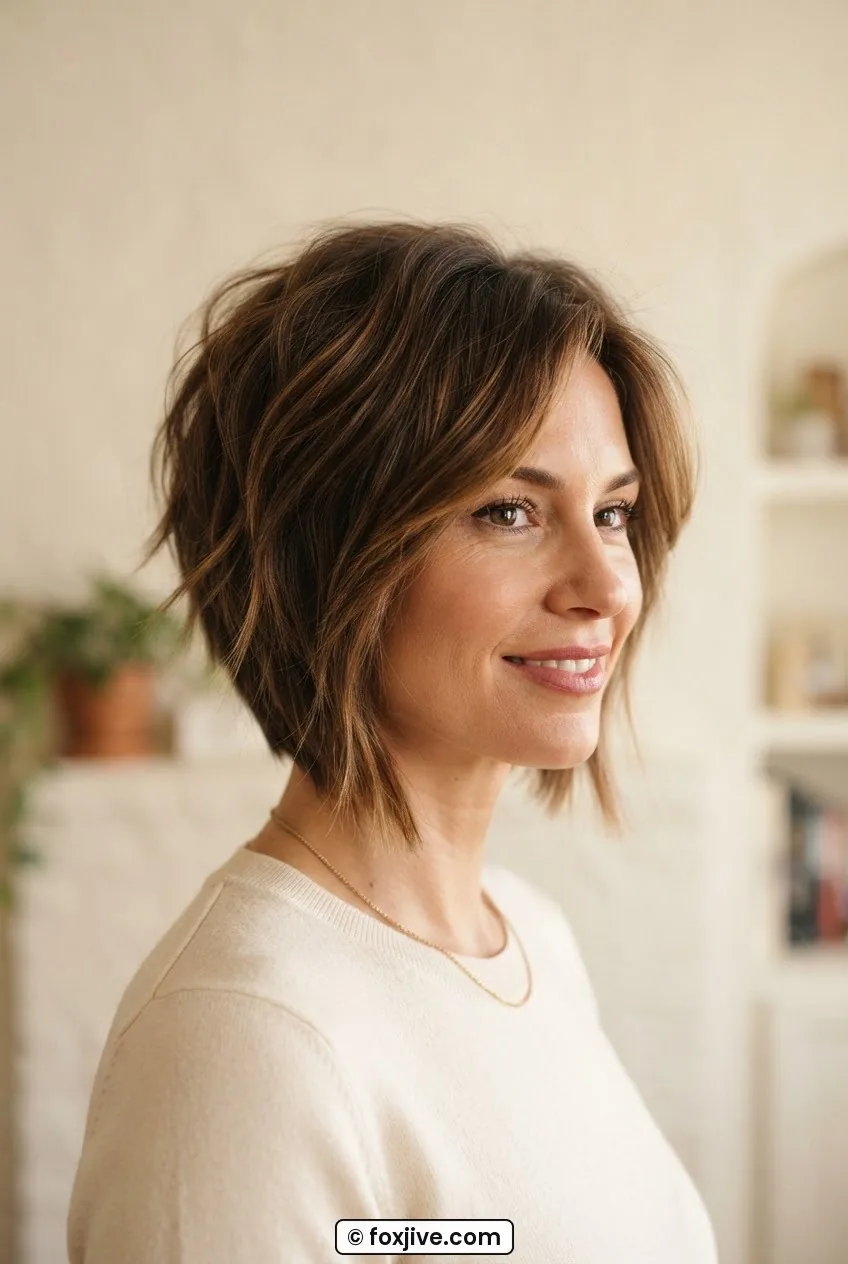
Now we’re shortening the whole thing. The shortest shag cuts land between the chin and the collarbone, and this version stacks the layers — meaning the back is cut shorter and the sides fall longer, creating volume at the crown and a slight A-line silhouette when viewed from behind. This is where the shag haircut starts to feel genuinely retro. There’s real architecture here.
Fine hair genuinely loves this cut. The stacking creates the illusion of density. For thick hair, a skilled stylist needs to point-cut and texturize aggressively or it turns into a triangle. Styling time: 15–20 minutes with a diffuser, or 20 minutes with a round brush blowout.
5. The Medium Lived-In Shag
My personal favorite for anyone who wants the look without the high-maintenance reality of the deeper cuts. The length sits at the collarbone to the shoulder, the layers are cut in throughout the whole head — crown, sides, and underneath — and there’s a deliberate messiness to the finish. It looks like day-three hair even freshly styled. And that’s the whole point.
This is my personal pick for anyone who keeps asking me “which shag can I actually maintain?” The medium lived-in version. It forgives air-drying, it grows out gracefully, and it works on wavy and straight hair. If I were booking an appointment tomorrow, this is what I’d show my stylist.
Works on wavy, slightly curly, and straight hair with some product. Styling time: 10 minutes if you use a curl cream and scrunch. About 20 minutes if you want a polished version with a diffuser.

6. The Wavy Bohemian Shag
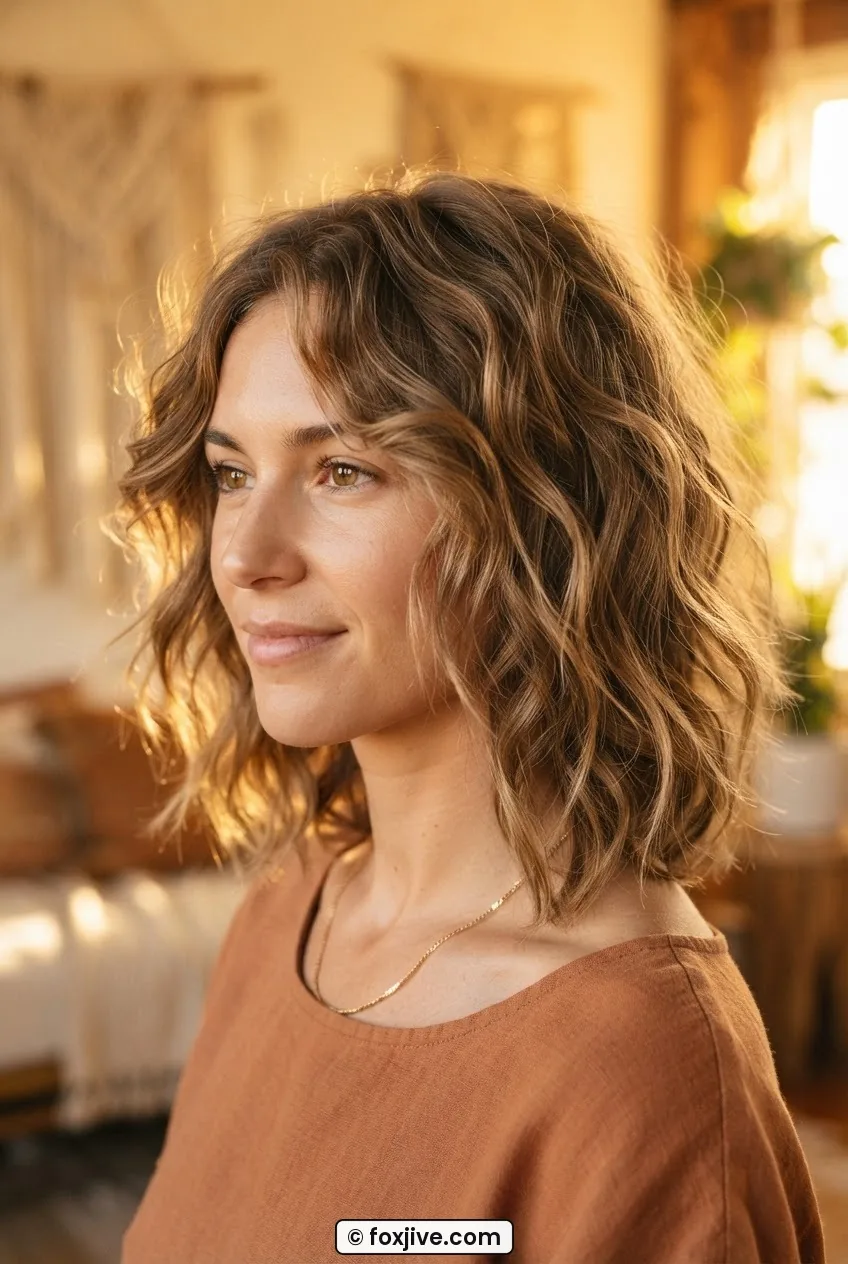
This one is built specifically for wavy hair — 2A to 2C range — and leans into the texture rather than fighting it. The layers are cut shorter through the crown to encourage the waves to spring and separate, and the ends are point-cut to avoid any heaviness that would pull the wave pattern flat. It has a loose, free quality that reads less like a precision haircut and more like the best hair day you’ve ever had.
You can read more about how wave patterns interact with layering by looking up cutting techniques for wavy hair — the short version is that cutting into a wave rather than through it changes the result completely. Styling time: 10–15 minutes with a curl cream and diffuser, or fully air-dried in about 20 minutes if the humidity cooperates.
7. The Classic Seventies Shag
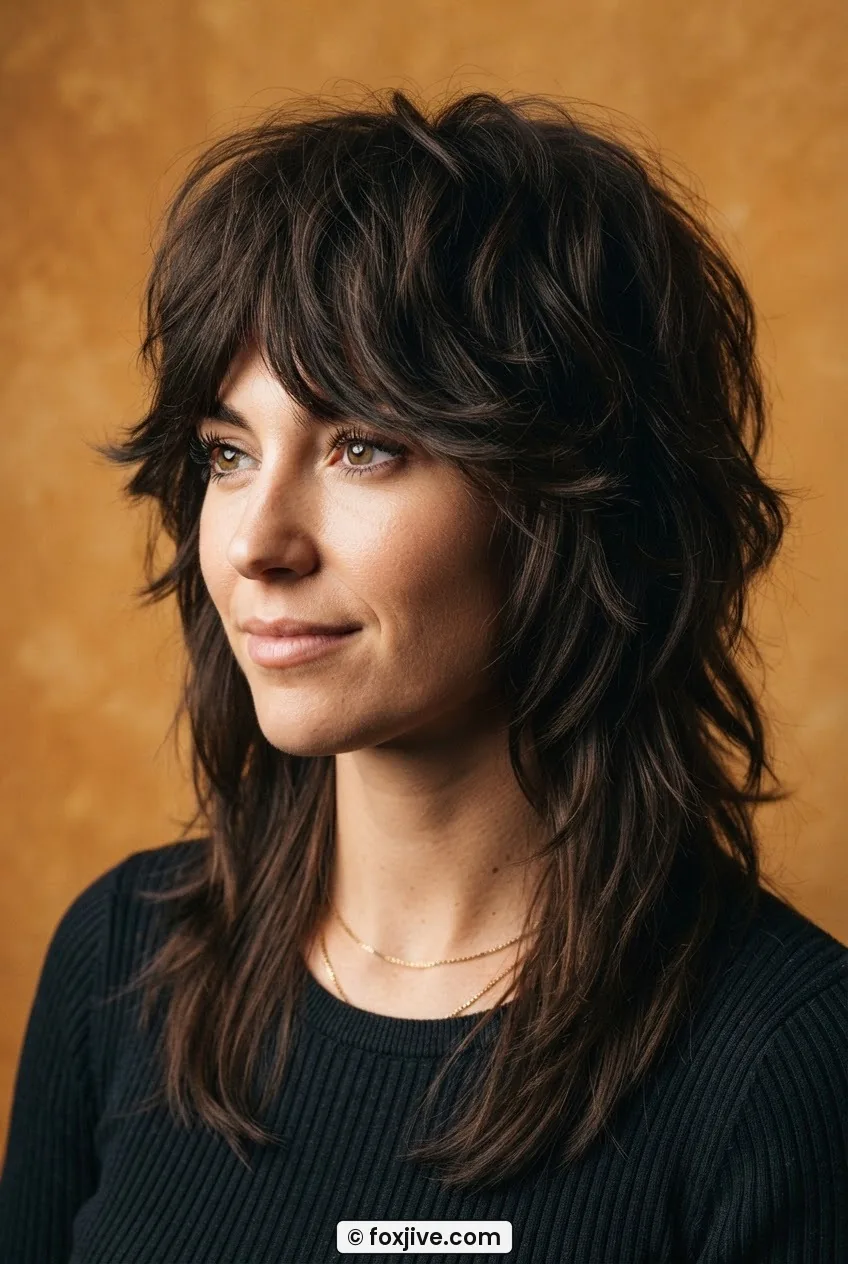
Here’s where the real decade reference starts. The 70s shag cut has specific hallmarks: heavily layered crown, shorter pieces at the top that are clearly shorter than what’s at the nape, shaggy fringe (usually feathered or slightly tousled rather than blunt), and length anywhere from the collarbone to the mid-back. This is the cut that built its reputation in a decade when big, textured, slightly wild hair was the entire point of going to the salon.
She’s got a similar hair density to what I’d call ideal for this cut — look at how the layers separate on their own when the light hits them from the side. That layer separation is the defining feature. It should look like it has its own topography. Styling time: 20–30 minutes with a round brush and a bit of mousse, or 15 minutes with a diffuser if the hair is wavy.
See the Layer Structure Cut in Real Time
8. The Long Curtain Shag
Long shag hairstyles get interesting because the challenge is maintaining layer definition over a longer canvas. This version keeps the length past the shoulder — often mid-back — and uses curtain bangs as the softening frame, with layers concentrated through the top third of the hair and tapering off toward the ends. The result is something that doesn’t read as aggressively layered from a distance but has all the movement up close.
Thick hair benefits most here. Fine hair risks looking stringy at the ends if the stylist goes too light on the perimeter weight. Styling time: 25–35 minutes for a full blowout, or 15 minutes if you’re diffusing and using a texturizing spray on the mid-lengths.
9. The Full Seventies Shag
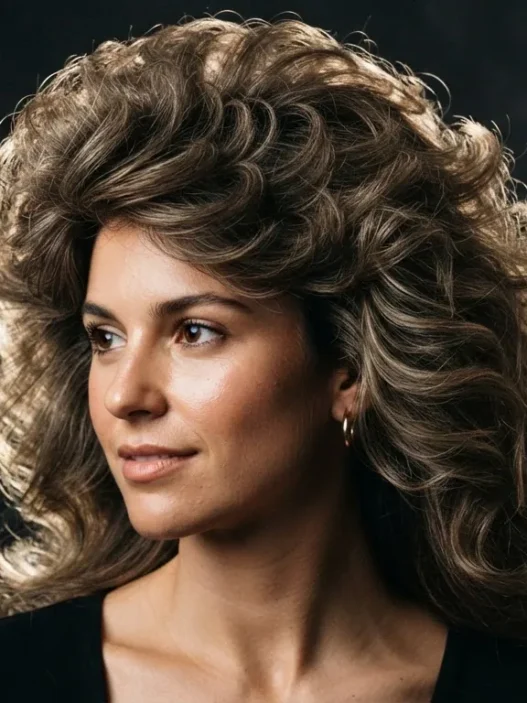
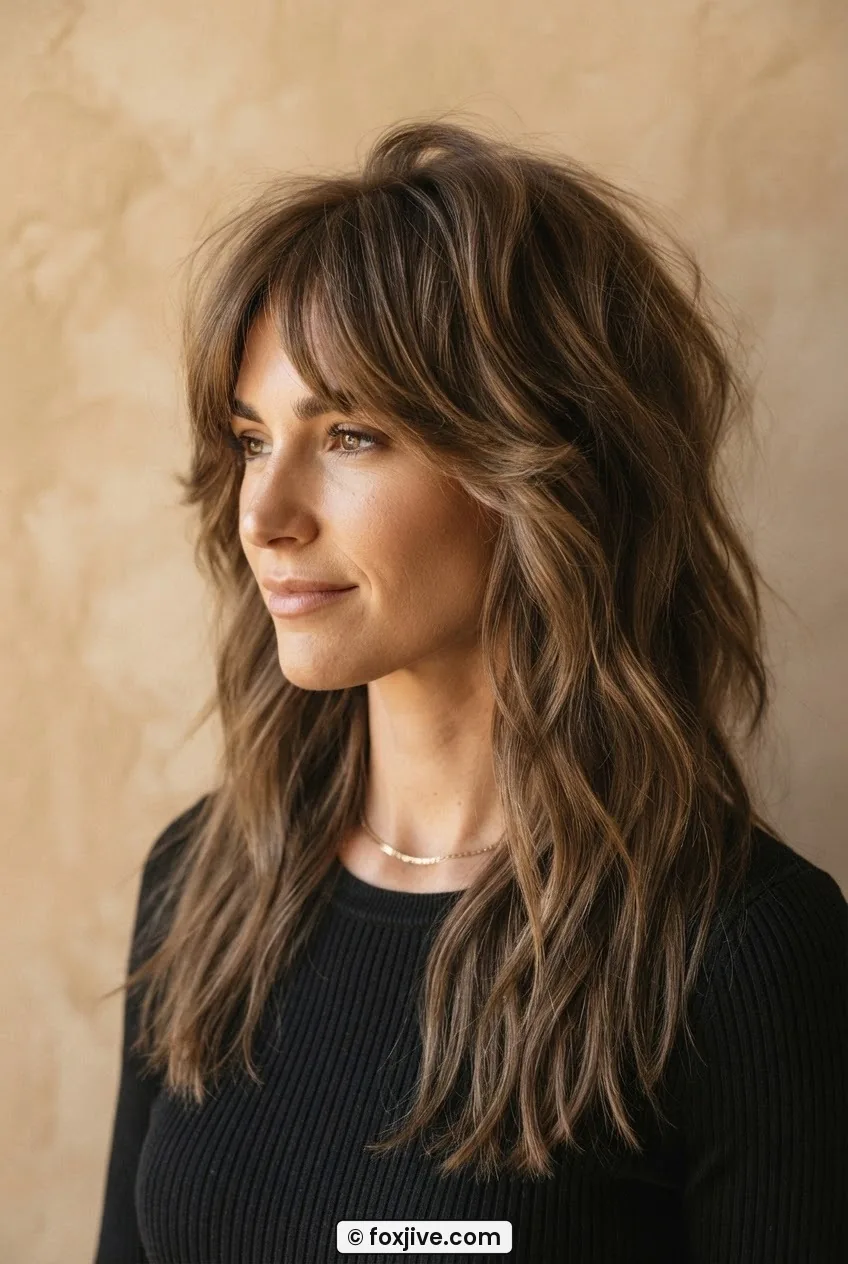
This is the one in the header image. The layer structure is aggressive — the crown layers can be three to five inches shorter than the perimeter length, creating that stacked, almost mushroom-shaped silhouette when dry. The fringe is full and usually feathered to the sides. The sides of the hair have visible step-layers. Long versions of this cut — 70s layered hair reaching mid-back — have an almost theatrical quality.
See how the layers stack up in that image — the way each tier sits on top of the next? That’s not an accident of styling. That’s the cut itself doing that. This requires medium to thick hair with some natural body. Fine hair will struggle to hold that crown volume without product. Styling time: 30 minutes minimum. A round brush blowout is almost non-negotiable unless you want to use Velcro rollers, which actually work beautifully here.
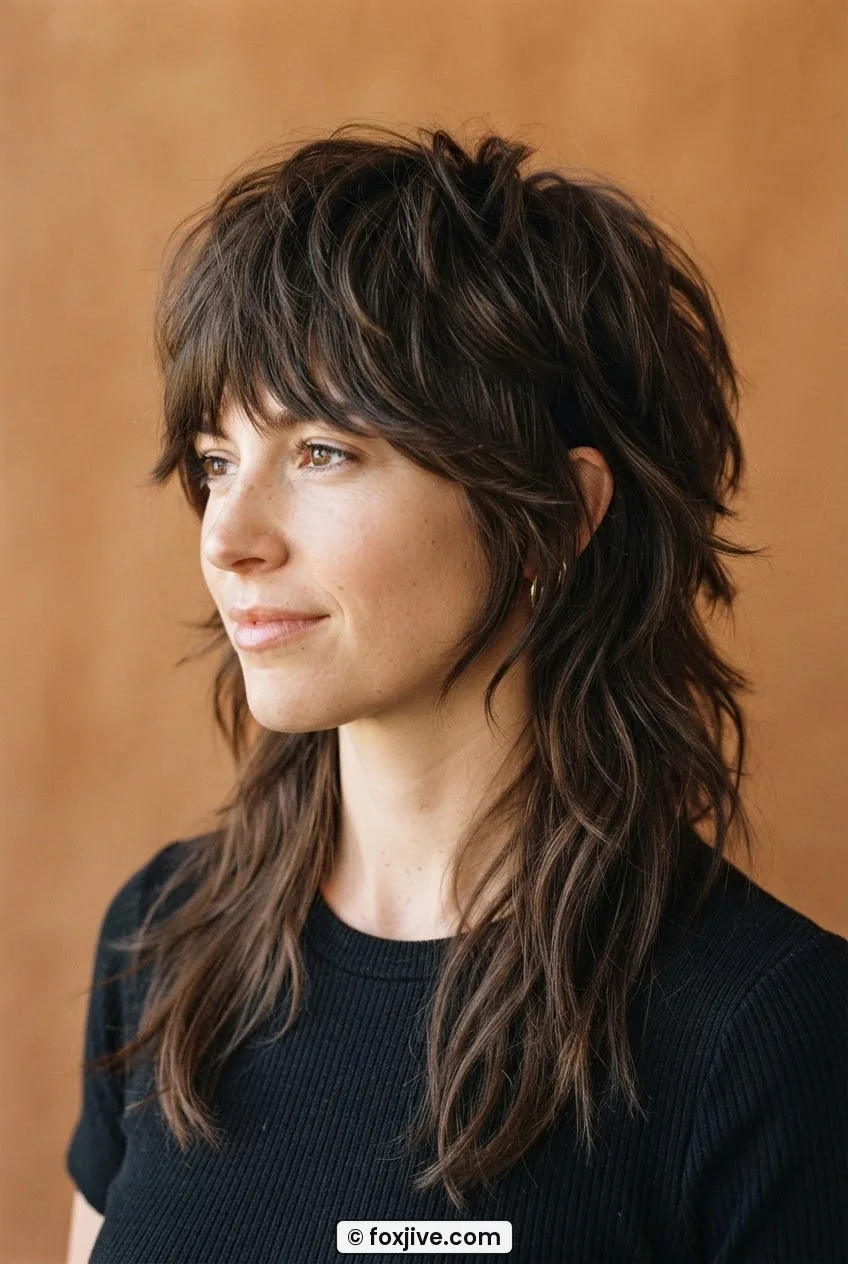
10. The Long Wispy Rock Shag
Think Stevie Nicks at her most untamed. This is a long shag — often past the mid-back — where the layers are cut with a lot of point-cutting and even some razor work to create very wispy, feathery ends that break apart and move independently. The overall effect is almost like the hair is dissolving at the edges. It’s rock-and-roll in the best possible sense.
This absolutely demands texture. Stick-straight hair can pull it off with a lot of product and some tousling, but wavy or lightly curly hair is the natural home for this cut. Styling time: surprisingly forgiving — 10–15 minutes with a sea salt spray, scrunch, and air-dry. The wispiness is supposed to look chaotic. Lean into it.

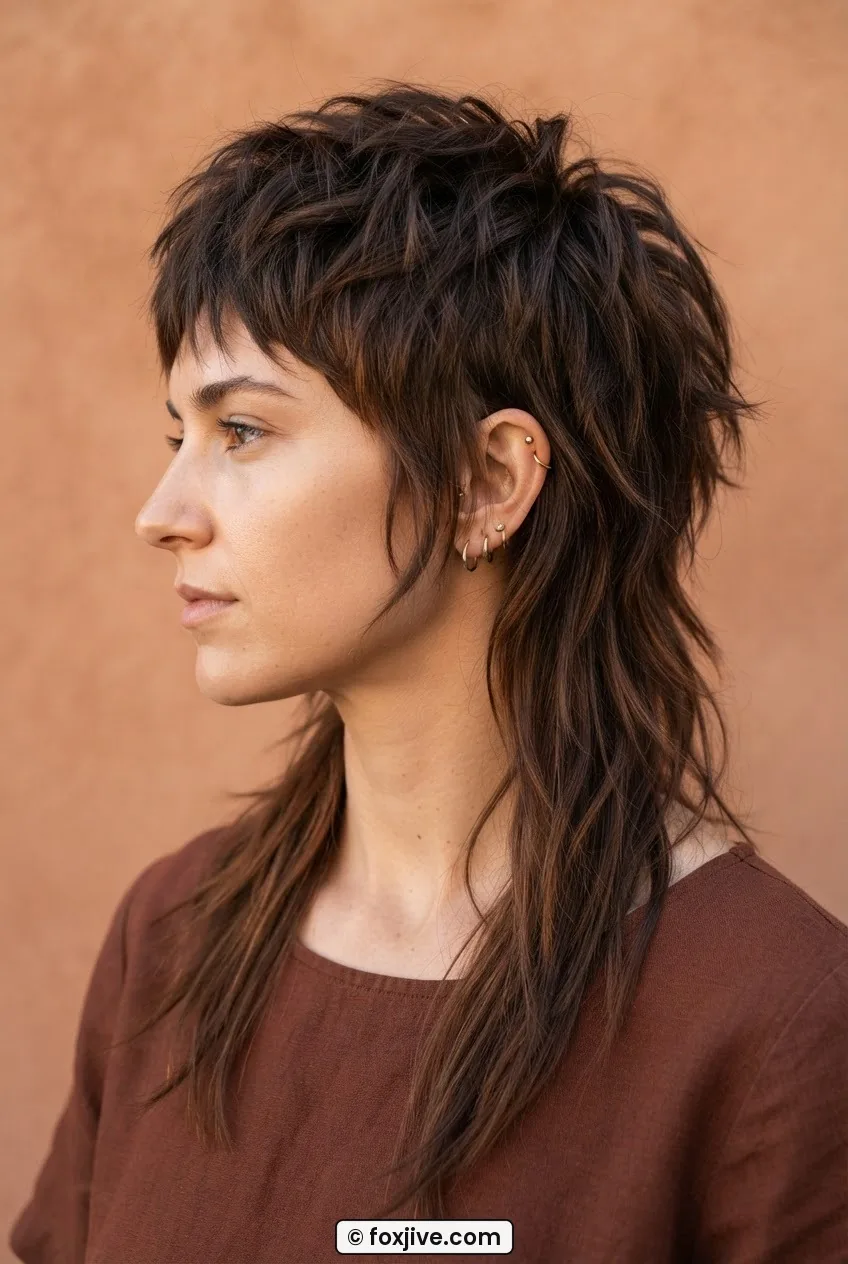
11. The Maximum Layer Shag
The most aggressive entry on this list. The crown layers are cut so short that the top of the head has almost a cropped quality — some stylists describe this as a mullet-adjacent cut when the contrast between crown and length is this extreme. The perimeter length is often kept long specifically to make that contrast dramatic. You’re not easing into a layered cut here. You’re committing to a statement.
This needs thick, strong hair with good elasticity. It also needs a stylist who has genuinely done this cut many times, not just once or twice. The disconnection at the crown is technically demanding, and an uneven result here is more visible than on any other entry on this list. For inspiration on how extreme layer contrast can work beautifully, it’s worth exploring how feathered layers were structured in the original 1970s salon techniques — the foundations are the same. Styling time: 30–45 minutes if you want the layers to show their full drama. Worth every minute.
The Grow-Out Reality
Nobody talks about this enough, and I think it’s the reason a lot of people regret the more aggressive versions. The deeper the layers — the shorter the crown relative to the perimeter — the more awkward the grow-out phase. Entries 1 through 5 on this list grow out gracefully. The layers just get longer and blend in. You can stretch your salon visits to four or even five months without anything going catastrophically wrong.
Entries 8 through 11? Different story. At around three months, the crown layers hit an in-between length that doesn’t sit neatly and doesn’t fall naturally — it just kind of puffs. Most people I know who’ve had the Full Seventies Shag or the Maximum Layer version are back in the chair every six to eight weeks, not because the cut looks bad, but because the grow-out period is genuinely difficult to navigate. This is worth knowing before you go in. It’s not a reason to avoid those cuts — they’re extraordinary when fresh. But go in with realistic expectations about the maintenance calendar.
The Foxjive.Com archive has a lot of decade-specific context if you want to understand where these cuts actually came from — the history shapes how you wear them. And if you’re curious about other structured vintage cuts that have similarly demanding grow-outs, the post on 9 Victory Roll Ideas Ranked by How Long They Take is a good read for understanding the time-investment side of retro styling. Even the Victory Rolls category shows how much structural commitment these looks ask for.
Questions I Get About This
Does a shag haircut work on fine hair?
Yes, but the layer depth matters a lot. The Whisper Shag, Soft Curtain Shag, and Short Stacked Shag are genuinely flattering on fine hair because they add volume and movement without removing so much weight that the ends look stringy. The Full Seventies and Maximum Layer versions can work, but they need a very skilled stylist who understands how to preserve perimeter weight while still creating the disconnected crown layers. Ask specifically about that balance when you consult.
Can I get a shag on curly hair?
Absolutely — curly shags are having a real moment and the texture naturally enhances the layer separation that defines the cut. The key difference is that your stylist should cut your hair dry (or at least assess it dry first) because curly hair shrinks significantly, and what looks like a shoulder-length layer when wet becomes a crown layer when dry. Look for someone who specializes in curly cutting methods if you’re going this route. The result, when done right, is spectacular.
How do I tell my stylist exactly what I want?
Bring photos and tell them specifically where you are on the layer-intensity scale. “I want something between a Medium Lived-In and a Classic Seventies” is more useful than “I want a shag.” Also tell them your honest daily styling time — not the aspirational version. If you have 10 minutes in the morning, say 10 minutes. A good stylist will cut accordingly rather than giving you something that only looks right with a 40-minute blowout. You can also check out how communicating with your stylist helps bridge the gap between what you’re imagining and what ends up on your head.
How often do I need trims to maintain a shag?
For the lighter entries (1–5), every 10–12 weeks is fine. For the aggressive versions (8–11), I’d say 6–8 weeks is realistic if you want the cut to look intentional rather than grown-out. The fringe, if you have one, will almost certainly need a trim between full appointments — most stylists will do a quick bang trim for free or minimal charge.
Whatever you take out of this list, I hope it’s that “shag” isn’t a single thing. It’s a family of cuts with a shared structural idea — layering that creates movement and separation — and the version you choose should match your texture, your styling energy, and your tolerance for the grow-out. Go talk to your stylist with a specific entry from this list in mind. Screenshot it. Point to it. They’ll know exactly what you mean.