



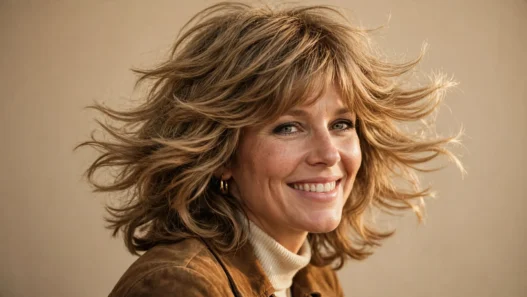

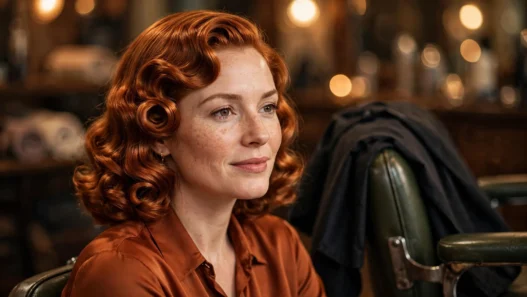

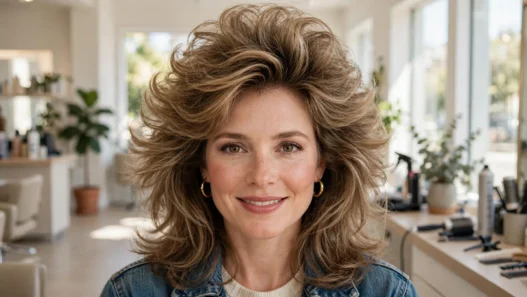

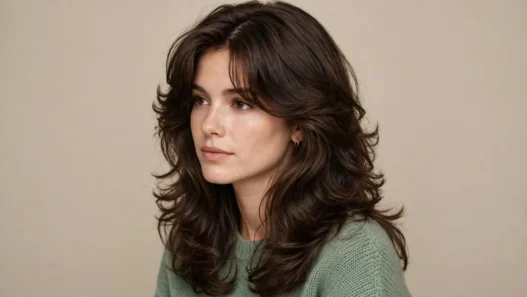
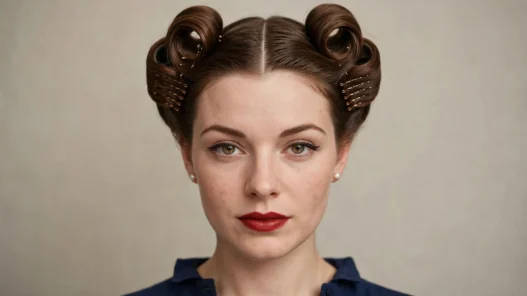
I fell for forties hair because it is built, not just styled. You roll it, you pin it, you let it cool, and then it stays. My first attempt took forever and leaned sideways, but I still wore it out for groceries.
So I started timing myself. These 1940s hairstyles are listed from fastest to slowest, with honest minutes and what actually holds them. If you only have ten minutes, start at the top.
Every Look Ranked Fastest to Slowest
- 1. The Quick Front Twist, 10 Minutes
- 2. The Single Victory Roll, 20 Minutes
- 3. The Bandana-Covered Rolls, 25 Minutes
- 4. The Half-Up Victory Pair, 30 Minutes
- 5. The Double Victory Rolls, 35 Minutes
- 6. The Snood-Wrapped Curls, 40 Minutes
- 7. The Pageboy With Deep Side Part, 50 Minutes
- 8. The Faux Bang Roll, 60 Minutes
- 9. The Wet-Set Waves, 2 Hours
- 10. The Three-Roll Weekend Set, 3 Hours
- 11. The Full Pin Curl Set, Overnight
1. The Quick Front Twist, 10 Minutes
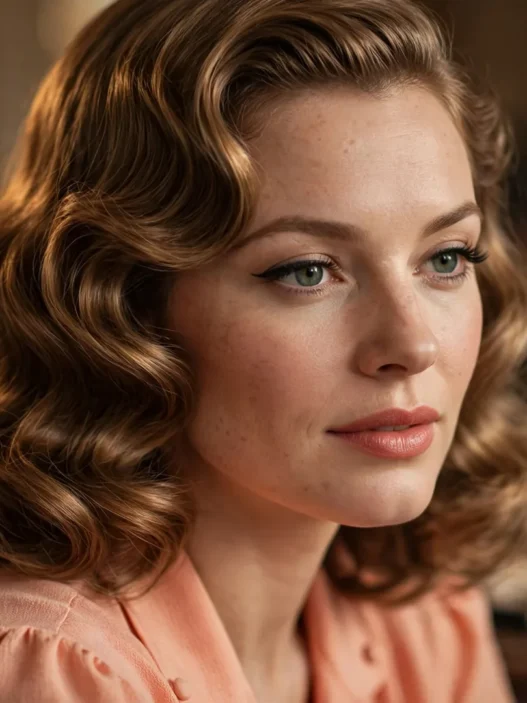
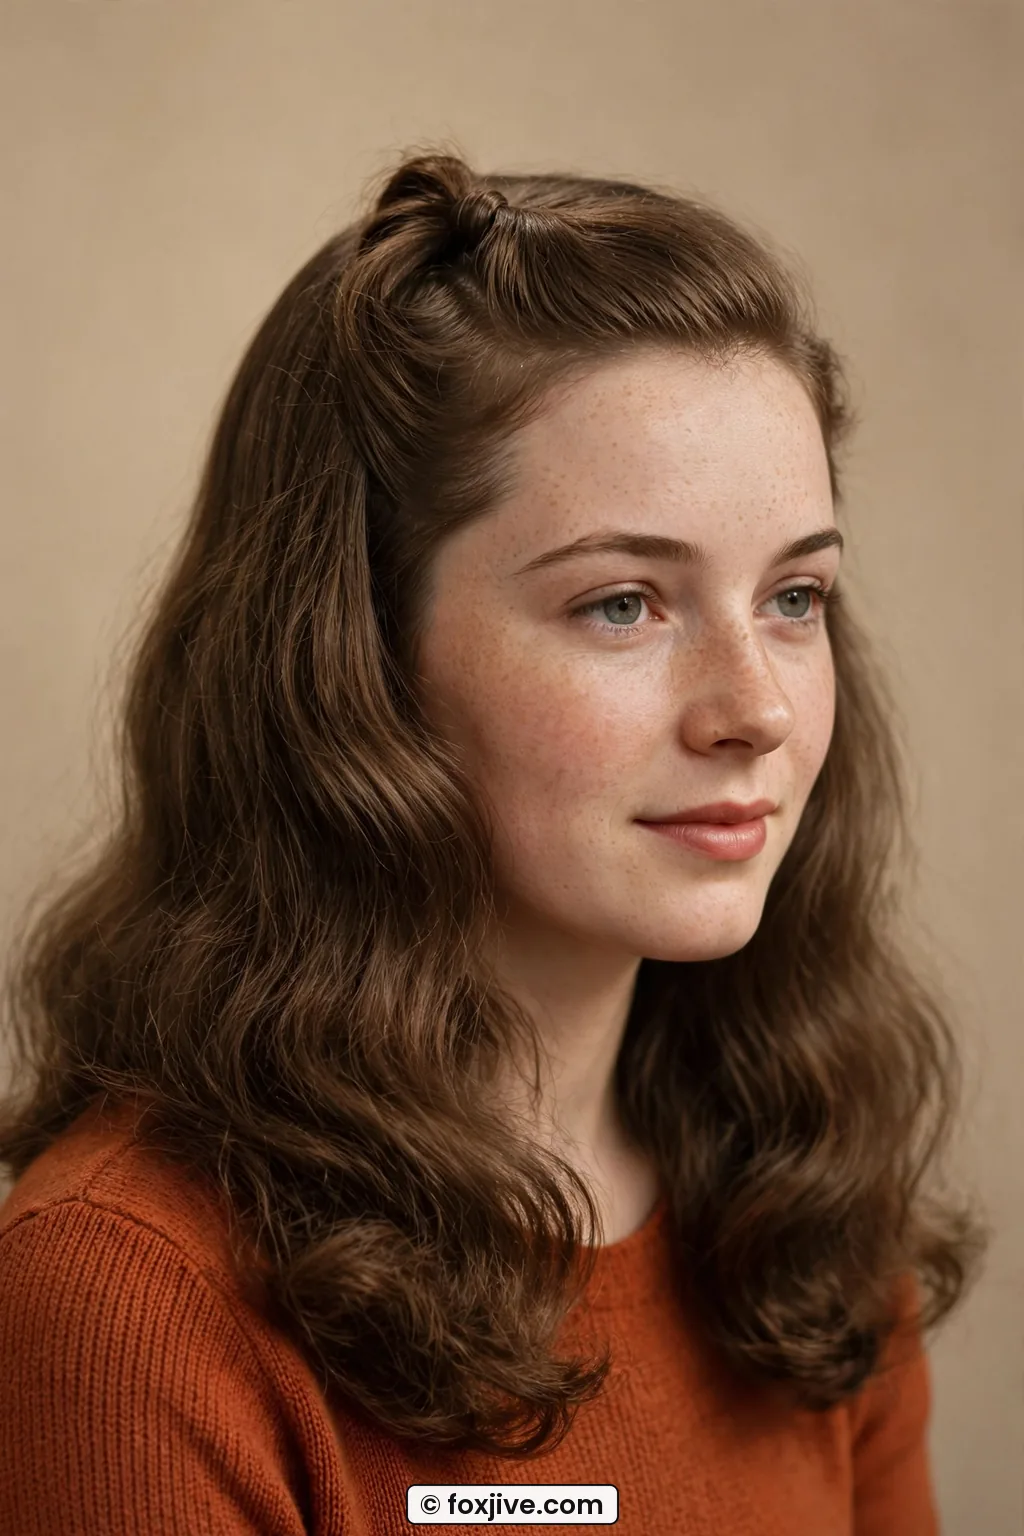
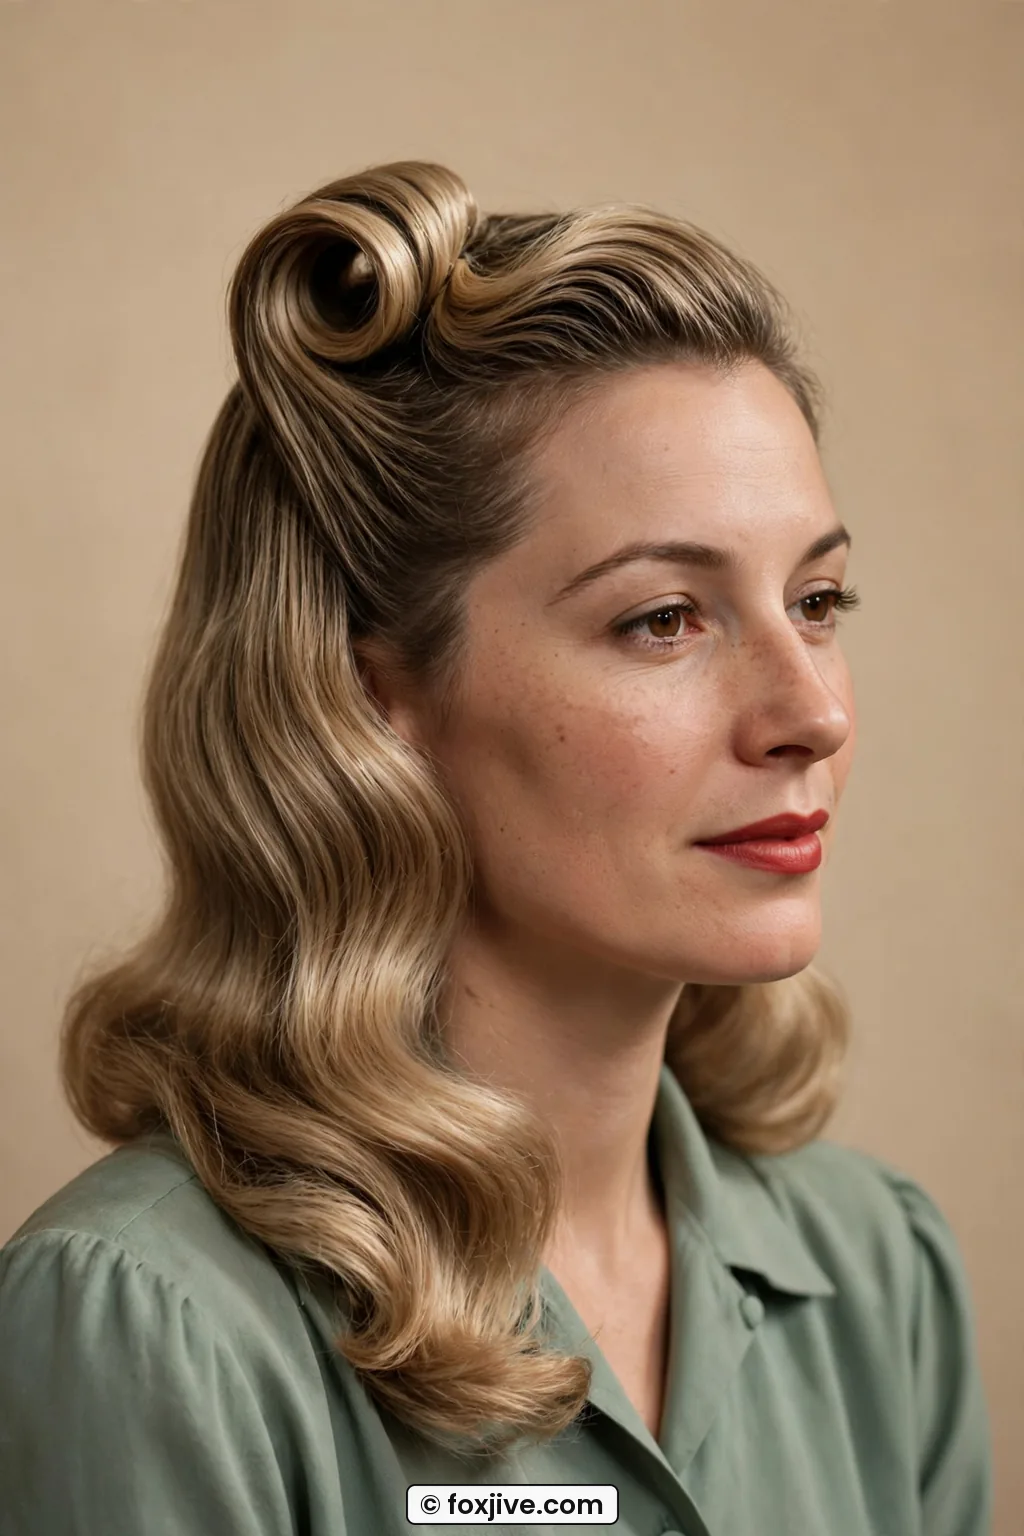
This is my weeknight rescue when I want a forties feel without committing to a full set. I take a wide front section, backcomb just the underside for a little lift, then twist it back from my face and pin it flat behind my hairline. The rest of my hair stays down in soft brushed-out curls or even just air-dried waves. It reads forties because of that high, smooth front, not because everything is perfect.
What holds it is second-day hair and two crossed bobby pins, plus a light mist of firm-hold hairspray. I love this on shoulder-length hair with a deep side part. Look at how she is wearing hers in the photo, that smooth lift right off the forehead with the sides tucked soft behind the ears. That little bump is doing all the work.
What goes wrong the first time is taking too much hair. I grabbed half my head once and ended up with a small beehive. Keep it to a three-inch wide section and let the pins do the gripping, not the tension. If you are curious how this shape turned into later volume, I often compare it to 1950s hairstyles when I am teaching friends, because the front lift is almost the same idea.
2. The Single Victory Roll, 20 Minutes
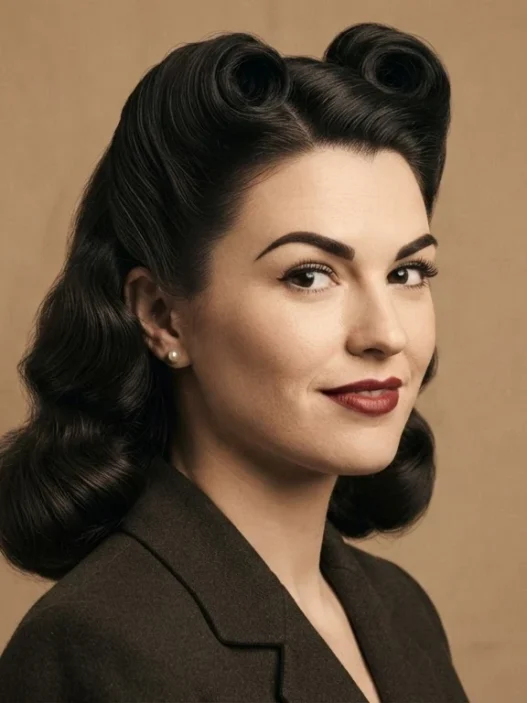
One roll. That is it. And honestly, it is the friendliest way to learn the motion without crying over symmetry. I section a horseshoe on top, backcomb lightly, roll the ends under and forward, then pin from the inside. My hair is medium thick and hits my collarbone, and 20 minutes includes heating my medium-barrel iron.
What holds it is heat-set curl plus cooled shape. I curl the section first, let it cool in my hand for ten seconds, then roll. The finished shape is a single tall tube that stands just off the forehead, with the back left in loose curls. She has hers tilted just slightly left in the picture, and I love that. It feels less costume and more like something you would actually wear to dinner.
What goes wrong the first time is rolling too tight to your scalp so it collapses flat. Leave a little pocket of air inside the roll. Once you get a feel for how long a heat-set shape needs to cool, you will understand why learning 1920s hairstyles helped me too, because finger waves taught me patience with cooling time.
3. The Bandana-Covered Rolls, 25 Minutes
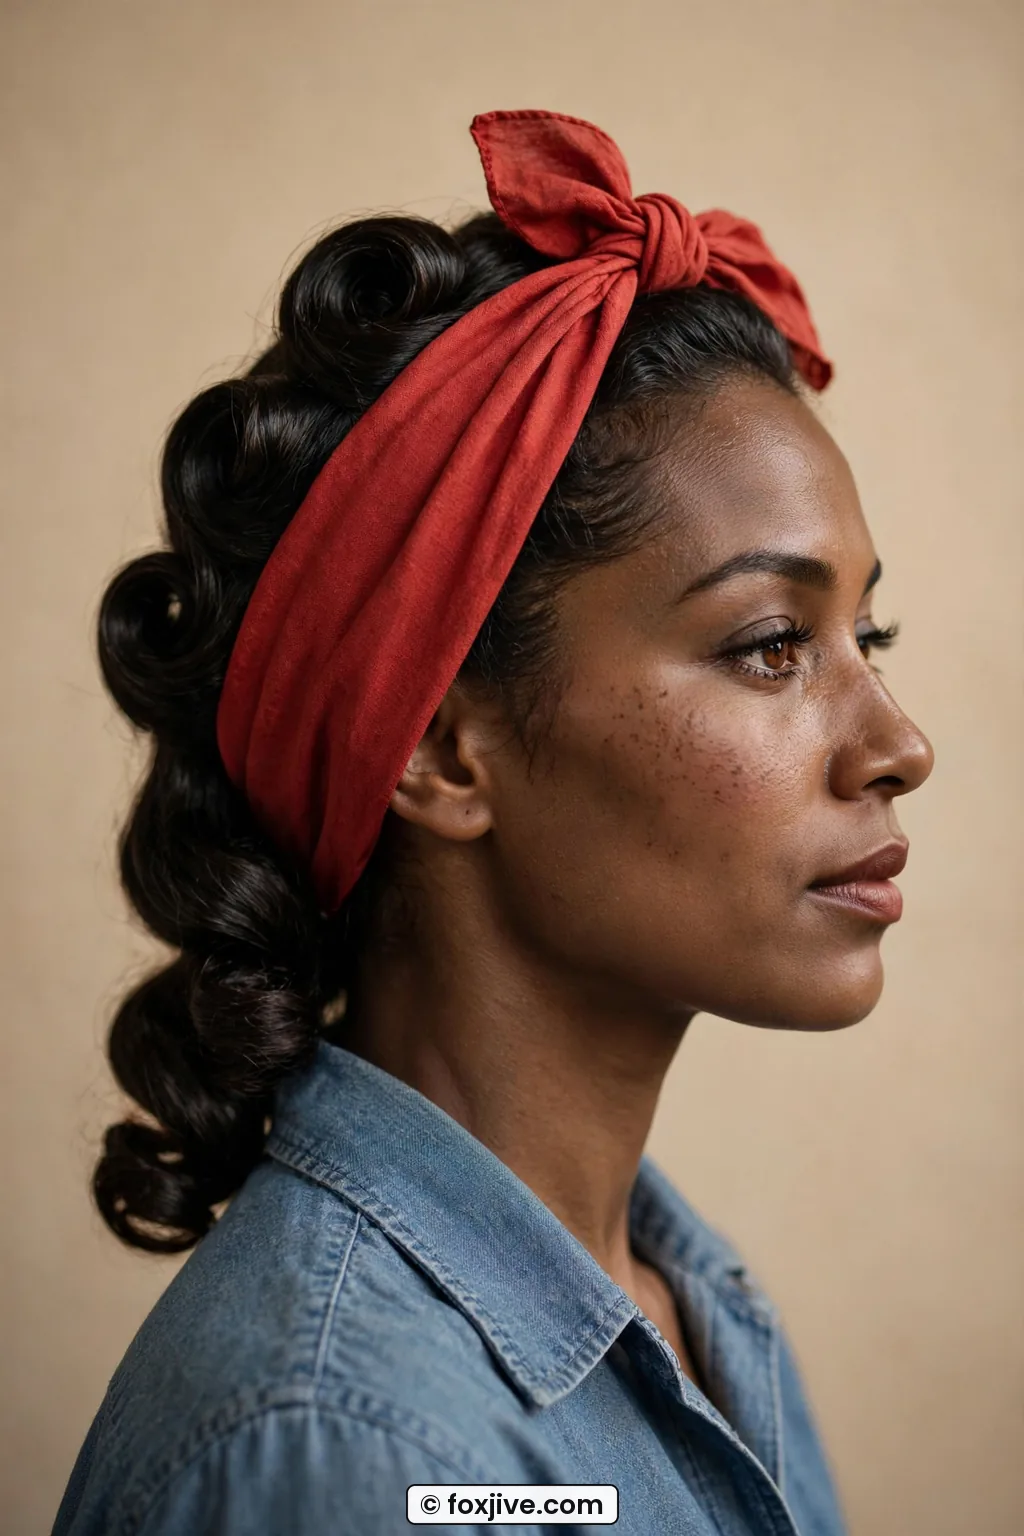
This one saved me during my awkward grow-out phase. Factory girls wore scarves for a real reason, to keep hair back and look sharp. I make two rough side rolls or even just tuck my front hair up, then tie a bandana with the knot on top and a little bow peeking out. The whole thing takes 25 minutes because I do not fuss over clean parts.
What holds it is the scarf itself plus four pins. The finished shape is neat at the nape, full at the sides, with a bright triangle of fabric framing your face. The woman in this photo wears a red cotton scarf with her dark rolls peeking out at the temples, and that contrast is exactly why it photographs so well. Her top is a chambray work shirt, which makes the whole thing feel true to the era.
What goes wrong the first time is tying the scarf too far back so it slides off. Tie it while your head is tipped slightly forward, then stand up. You can read up on tying a vintage hair scarf before you try a slippery silk one, because cotton grips so much better when you are learning.
4. The Half-Up Victory Pair, 30 Minutes
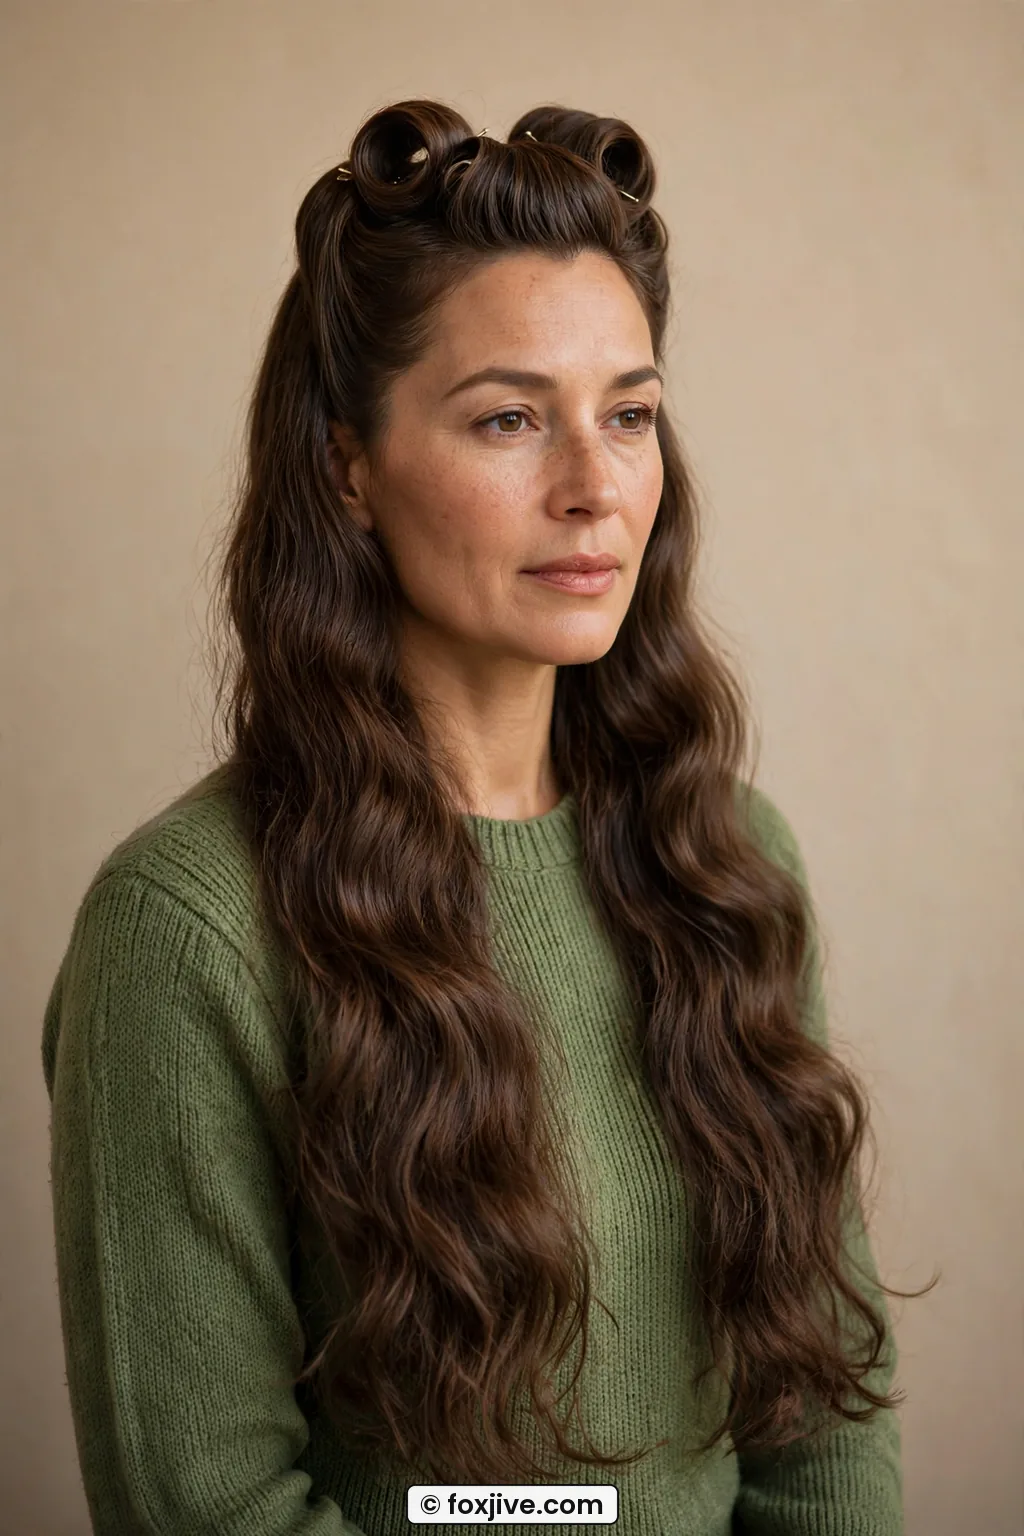
I call this my party compromise. You get the iconic pair on top, but the back stays long and soft. I part down the middle, make two even top sections from temple to crown, roll each outward and pin. The back I curl in big sections and brush through. Thirty minutes is honest if your iron is already hot and you are not re-curling the back twice like I used to.
What holds it is sectioning clips and a strong setting spray on the top only. The finished shape is symmetrical in front, romantic in back, which is why I pick it for dates. See how she is wearing hers, those two high rolls with long brunette waves falling past her shoulders in a green knit top? That mix of structured and soft is very flattering if your hair is fine but long.
What goes wrong the first time is uneven sections. Mine looked drunk for months. Use the outer corner of each eyebrow as your guide for the partings and check from the front, not the top. It pairs beautifully with later vintage updos if you later decide to pin that back hair up for a wedding.
5. The Double Victory Rolls, 35 Minutes
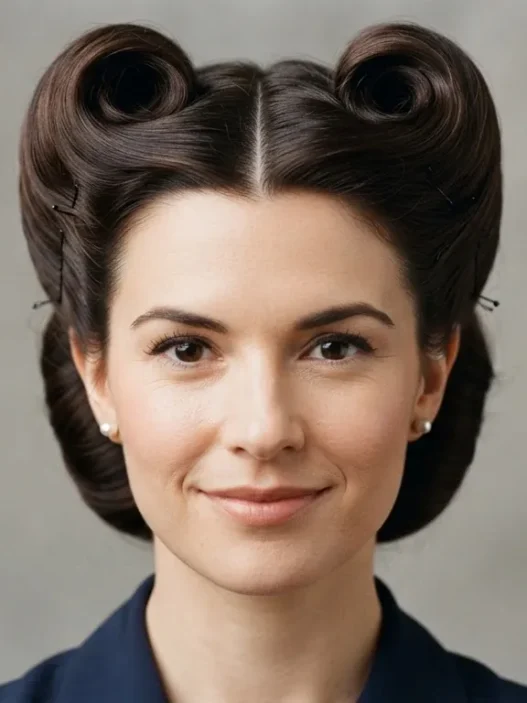
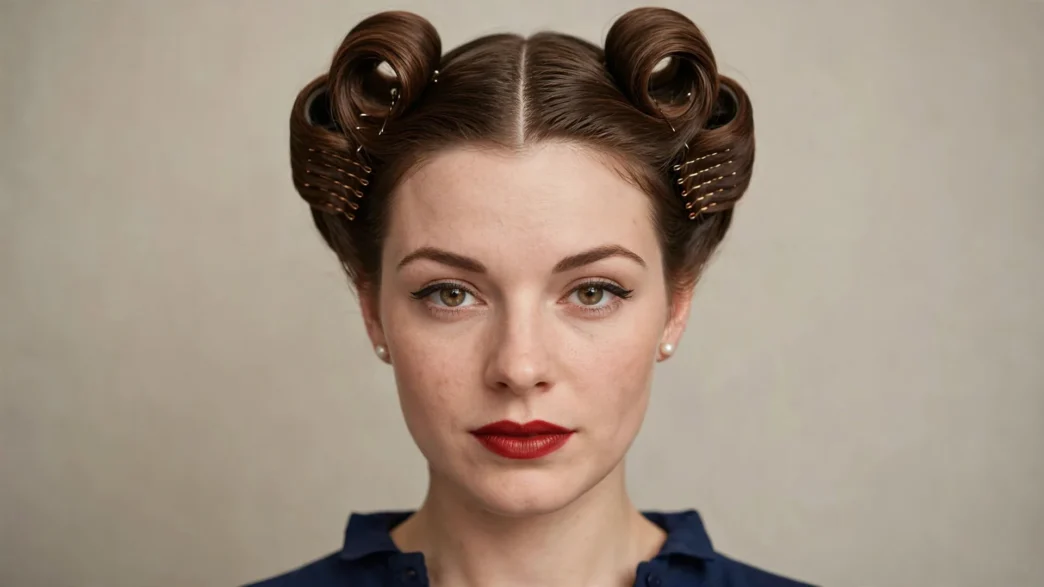
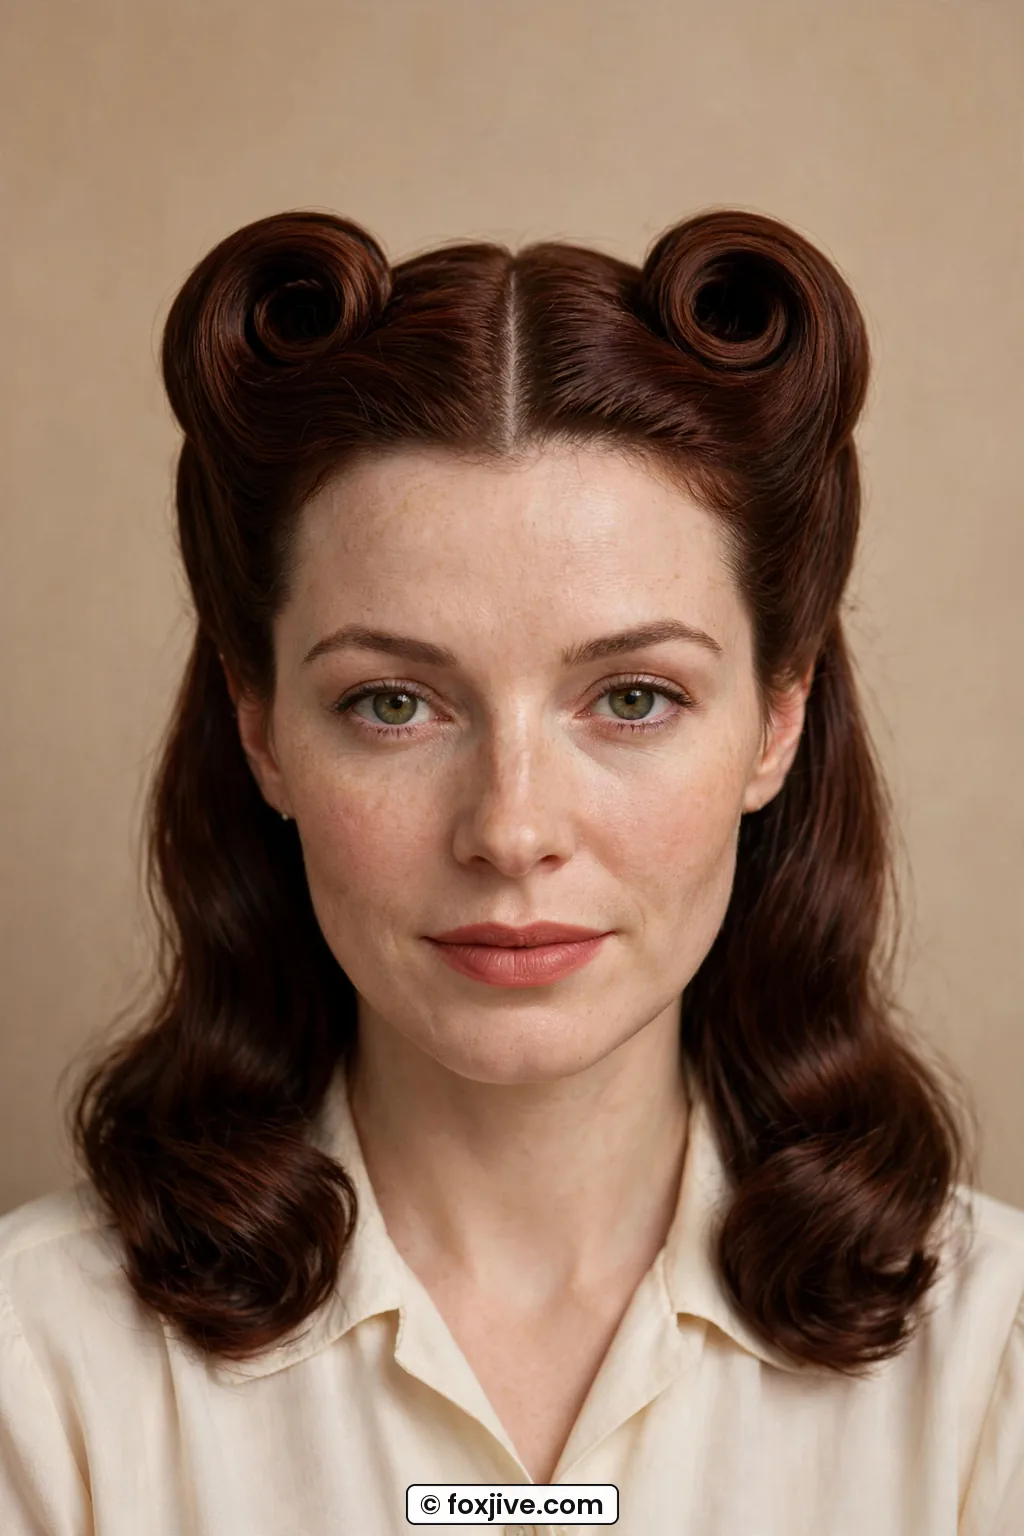
Here she is, the poster girl. Two tall, smooth rolls with a clean center part. When I tried this for the first time I used half a can of hairspray and still had one roll flopping by lunch. Now I know it is all about the prep. Backcomb, smooth the top layer, roll around two fingers, pin in an X.
This straight-on view shows the shape perfectly. You can see both rolls, the crisp middle parting, and exactly where each roll is pinned underneath. She has dark auburn hair and wears a simple cream blouse, so nothing distracts from the lines. The rolls stand about three inches high and frame her forehead like a heart. That is the symmetry you want.
What holds it is dry texture. Freshly washed hair will betray you. I use dry shampoo at the roots even if my hair is clean, then a pea-size bit of pomade on the ends before rolling. What goes wrong the first time is skipping the cool-down and pulling pins too early. Let them sit while you do makeup. I learned pin placement by studying how victory rolls stay put during a rainy weekend when nothing else would hold.
My personal pick is the double victory rolls, even though they are fussy. Nothing makes me feel more put-together, and strangers always ask about them.
See the Double Rolls Done Live
6. The Snood-Wrapped Curls, 40 Minutes
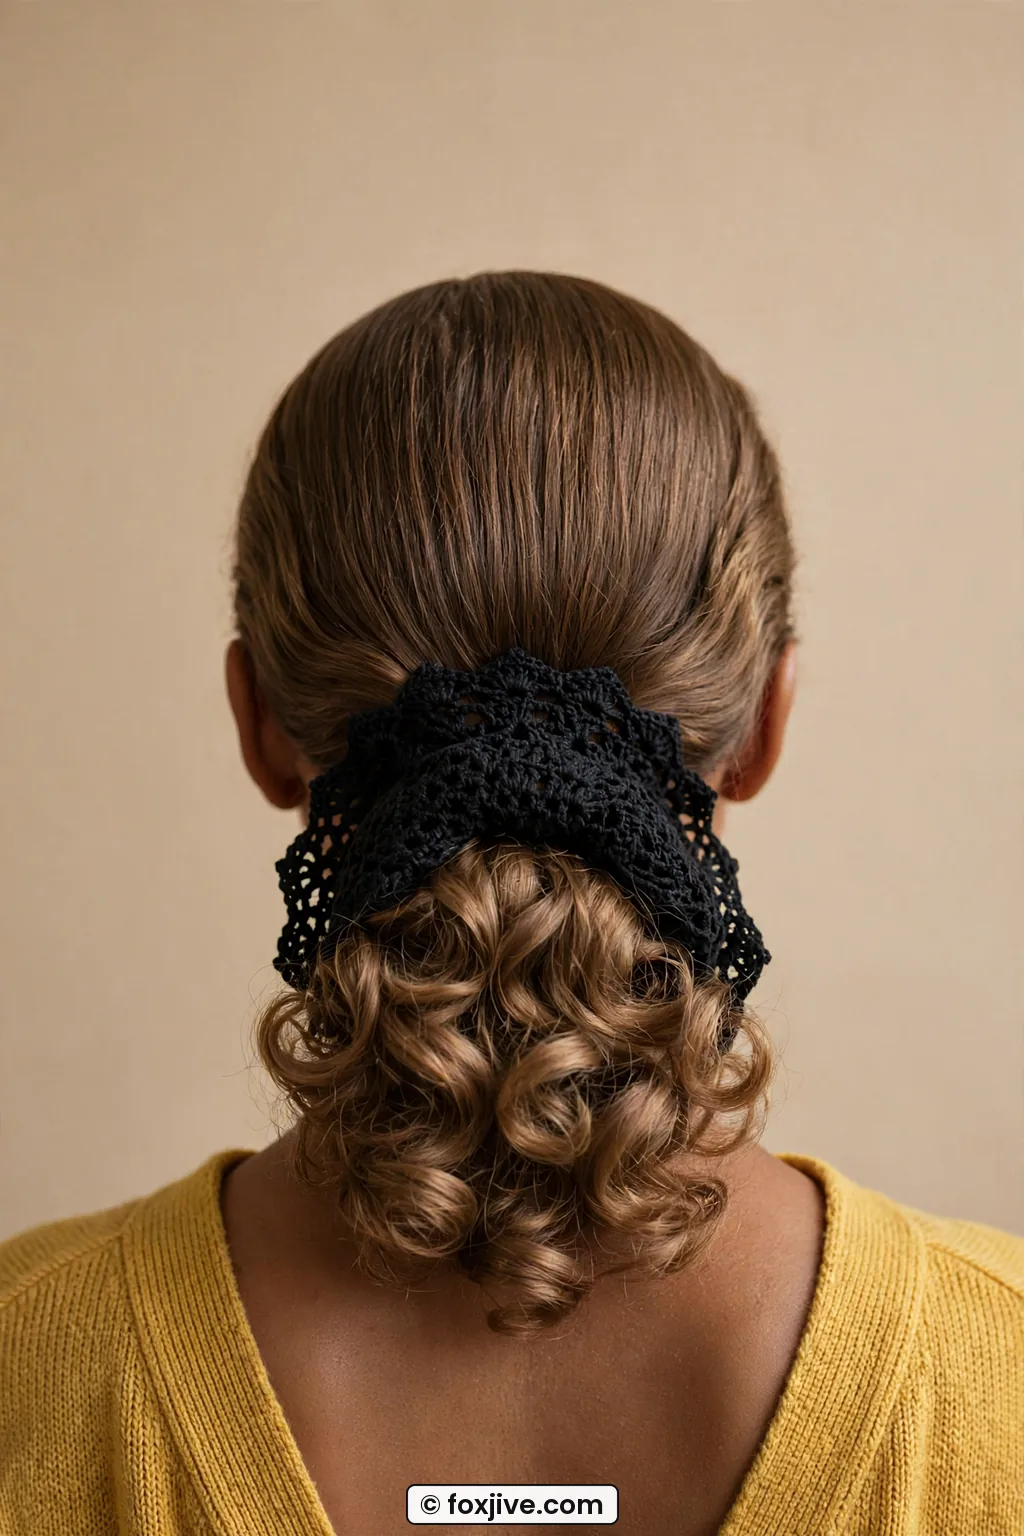
I love a snood because it hides a multitude of sins. I curl the front smooth, make a low ponytail or loose bun at the nape, then wrap a net snood around it. Forty minutes sounds like a lot, but most of that is curling the front nicely while the back just gets gathered.
What holds it is the snood and a drawstring or elastic. The finished shape is sleek on top with a soft netted pouch at the back of the head, very late-forties office girl. The model in the photo wears a black crochet snood over light brown curls with a mustard cardigan, and you can see the net texture holding every curl without crushing it. It is cozy and practical, especially for long hair.
What goes wrong the first time is placing the snood too high so it looks like a shower cap. It should sit low, right at the hairline of your neck. If you love low tucked shapes, you will also like 13 50s hairstyles ideas from subtle to full Saturday night for more ways to dress up the front while keeping the back contained.
7. The Pageboy With Deep Side Part, 50 Minutes
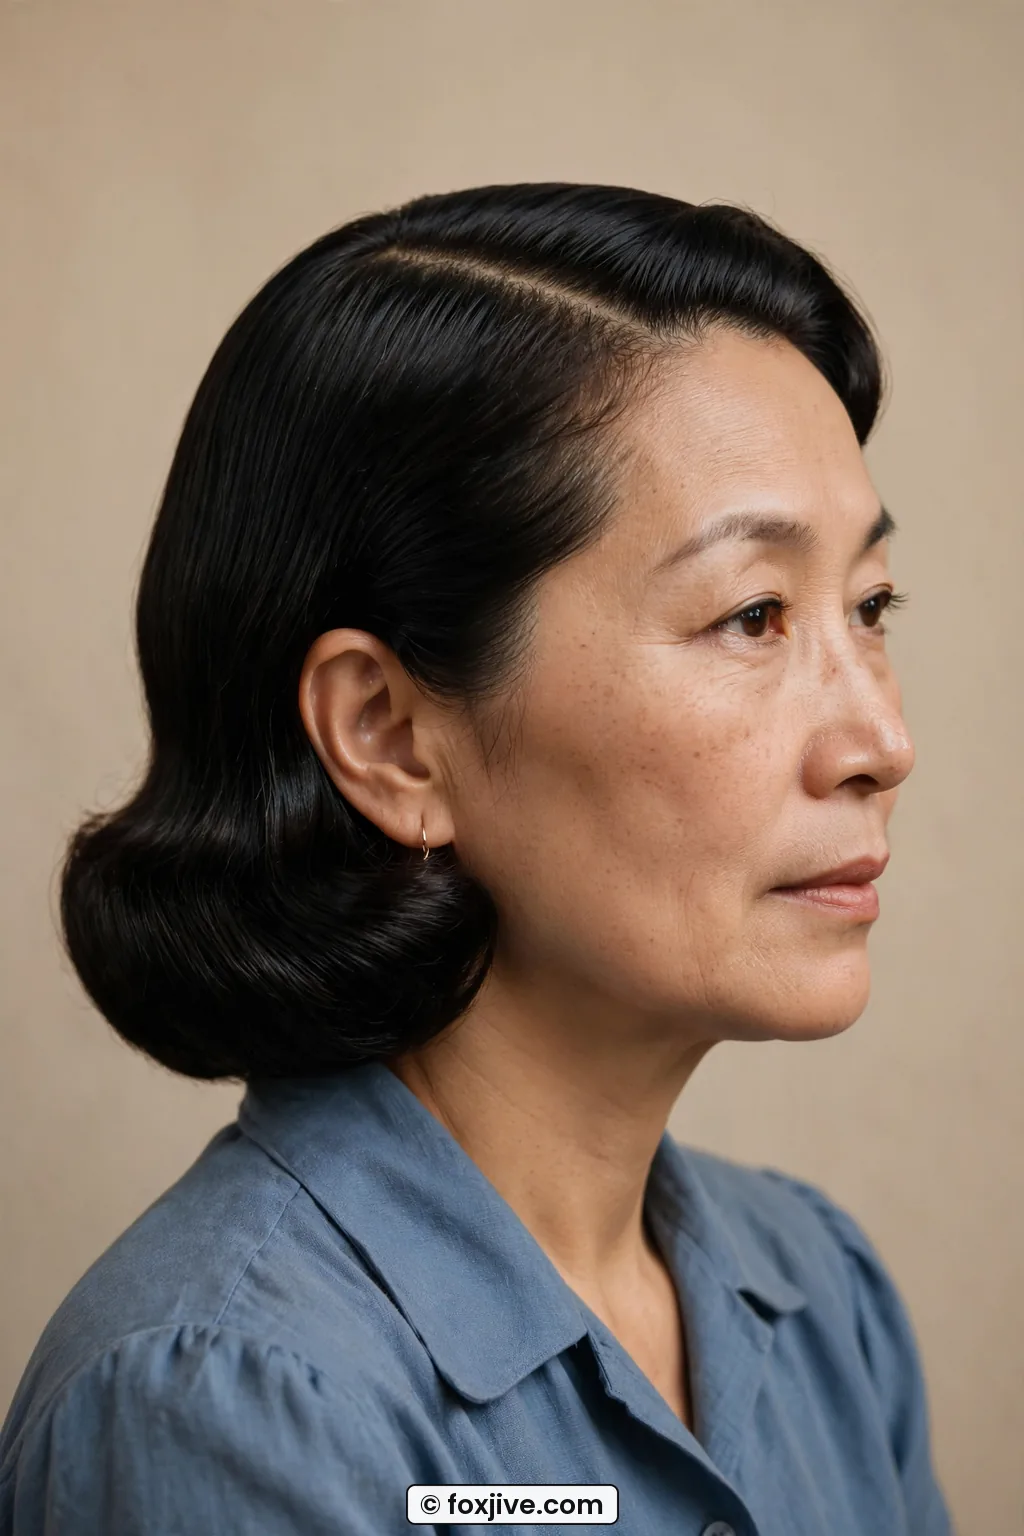
The pageboy feels less costumey to me, which is why I wear it to work. The ends turn under all the way around in one smooth shelf, with a deep side part and a soft wave over one eye. I need 50 minutes because I blow-dry with a large round brush first, then go back with a flat iron to turn the ends under.
What holds it is tension and a well-cut length. This cut loves chin-to-shoulder hair with no layers. Look at her side profile in the image, see how the ends cup right under the jawline in one unbroken line? She has glossy black hair and a dusty-blue blouse, and the light catches that smooth curve. That is the sweet spot.
What goes wrong the first time is over-curling so it bounces up like a bobble. You want under, not in. Keep the iron moving down and tuck at the very end. You can also brush up on smoothing the pageboy under on a practice night, because the brush angle matters more than product here.
8. The Faux Bang Roll, 60 Minutes
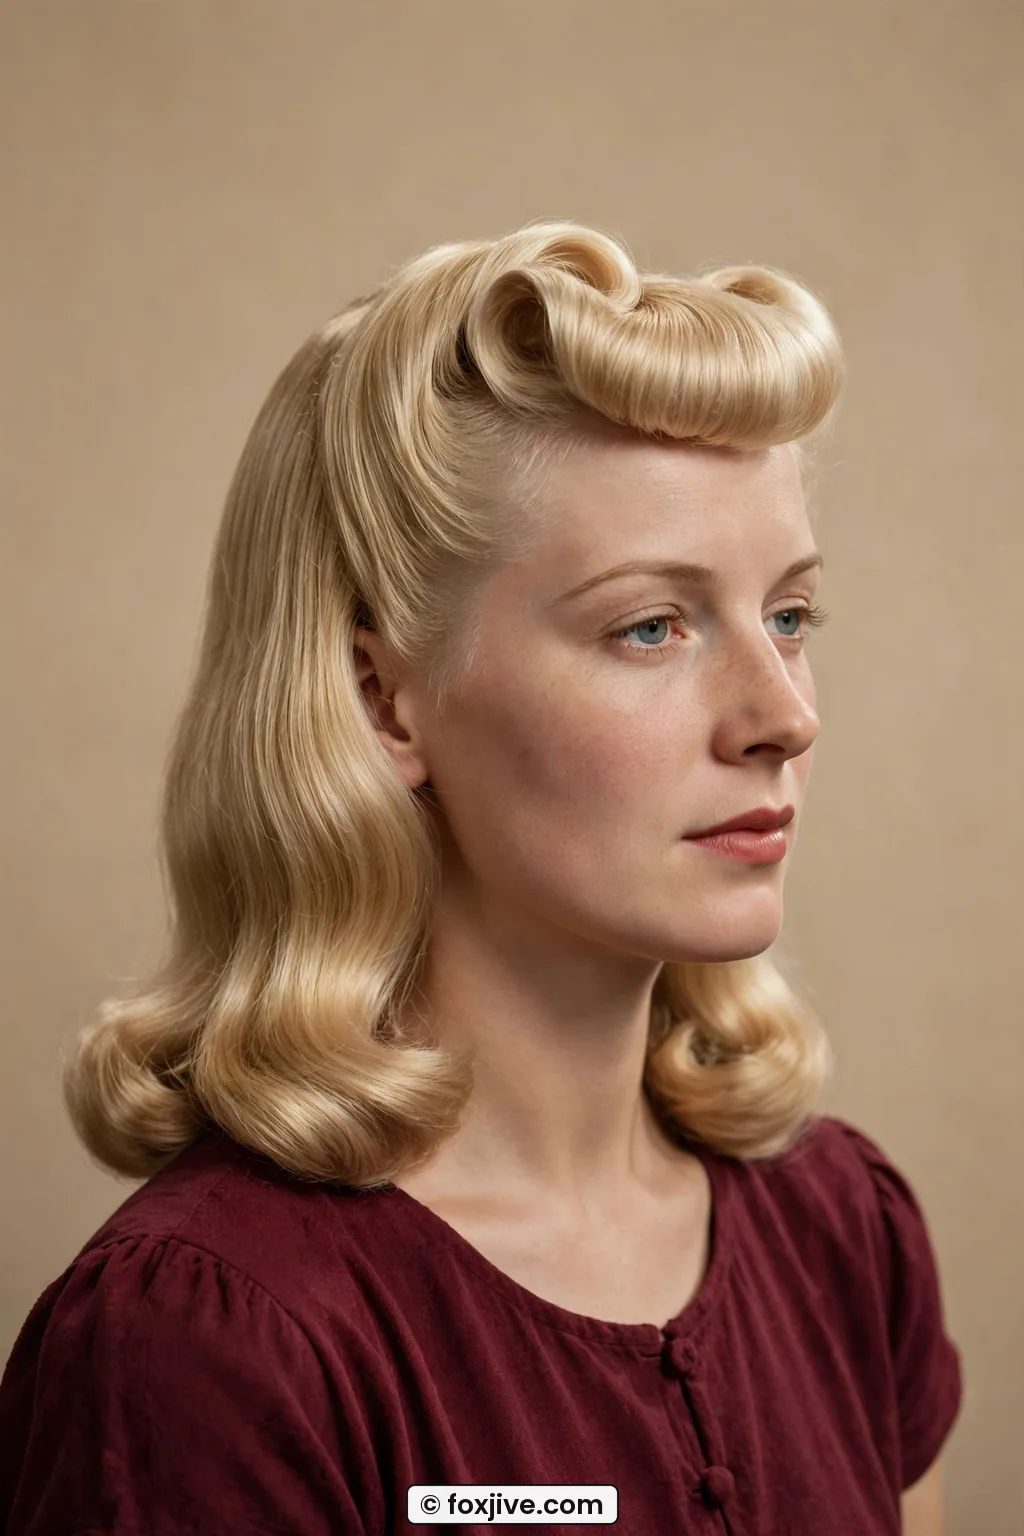
No scissors needed. I fake bangs by rolling my front length up and pinning it to look like a bumper bang. It takes me a full hour because I have long hair and I have to shorten it visually with curls first. I curl everything, then take the front section, roll it under toward my forehead, and pin the ends hidden inside.
What holds it is a lot of hidden pins and a matte pomade to keep flyaways down. The finished shape is a soft high bumper across the forehead with the sides swept into low rolls or waves. In the three-quarter view you can see how high hers sits, a true bumper shape on blonde hair with a burgundy top. It shortens a long face in the best way.
What goes wrong the first time is pulling it too tight so your forehead looks bare. Let it pouf forward a little. Think egg-size, not pancake. When I want a fuller crown to balance it, I borrow volume tricks from 11 50s hairstyles ranked from a subtle wave to a full poodle crown because the teasing method is nearly identical.
9. The Wet-Set Waves, 2 Hours
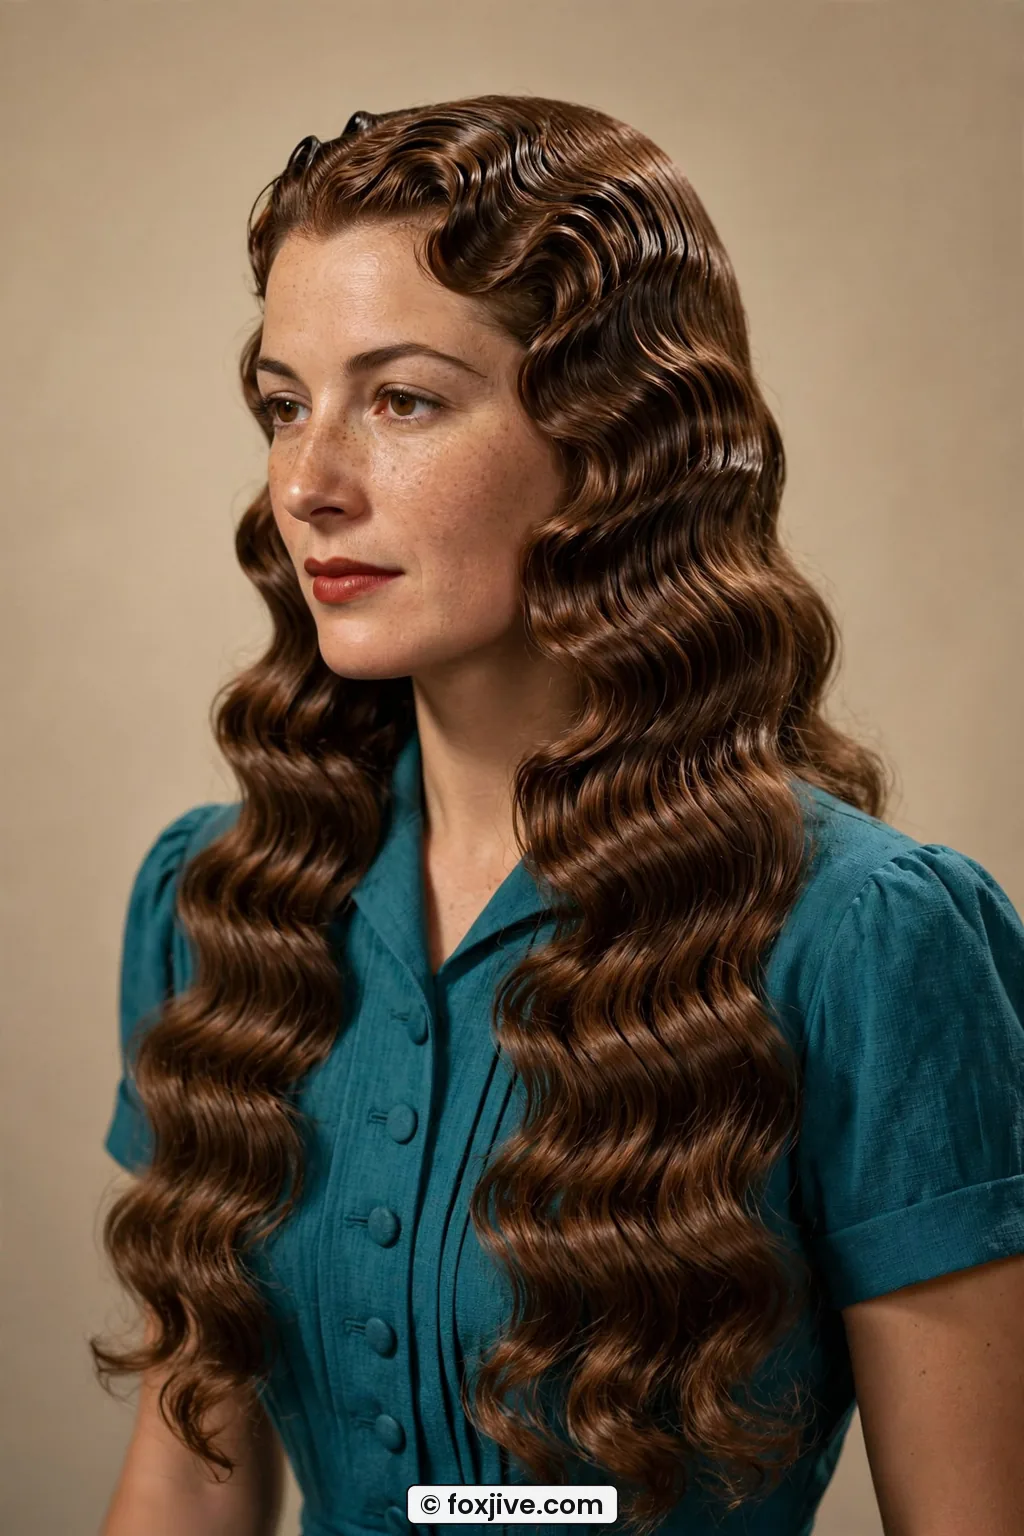
This is where forties hair gets serious. A wet set means shaping damp hair with setting lotion into sculpted waves, then letting it dry completely. Two hours includes setting and drying under a hooded dryer or with a diffuser on low, plus 20 minutes to brush out. I do this on a Sunday while I fold laundry.
What holds it is setting lotion and complete drying. If it feels even slightly damp, wait. The finished shape is those deep, glossy S-waves that sit close to the head and flow into the shoulders. She wears hers in a chest-up shot with chestnut hair down past her shoulders, and you can trace each wave from the side part all the way down. That ripple is textbook.
What goes wrong the first time is brushing too early or too hard. Use a soft boar-bristle brush and brush, then smooth with your palm, then brush again. Ten gentle passes beat two rough ones. You can learn a lot from setting lotion for vintage waves on your first try, because dilution ratios make a big difference in crunch versus shine.
10. The Three-Roll Weekend Set, 3 Hours
Top roll, two side rolls, curls in back. This is my full Saturday project. Three hours includes washing, a foam-roller set or hot-roller set, cooling, rolling, pinning, and fixing that one side that always wants to be bigger. I put on music and accept that the bathroom will look like a tornado hit it.
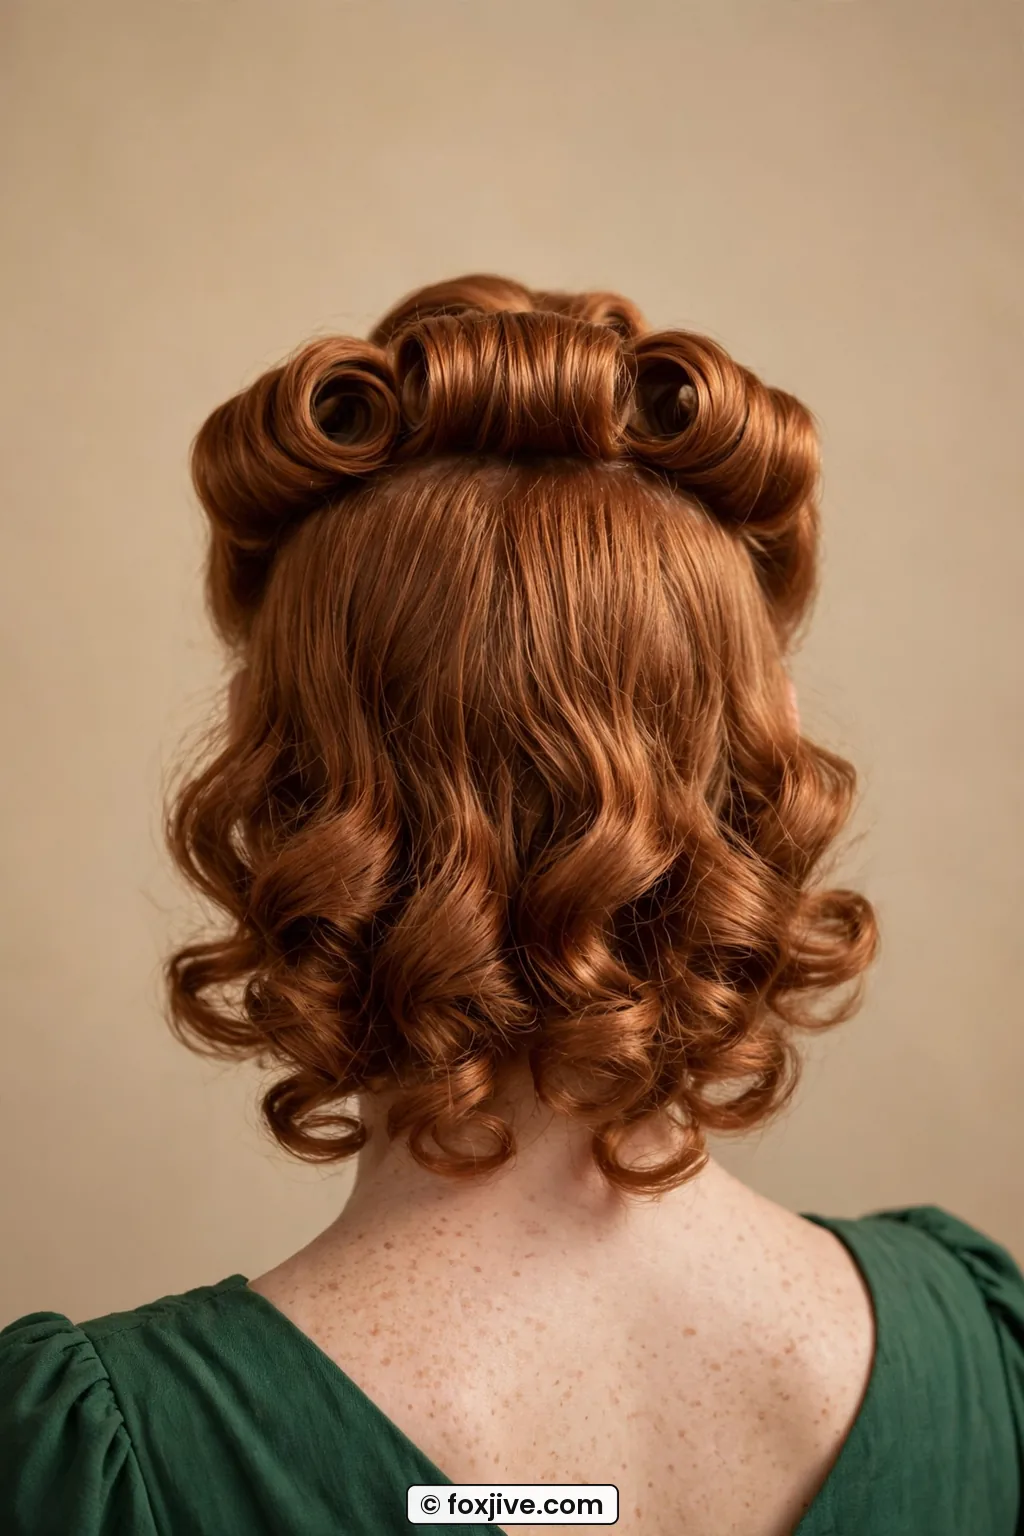
What holds it is a layered system: mousse on damp hair, hairspray after rolling, pins in every direction. The finished shape is grand from every angle. In the back view you can see how the three rolls meet in the middle and melt into defined curls at the nape. The woman pictured has copper hair and a forest-green dress, and her nape curls are so neat they look carved. I stare at that photo every time.
What goes wrong the first time is running out of steam and leaving the back straight. Do the back first while you have energy, then the showy front rolls. And take a photo from behind with your phone. You think it looks even until you see it flat. This is the one I wear when I want old-school glamour without borrowing from another decade.
11. The Full Pin Curl Set, Overnight
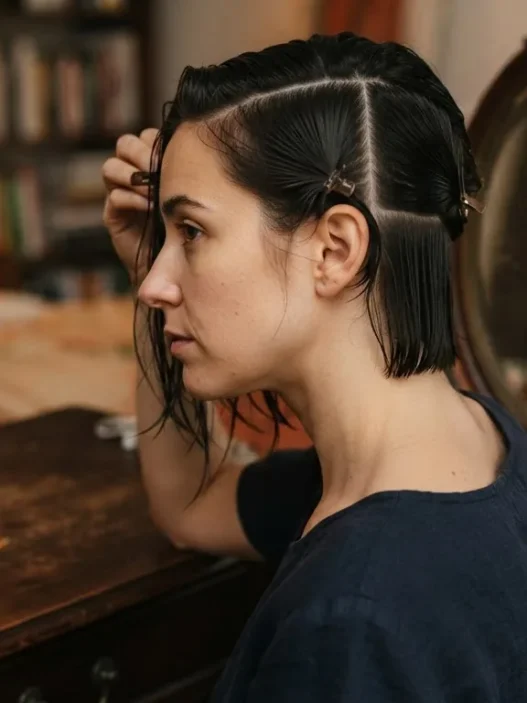
The longest, and the most authentic. A full head of pin curls set at night, slept in, and brushed out in the morning. Active time is about an hour, but total time is overnight, eight or so hours while you sleep in a scarf. I love waking up and unpinning them one by one. It feels like unwrapping presents.
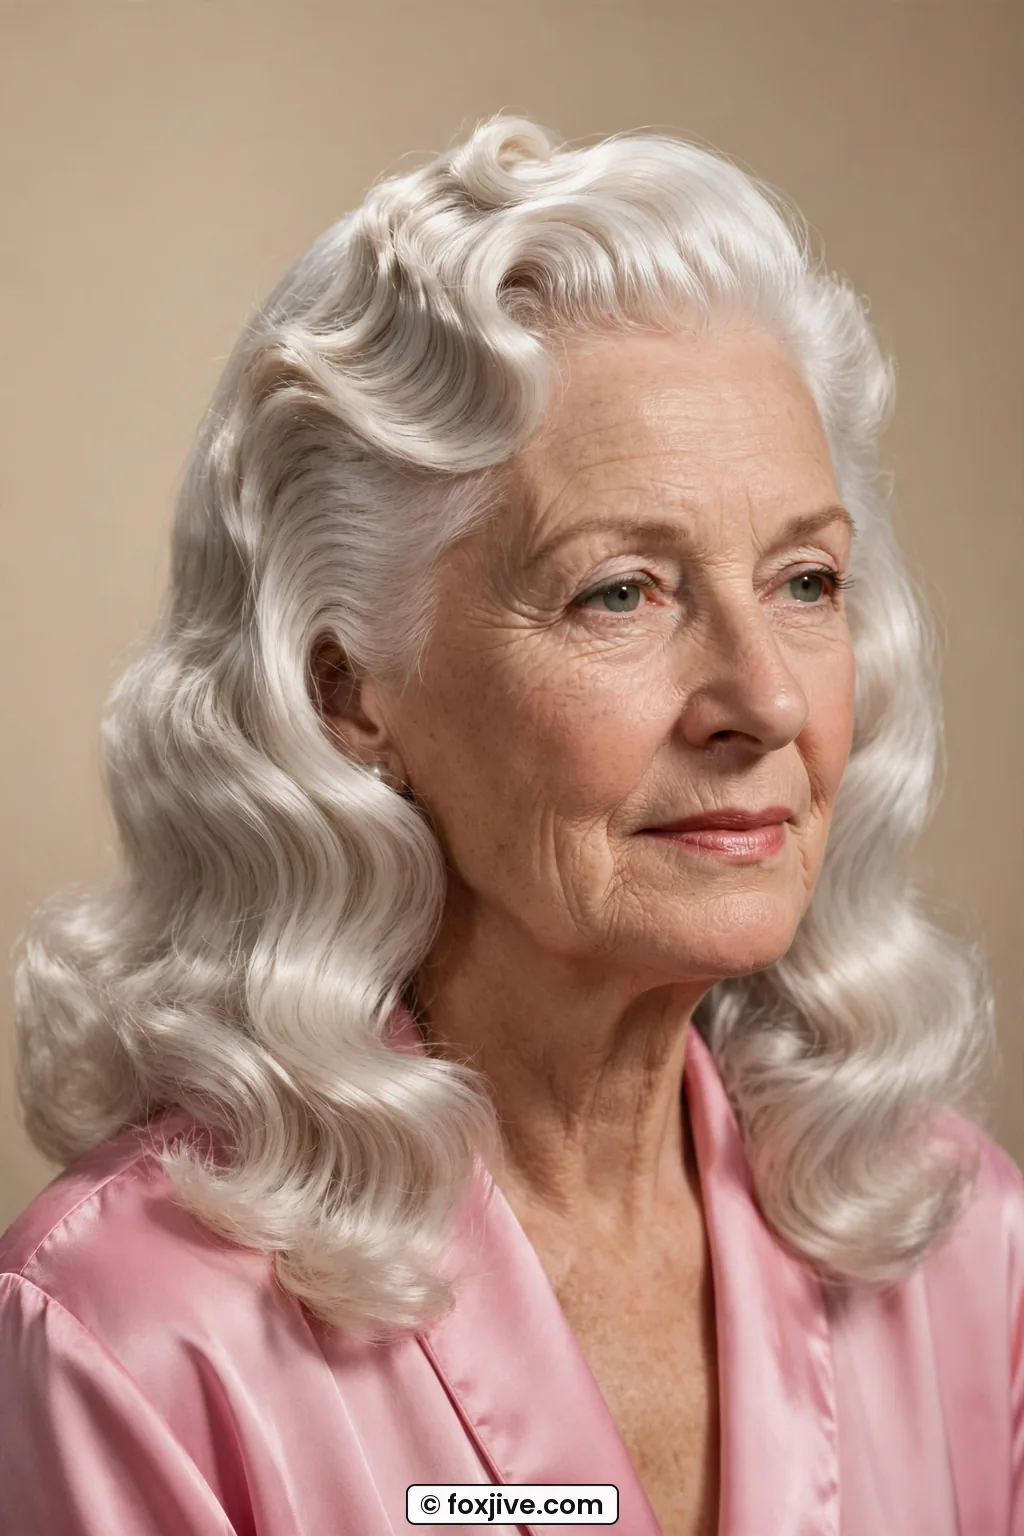
What holds it is damp hair, a tiny bit of setting lotion on each curl, and flat pin curls all facing the same direction. The finished shape depends on how you brush it. Brush a lot for smooth waves, brush a little for tight curls, roll the front for victory shapes. The close portrait shows her platinum curls brushed into soft rows with a pink satin robe, and you can see the shine that only comes from an overnight set. No hot tool gives you that.
What goes wrong the first time is making the curls too big or too wet. Keep each curl about the width of your finger and just damp, not dripping. And anchor with two pins in a cross, not one. The first time I did this half my pins ended up in my pillowcase. A silk scarf changed everything.
Forties Hair Questions I Hear a Lot
Can short hair do 1940s hairstyles?
Yes, and sometimes it is easier. Chin-length hair makes great single rolls, faux bangs, and pageboys because there is less weight pulling. You will use smaller sections and more pomade for grip.
How do I make rolls last all day?
Start with textured, second-day hair and let every curl cool before you pin. I also pack four extra pins and a travel spray in my bag, because humidity always finds the weakest roll first.
What products do I actually need?
Less than you think. A firm-hold spray, a matte pomade, and good bobby pins cover almost every look here. Setting lotion only matters for wet sets and overnight pin curls.
Are victory rolls okay for thin hair?
Absolutely. Backcomb gently and use a small hair rat or mesh donut inside for structure. My fine-haired friends get taller rolls than I do because their hair holds teasing longer.
If you try just one, start with number two and give yourself grace. My first roll looked like a croissant. Now it takes me 20 minutes while my coffee brews, and I kind of love the ritual. Tell me which time slot fits your life right now.