









I cut mine into a French bob last spring and immediately realized most vintage tutorials were not made for me. Everything assumed shoulder-length hair I could wrap, roll, and tuck. Mine just sprang straight back out. So I spent about two months testing tiny rollers, pin curls, and finger-setting tricks until I found a short-hair method that actually holds.
This is that method. It is one sequential set for a real french bob haircut, not five different ideas to pick from. If you follow it in order, you get that soft, lived-in Parisian bend with a clean jawline outline.
What You’ll Need
I keep my short-hair kit in a little zip pouch because, honestly, if I have to dig for tools I just will not bother. Short hair dries fast and sets fast, so you want everything within reach before you start.
- Fine-tooth tail comb for clean, close-to-scalp partings
- 12-14 small duckbill clips, the short 2-inch ones, not the long salon ones
- 8-10 tiny 1/2-inch magnetic rollers or 1/2-inch foam pin-curl sticks
- Light setting lotion diluted half-and-half with water in a spray bottle
- Travel-size strong-hold mousse, about a golf-ball amount total
- Silk scarf or vintage-style hair net for sleeping in the set
- Slim flat iron or small 3/4-inch curling iron just for the outline
- Flexible-hold hairspray and a soft boar-bristle brush
My favorite setting lotion is the old-school liquid kind, not the foamy one. You can read up on why setting lotion still matters before you buy, because modern mousse alone does not give the same crisp memory on short hair. And if you love a true period-accurate finish, my go-to inspo lives in the vintage bob archive where the short sets actually show the roller pattern.
Step 1: What Length You Need, Honestly
Let me give you the number first, because no one else does. You need a minimum of 8 centimetres on top and at the crown to get a real bend. At the sides, 6 centimetres will do if your hair is fine, 7 centimetres if it is thick or resistant. Anything shorter than that in front and you cannot wrap it around even the smallest roller without it popping off, and you are better off finger-shaping with product only.
When I tried this the first time my nape was only about 4 centimetres and my sides were barely 6 centimetres. I kept wondering why the back looked fuzzy while the top looked great. It was just physics. There was not enough hair to make a full turn. Once it grew out that extra centimetre, the whole set clicked.
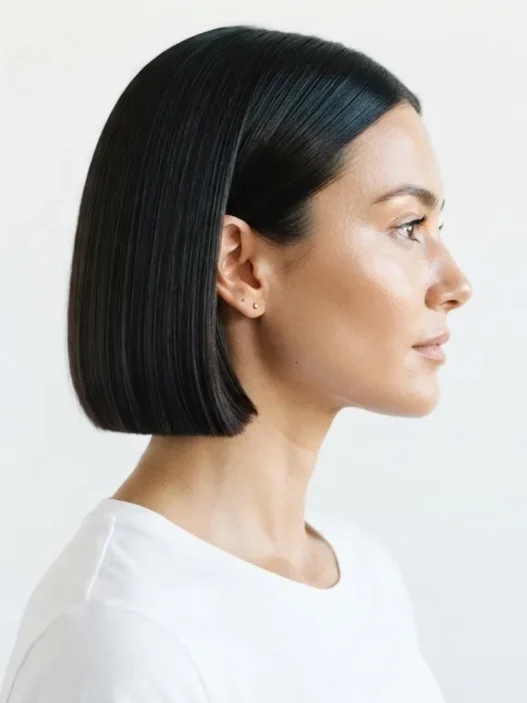
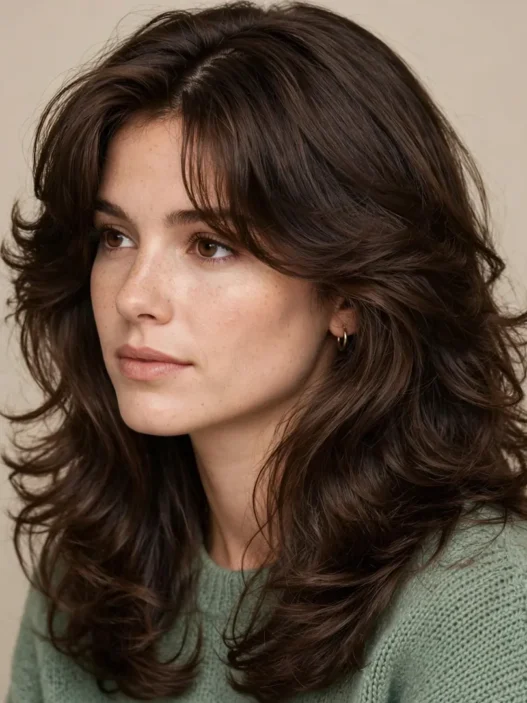
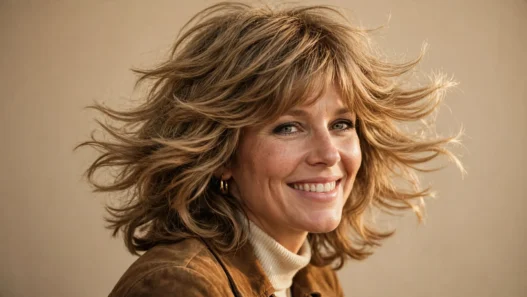
Look at how she’s wearing hers, that angle is exactly what I mean about jawline framing. This is the length I’m talking about. See how it hits just below her chin in the front, with the back a touch shorter? That graduated shape gives you something to set. If your bob is one-length and blunt right at the cheek, you can still do this method, but you will rely more on Step 4 for shape.
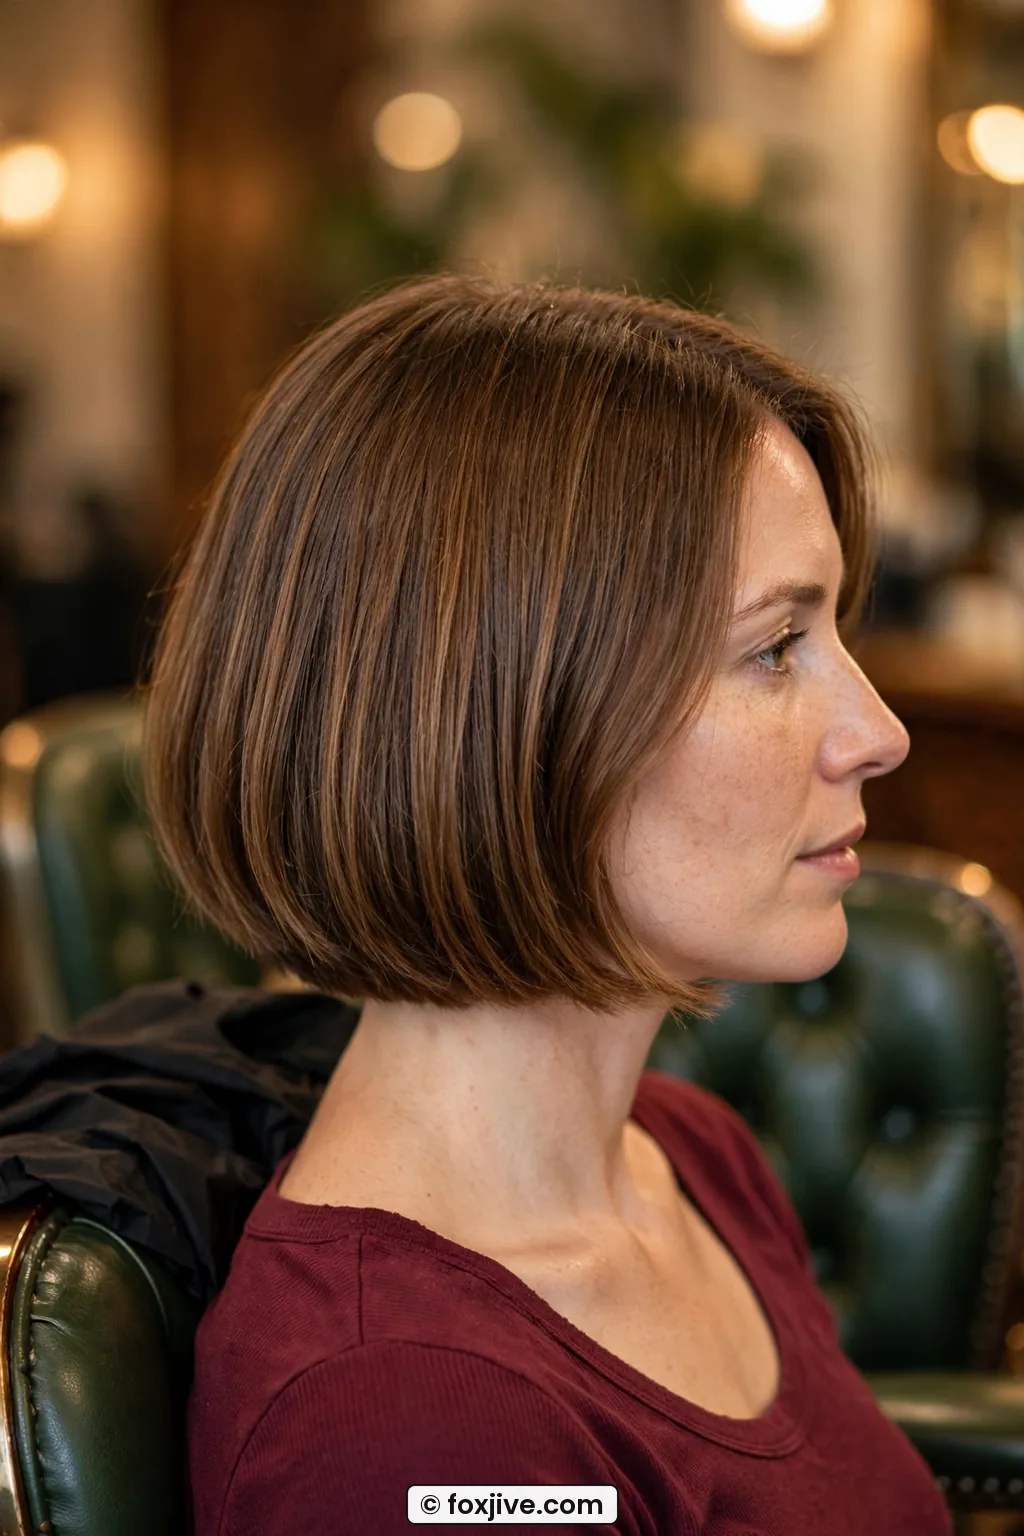
How to check: pull a top section straight up while damp. Can you wrap it one-and-a-half times around your pinky finger? You are good. If you can barely make one turn, switch to pin curls only and skip rollers for this round. I love this test because it takes five seconds and saves a whole failed set.
Wash with a light-volume shampoo, skip heavy masks, and leave hair about 70% damp. Towel-blot really well. Short hair holds too much water at the scalp and that is why sets go limp by lunch. I mist my diluted setting lotion all over, then rake just a pea-size amount of mousse through the mid-lengths. Roots get lotion only. Ends get mousse only. That separation keeps lift without sticky ends.
Step 2: Small Sections
Here is the rule that changed everything for me. Short hair punishes big sections. What works on long hair, those wide two-inch sections, just slides off when you have a chin-length bob. You need narrow, clean, little sections about the width of your roller and no wider than 2 centimetres.
I part mine slightly off-center, like a soft 1920s side part, because a dead-center part on very short hair can look a little severe. Use your tail comb to draw a clean line, then work in rows. Top row first, then sides, then nape last. Clip everything you are not working on. It feels fussy. It is worth it.
Each section should be smooth and ribbon-like before you roll it. No saw-tooth edges, no stray baby hairs sticking out. I brush each little section up, spray once with water if it has started to dry, and keep tension firm but not painful. Think of handling bias tape. Gentle, even pull. If you have layers from an old shag cuts grow-out, this is where they will try to escape, so keep that tail comb handy to tuck them back in.
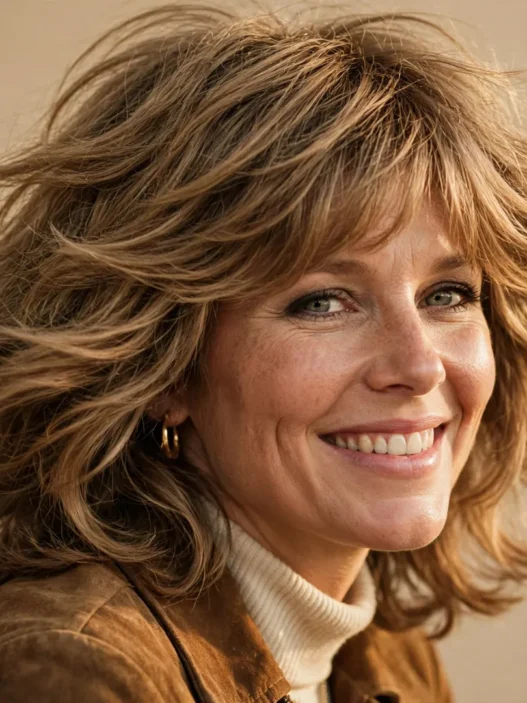
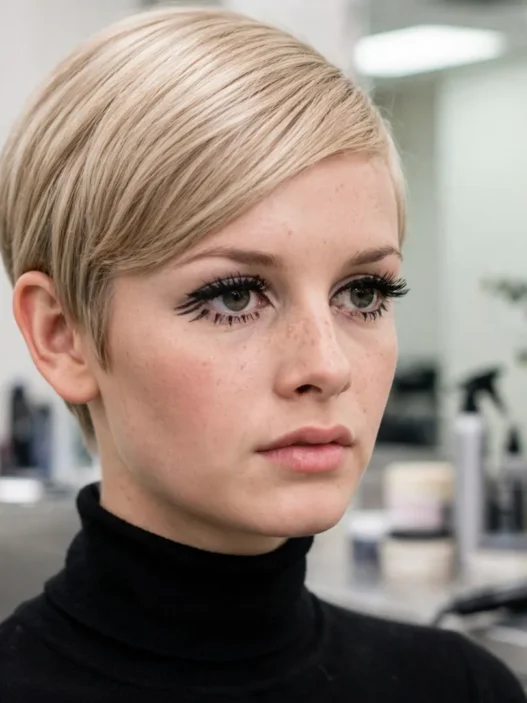
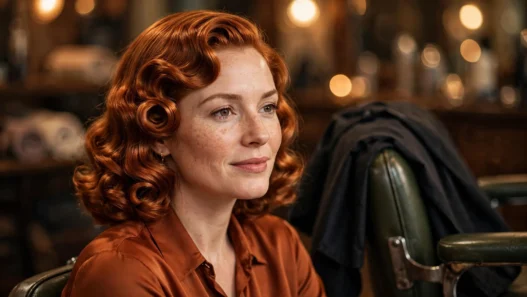
She’s got a similar density to mine, and honestly, this close-up shows why tiny partings matter. See how each little section is clean at the base with no puffiness? That is what prevents those weird dents and gaps after you take the rollers out. I used to grab handfuls. My sets looked lumpy. Now I take my time here and the rest is easy.
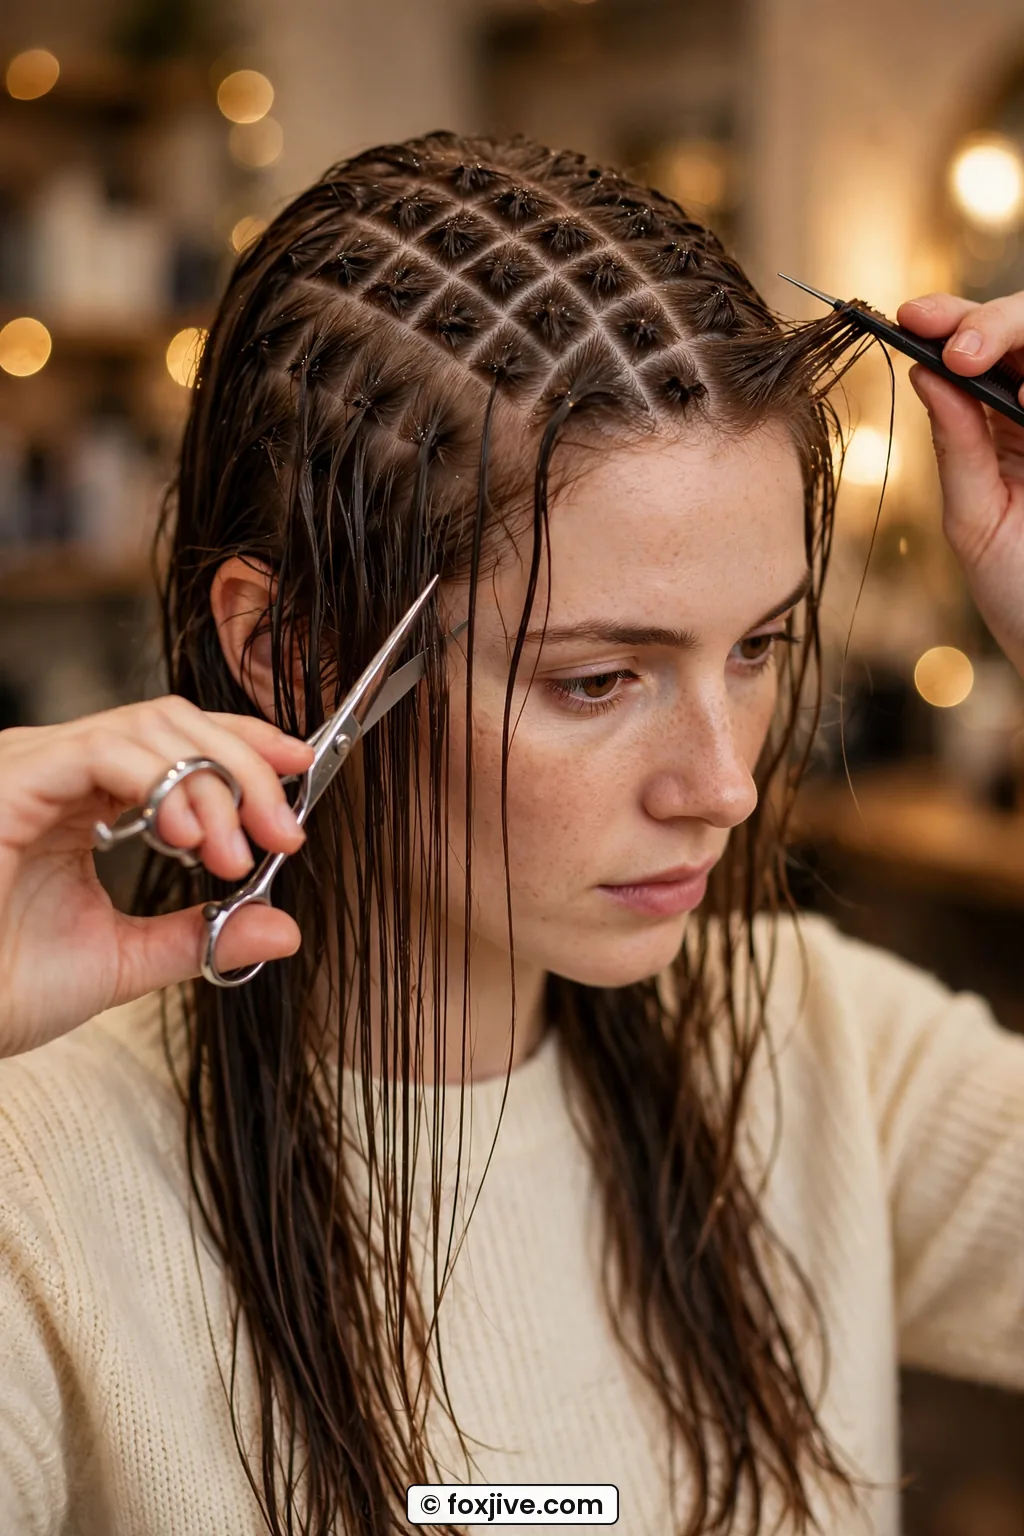
Count-wise, I usually end up with 9 sections on top and crown, 3 per side, and 2 to 3 at the nape. That is 15 to 18 total. Sounds like a lot, but each one takes 30 seconds once you get rhythm. Put a podcast on. And resist the urge to make them bigger to finish faster. Bigger equals flatter. Every single time.
Mistake I made: I tried to set my whole side in two big rollers to save time. They unrolled in my sleep, left a giant crease across my cheek, and the top was flat while the ends flicked out. Small sections feel slower, but they are actually faster because you do not have to redo them.
Step 3: The Set
Now the fun part. You are going to mix two vintage techniques, because short hair rarely behaves with just one. Rollers on top for lift, flat pin curls on the sides and nape for control. That combination gives you the rounded French shape instead of a poofy helmet.
Start at the front hairline. Take that first 2-centimetre section, hold it straight up. The section is held at 90 degrees from the head, clearly lifted, not flat to the scalp and not pushed forward. Wrap the ends neatly around a 1/2-inch roller, then roll down toward the scalp. Clip it so the roller sits upright but comfortable. You want that 90-degree lift unmistakable when you look in the mirror, no leaning. Roll the whole mohawk section backward, away from your face, three to four rollers total. That backward direction is what creates that soft, swept French bend instead of tight curls falling forward.
I had to learn to keep the ends tucked like gift wrap. If even a half-centimetre pokes out, it dries into a fishhook. I smooth the ends between my fingers first, almost like I am finger-pressing ribbon, then roll. Takes an extra ten seconds. Saves the whole curl.
For the crown, change direction slightly. The section is held at 45 degrees from the head, clearly diagonal, not straight up and not flat. Roll downward and slightly back, following the curve of your head. This lower 45-degree elevation keeps volume without making you look tall on top, which can throw off a French bob proportion. The 45-degree elevation unmistakable, smooth and close, not spiky.
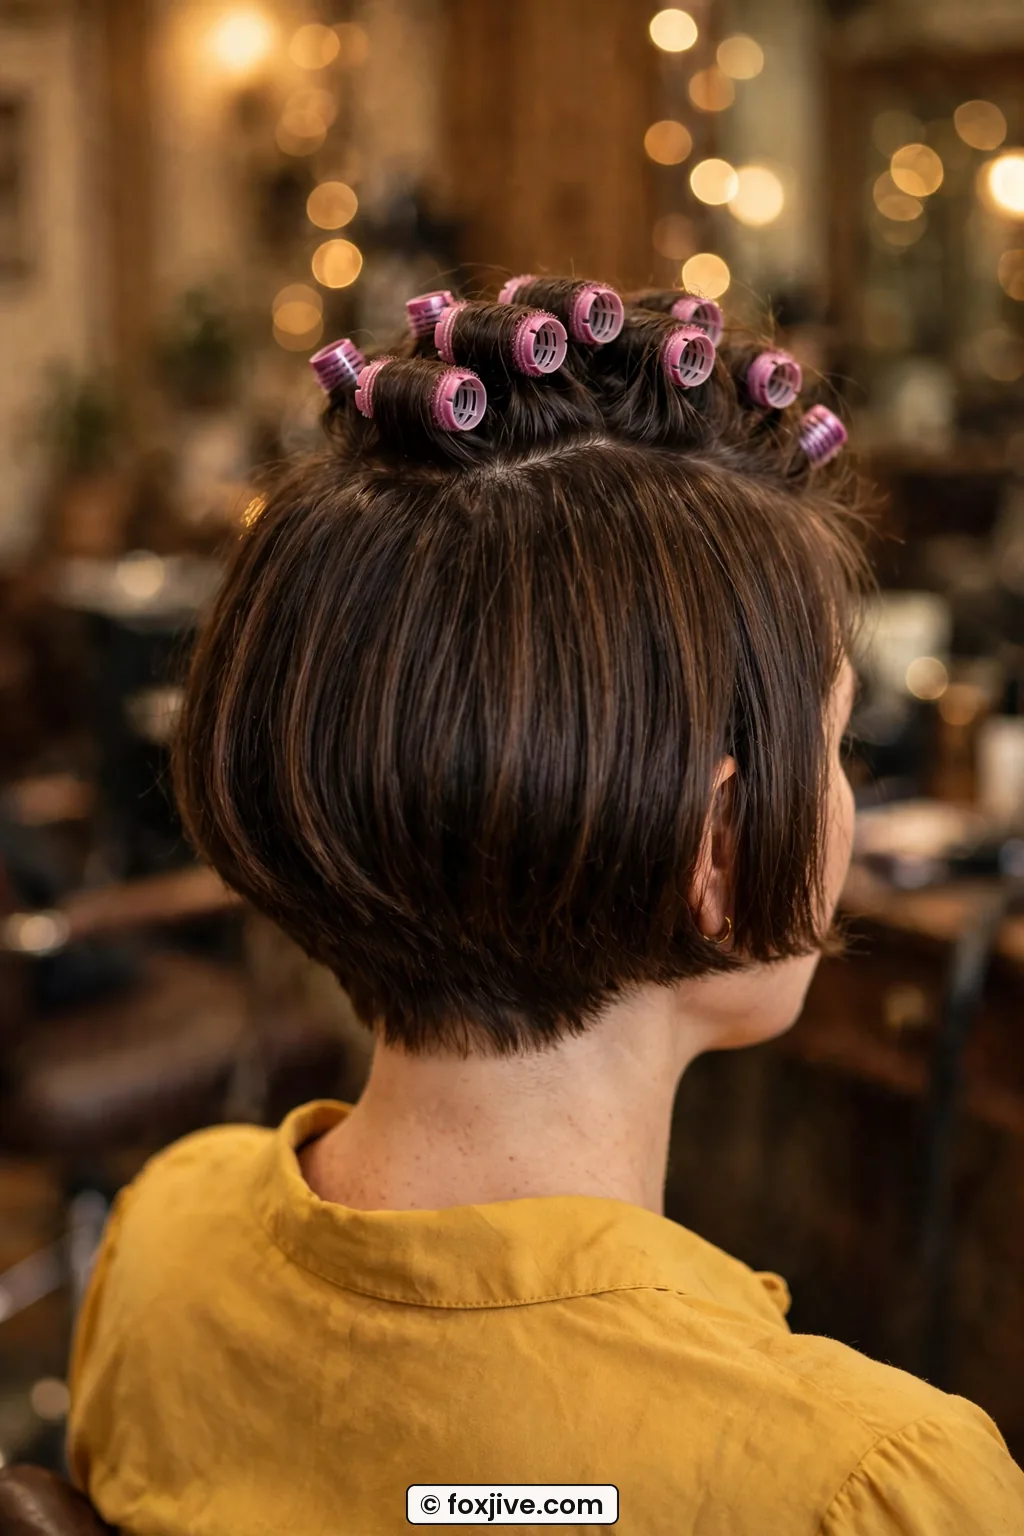
Sides and nape get pin curls. Take a 2-centimetre section, comb it smooth, wrap it around your finger into a flat circle against the head, then pin with two duckbill clips in a cross. Do not lift them up like rollers. They should lie flat, like little snails. On the sides, curl them forward toward your face on one side and back on the other if you have a side part, it helps the hair hug the jaw. At the nape, curl everything downward so it tucks under.
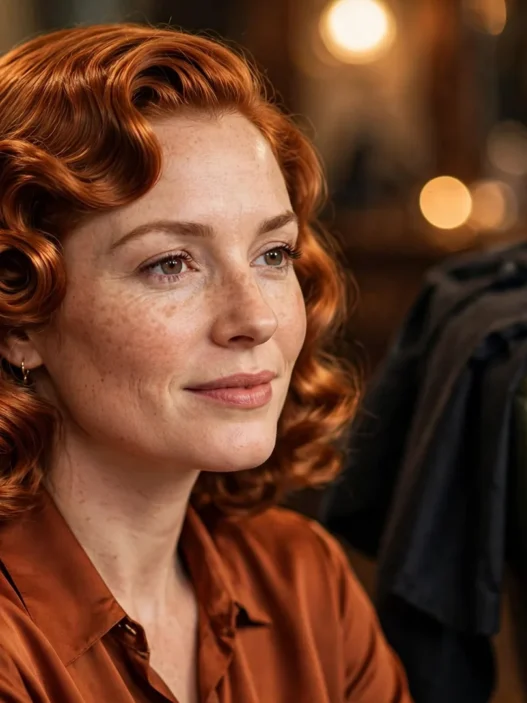
She is showing the exact flat-to-the-head pin curl I mean. Notice how close those curls sit at her temple? That flat placement is what keeps a short bob from winging out. When I switched my sides from rollers to flat curls, my bob finally stayed in that neat C-shape around my chin.
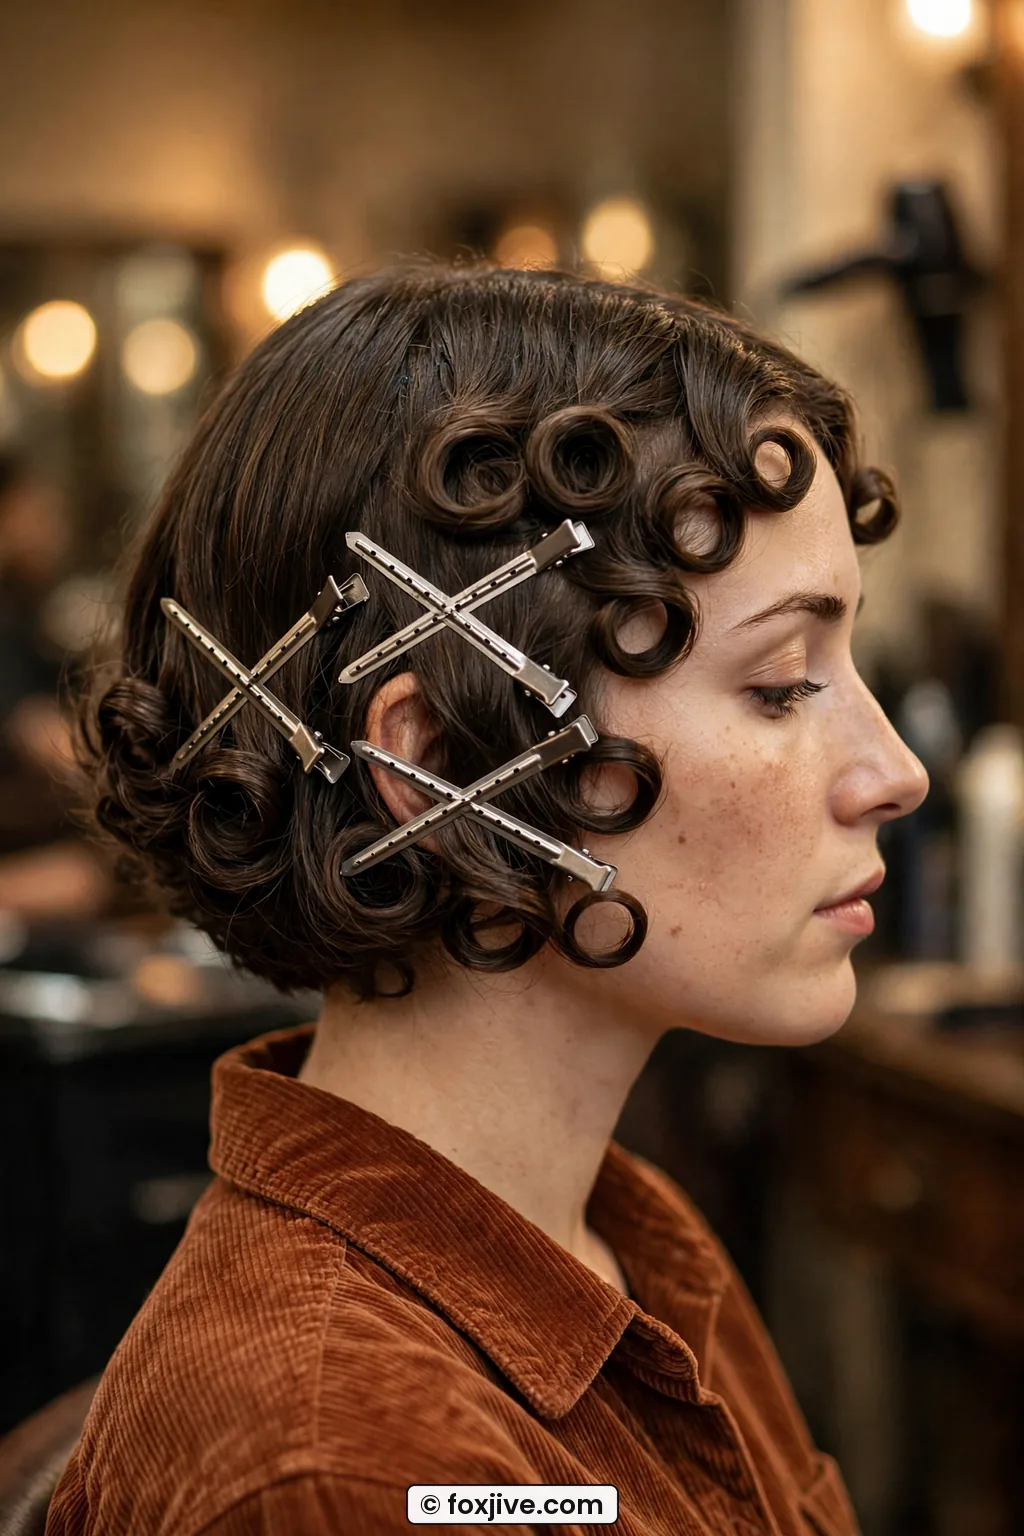
Let it dry completely. Completely is the whole trick. Air-dry three to four hours minimum, or sleep in a silk scarf. If you are in a hurry, hood-dry on low for 35 minutes, then cool for 15. Do not touch it while warm. I learned that by ruining a perfect set at 11 p.m. before a party because I was impatient. Warm hair equals wet set. Wet set equals frizz an hour later. You can brush up on overnight pin curl drying if your sets always feel damp in the middle, that guide saved me.
Unroll from nape upward. Unclip, let the curl spring, do not pull. Let them all hang for five minutes while they cool. Then break them up with fingers only. No brush yet.
See Tiny Rollers Done Right
Step 4: Shaping the Outline
At this length, the outline does 80% of the work. You could have perfect curls, but if the perimeter is fuzzy or flipping the wrong way, the whole bob looks messy. So we shape now, after the set, not before.
Brush through very gently with a soft boar-bristle brush, just three strokes: top back, left side down and under, right side down and under. You are not brushing out the wave, you are polishing it into one shape. Then tuck the nape under with your fingers and hit it with one second of warm air from the dryer while holding it under. That locks the under-tuck.
Now take your slim flat iron. Touch up only the last 2 centimetres, curving everything under toward the chin. Do not re-iron the whole head. Just the edge. Left side under, right side under, back under. On my hair, this takes four minutes max. If you have side bangs or a short fringe, sweep it to one side with a little forward bend, not flat to the forehead. A French bob fringe should kiss the brow, not plaster it.
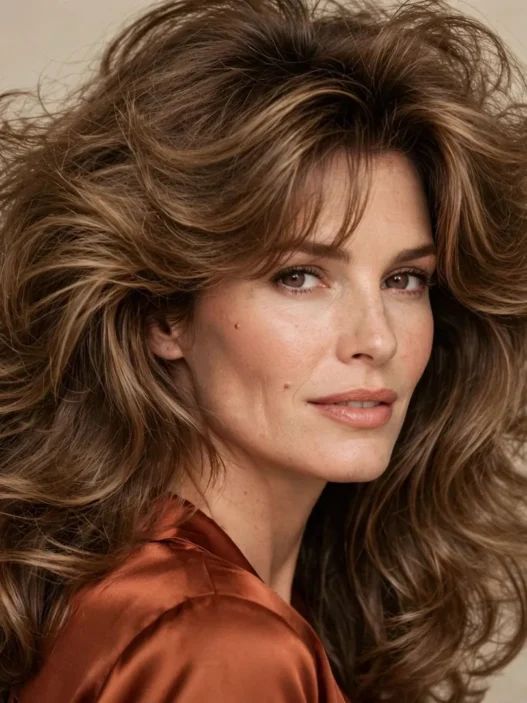
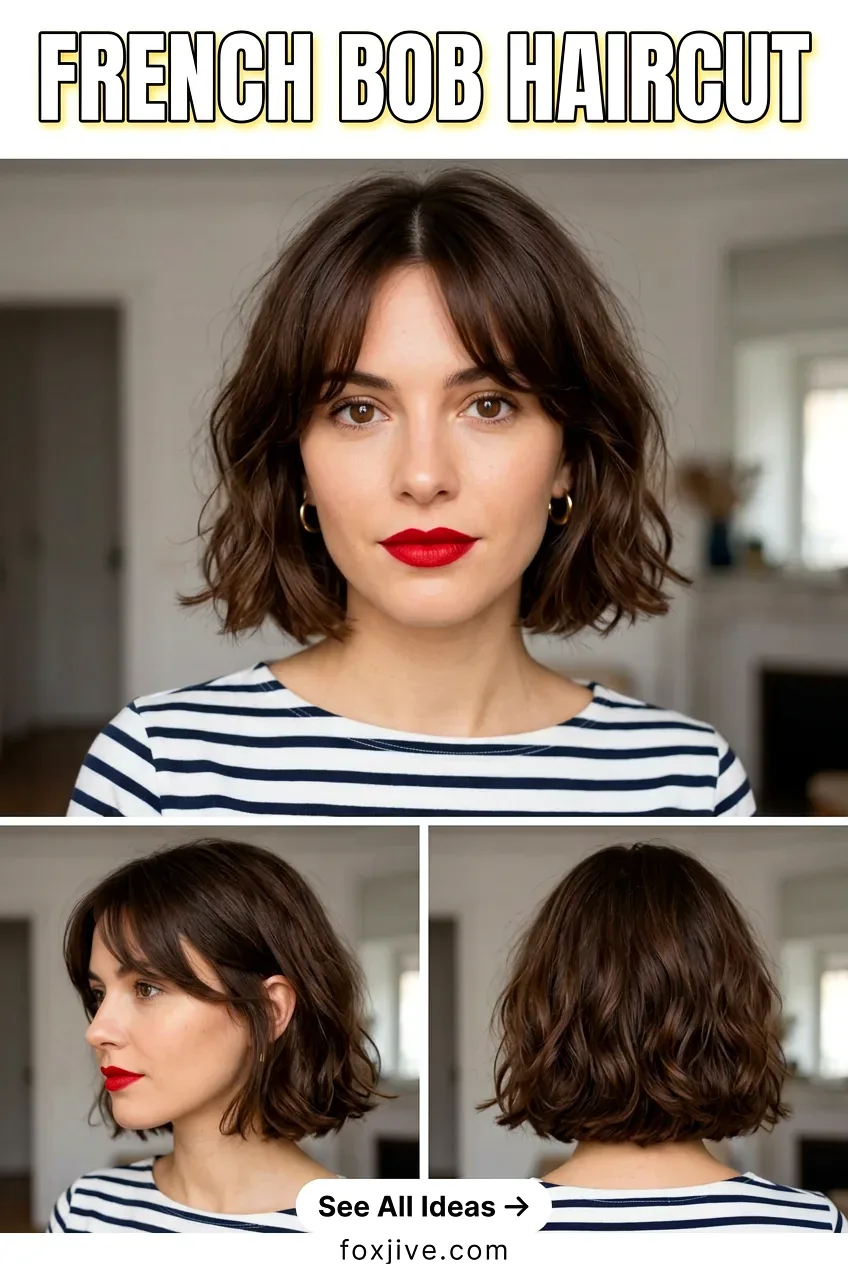
Look at her bottom edge here, see how clean and tucked it is with no flyaways? That crisp under-curve is the whole French thing. It is not about big curls. It is about that neat jawline line that makes your neck look long. I keep staring at this photo when I do mine because it reminds me to stop curling higher up and focus down low.
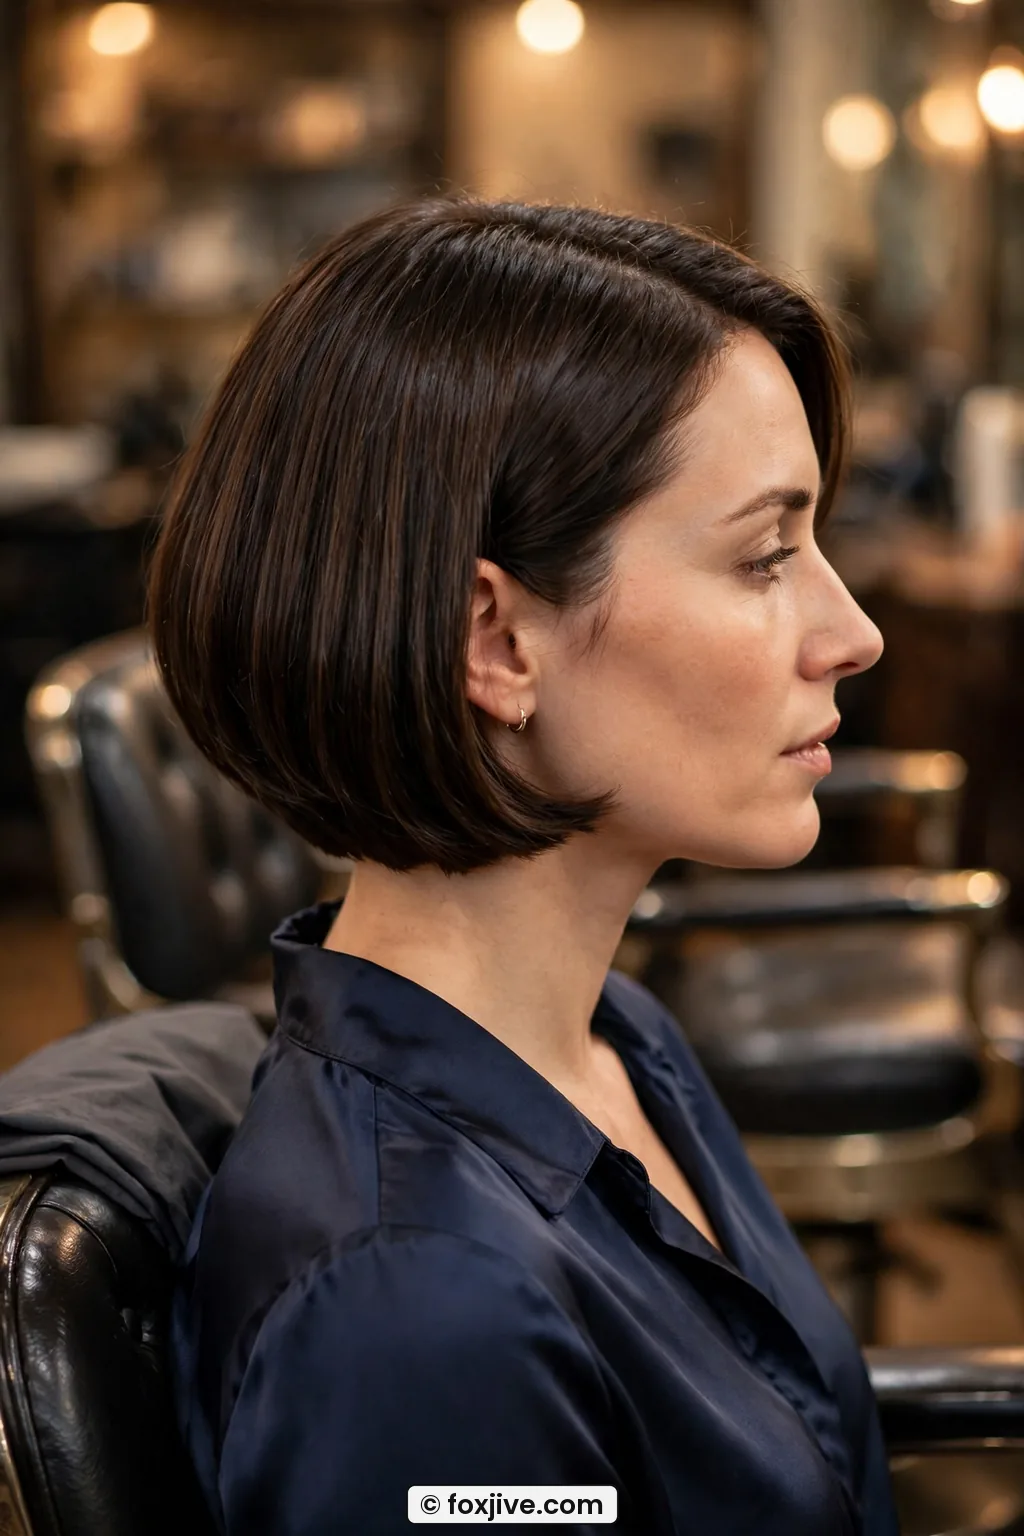
Finish with flexible-hold spray held 25 centimetres away. Mist, wait 30 seconds, mist again lightly. Two light coats beat one heavy one. Heavy spray on short hair collapses it by dinner. And if frizz pops at the crown, smooth a rice-grain of pomade over the top only. Never at the ends, or you lose the airy movement.
How to get that slightly undone texture without losing the shape? Pinch just the surface layer between thumb and forefinger and tug up a millimeter. That breaks the uniformity. I picked that up from watching old French films, the hair never looks helmet-perfect. It looks touched, lived in, a little windswept but still neat at the jaw.
Step 5: The Cut This Needs
Can we be honest for a minute? No set rescues the wrong cut. A French bob needs a specific shape to set well at short length. If your bob is too heavy or too long in the wrong place, you will fight it every morning.
What to ask for: chin-length or just above, with a slightly shorter back and soft graduation, no hard stack. Blunt perimeter but with the very last 1 centimetre point-cut to soften. Minimal layering on top, just enough to let it bend. My stylist calls it a one-length bob with an airy edge. If you show her a photo, show the back too, not just the front.
Maintenance matters more at this length than any other. I get a dusting every five weeks, just the outline cleaned up. Skipping trims turns a French bob into a triangle fast, especially if you have thick hair. You can explore more short variations in 11 Jane Birkin Styles for Hair Above the Jaw when you want fringe ideas, and if you are debating fullness versus sleekness, reading about How to Get The Rachel Haircut That Holds Without Half a Can of Spray helped me understand layer tension even though it is a longer cut.
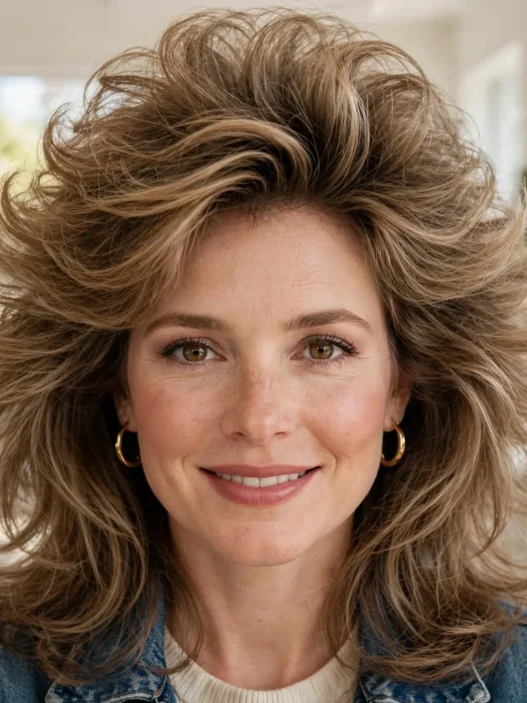
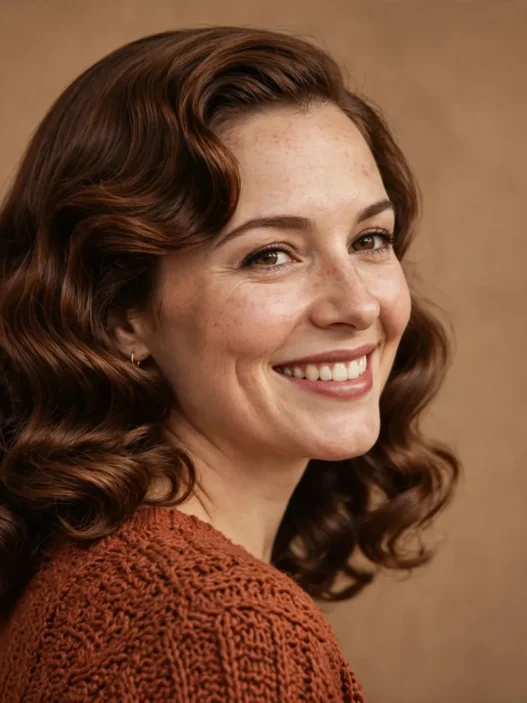
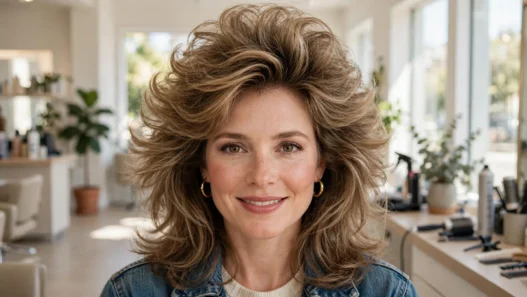
She has exactly the cut I mean here, short at the nape, full at the jaw, fringe just skimming. Notice how her hair falls forward naturally without styling? That is the cut doing the work before the set even starts. When I finally got this shape, my morning routine dropped from 30 minutes to about 12.
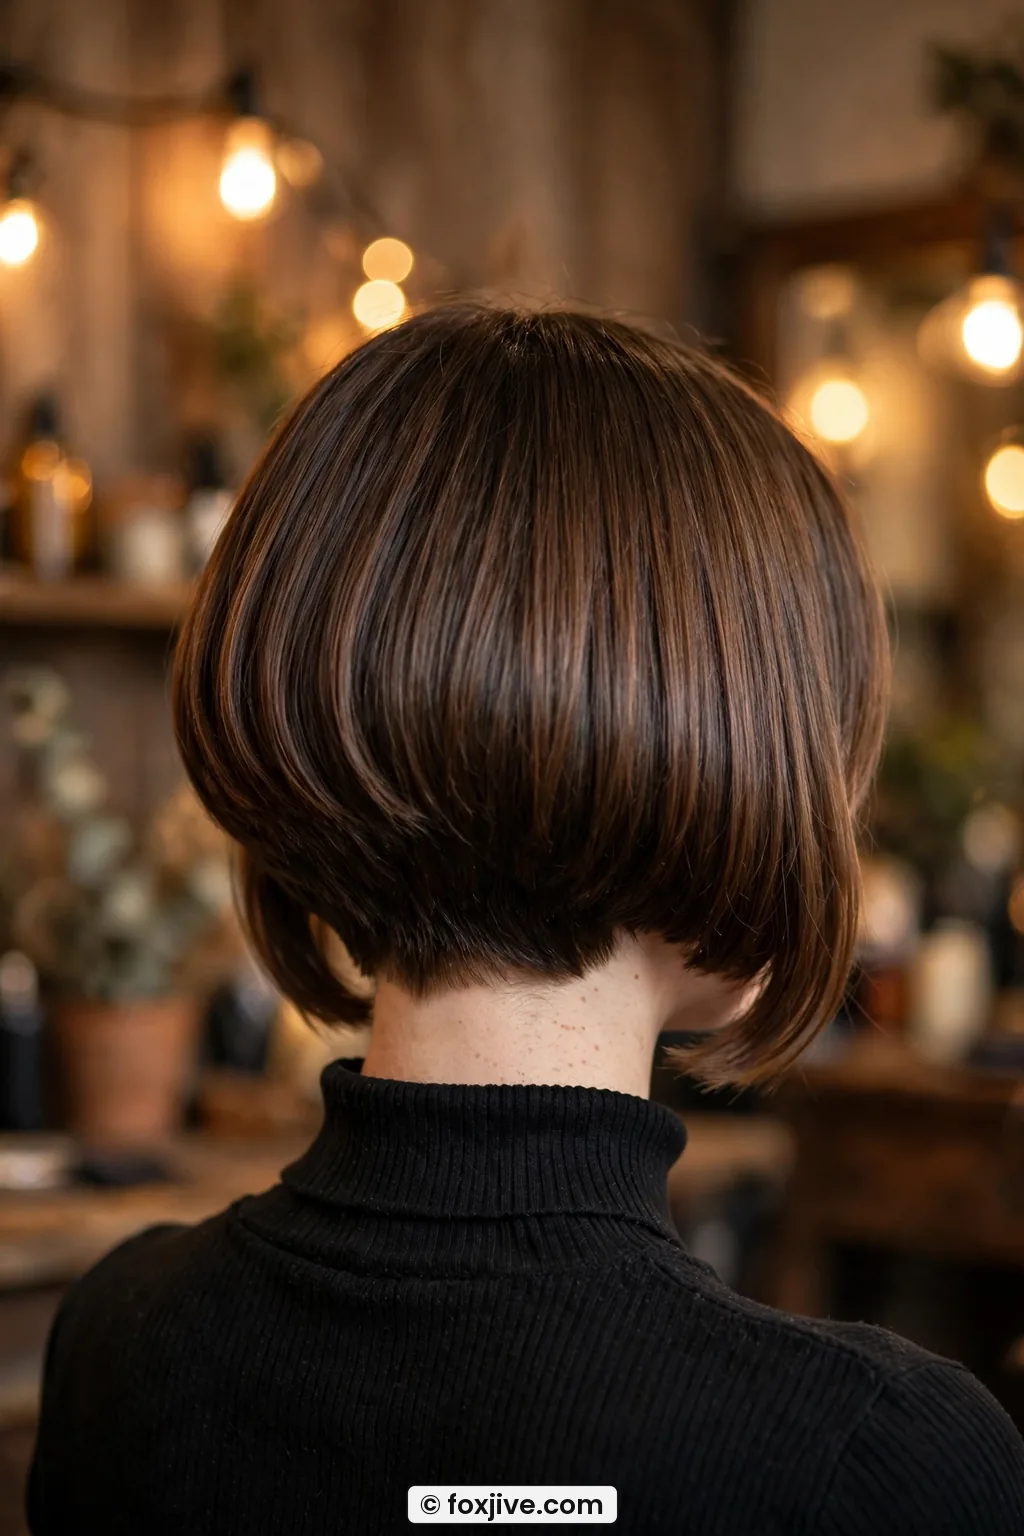
Between cuts, keep the nape clean with a tiny trim or even careful thinning shears just at the underlayer. And be careful with color. A single-process gloss looks more French than chunky highlights at this length. Short hair shows every stripe. I learned all about glossing treatments for bobs after a highlighting appointment made my bob look choppy instead of chic, and a clear gloss fixed it in one wash.
Once you have the right cut, this whole set lasts me two to three days. I sleep in a loose silk scarf, shake it out in the morning, re-tuck the outline with the flat iron for 60 seconds, and go. Day two is actually my favorite. A little softer, a little more French.
French Bob Questions That Always Land in My DMs
Can I do this french bob haircut set if my hair is very fine?
Yes, and fine hair actually sets faster. Use less mousse, more setting lotion, and make sections even smaller. My fine-haired friend uses 18 pin curls instead of rollers and gets better hold than I do.
How do I keep the sides from flicking out?
Flicking means the outline was not tucked while warm. Re-wet just the last 3 centimetres, wrap them under around your finger, clip flat for 15 minutes. Then seal with cool air. Works almost every time.
Will this work on naturally curly hair?
Absolutely, but blow-dry smooth first with tension. You want to stretch the curl pattern before you re-set it into big soft bends. Otherwise you get competing textures and the French line disappears.
How often should I wash a French bob set in 2026?
I wash every second or third day and refresh with dry shampoo only at the crown. Over-washing makes short ends fluffy. A light scalp rinse between full washes keeps the shape longer.
My bob now has that soft under-curve I chased for months, full at the cheeks, neat at the nape, with a little swing when I turn my head. It takes me 15 minutes at night to put in and five in the morning to shake out. And for the first time, short hair feels easy, not limiting. If yours is sitting at that awkward just-long-enough stage, try this set this week. You might love short even more than long.