






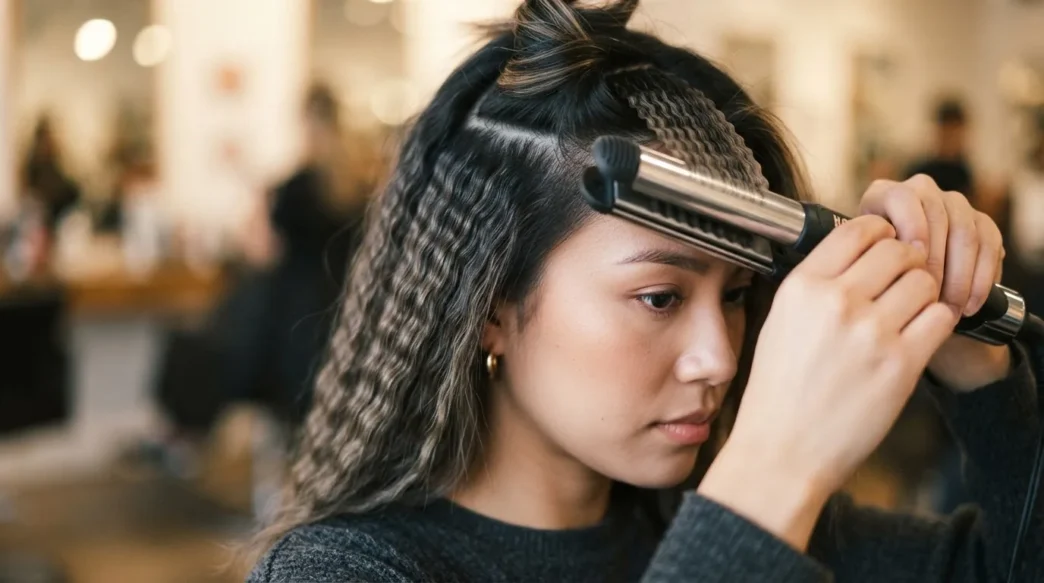
I gave up on my crimping iron twice before I figured out why it kept giving me flat, sad waves instead of that full, textured, unmistakably nineties body. Both times I assumed the iron was cheap. Both times I was wrong. The problem wasn’t the iron — it was me holding it completely backwards. Once I understood the orientation and the lift that goes with it, everything changed. This is the tutorial I wish someone had written for me, and it covers the one thing every other guide skips entirely.
What You’ll Need
Nothing on this list is precious. You don’t need a salon-grade anything — but a few specific items genuinely matter here.
- A crimping iron with plates at least 1 inch wide (narrow plates drag and snag more)
- Heat protectant spray — non-negotiable, crimp plates get hot fast
- A tail comb for sectioning
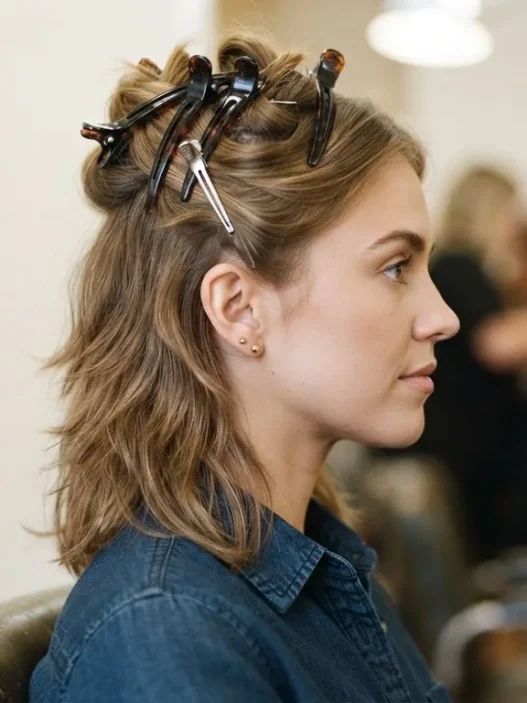
- Sectioning clips — the bigger the better, butterfly clips are perfect and very on-brand for this era; I keep a stash from my 1990s hairstyles kit permanently on my dressing table
- A light-hold hairspray to set each section before you release it
- A wide-tooth comb if you want to soften the crimp afterward (optional, but gives a looser finish)
That’s genuinely it. Skip the serum for now — oils and crimp plates fight each other and you end up with slippery sections that won’t hold the texture. Apply any glossing product after, not before.
Step 1: Which Way Up
This is the step that breaks people. And I mean that literally — I have watched friends hold their crimping iron upside down for years without ever knowing it, wondering why their results looked like a sad accordion instead of full nineties texture.
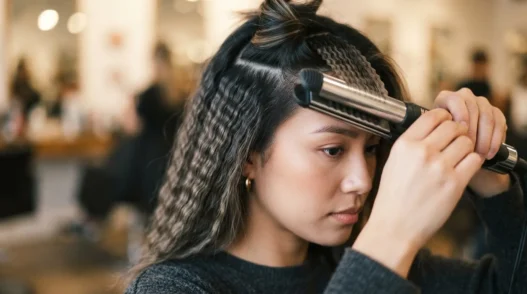
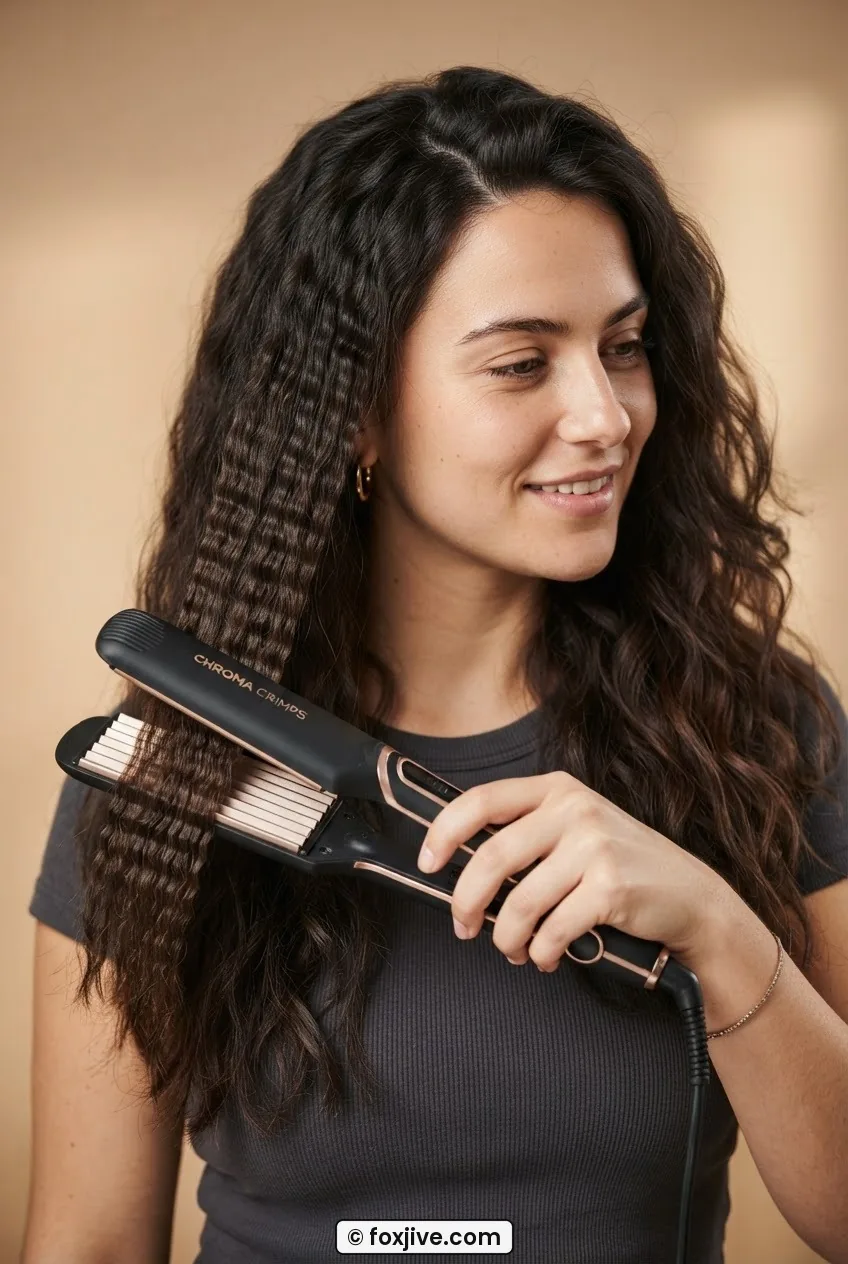
Here is the orientation rule: the hinge of the iron should be pointing away from your scalp as you work upward through the hair. Most people instinctively angle the hinge toward their head — it feels more controlled that way, more like using a flat iron. But that position forces the plates to press the hair down onto itself, compressing the wave instead of letting it expand. The result is dense, tight crimps with no lift. It looks heavy, not voluminous.
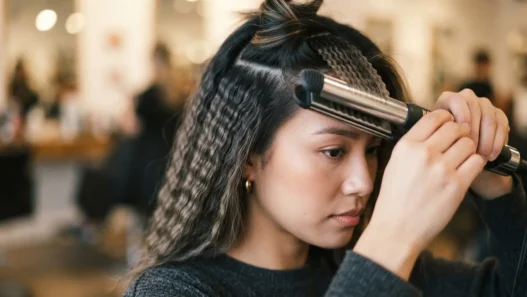
Flip the iron so the hinge faces outward — away from your head — and you’ll immediately feel the difference in how the section sits in the plates. The hair stays slightly elevated, and the crimp forms in a way that points upward rather than lying flat. That tiny positional shift is responsible for probably seventy percent of the volume difference between a good nineties crimp and a flat one. Check out how the plates angle changes everything in practice — it’s one of those things that seems almost too simple until you try it.
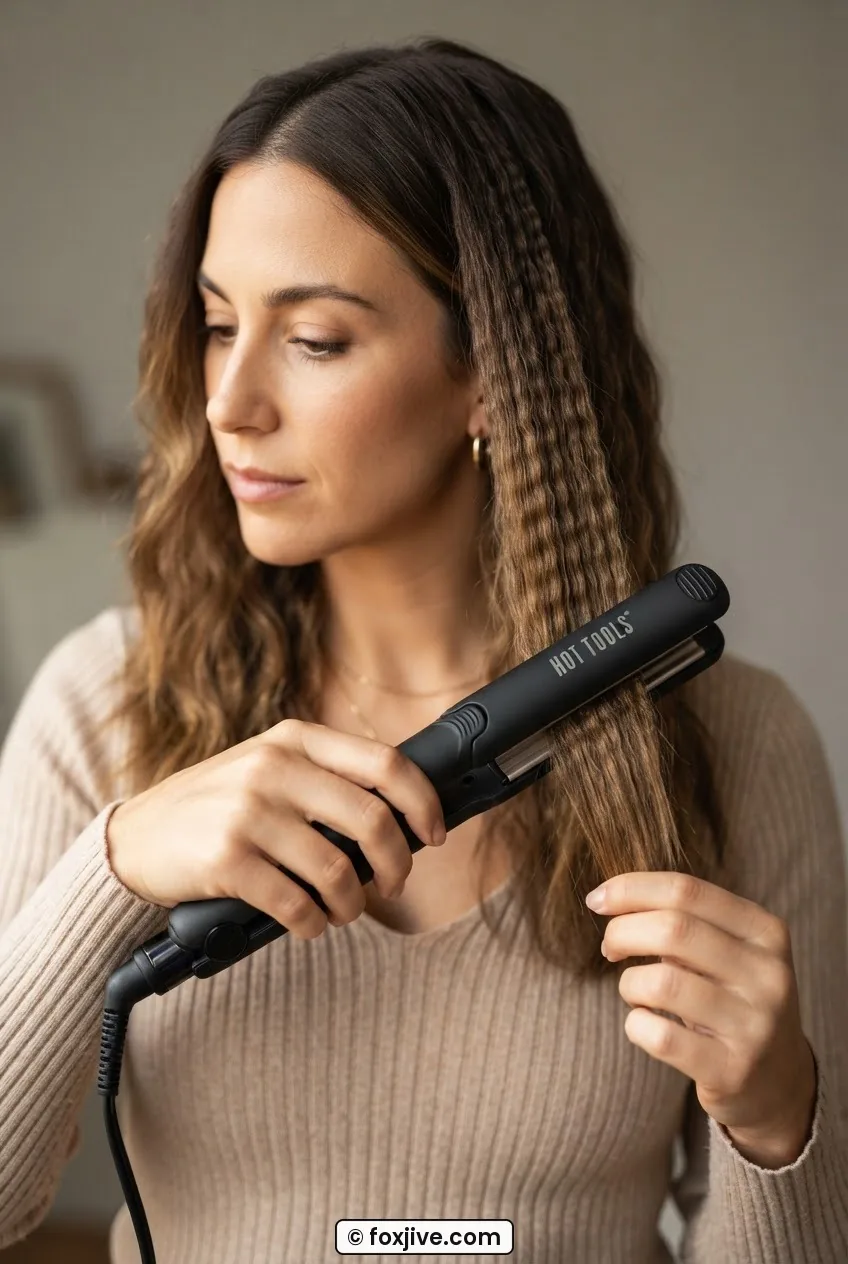
The mistake I made for two full years: I was orienting the iron perfectly on the sections near my face but flipping back to the wrong position the moment I moved to the back sections — because I couldn’t see what I was doing and defaulted to feel. If your back sections are always flatter than your front ones, check your hand position every single time you move around your head. Set a little reminder if you have to.
Step 2: The Backward Lift
Now that the iron is the right way around, the lift is what builds the actual fullness. And this part is counterintuitive too.
Before you close the iron on any section, lift the hair up and slightly backward — away from the direction it naturally falls. So if you’re working on the right side of your head and the hair naturally falls forward and down, you’ll hold that section up and angled slightly toward the back of your head. Maybe a 45-degree angle above horizontal. Then close the iron on it.
What this does is crimp the hair in a direction that fights gravity slightly. When you release the section and it falls back into its natural position, the wave is already working against the pull — so instead of drooping, it sits out from the head with a subtle bounce. It’s the same principle behind backcombing, just executed with heat and texture instead of a brush.
Don’t over-lift. Pulling the section straight up over your head introduces tension that stretches the wave out before the plates even close. You want gentle upward resistance, not a hard 90-degree yank. Think of it as coaxing the hair rather than forcing it.
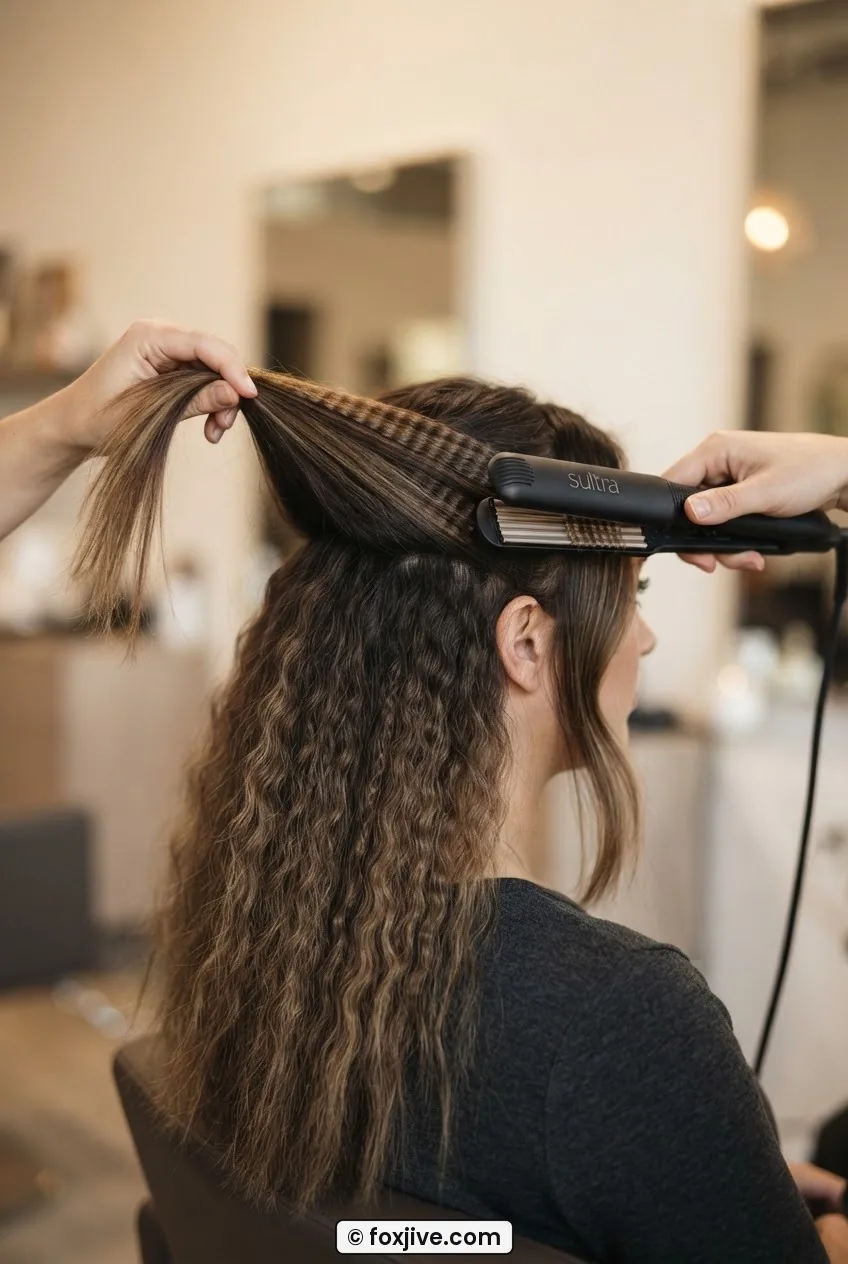
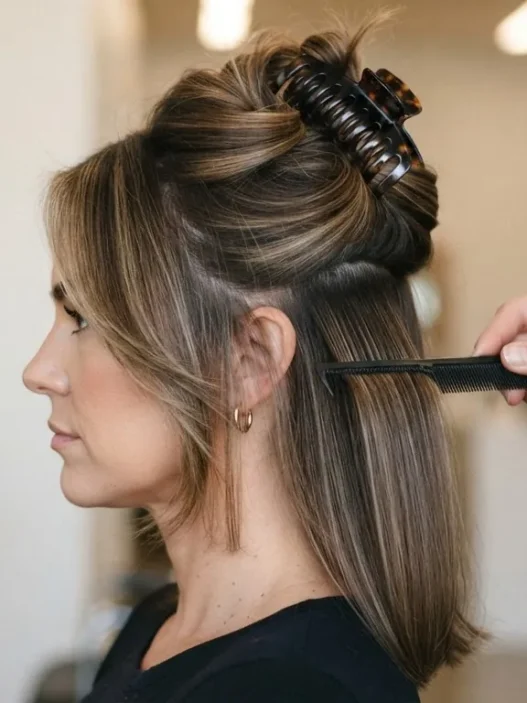
Work in horizontal sections from the nape of your neck upward. This is non-negotiable — if you work top-down, the upper layers collapse onto the lower ones before they’ve set. Starting at the nape and clipping the upper hair out of the way means each finished section has room to cool in its lifted position. Give each section a quick mist of light-hold spray before you move to the next one. The spray isn’t for stiffness — it’s just enough to help the wave remember where it was told to sit. There’s a reason so many of the classic 90s hairstyles that are back without the irony in 2026 look this effortlessly voluminous — this lift technique was baked into the whole era’s styling culture.
Step 3: Closing It
The actual closing of the iron is where most of the snagging happens — and snagging is both painful and damaging. Getting this motion right makes the whole process faster and more comfortable.
Place the lifted section between the plates starting about an inch from the root. Never crimp right at the root — it creates a visible bend that looks harsh and shortens the hair’s movement. Start an inch down, close firmly but not crushingly, hold for three to four seconds, then release without dragging. That last part is key. Don’t drag the iron down the section like a flat iron. Open the plates, lift slightly away from the hair to disengage, then reposition lower on the section and close again. Each crimp placement should overlap the previous one by about a quarter inch so you don’t get gaps.
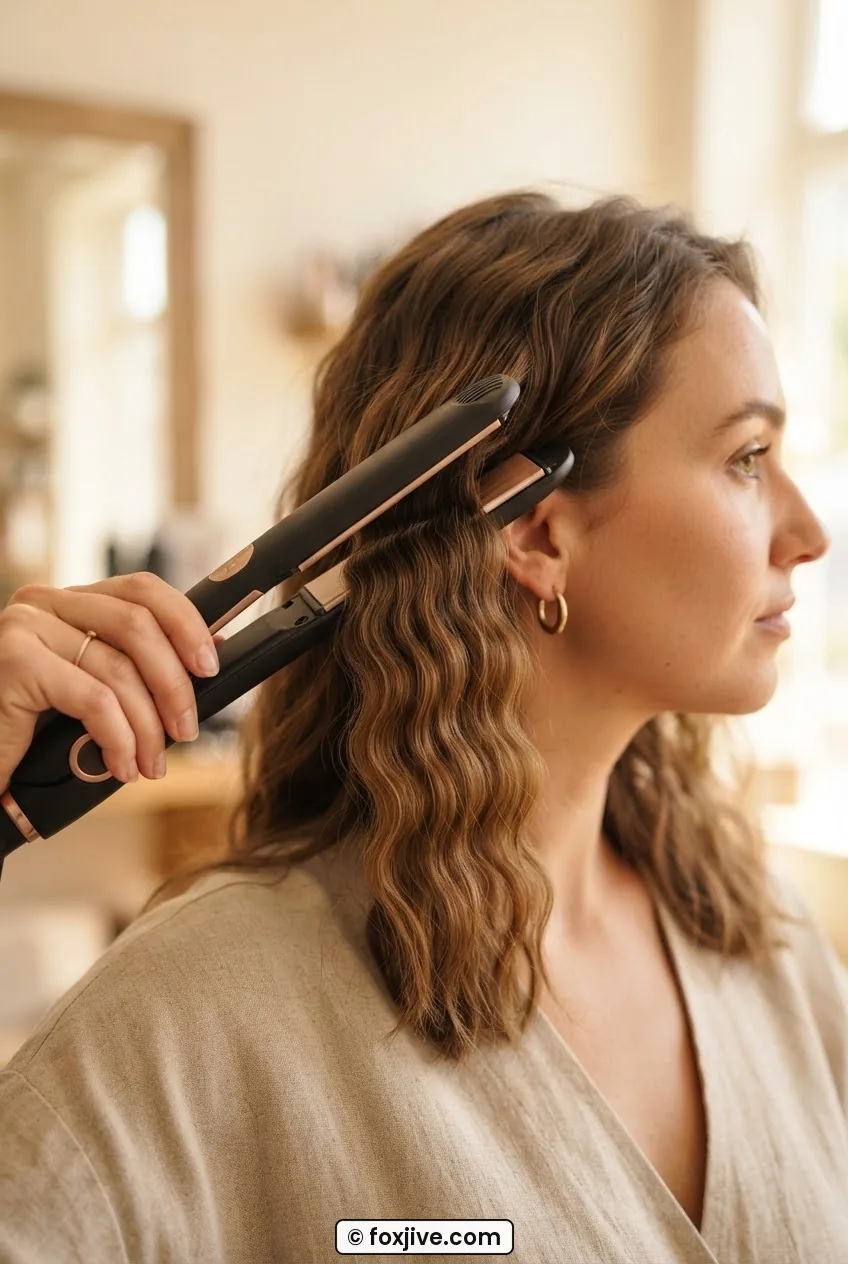
The most common snagging mistake is releasing the iron by pulling it sideways rather than opening the plates fully and lifting away cleanly. If your hair is getting caught, your plates aren’t fully open before you move. On finer hair especially, that sideways drag can pull the wave apart or cause breakage at the crimp point. Open fully, lift, reposition. Every single time.
Temperature matters here too. For fine or color-treated hair, stay between 300–350°F. For medium hair, 350–375°F works well. You don’t actually need blazing heat for crimp — the wave sets quickly because the entire plate surface makes contact at once, unlike a curling iron tip. Lower heat with a slightly longer hold time almost always gives better results than high heat with a rushed close. You can find solid guidance on protecting hair during heat styling that breaks down temperature ranges by hair type if you want to get specific.
Step 4: Working With Thick Hair
Everything above works for medium hair without modification. Thick hair needs two adjustments: plate size and section thickness. And honestly, thick hair is where crimping looks the most spectacular — so it’s worth getting this right.
First: plate size. If your iron has 1-inch plates and your hair is genuinely thick, the plates may not generate enough heat contact through the full depth of the section. Look for a crimping iron with plates at least 1.5 inches wide. The wider plate reaches deeper into the section, meaning you won’t end up with perfectly crimped surface hair and straight hair underneath. That under-layer is what makes the style collapse by midday — it has no wave to help it support the sections above.
Second: section thickness. I know it’s tempting to grab thicker sections to go faster. Resist it. On thick hair, thin sections are actually what give you volume — because each thin section gets fully textured and then adds its wave to the one beside it, and the combination is enormous. Thick sections give you surface-only crimp with a flat core. Take sections no thicker than half an inch. Yes, it takes longer. Yes, it’s worth it completely.
Also — and this is something I learned from looking at how stylists approach 90s layers and curtain bangs styles — if you have layers cut into your hair already, crimp the shorter layers separately from the longer underneath sections. Don’t try to catch them all together. The shorter pieces will crimp at a tighter angle and create natural-looking variation in the wave size, which is exactly what makes the style look intentional rather than costume-y. For anyone also exploring the broader textured landscape of that era, the Y2K hairstyles that followed used very similar volume-building techniques and are worth a look for comparison.
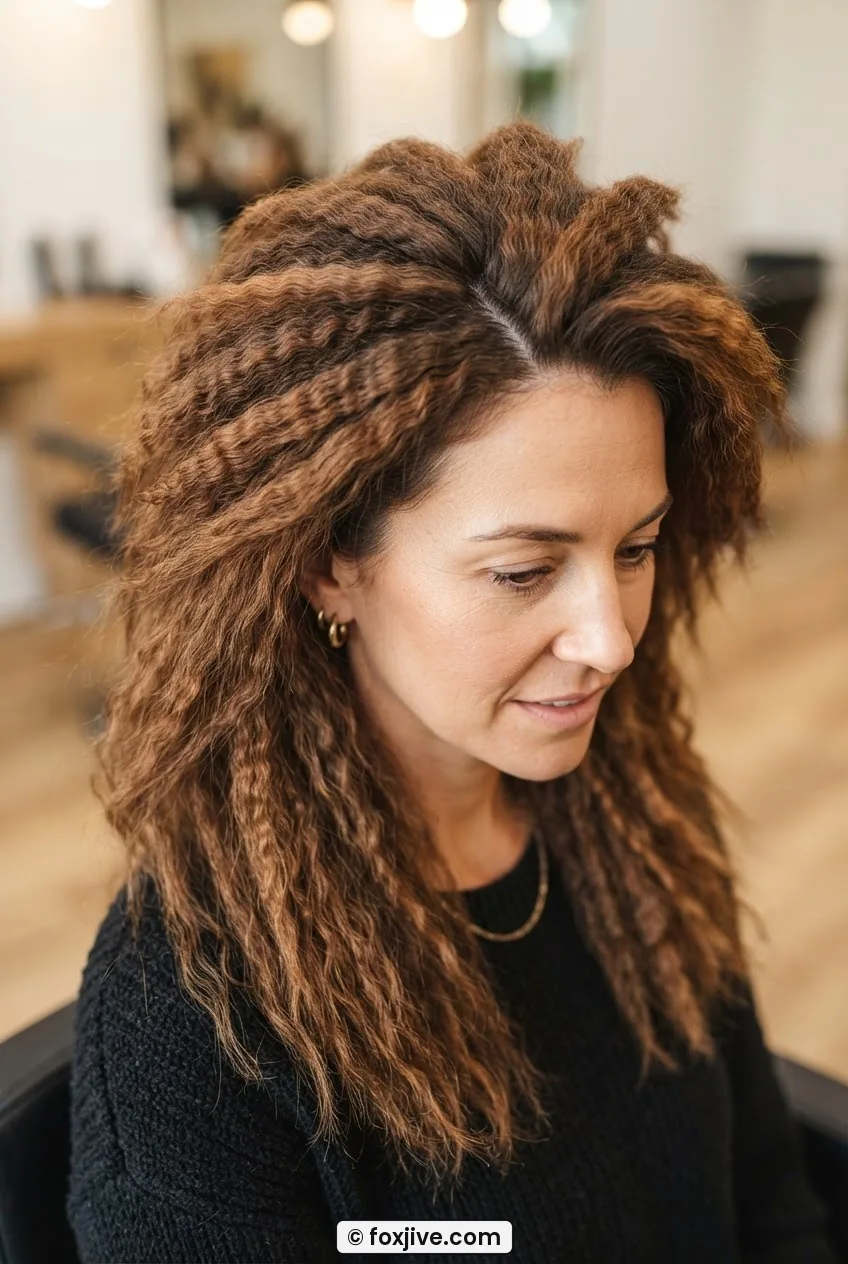
Once you’ve finished all the sections, resist touching the hair for at least five minutes. Let everything cool completely in its lifted position. This is excruciating but essential. Touching warm crimped hair collapses the wave before it’s set. After it’s fully cool, you can very gently separate the sections with your fingertips — not a brush, not a comb — and hit the whole thing with a light mist of finishing spray from about 12 inches away. You want a whisper of hold, not a helmet.
Questions I Get About This
Can I crimp hair that’s already been blow-dried straight?
Yes, and it’s actually my preferred starting point. Blow-dried hair has a smoother surface for the plates to grip evenly, and the pre-existing tension from the blow-dry helps the crimp hold longer. Just make sure it’s completely cool before you start — applying a crimper to hair that’s still warm from a blow-dryer doubles the heat stress and softens the eventual wave.
How long does a crimp actually last?
With the backward lift technique and light spray, I typically get one full day plus a passable second day if I sleep with it in a loose braid. Humidity is the real enemy — in high-humidity weather, a stronger-hold spray at the roots helps significantly. Fine hair will always drop faster than medium or thick hair, but the orientation trick still extends longevity noticeably compared to a flat crimp application.
Does the wave size change with different plate patterns?
Absolutely. The zigzag depth of the plates determines whether you get a tight, fine crimp or a looser, chunkier wave. Deeper-ridged plates give you the tighter nineties texture you’d associate with the early part of the decade; shallower plates produce something closer to a beach wave with more definition. Both are beautiful — it just depends on the look you’re after. You can explore the full range of what that era produced in the broader 1990s hairstyles archive, which covers everything from grunge-texture to glossy supermodel volume. For context on what came just before and influenced the look, the crimping techniques of the 1980s are fascinating — the nineties softened a lot of the decade prior’s drama but kept the volume infrastructure almost entirely intact, similar to how 1980s hairstyles laid the groundwork for so much of what followed.
Is it safe to crimp highlighted or bleached hair?
It can be, with the right precautions. Chemically processed hair is more porous and transfers heat faster, which means it’s more vulnerable to damage at high temperatures. Drop your iron to the 300–325°F range, use a thorough heat protectant specifically designed for color-treated hair, and keep your hold time to two seconds rather than four. You’ll still get a good wave — just be patient with the process. Always do a strand test on a hidden section first if your hair has been heavily lightened.
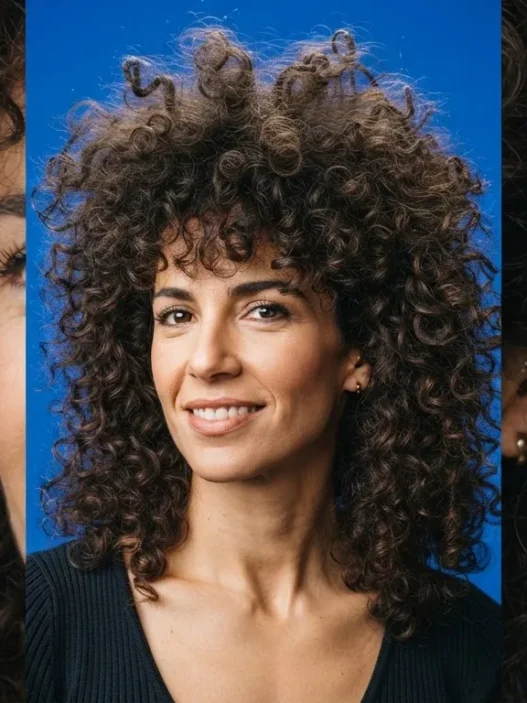
My first run-through with the correct orientation gave me more volume in twenty minutes than I’d managed to fake with backcombing and dry shampoo for the better part of a year. The girl in the photo at the top of this post — look at how full and lifted her sections are even midway through the process, before the entire head is done. That’s what you’re going for: each section already bouncing away from the head before the next one is even started. Once you’ve felt the difference that backward lift creates, you won’t go back to the old way. The nineties knew what they were doing with texture. We’re just finally doing it correctly.