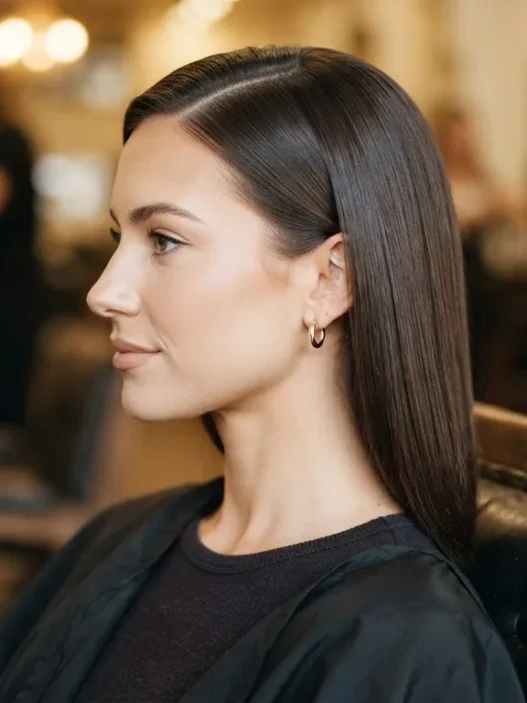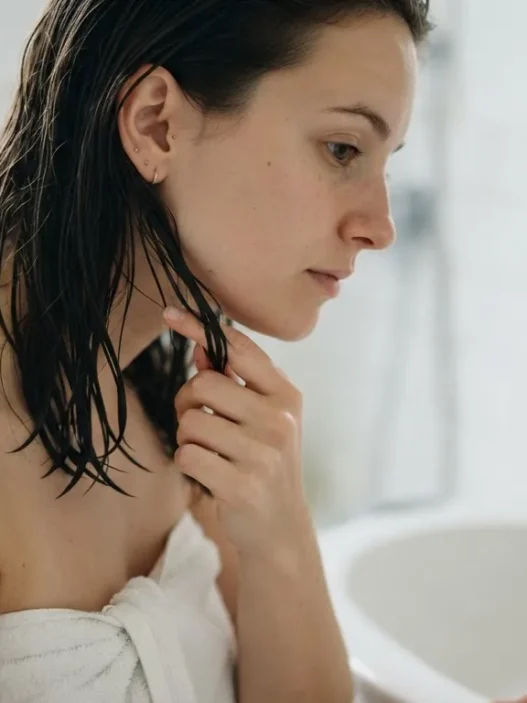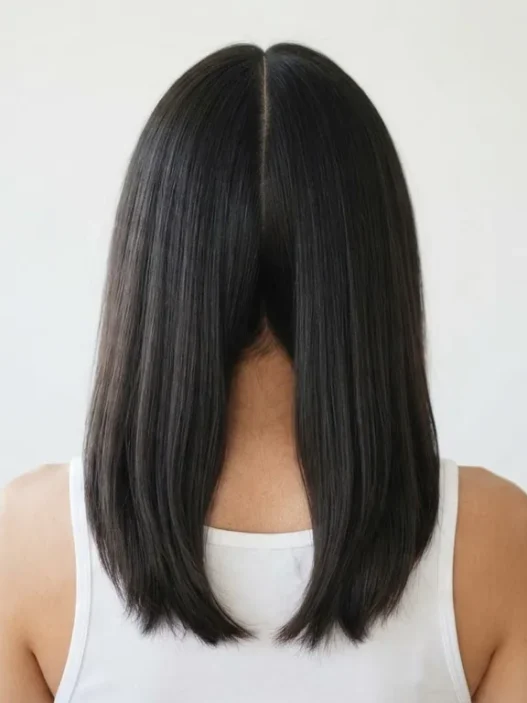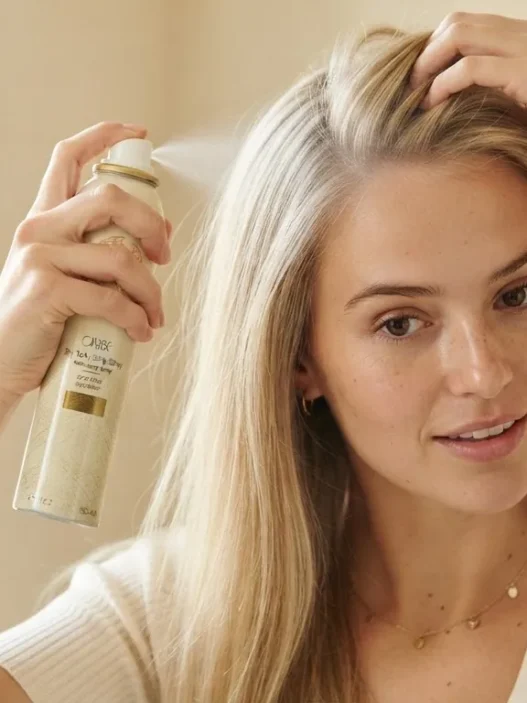







I became slightly obsessed with 70s hair the day I found my mother’s old yearbook from 1976. Every single woman in it had wings. Not the same wings — some were delicate cheekbone whispers, others were full-on structural events — but all of them shared this quality of intention. The layers weren’t random. They landed somewhere specific on the face, and that landing point was the whole point. I’ve spent the better part of a year trying to decode what made those cuts so flattering, and here’s what I keep coming back to: feathering is about the face, not the length. You can have long hair or short hair and completely miss it. Or you can have a totally ordinary cut and nail it just by understanding where those layers should actually fall.
Your Guide to Every Feathered Landing Point
1. The Cheekbone Feather
This is the most surgical of all the seventies looks — layers cut specifically to skim the top of the cheekbone and sweep back from there. The cut itself asks for face-framing pieces that start at the eye line, then taper with a razor or point-cut edge so they disperse rather than land in a blunt shelf. The brushwork is a round brush rolled outward and slightly upward at the ends, aimed at that exact cheekbone zone. You’re not dragging the hair down — you’re sending it sideways across the face’s widest point.
This one actually air-dries reasonably well on wavy hair — the natural texture keeps the feathered ends from going limp. On straight hair you’ll want at least a diffuser pass.
2. The Full Face-Framing Sweep
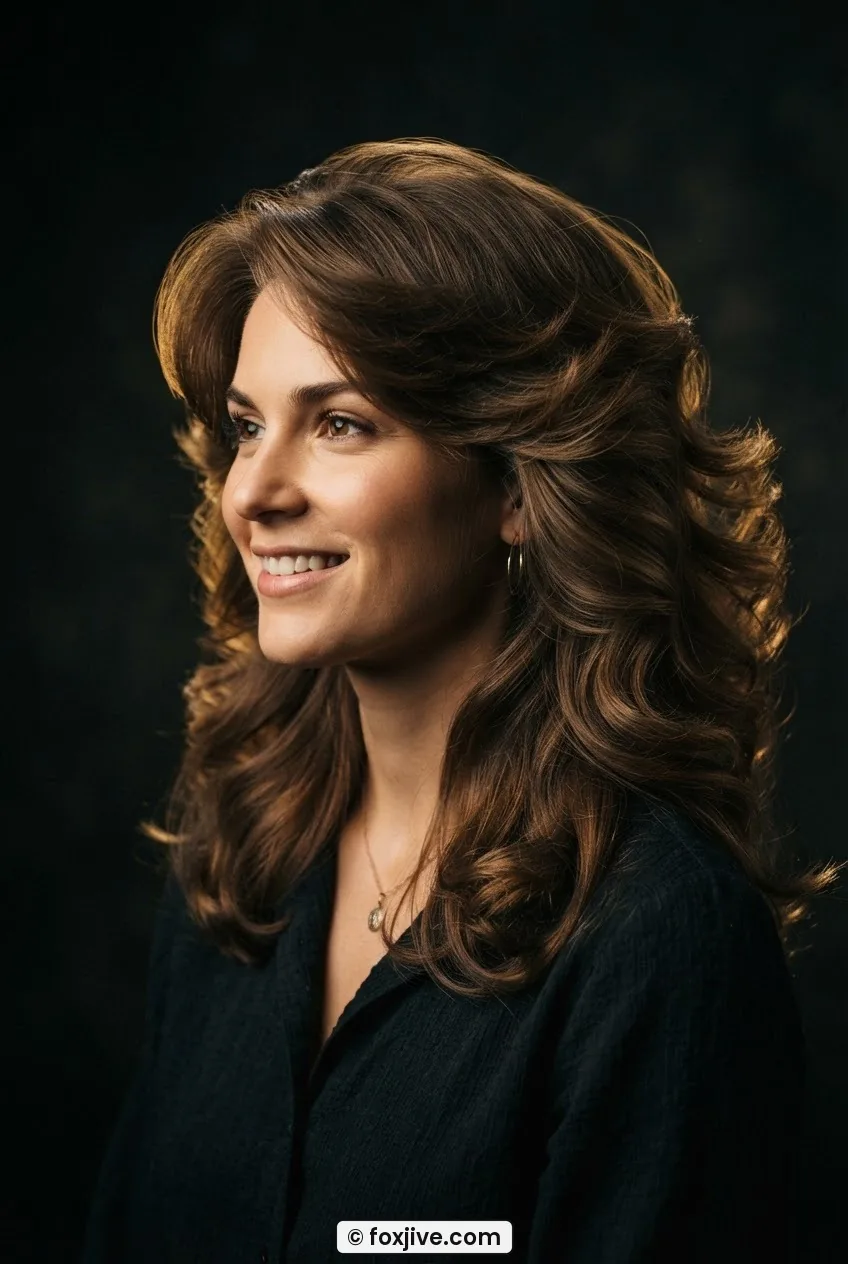
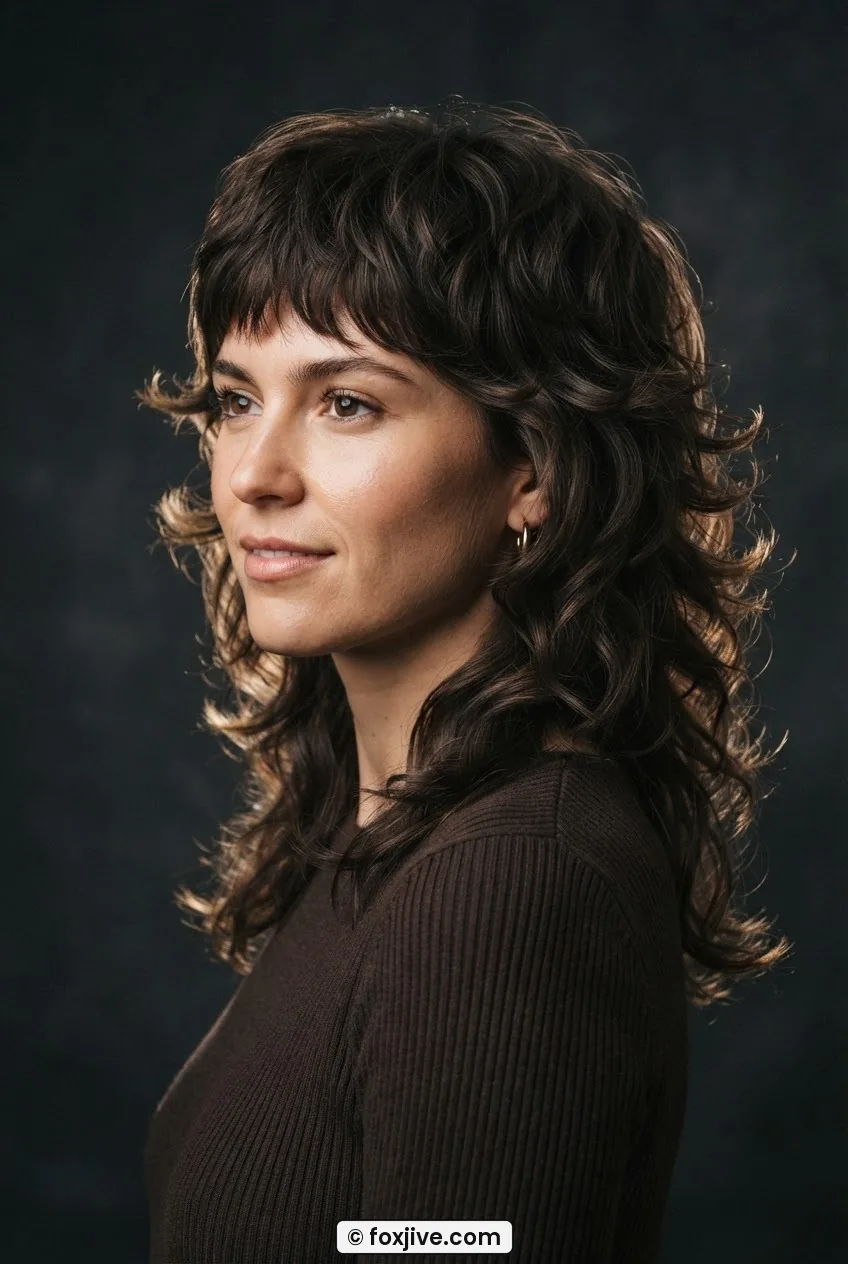
Look at how she’s wearing hers in the photo — that generous wing starting at the temple and sweeping all the way past the cheek is exactly what I mean. This is the Farrah version, the one everyone pictures when they hear “70s hair,” and it deserves its reputation. The cut requires long face-framing layers that are heavily graduated, with the shortest face-framing piece sitting somewhere between the eye and the top of the ear. Your stylist needs to point-cut and then back-brush those layers slightly before cutting so the final shape is feathered, not choppy.
The brushwork is non-negotiable here: a large round brush, heat from a blow-dryer, rolling outward with tension. Without the round brush, this looks like someone just grew out a bad haircut. With it, it looks like 1976 in the best possible way. Does NOT survive air-drying on most hair types — this is a styled look and it knows it.
3. The Jaw-Level Curtain
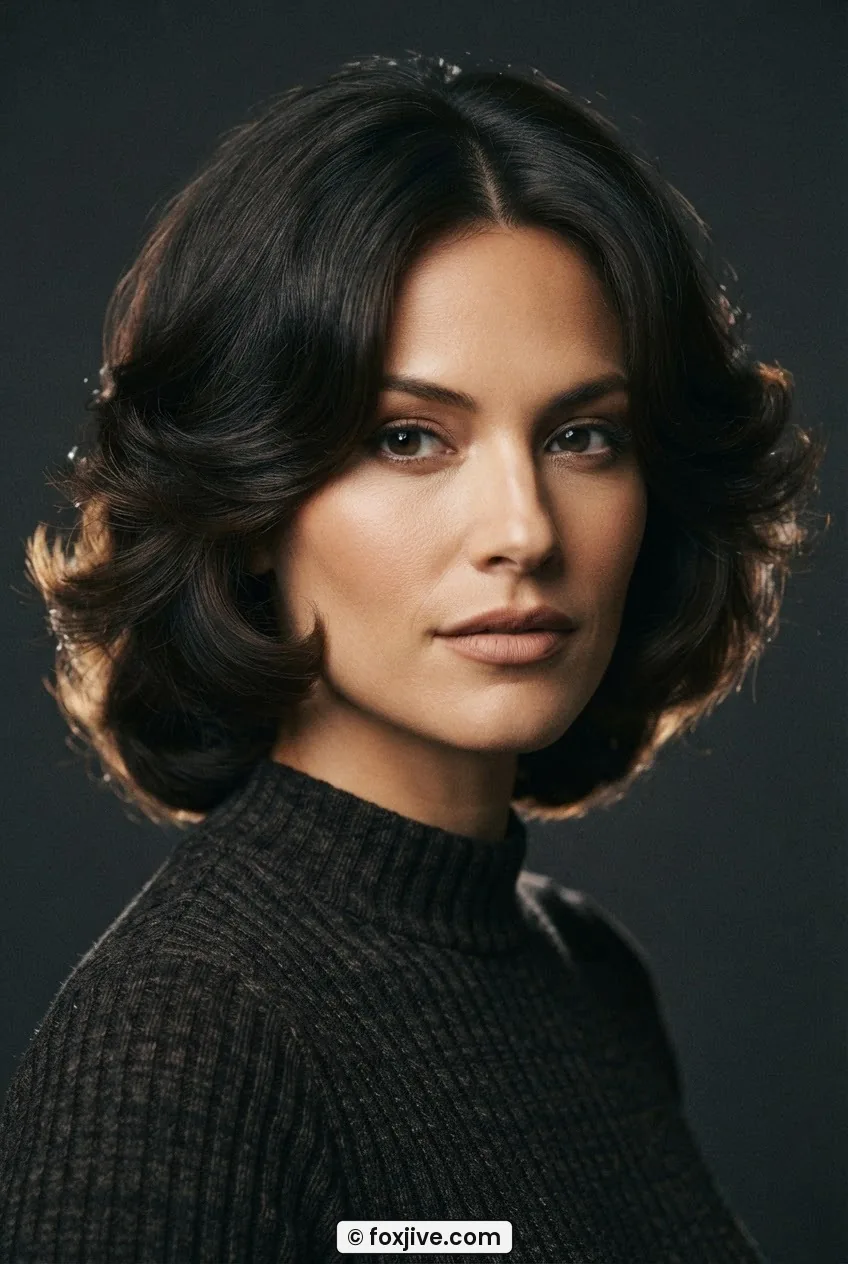
My personal favorite category of 70s feathering, and the one I think translates best to modern life. The layers land right at jaw level — not below the chin, not at the cheek, exactly at the jaw hinge — and they part in the center like curtains opening. The cut uses a deep center part as its anchor, with layers cut to frame the jaw from both sides simultaneously. It’s symmetrical but not stiff.
What I love about this length is how it interacts with different face shapes. On a round face it creates the illusion of length by drawing the eye down to the jawline. On a longer face it adds softness. And unlike some of the other entries on this list, it genuinely works on naturally wavy or curly hair — feathering on curly hair is actually achievable here because the jaw-level landing point gives the curl something defined to work toward. Air-drying verdict: yes, if your hair has any wave to it at all.
4. The Temple Lift
This one is sneaky because it looks subtle but does a lot of structural work. The feathering doesn’t sweep down the face — it lifts up and away from the temples, creating volume at the crown’s outer edge rather than framing the cheeks. Think less “wings” and more “lift.” The cut takes the shortest face-framing layers and places them right at the temple, angled upward. The blow-dry technique here involves lifting those temple pieces with a round brush and directing the airflow up, almost against the natural fall of the hair.
This is particularly brilliant for fine hair because the volume is built into the structure of the cut itself, not just the styling. Air-drying? No. This one needs heat to hold its shape, but five minutes with a round brush at the temples is genuinely all it takes once you get the hang of the angle.
5. The Collarbone Wing
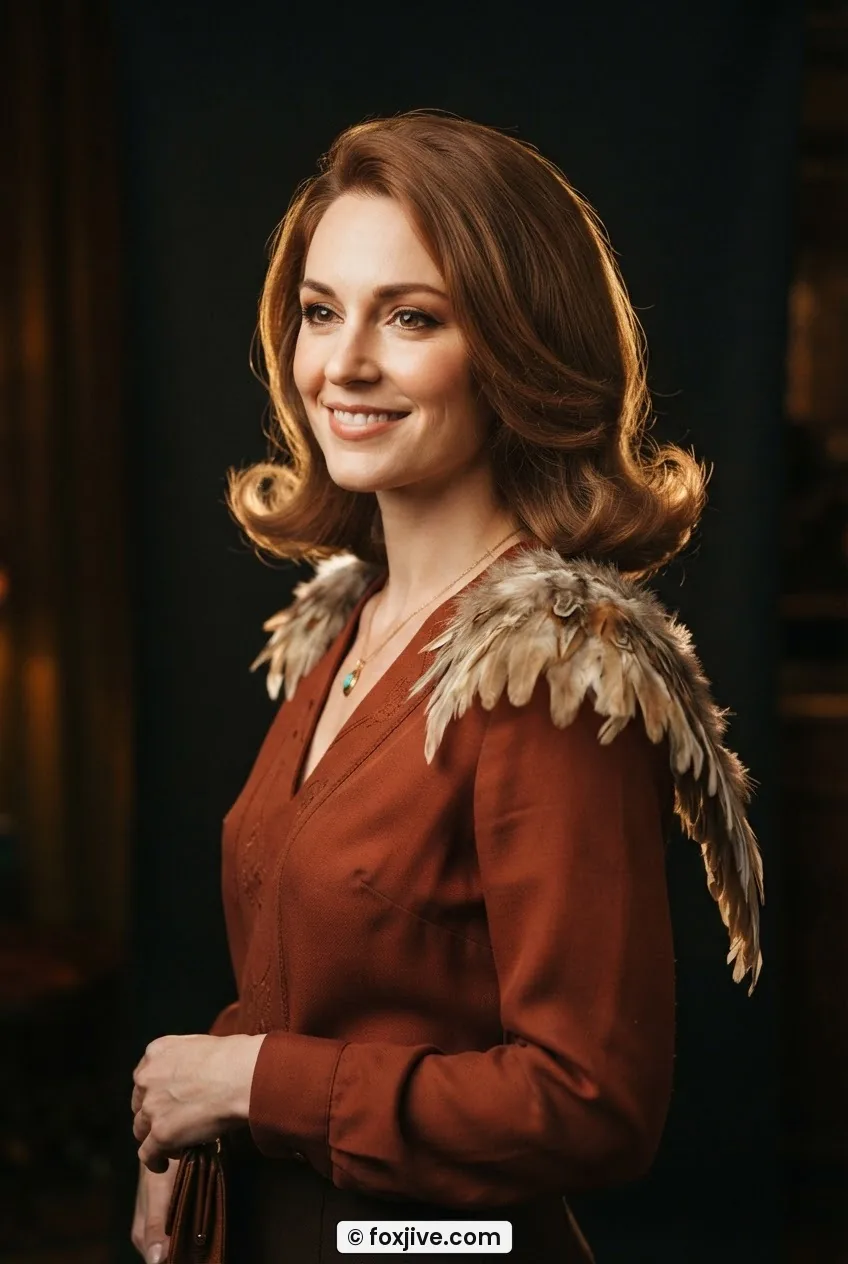
This is the longer, more relaxed sibling of the full sweep. The layers still feather, but they travel all the way down to collarbone length before they spread. It’s seventies without being maximalist — more early-decade Joni Mitchell than late-decade disco. The cut works with longer base lengths and uses long, gradual graduation so the feathered ends are soft rather than dramatic. The face-framing pieces start around the chin and blend seamlessly into longer layers behind them.
This is my personal pick for everyday 70s hair. It photographs beautifully, it transitions from day to night without any re-styling, and on wavy hair it air-dries into something that looks deliberately styled. The collarbone wing is the one I’d get if I were starting fresh tomorrow.
Air-drying verdict: genuinely great on wavy hair. Straight hair will want a few minutes with a large round brush just at the ends to get that outward flip, but the rest can dry naturally.
6. The Center-Part Cascade
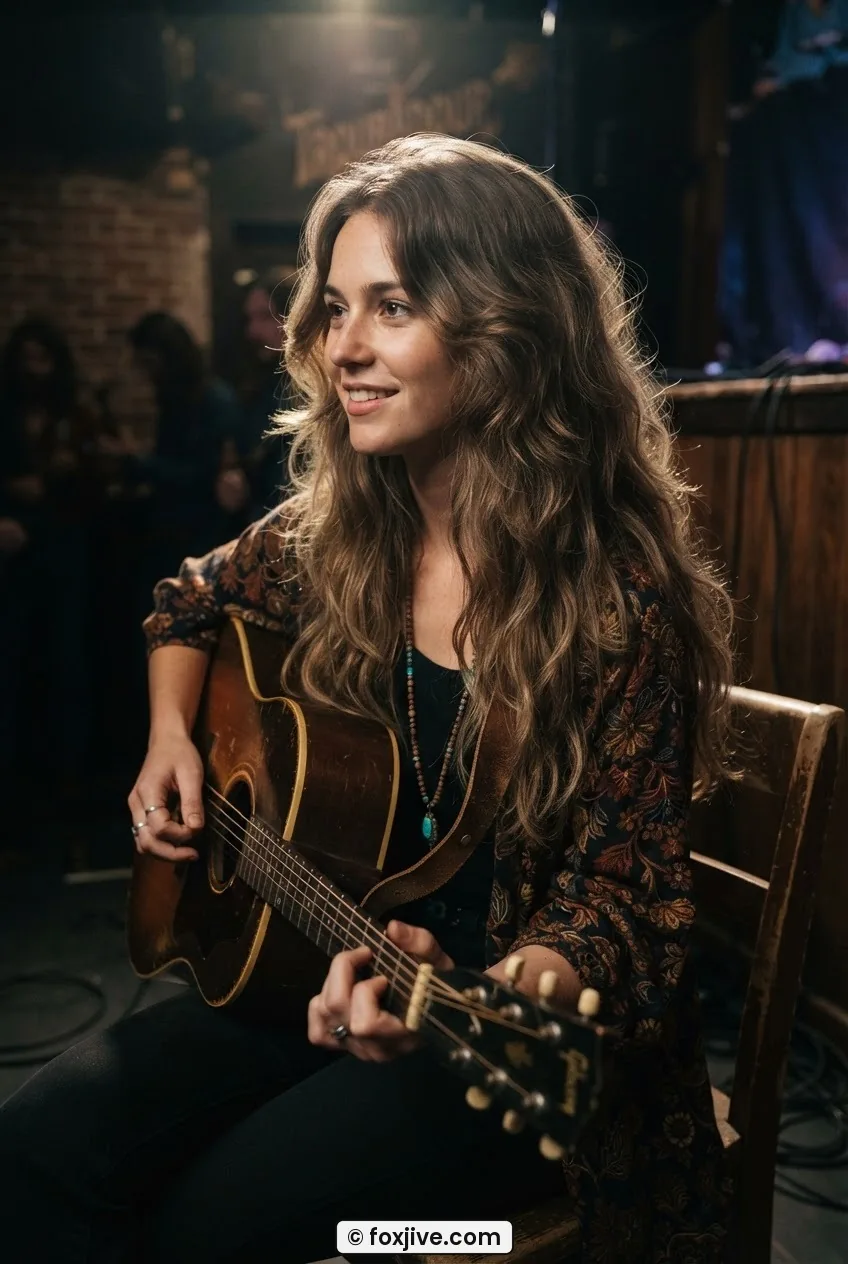
Where the jaw-level curtain is structured, the center-part cascade is pure hippie ease. Long layers fall from a deep center part and the feathering happens throughout the length rather than just at the face frame. The whole surface of the hair has that slightly airy, dispersed quality — like every strand knows exactly where to go without being told twice. This is the look that defined the earlier half of the decade, the folk-singer, festival-adjacent version of seventies hair before it got disco-fied.
The cut requires long layers throughout and a point-cut finish at the ends to prevent bluntness. No heavy graduation — the weight stays distributed. And this is genuinely the air-dry champion of the entire list. On any hair that has natural texture, you can wash, scrunch with a little oil or mousse, and let it go. It looks intentional by the time it’s dry.
7. The Brow-Grazing Fringe Feather
Fringe that sits right at brow level and is point-cut or razor-cut into a soft, feathered edge rather than a blunt line. This is where the landing point is the most precise of any style on this list — we’re talking about a specific millimeter range — and also the most transformative. A brow-level fringe that’s feathered rather than blunt reads completely differently to the face. It softens. It frames the eyes from above. It turns even a simple, underdone hairstyle into something that looks considered.
The brushwork here is all about the fringe itself: a small round brush or even just your fingers, warm air directed downward, blending the fringe into the face-framing layers on either side. The rest of the hair can do almost anything. Air-drying: the fringe needs a quick pass with a dryer or it will separate and look patchy. Everything behind it can air-dry.
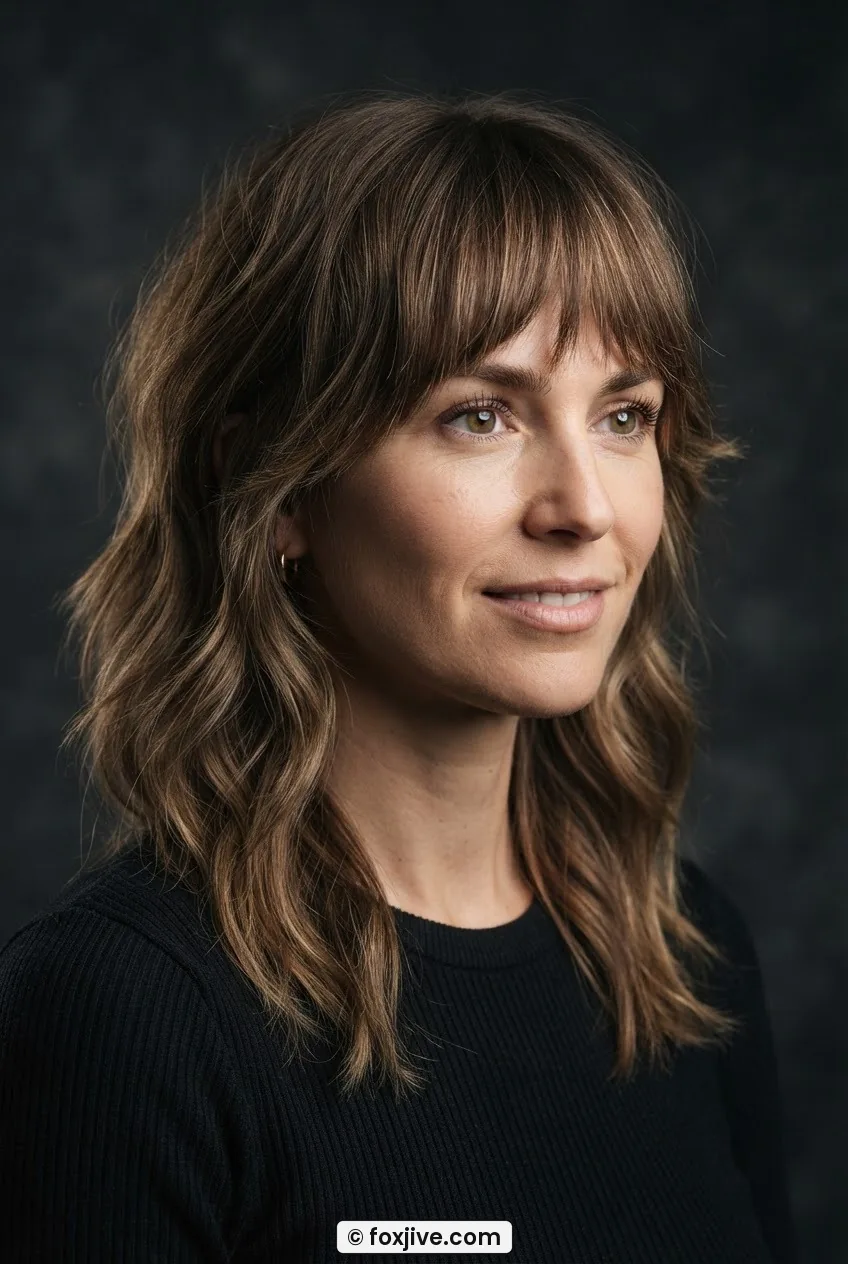
8. The Ear-Skimming Flip
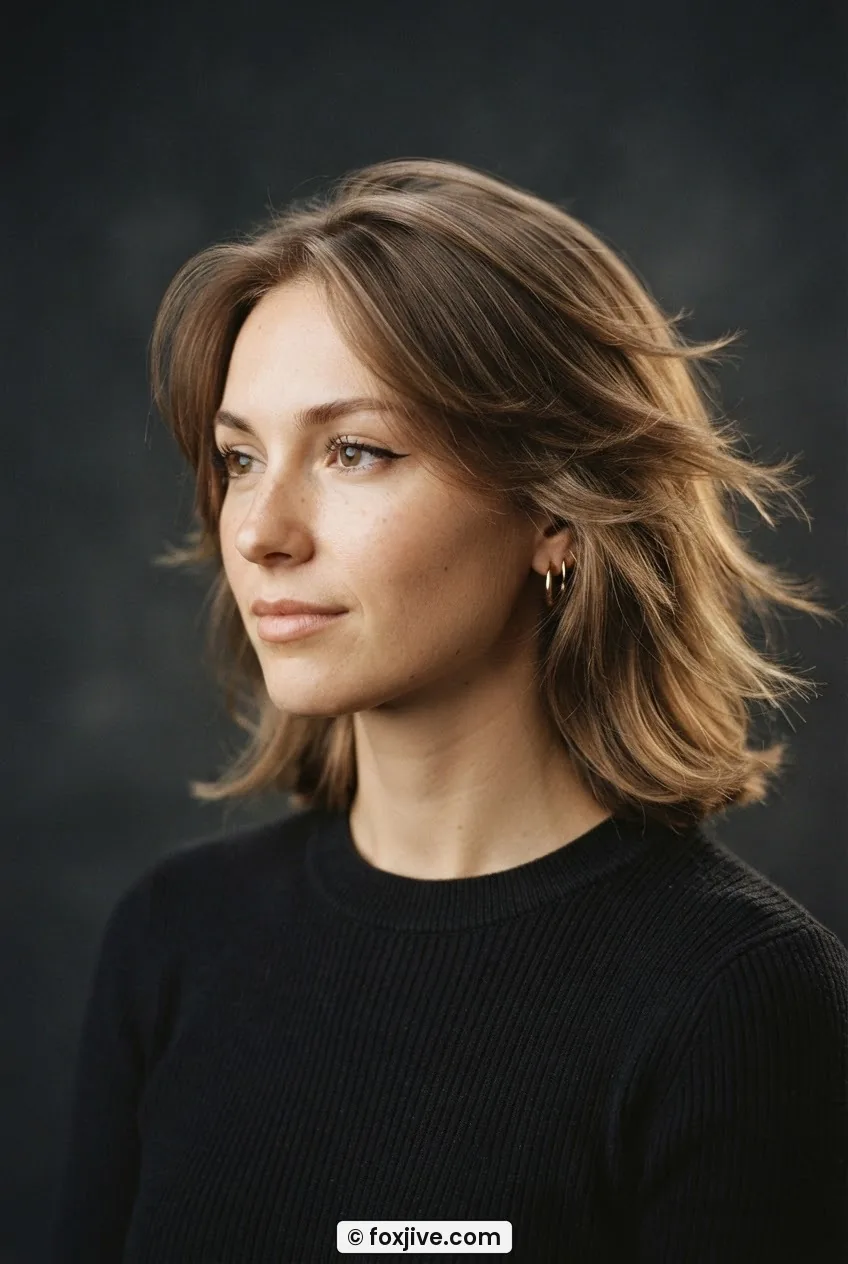
This is the short-hair entry and it earns its place. The layers land right at ear level and flip outward — not a full Farrah wing, more of a confident little flick that catches the light at the jaw. She’s got that exact quality in the photo: the flip is small but the rim light makes it visible from across a room. The cut is essentially a short layered style where the face-framing pieces are cut to just skim the ear and then directed outward with a small round brush or even a styling wand set to low heat.
What makes this distinctly seventies rather than just a short haircut is the direction of the layer — it must flip out, not under. Under is sixties. Out is seventies. This does not air-dry into the flip without help. You need a round brush or a hot tool at the ends. But it takes about three minutes, and the result sticks around all day.
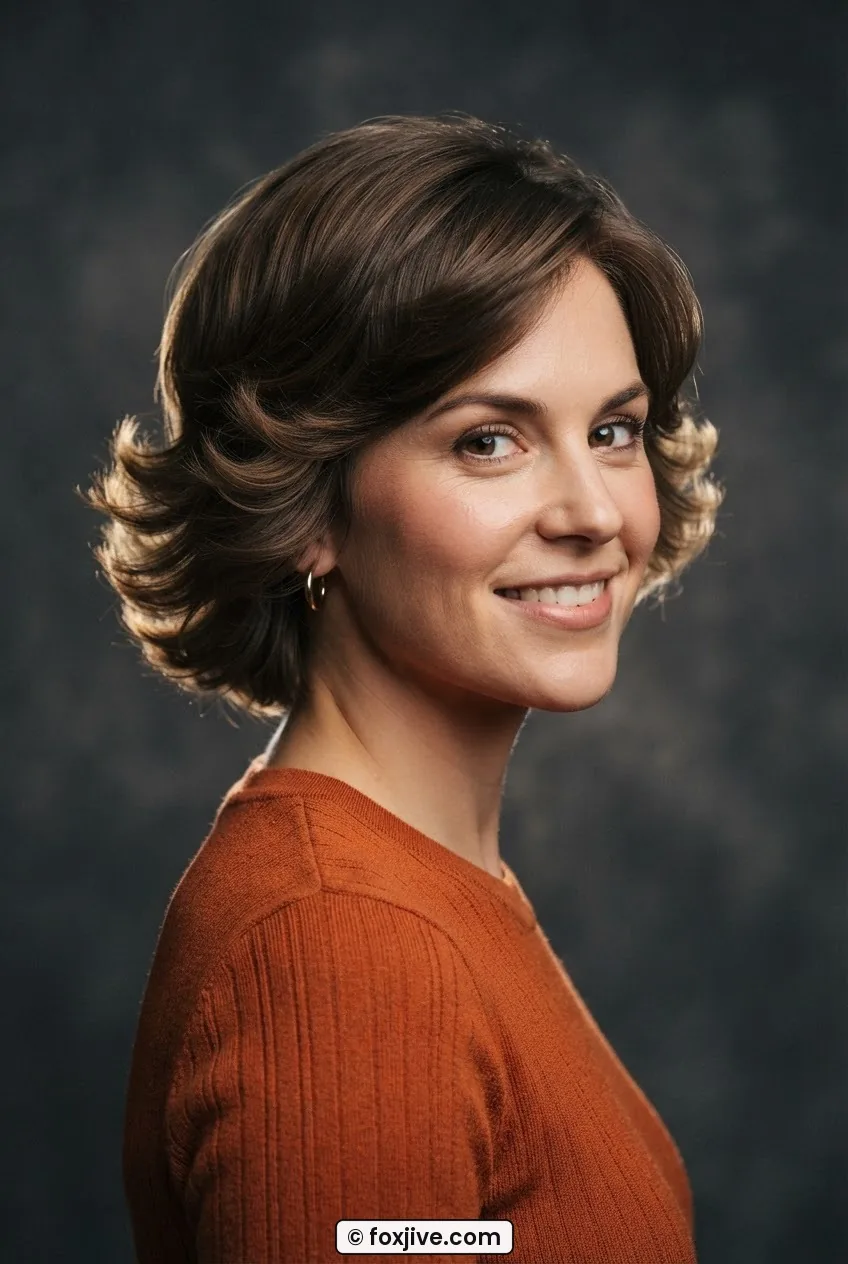
9. The Hippie Halo Part
This is where feathering travels up to the crown and creates a softness around the entire top of the head — not volume exactly, more like a halo of lighter, wispy texture sitting above the denser length. The cut achieves this with long layers that start high up (sometimes as short as chin length when pinched up to the crown) and graduate down. No one layer is dramatically short, but together they create this soft, almost ethereal outline when the hair falls naturally.
It’s genuinely one of the easier looks to maintain because it doesn’t require precision styling to look good — the structure of the cut does the work. Understanding the layered cutting technique behind this helps when you’re explaining to your stylist what you’re after. Air-drying: excellent. This look actually improves with a little natural texture and movement.
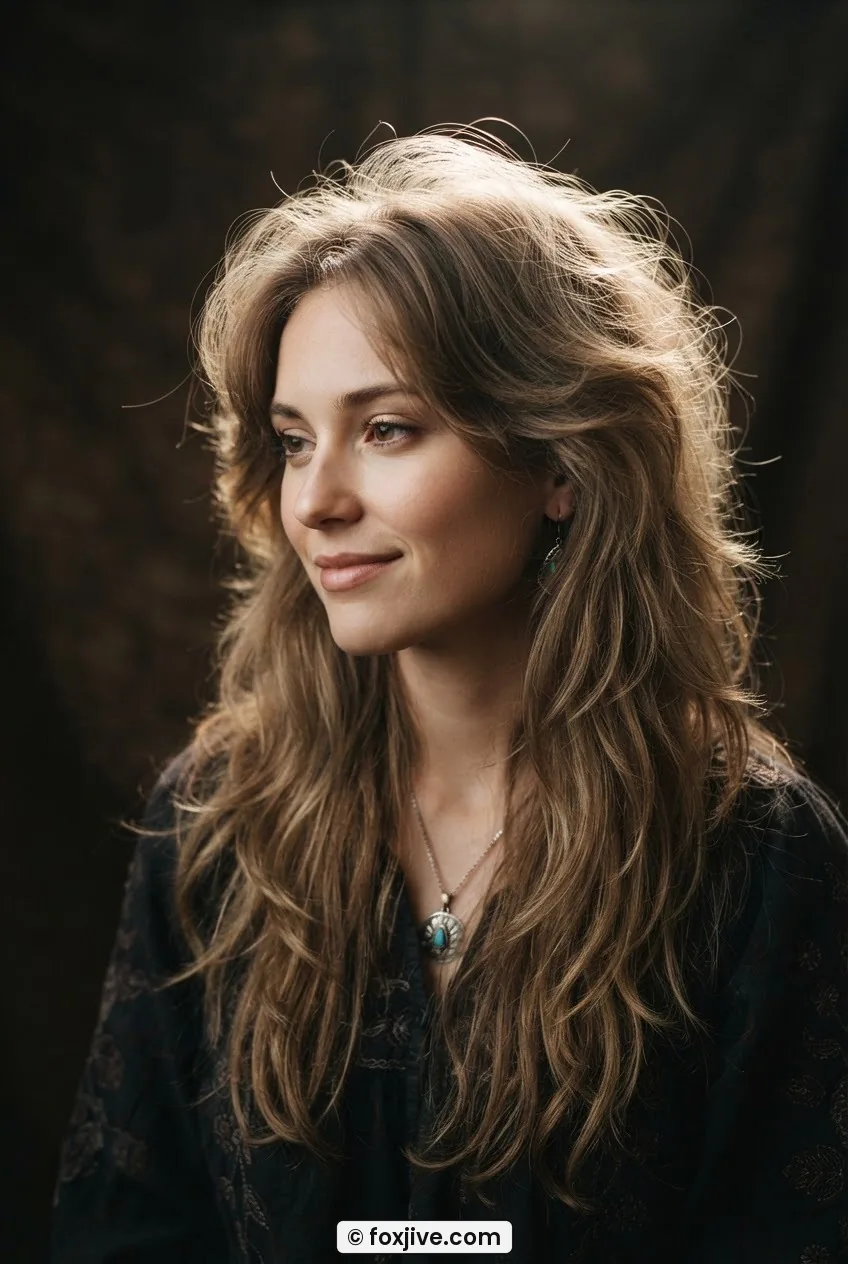
10. The Disco Crown
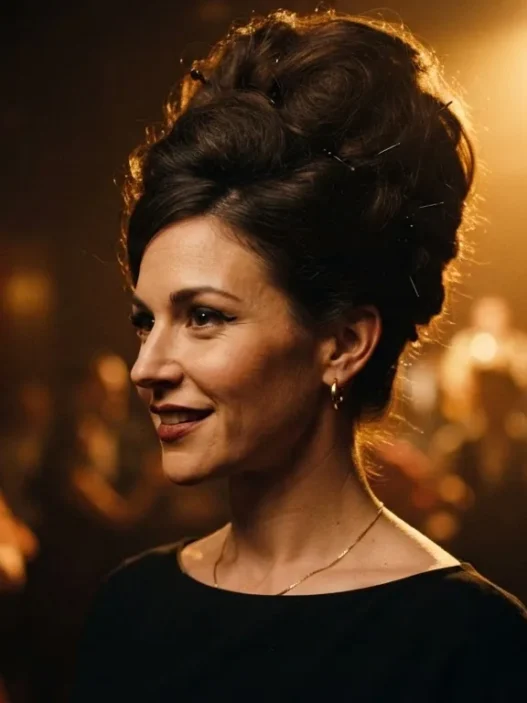
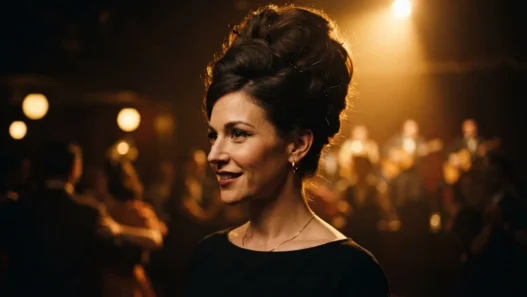
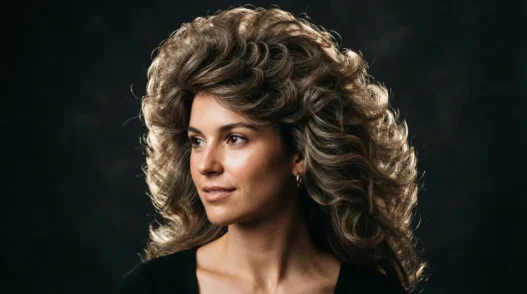
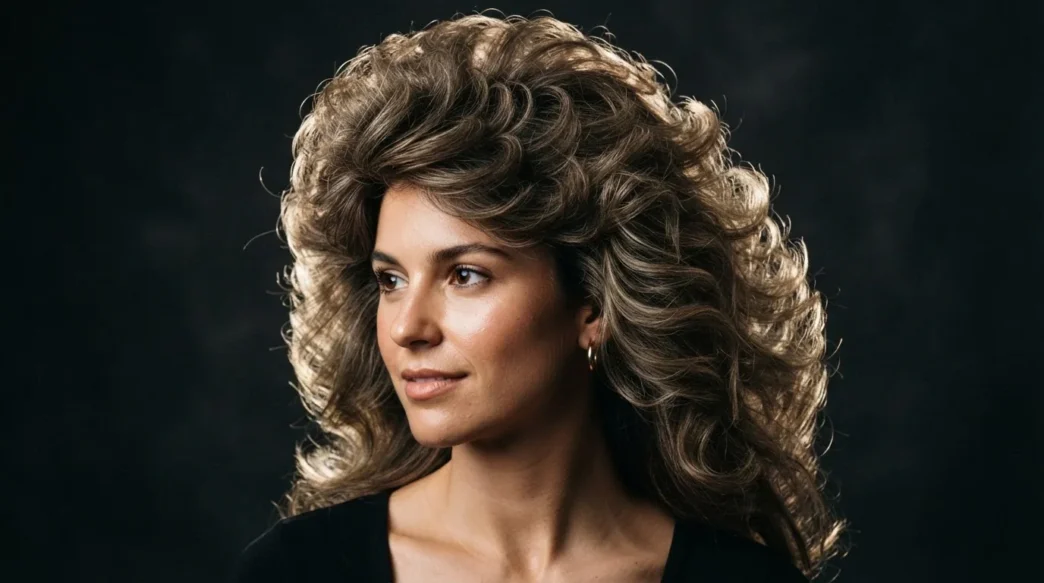
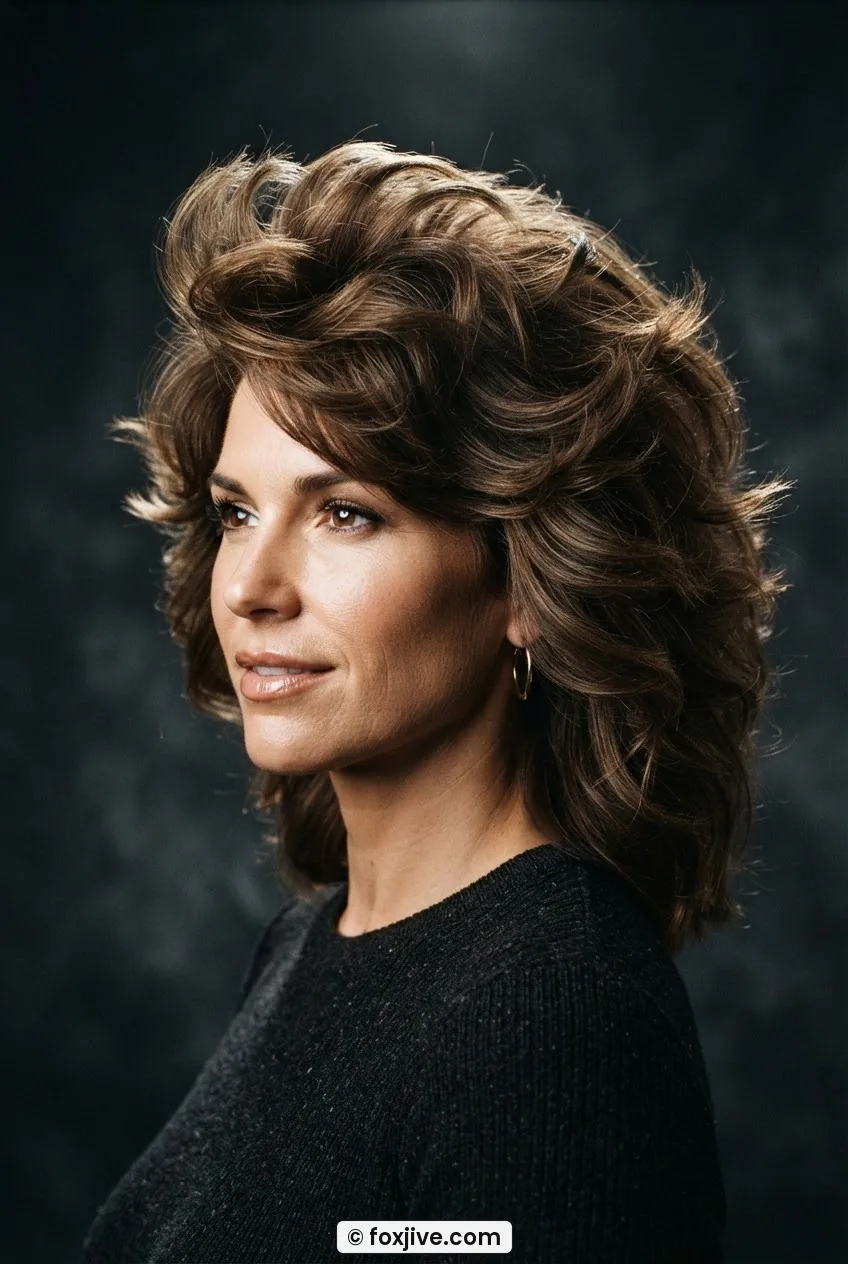
We’ve arrived at maximum seventies. This is the look from the header — enormous feathered volume at the crown that creates a silhouette you can see from across a room. The layers don’t just frame the face, they build above and around it. The cut requires significant layering throughout the top and crown sections, with shorter layers creating a foundation for volume and longer layers falling over them. The blow-dry is theatrical: a large round brush, full tension, directional heat moving from root to tip, all aimed at creating that outward arc.
If you love the drama of this era’s hair — the disco era especially — this is your look. It’s also the one that benefits most from a high-volume blow-dry technique, because the entire effect lives or dies in the styling. Air-drying is not really an option unless you have naturally very voluminous, slightly coarse hair. But when it’s done right? It’s spectacular. The rim light in her photo traces every single layer — that’s the whole point of this silhouette.
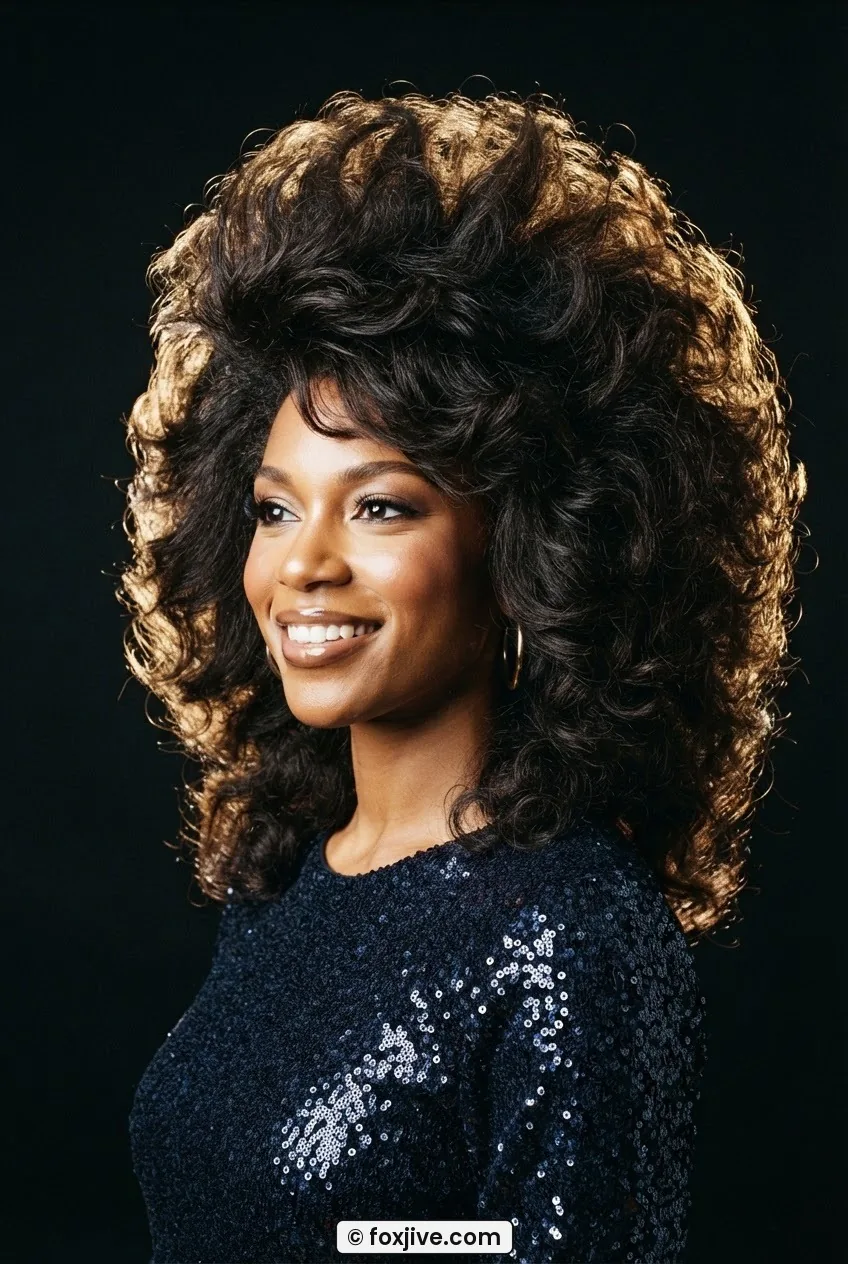
The Blow-Dry That Actually Builds This Shape
11. The Layered Shag Landing
The shag is technically its own cut, but I’m including it here because the feathering in a shag lands in a very specific place: everywhere, simultaneously, but especially at the shoulders. The layers hit the shoulder line and flare — the collarbone, the top of the shoulder, the back of the neck all get their own framing moment. This multi-landing-point quality is what gives the shag its texture and why it reads so distinctly seventies even in 2026.
The cut uses heavy graduation throughout, often with some thinning at the ends, and the styling can go two ways. A round brush gives you a more polished, Stevie Nicks-at-a-concert version. A diffuser or plain air-drying gives you a rougher, rockier texture that still looks completely intentional. This is one of only two entries on this list (alongside the center-part cascade) that I’d genuinely call wash-and-go friendly for wavy and curly hair. If you’ve been flipping between modern cuts trying to capture that effortless decade feel, the shag is worth the conversation with your stylist — and if you like exploring other eras too, I’ve written a lot about victory rolls and their own fascinating structural logic.
Which of These Actually Need Daily Heat?
I want to be honest with you because I know the “does it air-dry” question matters for real life. Of the eleven looks above, I’d say four are genuinely wash-and-go friendly on wavy or naturally textured hair: the jaw-level curtain, the center-part cascade, the hippie halo part, and the layered shag. The collarbone wing is borderline — wavy hair can get away with it, straight hair probably can’t.
Everything else on this list — the full face-framing sweep, the temple lift, the disco crown especially — requires a round brush and a blow-dryer to look like the intended style rather than an almost-there approximation. That’s not a dealbreaker, but it’s worth knowing before you commit to a cut. Five minutes of round-brush styling is a very different daily commitment than twenty. And for what it’s worth, I’ve gone through phases with almost every entry on this list, and the ones I’ve kept coming back to longest are the jaw-level curtain and the layered shag — both of which are forgiving on the mornings when I just don’t have it in me.
If you’re curious about how feathered layers compare to other decades’ signature cuts — and there are some fascinating structural parallels — I once spent an entire afternoon down a rabbit hole reading about 9 victory roll ideas ranked by how long they take, and the same kind of time-investment logic applies here. Also, if you ever want to share your own results or have questions about any of these, you’re always welcome to get in touch — I genuinely love seeing how these looks translate on different hair types.
Quick Answers
What makes a haircut actually look like 70s hair rather than just layered?
The direction of the layers matters more than the length. Seventies feathering sweeps outward and upward, away from the face — not downward and inward the way a lot of modern layers are cut. Ask your stylist specifically to direct the face-framing pieces outward and to point-cut or razor-cut the ends so they disperse rather than land in a blunt line.
Can I get feathered seventies layers if my hair is naturally curly?
Yes — some of the entries on this list (the jaw-level curtain, the center-part cascade, the layered shag) work beautifully on curly hair. The key is finding a stylist who cuts curly hair dry, so the curl pattern is visible as they work. Wet-cut feathering on curly hair often ends up shorter than intended once the curl springs back up.
Do I need a specific product to get the feathered wings to hold?
A light-hold mousse or a volumizing spray applied to damp hair before blow-drying gives you the best foundation. After styling, a light-hold hairspray keeps the feathered edges in place without making them feel stiff or crunchy. Avoid heavy creams or serums before blow-drying — they weigh the feathered ends down and you lose the lift.
Is 70s feathering still wearable in 2026 or does it look costume-y?
When the feathering is subtle — like the jaw-level curtain or the collarbone wing — it reads as modern and effortless. The looks that tip into costume territory are the more dramatic ones (looking at you, disco crown) if they’re not balanced with a contemporary outfit and minimal makeup. Context does a lot of the work.
Honestly, if you take nothing else from this: go find where you want the layers to land on your face before you book the appointment. That one decision — cheekbone, jaw, collarbone, ear — will shape the whole cut more than any specific style name you walk in with. Seventies hair got it right because it was specific about landing points, and that specificity is exactly why it still works fifty years later.