






I spent a full year doing space buns wrong before I figured out what the actual problem was. They kept sitting too high — right on the crown — and I’d look in the mirror and see a toddler looking back at me. No offense to toddlers. It took me watching four different tutorials and getting mildly frustrated on a Friday night to realize that nobody was talking about where to put them. Just how to twist. Just what elastic to use. The placement was the thing nobody addressed, and it’s the entire difference between a style that reads Y2K-cool and one that reads kindergarten-ready.
This guide is the one I wish I’d had. We’re doing one thing: placing and securing space buns in a position that actually flatters an adult face, works on fine hair, and survives the kind of evening where you forget you even have them in.
What You’ll Actually Need
Nothing exotic. This is genuinely a tool-light style, which is part of why it’s so appealing — and why people underestimate how much the execution matters.
- A rat-tail comb (the pointed end is the whole reason you need this one specifically)
- Two small spiral hair ties or regular elastics — snag-free, please
- A pack of bobby pins in your hair color, at least 8
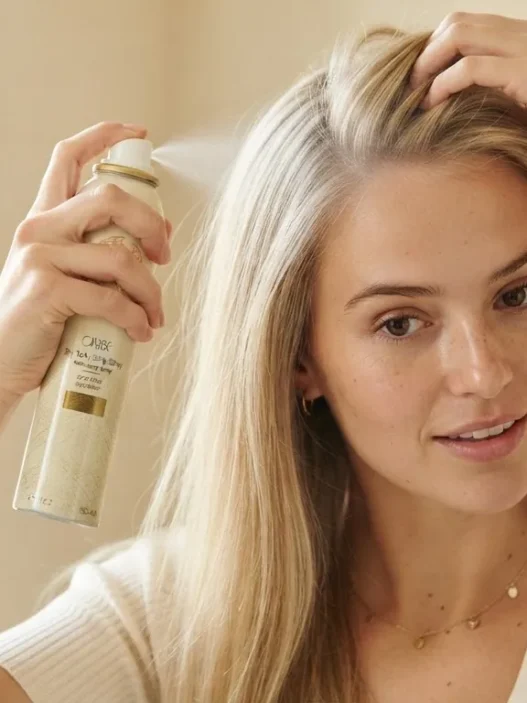
- Texturizing spray or dry shampoo (especially if your hair is fine or freshly washed)
- A mirror you can see the back of your head in — two mirrors, or a hand mirror plus a wall mirror
- Optional but genuinely useful: a small hair donut or foam ring if your hair is fine
- Light-hold hairspray for the finish
That’s it. I keep all of this in a little pouch on my vanity because I do this style probably once a week in 2026 and I got tired of hunting for bobby pins.
Step 1: The Parting
Everything starts here. A crooked center part means the two buns will sit at different heights, and no amount of pinning will fix geometry. Take your rat-tail comb and draw a line from the center of your forehead straight back to the nape of your neck. Go slowly. The tendency is to veer right if you’re right-handed — I do it every time I rush.
Here’s the check I use: once you’ve drawn the line, look straight into the mirror — not tilted, not angled — and close one eye. Does the parting look centered with your nose? It won’t be perfect, but it should be close. Then reach up and feel whether both sides feel equally heavy in your hands when you split them. Texture and volume can fool your eyes; your hands are more honest.
Clip one side out of the way before you move on. I use a large clip, not a small one, because a small clip leaves a dent you’ll have to smooth out later.
Step 2: Placement, Measured
This is the step that changes everything. And I mean that — this is the reason I wrote this guide at all.
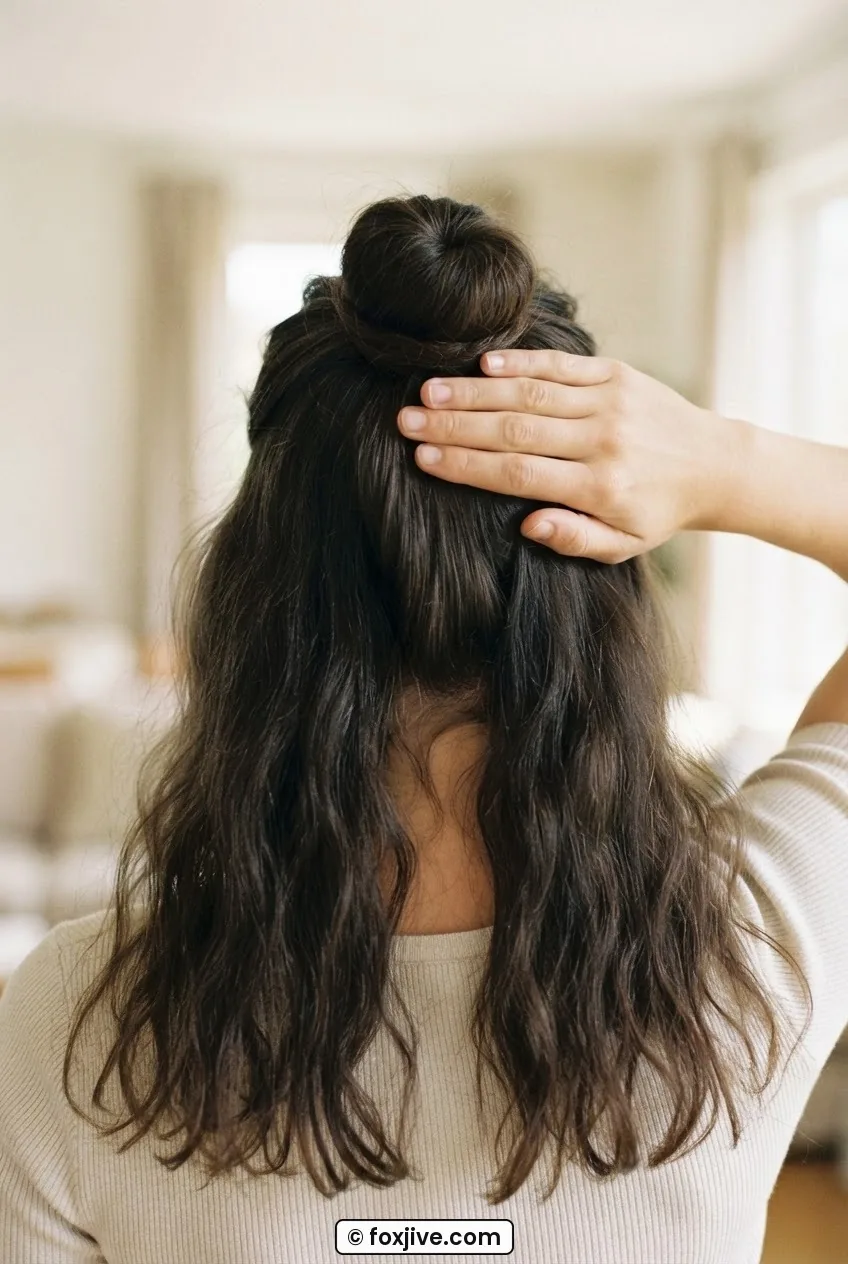
Most tutorials tell you to place space buns “high on the head,” which puts them right at the crown and creates that very young, almost costume-y effect. The placement I use — and that I think works for adult women who want the style to read as intentional rather than accidental — sits roughly two finger-widths above the top of the ear. Not at the crown, not at the temples. Think of a horizontal line that runs just above your ear openings: your buns should sit just above that line on each side.
That one adjustment brings the style down from the crown and grounds it visually. It makes the buns frame the face rather than float above it. You can also go lower — some people prefer them level with the tops of the ears for a “low space buns” vibe that reads even more relaxed — but two finger-widths above the ear is my sweet spot for versatility. It works for work, it works for a night out, it doesn’t look like you’re in a school play.
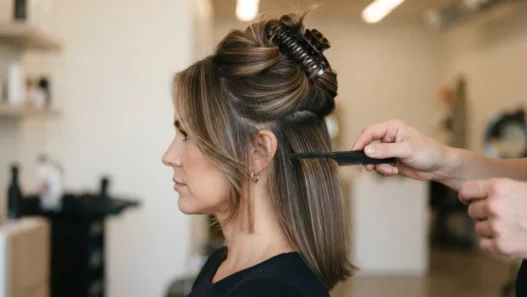
Look at how she’s wearing hers in the photo below — you can see exactly how the buns sit just above ear level, not floating high on the crown. That’s the position I’m describing, and the difference it makes to the overall silhouette is significant.
The mistake I made for months: I was measuring from the top of my head downward, which still left the buns sitting too high. Measure up from your ear, not down from your crown. Those are two completely different reference points and they produce completely different results.
Step 3: Securing Each One
With one side still clipped, take the loose half and gather it at the placement point you just found — two finger-widths above the ear. Use one hand to hold the hair exactly where you want the bun to sit. Don’t let it drift. Slide a spiral elastic or snag-free hair tie onto the gathered section and loop it twice for tension, but not so tight it pulls uncomfortably. You want a ponytail base that sits firm and doesn’t shift.
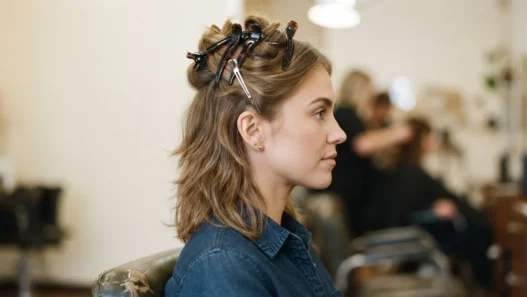
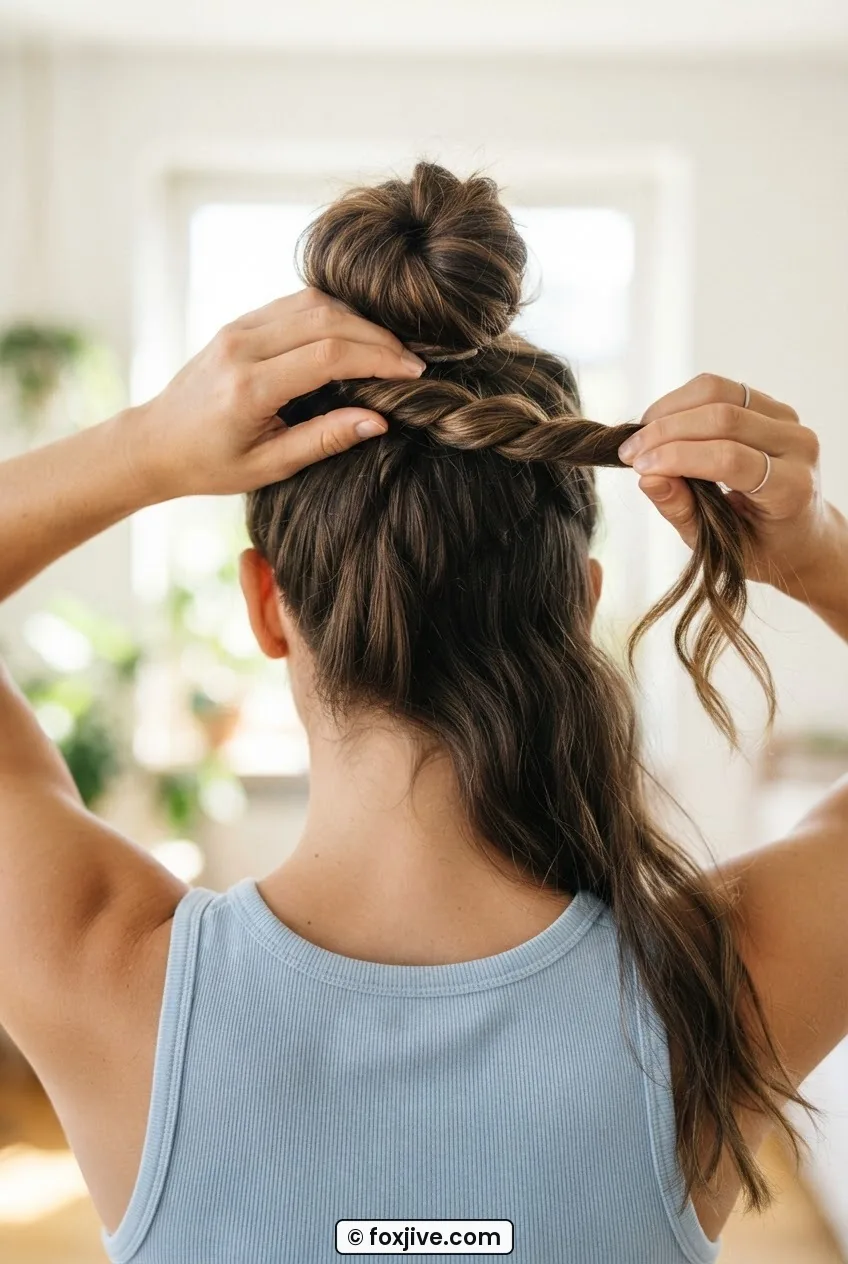
Now twist the ponytail. I twist downward and inward — toward the center parting — which helps the finished bun point slightly toward the face rather than straight up. Wrap the twisted length around the base and secure with the elastic once more, tucking the ends under as you go. Then pin. My minimum is four bobby pins per bun: two crossed in an X at the base, and one on each side of the wrapped coil. For thicker hair, double that.
Repeat identically on the other side. The keyword here is identically — same number of loops, same tension, same number of pins. Asymmetry at this stage is almost impossible to correct without starting over.
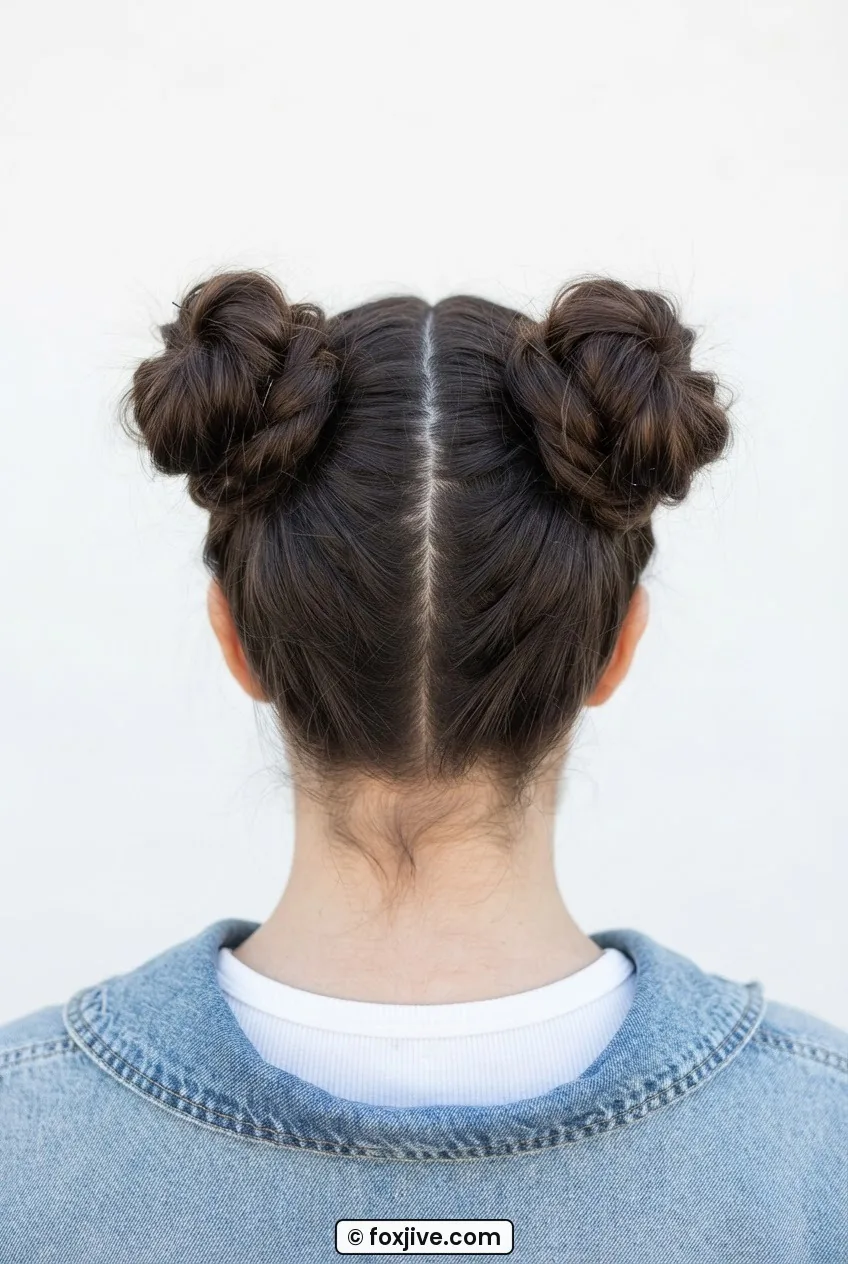
See the Pinning Technique Up Close
Step 4: Finishing the Bun Shape
Once both buns are pinned, step back and look at them in the mirror — really look, not a quick glance. Are they the same size? Same height? The same direction of wrap?
If one is slightly larger, you can gently pull at the coil to loosen it and add a little roundness, which creates a more even appearance without undoing the whole thing. This intentional loosening is also how you get a messier, more textured bun — something that leans into the Y2K aesthetic rather than looking overly neat. I usually give each bun a light tug from the top to puff it up just slightly. Not sloppy, just lived-in.
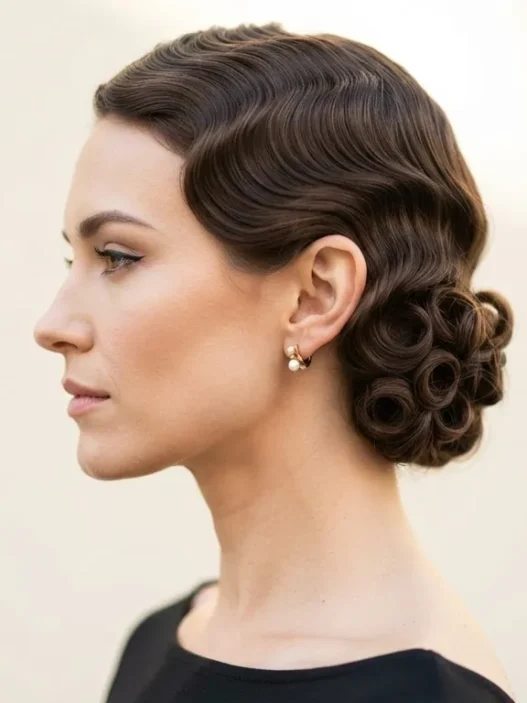
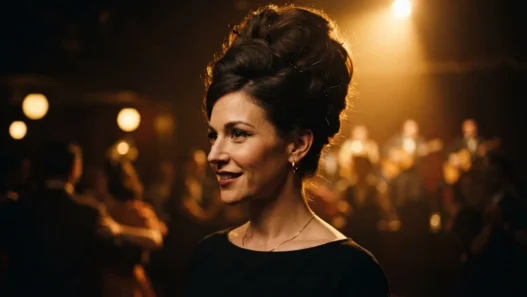
If you want a cleaner, more polished look — closer to what you’d see on a victory rolls-style sculpted finish — keep the coils tight and smooth any loose hairs with a soft-bristle brush before pinning. The style can read quite refined that way. It’s a different mood entirely.
Step 5: Fine Hair and Padding
If your hair is fine, you already know the problem: the buns end up looking small, flat, and kind of apologetic. There are two solutions I’ve actually tested, and I’ll tell you which one I prefer.
Option one is texturizing spray. Spritz the gathered hair before you form the ponytail base — this gives the strands something to grip onto and adds the illusion of volume. I spray, scrunch, wait thirty seconds, then gather. The bun holds better and looks fuller.
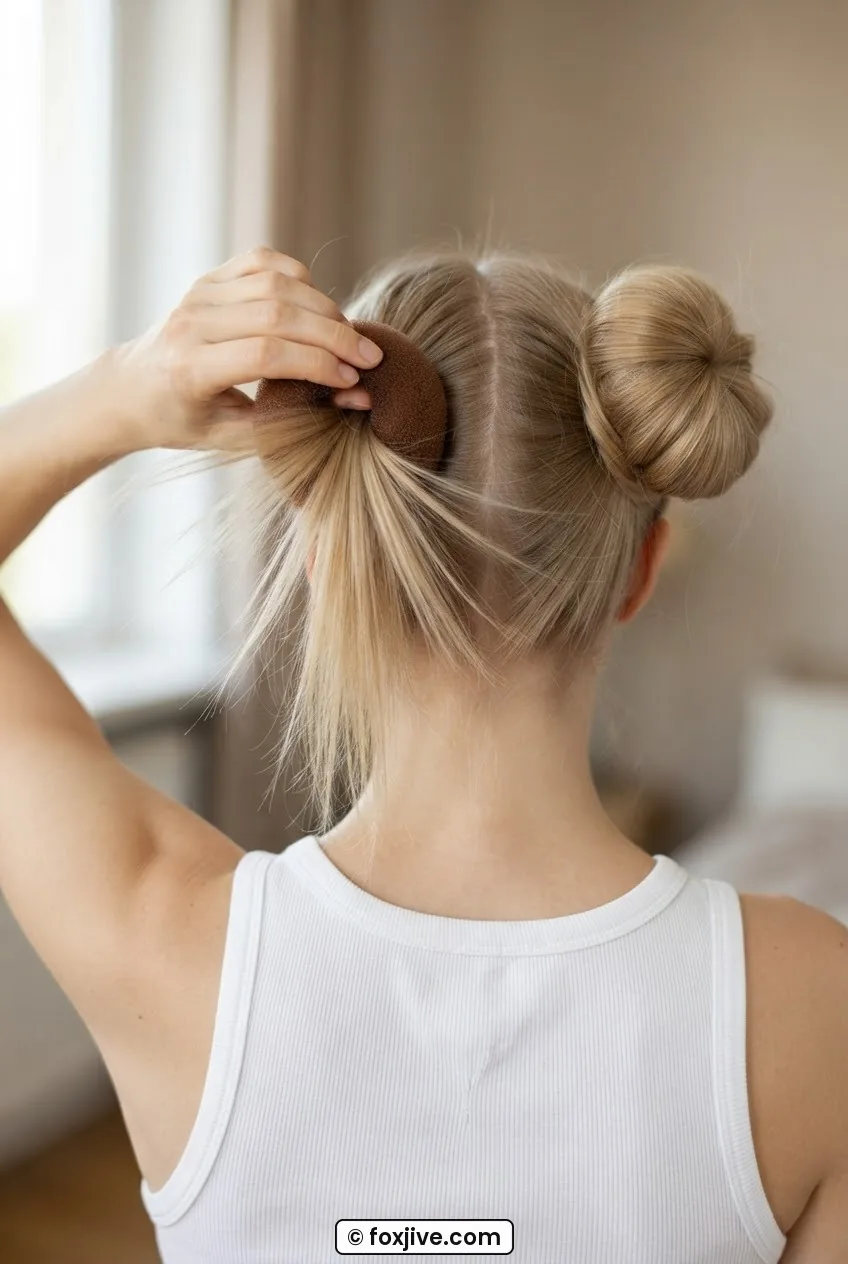
Option two is a hair donut — those foam rings you can get for a few dollars. Slide your ponytail through the donut, fan the hair over it, and wrap the outer hair around to cover the foam completely before pinning. The result is a dramatically larger bun with the same amount of hair. It’s the technique I recommend if your hair is fine and below shoulder length, because you simply may not have the volume to fake it with spray alone. The key is making sure the hair covers the donut fully on all sides — you can see how she’s wrapped hers in the photo, making sure no foam is peeking through at the back.
Fine hair is also more prone to slipping, so this is the step where I’d recommend adding an extra two pins per bun as insurance. Adding volume to fine hair can feel like a battle, but between the donut and the pins, this style is genuinely achievable even on very thin strands.
Step 6: Locking Everything In
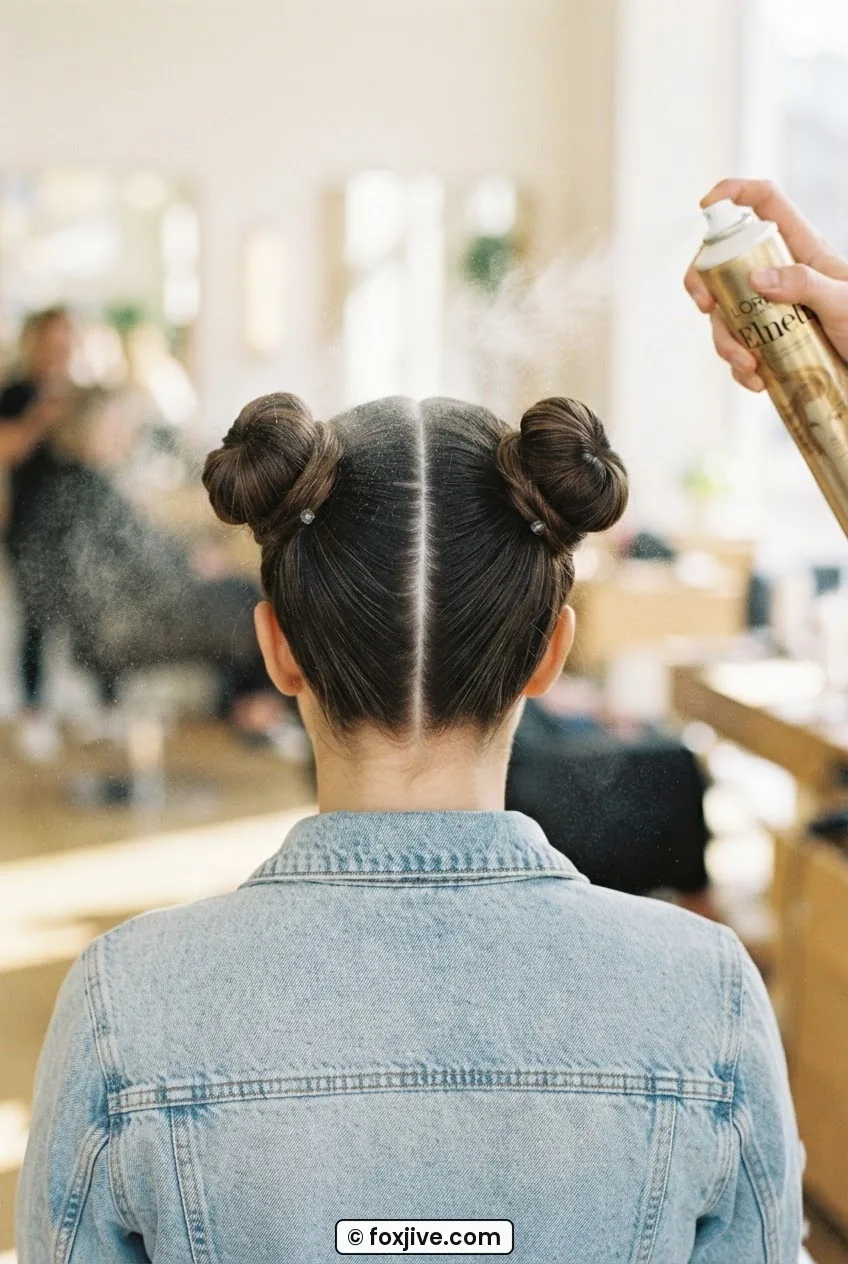
Almost there. Take your light-hold hairspray and do a quick pass over both buns from about 10 inches away. You’re not stiffening them — you’re just tacking down any fine flyaways and adding a little grip to the outside of the coil. For a glossier finish, you can also run a tiny amount of smoothing serum over the top of each bun with your palm.
Then check the parting one more time. After all the pulling and pinning, the center line can shift or widen. If it’s looking messy, drag the rat-tail comb gently back through it and press the sections flat with your fingers. A clean parting is what separates a done-on-purpose style from a rushed one.
And that’s the whole thing. The style holds remarkably well once it’s properly pinned — I’ve worn mine dancing for four hours and had exactly zero disasters. The Y2K-era approach to the original Y2K look was less about pins and more about volume, which is fine for a photo but not for real life. The extra pins are worth it.
If you’re interested in other styles from the same era that involve similar sculpting techniques, I genuinely love looking through 9 victory roll ideas ranked by how long they take for inspiration — there’s a surprising amount of overlap in the pinning logic between rolls and buns. And if you want to go deeper into the historical side of Y2K styling, it’s worth reading about what defined the early 2000s aesthetic to understand why these styles are coming back so strongly right now.
Questions I Get About This
Can I do space buns on very short hair?
Yes, but you’re working with limited length, so the buns will be small. That’s not necessarily a problem — smaller, tighter buns look intentional and modern. The trick is that you’ll need stronger-hold elastics and more pins, because short hair has less weight to anchor itself. Texturizing paste on the ends before gathering helps a lot with grip.
What’s the difference between space buns and half-up space buns?
In a full space buns style, all the hair goes into the two buns. In a half-up version, only the top half goes into the buns and the rest hangs loose below — it’s softer and easier to adapt for longer hair. The placement rules in this guide apply to both; the only difference is how much hair you gather at each point.
How do I stop one bun from always sitting higher than the other?
Almost always a parting problem rather than a pinning problem. If the center part veers to one side, that side ends up with more hair and naturally sits higher. Re-check your part before you gather — and measure up from both ears rather than relying on your eye from the front. Your eyes will lie to you; your comb won’t.
Do space buns work on curly hair?
Brilliantly, actually. Curly hair has natural texture and grip, which means the buns hold better and look fuller with less effort. The main adjustment is to gather curls loosely rather than pulling them taut — you want to preserve the curl pattern at the bun’s surface so the coils show through. Avoid brushing curly hair before gathering, or the frizz will work against you.
When I finally got this right — center part checked, buns sitting above the ear instead of on the crown, six pins each — I looked in the mirror and it was the first time the style had ever looked like me instead of a Halloween costume. The placement is genuinely everything. If you want to dig into more Y2K-era techniques or leave a question, you can always find me on the contact page or read a little about why I started this whole project over here. Go make the buns. They’ll sit right this time.