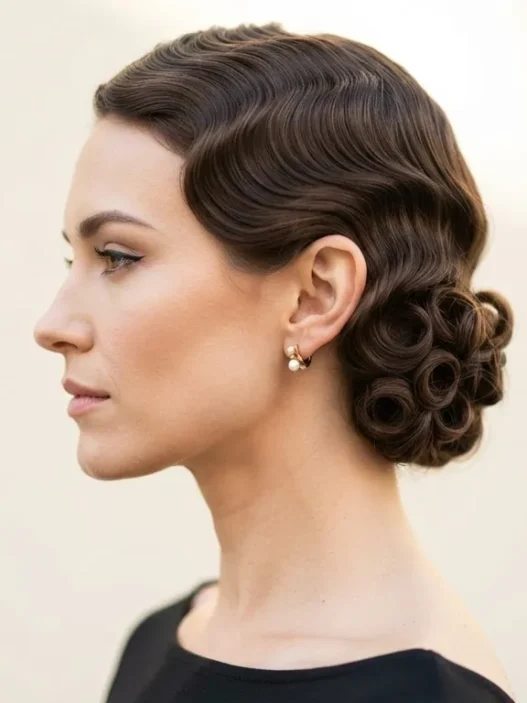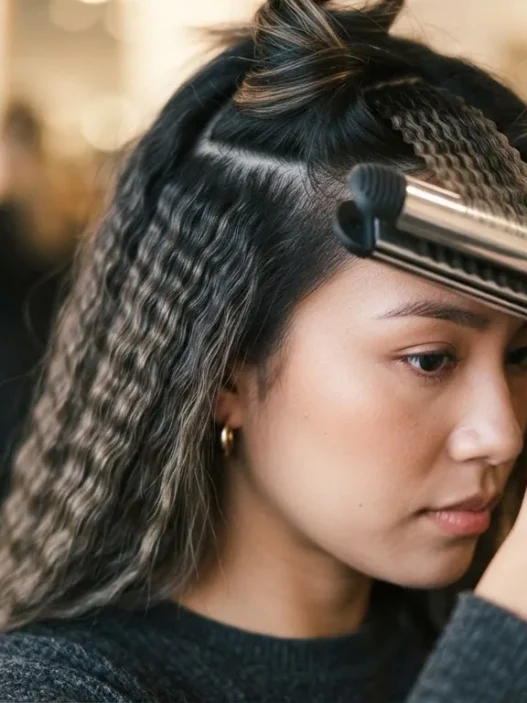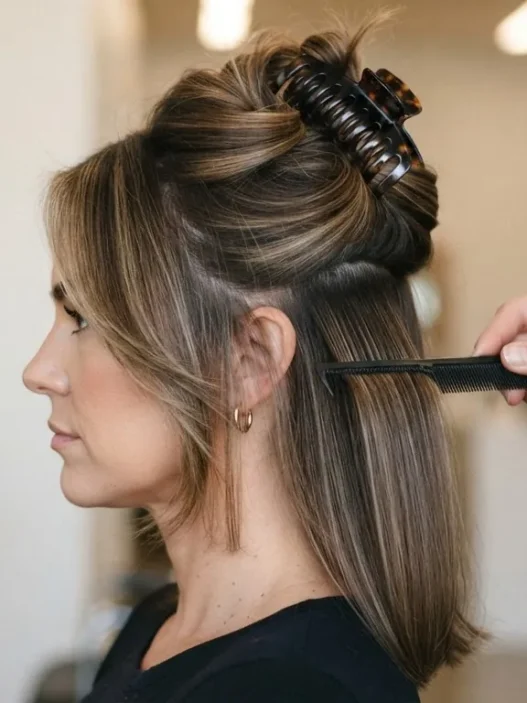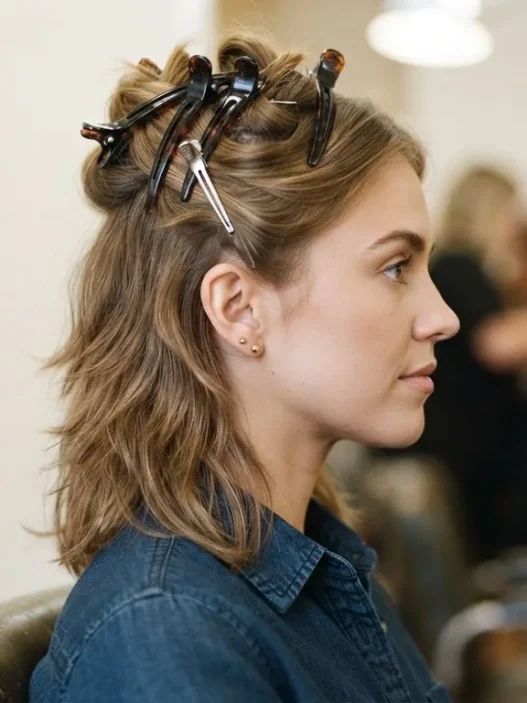





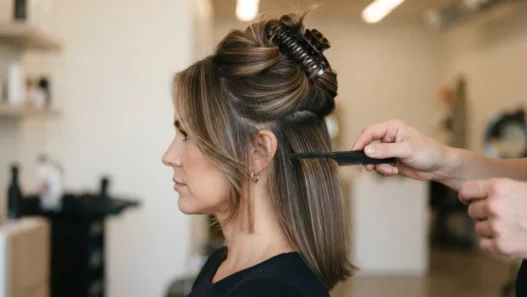



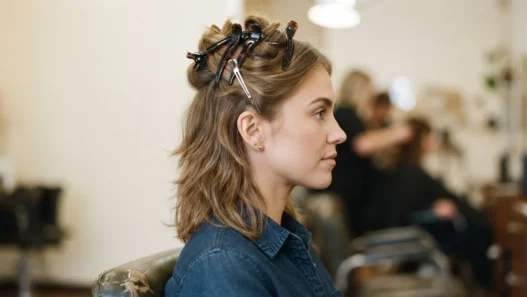


The first time I tried finger waves, I spent forty minutes pressing ridges into my hair and then watched every single one of them slide flat while the diffuser was still running. I had no idea what I was doing wrong — I thought I just needed more product. Turns out I needed to understand the actual mechanics: where the fingers go, where the comb goes, and why the damp level matters more than anything else you could buy at a beauty supply store. I wrote this guide because I wish someone had given me the boring, slow explanation instead of a thirty-second reel that skips everything important.
Your Road Map Through the Wave
What You’ll Need
Keep it simple. Finger waves are a comb-and-water technique — no heat anywhere in the process. If you’re reaching for a curling iron, you’ve misread the assignment entirely.
- A fine-tooth pintail comb — the tail helps you start sections cleanly, and the fine teeth grip the ridge without pulling it apart
- Wave setting lotion — I use Lottabody Styling Lotion diluted about 50/50 with water in a spray bottle; Motions Foaming Wrap Lotion also works well for finer hair
- A spray bottle filled with water — for rewetting sections that dry too fast while you’re working
- Duckbill clips or wave clamps — at least a dozen; these hold finished ridges in place while you move on
- A fine mesh hair net or wave cap — goes over the whole set while it dries
- A hooded dryer or a bonnet dryer attachment — not a diffuser, not a blow dryer; steady ambient heat only
- Light-hold gel (optional) — a very small amount on the hairline helps edges lie flat on shorter cuts
That’s genuinely it. The technique does the work, not the product lineup.
Step 1: Wetting Down
This step sounds obvious and yet it is the one that derails most people. The hair needs to be damp — not soaking wet, not towel-dry damp, but that very specific middle state where a strand feels cool and malleable but does not drip when you press it between your fingers.
If your hair is soaking wet, the setting lotion will be diluted into uselessness and the ridges will have nothing to grip as they dry. If it’s too dry, the hair fights the comb and the wave snaps back before a clip can hold it. I describe the target level as “seven out of ten wet” — past the dripping stage, not yet at the fluffy stage.
For most people, washing and then blotting gently with a microfiber towel gets you there. For longer hair, you might need to let it sit a few minutes after blotting. For very short hair or a pixie-length cut, work fast — the small surface area dries quickly and you’ll be re-misting constantly if you don’t move efficiently.
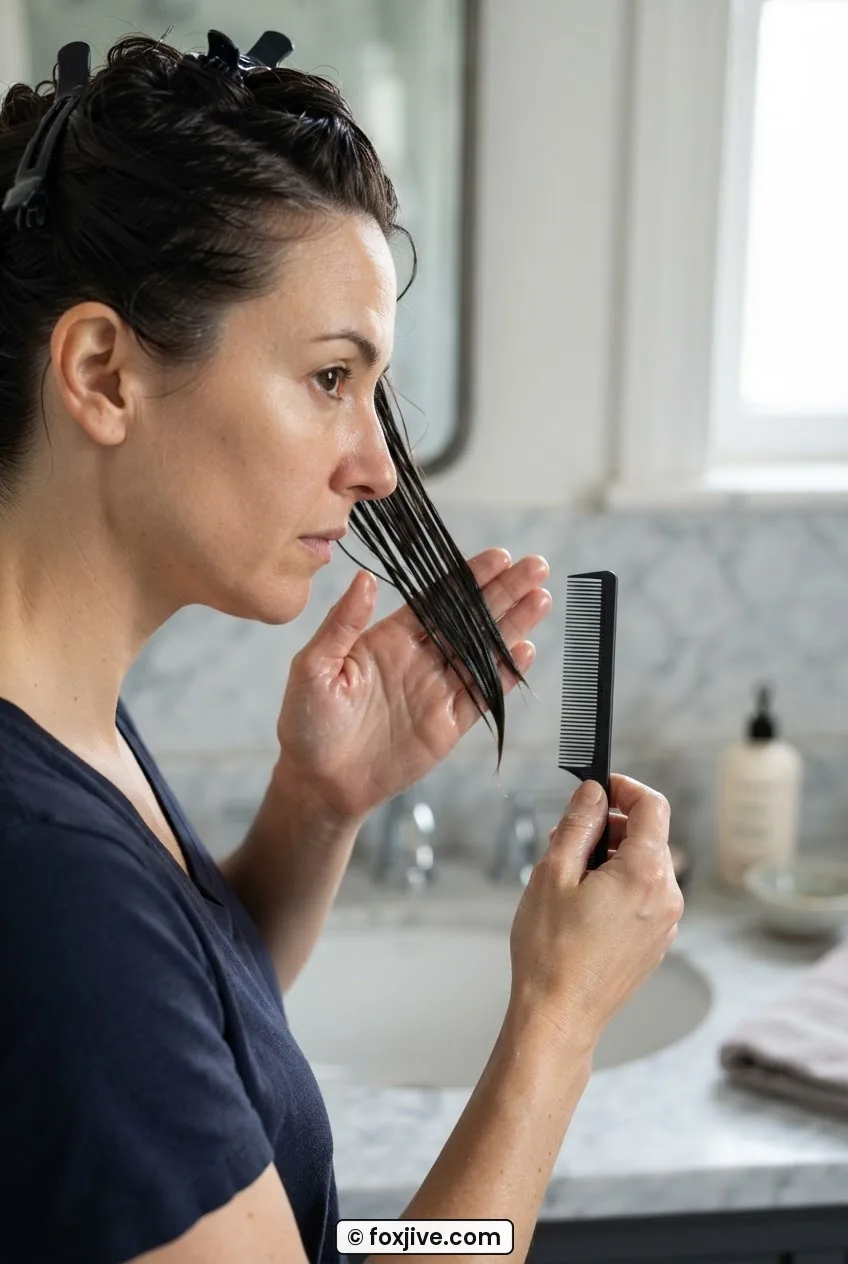
Natural hair that is highly porous tends to absorb water fast and can feel dry at the surface while still wet underneath. Run a strand between your fingers from root to tip. If it slides smoothly without squeaking, you’re in the right zone.
Step 2: Applying the Setting Lotion
Work in sections from the front hairline back. I part the hair into three horizontal layers — crown, mid-section, nape — using clips to keep the lower sections out of the way while I work on top first.
Apply the lotion by smoothing it through each section with your palms, then combing through once with the fine-tooth comb. You want every strand coated, but you do not want product sitting on top of the hair in a wet film. If you can see liquid shine glistening in pools, you’ve used too much. Blot with a cloth and carry on — better to be slightly under-lotioned than over-lotioned, because excess product delays drying and makes the set feel crunchy and heavy rather than smooth.
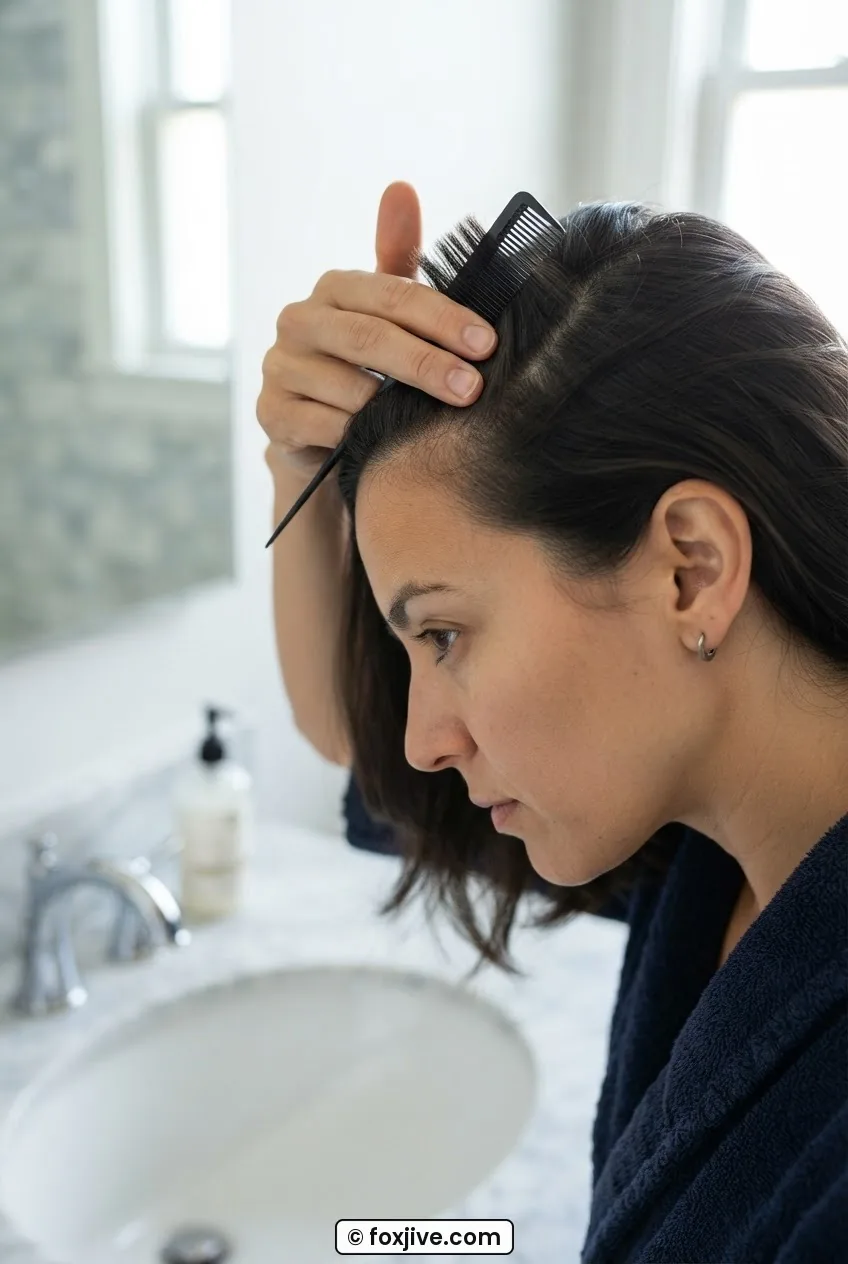
Comb everything in the direction the wave will eventually travel. For a classic horizontal wave pattern, that means combing toward the side part — all the hair going in one direction, flat against the head, before a single ridge is formed. Think of it as laying the foundation before you build anything on top of it.
Step 3: Pushing the First Ridge
Here’s where the actual wave-making begins. The first ridge sets the angle for everything that follows, so getting it right matters more than any other single action in this guide.
Place your index finger and middle finger flat against the scalp, about an inch back from the hairline. Press down gently but with intention — you’re holding a section of hair against the head, not gripping it. Now, using your comb held at a 45-degree angle, push the teeth into the hair just in front of your fingers and scoop upward and toward your fingers. The hair will buckle slightly, forming a small raised ridge between the comb and your fingertips. That ridge is the wave.
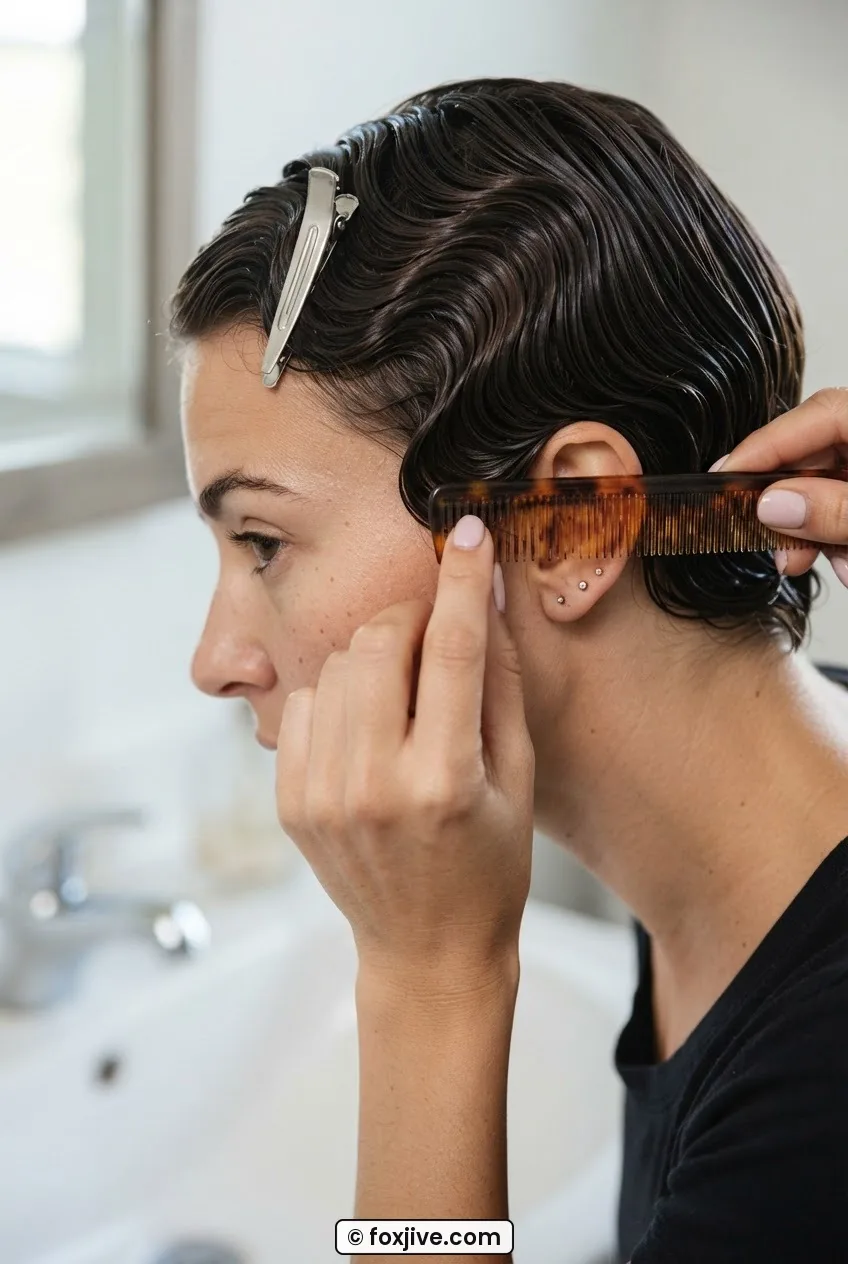
See how her fingers are positioned in this photo — index and middle pressed flat, the ridge rising between the comb teeth and the side of her index finger. That gap is where the arch of the wave lives. If the ridge is too tall or wobbly, the fingers are too far apart from the comb. Move them closer together and re-press.
Once the ridge is clear and even, clip it immediately. A duckbill clip goes along the ridge lengthwise, clamping it flat so it holds its shape while you work on the trough below.
See the Ridge-Push in Real Time
Step 4: Where the Comb Sits
The trough is the hollow between two ridges — the valley of the S-curve. Most tutorials skip explaining this part in any useful detail, and that’s why so many sets come out looking flat instead of dimensional.
After clipping the first ridge, move your fingers down to the far side of that ridge — now they are sitting in the trough. Place the comb about half an inch below where your fingers now rest, teeth pointing upward, and draw it toward your fingertips while pressing the hair flat into the trough. This is a downward-pressing motion, the opposite of what you did to raise the first ridge.
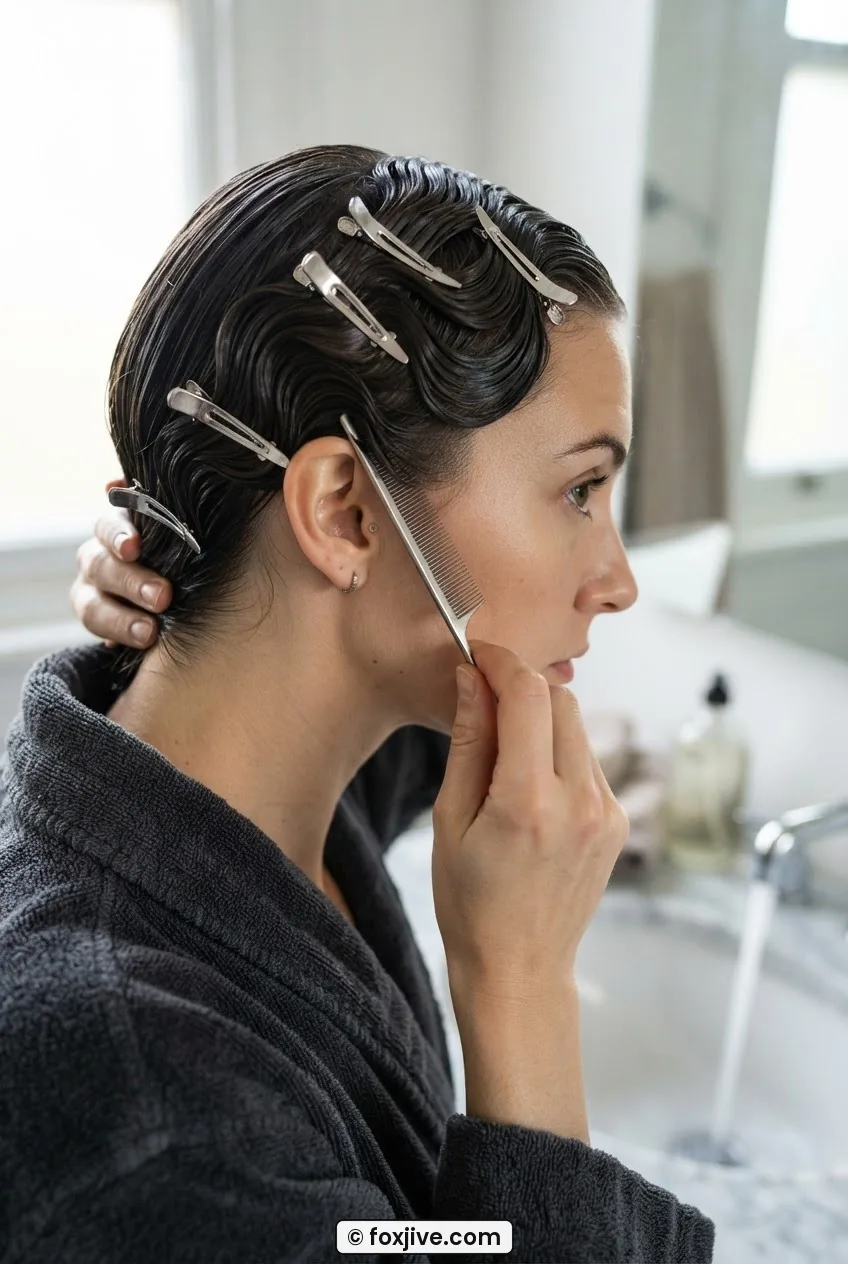
Look at the angle of the comb in this shot — almost parallel to the scalp, not perpendicular. The teeth are barely entering the hair. This is a smoothing push, not a combing-through. The goal is to define the trough so it sits smooth and recessed before you raise the next ridge above it.
A mistake I made for embarrassingly long: I was lifting the comb away from the scalp too quickly after pressing the trough, which let the hair spring back up before the next clip was in place. The fix is to keep the comb pressed against the scalp with light pressure while your other hand reaches for the clip — one move, not two separate ones.
Step 5: Traveling the Wave Down the Head
Now you repeat the push-and-trough sequence across the entire section of hair, moving from the front hairline toward the back of the head. Each new ridge is formed roughly half an inch to three-quarters of an inch below the last one — the spacing determines how deep and dramatic the finished waves look.
Wider spacing means fewer, broader waves. Tighter spacing means a dense, almost Art Deco ripple — which is the look you typically see on short hair and pixie-length cuts, where the waves have to pack a lot of movement into very little length. Longer hair gives you room to space the ridges further apart for a more languid, Hollywood-glamour curve.
The direction alternates with each ridge. If the first ridge was formed by pushing the hair to the right, the second ridge reverses — you push back to the left. This alternating direction is what creates the S-curve rather than a series of one-directional crimps. Keep an eye on that S as it forms. If two adjacent ridges curve in the same direction, you’ve missed a reversal somewhere and the wave will look irregular when dry.
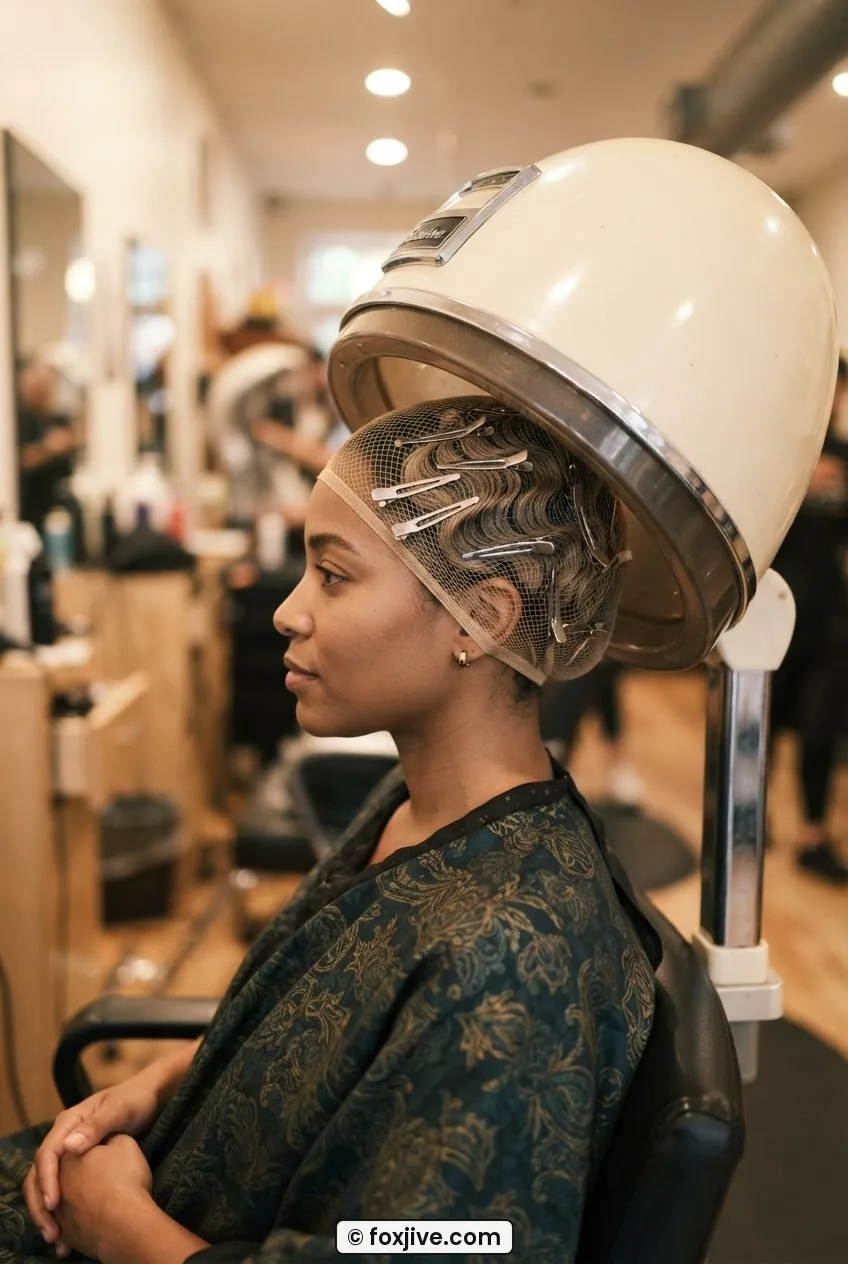
The S-curve is forming clearly in this image — you can see the alternating push directions working their way down toward the nape. She’s using the pintail end of the comb to check the spacing between ridges before setting a clip, which is a genuinely useful habit. Consistency in spacing matters more than perfection in any single ridge.
Work through all three horizontal sections — crown first, then mid-section, then nape — clipping as you go. If you pick up on the same wave lines across the Foxjive community, you’ll notice that the most stunning sets are the ones where the ridges align across sections, flowing in a continuous river from the hairline to the nape rather than starting fresh in each section. That continuity is what you’re aiming for. If you enjoy seeing how this technique connects to other vintage styles from the same era, the Victory Rolls section on this site shows beautifully how 1940s women built on this same wet-set foundation — and knowing both gives you a richer toolkit.
Step 6: Drying and the Wait
Sit under the hooded dryer for a minimum of 45 minutes. If your hair is thick, dense, or medium-length, budget an hour to 75 minutes. The set is not done when your hair feels dry to the touch on the outside — it’s done when the hair is completely dry all the way to the scalp and the setting lotion has fully cured inside each ridge.
This is the part nobody wants to hear. Removing the clips too early is the single most common reason a finger wave set falls apart within a few hours. I have made this mistake personally, rushing the dryer time because I had somewhere to be, and watched crisp ridges soften into vague suggestions of waves within twenty minutes of styling. The drying time is not a suggestion.
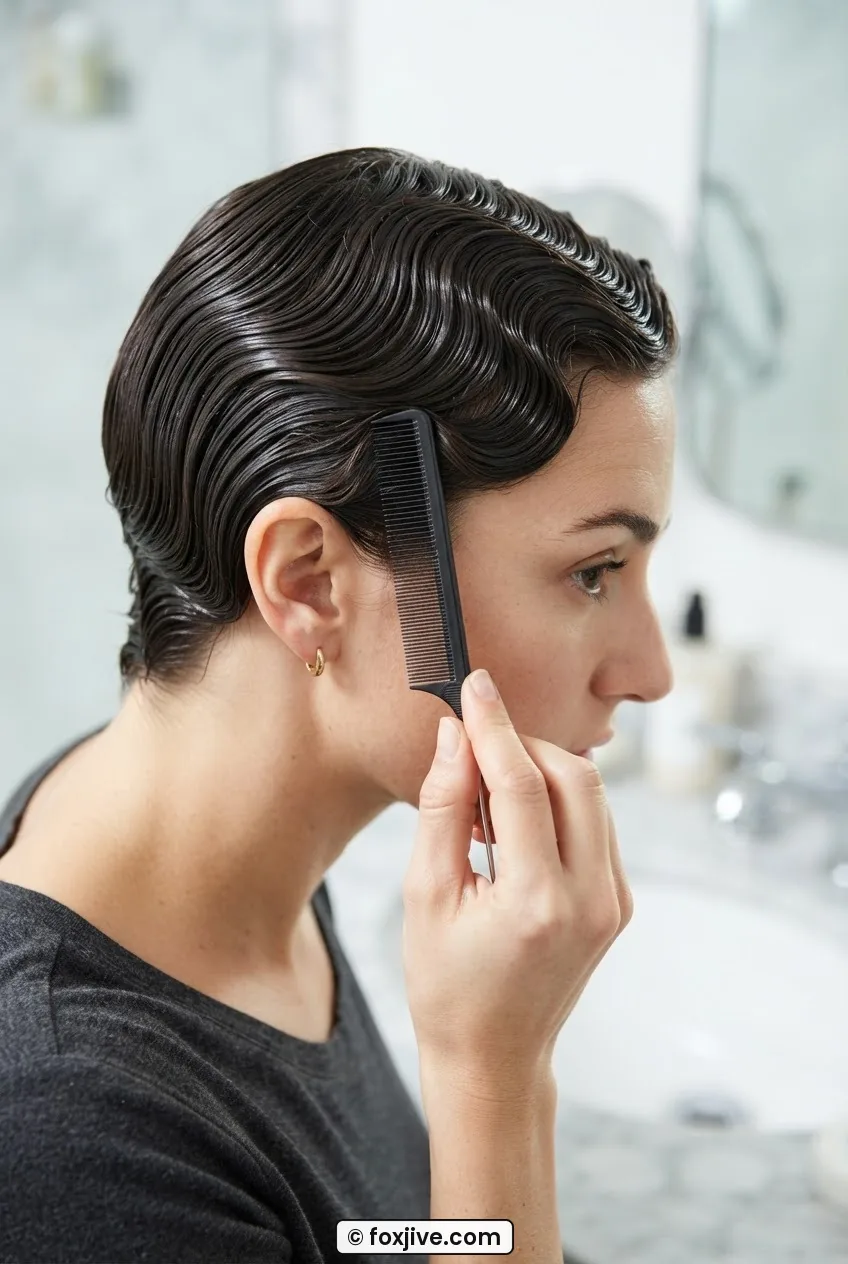
Temperature on the dryer should be medium — not the highest setting, which can dry the outer layer before the interior is done and cause the set to feel brittle. Medium heat, good airflow, patience. A hair net or wave cap worn over the clips keeps everything pressed while heat works through.
When the time is up, turn off the dryer and let the hair cool completely under the net before touching a single clip. Cooling is when the hydrogen bonds in the hair shaft re-form in their new waved position — removing clips while the hair is still warm disrupts this process. Give it ten minutes. Walk away. Make tea. The waves will thank you. You can find a deeper explanation of why how setting lotion bonds to the hair shaft in this stage, which helped me stop second-guessing the wait.
Step 7: The Ridge That Always Collapses — and Why
Almost everyone who learns this technique has one ridge that refuses to hold — and nine times out of ten, it’s the second or third ridge back from the hairline, roughly in the area of the temples.
Here’s why. That area sits over a curved part of the skull where the hair grows at a slightly different angle than the hair at the crown or nape. When you press a ridge there, the hair on either side of the ridge is being pulled in subtly competing directions — the scalp curvature is working against the flat ridge you’re trying to form. The ridge looks good when you clip it. It looks less good when you take the clip out.
The fix has three parts. First, use a slightly smaller amount of hair in that section — a narrower ridge has less surface area to collapse. Second, apply a small additional dab of setting lotion to that specific ridge before clipping, giving the lotion more structural work to do. Third, place two clips along that ridge instead of one, positioned at opposing angles so they brace each other. It sounds fussy. It works.
The technique on natural hair and highly textured hair follows the same logic, but the ridges tend to be more resilient once set — the coil memory in the hair shaft actually helps hold the wave shape. On very fine or straight hair, you may want to incorporate a tiny bit of light-hold gel along the hairline ridges specifically, since fine hair has less natural texture to grip. The approach for finger waves on natural hair differs just enough in product selection that it’s worth reading separately if your hair is type 3 or 4.
Once the clips come off and the net is removed, resist the urge to run your fingers through the waves to separate them. Use the tail of the pintail comb to lift very gently at the roots only, and smooth the ridges with the flat of your palm if they need any encouragement. The less you touch, the longer the set lasts. A light mist of shine spray from twelve inches away is all the finishing you need. Avoid anything heavy or oily — it weighs the ridges down and undoes everything the setting lotion built.
If you want to see how this style sits alongside other foundational vintage sets, my piece on 9 Victory Roll Ideas Ranked by How Long They Take gives a good sense of how the wet-set family of styles compares in terms of time investment and complexity. And if you’ve found that understanding the mechanics of one retro technique opens up a whole decade of curiosity, you’ll feel at home browsing the rest of what we cover at Foxjive — there’s a lot more where this came from.
Questions I Get About This
Do finger waves work on long hair?
Yes, though the technique is more common on short and medium-length cuts because the ridges have less weight fighting them. On longer hair, space the ridges further apart — about three-quarters to one inch between each — and use more clips per ridge to compensate for the extra pull. Expect a longer drying time too, often 90 minutes or more under the hooded dryer.
Can I use a regular hair gel instead of setting lotion?
You can, but the result will feel stiffer and the ridges will be less defined once you remove the clips. Setting lotions are specifically formulated to give flexible hold that softens when dry — gel tends to harden in a way that makes the waves feel brittle rather than smooth. If gel is all you have, dilute it with water to about the consistency of watery milk before applying.
How long does a finger wave set actually last?
With proper drying and gentle handling, a well-set wave holds for two to three days — sometimes longer if you sleep with a satin bonnet and avoid humidity. The enemies of a wave set are moisture, heavy products, and fingers running through the hair repeatedly. Treat it gently and it’ll surprise you with its staying power.
Is this technique different for natural hair?
The hand positions and comb angles are identical — the difference is in moisture management and product choice. Natural hair needs to be thoroughly moisturized before the setting lotion goes on, and a leave-in conditioner underneath the lotion prevents dryness during the long drying time. The ridges on textured hair often hold even more beautifully once set, because the natural coil memory reinforces the wave shape from inside the strand. You can find more tailored guidance on wet-setting natural hair if you want to go deeper on that angle.
What if I mess up a ridge halfway through the set?
Mist that section lightly with water, smooth the hair back flat with your palm, and start that ridge again from scratch. The setting lotion reactivates with water while the hair is still in the set — that’s actually one of the kindest features of this technique. You can correct mistakes as long as the overall set hasn’t started drying yet. Once it’s dry, you’re committed.
My first successful set came out lopsided on one side, with one ridge on the left temple that I’m now fairly certain was going the wrong direction. But the rest of it held — clean ridges, genuine S-curve, the whole thing — and I wore it for two and a half days before the waves finally softened. There’s something genuinely satisfying about a style that needs no heat, no electricity beyond the hooded dryer, and no product more complicated than diluted setting lotion. It’s all in the hands. And once your hands know what they’re doing, it gets faster every single time. If you have questions about anything in this process, feel free to reach out through the Contact page — I actually read those.