



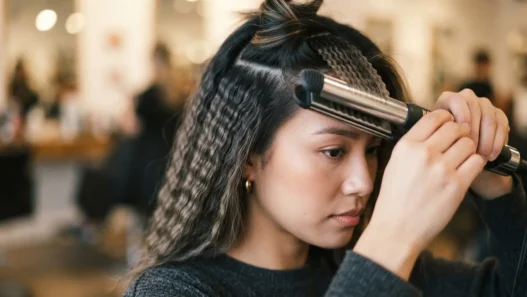

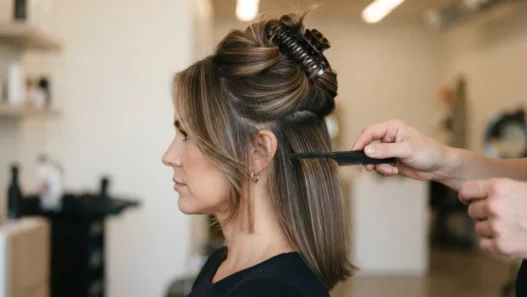


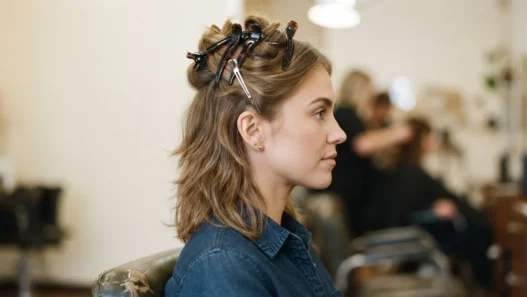
Volume in the 1950s wasn’t about luck or naturally thick hair. It was engineering. Women used rollers, pins, nets, and sometimes literal padding to construct shapes that held from morning coffee to the last dance. I got obsessed with this decade after my aunt handed me a box of her mother’s old Photoplay magazines, and I sat on the floor for three hours going through the hair advertisements. Every style had a construction behind it — and that realization changed how I think about retro hair entirely.
So I’ve ranked these eleven 50s hairstyles by how much height and structure they demand — from the barely-there wave you can pull off with a $6 mousse to the kind of crown that needs a rat-tail comb, a can of lacquer, and approximately forty minutes of your morning. I’ll tell you what each style actually asks of your hair, what kind of padding or backcombing it needs, and whether fine hair can realistically get there. No romanticizing. Just honest retro.
1. The Soft Side Wave
This is the entry point — practically no height, just a gentle S-curve that sweeps from a side part across the forehead and tucks behind one ear. It’s the 1950s equivalent of “I did my hair” without the theatrics. The construction is genuinely minimal: a little setting lotion, a couple of pin curls at the temples while damp, diffused or air dried, then brushed out and misted with a light hold spray.
Fine hair can absolutely do this. Padding: none. Backcombing: none. Damage risk: close to zero if you skip the heat and let it dry naturally. The only thing that can go wrong is using a product that’s too heavy — the wave turns into a grease stripe rather than a movement. Go light.
2. The Italian Boy Cut
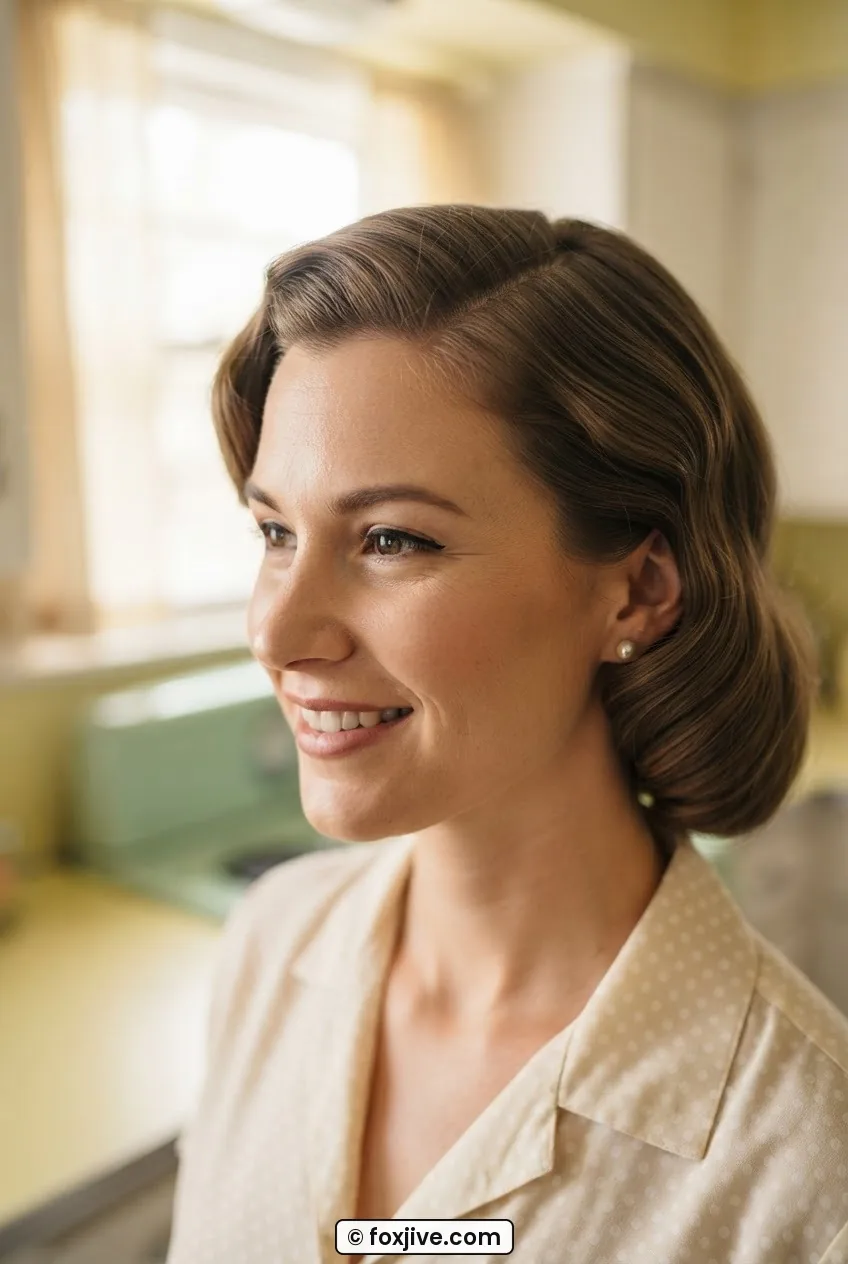
Audrey Hepburn. That’s the whole reference, honestly. Short all over, gently textured, with tiny wispy pieces at the temples and nape. The “height” here is more about presence than actual lift — it’s maybe a quarter inch of movement at the crown, achieved by finger-combing a tiny bit of pomade through the ends and letting them curl away from the head.
This is genuinely one of the easiest 50s short hair looks to maintain, but it does require a good cut. A blunt trim won’t give you the right texture — you need point-cutting at the ends to get that feathery movement. Suits fine to medium hair beautifully. No padding, no backcombing, and honestly very low commitment once you’ve got the cut right. The damage risk lives entirely in how often you’re reaching for a razor or thinning shears at home, which: please don’t.

3. The Pin Curl Set
Pin curls are the foundational technique of the entire decade. Every wave, every roll, every soft curl you see in old photographs probably started as a pin curl set the night before. The style itself — when worn loose and brushed out — sits at a modest height, creating a rounded silhouette around the head with curls that bounce about an inch or two off the scalp.
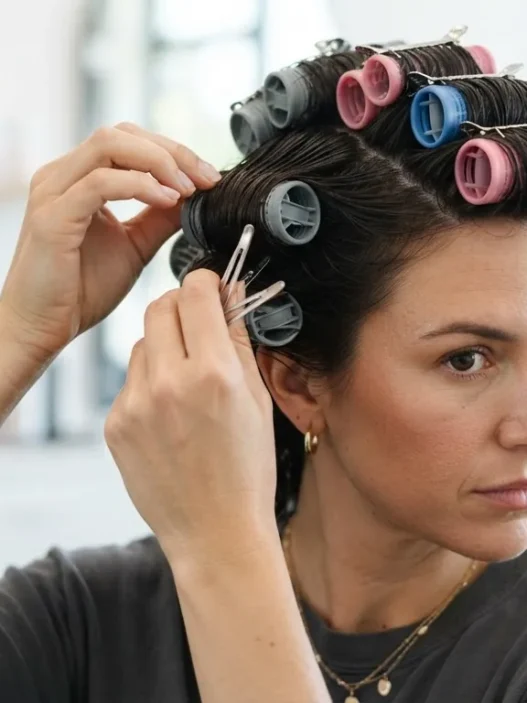
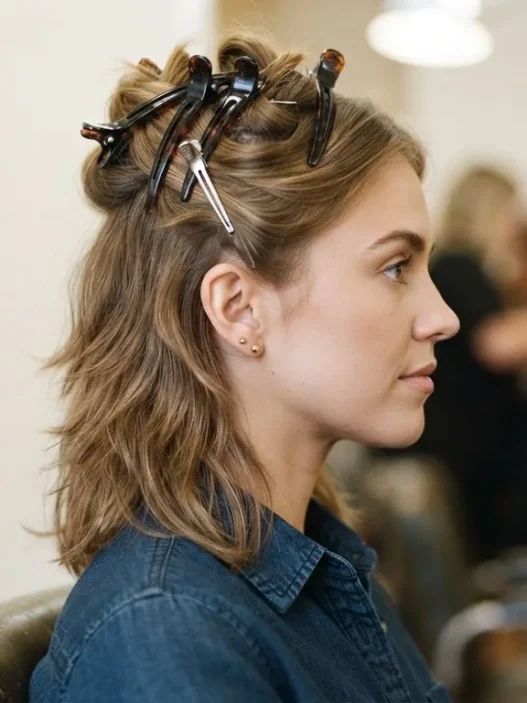
The technique asks for damp hair, a setting lotion or mousse, and patience. You section the hair, coil each section into a flat circle, and clip it flat against the head with a pin or a duckbill clip. Sleep in it (or sit under a dryer), then brush out the next morning with a boar bristle brush to blend the curls into waves. If you want victory rolls instead of brushed-out curls, you can leave sections tighter and roll them under or over — the pin curl set is the base for a lot of different finishes.
Fine hair: yes, this works well. The setting process gives structure to hair that normally has none. Medium to thick hair benefits from larger sections to avoid a poufy, unruly result. Damage risk is low — no heat required unless you use a bonnet dryer, and even then it’s gentle.
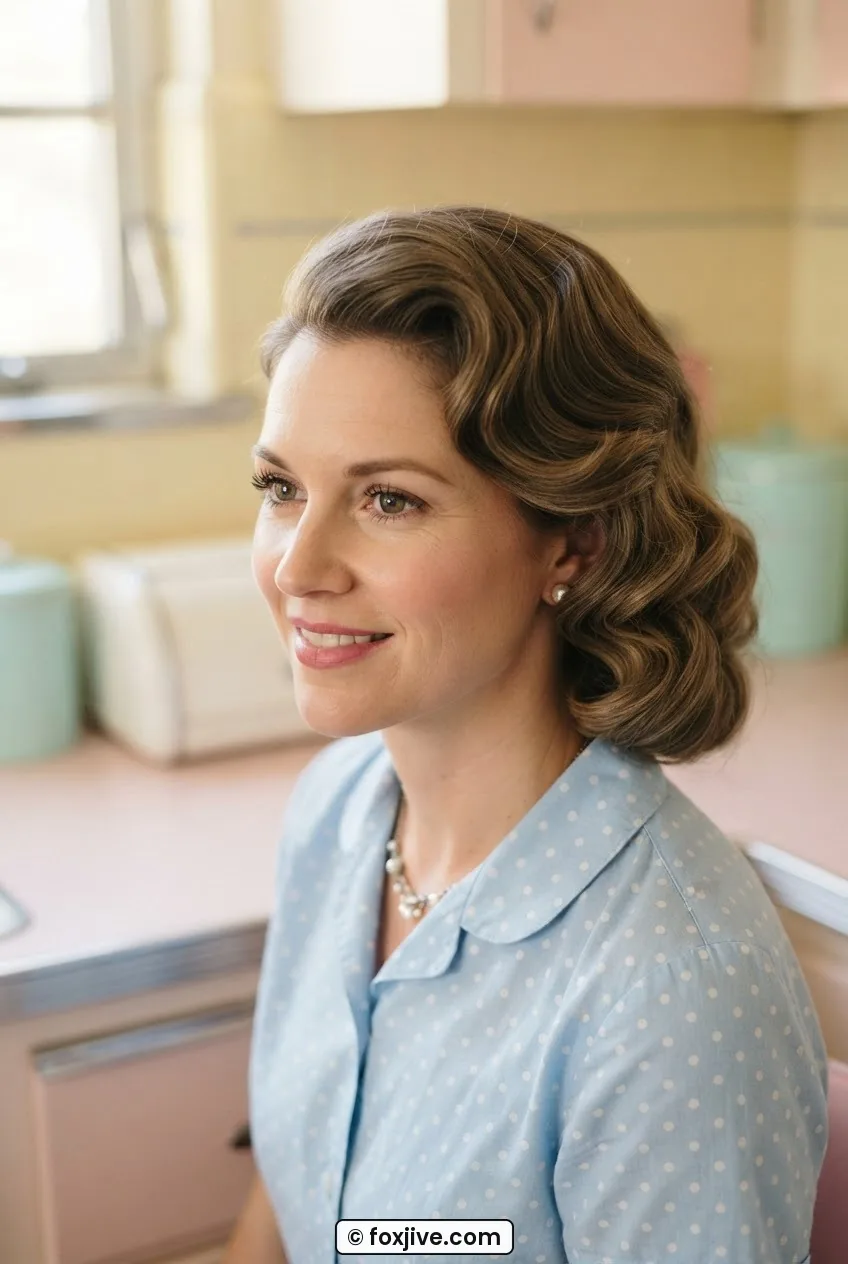
Watching a Pin Curl Set Come Together
4. The Side-Swept Fringe
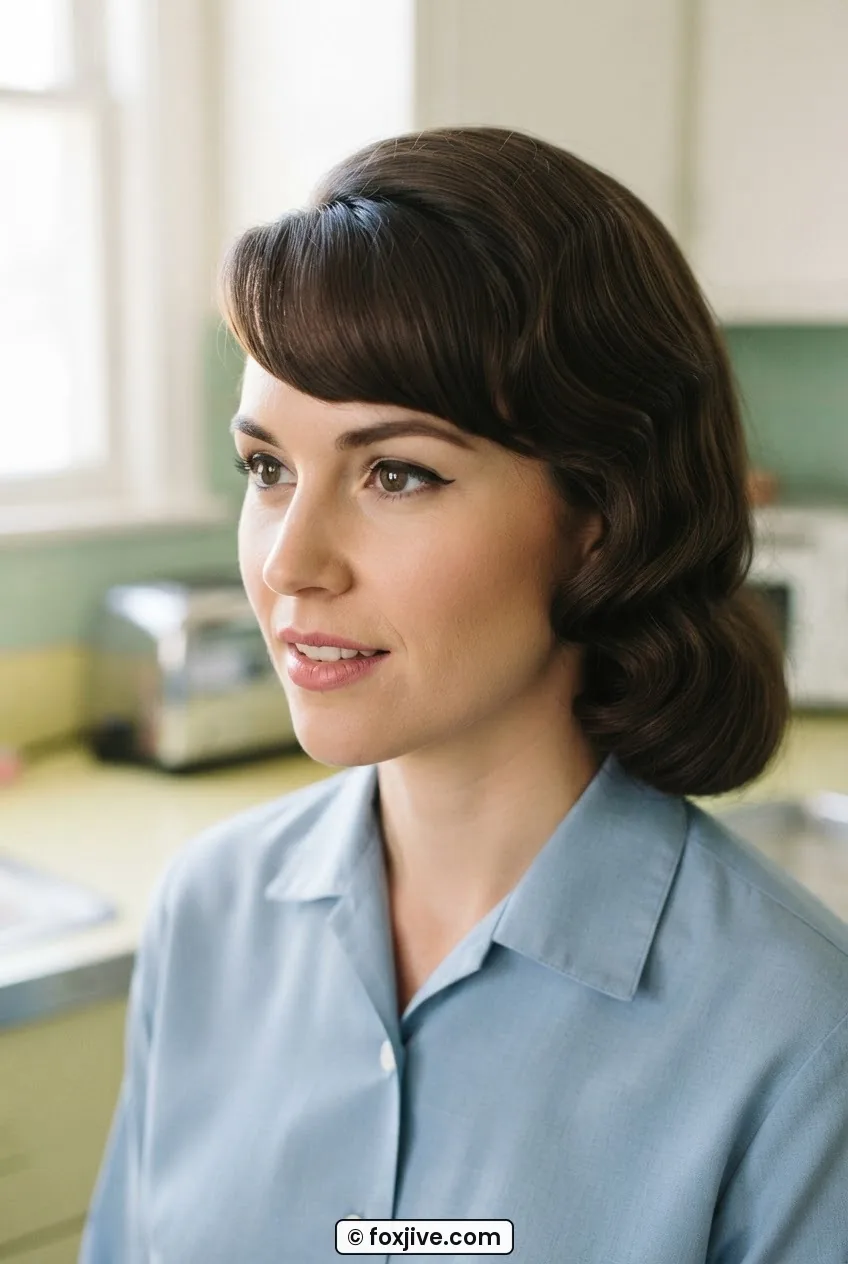
Not purely a volume style, but the way 1950s women wore a side-swept fringe gave the illusion of height without building any. A deep side part, bangs combed dramatically across the forehead, the rest of the hair rolled under or set in waves — together this reads as deliberate and structured even at low height. It’s a proportional trick more than a construction one.
Look at the way she’s styled hers in the photo — that deep diagonal line the fringe creates pulls the eye upward even though the actual height is minimal. That’s what I mean about the 1950s being smart about illusion. Suits most hair types. No padding needed, just a strong-hold pomade or wax on the fringe section to keep it swept without rebellion.
5. The Neck Roll
This is where we start talking about actual structure. The neck roll is a technique where the ends of the hair — usually chin-length or shoulder-length — are rolled under and pinned or held in place, creating a smooth, rounded column that runs along the nape. It adds a modest lift at the ends, maybe an inch of visual height at the back, and gives the whole look a tidy, finished quality that’s very distinctly mid-century.
No padding required for this one. Backcombing on the top section is optional — you can leave the crown smooth for a sleeker finish, or add a tiny amount of lift there to balance the rounded base. Fine hair can do this well; the roll actually helps give fine hair a sense of weight and substance it doesn’t normally have. Medium hair is probably the sweet spot. Thick hair may need more pins than you’d expect to keep the roll from unspooling.
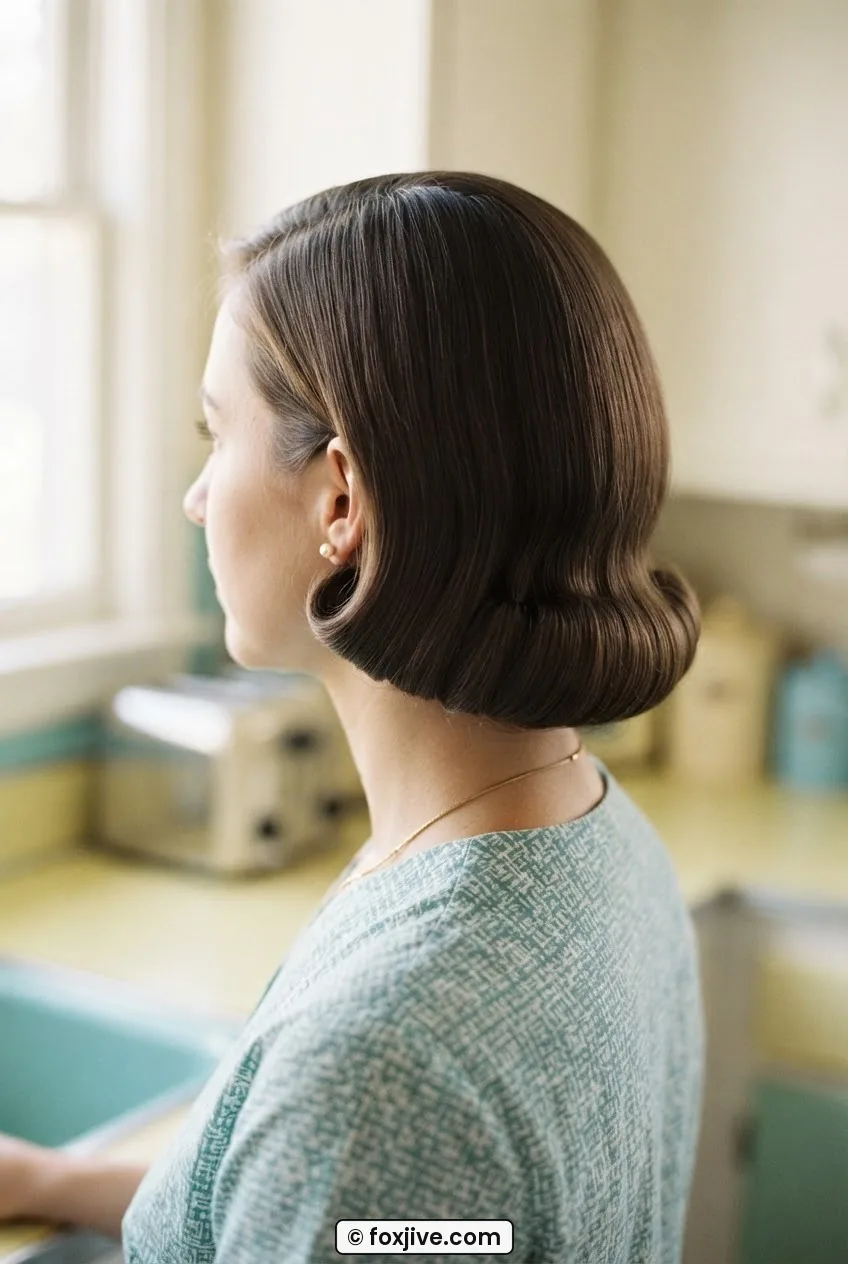
My personal pick in this whole lineup is the neck roll. It’s the style I come back to when I want to feel era-appropriate without spending forty minutes in front of a mirror. A little setting spray on damp ends, a foam roller tucked underneath while it dries, and you’ve got something that looks genuinely considered. It holds longer than you’d think, too — I got a full workday out of it once without touching it.
6. The Pageboy
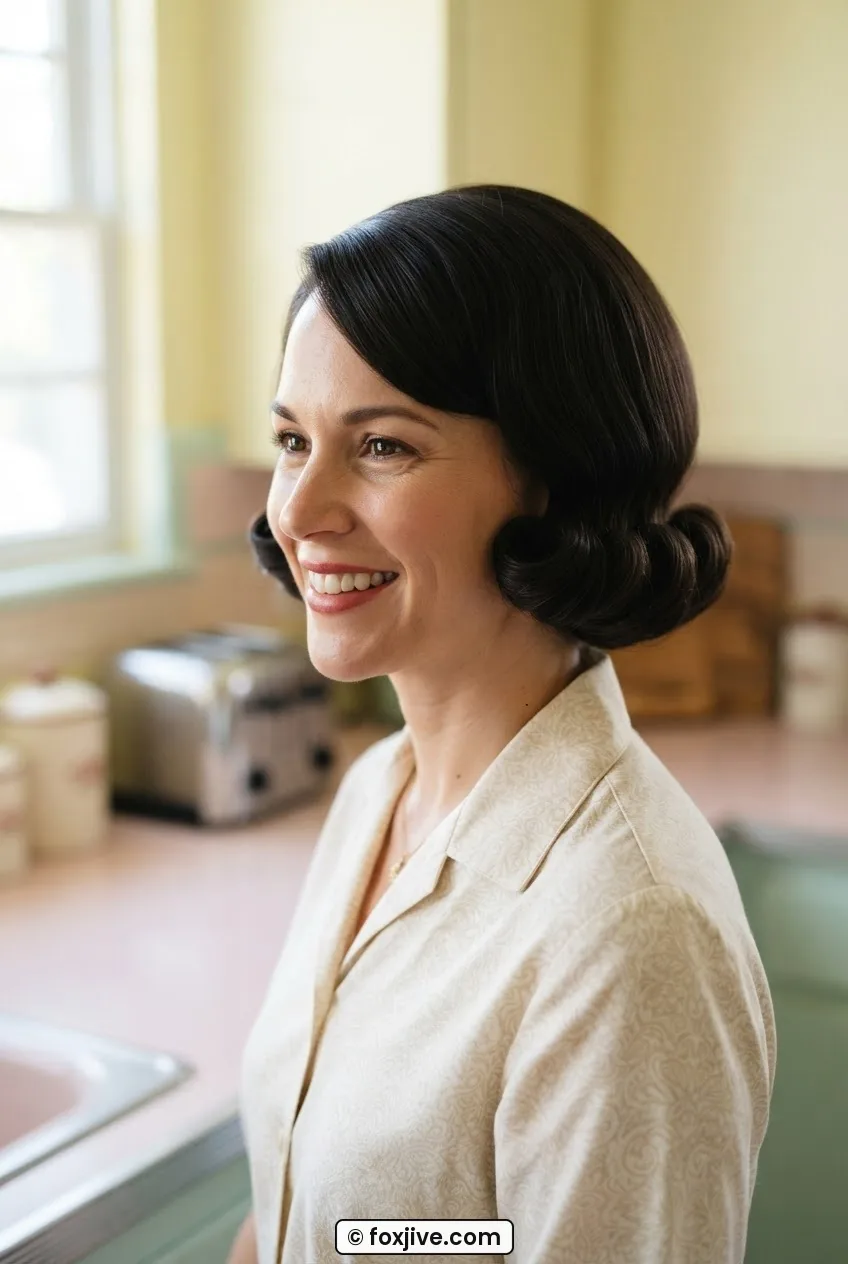
The pageboy sits at the tipping point between casual and structured. It’s typically a chin-to-shoulder length cut where the ends curl under in one smooth, uniform direction. The top is usually pressed smooth, maybe with a subtle side part. The overall shape is a rounded helmet — neat, contained, very Donna Stone.
Where the height comes from in a pageboy is the curl-under at the ends lifting the bottom perimeter of the hair. It’s not dramatic lift — more like the hair stands at attention rather than lying flat. You can get this with a large-barrel curling iron on the bottom two inches of each section, working inward, or with rollers set while damp. Medium to thick hair does this most naturally. Fine hair can achieve it but may need a volumizing mousse at the roots to keep the top from going flat while the ends are doing all the work. Damage risk from the heat of repeated curling sessions adds up over time — consider wet-setting with rollers a few days a week instead.
7. The Half-Up Bouffant
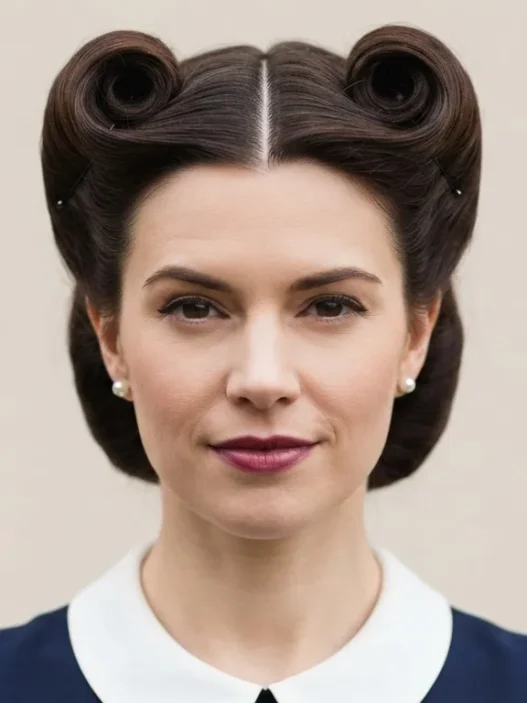
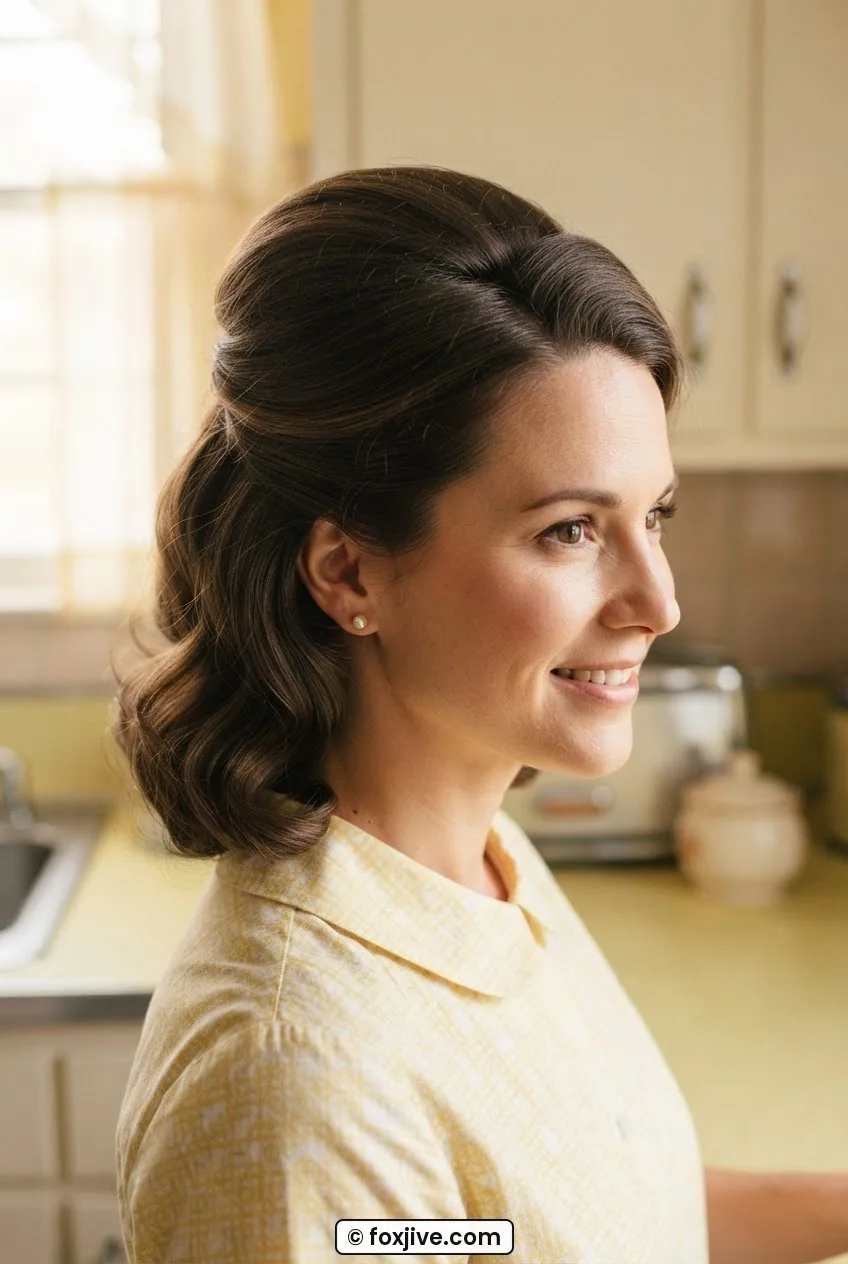
Now we’re building real volume. The half-up bouffant keeps the lower half of the hair loose or softly curled while the crown section is lifted, backcombed, smoothed over, and secured. The height is genuine — easily two to three inches of lift at the crown — but because only the top section is elevated, it reads as elegant rather than over-the-top.
This is where backcombing enters the picture properly. You tease the underlayer of the crown section — not the surface hair, the layer underneath — directionally toward the roots, then smooth the top layer back over it gently before pinning. A light mist of hairspray between each teasing pass helps the structure hold without turning into a bird’s nest. You can use a small doughnut pad or a teasing comb with a tail to create a smoother base, which is especially helpful for fine hair that loses its lift by lunchtime. Fine hair honestly benefits most from a small hidden pad here; don’t be proud about it, just use it.
Damage note: consistent backcombing does roughen the cuticle. If this is a weekly style for you, invest in a good deep conditioning treatment — repairing teased hair is a real concern, and your ends will thank you for staying ahead of it.
8. The Rockabilly Pompadour
The pompadour is where the 1950s got genuinely defiant. Technically borrowed from the men’s side of the decade, women — especially in rockabilly and early rock-and-roll scenes — took it and made it their own: the front section swept dramatically upward and back, creating a rolling wave of hair that could stand three to four inches above the forehead at its most extreme.
Construction: this requires backcombing the front section aggressively, rolling it forward and up over itself, and pinning it from underneath. Some women use a small foam or fabric roll tucked into the base to give the pompadour its curve — without it, the roll tends to go floppy within an hour. Pomade or wax on the surface smooths the style and gives it the high-shine, sculpted look associated with pin-up styles of the era.
Fine hair can technically do a pompadour but it will be smaller and require a pad. Thick hair makes a naturally dramatic pompadour with less effort. This is one of the styles that looks best on longer faces and oval face shapes — the strong horizontal line of the roll adds width at the top. And yes, the backcombing damage is real here. Go easy on frequency and deep-condition religiously. You can also explore the 9 victory roll ideas ranked by how long they take if you’re looking for adjacent pin-up shapes that are gentler on the hair.
9. The French Twist
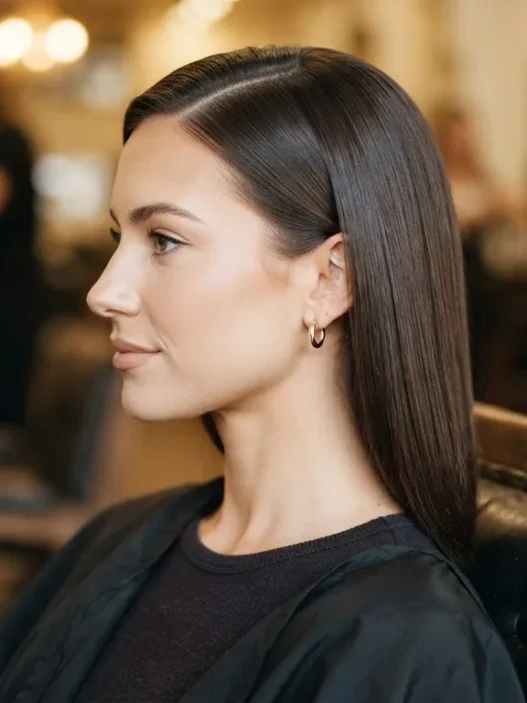
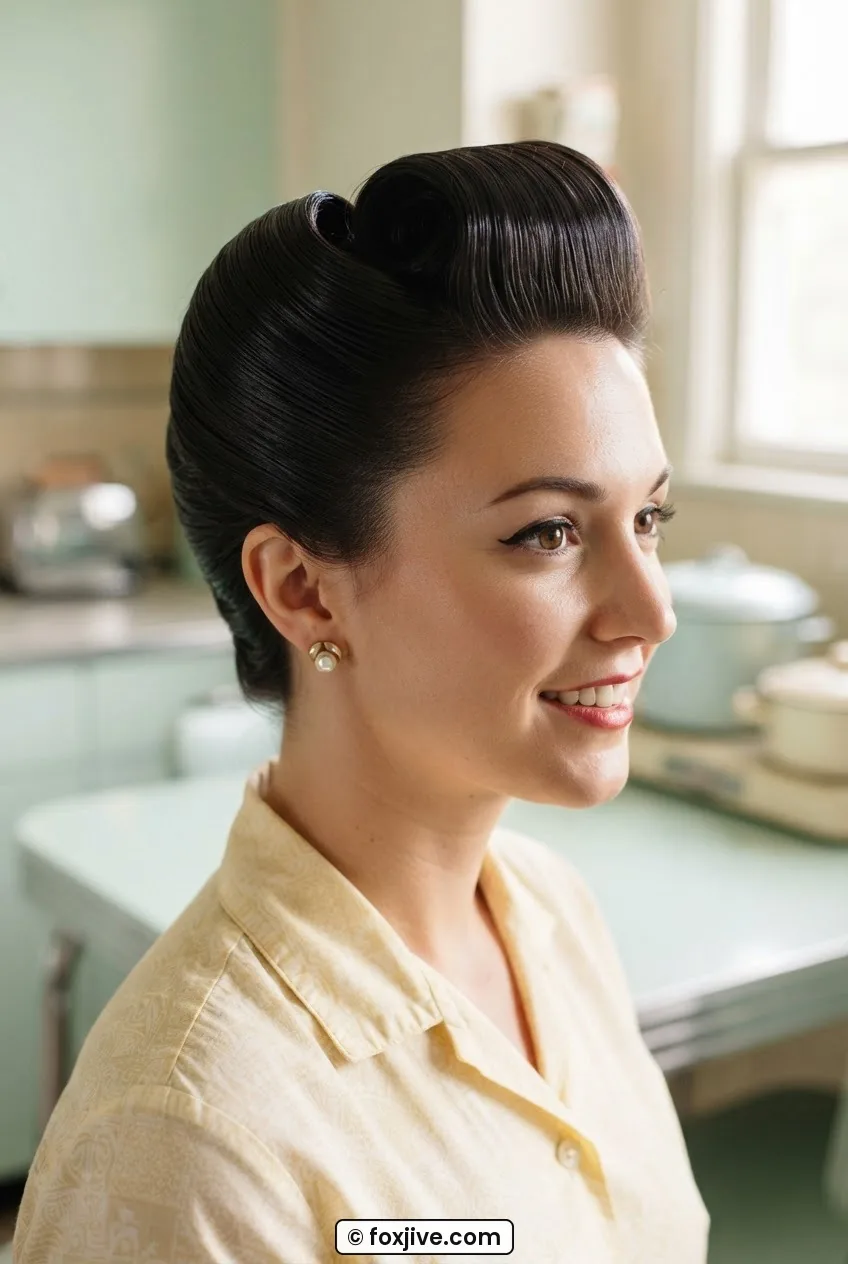
The French twist is the updo of the decade. All the hair is gathered at the back, twisted upward, and tucked into itself, creating a smooth vertical column at the center back of the head. The height here is really height on the vertical axis — it lifts the visual weight of the hair upward toward the crown and elongates the neck in a way that feels unmistakably 1950s formal.
What I love about the French twist is that it’s one of the few styles on this list that actively rewards fine hair. Fine hair lays flatter and stays inside the twist more easily than thick hair, which tends to escape and requires industrial quantities of pins. Medium hair is the ideal. Thick hair can do a French twist but will need to be sectioned and smoothed before folding to avoid bulk.
She’s wearing hers very sleek in the photo, which is the more formal version — you can also leave a few face-framing pieces loose at the temples for a softer, more everyday finish. Padding: none needed. Backcombing: sometimes a very small amount at the crown to give the top of the twist a smooth dome rather than a flat line. Damage risk is minimal — this is a protective style in the best sense.
10. The Poodle Cut
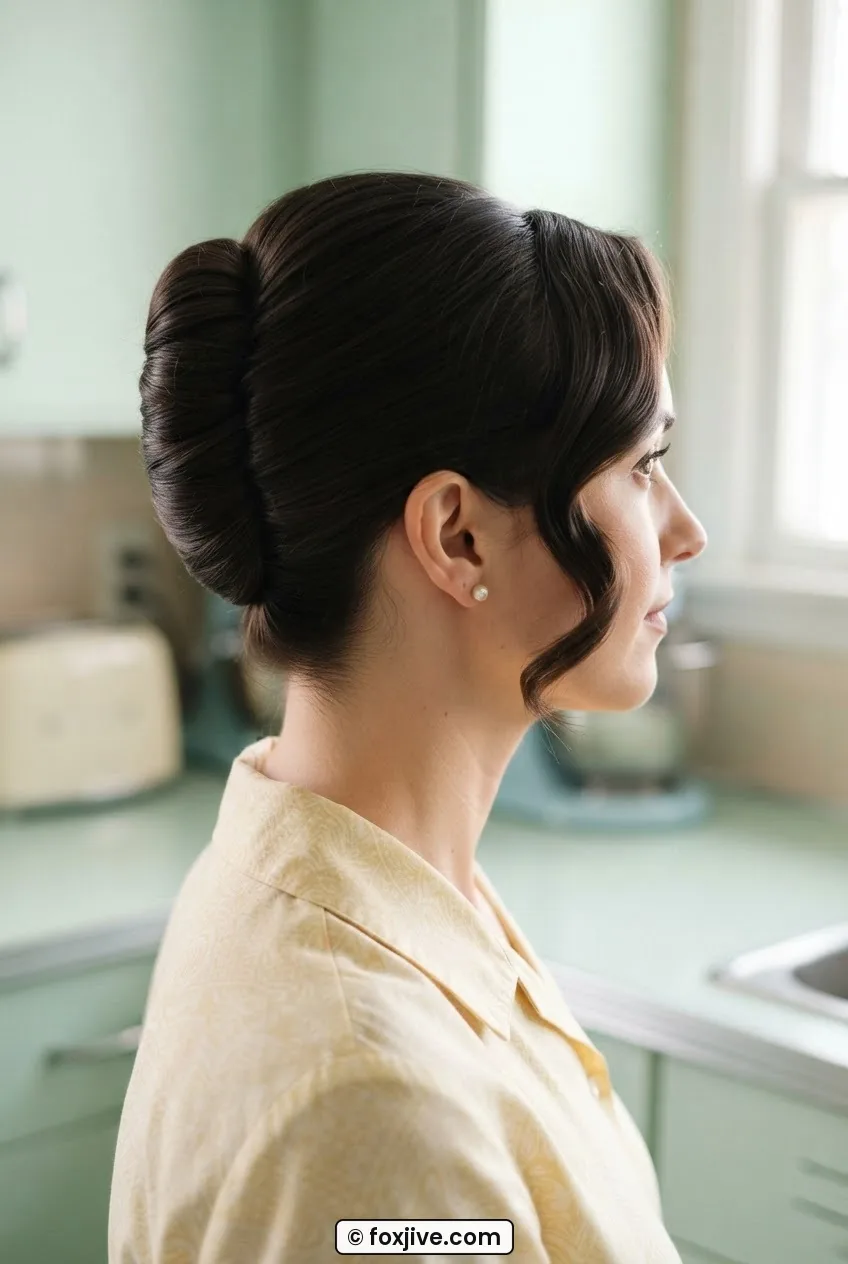
The poodle cut gets talked about constantly in the context of 50s hairstyles, and it deserves its reputation — but it’s also frequently misunderstood. It’s not just short curly hair. It’s a specific cut: short all over, with tightly coiled curls that are stacked and layered to create a rounded shape that’s fullest at the crown and temples and tightest at the nape.
The height comes entirely from the curl texture — no backcombing, no padding. Which means this is genuinely a style built for naturally curly or permed hair. If you have straight or wavy hair, you can get close with a perm, but understand that a perm is a permanent chemical process and the integrity of your hair before and during the perm matters enormously. Ask your stylist about permed hair aftercare because what you do in the first 48 hours determines how the curl holds long-term.
Naturally curly hair does this beautifully with the right cut and minimal product — a curl cream or light gel to define without crunching, diffused on low heat. Fine wavy hair should probably sit this one out unless they’re committing to a perm. The silhouette is round and joyful and very specifically mid-century American, and when it works, it really works.
11. The Full Crown Bouffant
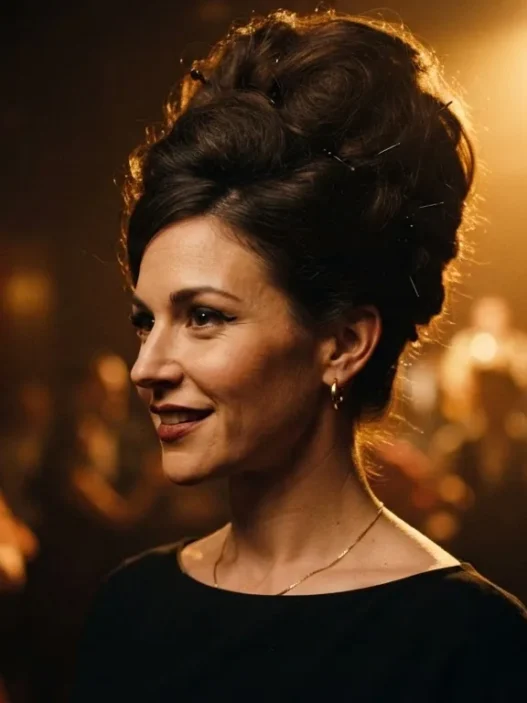
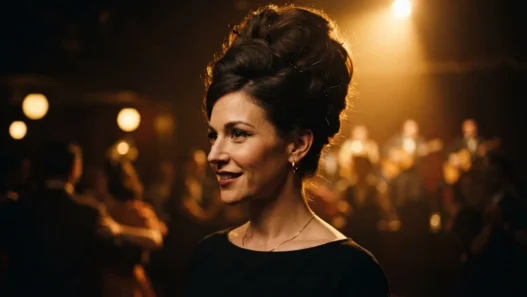
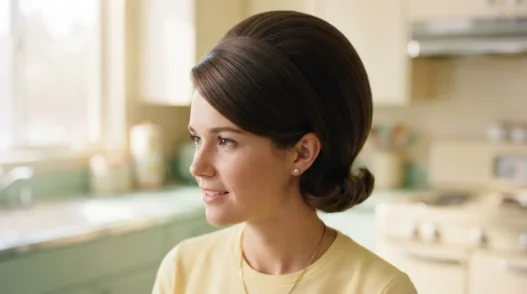
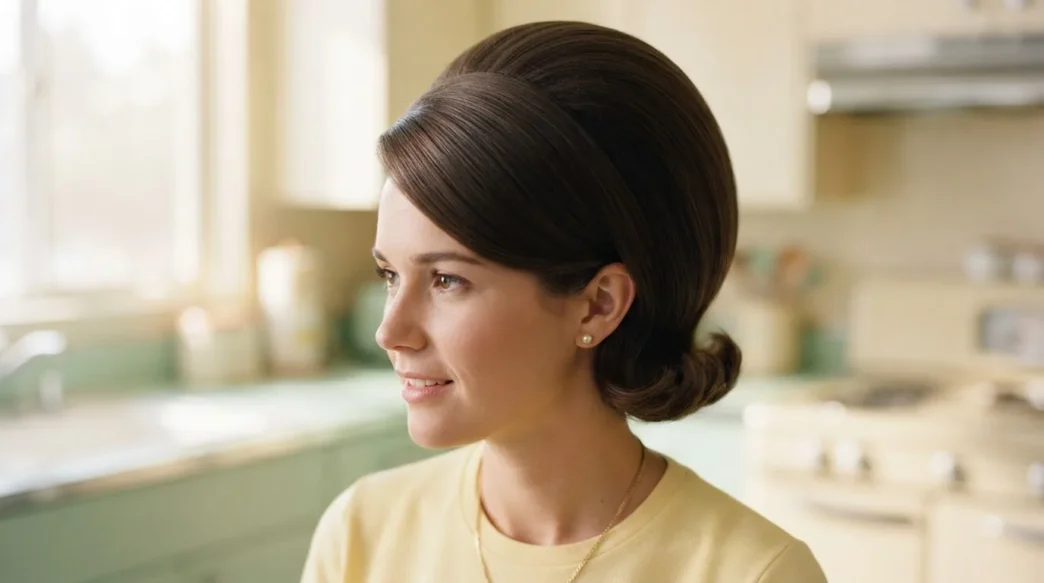
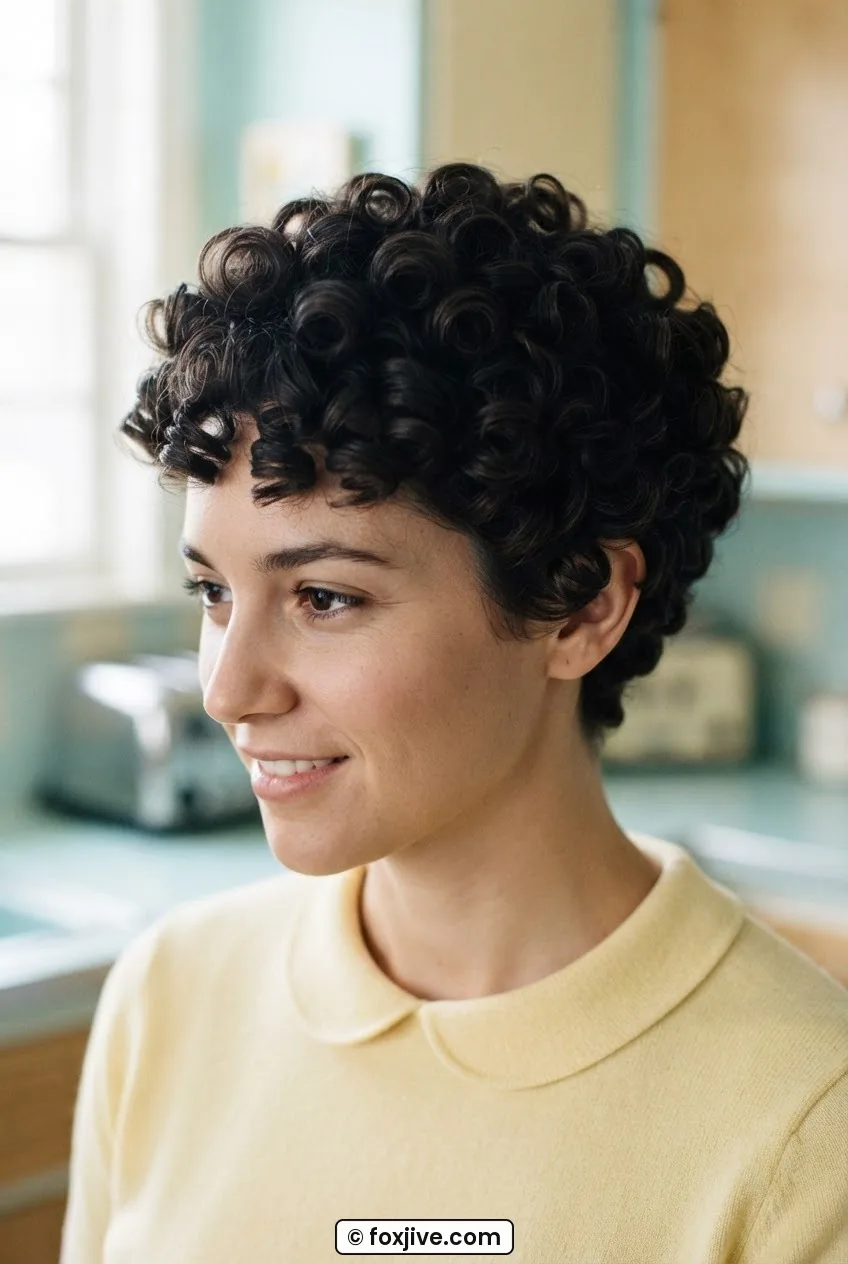
This is the summit. The full crown bouffant is the style that transitions into early-1960s territory — it’s the shape that eventually becomes the beehive — but in its 1950s form it’s rounder, lower, and more polished. We’re talking four to five inches of lift at the crown, covering the entire top section of the head, creating a smooth dome that sits high above the natural hairline.
The construction here is serious. You will backcomb in layers — small sections, directional teasing from mid-shaft to root, hairspray between passes. For the fullest version, a bouffant pad (a fabric or foam form in an oval shape) is placed at the crown and the surface hair is combed back smoothly over it. Without a pad, fine hair cannot achieve this shape. Thick hair can get close with backcombing alone but will still benefit from a small pad to hold the dome shape through a long day.
The surface layer is then smoothed with a soft brush — never a regular brush on a bouffant, use a cushion brush or a paddle and be very gentle — and pinned or held with invisible pins at the back. A lacquer-finish hairspray holds everything in place. Look at the scale she’s achieved in the photo — that smooth, unbroken dome is the goal. A single hair out of place on the surface layer breaks the whole illusion.
Damage from the bouffant is the highest of anything on this list. Weekly teasing at this intensity will roughen the cuticle, cause breakage, and reduce the hair’s elasticity over time. If this is a once-a-month statement style, your hair will recover between sessions. If it’s weekly, you need a serious conditioning routine — and keep an eye on what your hair tells you. Shedding, brittleness, and split ends that reach higher than usual are all signs to pull back. For context on how to support your hair between heavy styling sessions, resources from institutions like the about page and community spaces you trust are a good starting point — but a trichologist is worth a visit if you’re noticing real damage.
What Fine Hair Can and Cannot Do Here
I want to be straight with you: fine hair can participate in most of these styles, but not without help. The soft wave, Italian boy cut, pin curl set, neck roll, and French twist are genuinely accessible to fine hair without compromise. The half-up bouffant, pompadour, and rockabilly styles work with a pad — and there’s no shame in that. The poodle cut requires curl texture that fine straight hair simply doesn’t have. And the full crown bouffant, done honestly, needs both a pad and accepts that fine hair will require more hairspray and more careful handling of the surface layer.
The thing about the 1950s that I find genuinely comforting is that women then used every tool available to them. Pads, nets, pins, rollers, scarves worn overnight — it was all fair game. Using a pad isn’t cheating. It’s period-accurate engineering. Anyone who tells you otherwise has probably never tried to hold a bouffant on fine hair past 11am.
Quick Answers
Can I do 50s hairstyles on really fine hair?
Yes, but choose styles that work with your hair rather than against it. The pin curl set, soft side wave, neck roll, and French twist are all genuinely fine-hair-friendly. For bigger styles like the bouffant or pompadour, use a foam pad hidden underneath the surface hair — this is exactly what stylists did in the 1950s, so it’s not a workaround, it’s the real technique.
How bad is backcombing for your hair long-term?
Consistent, aggressive backcombing does roughen the hair cuticle and increases breakage risk over time. The key word is consistent — an occasional styled night out won’t ruin your hair. But if you’re teasing weekly for volume, deep-condition at least once a week and be gentle when detangling afterward. Always start detangling from the ends up, never from the roots down.
What’s the easiest 1950s hairstyle for beginners?
The soft side wave or the neck roll. Both require minimal tools, no backcombing, and hold well throughout the day. The pin curl set is also beginner-friendly once you learn the basic technique — and it’s incredibly versatile since you can brush it out into waves or leave the curls more defined depending on your mood.
Do I need vintage products to get authentic 50s hair?
Not at all. Modern equivalents work just as well or better. A medium-hold mousse replaces setting lotion, a flexible-hold hairspray replaces lacquer (and won’t make your hair feel like a helmet), and any good pomade works for the sleeker styles. The technique matters far more than what brand is on the bottle.
How long does a pin curl set take to dry overnight?
Typically 6–8 hours if your hair is medium thickness and mildly damp when you set it. Very thick or long hair may need the full night. Sleeping in a silk cap or satin bonnet over the pin curls protects the set and reduces frizz — this is genuinely worth doing, it makes a noticeable difference in how the style turns out in the morning.
That’s the whole lineup — from one quiet wave to a crown you’d need a doorway to clear. If you’re just starting out with vintage hair, I’d genuinely say begin at number three. The pin curl set teaches you the foundational skill that unlocks most of the rest of the list, and there’s something deeply satisfying about sleeping in those little spirals and waking up to something that looks like it belongs in a different decade. Once you’ve got that down, work your way up. And if you want to connect about technique or swap notes on what’s working, feel free to reach out via the contact page — I love hearing how these styles are going for people in the wild.