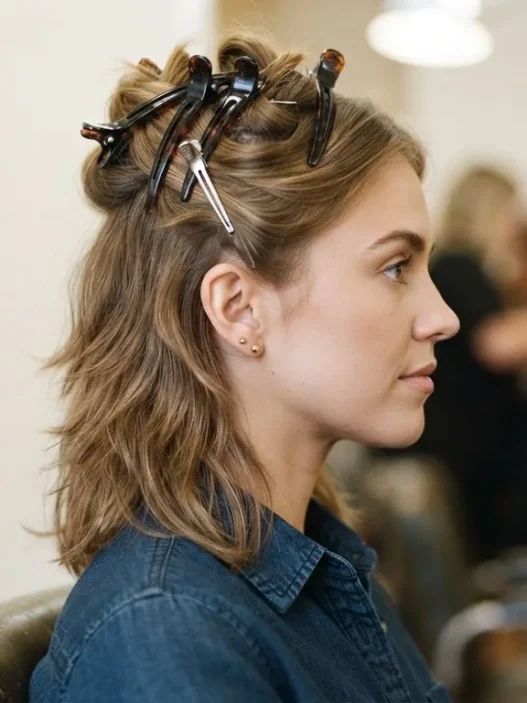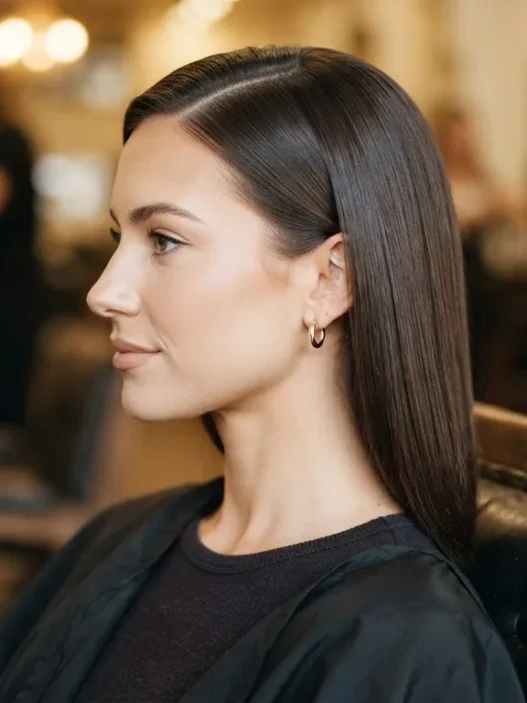







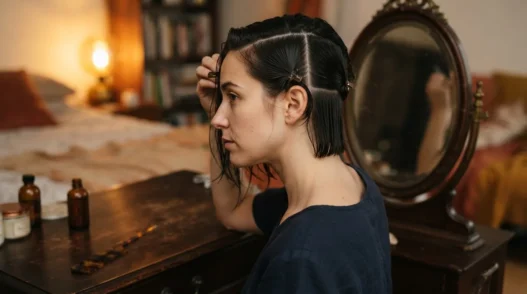
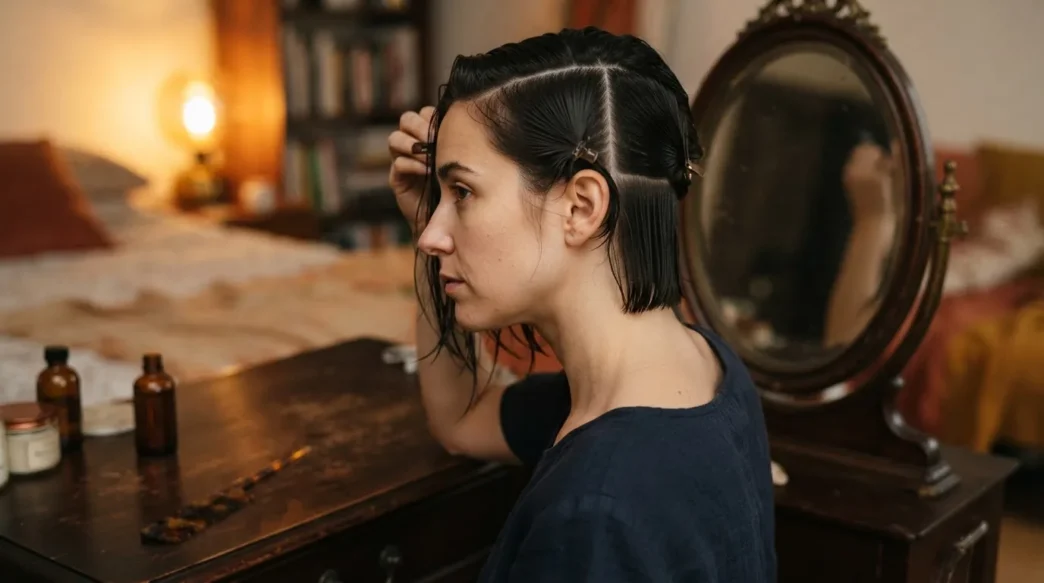
I ruined my first pin curl set before I even got to the brush-out. I wound every section the same direction, dried it for three hours, then used a paddle brush and watched the whole thing collapse into a poodle cloud. That was the moment I realized pin curls aren’t just about the winding — they’re about understanding that the brush-out is the actual skill, and everything before it is setup. Once I started treating the set as prep work for that final stage, everything changed.
What You’ll Need
Nothing on this list is expensive or hard to find. Most of it I already had in a drawer. You want to gather everything before you start because once your hair is damp and you’ve begun sectioning, stopping to hunt for clips turns into a mess.
- A spray bottle filled with water (or a setting lotion diluted with water — about 2:1 water to lotion)
- A rat-tail comb for clean partings
- At least 40 single-prong pin curl clips — seriously, 40 minimum. More if your hair is thick.
- A light-hold setting lotion or mousse (I like one with a flexible hold, not stiff)
- A fine-tooth comb or a bristle brush for the brush-out
- Bobby pins for any stray sections at the nape
- A hairnet if you’re sleeping in the set
- A hood dryer or diffuser — or time. A lot of time.
One thing worth mentioning: the clips matter more than people think. Single-prong pin curl clips grip flat curls without leaving a dent mark. Double-prong clips leave an impression right through the center of the curl. I’ve made that mistake. Use the single-prong ones.
The Sectioning Map
This is where most tutorials skip over something critical. They just say “section your hair” and show a photo. But where you place the sections determines whether you get a cohesive wave pattern or a chaotic jumble of spirals pointing in six different directions.
Here’s the map I use. Think of the head in five zones:
- Zone 1 — The bang area: From the front hairline to the crown, roughly the width of four fingers. This is where your face-framing curls live.
- Zone 2 — Left temple to just behind the ear: A curved strip following the natural hairline.
- Zone 3 — Right temple to just behind the ear: Mirror of Zone 2.
- Zone 4 — The crown and upper back: Everything from the crown seam down to the occipital bone.
- Zone 5 — The nape: Below the occipital bone to the hairline. Smaller curls, slightly tighter sections.
For a full head with shoulder-length hair, I typically wind around 36 to 42 curls total. Zone 1 takes about 8 curls, Zones 2 and 3 take 6 each, Zone 4 takes about 12, and Zone 5 fills in with the remaining 8 to 10. If your hair is longer, each section gets slightly more length to roll, but the count stays roughly the same. If it’s shorter — say, a chin-length bob — you might drop to 28 to 32 total and the sections get narrower to compensate.
Section size within each zone: keep each parting no wider than one inch and no deeper than half an inch. Bigger sections don’t dry properly in the center, and you’ll spend eight hours under the dryer only to pop open a clip and find a damp, undefined curl. I know because I’ve done exactly that.
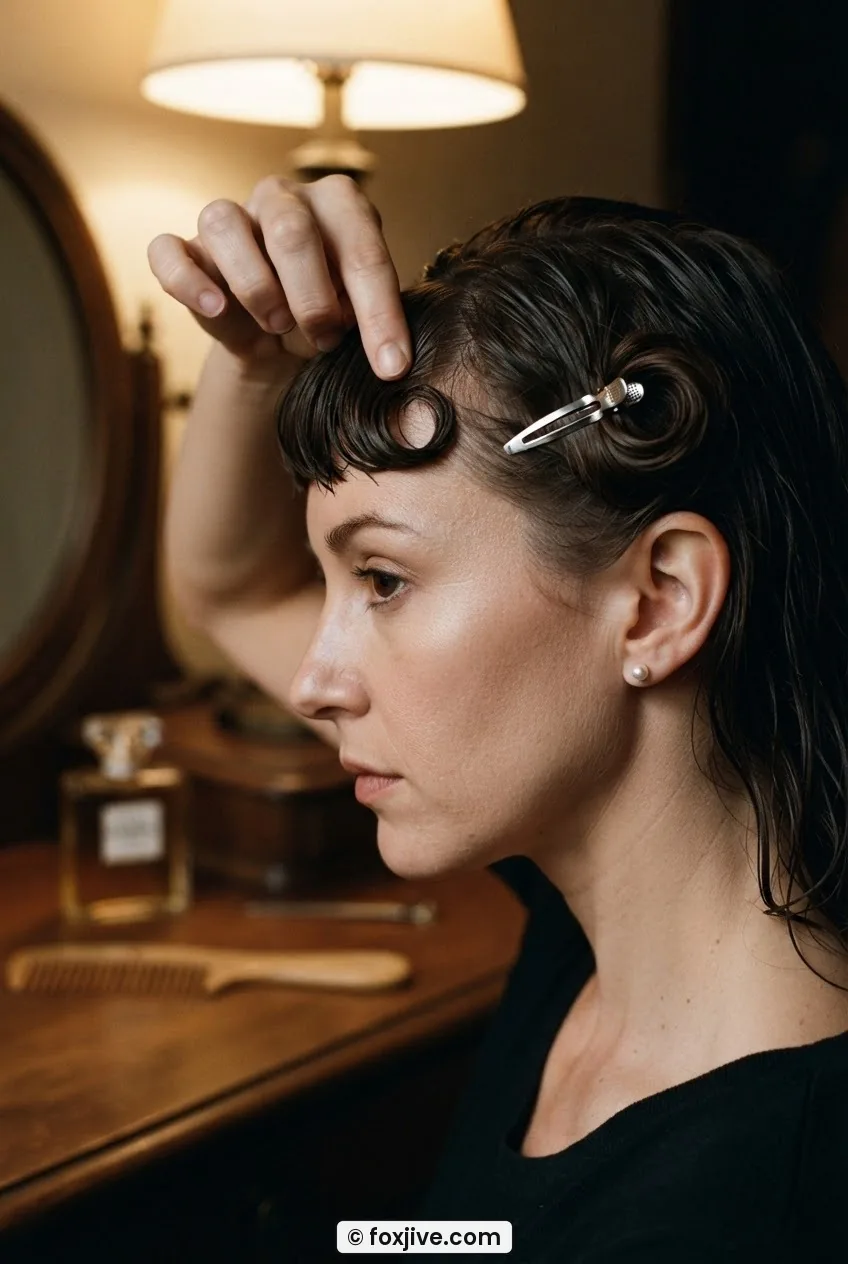
Mistake I made: I started sectioning at the front and worked backward with no plan, just grabbing whatever hair was next. By the time I reached Zone 4, I had no idea which direction I’d been winding and the finished set had curls pointing in completely random directions. The brush-out looked like static electricity, not waves. Map the zones with a comb before you wet a single strand.
Winding Direction
Direction is everything. This is the non-negotiable part of the whole process. The direction each curl is wound determines whether the finished style flows smoothly to one side, whether it falls in a uniform wave pattern, or whether it curls back toward the face or away from it. Getting this wrong is the most common reason pin curl sets look amateur even after a perfect brush-out.
Here’s how I approach each zone, and why:
Zone 1 — Bang Area
Wind toward the face, then curl downward and flat against the scalp. This means holding a section of hair out horizontally, then rolling it toward your nose rather than away from it. The result after brush-out is soft volume that frames the forehead and can be swept to either side. If you wind away from the face here, the front hair flips up and back — which can look great intentionally, but it’s a very specific 1950s upswept look, not the versatile classic wave most people are after.
Zones 2 and 3 — Temple Strips
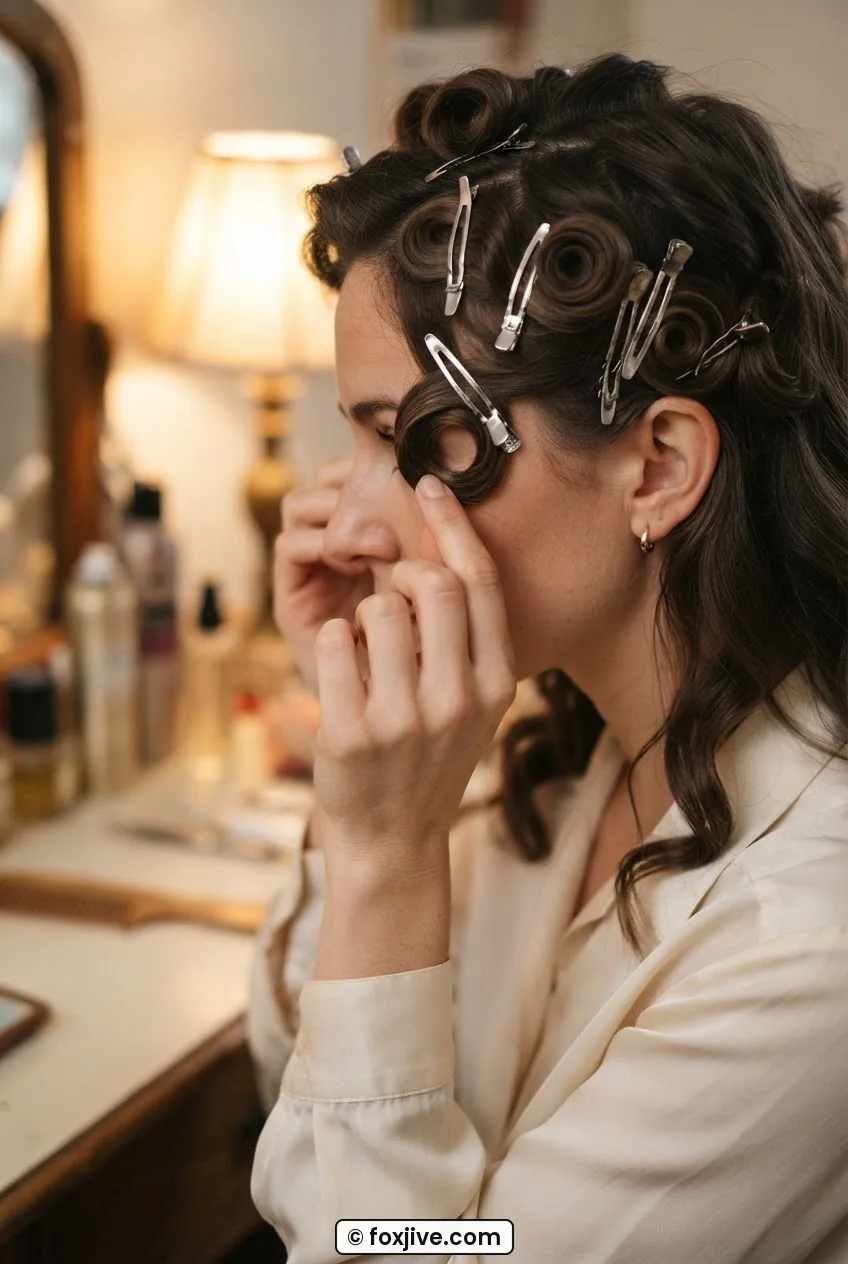
Wind each curl in the direction it will eventually flow. If you want the finished style to sweep back and away from the face (the classic 1940s Hollywood look), wind the curls in Zones 2 and 3 away from the face. If you want a face-framing curl that swoops forward over the cheek, wind toward the face. I almost always wind away on the temple strips — it elongates the look and plays beautifully with the bang area curls, which are coming in the opposite direction and create a natural wave ridge where they meet.
That ridge is important. It’s not a mistake — it’s literally what creates the “wave” in the final style. Those two opposing curl directions meeting at the same line produce the visual dip that looks like a vintage wave set. If you wind everything in the same direction across Zones 1, 2, and 3, you get curl but no wave pattern.
Zone 4 — Crown and Upper Back
Here I alternate. The left side of Zone 4 winds to the left, the right side winds to the right. This symmetry means the brush-out fans out evenly from the crown rather than all the volume falling to one side. It also means when you brush the back curls together, they blend into a smooth, unified shape rather than fighting each other.
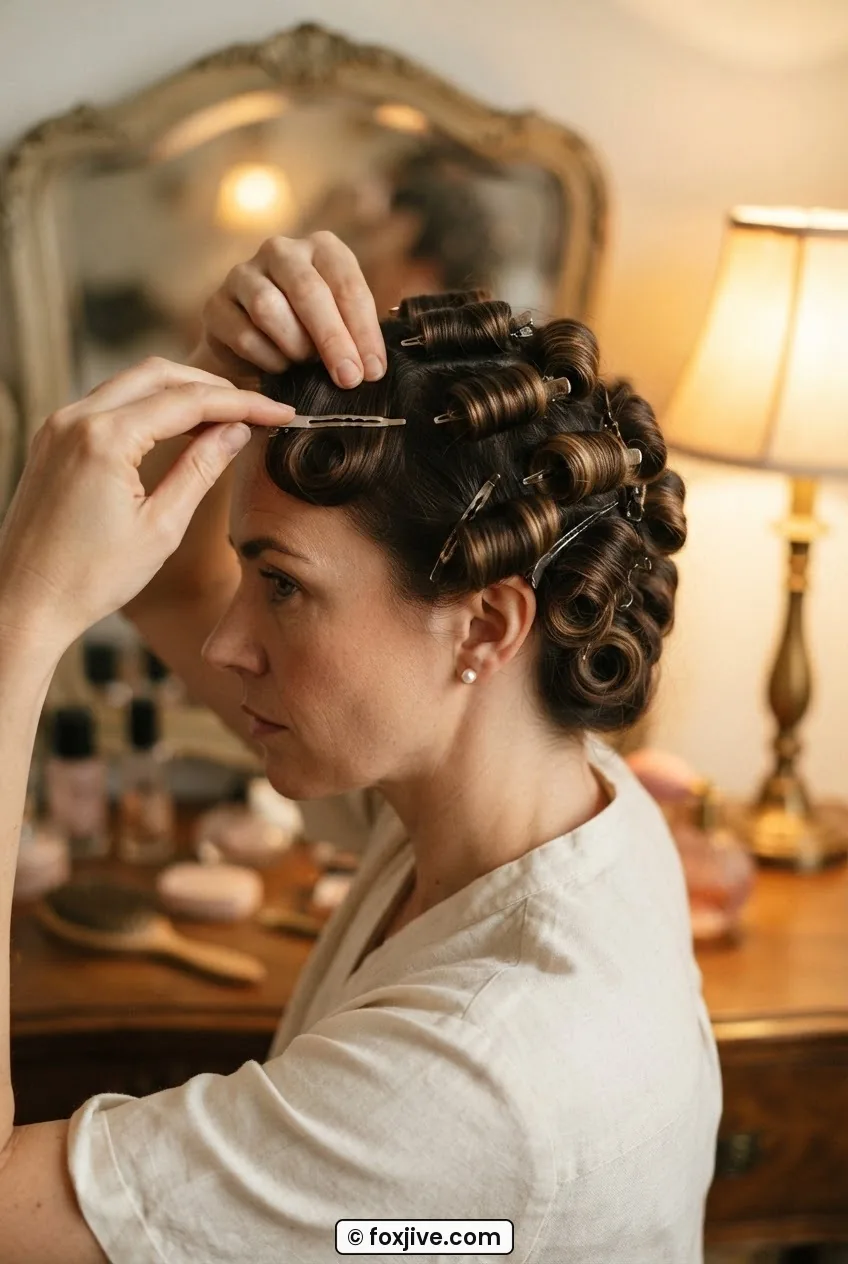
Zone 5 — The Nape
Wind under and inward — meaning the curl rolls upward toward the scalp and the open end of the circle faces down toward the neck. This keeps the nape area neat and prevents the hair from flipping outward at the bottom after brush-out. If the nape curls flip out, you end up with a mushroom shape. Winding them inward gives a clean, smooth perimeter that tapers toward the neck.
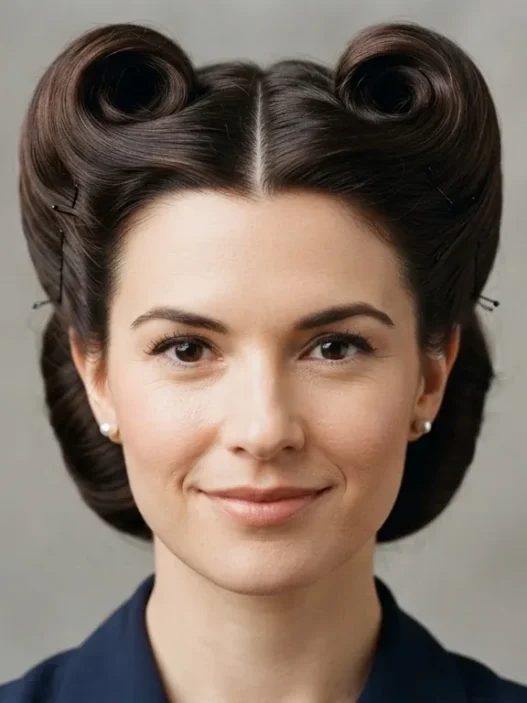
There’s a great breakdown of how direction rules apply to 1940s styles over at resources on Victory Rolls — it’s not the same technique, but understanding how directional winding shapes finished silhouettes applies across the whole decade’s styling vocabulary. And if you’re curious how Victory Rolls compare to pin curl sets in terms of time investment, the guide on 9 Victory Roll ideas ranked by how long they take puts it in useful perspective.
Step 4: Clipping and Drying
Once a curl is wound flat against the scalp — and I mean genuinely flat, not sort of flat — slide the clip in horizontally across the center of the curl circle. The clip should hold the base of the curl to the scalp without the tail of the hair springing loose. If the curl pops open as soon as you let go, the section was too dry or too large. Mist it again lightly, re-roll, clip immediately.
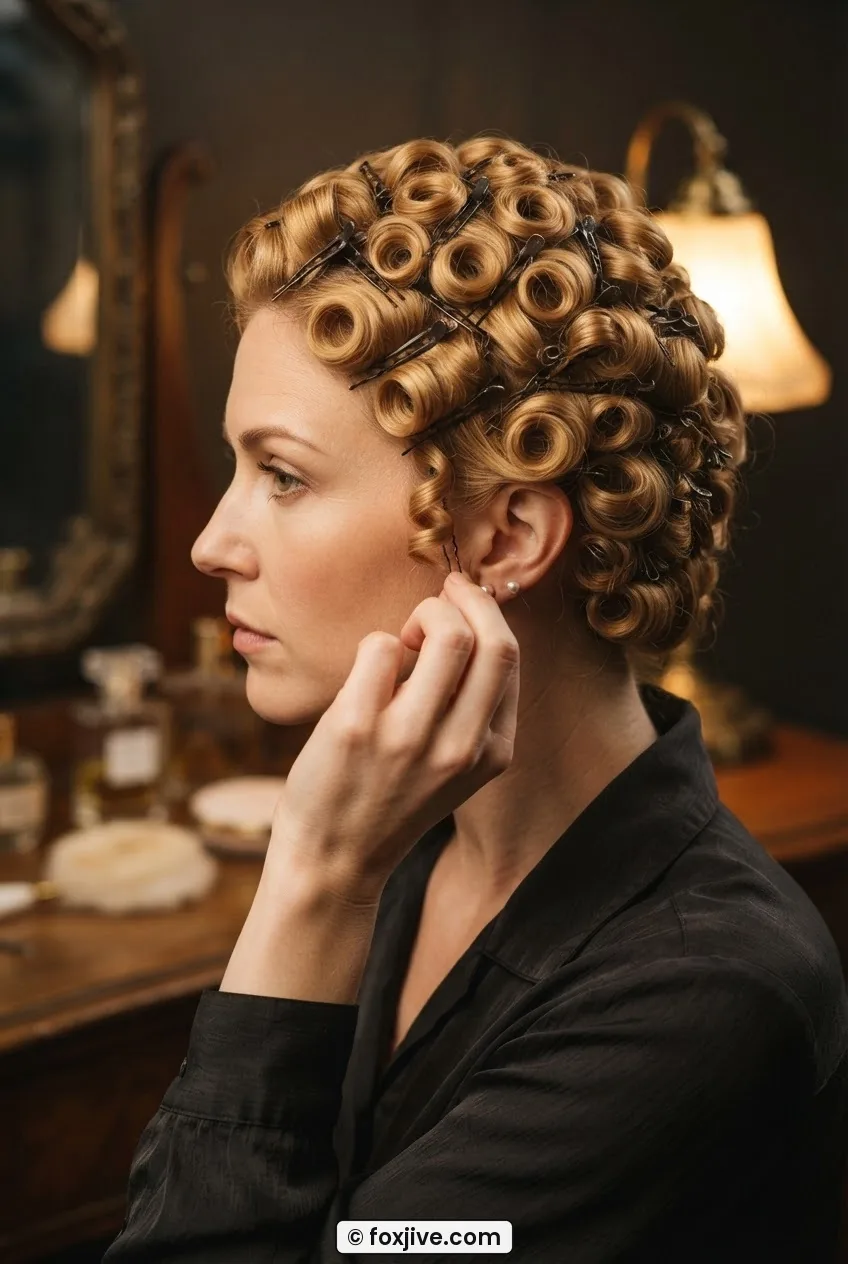
Now, drying time. I know everyone wants a number, so here it is: under a hood dryer on medium heat, expect 45 minutes to an hour for fine hair, 75 to 90 minutes for medium-thick hair. Air drying at room temperature takes 4 to 6 hours minimum. Overnight is safer. I’ve tried to rush this. I’ve taken down curls at the 3-hour mark and found them cool to the touch but still faintly damp in the interior of the curl — and a damp curl that gets brushed out drops within the hour.
The test I use: press the back of my finger against a clip-covered curl. If there’s any coolness at all — not cold, just not fully warm — it’s not done. Only when every single curl feels the same temperature as my scalp, uniformly warm, do I consider them set.
If you’re setting the night before, sleep with a hairnet over the entire set. It keeps the clips from pressing into your scalp uncomfortably and stops the curls from shifting while you move in your sleep. Not glamorous, but effective.
The Brush-Out
This is the section that makes or ruins everything. I want to say that clearly before anything else: you can have a flawless set, perfectly wound and completely dry, and destroy it in two minutes with a wrong brush-out. Most people stop too early because the result looks messy mid-process and they panic. You have to keep going.
Remove every clip before touching a single curl with the brush. Every single one. Don’t remove a row and brush as you go — the whole set needs to come down first so the curls can relax slightly and blend. Give them 60 seconds after the last clip comes out before you pick up the brush.
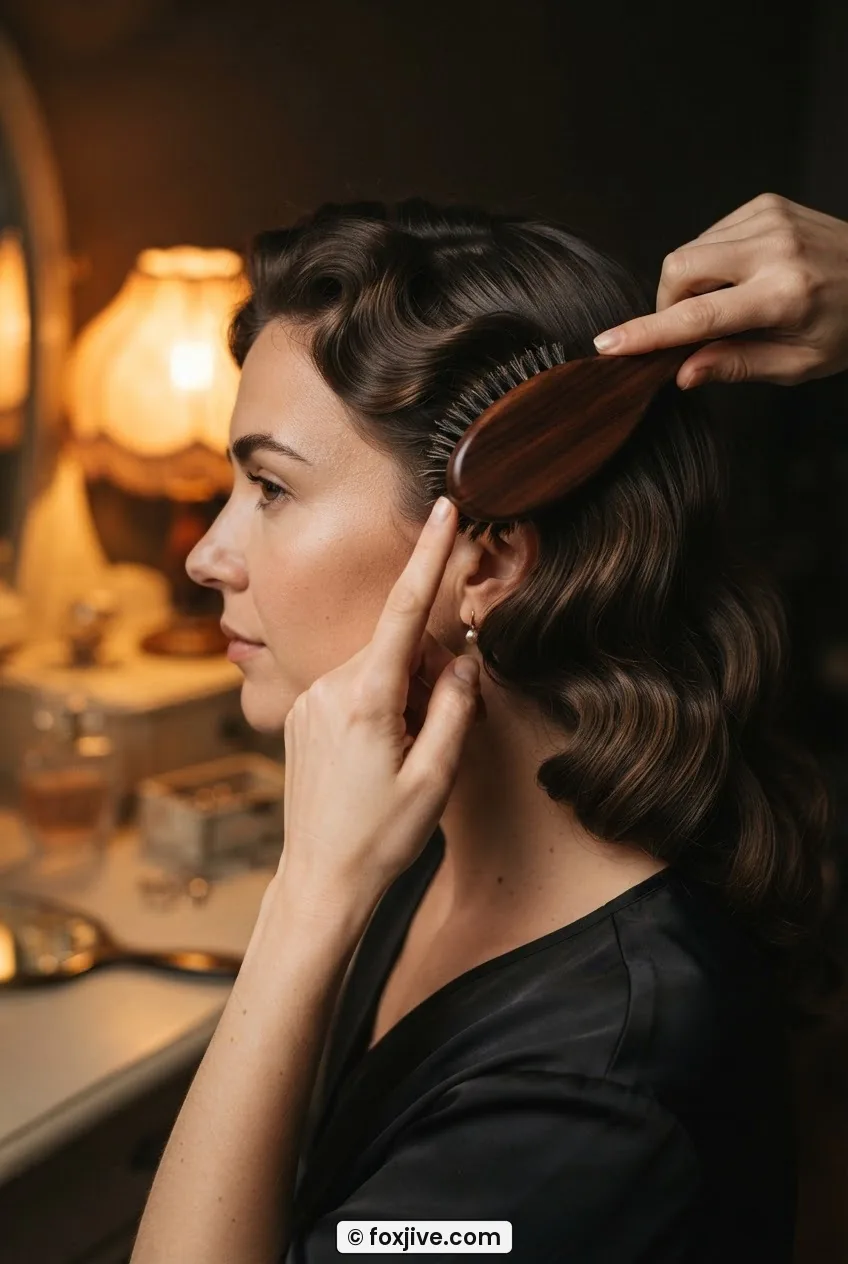
Start at the nape. Use a natural bristle brush — I use a Mason Pearson-style boar bristle brush, though a good drugstore bristle brush works too. Hold each curl at the base with your non-dominant hand, and brush the curl open in the direction it was wound, using long strokes from the scalp outward. Don’t yank. Don’t rush. You’re not detangling; you’re blending individual curls into a continuous wave pattern.
Work upward from the nape through Zone 4, then into Zones 2 and 3, and finish with Zone 1. By the time you reach the front, the back should already be falling into shape. If it looks frizzy or undefined mid-brush-out — keep going. That’s normal. The waves appear in the final passes, not the first ones.
Once you’ve brushed through the whole head once, use your free hand to guide the wave ridges. Place your fingers along where the wave should dip and smooth the brush over your fingers — this presses the wave into definition. You can also use a wide-tooth comb very lightly on the top layer if you want crisper, more defined ridges. Learning about how vintage setting techniques like this were historically done can add a lot of helpful context to what you’re actually aiming for with the final shape.
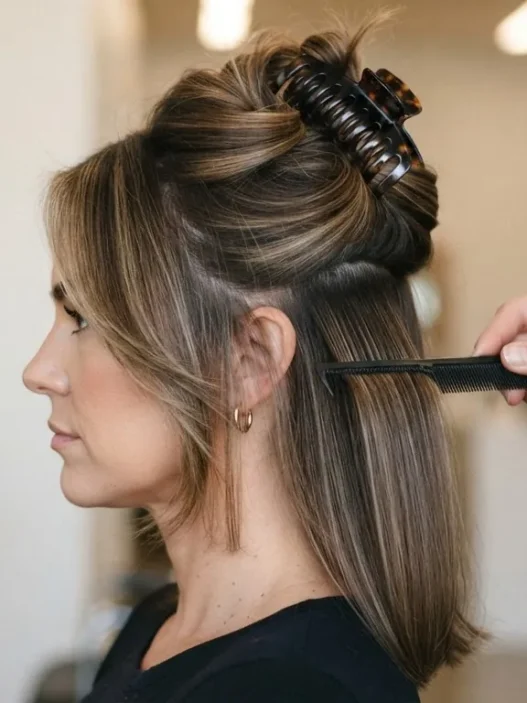
Look at how she’s working the nape section here — see the way her fingers are bracing the root while the brush moves through? That’s exactly the motion. She’s not pulling. She’s guiding.
Mistake I made: I stopped brushing after one pass because the front looked polished and I didn’t want to over-disturb it. But the back was still in individual curl ringlets, not blended. The disconnect between a smooth front and clumped back is visible and unflattering. Brush through the entire head at least twice before deciding it’s done. The front can handle more brushing than you think.
Finish with a very light mist of flexible-hold hairspray, then leave it alone for five minutes before touching anything. That’s it. You’ll notice how setting lotion affects the wave hold over time — the style softens naturally through the day in a way that still reads as intentional, not faded.
Watching the Brush-Out Click Into Place
What Result I Got
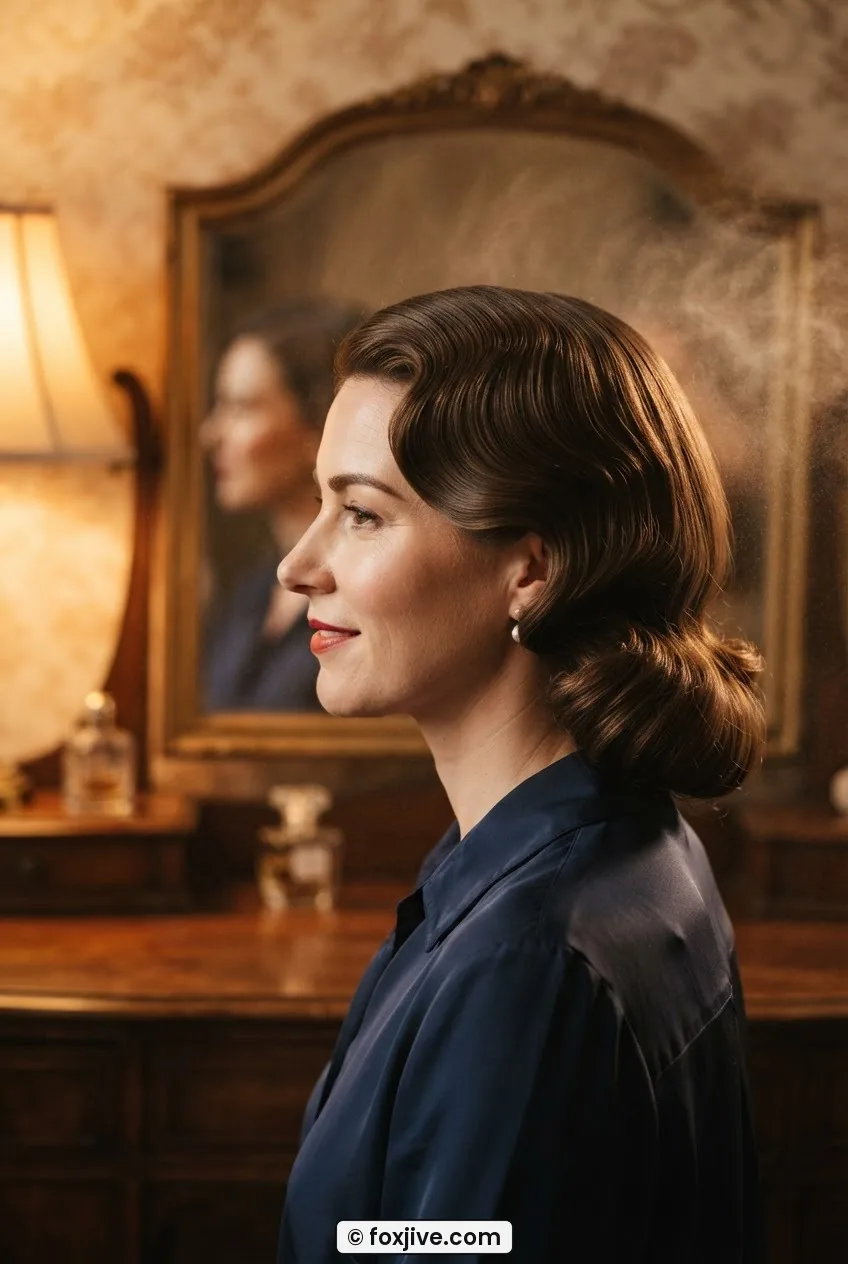
My first successful set gave me a clean S-wave pattern through the temple zones, volume through the crown that lasted a full day without touching it, and a soft, polished nape. Nothing drooped by afternoon. The front swept back naturally the way I’d aimed it during the winding step, and the wave ridges were visible without looking stiff or shellacked.
The total time was about two and a half hours, including a 90-minute dry under my hood dryer and a 20-minute brush-out. For an event, I set the night before and brushed out in the morning — that gave me an extra hour of sleep and a set that had fully relaxed into itself beautifully. If you want to go deeper into 1940s styling overall, I’ve written more about this era’s techniques — feel free to contact me with questions too, or read more about me and my vintage hair obsession.
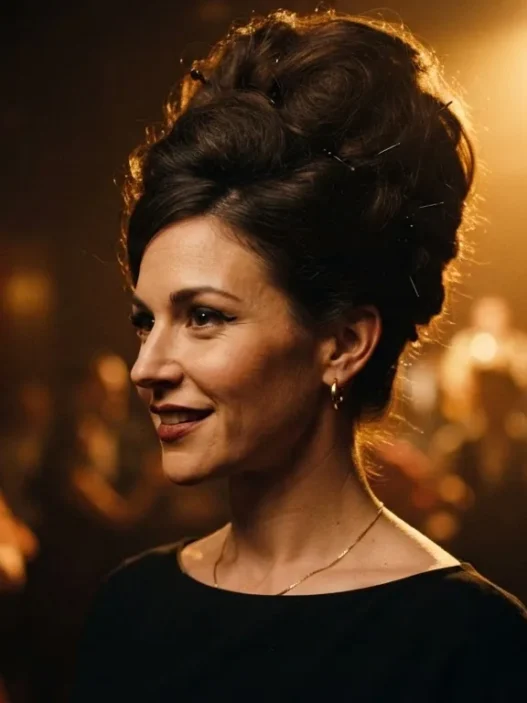
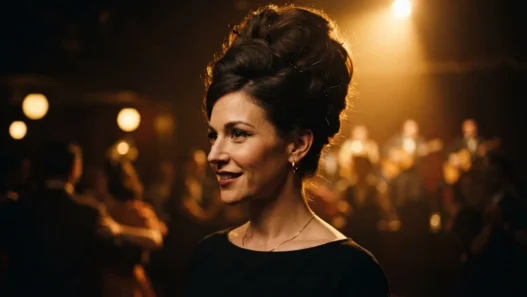
She’s got the finished look here — notice how the wave doesn’t look like individual curls anymore. That’s what a proper brush-out does. It transforms the set from “cute ringlets” into something that genuinely reads as a vintage wave style. That’s the whole point of pin curls. They’re not a curling method — they’re a wave-making method.
Questions I Get About This
Can I use pin curls on dry hair instead of damp?
You can, but the result is significantly weaker. Damp hair sets into shape as it dries, which is what locks the wave in place. Dry hair on a natural fiber needs heat to re-form — so if you’re setting dry, you’d need to use a warm diffuser directly on each wound curl, which is slow and patchy. The damp method is genuinely easier once you get used to it.
How many curls do I actually need for waves, not ringlets?
Waves come from brushing multiple curls together, not from having fewer curls. If anything, more curls (smaller sections) brush out into smoother, more defined waves because each individual curl is tighter and more uniform. Fewer, larger curls tend to stay as soft ringlets even after brushing. Aim for the 36 to 42 range I described — don’t try to shortcut it with 20 big sections.
What if my curls drop within a few hours?
Almost always a drying issue. The curls weren’t completely dry when you removed the clips, so they never fully set. Try adding 30 minutes to your drying time and do the temperature test I described — if any curl feels even slightly cool, it’s not done. A setting lotion (rather than plain water) also gives the wave more structure to hold against humidity.
Do I need a special brush for the brush-out?
A natural boar bristle brush makes the biggest difference — it smooths without separating strands the way synthetic bristles do. That said, I’ve used a medium-quality drugstore bristle brush and gotten perfectly good results. What you want to avoid is a paddle brush with widely-spaced plastic pins. Those pull the wave apart instead of blending it. You can also read up on boar bristle brush technique before your first brush-out if you want extra confidence going in.
Can I sleep in pin curls without a dryer?
Yes — this is actually how it was traditionally done. Set your hair damp in the evening, cover with a hairnet, sleep on a satin pillowcase, and brush out in the morning. Fine and medium hair usually dries fully overnight in a temperate room. Thick or coarse hair might still be slightly damp at the core, especially at the nape — if that happens, sit under a diffuser for 15 minutes in the morning before brushing out.