






I have approximately eleven minutes before I need to leave the house, and somehow I keep attempting the most icon-dependent hairstyle of the 1970s. That’s how this guide got written. I’ve done this enough times now that I know exactly what’s possible in ten minutes and — more usefully — what is absolutely not. The full Farrah Fawcett hair experience requires a sit-down, a proper heat session, and patience. This guide is the honest fast version: the one that reads period without requiring a blown schedule.
What Ten Minutes Actually Buys You
Let’s be straight about this. Ten minutes gets you the silhouette — that wide, feathered sweep away from the face, with the ends flicking outward and the crown holding a little soft volume. It does not get you the full multi-layer roller set that made Farrah’s 1976 poster look look like it had its own gravitational field. What you’re aiming for here is something that reads as a clear, deliberate reference to that era. Someone who knows hair will clock it immediately. And honestly? That’s enough for a Tuesday.
This method works best on hair that’s already been washed and dried at least once — second-day hair is genuinely ideal. Fresh-from-the-shower hair takes too long to control in this window. If you’re starting completely wet, add five minutes and accept a slightly softer result.
What You’ll Need
Nothing exotic. The tools matter more than the products here.
- A medium or large round brush — natural boar bristle if you have it, mixed bristle works fine
- A hair dryer with a concentrator nozzle attached (this is non-negotiable)
- A light-hold mousse or volumizing spray — applied to damp or lightly misted hair
- Two or three large sectioning clips
- A fine-tooth tail comb for parting
- A light-hold hairspray — flexible, not crunchy
- A drop of shine serum or a tiny amount of hair oil for separating at the end
That’s genuinely it. The technique here does most of the work, not the product. I’ve seen this look attempted with a paddle brush and it simply does not produce the same flick — the round barrel is doing specific structural work that a flat brush can’t replicate.
Minutes One to Three: Prep and Section
Start your timer and move quickly through this part — it sounds administrative but it sets every decision that follows.
Part your hair down the center or slightly off-center. Farrah’s original look used a deep side part in some shots and a softer center in others — either reads correctly, so use whichever your hair naturally falls into. Fighting your natural part in a ten-minute window is a losing battle.
Mist your hair lightly with water if it’s too dry to take any memory — you want it about 80% dry. Apply a small amount of volumizing mousse to your roots and through the mid-lengths, then rough-dry with your fingers for about forty seconds just to get air moving. You’re not styling yet, just waking the hair up.
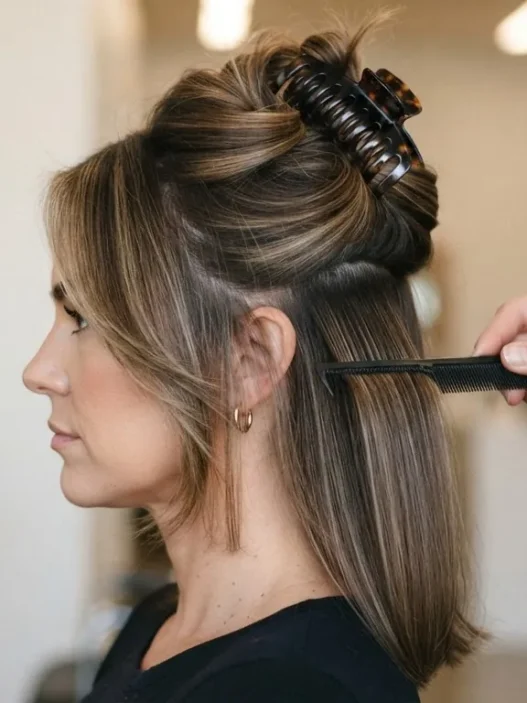
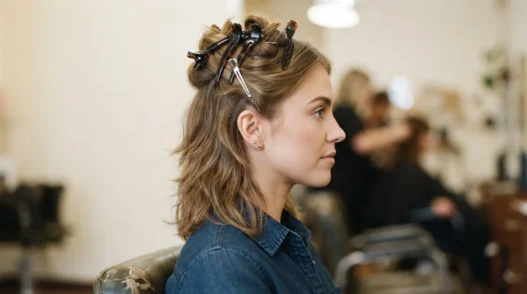
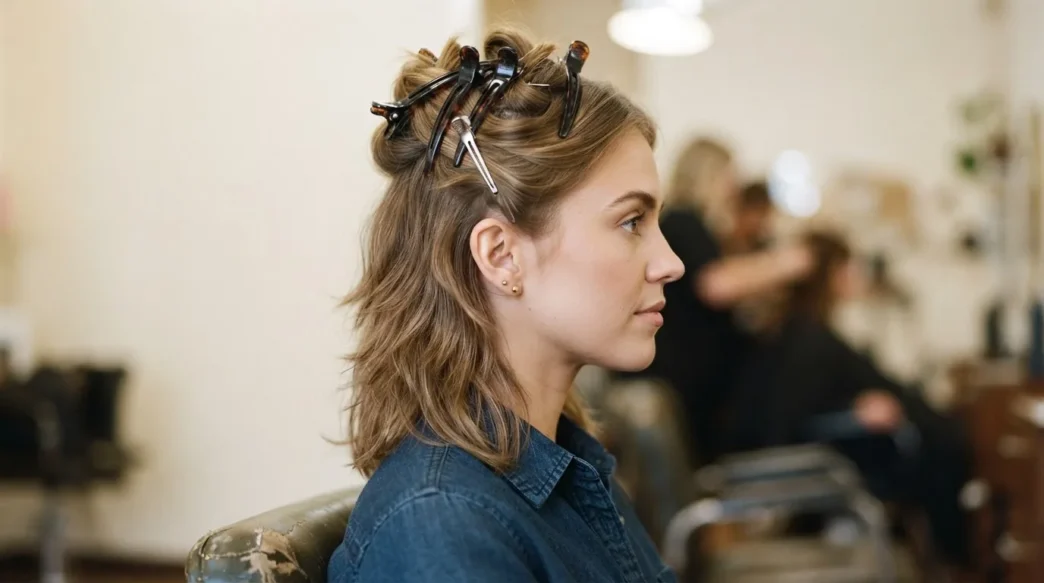
Now clip the top section — everything from your ears upward — out of the way. You’ll work the under-layers first, then release the top. This is the same logic professional blow-dry stylists use and it’s the part most people skip at home. Don’t skip it. It takes thirty seconds and it’s what stops everything from collapsing when you get to the crown.
Minutes Four to Seven: The Round-Brush Flick
This is where the four minutes actually go. Do not rush the individual sections — do fewer of them instead.
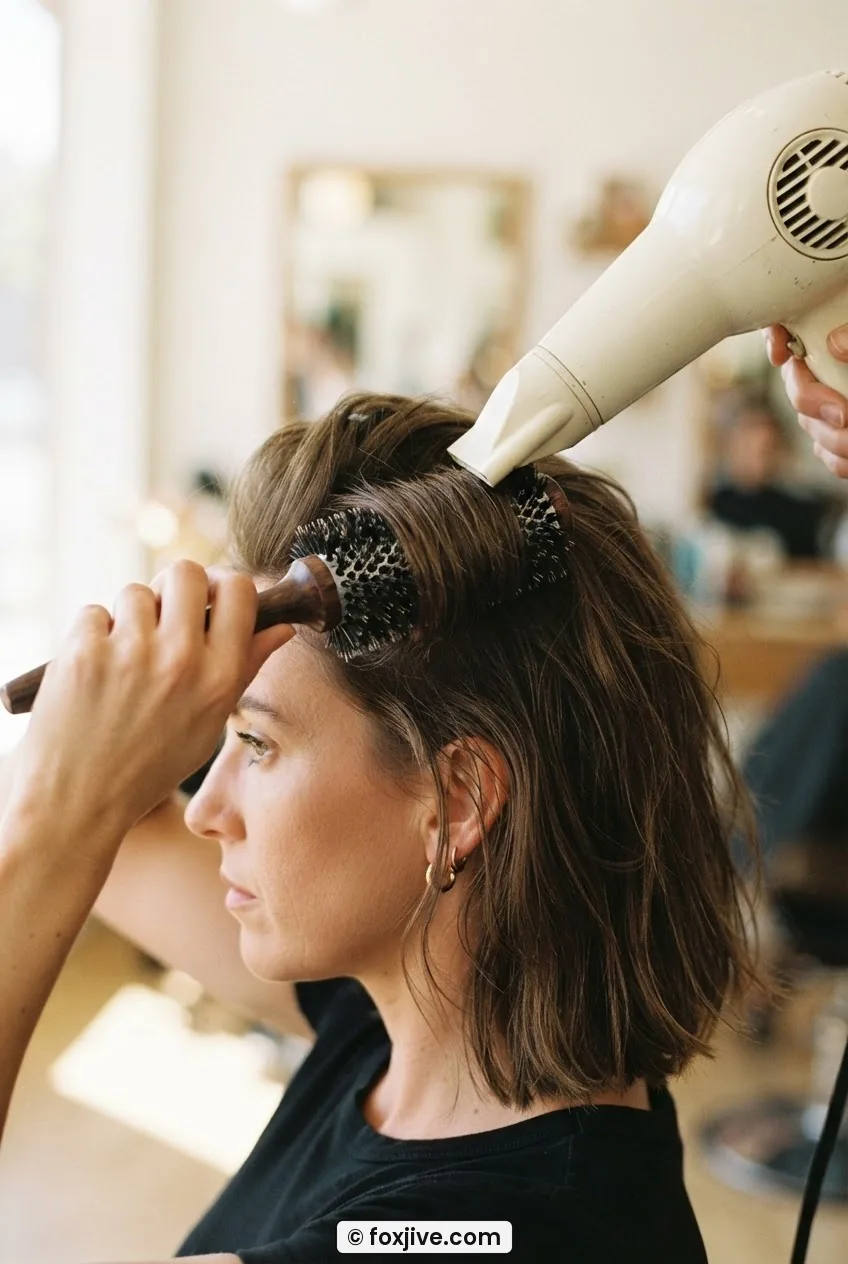
Take a section from the under layer on one side, roughly two inches wide. Place the round brush underneath the section, close to the roots, and point the concentrator nozzle downward along the brush as you draw it from root to mid-length. When you reach the last two inches of hair — the ends — roll the brush away from your face and pause. Hold the dryer on that position for a full count of five. Then gently unroll and move on.
That pause is the entire secret of the flick. The heat has to set the curve before you move. Blow-drying with a round brush is genuinely a learned skill, but this one pause is the shortcut that gets you 80% of the result.
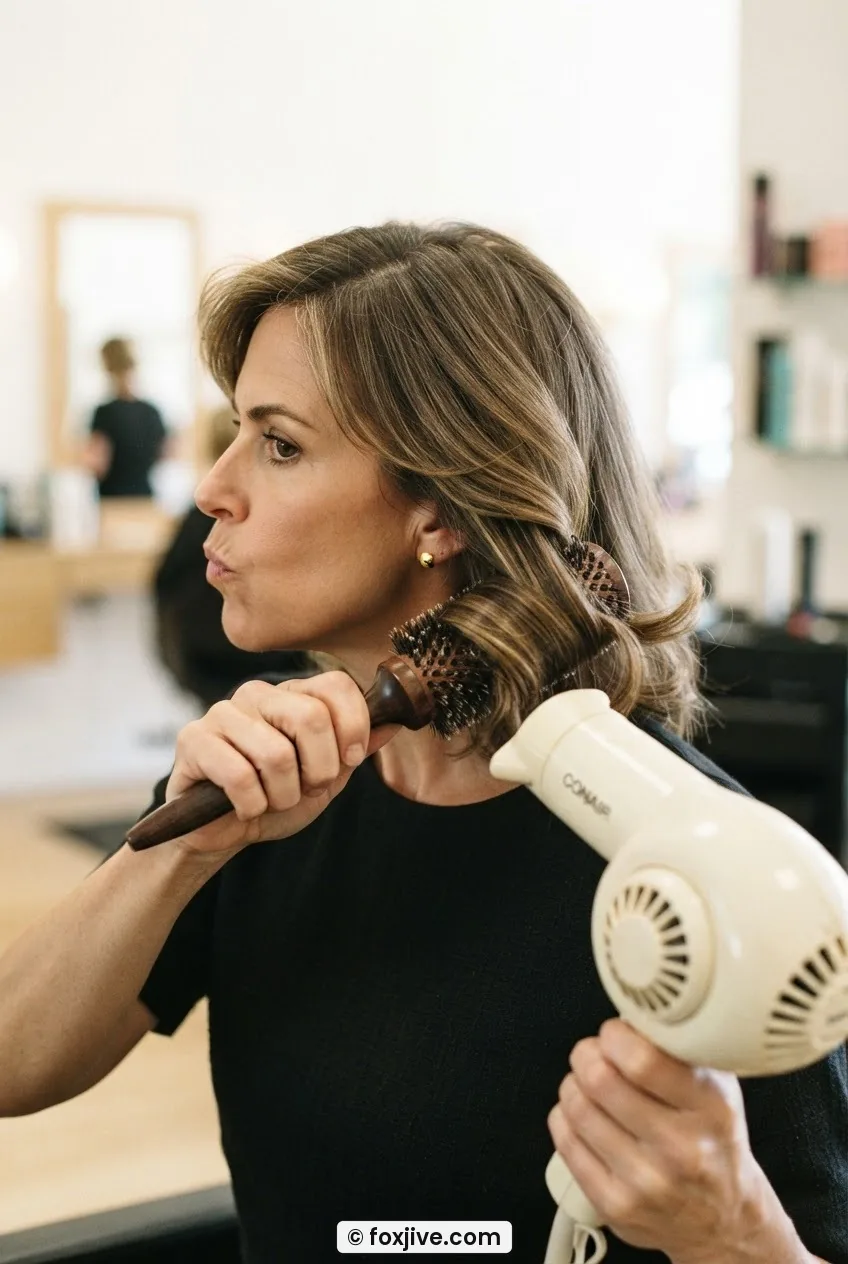
Do two or three sections on each side from the under layer. Then release the top section and repeat — but on the top, you’re also adding some lift at the crown. Place the brush at the root, angle it upward slightly before drawing outward, and finish with that same outward flick at the ends. The Farrah silhouette is wide and high simultaneously. The under-layers give you the width; the crown sections give you the height.
The mistake I made for an embarrassingly long time: I was rolling the brush toward my face at the ends instead of away from it. The result looked like a librarian from 1962, not a seventies beach goddess. The direction of that final roll is literally the whole thing — away from the face, always.
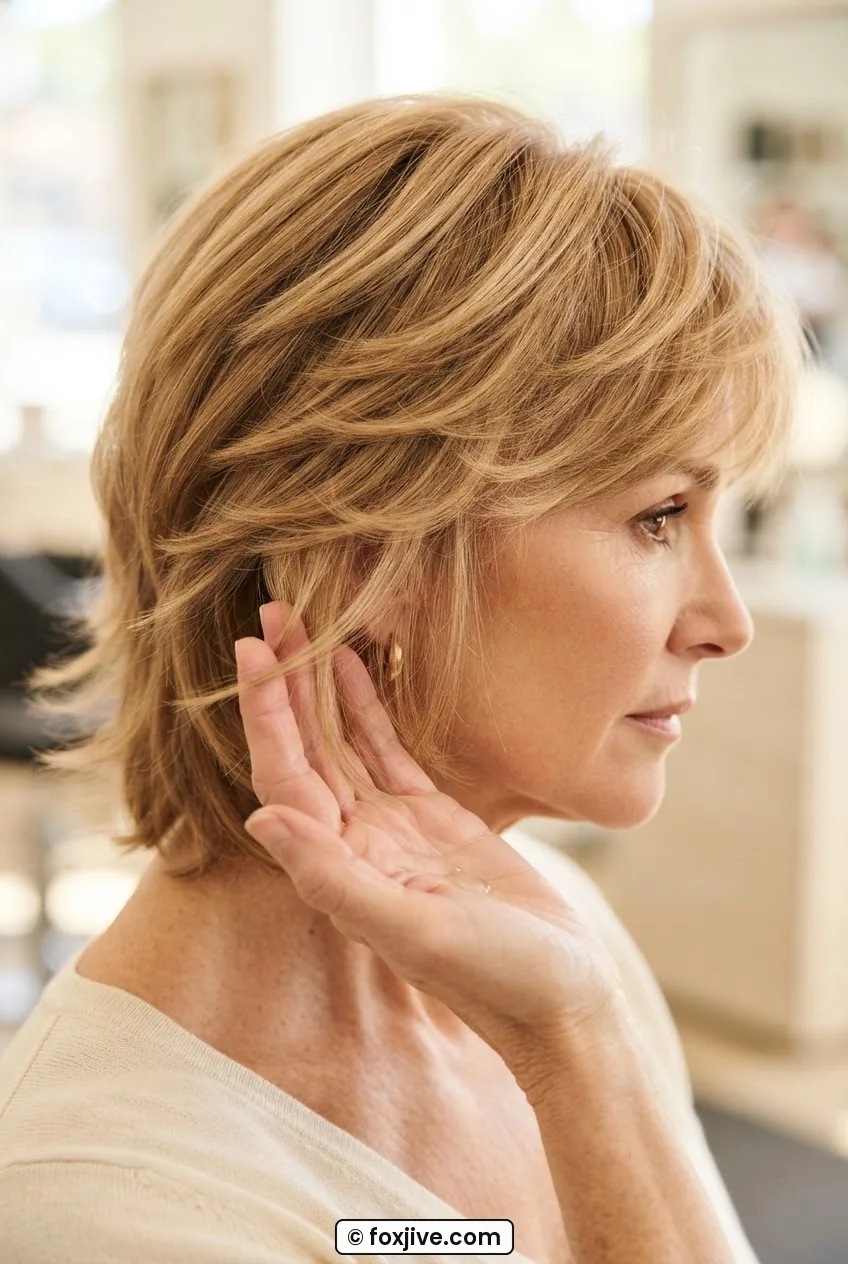
If you have four minutes and you can only do three sections per side instead of five, do three. Half-finished flicks that ran out of time look worse than fewer, fully set ones. Edit ruthlessly.
A Stylist Who Really Gets the Flick
The Last Three: Setting and Separating
You have three minutes. Use them well because this is the stage that moves something from “nice blow-dry” into “that’s clearly a seventies reference.”
First, a quick blast of cool air — if your dryer has a cool shot button, use it now over the sections you just set. Cool air locks the curl memory. Ten seconds per side is enough.
Then put the dryer down entirely. Rub one small drop of shine serum between your palms and use your fingers — not a brush — to gently separate the flicks. You’re looking to break up any sections that dried together into one blob and create individual, light movement. The Farrah look was never solid or helmet-like. It moved. It had air in it. Your fingers will give you that; a brush at this stage will flatten everything you just worked for.
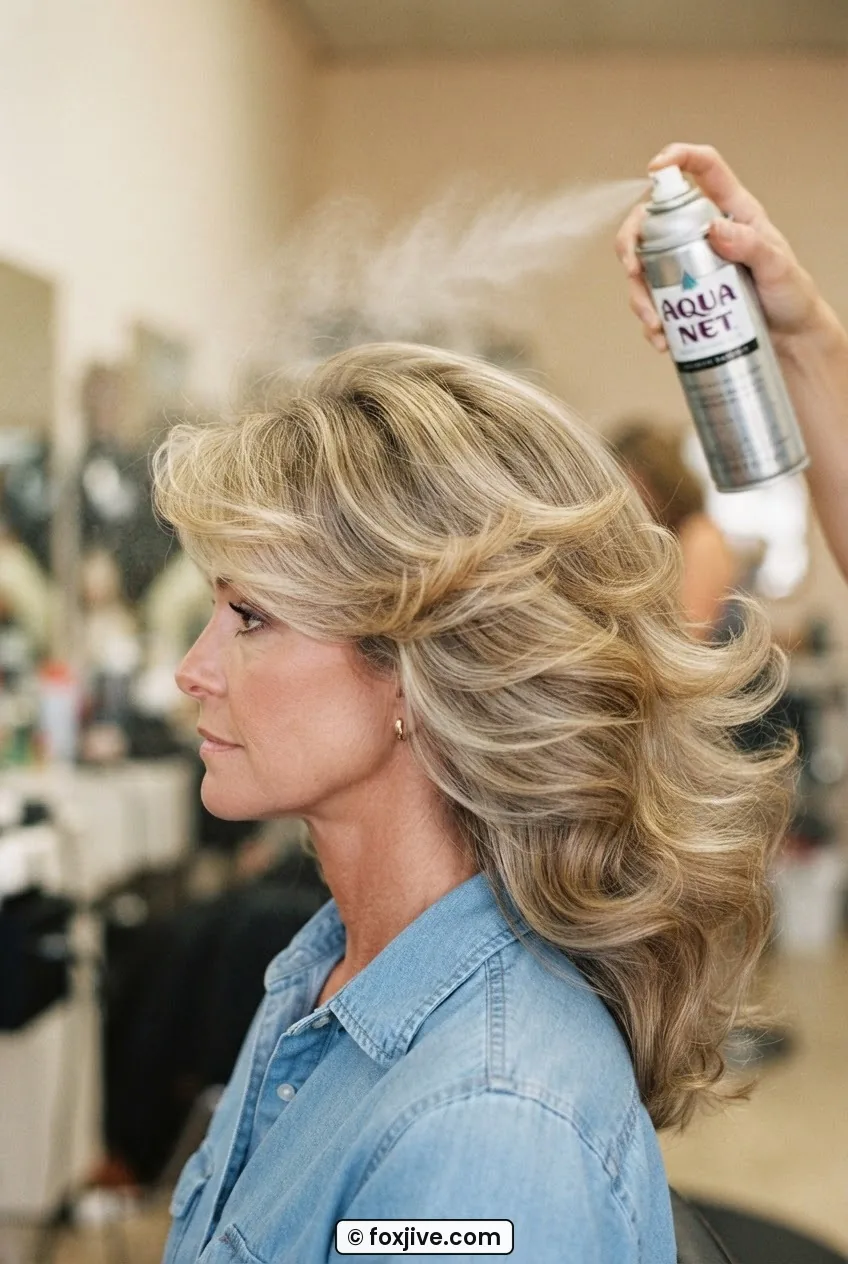
Finish with a light, flexible hairspray from about twelve inches away. One or two passes. You want the flicks to hold their shape without going stiff — bend one gently with your finger and it should spring back. If it doesn’t spring back, you’ve used too much spray and you’ll need to add a little more serum to soften it. The flexible hold hairspray techniques principle applies here: less product, more air movement.
What the Finished Look Actually Looks Like
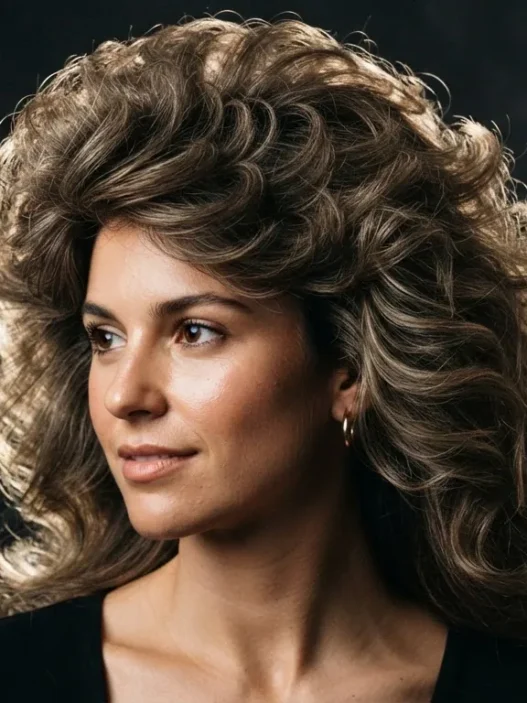
Honest answer: it looks like a thoughtful, deliberate homage to the era, not a frame-for-frame replica. The volume sits wide rather than towering. The ends have a clear outward curve — look at how the ends are flicking away from the face in the photo above, that’s the exact shape you’re aiming for. The crown has a little lift that softens as the day goes on, which is actually fine because it makes it look less costume-y by noon.
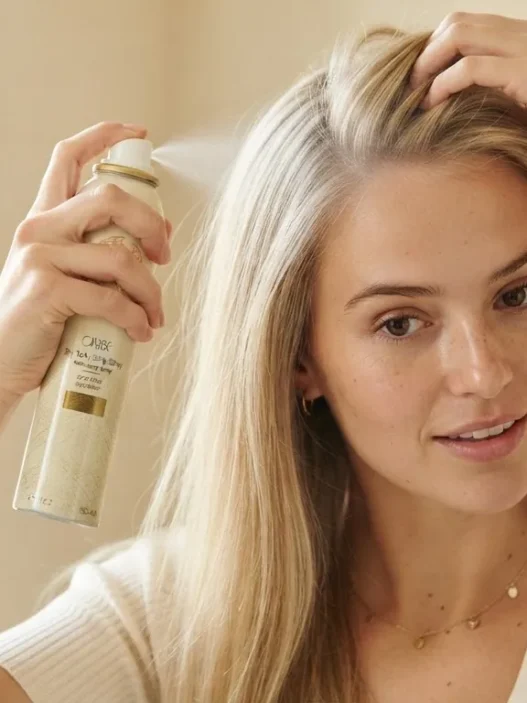
On second-day hair with some natural texture, this version of Farrah Fawcett hair can look genuinely stunning. On very fine, freshly washed hair, it’ll be softer and may need a touch of dry texture spray at the roots to hold its shape past mid-morning. Coarser or naturally wavy hair actually takes to the round-brush flick beautifully — the texture does some of the setting work for you and the flick holds longer without extra product.
And yes — this technique absolutely works on a range of hair textures. I’ve seen it done brilliantly on natural hair that’s been stretched or blown out, and the width of the Farrah silhouette reads particularly powerfully. The key there is working in smaller sections with the round brush so every piece gets enough heat time. Blowout techniques for natural hair covers the prep side of that beautifully if you want to go deeper.
The One Shortcut Worth Taking
If I had to name one product that genuinely compresses the time this takes: a hot brush. Not a straightener, not a curling wand — a rotating hot brush with a barrel around an inch and a half in diameter. The bristles grip the hair the same way a round brush does, but you’re working with one tool instead of two. It eliminates the coordination challenge of holding a brush in one hand and a dryer in the other, which — if you’re not practiced at it — is where a lot of time disappears.
The result is fractionally less polished than the two-tool method but the difference is genuinely minor in a ten-minute context. For a quick work morning look, I reach for the hot brush without hesitation. For a night out or a themed event, I go back to the full round-brush method — the extra four minutes show.
If vintage styling in general has grabbed you — and once you do the Farrah flick it tends to — it’s worth exploring other decades too. The discipline of working in sections and letting heat set before you move applies to victory rolls from the 1940s in the same fundamental way: heat plus patience plus the right tool. The techniques rhyme across decades even when the shapes are completely different. Over at Foxjive there’s a lot of decade-by-decade exploration that pairs well with what you’re learning here, including a breakdown of nine victory roll ideas ranked by how long they take — which is genuinely useful if you’re working with limited morning time across different styles.
The seventies as a whole were obsessed with the idea of hair that moved and caught light. That ethos — volume, separation, a little shine — is the underlying principle behind everything in that era, from the Farrah flick to the glossy layers of disco volume. If you understand the why of what you’re doing with the round brush, you can adapt it. That’s the real shortcut: understanding the technique well enough to edit it on the fly.
Questions I Get About This
Does my hair need to be a specific length for this?
The classic silhouette reads best at shoulder length or longer — you need enough length for the flick to be visible. That said, I’ve seen a convincing version on a long bob (lob) where the ends just barely graze the shoulder. Much shorter than that and the flick becomes more of a flipped end, which is charming but a different look entirely.
Can I do this without layers already in my hair?
You can, but layers genuinely help. One-length hair tends to produce a flick that’s quite uniform and a little stiff-looking. If you’re committed to this style and you don’t have layers yet, even a few face-framing pieces cut in will make a significant difference to how the round brush moves through the hair and how natural the final result looks. It’s not a requirement, but it’s the single cut change that moves the needle most.
How do I make the flick last through the day?
The cool-shot step at the end of the four-to-seven minute block is the biggest factor in longevity — it locks in the shape. Beyond that, avoid touching the ends throughout the day; handling them warms up the hair and relaxes the curve. A light mist of hairspray over the set flicks (not soaking, just a veil) before you leave the house also buys several more hours of hold.
What if my arms get tired halfway through?
Genuinely a real problem, especially if your hair is thick. Work at a mirror height that lets you keep your elbows slightly bent rather than fully extended — it reduces fatigue significantly. And as I said earlier: do fewer sections rather than rushing the ones you start. Three fully set flicks per side beats six half-done ones every time.
If you’ve got questions I haven’t covered here, the contact page is always open — I genuinely enjoy talking through technique specifics.