



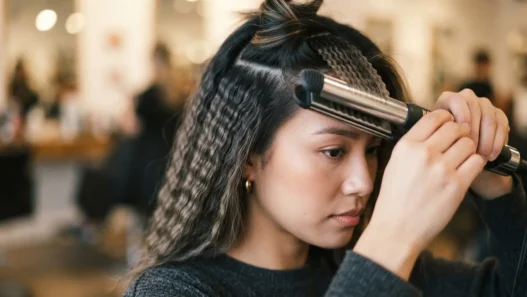

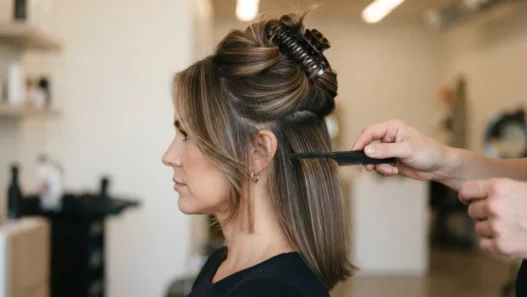

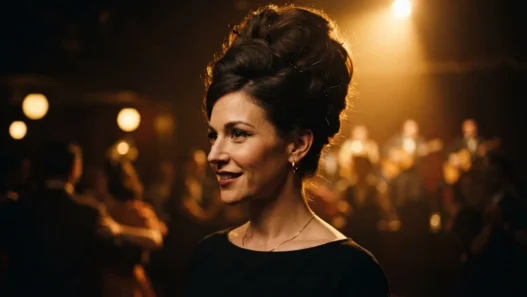

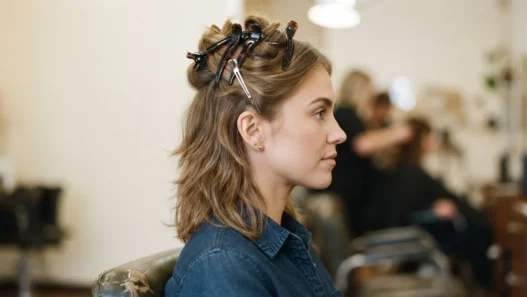
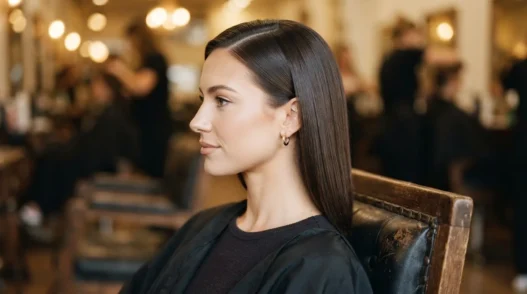
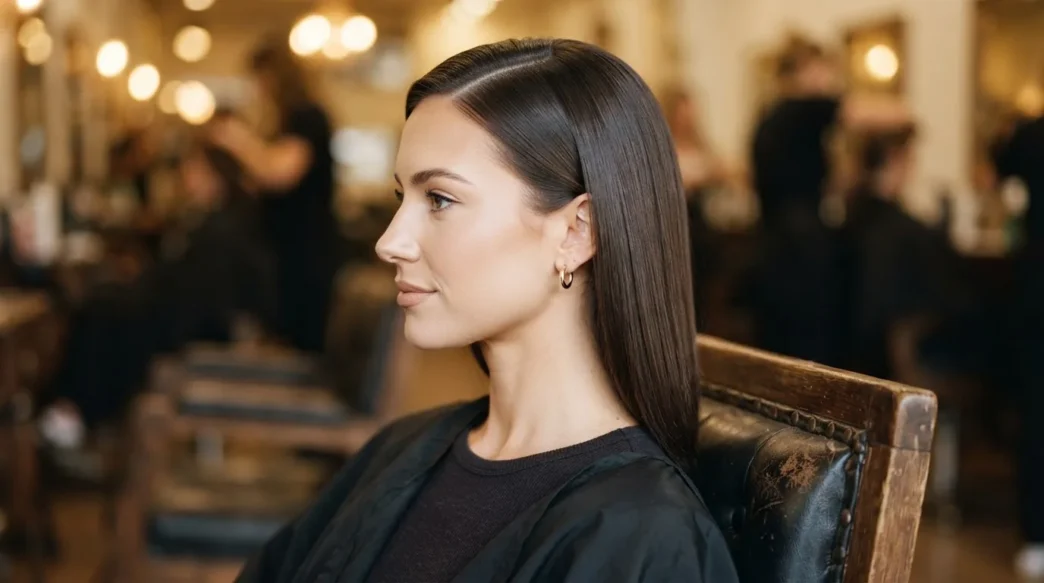
I spent about three years getting this wrong. I’d curl my hair, brush it out, and end up with something closer to a beach wave than an actual Old Hollywood glamour wave — all because nobody told me the one thing that makes or breaks the whole look. When I finally figured it out, I nearly texted every person in my contacts. It’s embarrassingly simple, but it’s everything.
The One Rule That Makes This Work
Old Hollywood hair — the real version, the Veronica Lake, Rita Hayworth, Gene Tierney version — has a very specific signature. Those long, rolling S-curves that seem to float against the cheek. They are not random curls. They are not loose waves. They are the product of every single section of hair being wound in exactly the same direction, so that when you brush everything out, the wave has somewhere uniform to go.
Mix directions? You get volume and frizz. Keep them uniform? You get the S. That’s it. That’s the whole secret. The wet-set method women used in the 1930s and ’40s relied on that same principle — how pin curls create waves all wound the same way, set overnight. This tutorial skips the overnight part and does it with a curling iron instead, but the directional rule does not change. Not even a little.
What You’ll Need
Nothing wildly fancy here, but a few of these items are non-negotiable.
- A 1-inch or 1.25-inch clamp curling iron (the clamp matters — you need it to hold the curl wound tight while it sets)
- Heat protectant spray — apply before you start, not after
- A fine-tooth tail comb for clean sectioning
- Sectioning clips — at least 10, ideally the longer flat-mouth kind
- Bobby pins for pinning curls to cool (I use the wavy ones — they grip better)
- A paddle brush or boar bristle brush for the brush-out
- A fine-tooth comb for shaping the S after brushing
- Medium-hold hairspray — NOT strong hold, I’ll explain why
- Finishing spray or light pomade for shine and final shape
Optional but helpful: a satin scarf to wrap the finished waves if you’re doing this ahead of time. It keeps the shape from drifting before you’re ready to go out.
Step 1: Prep and Section
Start on clean, completely dry hair. I know some people swear by second-day hair for curling, and while it has its place, Old Hollywood waves need smooth, clean strands to brush out properly without fuzzing up. Apply your heat protectant from mid-lengths to ends and let it dry for a minute before you touch the iron to anything.
Now section the hair. Part it where you’d naturally wear it — usually a deep side part for this look, which is part of what gives it that vintage sweep. Clip the top section up and out of the way. Divide the bottom into two halves: left side and right side. You’ll work from the bottom up, section by section, which means each freshly curled layer will sit on top of already-cooled curls rather than getting crushed.
The sections you curl should be no wider than about an inch and a half. Thinner sections give a more defined wave; thicker sections give a looser one. For that classic screen-siren look — the one you see in photographs of women at golden-era premiere nights — I aim for sections around an inch wide.
Step 2: One Direction, Every Curl
Here’s where most people go wrong, so read this carefully. Set your curling iron to 375°F (190°C). If your hair is very fine or color-treated, drop to 350°F. If it’s thick and coarse, you can push to 390°F — but I’d test on a small section first.
Every single curl in this style gets wound the same direction: away from the face. Not alternating, not toward the face on one side and away on the other. Away from the face, every time, on every section, both sides. This is what allows the wave to flow in one continuous S rather than bouncing back on itself.
To wind away from the face on the right side of the head: position the iron vertically, clamp the ends of a section, and rotate the barrel away from you (toward the right ear, essentially). On the left side, you rotate away from you as well — which means the barrel turns toward the left ear. Both sides away from the face. Got it? Good.
Hold each curl on the iron for 10 to 12 seconds. Not eight — I always rushed this and my waves fell within an hour. Twelve seconds, then slide the curl off the barrel without releasing it. Keep it coiled in your palm for a moment before pinning. More on that next.
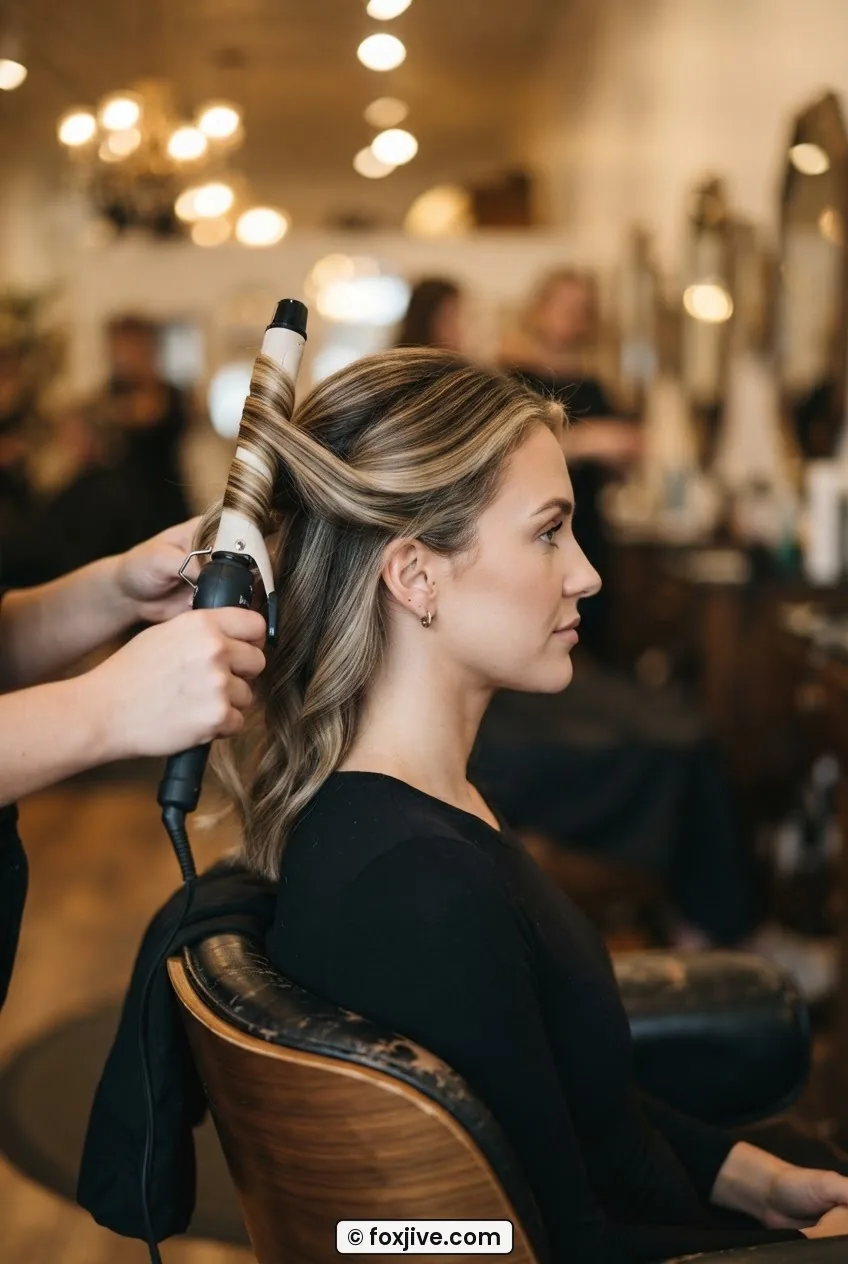
Mistake I made: I used to curl toward the face on one side because it felt more natural on my dominant hand. The result looked like a fluffy blowout on one side and an actual wave on the other. It took me an embarrassingly long time to figure out why. Wind them all the same direction and don’t negotiate with your left hand about it.
If you love the history behind the style, it’s worth knowing that the original Hollywood waves technique was developed by stylists working under studio contract — you can read more about classic Hollywood glamour era hair to understand just how intentional every wave placement really was.
Step 3: Pinning to Cool
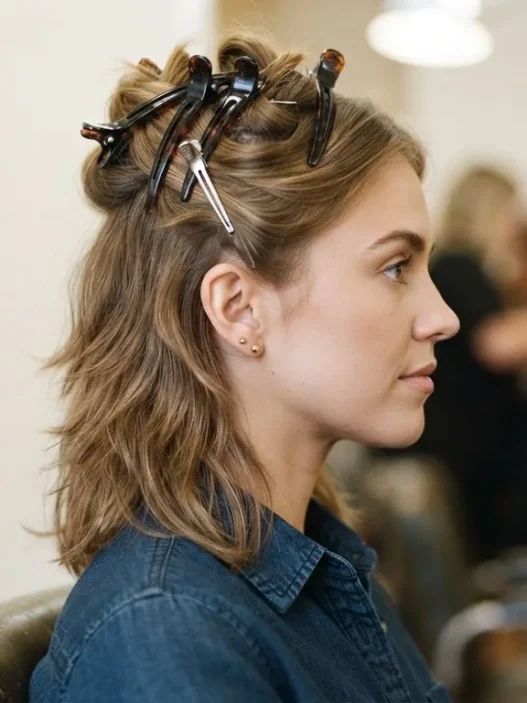
This step is the one people skip, and it’s the reason their waves don’t last past dinner. As soon as you slide each curl off the iron, gently coil it back up into a flat spiral against the scalp — or just above — and secure it with two bobby pins crossed in an X. The curl needs to set in that coiled shape while it’s still hot, cool completely in that position, and only then get released.
The wait time matters: at least 15 minutes before you touch a single pin. I usually do my makeup during this time, which works out neatly. If you can wait 20 minutes, do that. The curl has more thermal memory the longer it stays coiled while cooling — it’s the same physics behind why an overnight wet set lasts days. You’re just doing a compressed version of it.
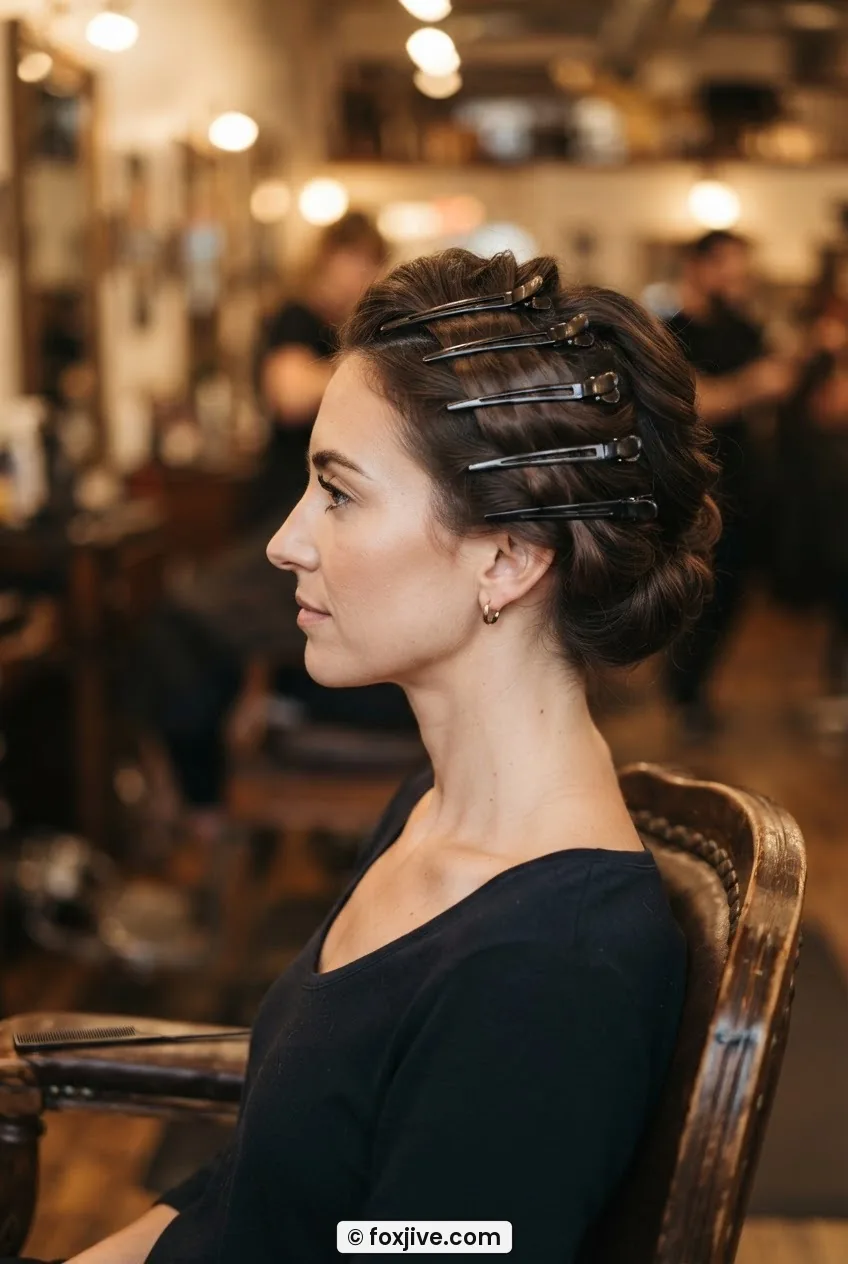
Work your way up the head, curling and pinning as you go. By the time you finish the top sections, the bottom ones should already be fully cooled. Don’t rush this. The whole head should look like a collection of little flat snails pinned to your skull — which is a bit alarming, but trust the process.
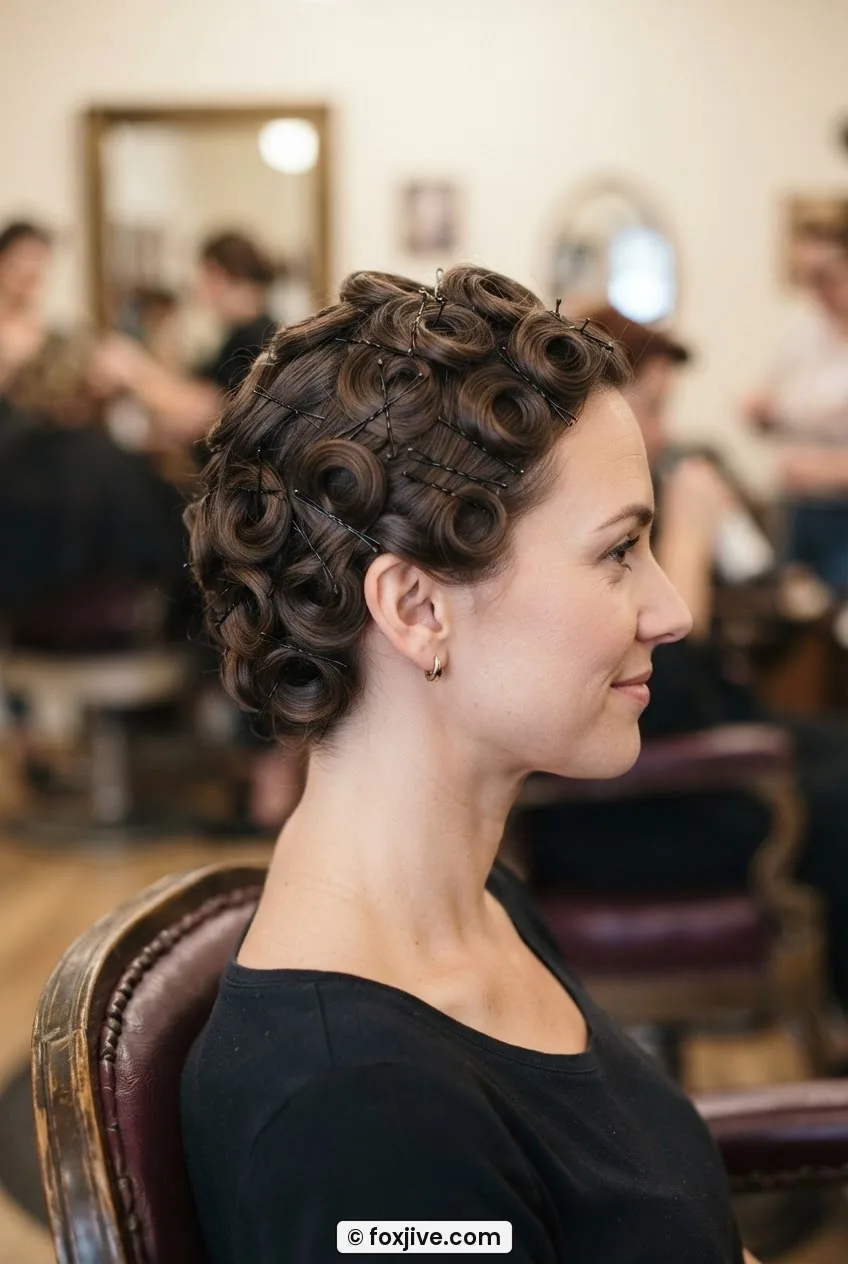
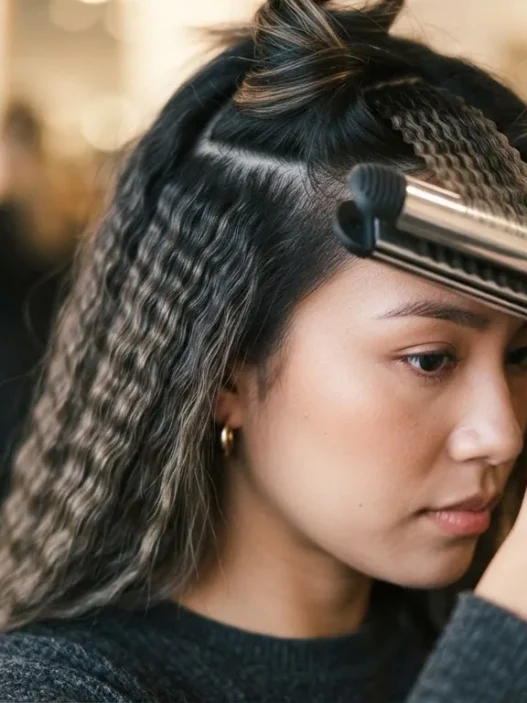
Look at how pinned and structured that looks on her — those coils are sitting flat and cooling uniformly, which is exactly what you want before you even think about reaching for the brush.
Step 4: The Brush-Out and the Comb
Remove all the pins. Don’t be alarmed — you now have a head full of very tight, very defined little curls and you will look like you belong in a different era entirely. That’s correct. Now pick up your paddle or boar bristle brush.
Start from the bottom and brush in long, smooth, downward strokes, following the direction you wound the curls — away from the face. Brush through the whole head, not just the surface. You want to blend all those individual curls into one continuous wave. Don’t be gentle. This is not the moment for delicate little strokes. A firm, committed brush stroke is what transforms a head of ringlets into Old Hollywood glamour waves. Keep brushing until the ringlets disappear and you see the S emerging.
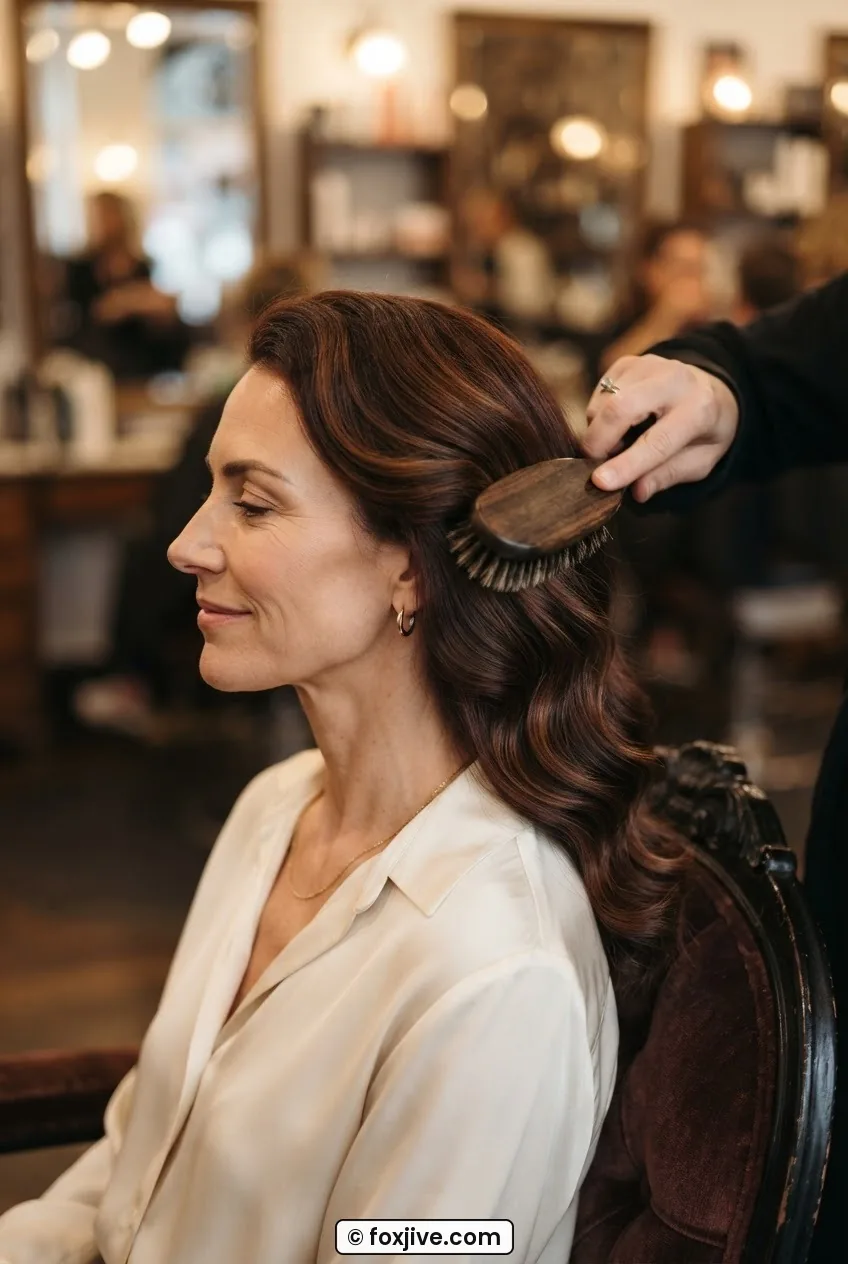
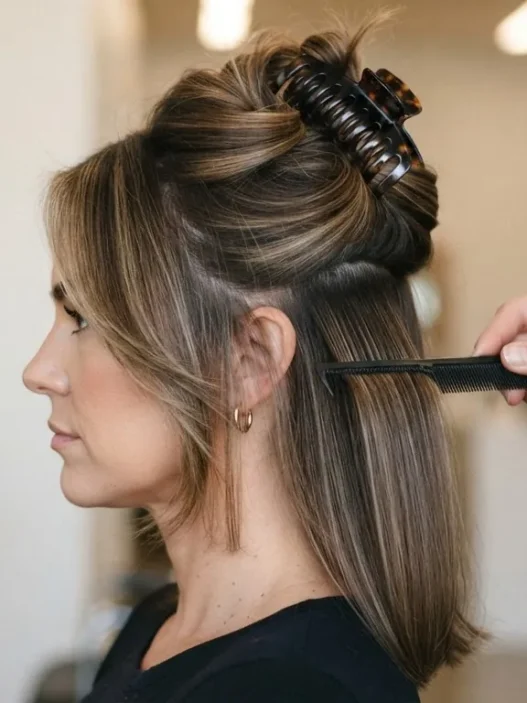
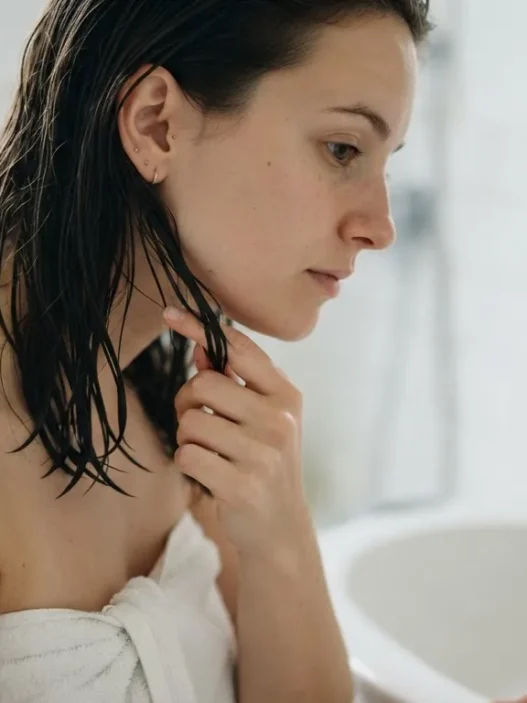
See how the S-shape has started to appear on her here — that crest at the crown sweeping into a trough near the ear is exactly the wave crest you’re aiming to develop with the brush. That’s what consistent direction does.
This is also where shorter hair behaves a little differently. If you’re working with a style closer to a vintage bob or a style that sits at or above the shoulder, the wave will be tighter and the S will be smaller — but the technique is identical. If you’re curious about vintage cuts that work especially well for this, the Foxjive.Com archive has a lot of reference for how different lengths shaped decade-specific styles.
Watching the Brush-Out Happen in Real Time
Step 5: Shaping the S-Wave
Now pick up the fine-tooth comb. This is where you sculpt. The brush blends; the comb places. Run the comb horizontally through the hair to find the wave crests — the places where the hair naturally wants to peak — and use your fingers and the spine of the comb to press them into definition.
The classic S-wave has a crest (the high ridge), a trough (the low hollow), and another crest below that. On longer hair you might get three or four repeats of this pattern. On shoulder-length hair, you’ll usually get two. Either is correct and gorgeous. The comb lets you nudge each crest into a sharper ridge. Press the comb against the hair, then use your other hand to guide the wave below it into the trough.
This technique is closely related to the finger-waving method used on short 1920s bobs — if you’ve ever looked at Victory Rolls tutorials, you’ll recognize the same comb-and-press motion used to define the front sections. Same principle, different scale.
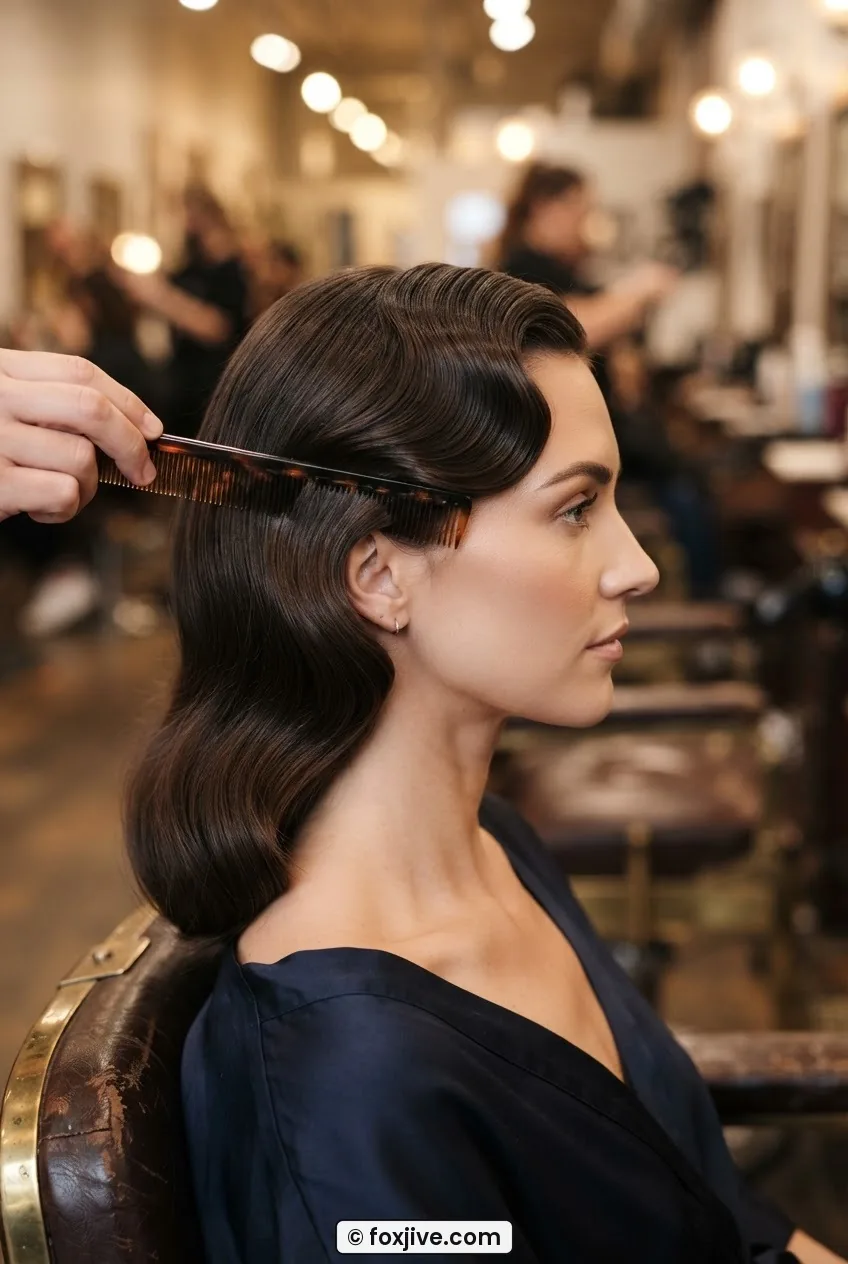
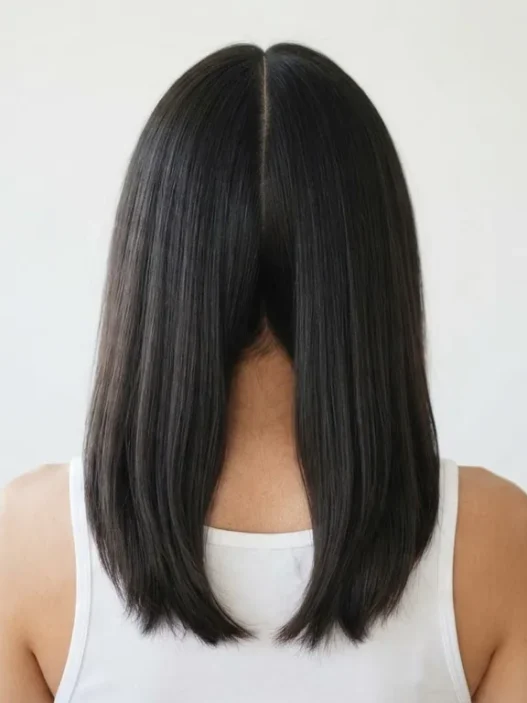
That profile shot shows the wave crest sitting right above her cheekbone — that placement is not accidental. Use the comb to push your crest up to exactly that position for the most flattering angle.
Step 6: Lock It In — The Hold
Hold. This is where people make a second crucial mistake: they grab the strongest hairspray they own and blast the waves from six inches away. Don’t. Strong-hold spray goes stiff and destroys the silky, fluid quality that makes these waves look authentic rather than helmet-like.
Use a medium-hold spray, held at least 12 inches from the head, in a light misting motion. Two passes over the whole head. Let it dry for 30 seconds without touching anything. Then — and this is my personal favorite part of the whole process — run a tiny amount of light pomade or gloss serum over the surface of the waves with your palms. Not your fingertips. Your palms. This smooths the surface and adds that lacquered, high-sheen finish that photographs look in old studio portraits. That gleam is the signature of the style.
For context on how to think about hold and longevity for vintage styles, making vintage curls last is a useful read — there are a few humidity-proofing approaches in there that pair well with this method.
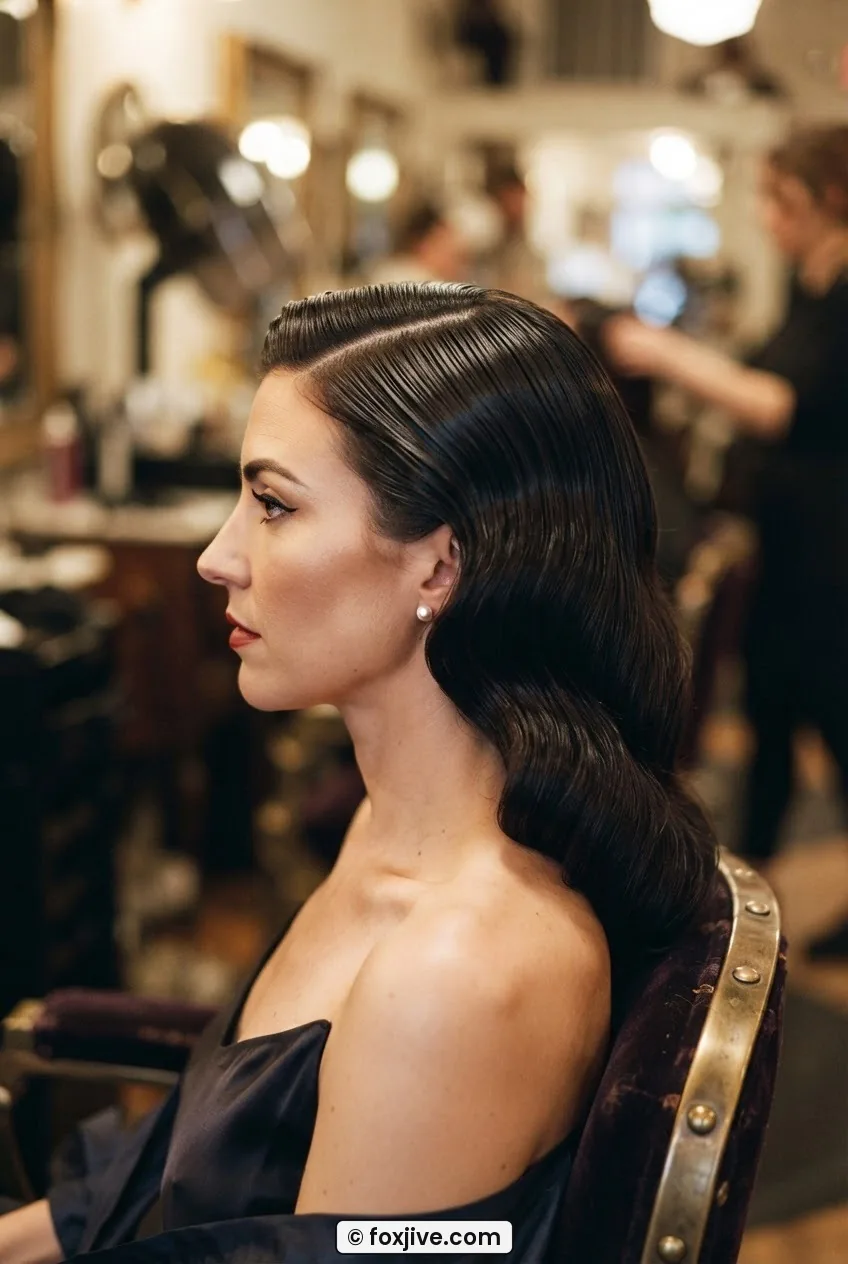
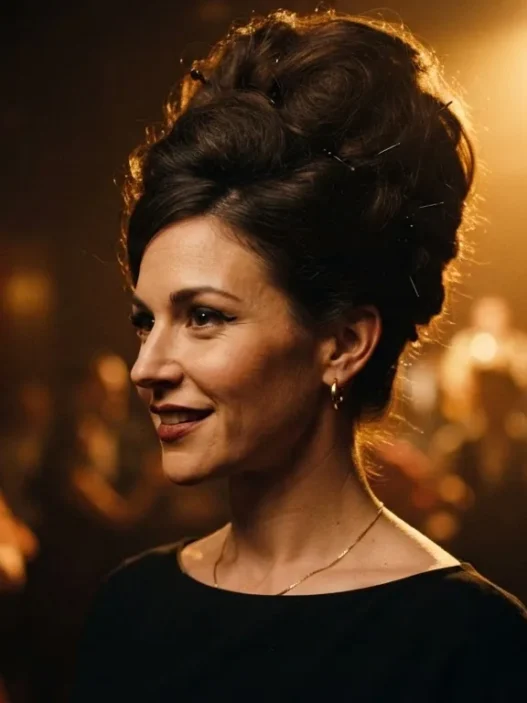
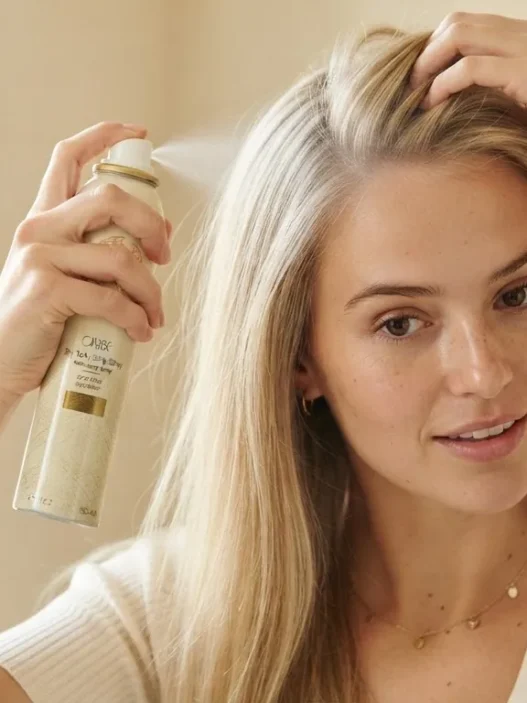
That’s the finished shine I’m talking about — see how the light catches each wave crest differently? That’s the pomade doing exactly what it should.
If you’re wearing this to an event and want to protect the shape until you arrive, loosely wrap the whole thing in a satin scarf tied at the nape. Unwrap, give one more light mist, and you’re done. The waves will have stayed exactly where you left them.
Want to add something at the crown to push the look further? The 9 Victory Roll Ideas Ranked by How Long They Take guide has some great options for the front sections that layer beautifully over waves like these — particularly the simpler rolls that don’t require a separate set.
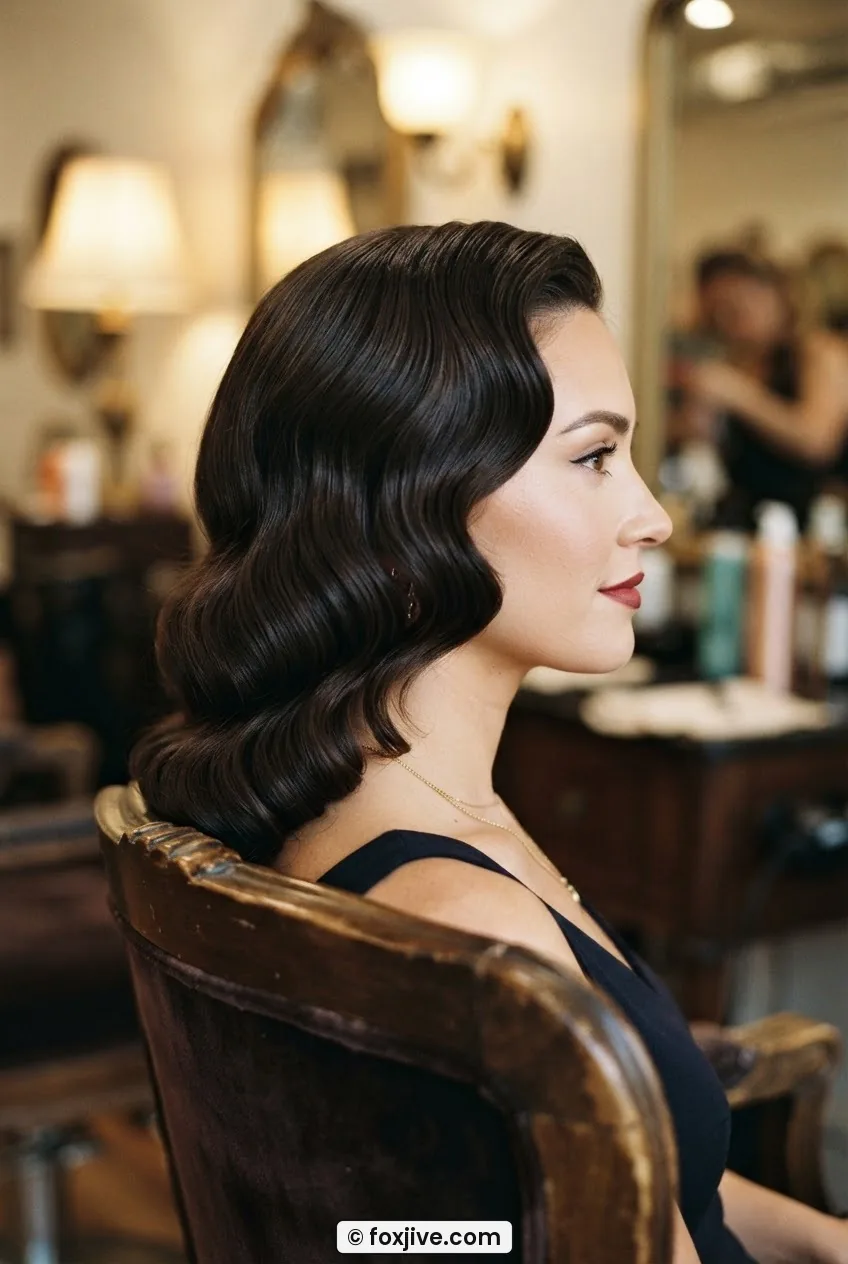
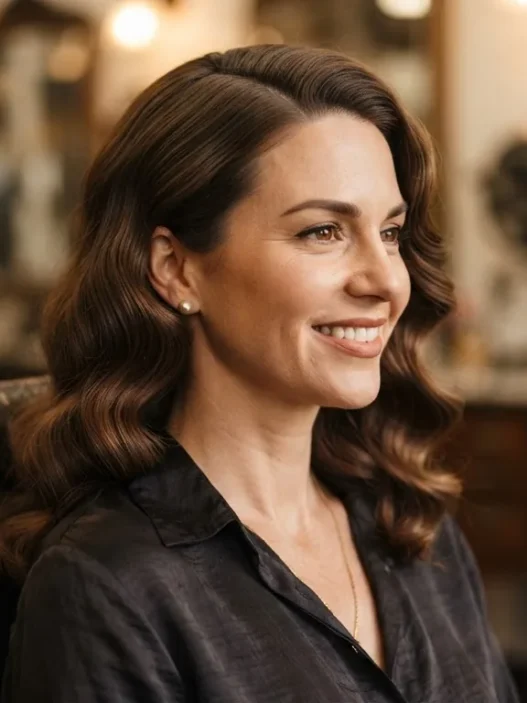
She’s got the full look here — waves, volume, that side-swept drama. This is the result the method is aiming for, and it’s closer than you think.
Questions I Get About This
Does this work on short hair, or only long hair?
It works beautifully on short hair — the wave crests will just be smaller and more frequent, which is actually very true to the original 1930s style. Anything from a chin-length bob upward will show the S-wave clearly. The very shortest pixie-length cuts won’t have enough length to wave, but anything you can wrap around a 1-inch barrel will respond to this method.
How long do the waves actually last?
With the pinning-to-cool step done properly and a medium-hold spray, I consistently get 8 to 10 hours before the waves soften noticeably. In humid weather that drops to around 6 hours. A light dusting of hairspray mid-day revives them. If you want multiple days, the wet-set overnight method will hold longer — but this iron method is genuinely solid for a full evening out.
Can I do this on layered or textured hair?
Layers make it trickier but not impossible. The key is to curl each layer section separately and make sure the shorter layers in each section get wound all the way to the root. On very heavily layered or textured hair, you may not get a clean S-wave throughout, but you’ll still get significant glamour-wave volume with the same shine quality. It’s worth trying — worst case you have beautiful waves, just not perfectly uniform ones.
What’s the difference between Hollywood waves and regular curls?
The difference is almost entirely in the brush-out and the direction. Regular curls are left as individual spirals or brushed out randomly. Hollywood waves are all wound the same direction, pinned to cool flat, then brushed out in long unified strokes and combed into deliberate S-ridges. The discipline of the process is what separates a glamour wave from a generic curl. Same iron, completely different result.
The first time I got this right — really right, with the full S visible and the shine catching the light properly — I stood in my bathroom for a minute just looking. It’s one of those results that feels genuinely earned, because understanding the why (all one direction, cooled in position, brushed out firmly) makes the how click into place. My waves hold for a solid evening now. The compliments are always the same: “How long did that take you?” Shorter than you’d think, honestly. And if you have questions or want to share how yours turned out, feel free to reach out through the Contact page — I genuinely love seeing these looks come together.