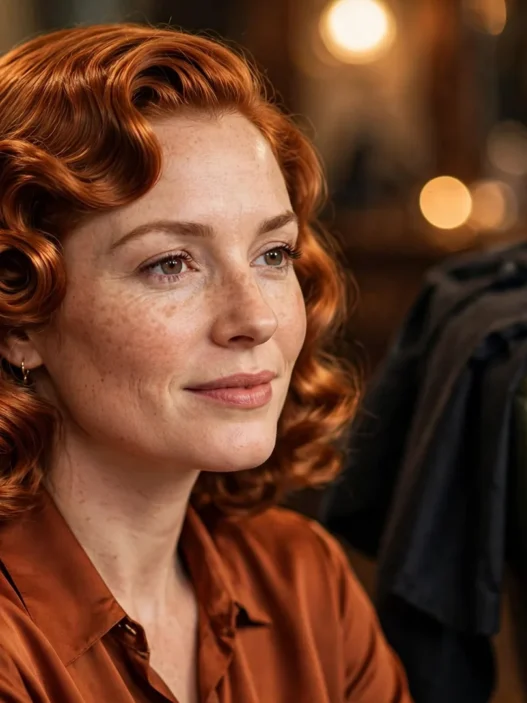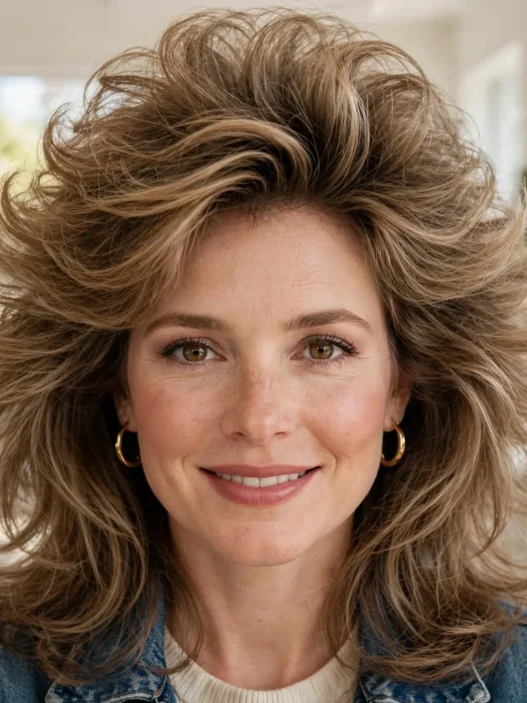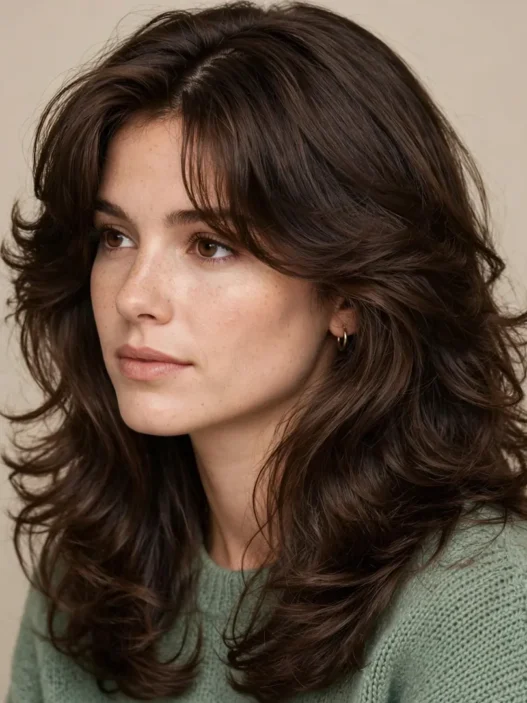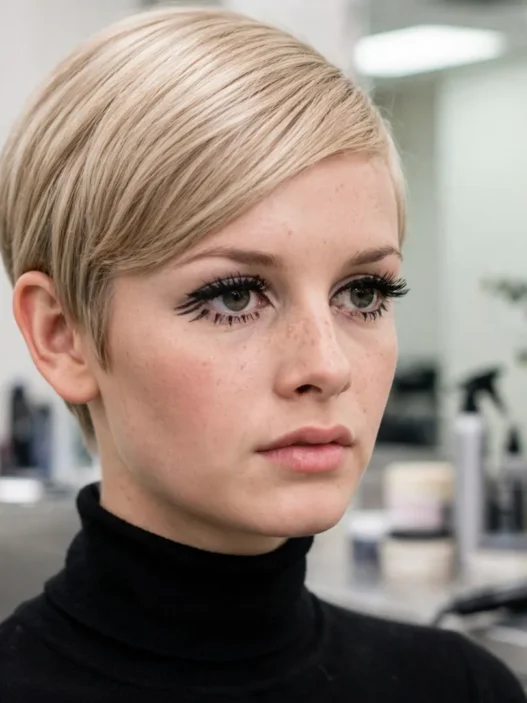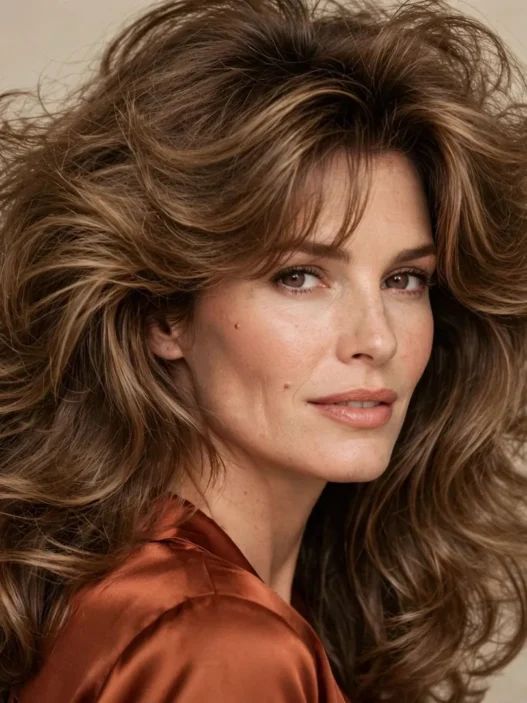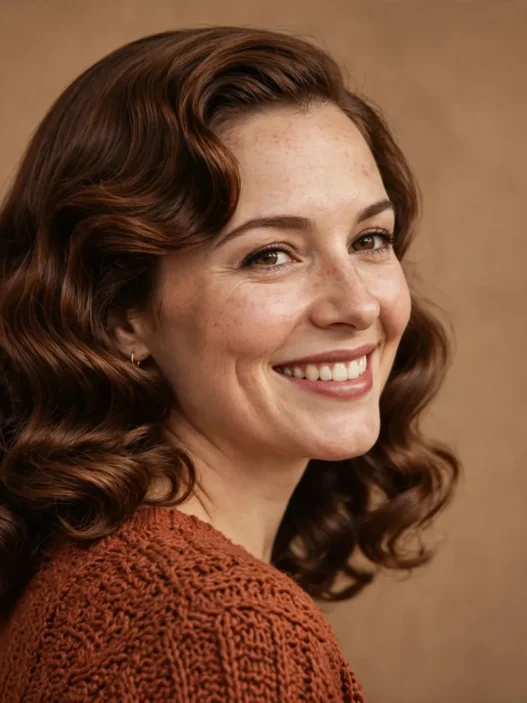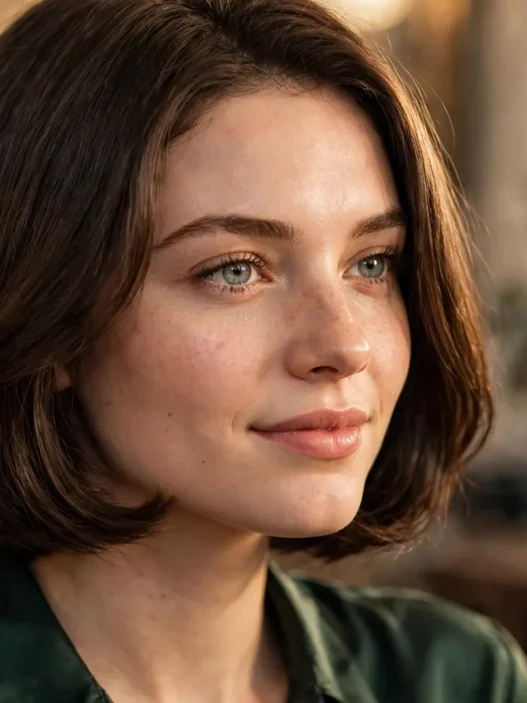




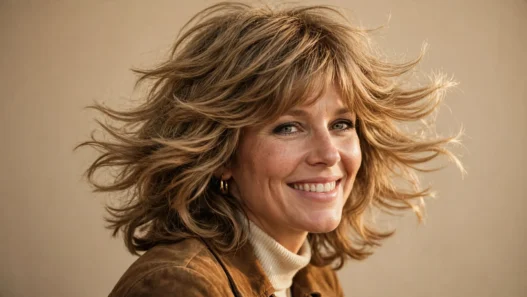



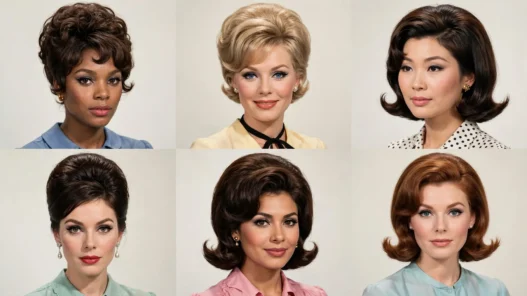
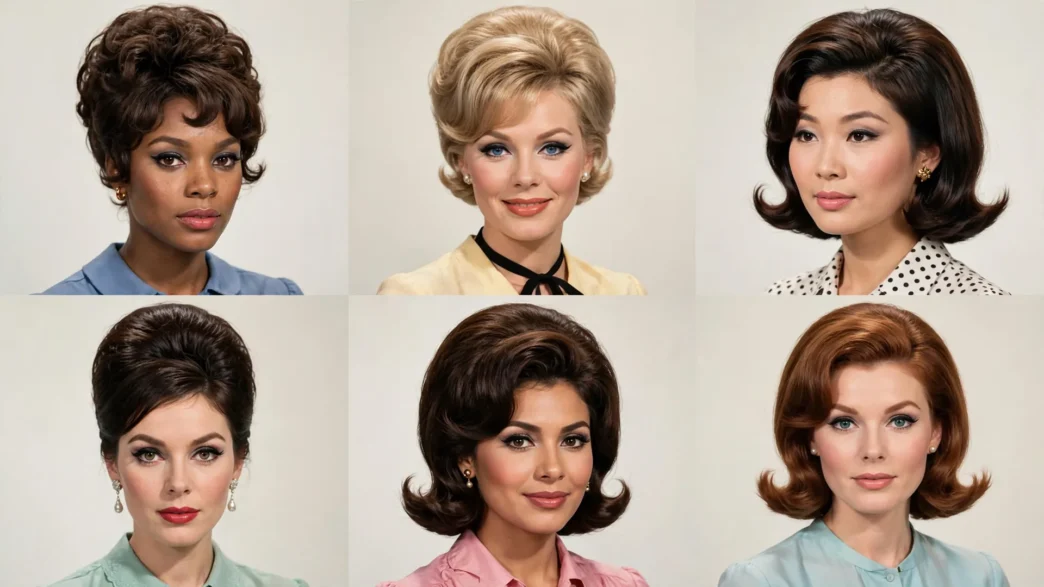
I have always thought volume in the sixties was a construction problem, not a product problem. You can spray until the can hisses empty, but if there is nothing underneath, that crown just slides flat by lunch. I learned that the hard way at a retro wedding when my bouffant melted into a sad bump by the cake cutting.
So for this roundup I built every shape on real hair, mine and friends, with backcombing, pads, and a lot of patience. No wigs, no clip-in towers pretending to be 60s hair. These are ordered by how much height they actually ask for, from barely-there lift to full beehive.
And yes, I will tell you straight which ones hurt, which ones slipped, and what fine hair can get away with. Want the lowest-commitment way in? Start at the top.
Every Lift in Order, Shortest to Tallest
- 1. The Half-Inch Lift
- 2. The Polished Flip
- 3. The Low Bouffant
- 4. The Crown Puff
- 5. The French Twist With Lift
- 6. The Mid-Height Bubble Flip
- 7. The Classic Bouffant
- 8. The Tall Flip With Back Bow
- 9. The Barrel-Roll Beehive
- 10. The Full Beehive
- 11. The Double-Crown Beehive
- 12. The Tower With Falls
- 13. The Sky-High Beehive
1. The Half-Inch Lift
This is my gateway drug to the whole decade. It is just shoulder-length hair with a clean side part and a little swell at the crown, maybe half an inch. Suits fine to medium straight hair best, because you do not need a ton of density to fake it.
Padding? None. I just backcomb a two-inch-wide section at the crown, smooth it, and pin it flat with two criss-crossed pins. When I tried this for work, it survived an eight-hour day and a windy parking lot. Honest note on damage: almost zero, as long as you comb out from the ends up with conditioner still in.
2. The Polished Flip
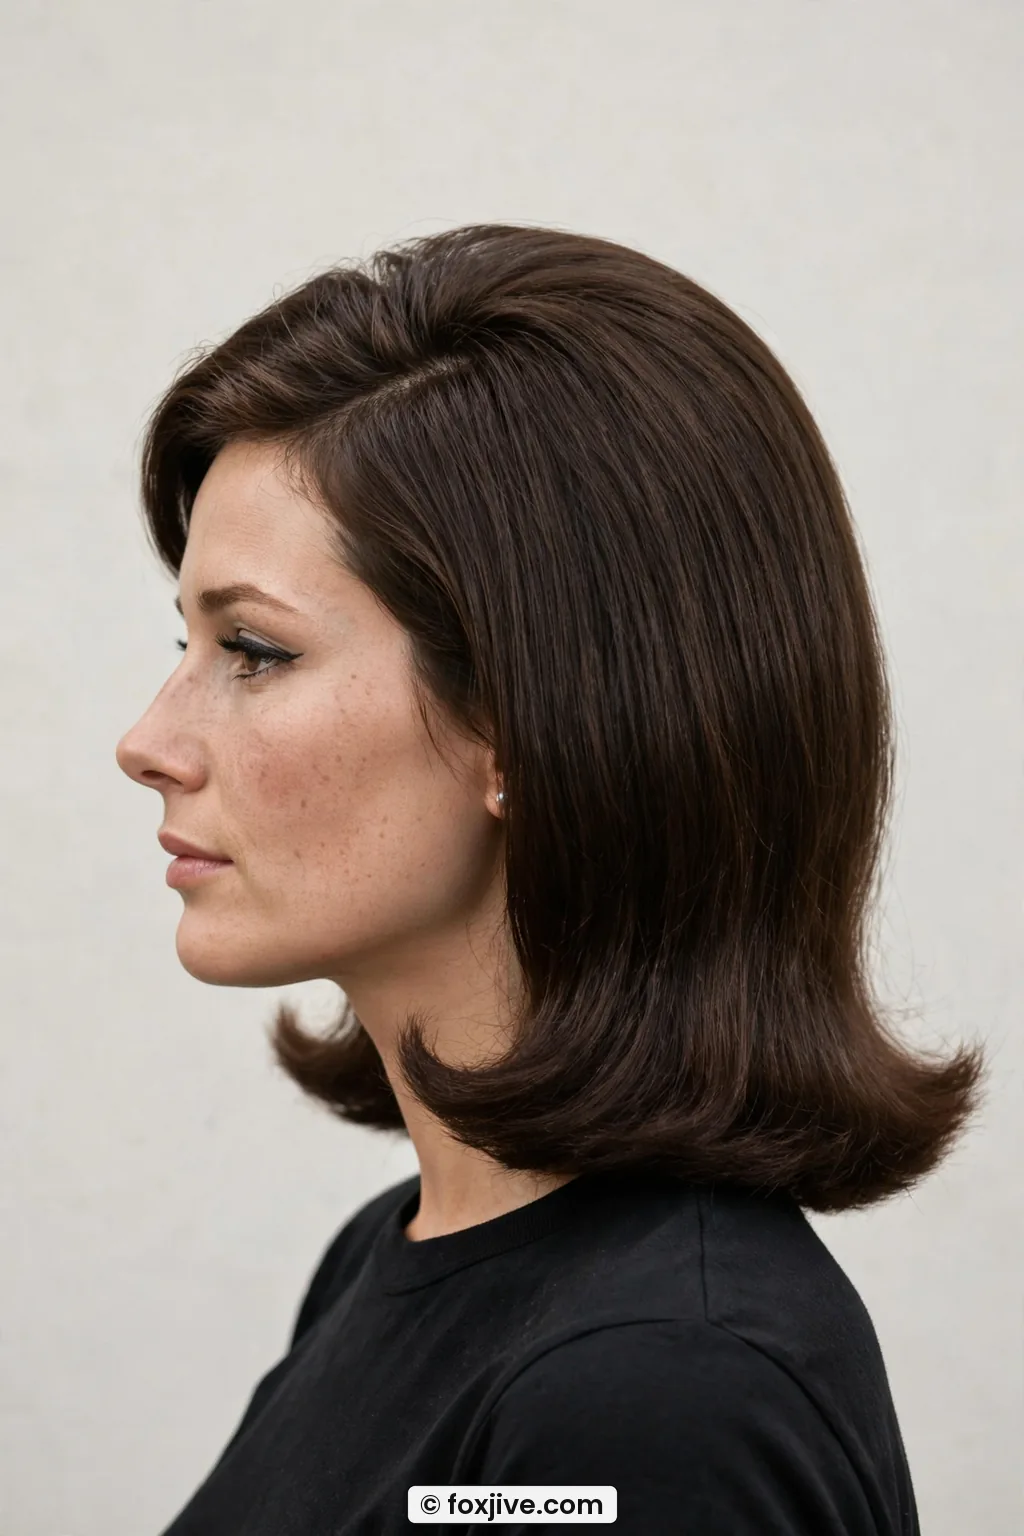
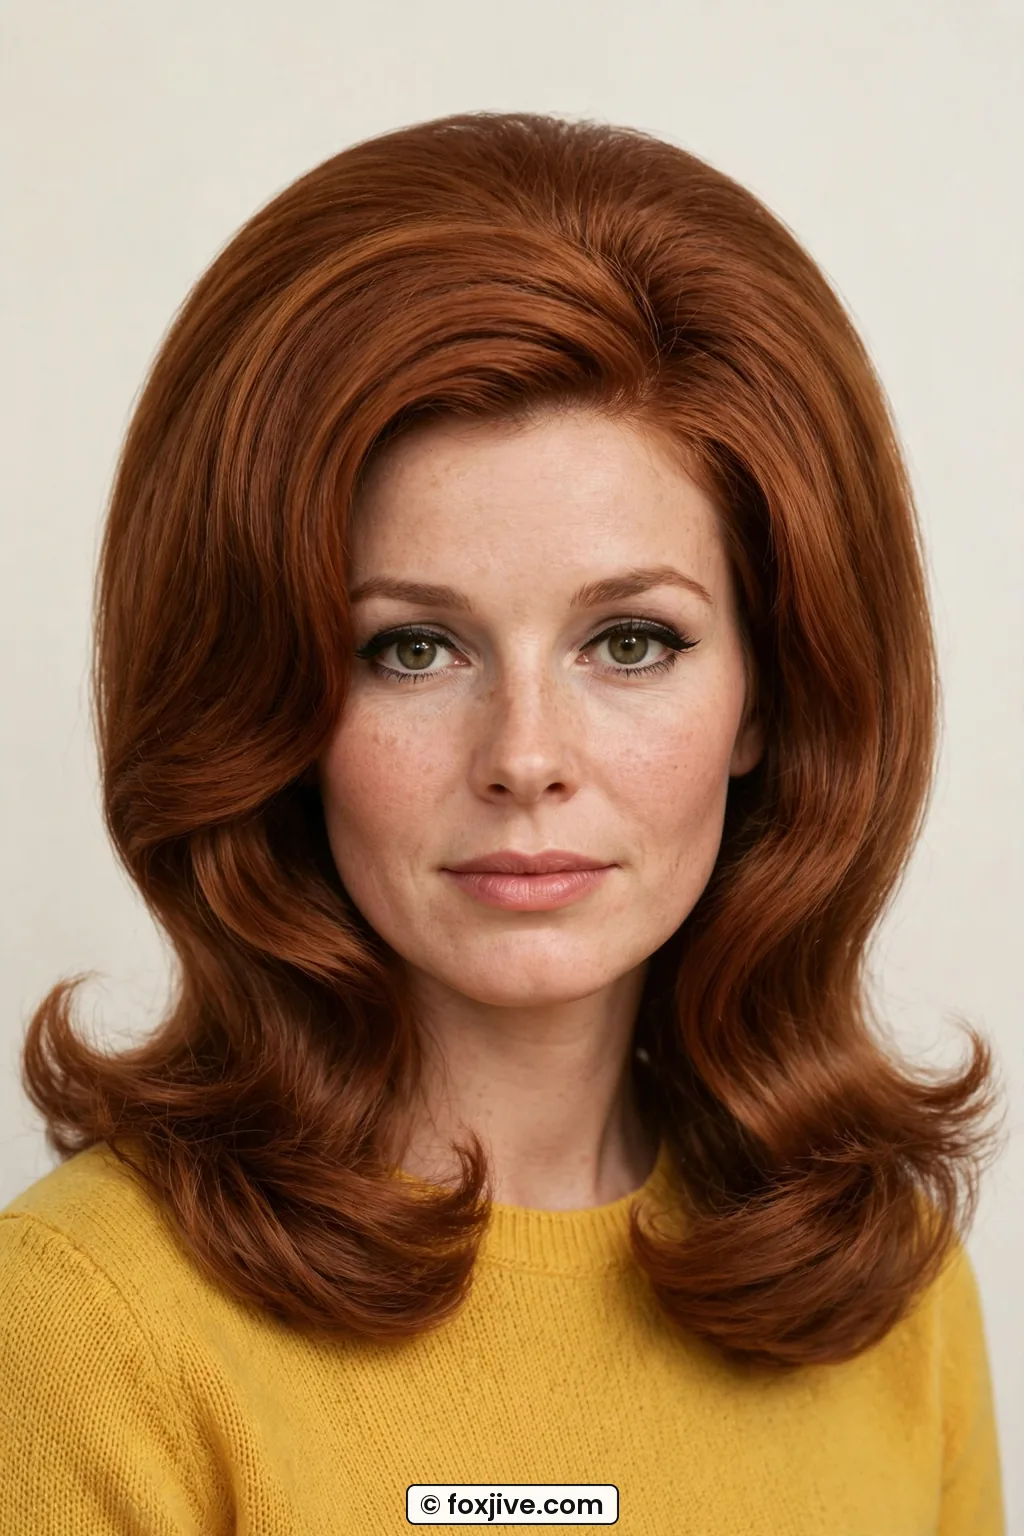
Look at how she is wearing hers in this photo, those ends kick out so sharp and even. That flip is exactly what I mean about a well-behaved mid-length cut doing half the work. This suits medium to thick hair at collarbone length, with a little natural bend.
You need no padding, just large rollers or a round brush and a light-teasing pass underneath for lift. I love this for beginners because it reads instantly sixties without a rat-tail comb marathon. My friend with baby-fine hair tried it and the flip fell in an hour, so if that is you, keep the flip shorter and use a velcro roller while you do makeup. If you love softer ends from earlier eras, my post on 1950s hairstyles shows where that flicked-out shape came from.
3. The Low Bouffant
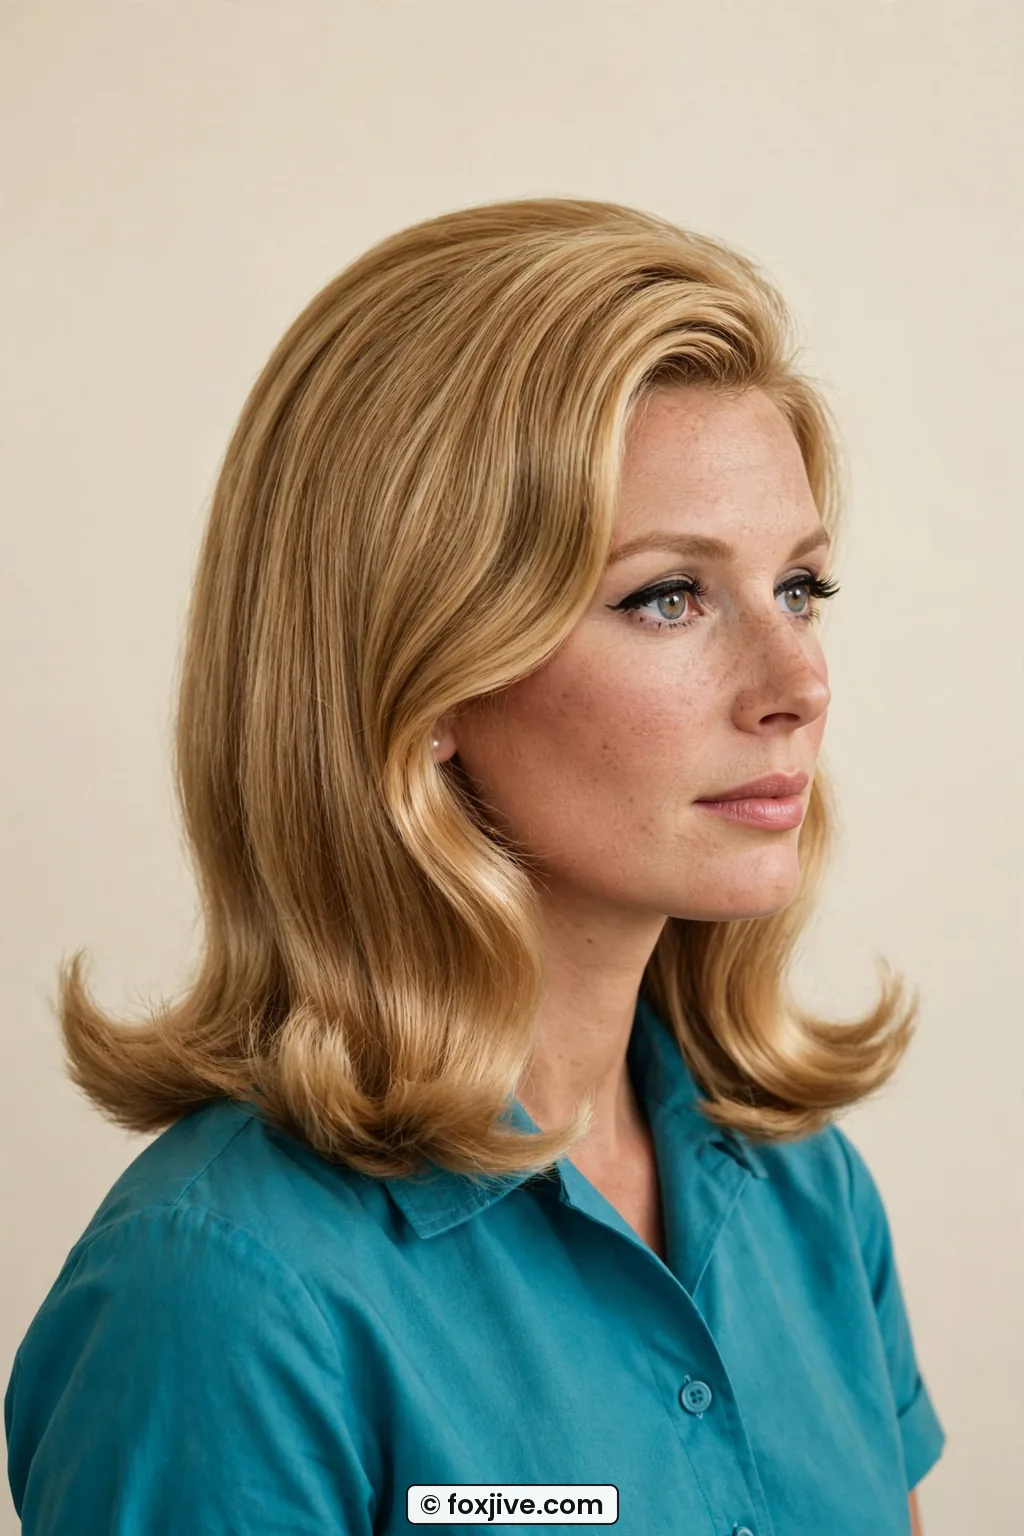
Now we are getting into real backcombing. The low bouffant sits wide rather than tall, rounded at the sides like a soft helmet. It suits thick, shoulder-length to long hair, and curly girls can stretch their wash-day hair into it beautifully.
Padding? A small half-moon volumizer if your hair is fine, nothing if you are thick. I tease in three layers, smooth the top, and tuck the sides under. You can read up on gentle teasing techniques before you practice, because direction matters more than force. Damage note: my thick-haired sister wore this to a party and brushed it out dry, big mistake. Wet it, condition, then pick it apart.
4. The Crown Puff
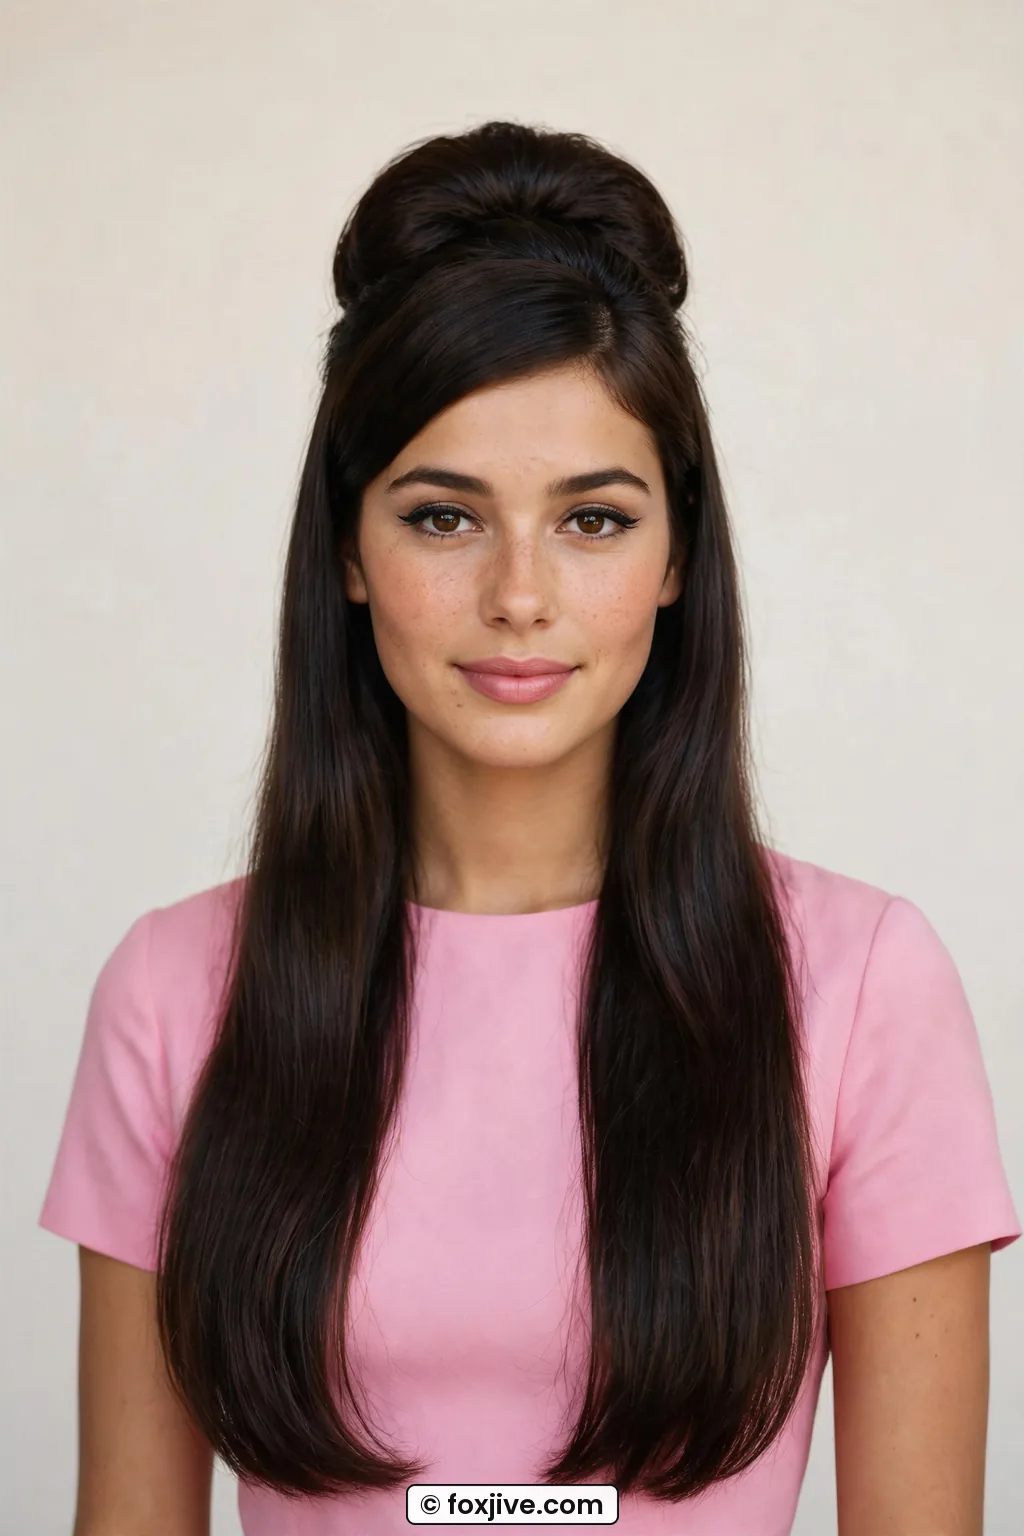
This one is pure mod. Short to medium hair pulled into a high half-up puff, leaving the rest straight. It suits straight to slightly wavy hair, chin to shoulder, and I think it is adorable on round faces because that vertical line lengthens everything.
Padding? A tiny foam bump or even a rolled sock if we are being honest. I use a small oval insert, cover it with my own front section, and pin tight underneath. When I wore this to a record fair, two strangers asked if it was my real hair. Yes, plus a three-dollar pad. The teasing is minimal, so damage is low, but do not yank the pins out. Slide, do not pull.
5. The French Twist With Lift
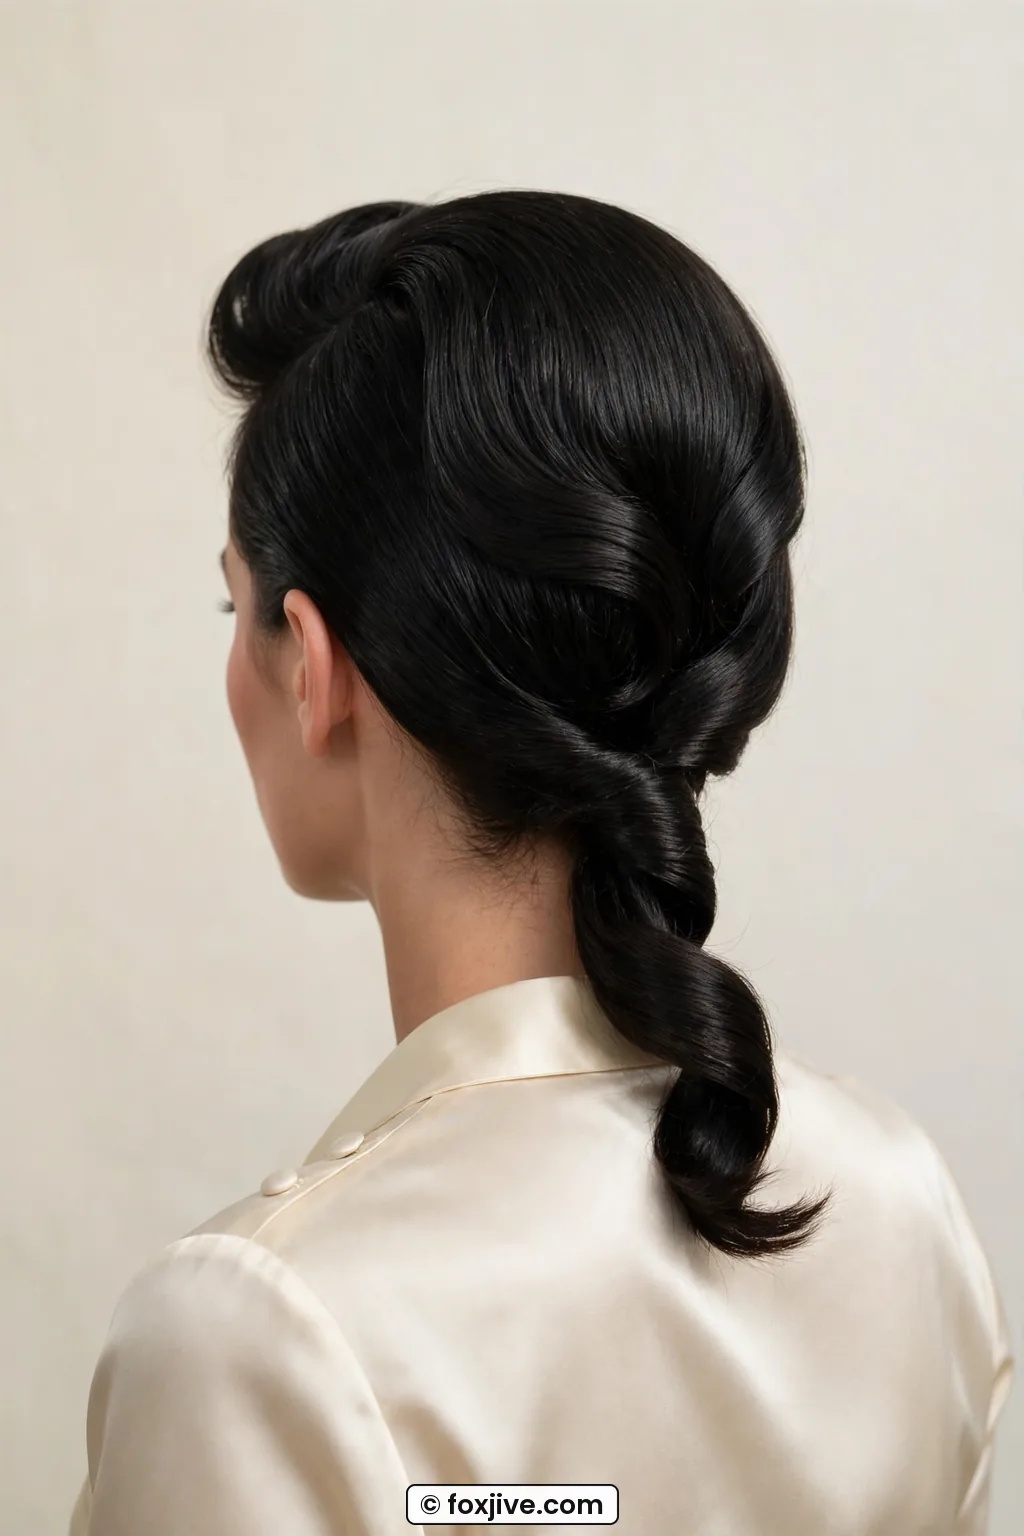
She has a similar hair texture to mine, fine but lots of it, and honestly this twist looks incredible on her in the back view. See how the front poufs up just before the twist rolls under? That little pillow is the whole trick.
Suits medium-density hair at shoulder length or longer, the classic secretary length. Padding? None, the twist itself is the structure. You backcomb the crown, push it forward for lift, then roll the lengths up and pin. It took me four tries to get mine smooth, and learning classic French twist steps with a hand mirror helped more than any spray. Damage is moderate because you are twisting tight, so I never wear it two days in a row.
6. The Mid-Height Bubble Flip
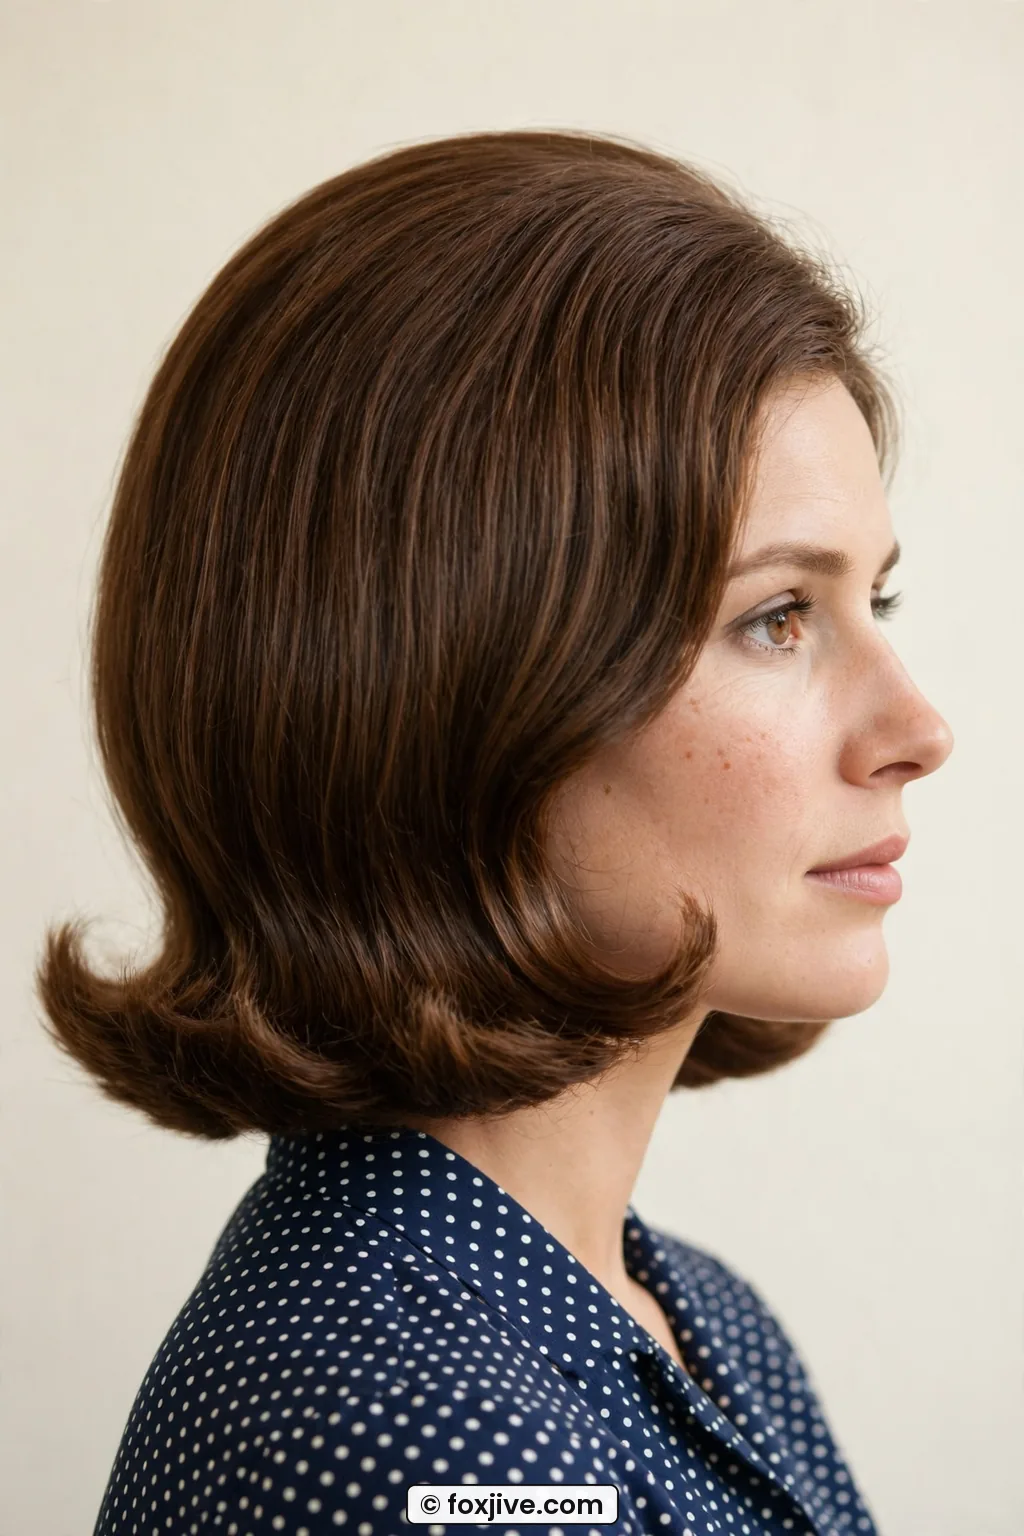
Think Jackie Kennedy meets girl-group. A rounded crown about two inches high with ends flipping up all around. This is the length I am talking about for most people. See how it hits just below her chin in the photo? That chin-grazing bob gives you enough weight to tease but not so much it drags down.
Suits bobs and lobs, medium to thick hair. Padding? A crescent bouffant pad helps a lot if you are on the fine side. I backcomb, set the shape with the pad, then flip the ends with a flat iron bent outward. Does it last? Mine held through dinner with one re-fluff in the bathroom. Compared to the flatter shapes in my 1920s hairstyles guide, this is all about air underneath.
7. The Classic Bouffant
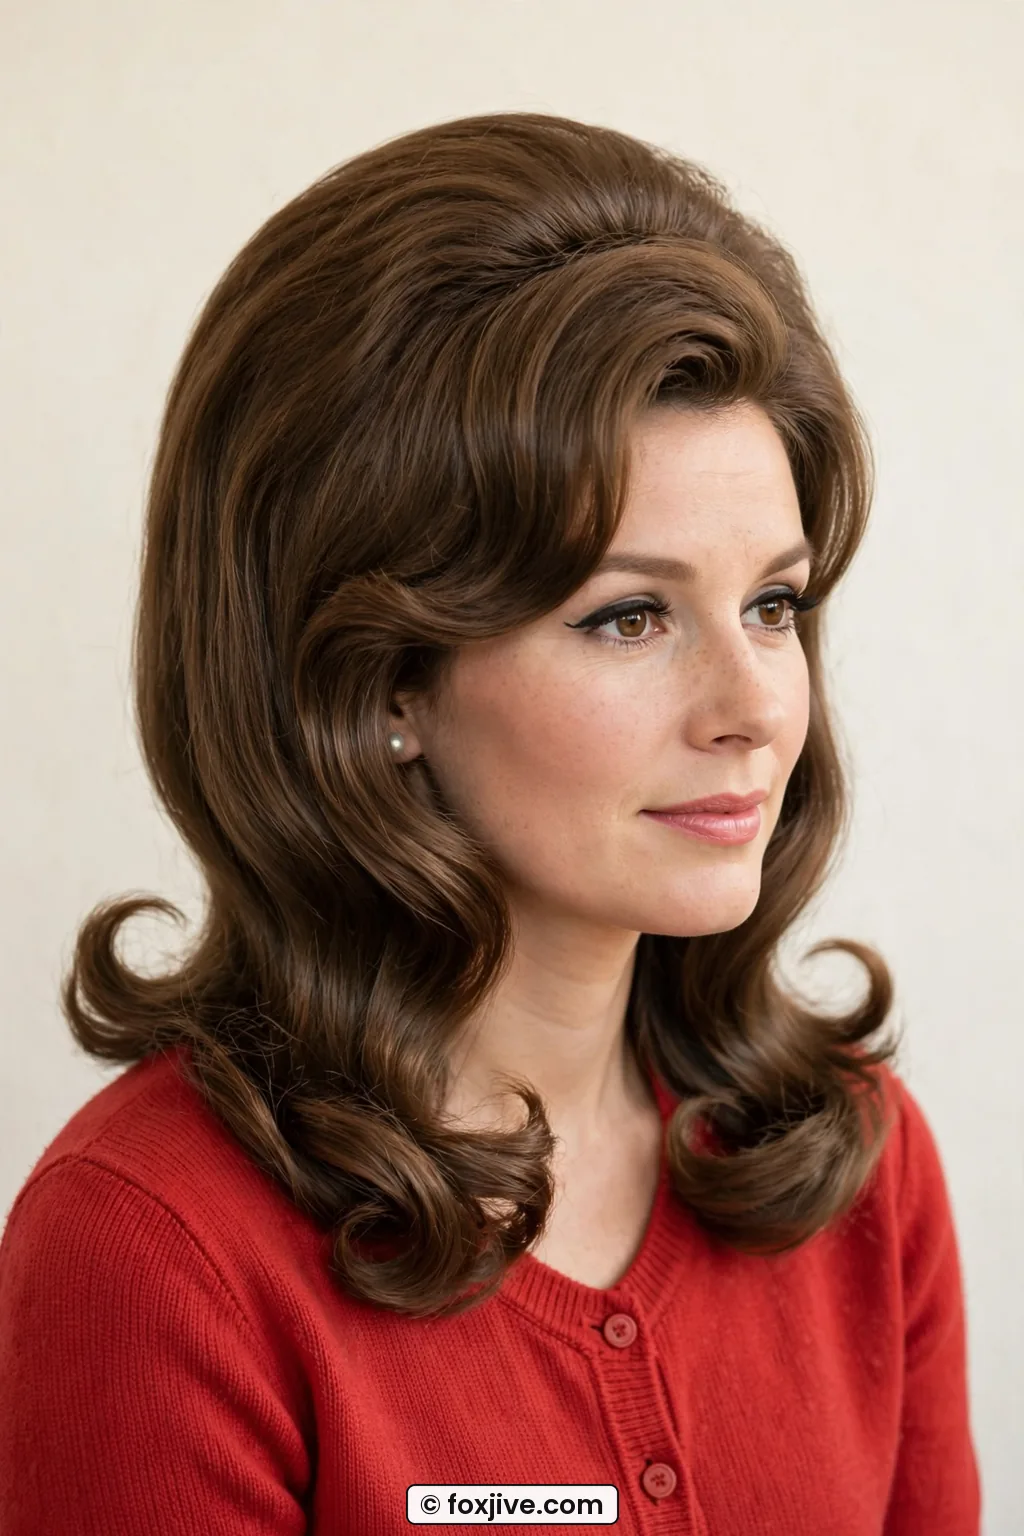
Okay, here is the middle of the ladder and my personal sweet spot. A full, rounded bouffant with height on top and softness at the nape, ends curled under or flipped. Suits almost everyone with shoulder-length or longer hair, thick or medium.
My favorite is this one, worn a little mussed on day two with a headband. Perfect height without a sore scalp.
Padding? One medium dome form for consistency, especially in humid weather. I tease the crown in four sections, place the form, smooth over, and pin. Learning proper using hair padding for volume changed everything for me, I stopped over-teasing once I trusted the form. Honest damage note: this is where breakage can start if you tease dry, dirty hair. Freshly washed with grit spray is kinder.
Watch a Bouffant Built Live
8. The Tall Flip With Back Bow
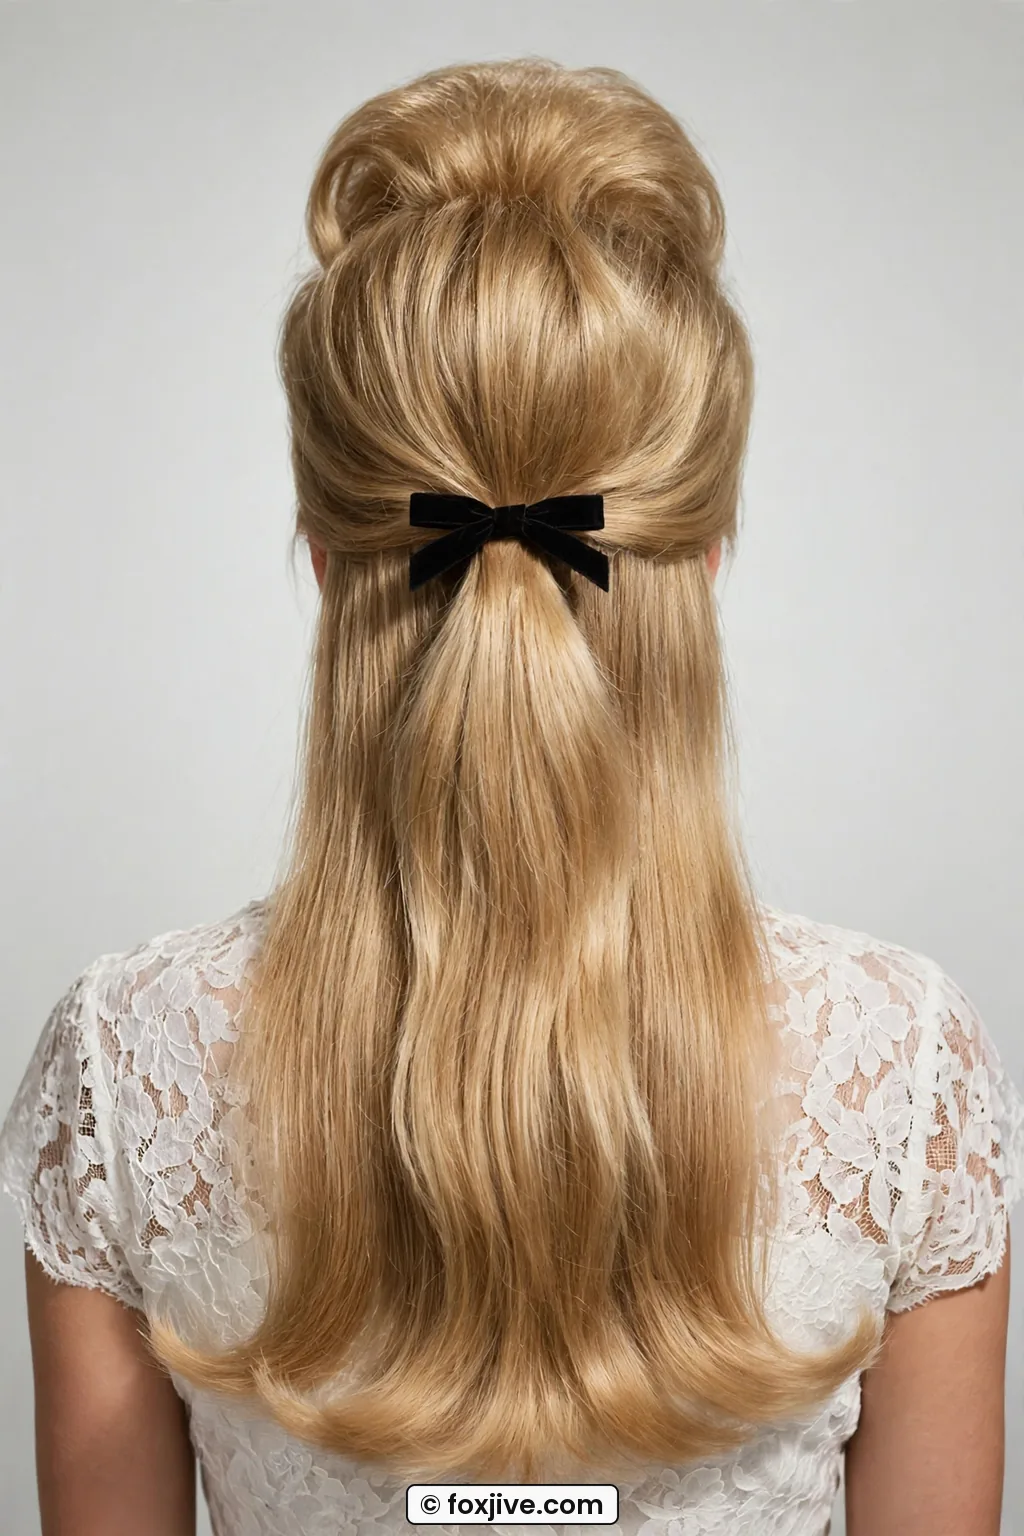
This is party 60s hair. High crown, big flip, and a little bow peeking out the back. I love a well-placed bow so much. It suits long, medium-thick to thick hair because you need length for that flip to read.
Padding? Yes, a medium oval pad plus serious backcombing at the crown. The bow actually hides your anchor pins, clever, right? When I did this for Christmas, the back stayed up but my front went flat, so now I tease the front last and spray immediately. The flip part is low-damage, the crown part is medium. Brush out gently or you will get that cotton-candy halo for days. If big-event hair is your thing, the drama here pairs well with the over-the-top shapes in my 1980s hairstyles roundup, just sleeker.
9. The Barrel-Roll Beehive
We have crossed into beehive territory, but this one is still friendly. Hair is rolled into a soft barrel on top rather than a sharp cone. Best for thick, long hair, or medium hair with extensions of your own texture.
Padding? A large beehive form or a self-made hair rat from shed hair in a stocking, old-school but works. I build the barrel around the form, pin at the nape, smooth the front. Why do I prefer this to a cone? It distributes tension, so my head does not throb. Damage risk is higher here because of the tight smoothing. I coat the top layer with a light pomade before smoothing to reduce friction.
10. The Full Beehive
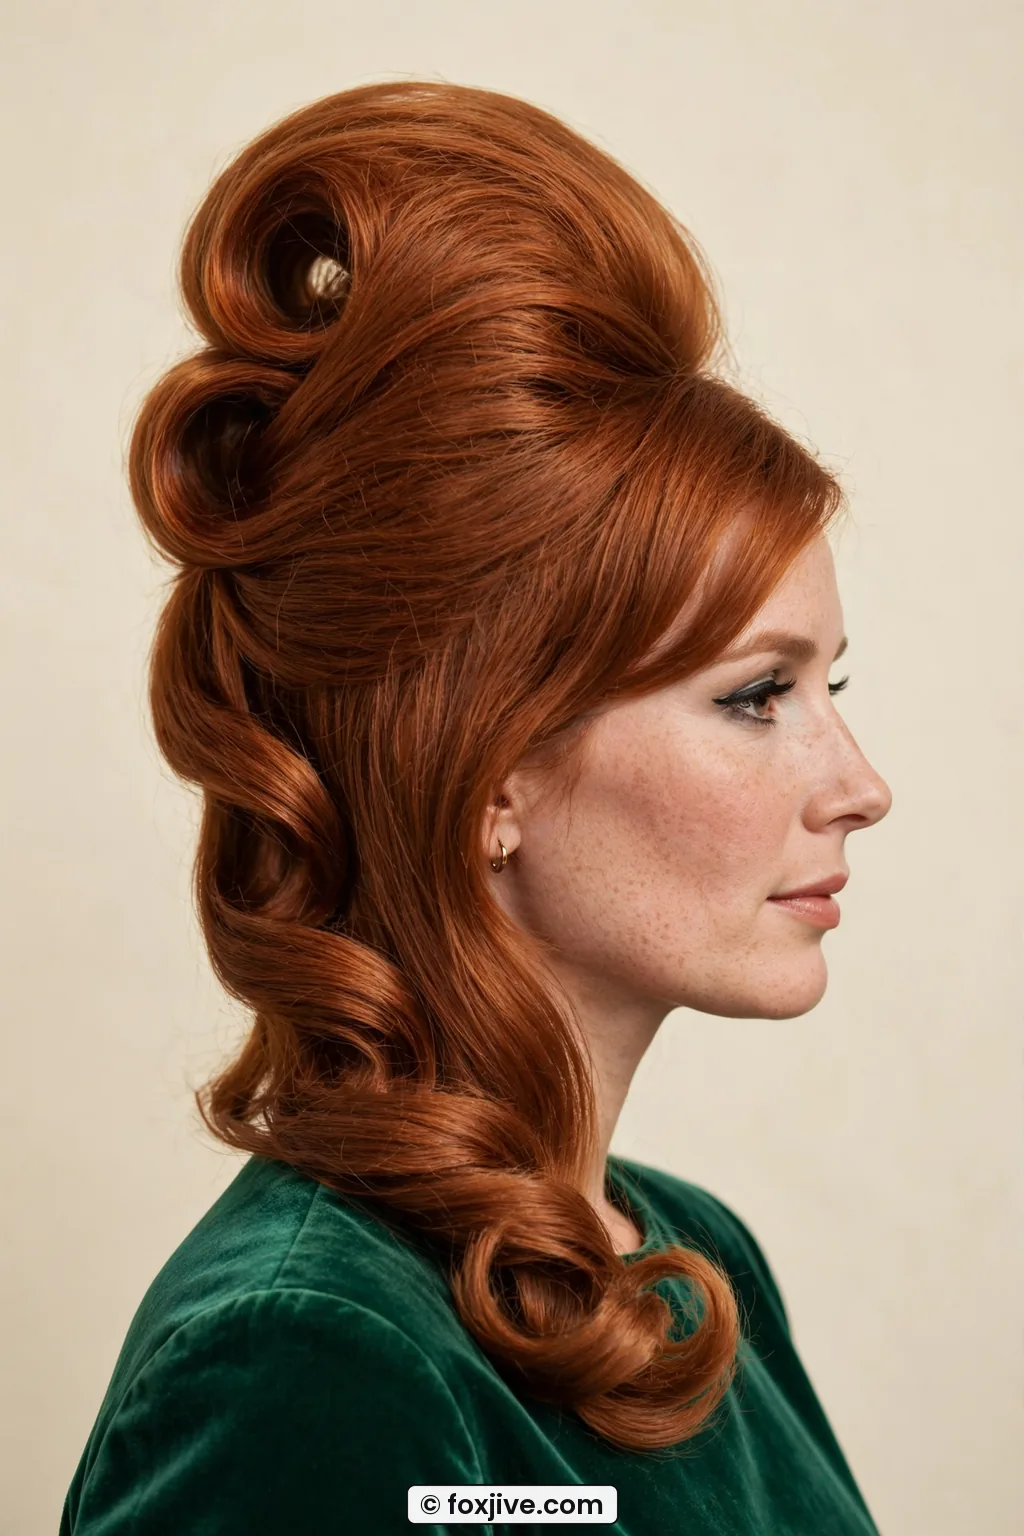
The icon. Tall, smooth, slightly tapered, about four to five inches over the crown. Suits thick, long hair best. Fine hair can do it, but only with help, more on that below.
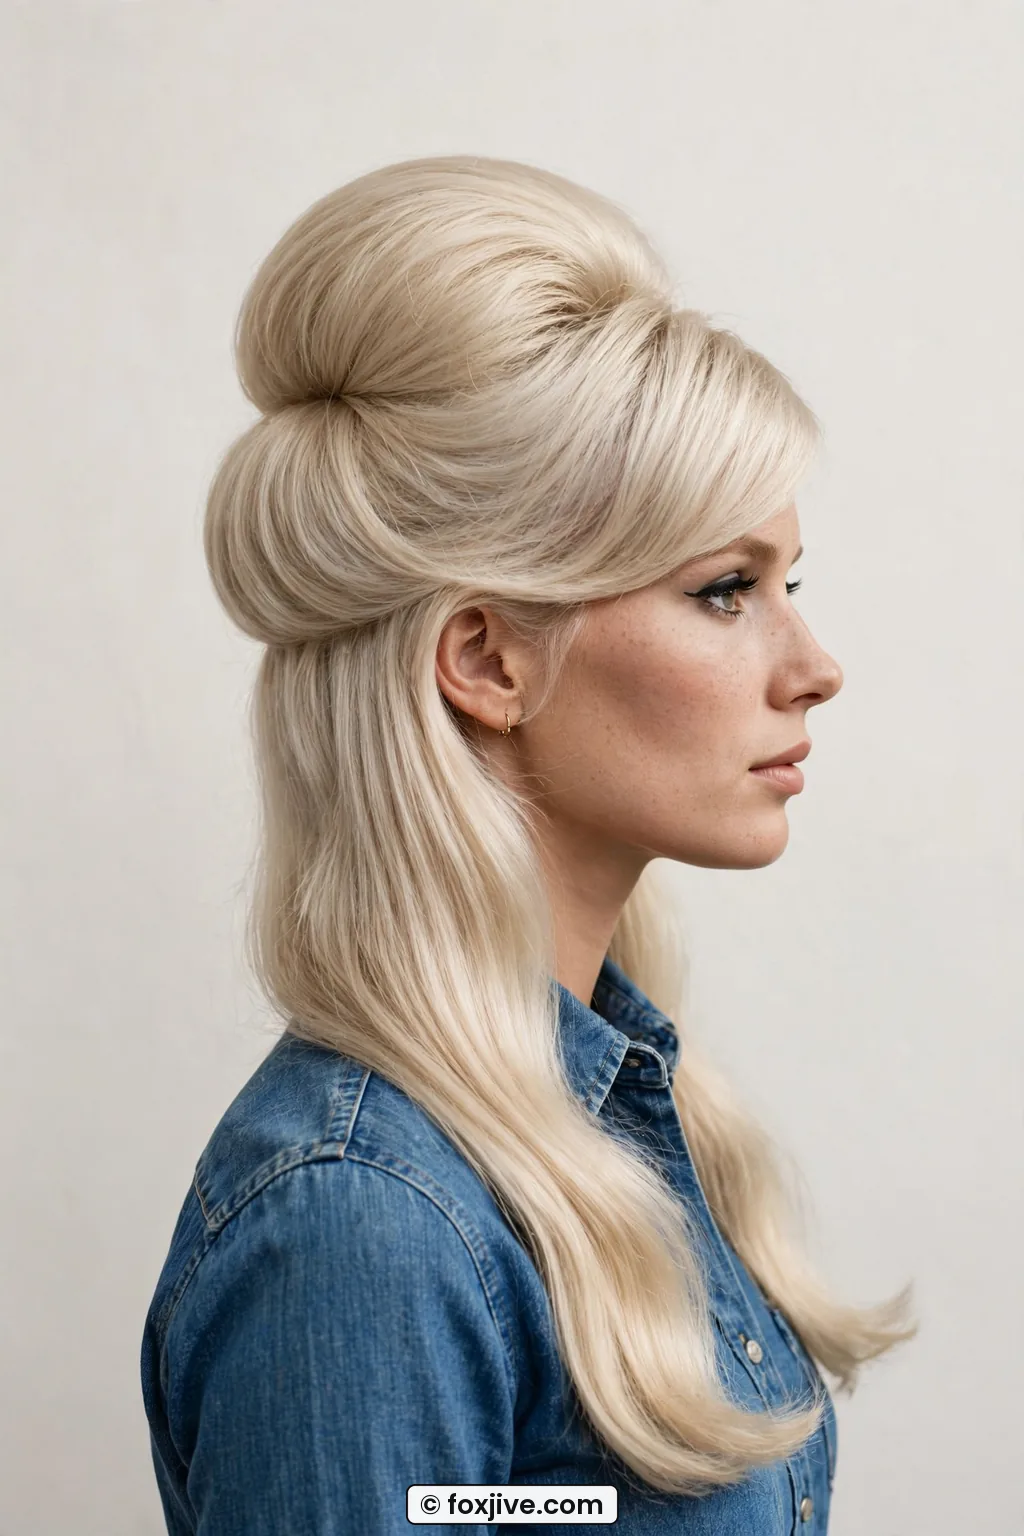
Padding? Absolutely, a tall beehive base. Do not try to get this height on teasing alone unless you want breakage. Side profile in the photo shows it best, look at how she is wearing hers, that smooth shell from forehead to peak with no dents. That is the sign of a well-placed form underneath and a patient smoothing brush. I spent 40 minutes on mine the first time and wore bobby-pin dents on my fingers for a day. Worth it? For photos, yes. For grocery shopping, maybe not.
11. The Double-Crown Beehive
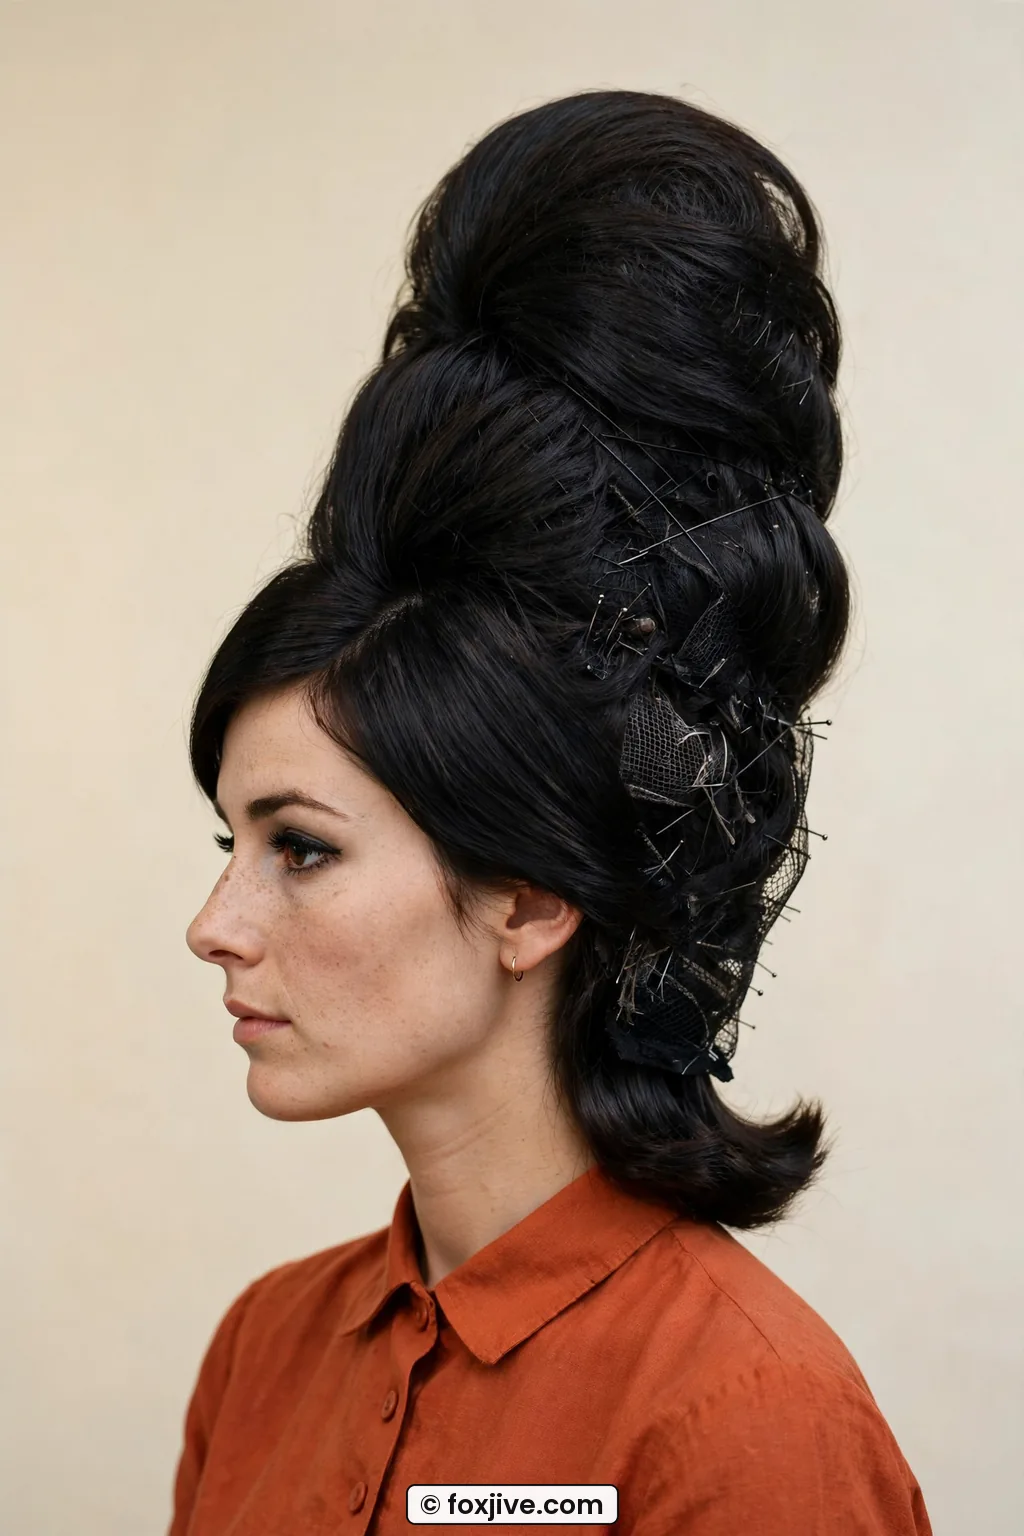
This is a beehive with a second swell at the back crown, so from the side you get two soft hills. Very Dusty Springfield album cover. Suits long, thick hair, wavy or straight, because you need a lot of material to wrap twice.
Padding? Two pieces, a tall front cone and a smaller half-dome behind it. Sounds like a lot, and it is. I only recommend this if you have danced with a regular beehive first. My attempt collapsed in the middle until I learned to anchor the two pads together with a stitch of thread. Damage level is high if you do this weekly, the double teasing doubles the tangles. Once in a while for a 1990s hairstyles versus sixties party? No, wait, save it for a true retro night where people get it. And plan a deep-conditioning evening after.
12. The Tower With Falls
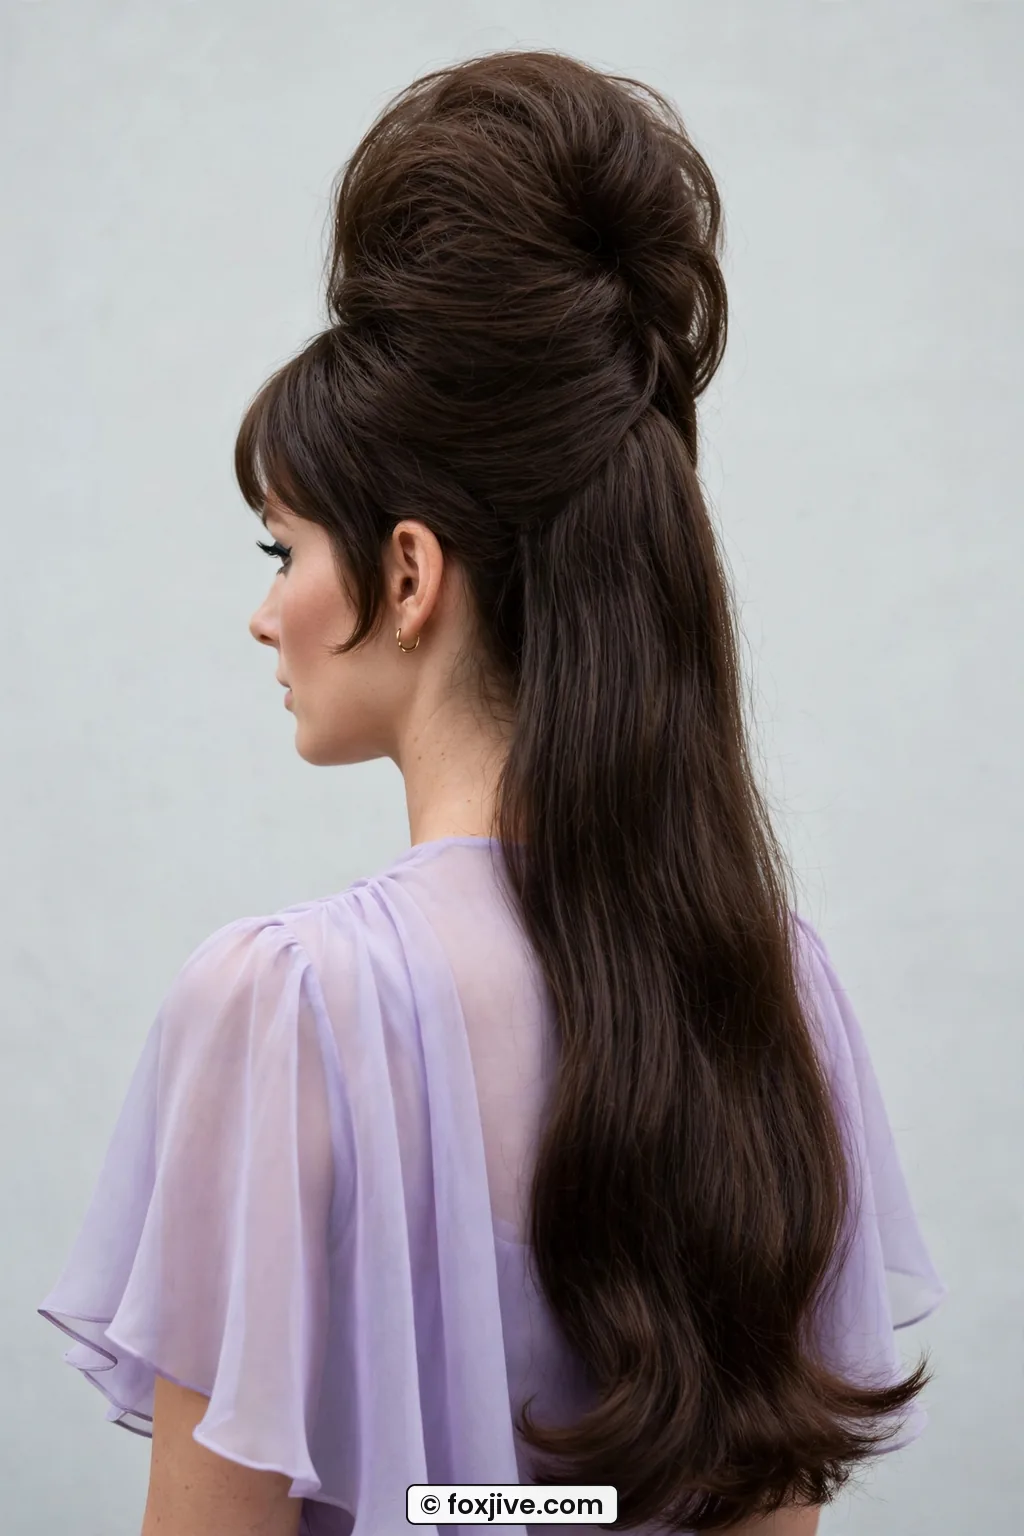
Almost at the top, literally. A tall beehive with long ends left down in back, sometimes called falls even when it is your own hair. Suits very long, thick hair, or long medium hair with a matching fall piece made of real human hair.
Padding? Yes, a full beehive shaper plus pins strong enough to hold the hanging length without dragging. The trick is balance. If the back is heavy, the front tips. I learned to leave the falls until the very end and pin them high under the hive. Honest note: my neck was tired after six hours. Beautiful, dramatic, but not an all-day thing for me. Styling the loose part with a soft wave keeps it from looking like two different decades, which is why I often peek at 1970s hairstyles for looser finishing ideas.
13. The Sky-High Beehive
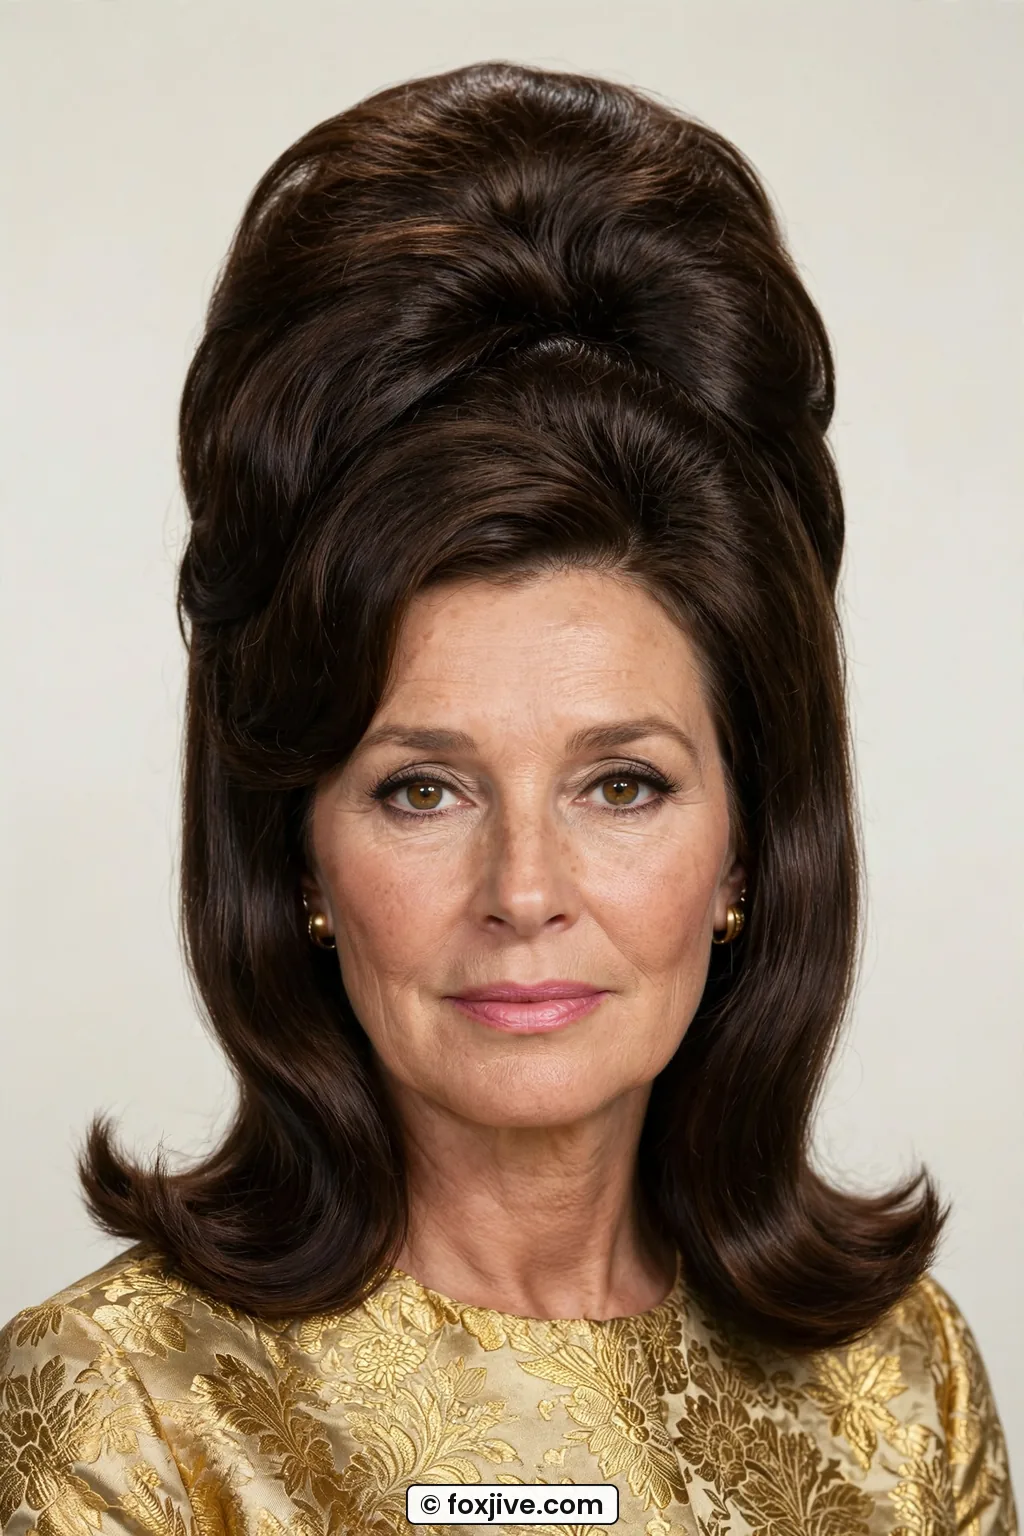
The tallest one, and I will be straight with you. This is six-plus inches, shellacked smooth, ends tucked. Suits very thick, long hair only if you want it all real. Everyone else needs a form, and that is okay, it is still your style.
Padding? The largest beehive cage you can find, plus a full head of backcombing. I did this once for a themed shoot and needed help with the back smoothing. It photographed like a dream. Wearing it? You duck through doorways. You sit differently in the car. Damage is the highest here, so this is a once-a-year look, with a pre-wash oil soak and a post-wash mask. Still, I am so glad I tried it. There is nothing like seeing that silhouette in the mirror.
What Fine Hair Can Actually Hold
Can we talk fine hair for a minute? Because most tutorials pretend we all have horse hair. I have medium-fine hair myself. Here is my real limit. Numbers 1 through 7 are totally doable with a small pad and good prep. Numbers 8 through 10 are possible with a medium-to-large form and day-old hair for grit.
Numbers 11 through 13? You will need added hair, even if it is just your own shed hair saved in a rat. And that is fine. The sixties girls did exactly that. Wash, blow-dry with mousse for a gritty base, tease gently in small sections, and never backcomb soaking-clean slippery hair. If your arms give out, stop. A slightly smaller smooth hive beats a big fuzzy one every time.
So which height are you trying first? I am still a number 7 girl at heart, but that little half-inch lift gets the most real-life wear. Send me your attempts, frizz and all, I love the messy ones best.