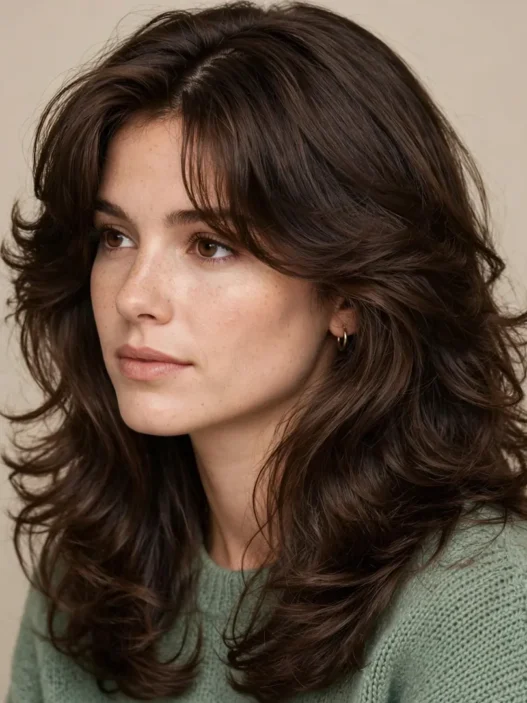







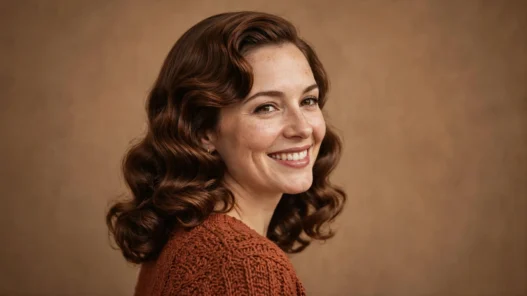
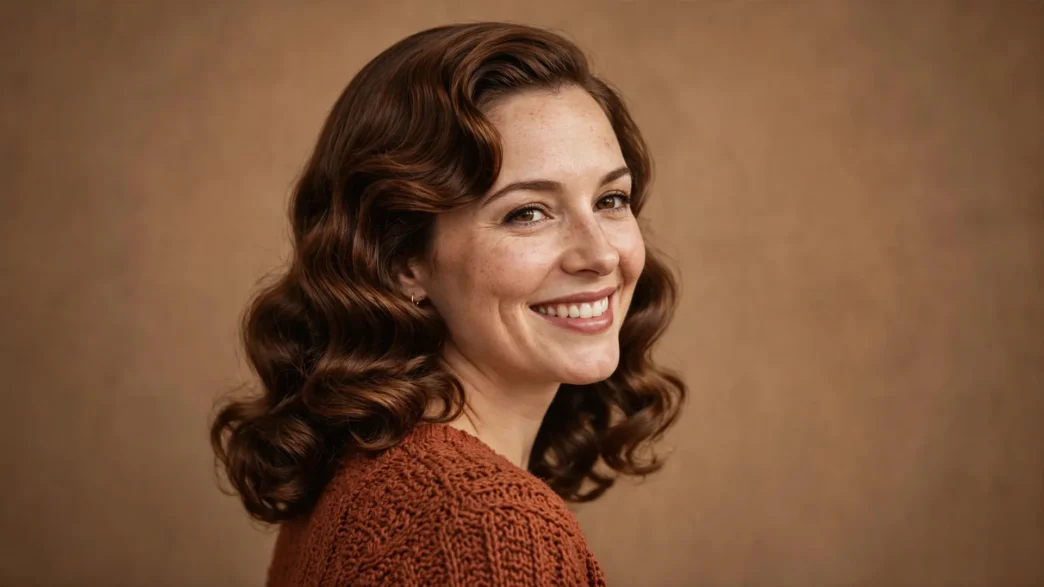
I did not plan to fall back in love with vintage hairstyles. It just happened after I got tired of my too-flat, too-perfect blowout and started pinning one side back the way my grandma did in photos. Then a barista asked if I had just come from a wedding. Nope. Just Tuesday.
What I love about the 2026 revival is that nobody is doing a copy-and-paste costume version. It is more like a translation. Same pretty shape, less stiffness, less backcombing, way less hairspray. I tried each of these out in real life, with rain and wind and grocery runs, and these are the ones that actually held up.
Think of this as my field notes. Old shape, new habit, and the one little tweak that makes it wearable now.
In This Post: My 13 Low-Effort Throwbacks
- 1. The Soft Finger Wave (1920s, Seen in March)
- 2. The Grown-Out Flapper Bob (1920s, Seen at Brunch)
- 3. The Loose Old Hollywood Wave (1930s, Seen on Date Night)
- 4. The Low Pin-Curl Set (1940s, Seen at Work)
- 5. The Relaxed Victory Roll (1940s, Seen at a Wedding)
- 6. The Soft Poodle Cut (1950s, Seen on the Train)
- 7. The Half-Up Pony (1950s, Seen at School Drop-Off)
- 8. The Lived-In Beehive (1960s, Seen Downtown)
- 9. The Long Mod Pixie (1960s, Seen at the Gallery)
- 10. The Loose Farrah Flick (1970s, Seen at Dinner)
- 11. The Soft Disco Puff (1970s, Seen on Holiday)
- 12. The Easy Rachel Layer (1990s, Seen All Spring)
- 13. The Low Y2K Space Buns (2000s, Seen at the Gym)
1. The Soft Finger Wave (1920s, Seen in March)
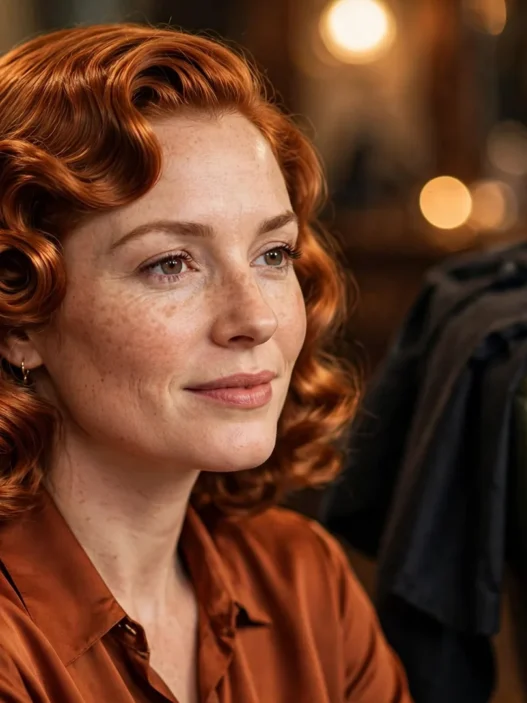
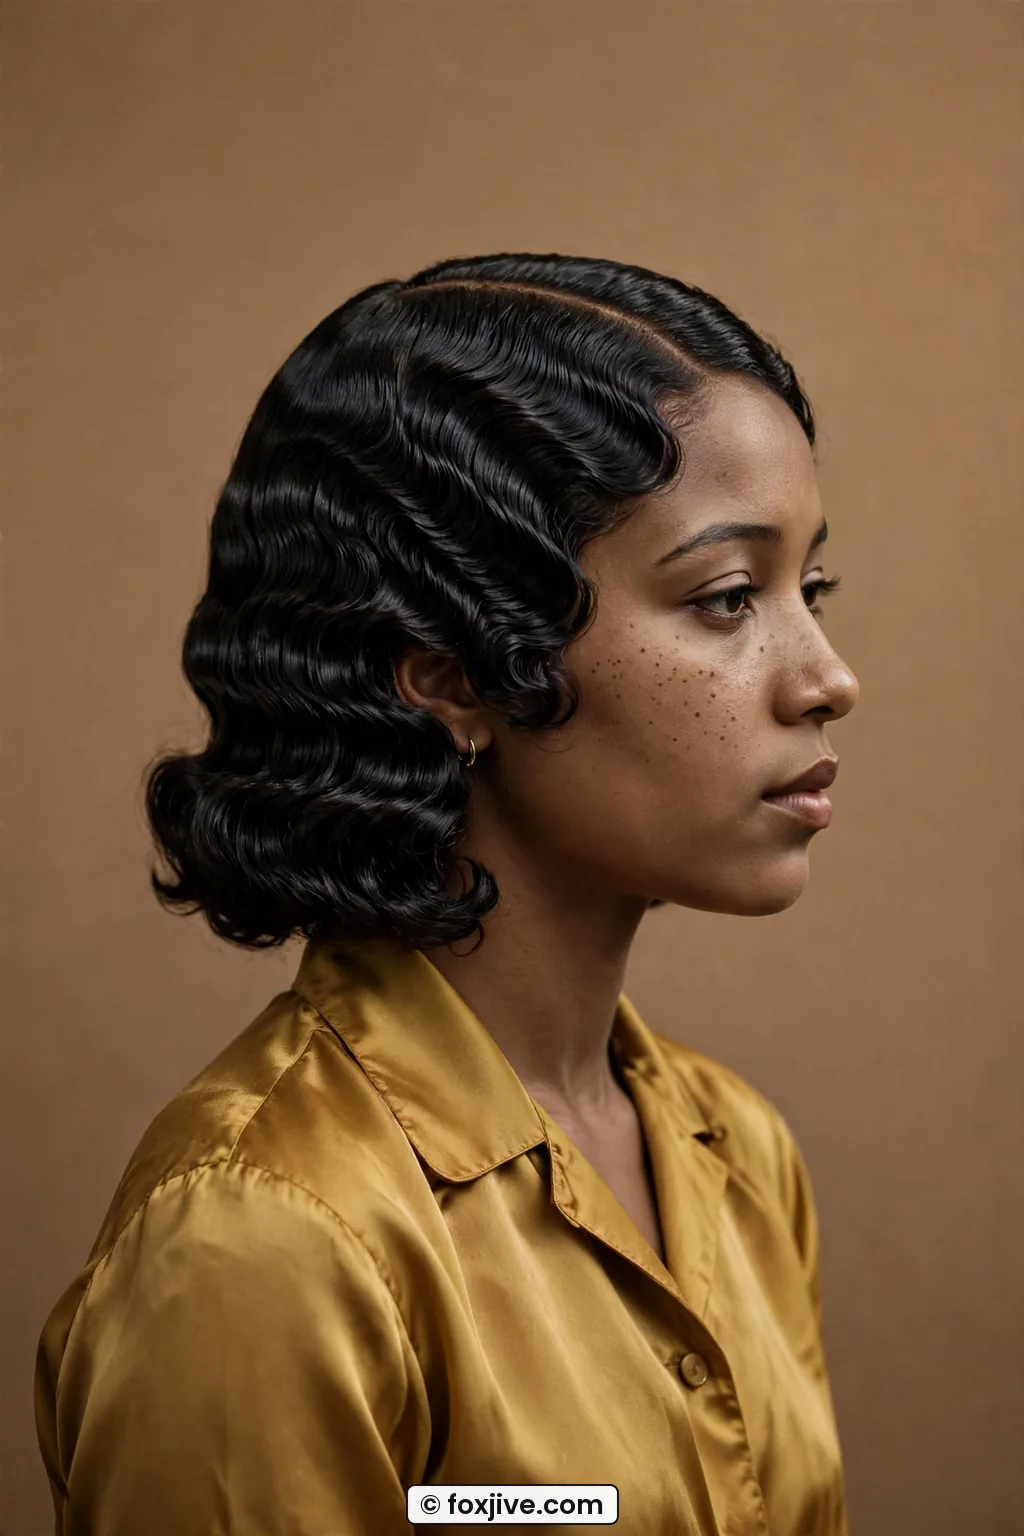
I saw this first on a woman in line at the farmers market. Chin-length hair, deep side part, one perfect S curve hugging her cheek. Very 1920s, but not crunchy at all. I went home and tried it that same night with damp hair and a little mousse.
The original was shellacked flat with gel and worn razor sharp. The 2026 tweak that makes it wearable is texture. I leave the ends a little air-dried and piecey instead of molding them to my head. You still get that elegant ripple by your eye, but the rest moves like normal hair.
Look at how she is wearing hers in the side profile. See how the wave lifts just off her temple instead of gluing down? That little pocket of air is everything. I clip mine with two flat duckbill clips for 20 minutes while I do makeup, then pull them out and do not brush.
My fine hair actually holds this better on day-two hair. If yours slips, a pea-size dab of gel only on the front section is enough. The back can stay soft.
2. The Grown-Out Flapper Bob (1920s, Seen at Brunch)
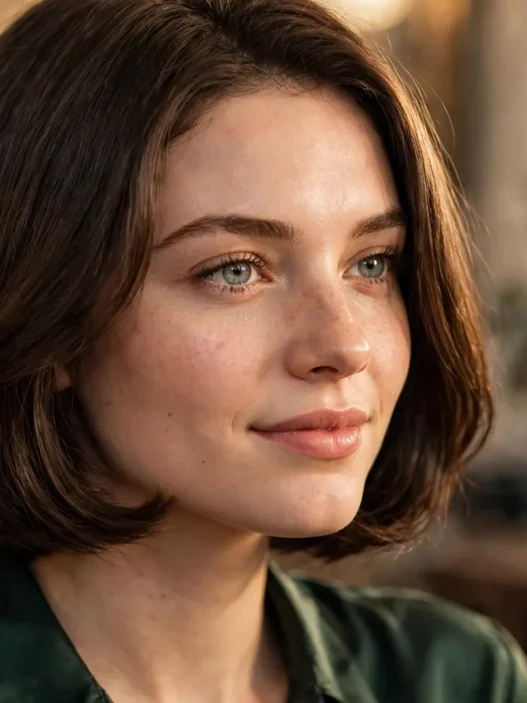
This one surprised me. I have been growing out a bob and feeling stuck at that flippy jaw stage, and then I kept seeing this exact length everywhere. Slightly undercut at the nape, curved under at the jaw, with a short, eye-grazing fringe. Classic flapper bob, but grown out by an inch.
Back then it was blunt, ear-hugging, and super polished. Now the changed detail is the perimeter. My stylist point-cut the ends so they turn under on their own, no round-brush marathon needed. It gives that same helmet-sleek line without looking severe.
She has got a similar face shape to mine, rounder in the cheeks, and honestly that tucked-under corner looks incredible on her. It narrows everything without contour. If you want more background on short shapes, I keep sending friends to my notes on 1950s hairstyles because that era perfected the tucked bob edge.
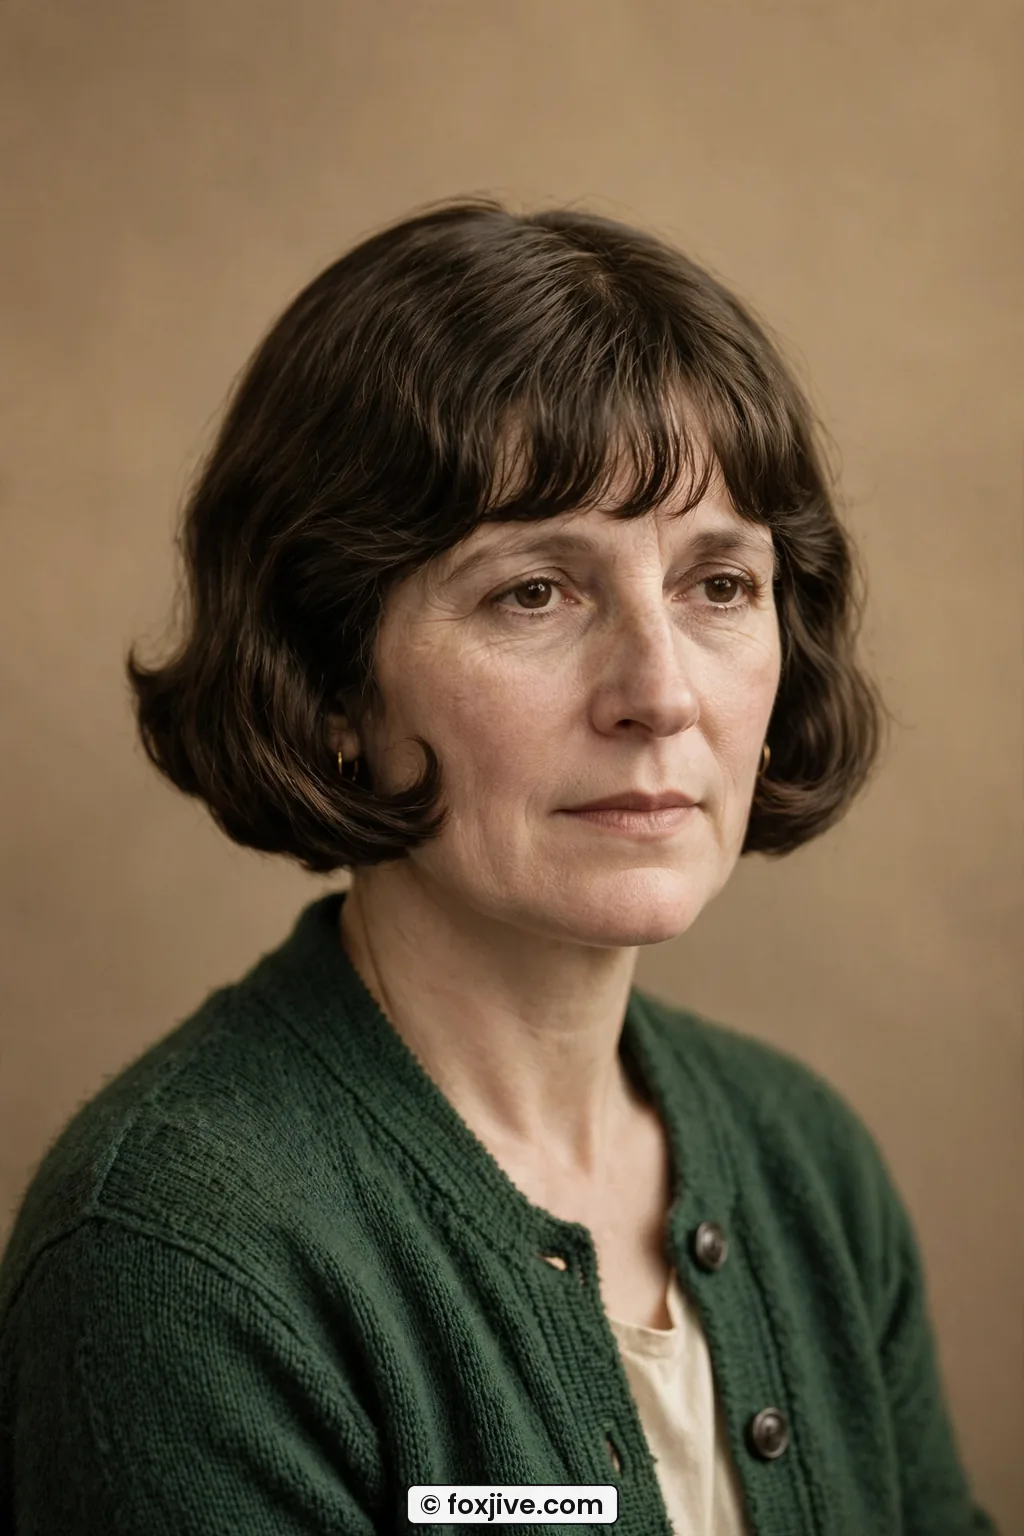
I wear mine with a center part when I want it tougher, side part when I want it softer. A flat iron flicked under for five seconds does the whole head.
3. The Loose Old Hollywood Wave (1930s, Seen on Date Night)
Is there anything more reliable than a deep side wave for date night? I wore this to a dim little Italian place last month and felt instantly put together, even in jeans. The 1930s original was tight, uniform, and brushed to a high shine.
The modern translation swaps the tight marcel iron for a large-barrel curling iron and a much looser brush-out. That is the one changed detail. I curl everything away from my face, let it cool completely, then brush with a soft boar brush until the curls melt together. You can read up on smooth Hollywood waves before you try it, because the cooling step really is non-negotiable.
Look at her side profile here. The top is smooth for the first two inches, then the bend starts. That low start is what keeps it from reading pageant. My hair is thick, so I pin each warm curl for 10 minutes. My thin-haired sister skips that and still gets the shape.
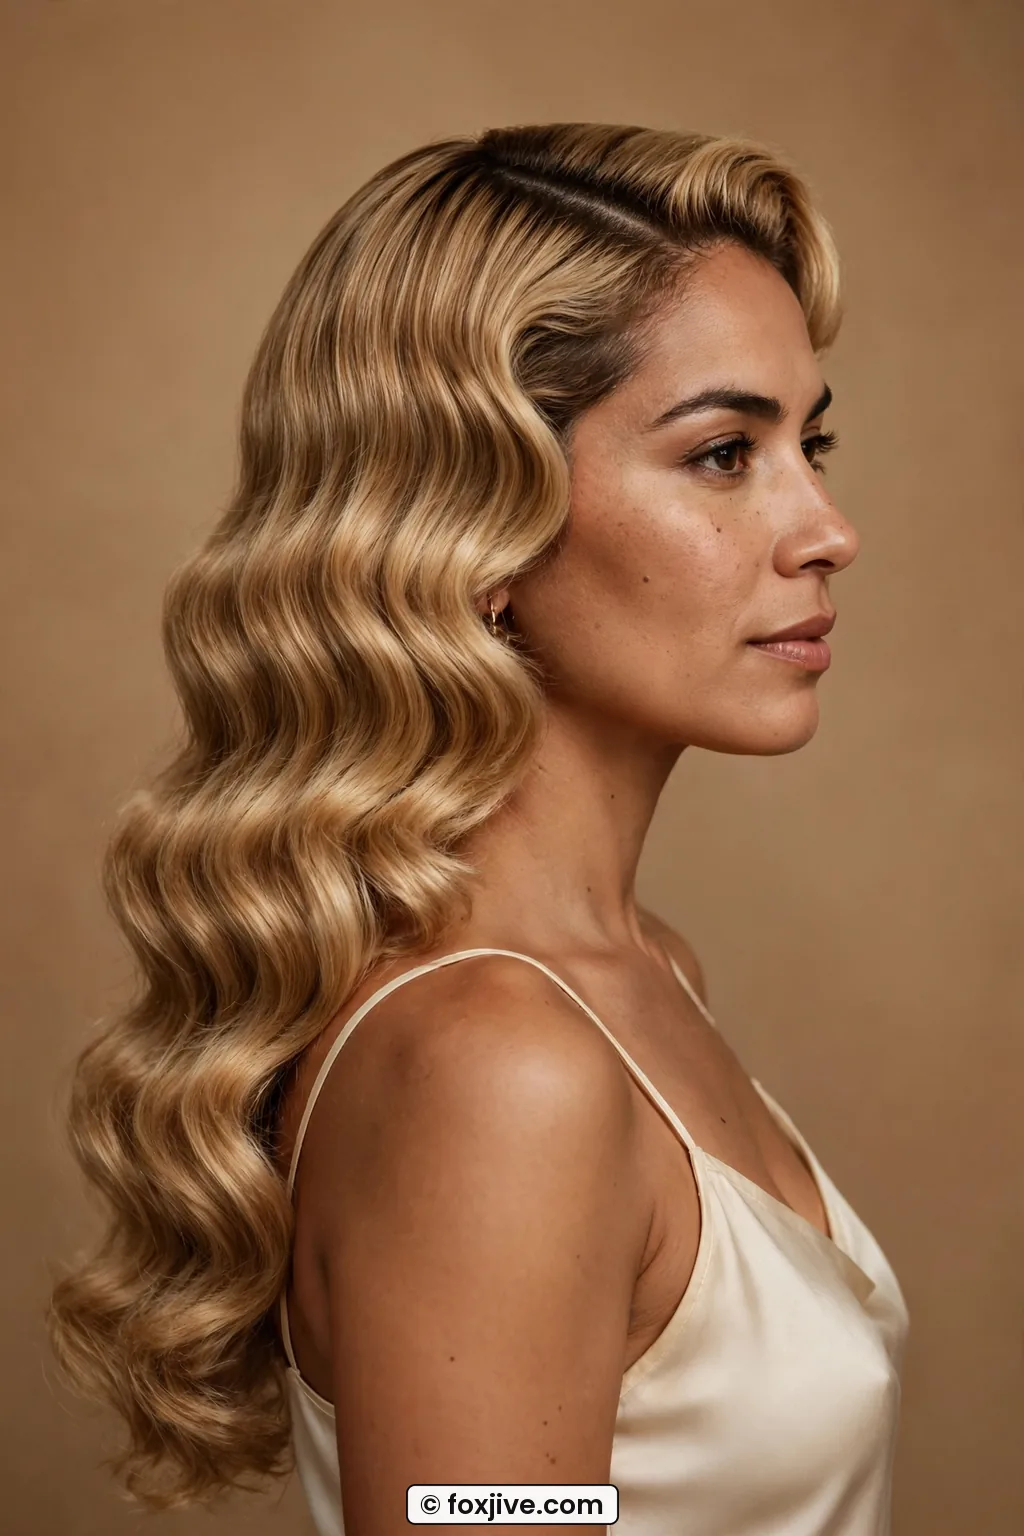
Mistake I made? Too much shine spray. A light-veil mist is plenty. Too much and those soft waves separate into strings by dessert.
4. The Low Pin-Curl Set (1940s, Seen at Work)
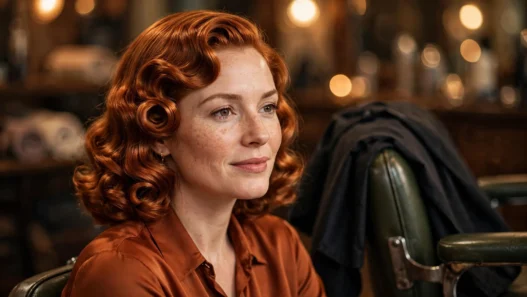
Okay, hear me out. Pin curls sound fussy, but a low, overnight set has saved my work mornings. I do eight flat pin curls just at the nape before bed, sleep in a silk scarf, and wake up to this neat, rolled-under swing that looks like I tried hard. I did not.
In the 1940s the whole head was set tight and high. The wearable change now is placement. Only the bottom third is set, the crown is left smooth with just a side part. It reads as a tidy, vintage-inspired bend rather than a full set.
She is showing the exact length I mean in this photo. See how it hits just below her chin and kicks under? That is all overnight pin curls, no heat in the morning. I learned the flat-twist version from a girl on the bus, of all places, and never went back.
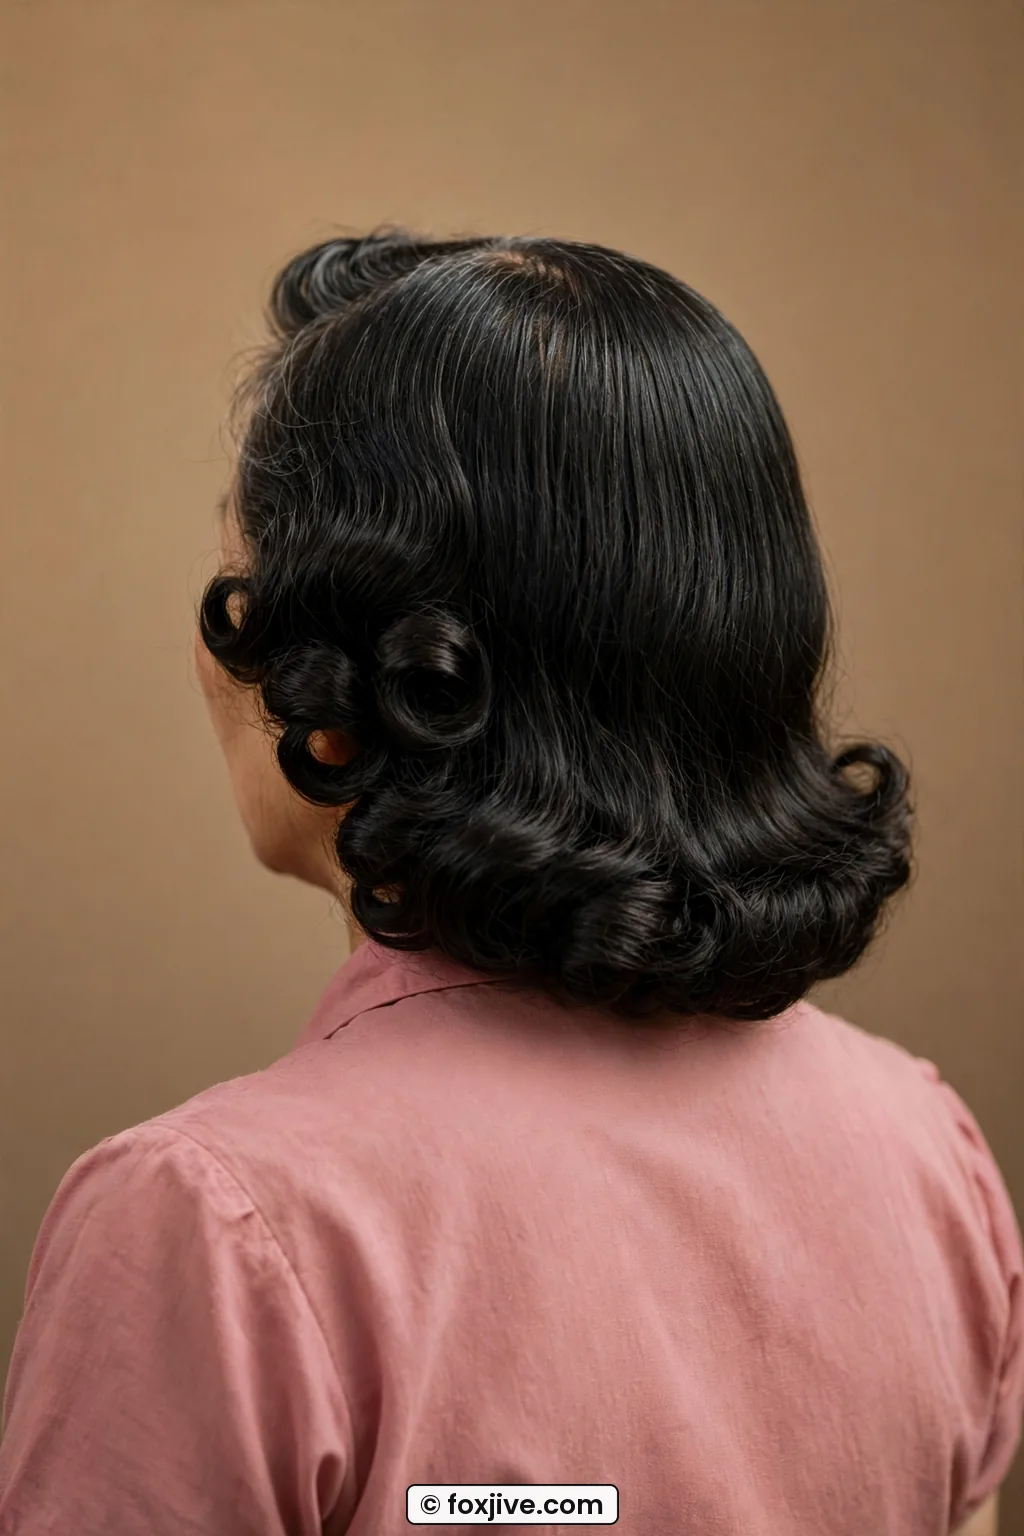
If bobby pins give you a headache, use small claw clips. Same shape, zero dents. And do not brush out too hard. Two strokes, then fingers.
5. The Relaxed Victory Roll (1940s, Seen at a Wedding)
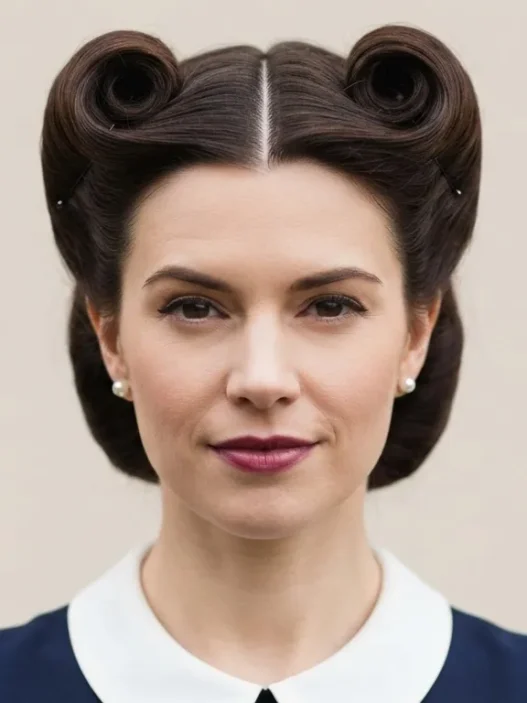
I wore this to my cousin’s wedding and three different aunties grabbed me for photos. The classic victory roll is that tall, sculpted V on top. Mine was about half the height, a little lopsided on purpose, with soft face-framing bits left out. Still festive, not stiff.
The 1940s version used a ton of backcombing and set lotion. My changed detail is padding instead of teasing. I use a small mesh donut cut in half inside the roll. It gives height without ratting my hair to death, and it slides out in two seconds. For removal night, you will thank me.
Look at how she is wearing hers, pushed a little off-center instead of dead symmetrical. That angle is exactly what I mean about making rolls feel modern. I also love how her ends are tucked but not hidden, so you see a little texture. If you want more updo ideas, browse my saved vintage updos for weddings, most of them use the same padding trick.
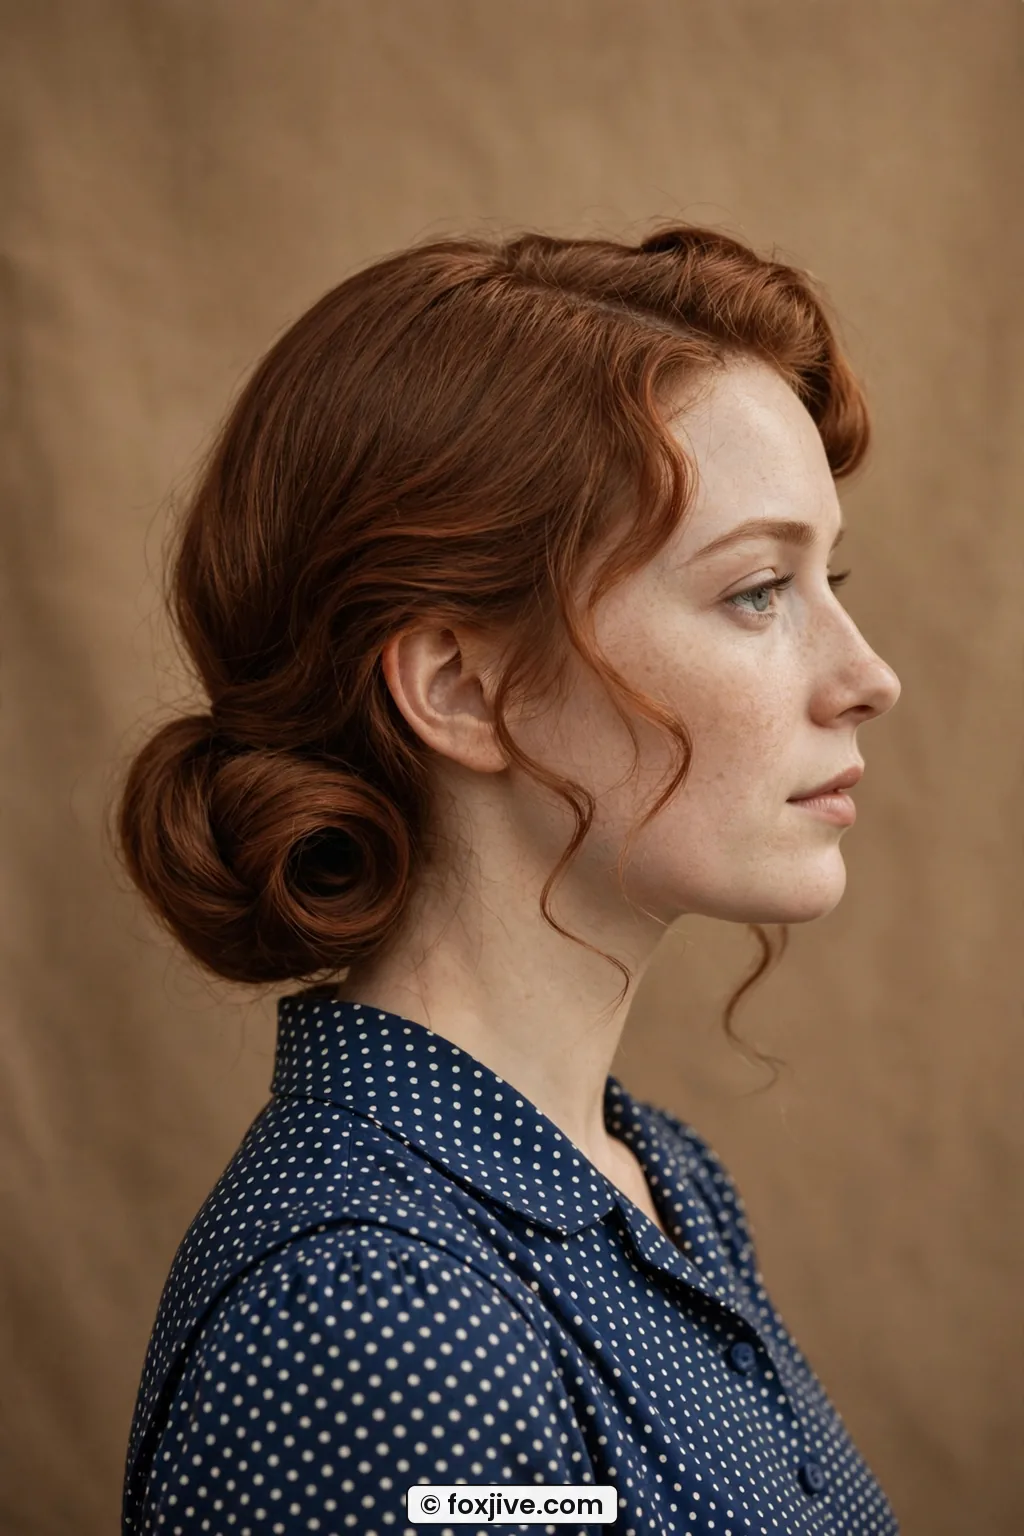
Quick tip from my bathroom floor trial and error. Roll away from your part, not toward it, and anchor with two crisscrossed pins at the base. One pin never holds through dancing.
My personal pick is the relaxed victory roll. It is the only vintage style that makes me stand up straighter the second it is in.
6. The Soft Poodle Cut (1950s, Seen on the Train)
I sat across from a woman on the train with the cutest short, curly poodle shape and I could not stop staring. Tight at the sides, full on top, curls like little clouds. Very 1950s, but hers looked touchable, not permed-to-death.
The original poodle cut was a short, chemical-heavy perm with lacquer. The modern wearable change is cutting the shape into naturally curly or heat-curled hair and skipping the perm entirely. Layers do the work. Shorter crown layers lift, longer sides hug. You can get the silhouette with a diffuser and a little cream.
This side view shows the shape so well. Fullness right above her ear, tapered neatly at the sideburn. That is a well-cut curve, not just volume for volume’s sake. I asked my stylist for a rounded, ear-tapered shape and brought this kind of photo.
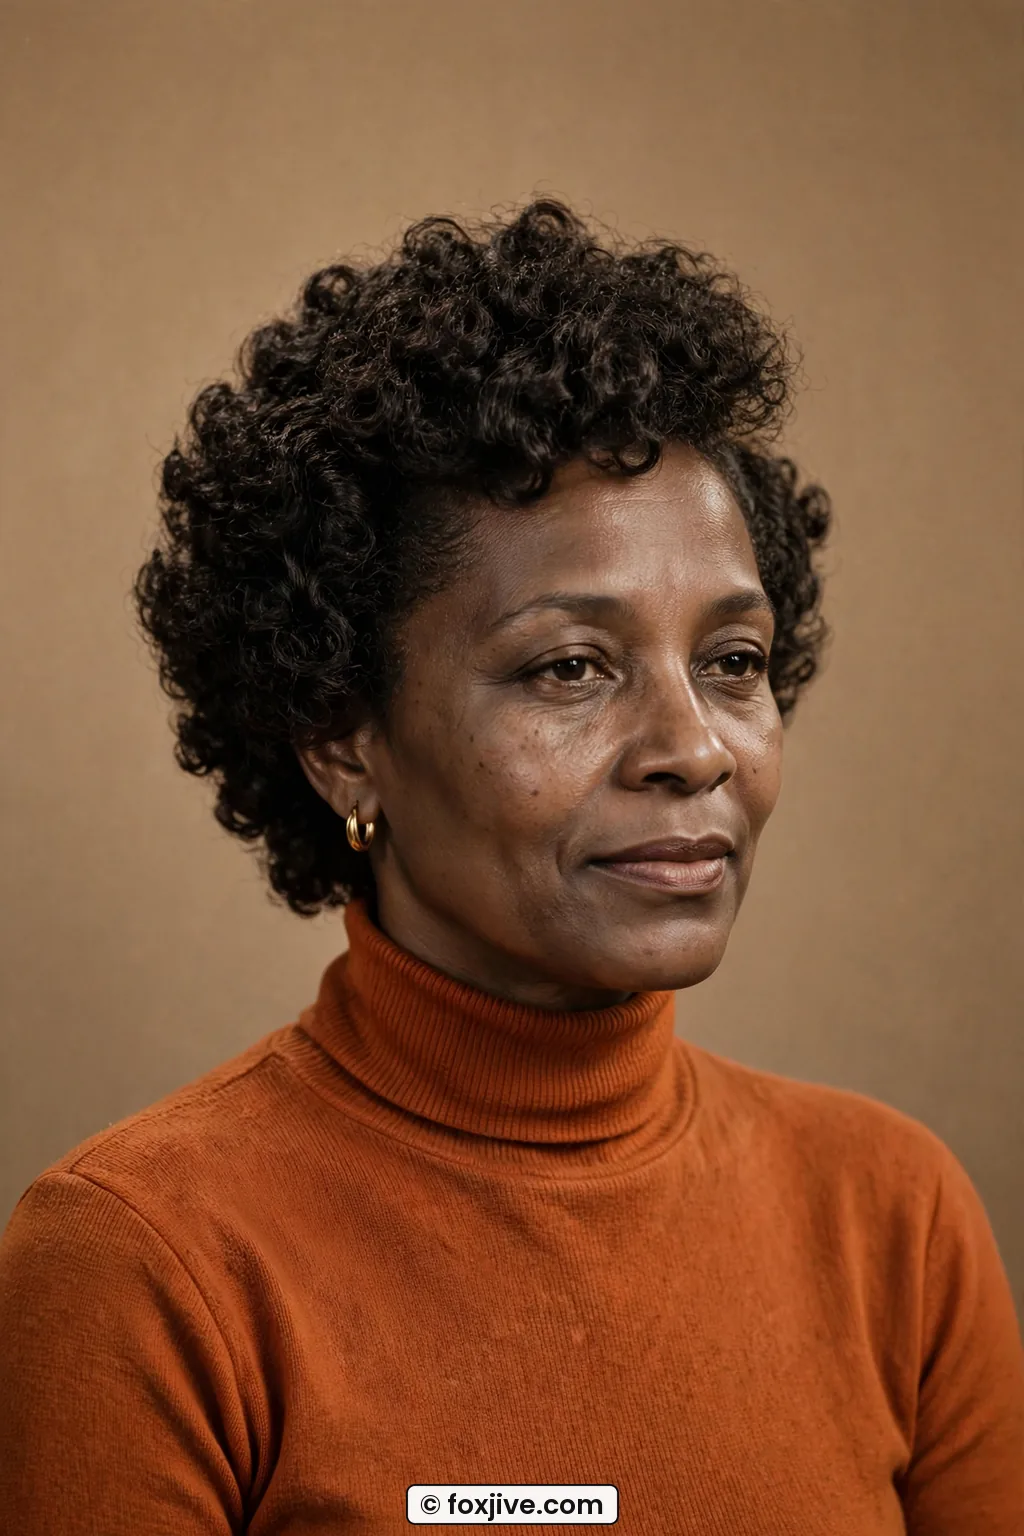
If your curls frizz, try setting on foam rollers while damp instead of diffusing on high. Slower, yes. But the curl clumps stay defined for three days. I get two extra days out of mine that way.
7. The Half-Up Pony (1950s, Seen at School Drop-Off)
This is my mom-on-the-run uniform. High half pony with a little bump at the crown, rest down. I have seen it at drop-off, at Target, at the park. It is pure 1950s pin-up, just deflated to real-life volume.
Back then the bump was a giant bouffant and the pony was curled into a stiff flip. The one detail I change is the base. I tease one tiny two-inch section, lay the top smooth over it, and keep the pony soft with a loose elastic. No crunchy flip, just a gentle bend. You can also read about gentle teasing for volume before your first try, because gentle really matters here.
For more short-pony variations I keep a little folder of 1950s hairstyles on my phone. Half-up styles from that decade are endlessly reuseable.
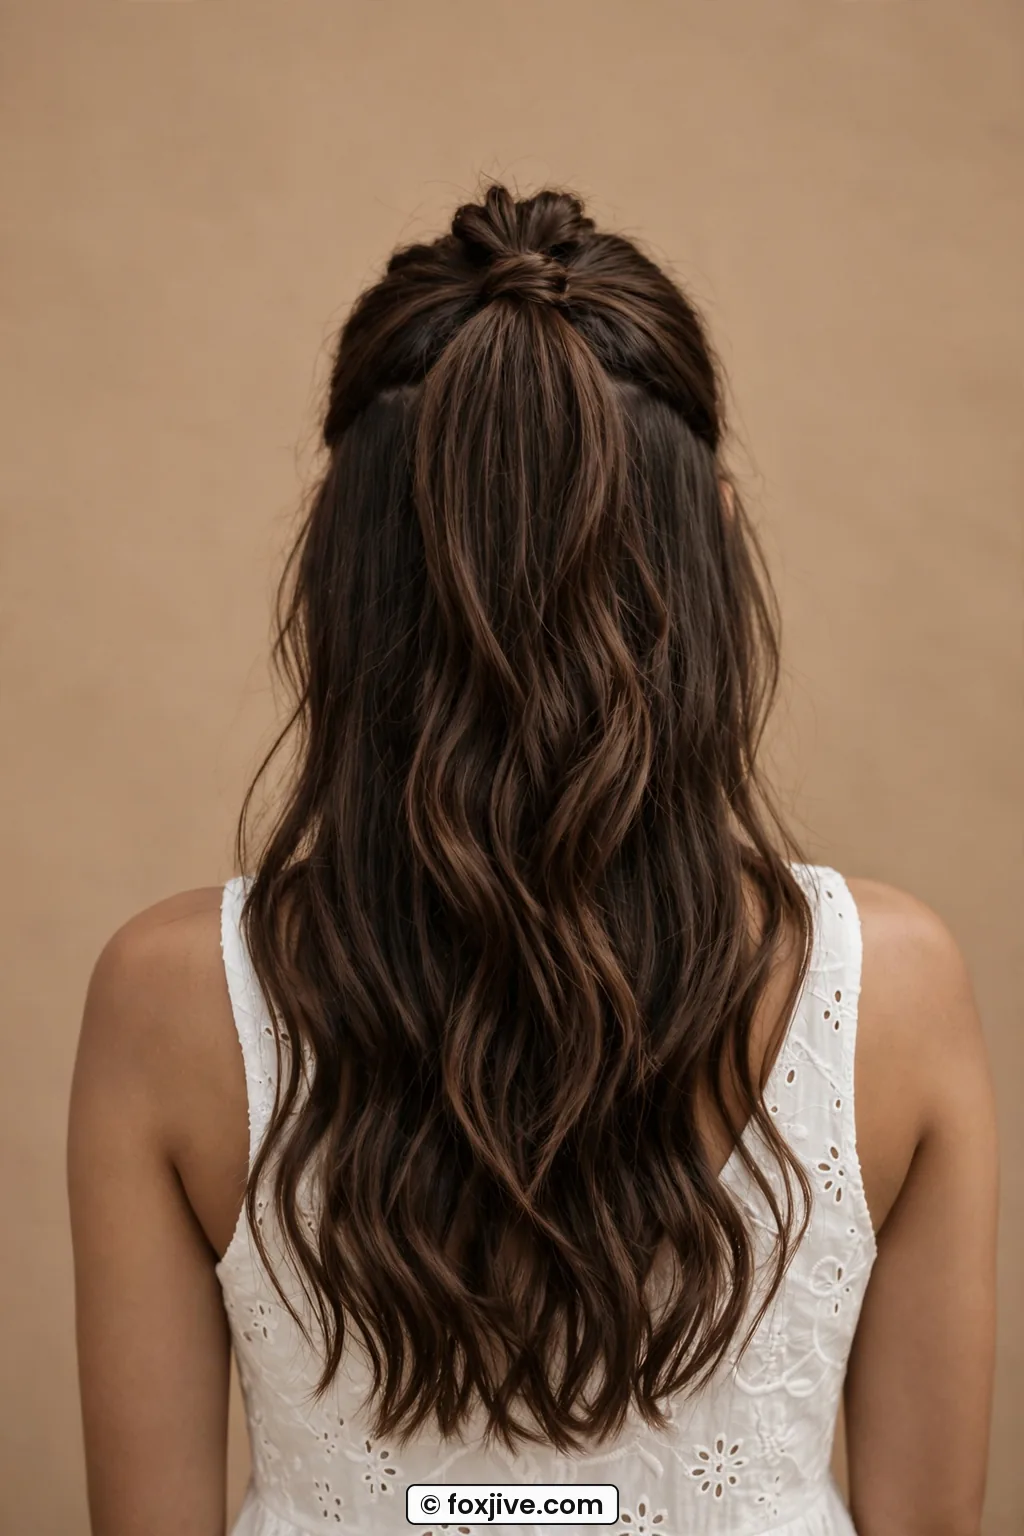
I tie mine with a ribbon when I remember, plain elastic when I do not. Both work. The trick is pulling a little hair from underneath to wrap the elastic. Instantly neater, zero extra tools.
8. The Lived-In Beehive (1960s, Seen Downtown)
I never thought I would wear a beehive willingly, and then I saw a barista downtown with a low, slouchy version and I got it. Not way up high like the 1960s original, but sitting right at the crown, with the front a little puffy and the sides soft.
The 1960s beehive was tall, shellacked, and slept in for a week. The wearable change is height and texture. I build mine about half as tall and leave the ends in a low twist instead of piling everything up. It takes me six minutes, not sixty.
She nails the proportion in this portrait. See how her crown lifts but her hairline stays soft with no harsh pull? That is the difference between retro-cool and costume. I backcomb only at the very roots, then smooth the top layer completely flat over it.
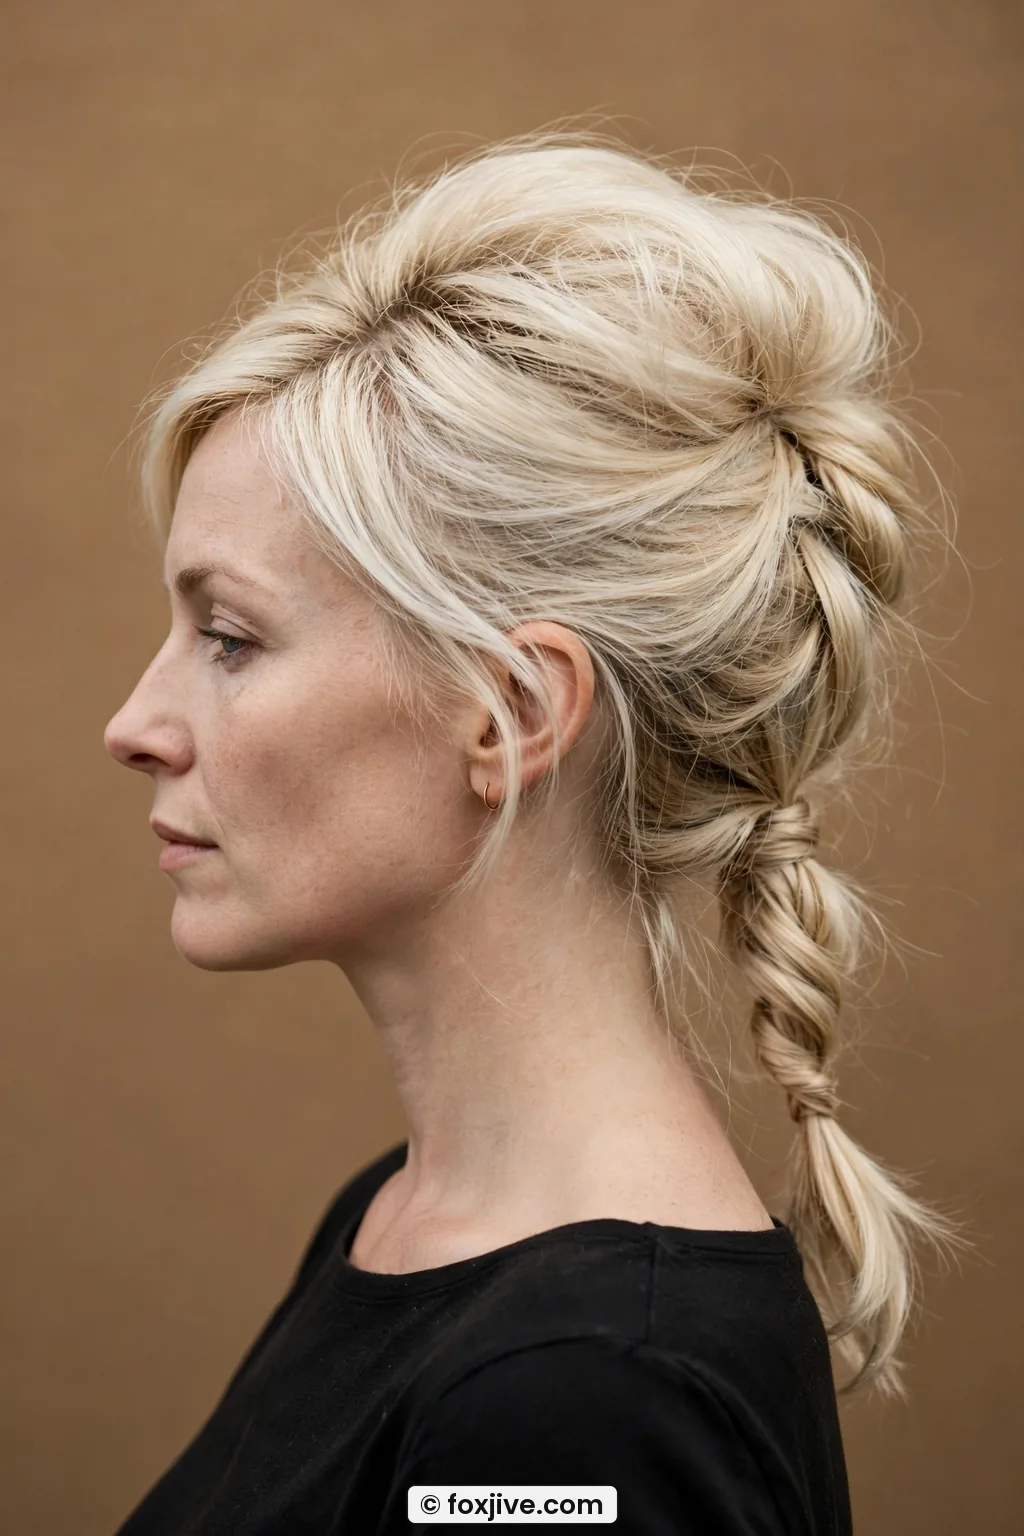
My second-day hair holds this best. Freshly washed hair is too slippery and slides out. A little dry shampoo at the roots the night before makes all the difference.
9. The Long Mod Pixie (1960s, Seen at the Gallery)
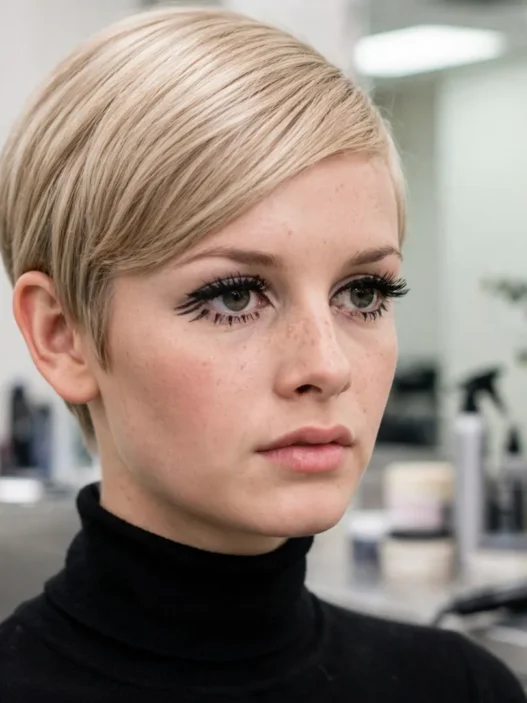
At an art opening last fall I saw the perfect Twiggy-adjacent pixie. Long on top, neat around the ears, with a deep side sweep and those spiky, piecey ends. So 1960s mod, but grown out just enough to tuck.
The original mod pixie was razor-cut super close and flat. Now the changed detail is length on top and softness at the edges. I keep two extra inches through the fringe so I can sweep, flip, or push it back. One cut, three moods. When I tried this last spring, that extra length saved me during the awkward grow-out.
This is the length I am talking about. See how it hits just below her temple and angles forward? That forward angle keeps it feminine without going fluffy. I style mine with a tiny bit of wax warmed between palms, never gel.
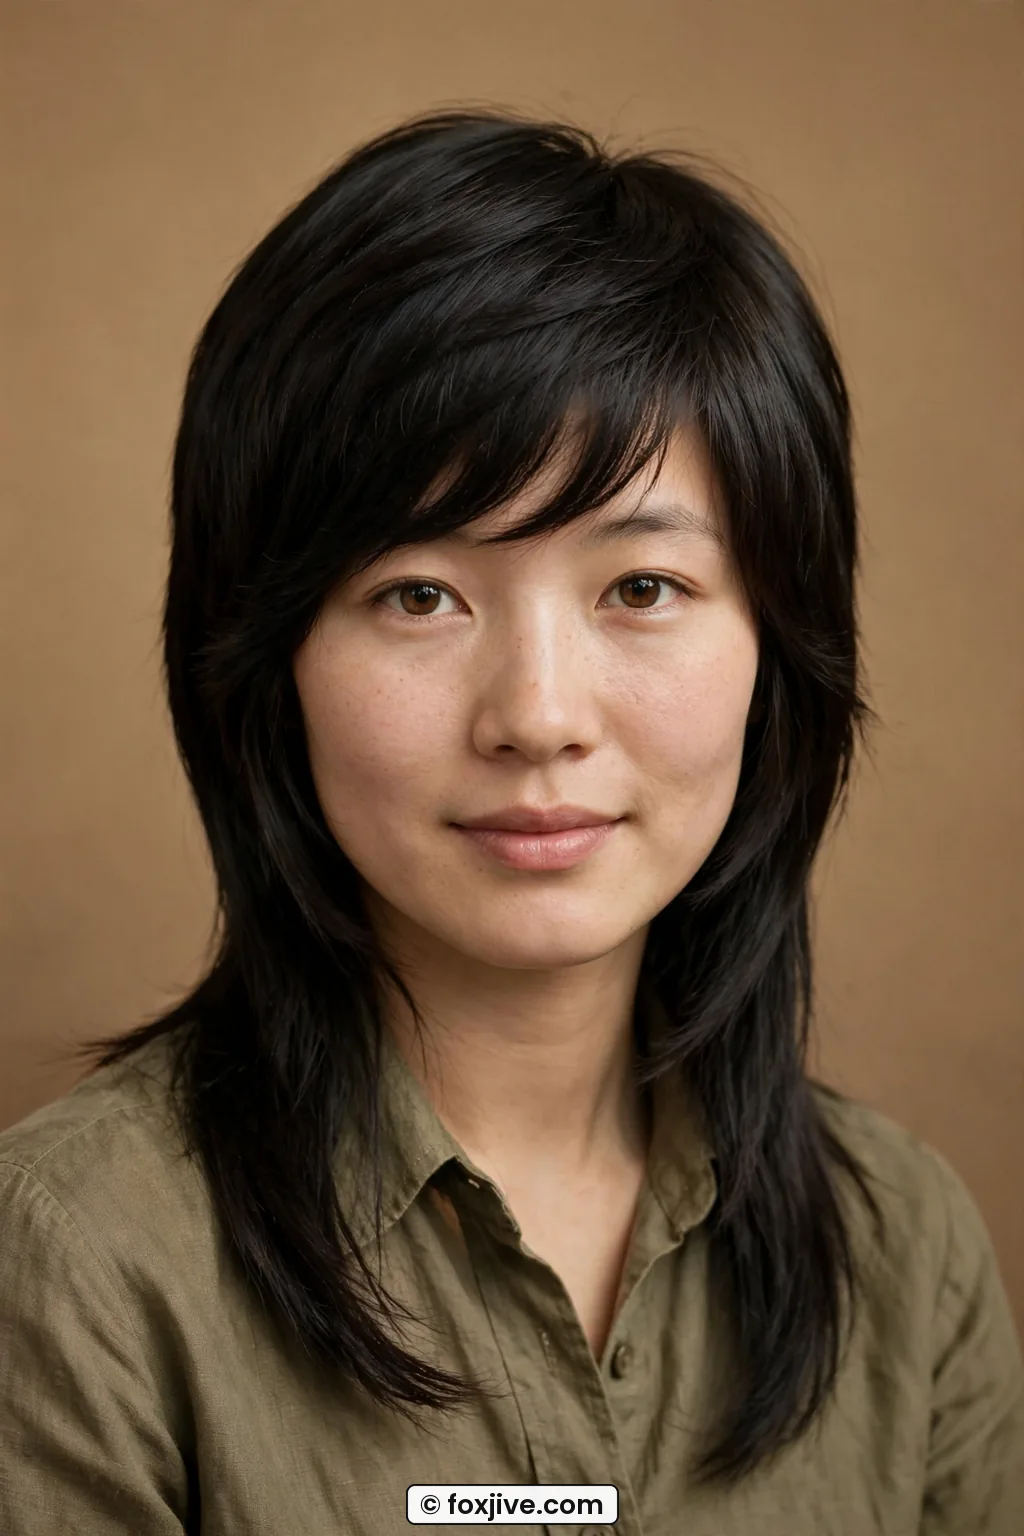
Flat on one side in the morning? Just wet the crown, rough-dry forward, then sweep. Takes 90 seconds. No round brush needed, which is why I stuck with it.
10. The Loose Farrah Flick (1970s, Seen at Dinner)
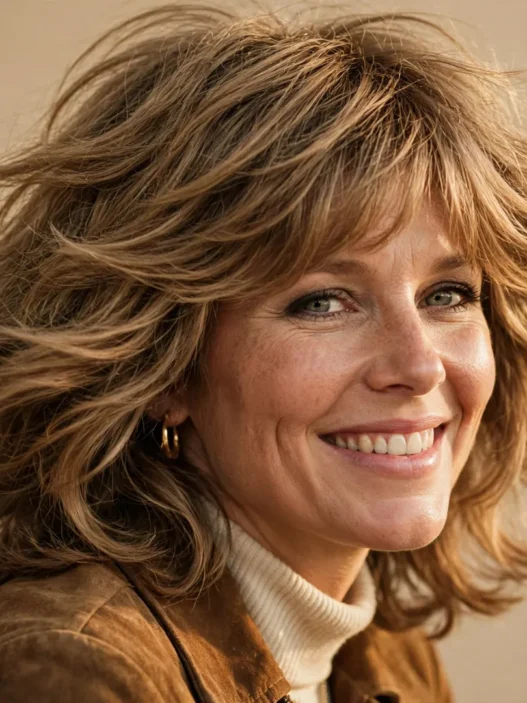
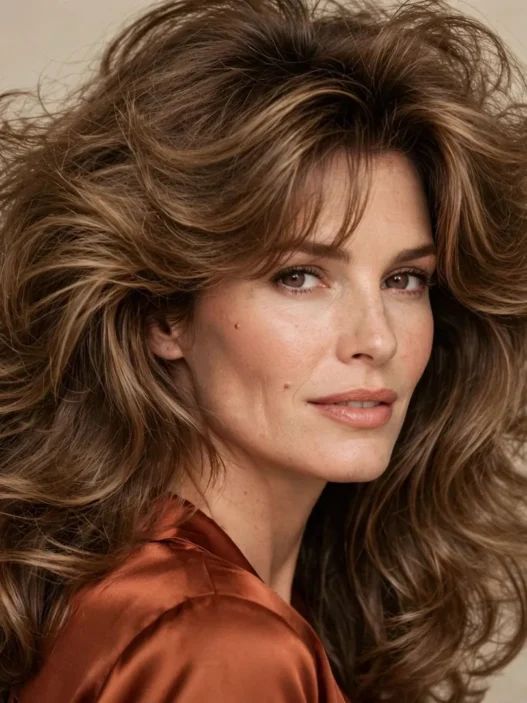
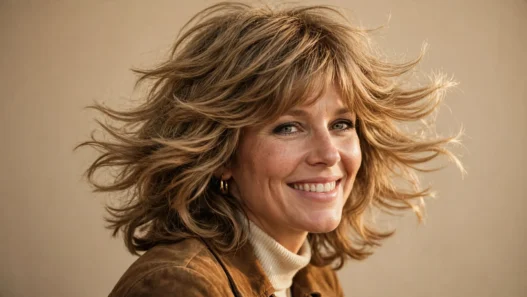
Farrah flicks are everywhere again, but lighter. I wore this to dinner with friends and my layers just bounced every time I turned my head. The 1970s original was huge, heavily feathered back with tons of layers blown away from the face.
The modern tweak is direction and heat. Instead of flipping everything back, I alternate. Face-framing pieces forward, mid-lengths back, ends loosely curled. It gives movement without that full windswept helmet. A large round brush and a cool shot set it, no hot rollers required.
She has that feathered, face-framing flick I love, right at the cheekbone. Notice how airy her ends look? That is long layers, not thinning shears. My stylist calls it a ghost layer, and it keeps my thick hair from puffing out sideways. I have a whole board of 1970s hairstyles for reference when I need to show exactly how soft I want it.
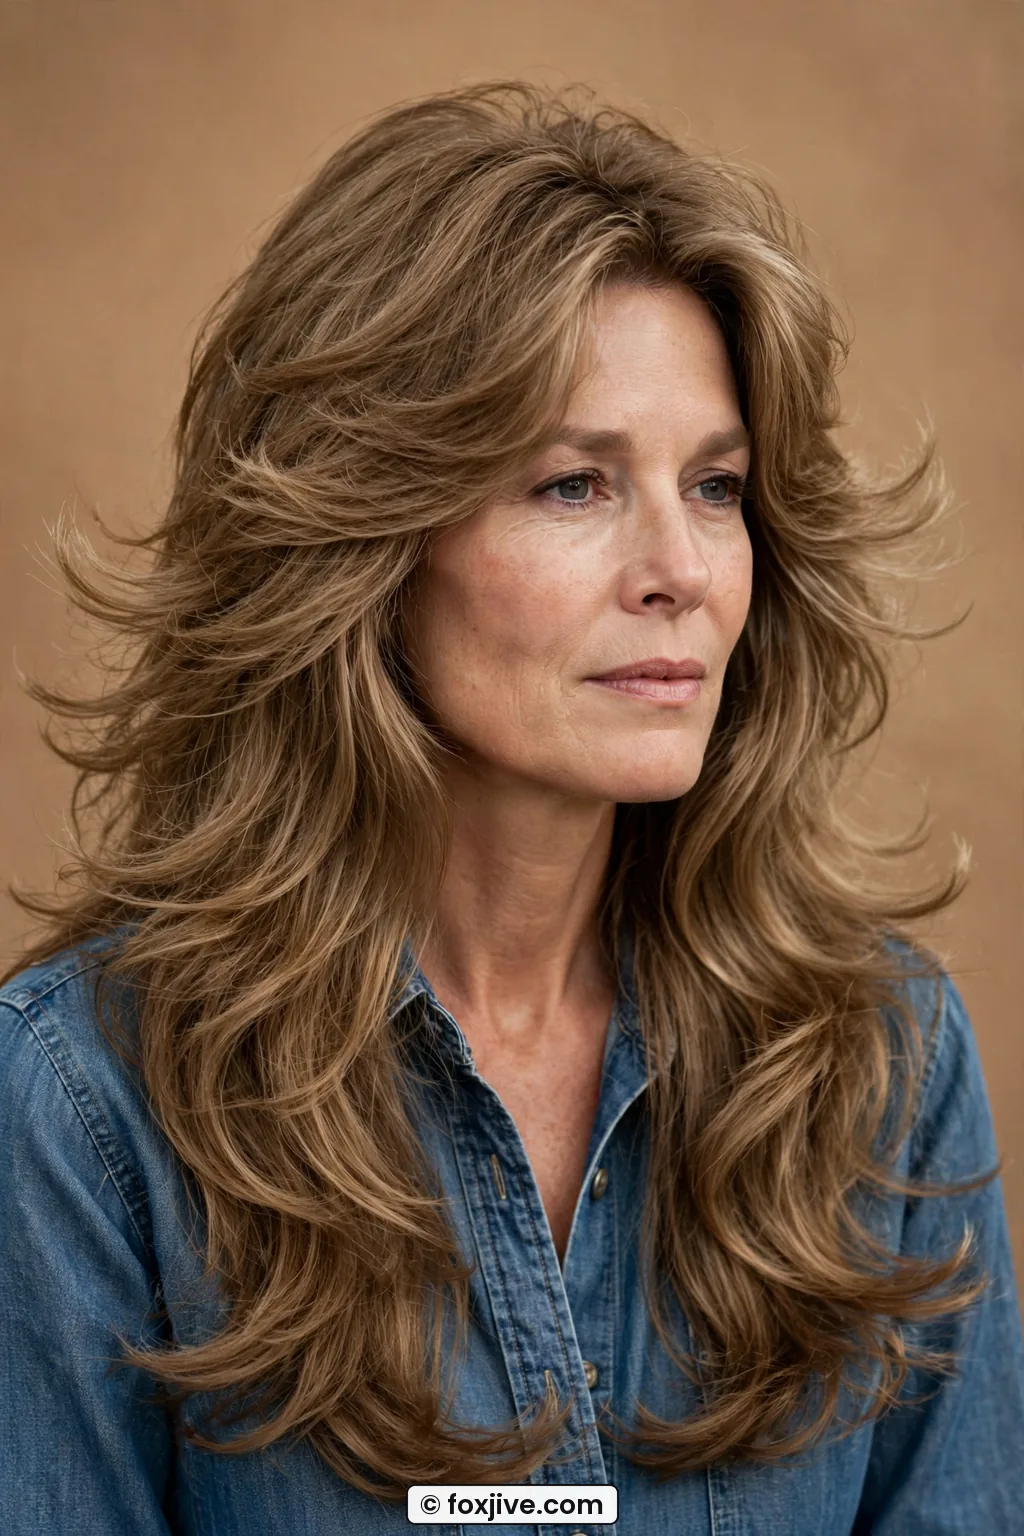
If your flicks fall flat by noon, curl the front two sections with a straightener, not a curling iron. The flatter bend lasts longer on my hair. Set with a cool blast and leave it alone.
See the Flick Technique Live
11. The Soft Disco Puff (1970s, Seen on Holiday)
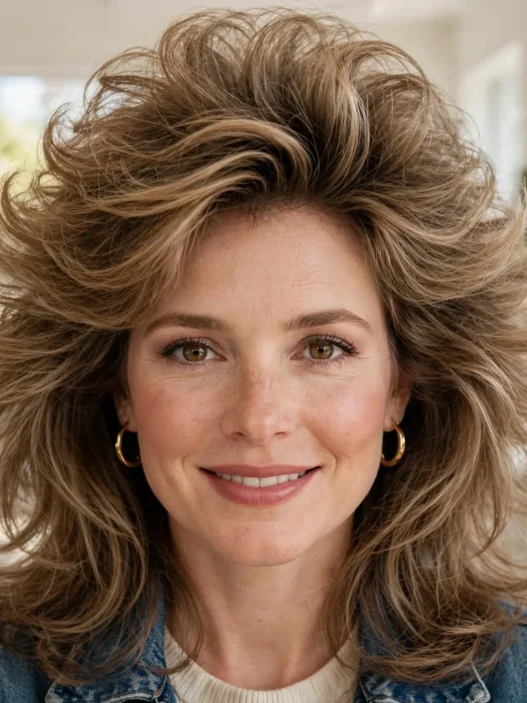
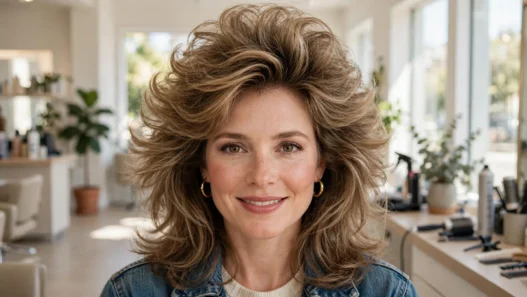
On holiday in August I gave up on sleek hair entirely and just picked mine out into a big, soft disco puff. Best decision. The 1970s disco look was all about massive, picked-out volume, sometimes with a scarf or headband.
Then it was often teased and sprayed into place. Now the changed detail is moisture first, volume second. I load up on leave-in and oil, then pick only at the roots. The shape stays big but the curls stay defined and shiny, not dry. You can brush up on diffuser techniques for volume if your roots stay flat, that low-heat hover method changed mine.
Look at the roundness in her profile. Even and full all the way around, but you can still see individual curls. That separation is the giveaway of good prep. I pineapple mine at night and shake it out in the morning, no rewetting.
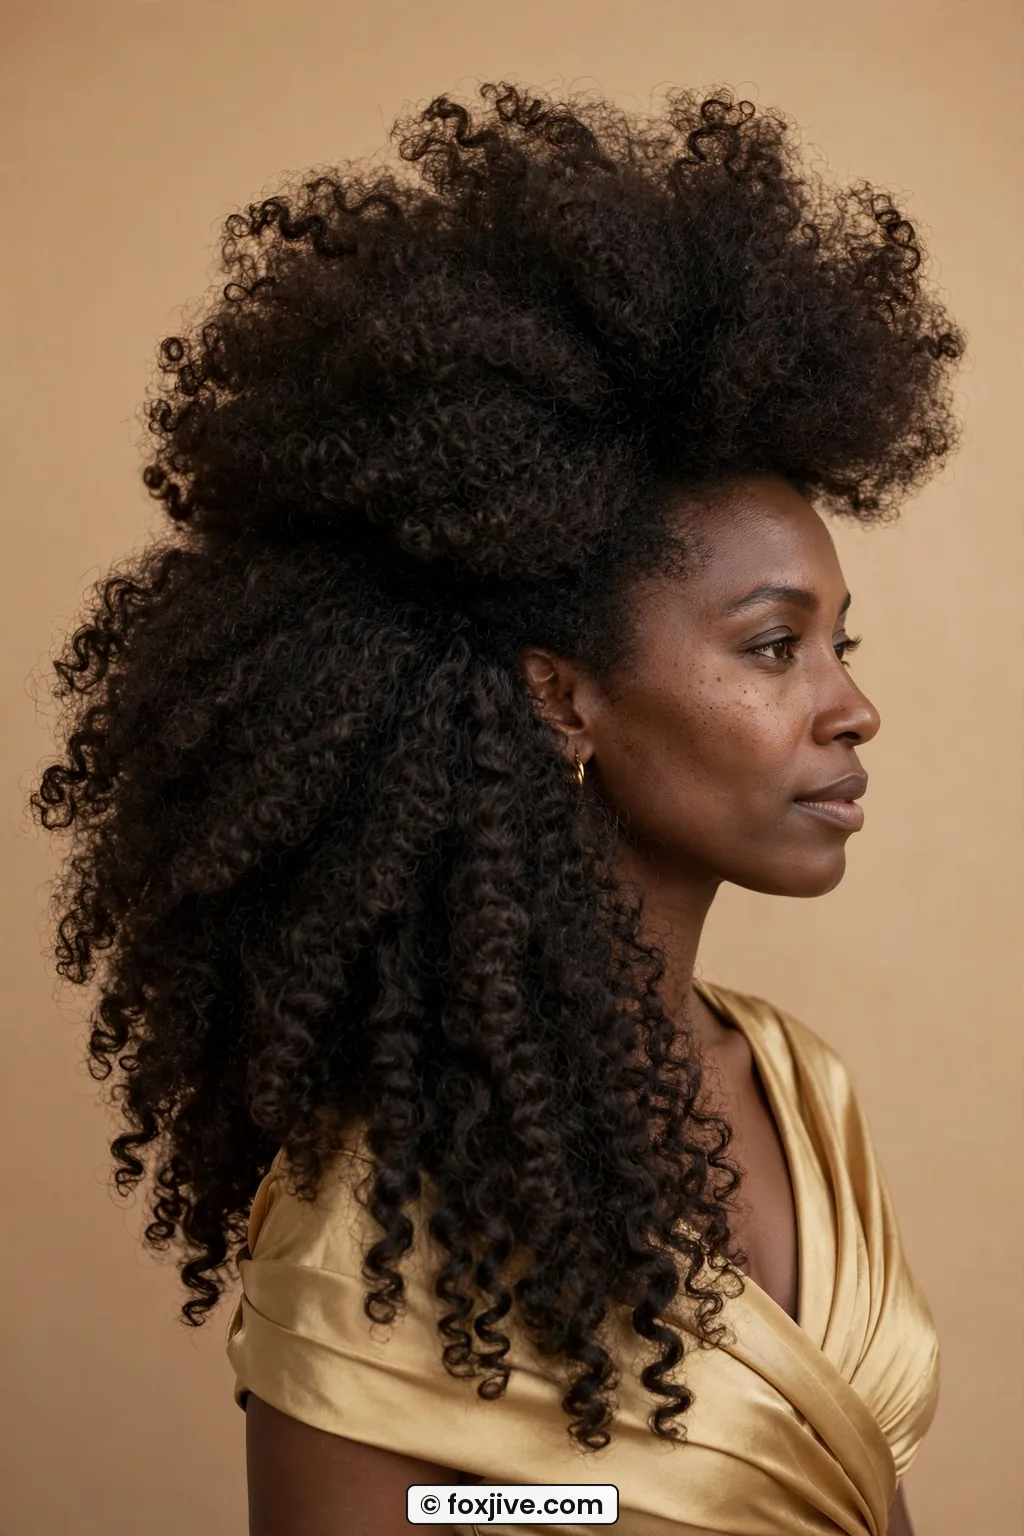
Humidity? Lean in. A little extra volume just makes it better. I carry a mini oil in my bag and smooth only the very top layer when it gets wild.
12. The Easy Rachel Layer (1990s, Seen All Spring)
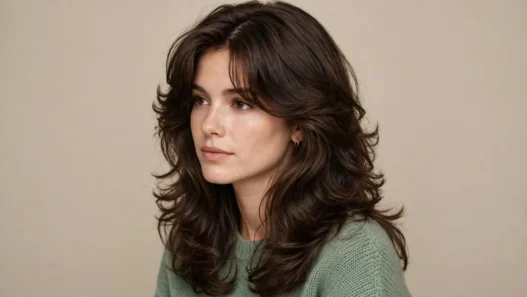
You cannot talk about throwbacks without The Rachel. I saw it on three different women in one week this spring, but none of them had that chunky, flippy 1990s stiffness. It was softer, longer, more blended.
The original had short, bouncy, squared layers with lots of body. The wearable update is length. Keep those face-framing layers, but start them at the chin instead of the cheek and blend them down past the collarbone. Same flip, less maintenance, way better grow-out.
For fellow 1980s and 1990s kids, my archive of 1980s hairstyles shows where all that volume came from, and why we are smart to leave the crunch behind.
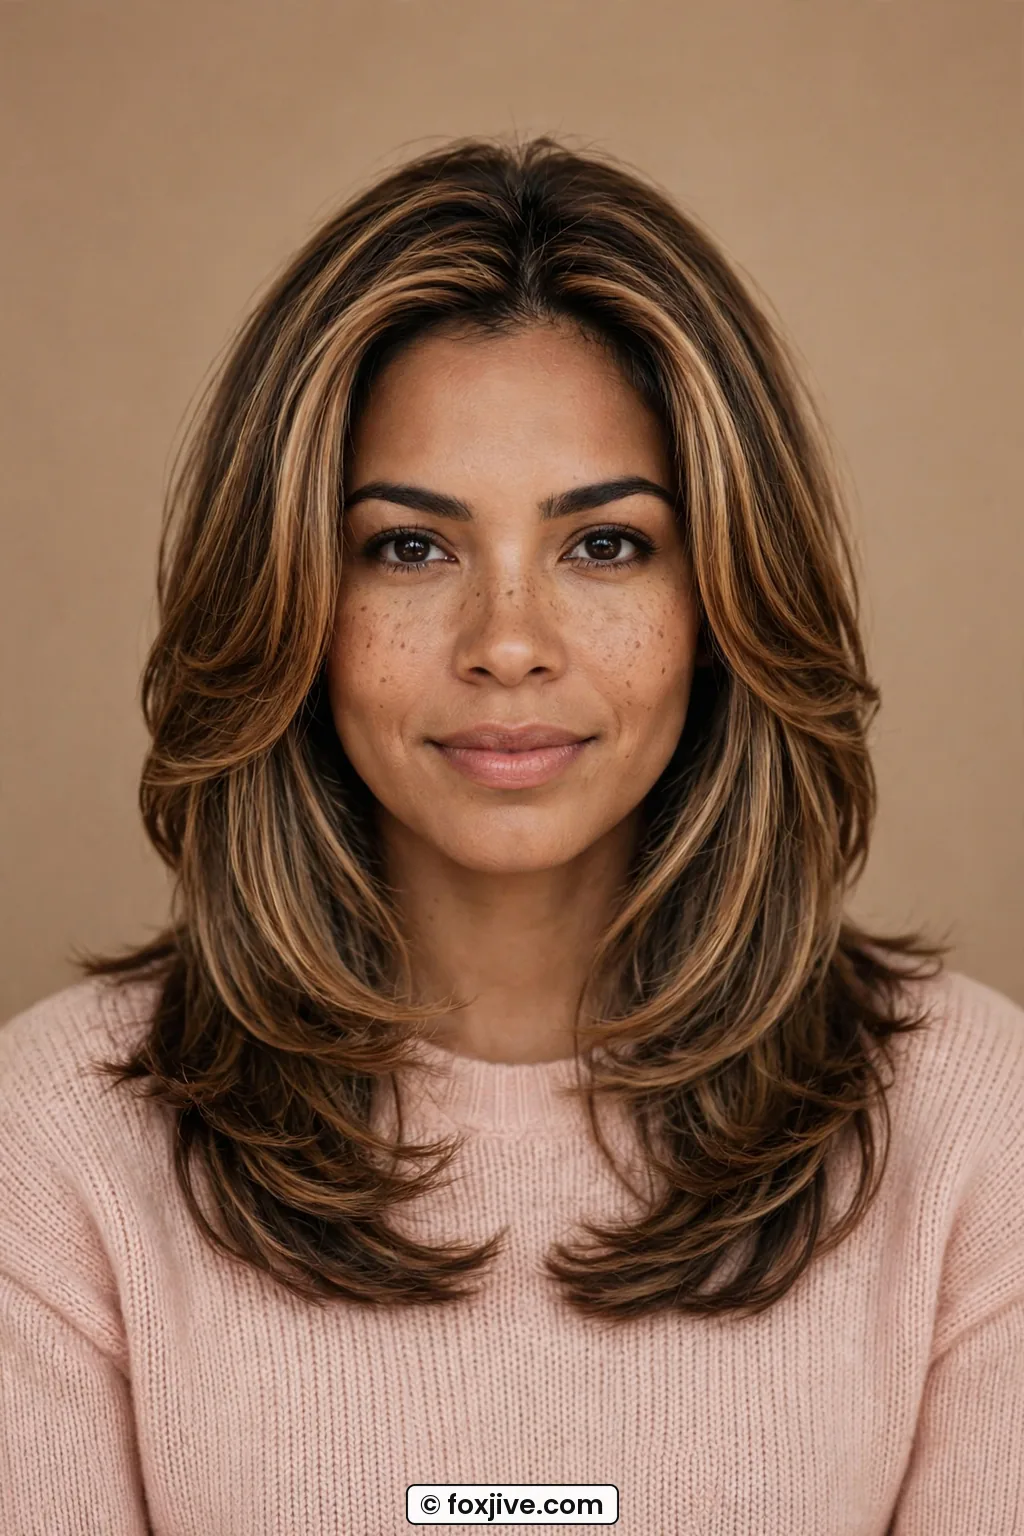
I style mine with a blow-dryer and a medium round brush, flipping the front pieces toward my face for five seconds, then away. Sounds fussy, takes four minutes. And it air-dries decently too, which the original never did.
13. The Low Y2K Space Buns (2000s, Seen at the Gym)
And last, the one I wear to the gym. Low space buns. Very Y2K, but mine sit at the nape instead of on top like antennae. Paired with a middle part and two thin front strands, it feels cute, not costumey. I have run errands afterward without feeling overdone.
In the 2000s they were high, tight, and gelled with butterfly clips. The changed detail now is placement and finish. Low and a little messy, with soft texture instead of slicked sides. I twist, do not braid, and secure with a small elastic plus one pin. Done.
She wears them exactly right in this shot. Low behind her ears, loose enough to see her natural texture. That low placement is so much more forgiving, especially if you have a longer face like I do. My saved Y2K hairstyles folder is full of high versions, but low is the one I actually repeat.
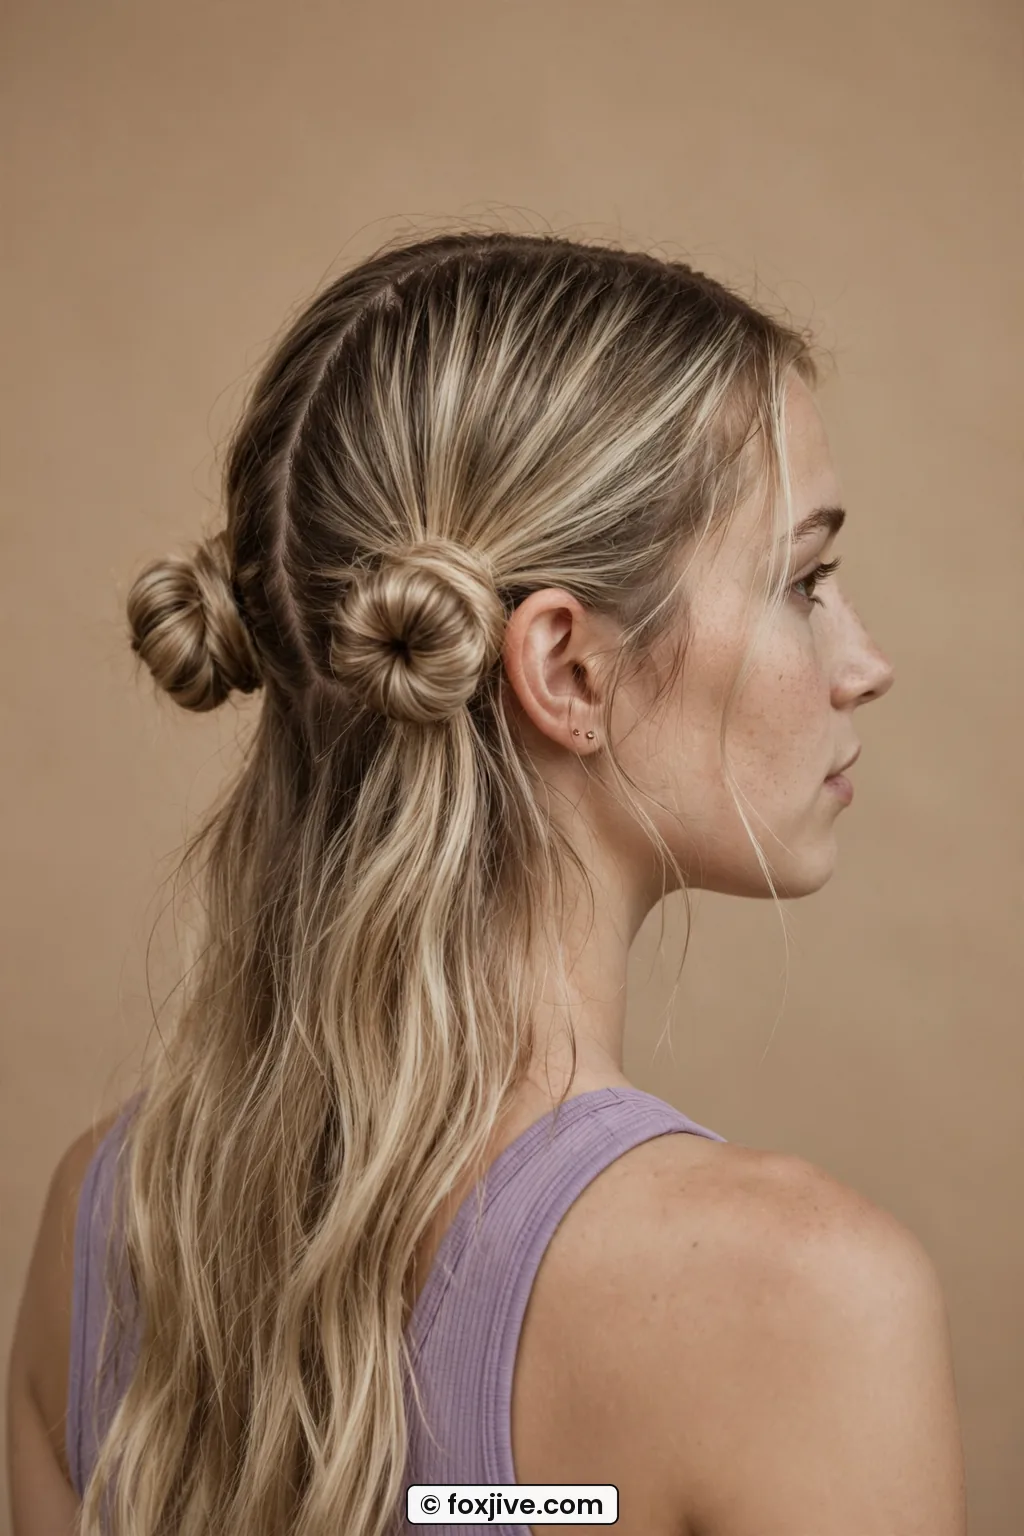
My gym trick? Two low ponytails first, then twist each into a bun. They stay through burpees. Leave the front strands out from the start so you do not have to pull them later and cause frizz.
Your Vintage Hair Questions, Answered
How do I keep vintage hairstyles from looking like a costume?
Lower the height and soften the finish. I keep the classic line but skip heavy backcombing, hard gel, and matchy accessories. One vintage element with modern clothes and makeup is always enough.
Which throwback lasts best on fine hair?
The low pin-curl bend and the grown-out flapper bob. Both rely on shape, not volume, so they do not collapse. I set mine at night and just smooth the top in the morning.
Can I do victory rolls without teasing?
Yes, that is how I do mine now. A half mesh form inside gives the same lift with no damage. Twist the hair around it loosely and pin at the base, then pull the surface smooth.
So which one are you trying first? I am still rotating between my low pin curl and that slouchy beehive, depending on how much sleep I got. Send me your side profile if you try one, I love seeing how these old shapes land on real life in 2026.