






I love bandana hairstyles, but mine never stayed put. I would tie one on in the morning feeling very cute and retro, and by lunch it had crawled back like it was trying to escape my head.
For the longest time I thought I was just bad at tying scarves. Turns out it was never really a technique problem first. It was a fabric problem, and then a hair underneath problem. Once I fixed those two things, the actual wrapping part got so much easier.
This is the exact method I use now for my go to pin up style, a front roll with a bandana tied over the crown. If you follow it in order, it will stay through wind, errands, and a whole day of regular life.
What You Will Need
I keep all of this in a little basket by my mirror because if I have to hunt for bobby pins I will give up. Nothing fancy here, just the stuff that actually helps with grip.
- One square cotton bandana, 22 by 22 inches is my favorite (I explain why below)
- Fine tooth comb and a paddle brush for smoothing
- Light hold mousse or setting foam, about a golf ball size
- 4 to 6 bobby pins that match your hair color, plus 2 small duckbill clips
- One small clear elastic for the front roll
- Dry shampoo or light texturizing powder if your hair is freshly washed and slippery
- A spritz of flexible hairspray, not the helmet kind
My hair is fine and just past my shoulders, and it gets slippery fast after washing. If your hair is thick or curly, you might need two more pins. That is normal. And if you love collecting prints, my whole drawer started after I browsed Bandanas for color ideas that work with red lipstick.
Step 1: The Base Underneath
This is the step everyone skips, and it is the reason bandana hairstyles slide. A scarf needs texture to hold on to. Clean, silky, just conditioned hair is like an ice rink. You have to give it something to grip.
I start with dry hair. Second day hair is perfect for this. If I just washed it, I puff a little dry shampoo at the crown and the sides where the band will sit. Then I brush it all back away from my face, no part, and smooth the top with the paddle brush.
Now the front roll. Take a 2 to 3 inch wide section right at your front hairline, kind of like a thick bang section. Comb it up and forward, mist it lightly with hairspray, then roll it under toward your forehead to make a soft roll. I secure the underside with two crossed bobby pins. It does not have to be perfect yet because the bandana will frame it.
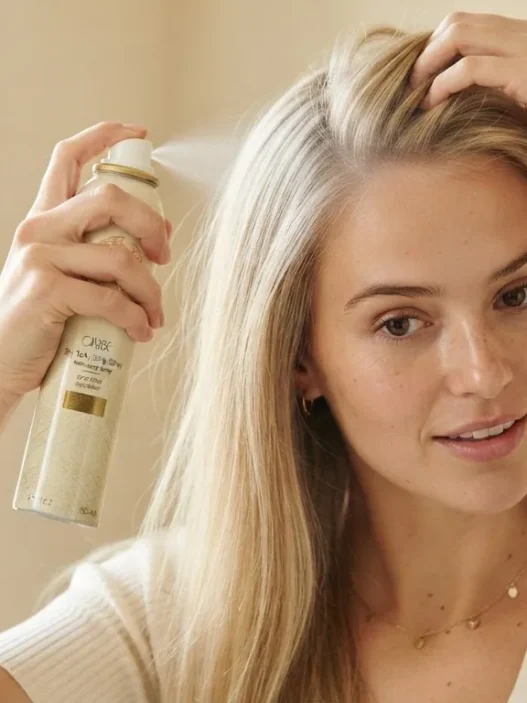
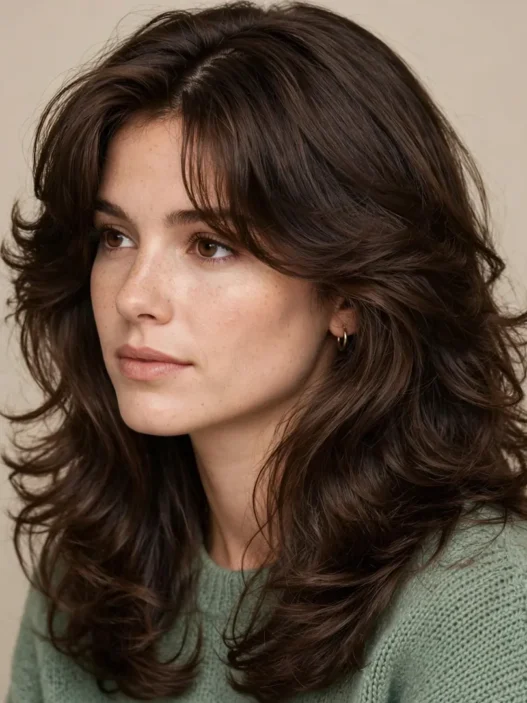
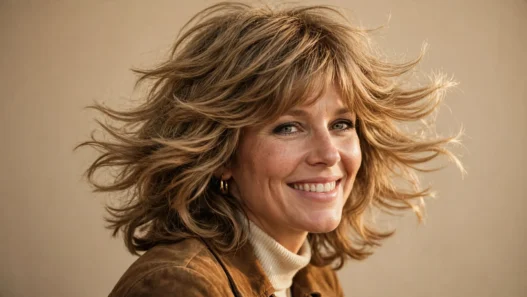
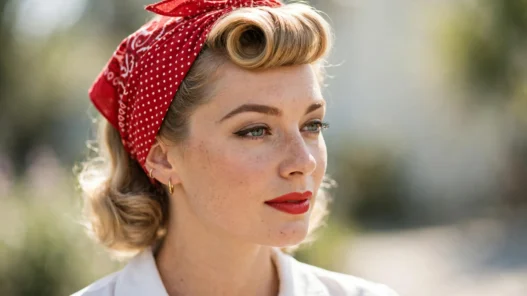
Look at how she is wearing hers in this first photo. That soft roll peeking out under the band is exactly what I mean. Mine is a little fluffier than hers, but the placement is the same, low enough to see, high enough to hold.
For the rest of my hair, I do a low tucked bun or a low ponytail twisted up. Anything flat at the nape works. A high bun fights the knot later, so keep the back low. I learned that the hard way. You can also read up on vintage rolls techniques before you roll the front, because the rolling motion is very similar.
Then I create my grip strip. I backcomb just a one inch wide strip where the bandana band will sit, from ear to ear over the crown, about two inches behind my front roll. Just three or four gentle teases, then smooth the top layer over it. This invisible cushion is what stops the slide. When I tried this for the first time without teasing, the scarf moved within an hour. With it, I get all day wear.
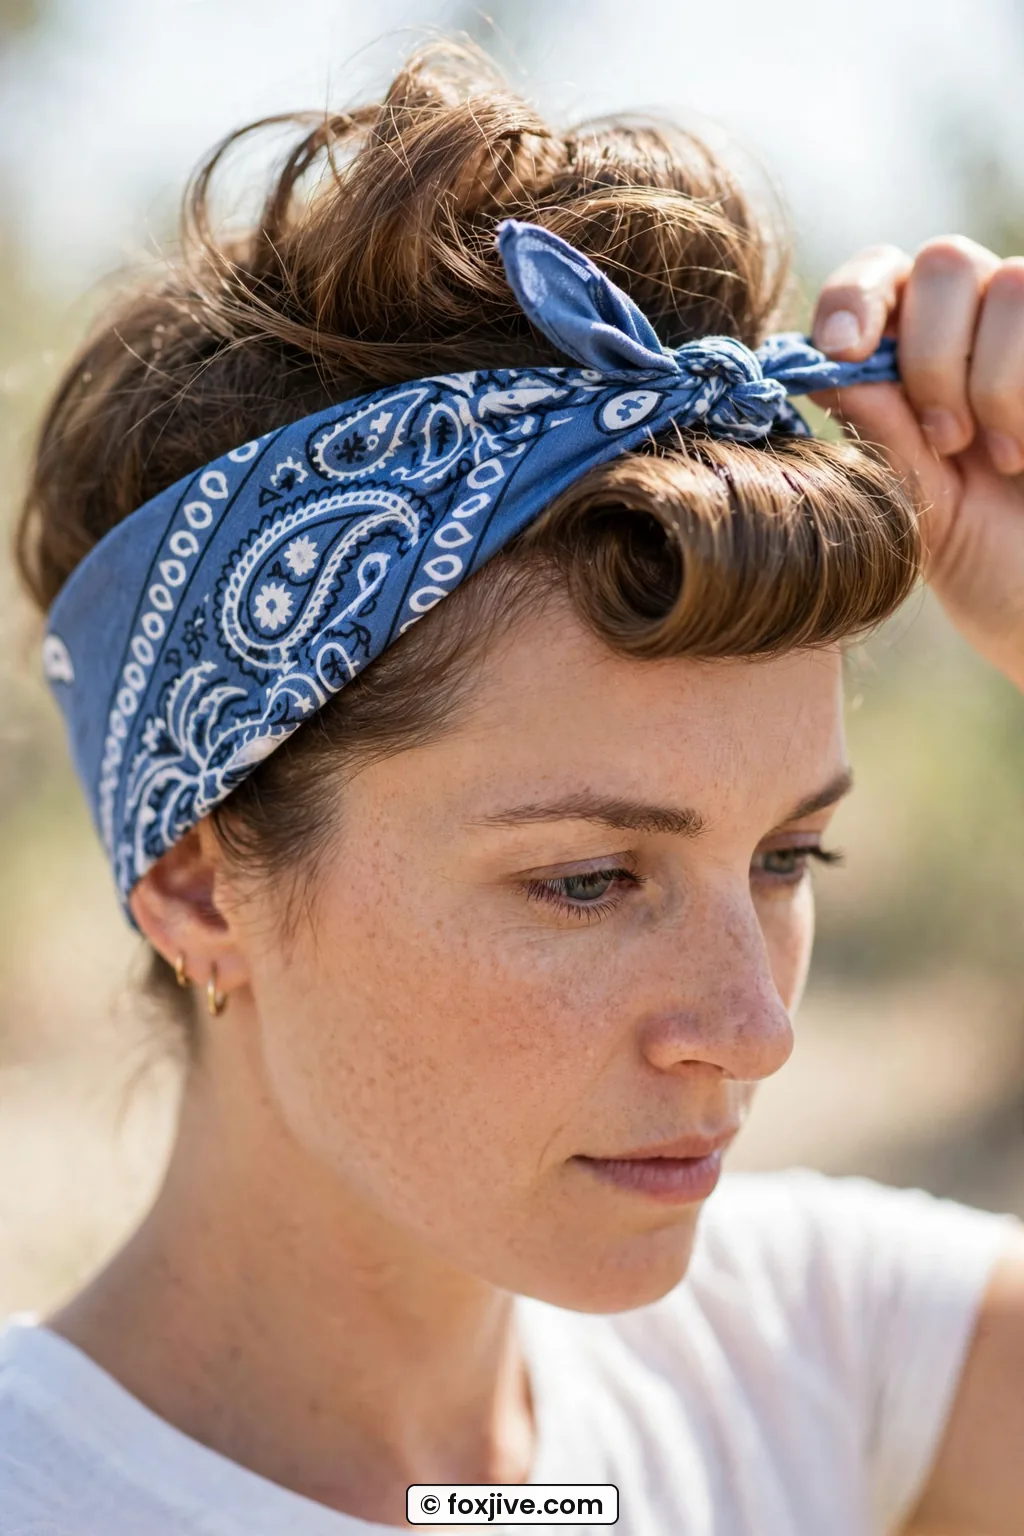
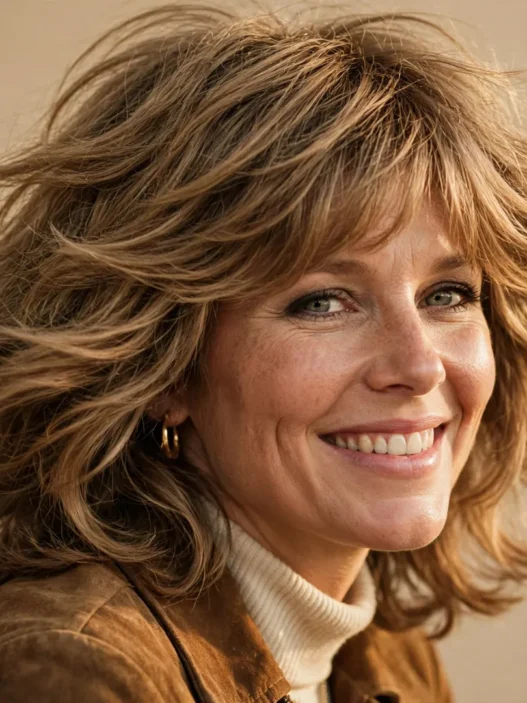
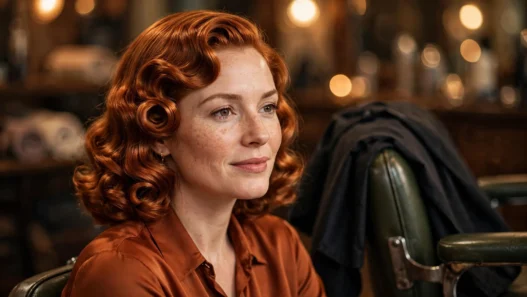
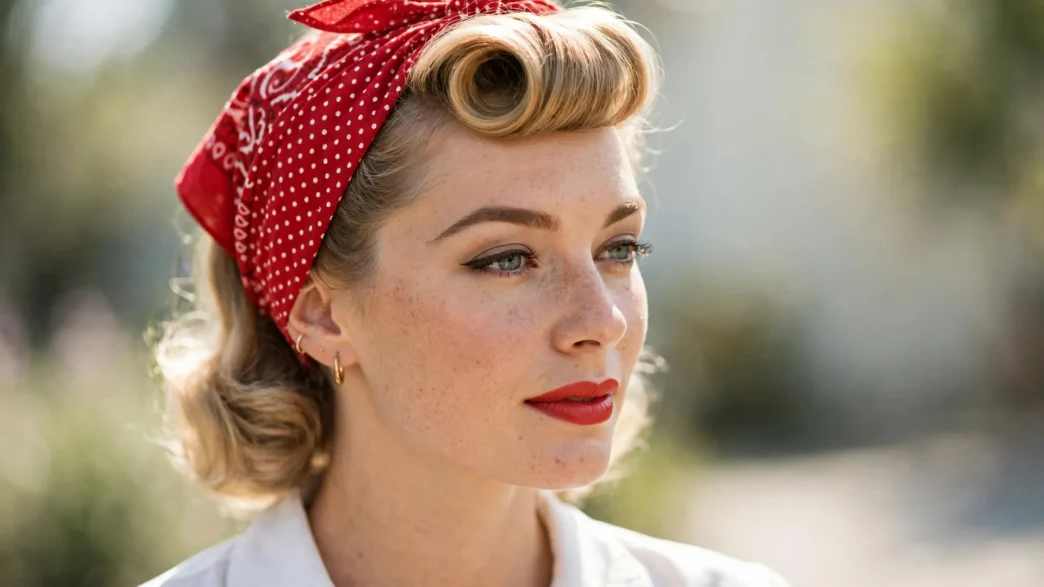
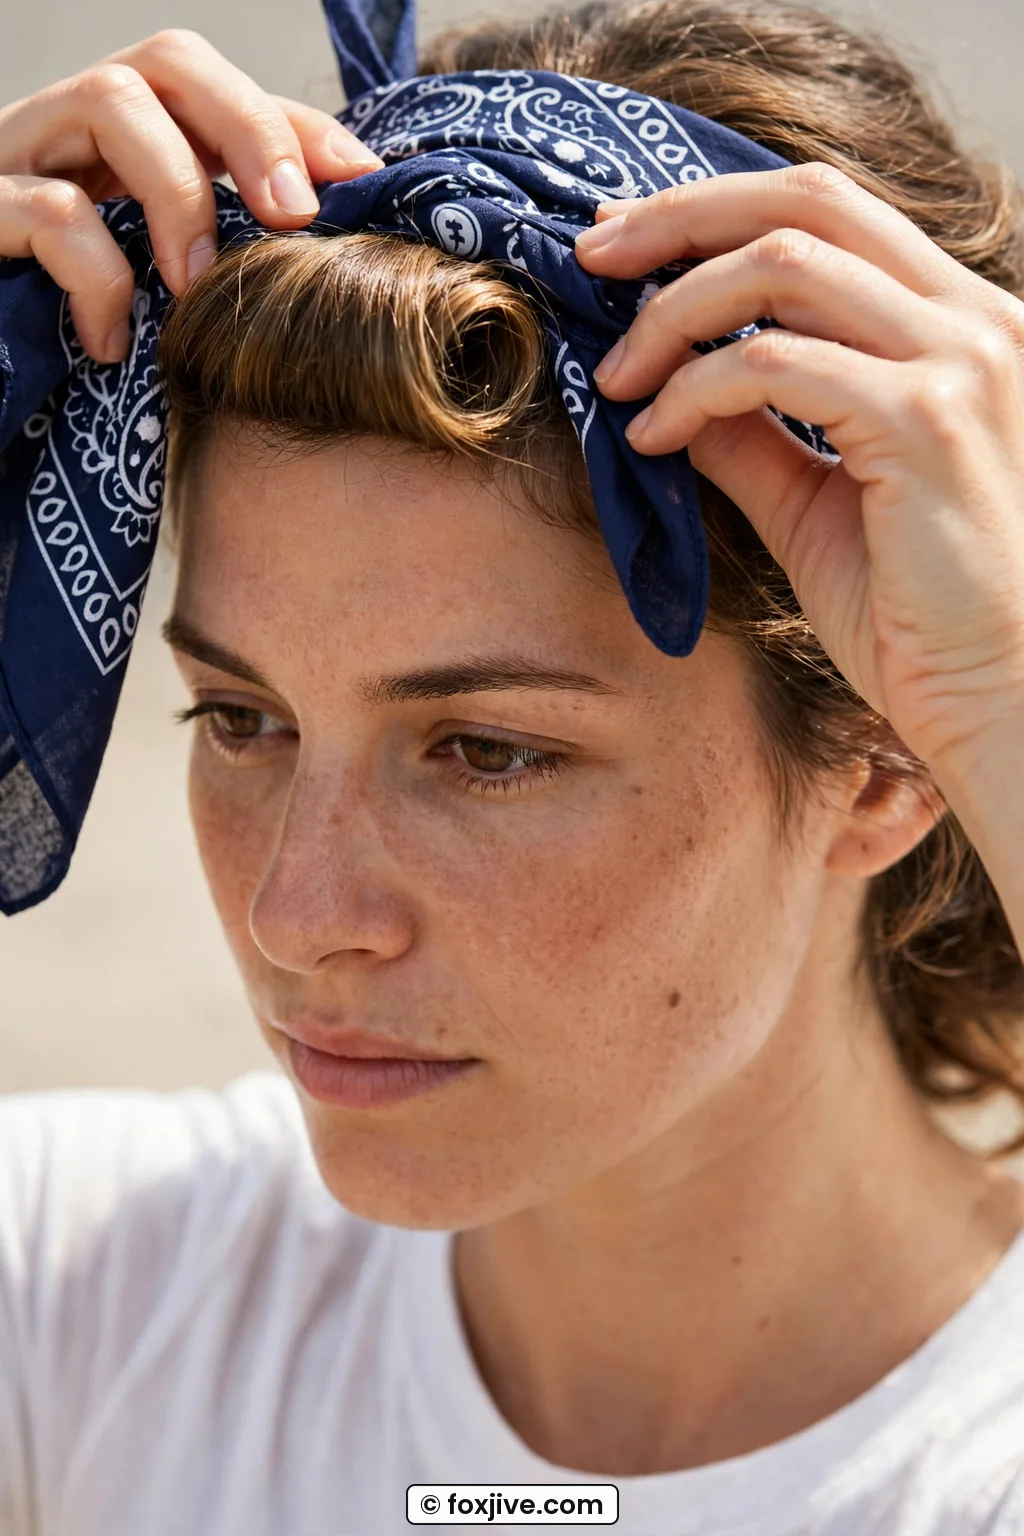
This close view is helpful. See how the hair behind her roll has a little lift where the scarf sits? That is the sweet spot I am talking about. Flat hair lets cotton walk right off.
If you wear a lot of retro styles, this base will feel familiar. It is basically the same prep I use for Vintage Updos, just lower and flatter so a scarf can sit on top of it.
Step 2: The First Cross
Now we fold. Lay your bandana flat, fold one corner to the opposite corner to make a triangle, then fold that long edge over 2 inch turns toward the point until you have a long band about 2.5 to 3 inches wide. I like three folds. Two feels flimsy, four gets bulky.
Center the band right behind your front roll. This placement matters more than people think. If you put it right on top of the roll, it flattens it. If you put it too far back, you get that headband sliding back look. I place the front edge about half an inch behind the back of my roll.
Hold the center with one hand on top of your head and bring both ends down behind your ears. Keep it snug but not tight. You want even pressure, not a headache. The band should cover that teased grip strip we made. That is the whole point of the teasing.
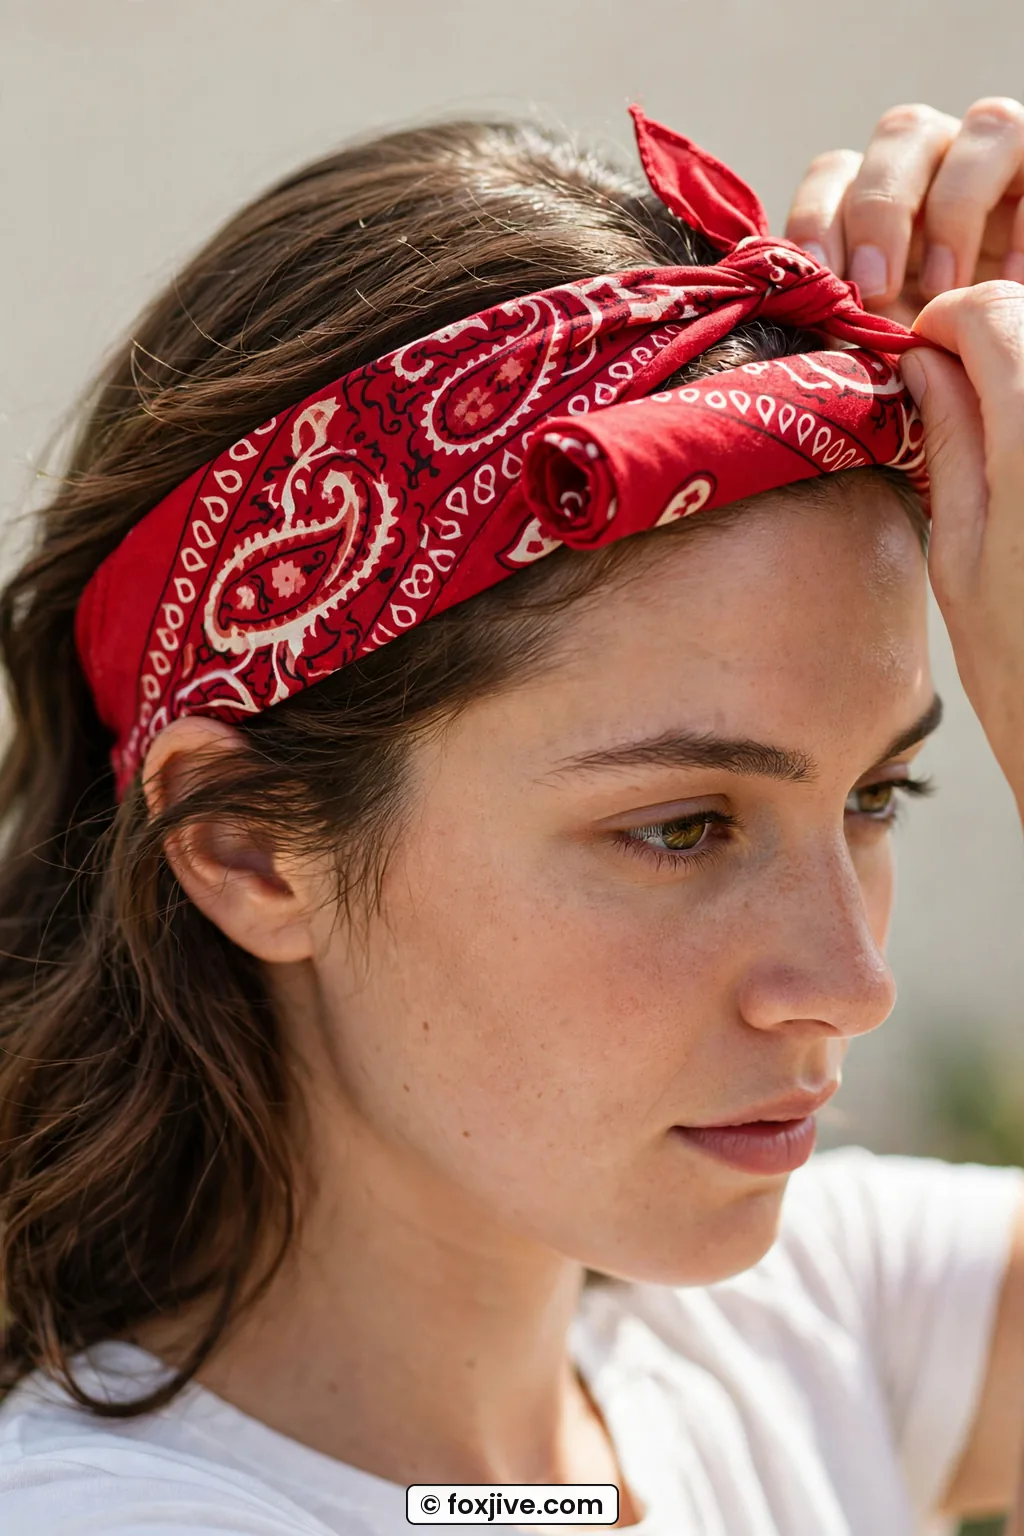
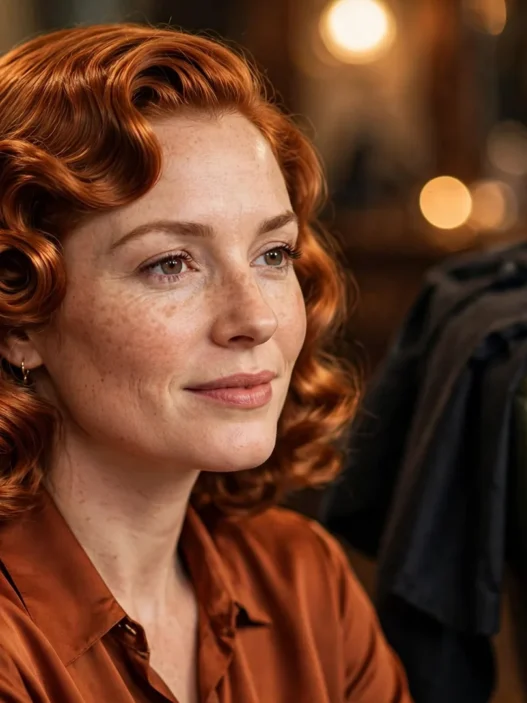
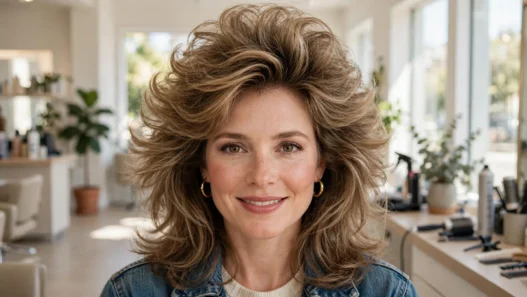
She has got the width just right here. See how her band is wide enough to cover, but you can still see all of her front roll? That balance took me a few tries to get.
My mistake the first five times: I pulled the band forward over wet look gelled hair and tied it super tight to compensate. It gave me a headache and still slipped. Looser band on textured hair holds ten times better than a tight band on slippery hair.
Now the first cross. Bring both ends to the nape, cross left over right, and pull up slightly to lock the top tension. Do not tie yet. Just cross and hold. Check the mirror. Is the front even? Is your roll still puffy? Adjust now, because after the knot it is harder to fix without starting over.
I sometimes pin the band at my temples with two tiny bobby pins slipped up under the edge if it is windy or if I am wearing a silky scarf instead of cotton. You cannot see them, and they change everything. For extra staying power ideas, I picked up a trick from scarf grip tips that suggests pinning through the scarf into the teased hair, not just the smooth top layer.
One more thing I love about this stage. If you are between washes and your roots are a little flat, this cross gives you instant lift at the crown without heat. It is my lazy day secret. And honestly it looks cuter than my air dried waves ever do, which reminds me of my whole phase with Y2K Hairstyles when I lived in claw clips for the same reason.
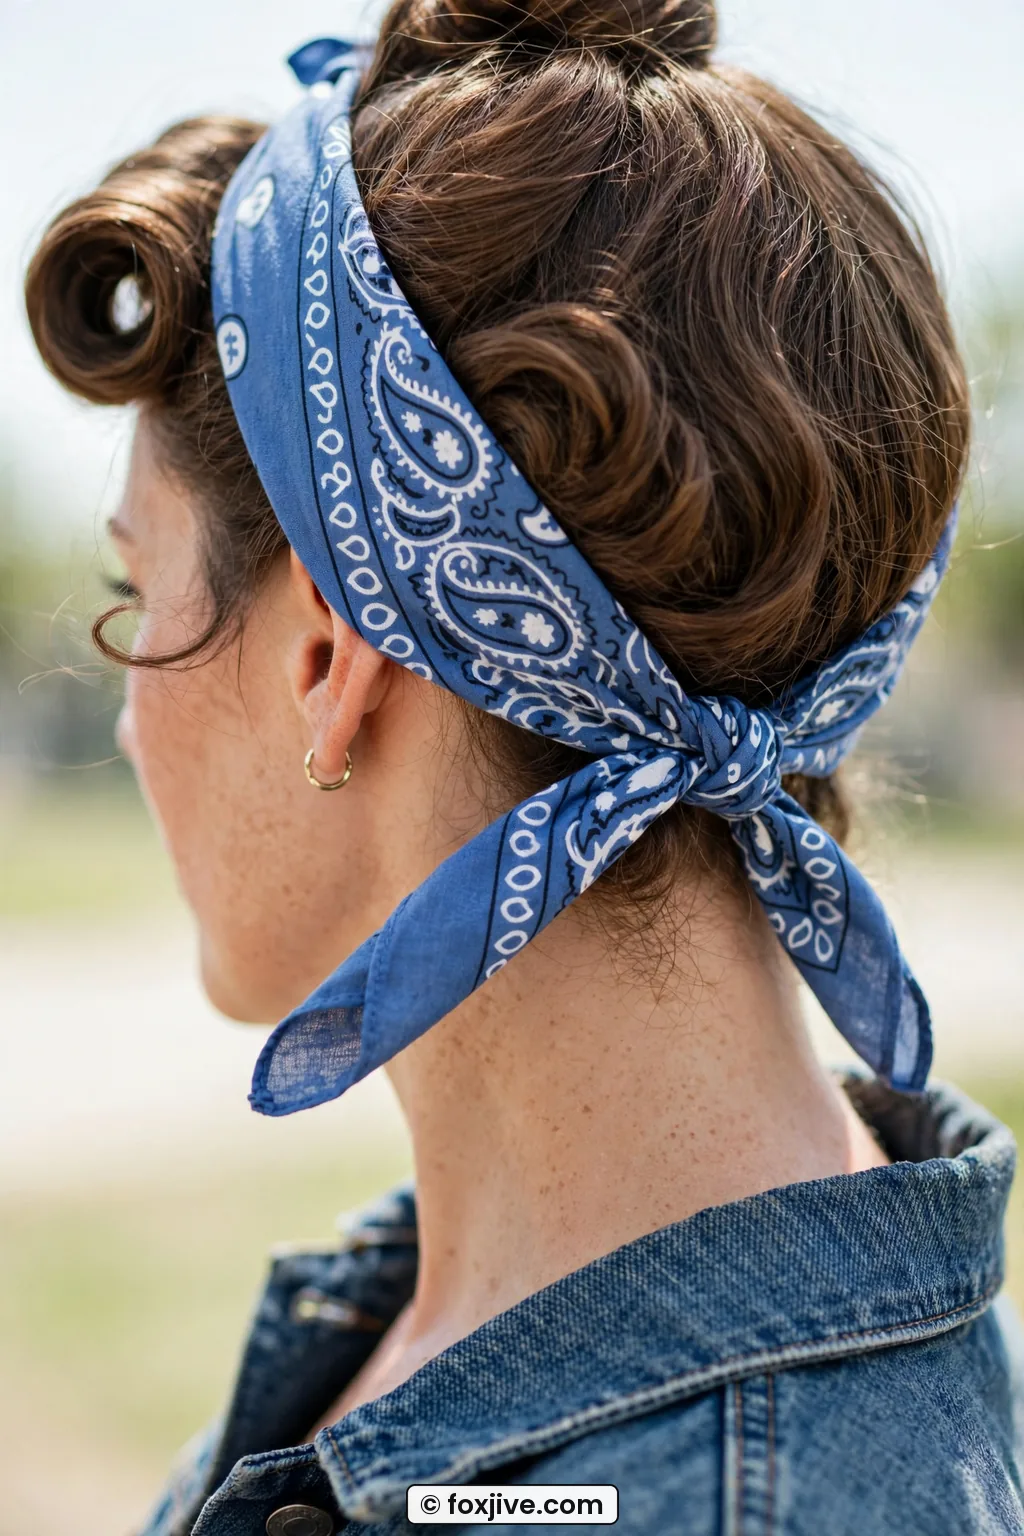
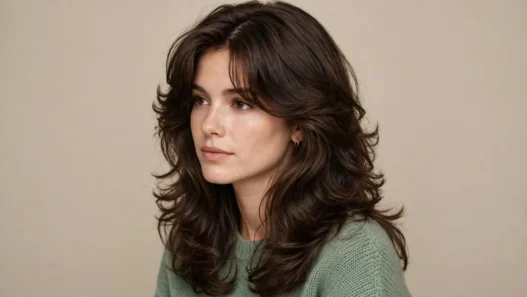
This angle shows the cross at the nape so clearly. Notice how her ends come cleanly from behind the ears with no twisting up front? Keep the front smooth and save all the action for the back.
See the Cross and Tension Live
Step 3: Where the Knot Lands
Okay, knot time. From that crossed position at your nape, tie a firm double knot. Not a bow yet, just a square knot, right over left, then left over right. Place it low, right at the hairline dip at the back, not up on the round of your head. High knots pull the whole band backward during the day. Low knots anchor it.
Do you want ends up or ends tucked? For classic 1950s pin up, I tie a little bow with short bunny ears and let the tails stick out about two inches. For work or for a cleaner look, I tuck the tails flat under the band and pin them. Both are correct, it just depends on your mood.
After the knot, I go back to the front. Fluff the roll gently with the tail of my comb, lifting from underneath. Mist the whole thing lightly. Then I tug the bandana band forward just a tiny bit, like a quarter inch, so it cups the roll instead of pressing on it. That little tug makes the roll look bigger, which I love.
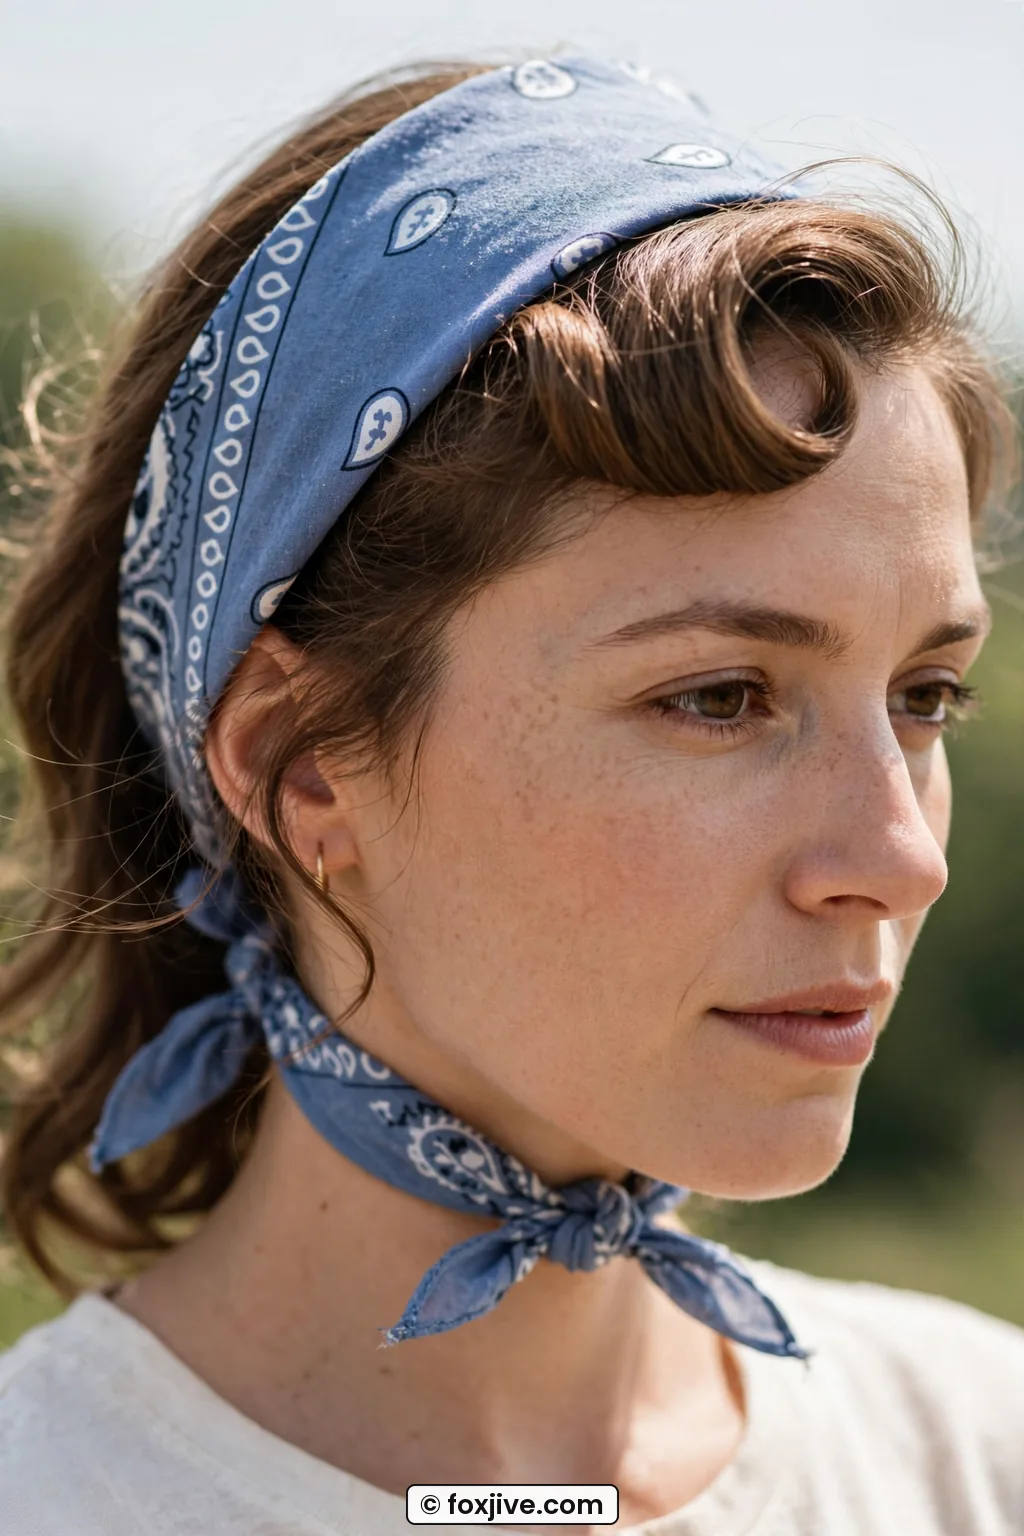
Look at the back view on her. That low knot sitting right at the nape is exactly what keeps the front from shifting. If your knot rides up, your front will too.
Check your ears. I like a little triangle of hair left out in front of my ears to soften everything. If the band is covering your ears completely, slide it up half an inch behind the ear. Small adjustment, big difference in how vintage it looks instead of sporty.
As a side note, knot placement is the same reason I got obsessed with Space Buns: Placement Is the Whole Trick. Where you put the anchor point decides whether the whole style lasts. Low and centered wins every time for me.
Finish with one more pin check. I put one bobby pin on each side, going up through the bottom edge of the scarf into that teased cushion. Wiggle your head. Seriously, shake it a little. If nothing moves, you are good. Mine now survives grocery runs, dog walks, and once, a very windy outdoor concert.
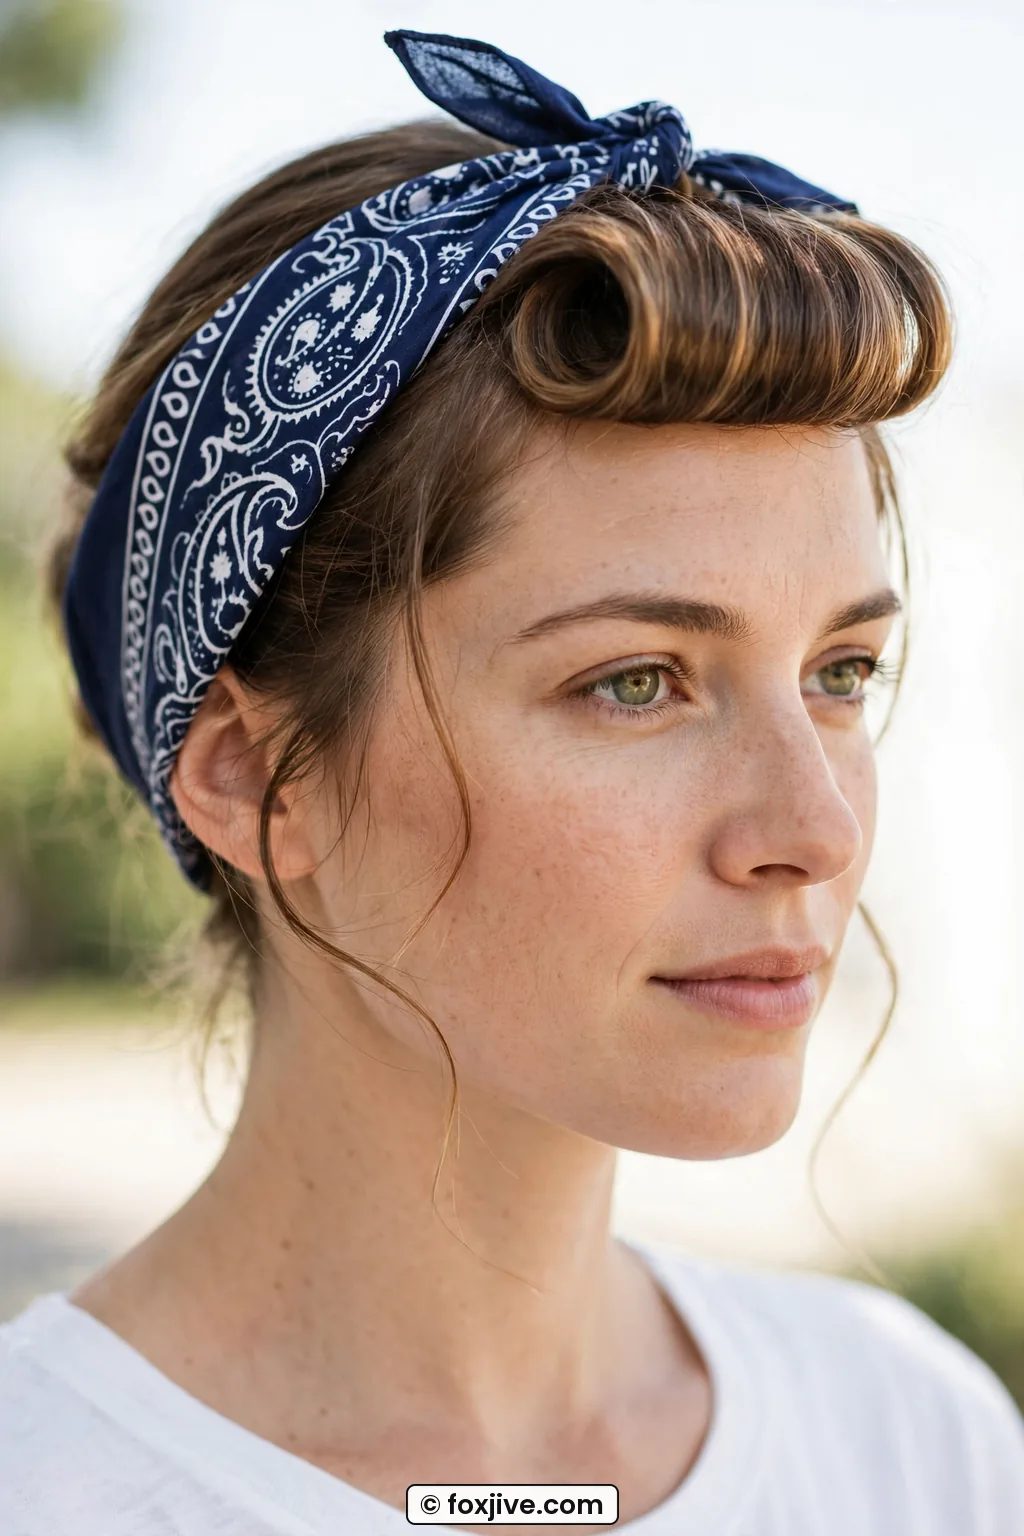
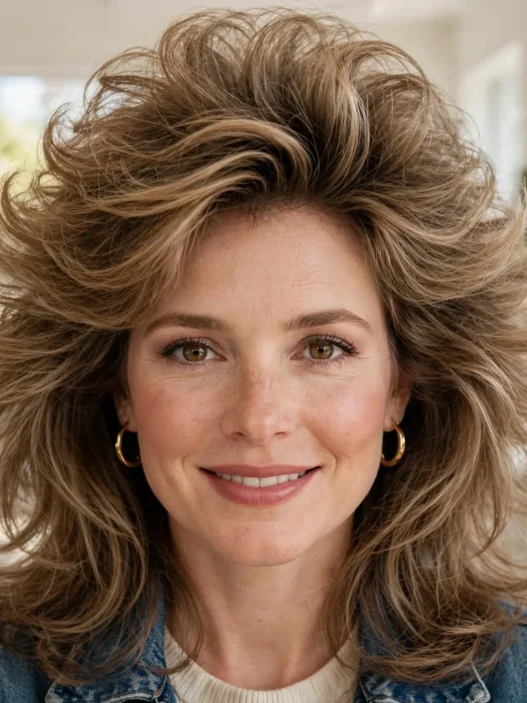
She has got a similar face shape to mine, round with soft cheeks, and honestly this front view looks incredible on her. See how the band frames her face instead of cutting across it? That is the tug forward I was talking about.
Step 4: Fabric and Size That Actually Grip
Can we talk about fabric for a minute? Because this is what finally solved bandana hairstyles for me after years of frustration. Not all bandanas are equal, not even close.
Cotton is king. A classic 100 percent cotton bandana, 22 by 22 inches, folds into a 2.5 inch band with enough thickness to grip but not so much bulk that it wobbles. It has a slightly rough texture that bites into teased hair. My red paisley one from a hardware store is still my best one, which cracks me up.
Polyester satin or silky scarves are beautiful, but they are slippery. If you want to use a 27 by 27 inch silk scarf for a dressier look, you can, but fold it narrower, about 2 inches, and you absolutely need those temple pins plus dry shampoo underneath. A 35 inch large headscarf is too much fabric for this particular wrap. It makes a thick band that is top heavy. Save that size for a full turban style.
Here is my quick cheat sheet from trying way too many. 20 by 20 inches works for short hair or a narrower band, but the tails will be stubby. 22 by 22 inches is the sweet spot for most hair lengths and gives you 2 inch bow tails. 27 by 27 inches gives longer tails and a bow, but fold it thin. Anything labeled stretch or jersey will grow during the day, so tie it a touch snugger at the start.
Wash new cotton once before you wear it. It gets softer but grippier after one wash, which sounds weird but it is true. And if your bandana edges are curling, a quick press with an iron makes folding so much easier. I also keep a couple prints that match my outfits, since I started pairing them with clips again after reading 11 Butterfly Clips Hairstyles That Work on Grown-Up Hair for fun ways to dress up the back knot.
I also get asked if I use texture helpers for fine hair under the scarf when my hair is too clean, and yes. A pea size of mousse at the crown before drying gives that second day grit that cotton loves to hold on to.
Bandana Wrap Questions I Hear All the Time
Will this work on very short hair or a pixie?
Yes, and it is actually easier in some ways. Skip the front roll and just smooth the front up into a little pompadour puff with two pins. Use a 20 or 22 inch cotton bandana so you do not have extra bulk at the nape.
How do I stop the band from giving me a headache?
Headaches mean the tension is all at the front. Loosen the front half inch and retie the knot lower and firmer at the back. The hold should come from the pins and texture, not from pulling tight.
Can I do this on curly or thick hair?
Absolutely. Leave your curls out in back instead of tucking them, tie the knot under the curls, and go one inch wider on your band. Thick hair gives amazing natural grip, so you can often skip the backcombing.
How do I keep the front roll from falling flat under the scarf?
Roll it a little bigger than you want, then let the scarf settle it down. And place the scarf behind the roll, never on top of it. A light mist before you put the scarf on helps more than a heavy spray after.
I wore this last weekend to a flea market and it held from 9am coffee to 4pm tacos in the sun. My roll was still puffy, my knot was still low, and I got two compliments from strangers. That never happened when I was just tying a scarf over flat hair and hoping. Try the grip strip once and you will feel the difference right away.