



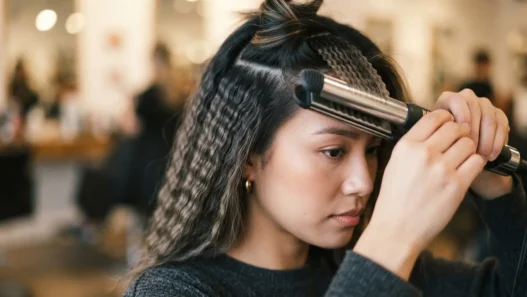

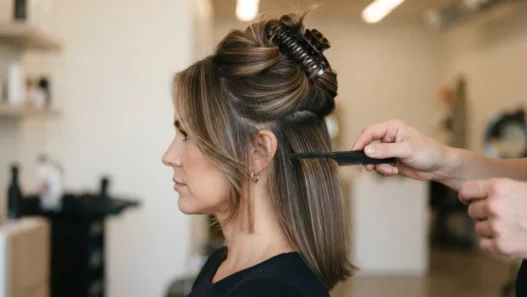

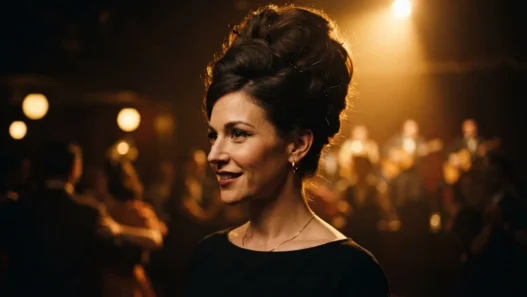

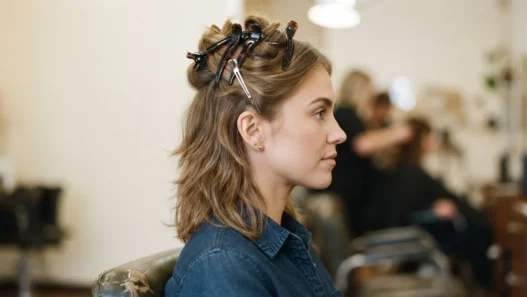
I have a theory that vintage updos are the one category of retro hair that never actually left — they just go quiet for a few years and come roaring back louder than before. Every single time I wear a structured updo, someone asks me what era I’m going for, and honestly I love that question because the answer is always complicated. These shapes carry so much history in them. And they work just as hard in 2026 as they did in 1948.
I’ve organised this gallery by where the weight sits — starting low at the nape and climbing up toward the crown. That progression matters more than most people realise. Where the visual mass lands changes your silhouette, how your neckline reads, even how tall you look in a photograph. I’ve also included a rough pin count for each style, because nothing is worse than a beautiful updo that surrenders by the second course.
1. The Low Nape Chignon
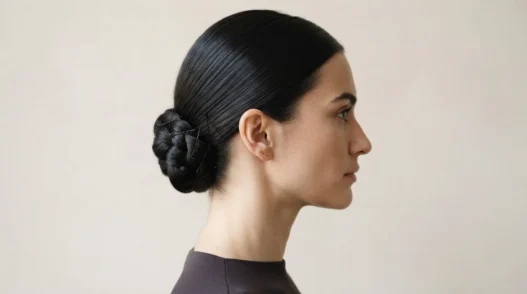
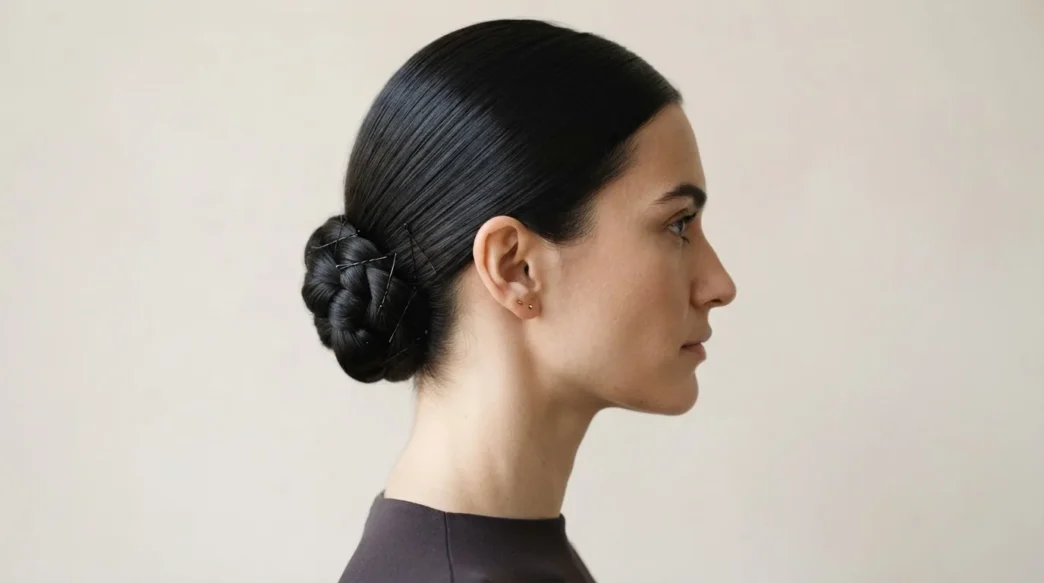
Pin count: 8–12. This is the starting point — literally. All the weight sits at the very base of the skull, close to the neck, and the effect is quietly aristocratic in a way that no other shape quite replicates. The low nape chignon flatters almost every neckline I can think of: strapless gowns, halters, high necklines that need a counterbalancing anchor point. Boat necks especially. I think about boat necks constantly when I see this style.
Look at how she’s wearing it here — the smoothness across the crown pulls attention upward while the bun itself sits just heavy enough to feel intentional rather than accidental. That tension between effortless and deliberate is everything with this style. The technique involves gathering hair into a low ponytail, twisting it into a flat coil, and tucking the ends underneath. You need a firm-hold pomade on the surface if you have flyaways. Bobby pins cross-hatched over the coil, not just stabbed in one direction.
2. The Rolled Nape Bun
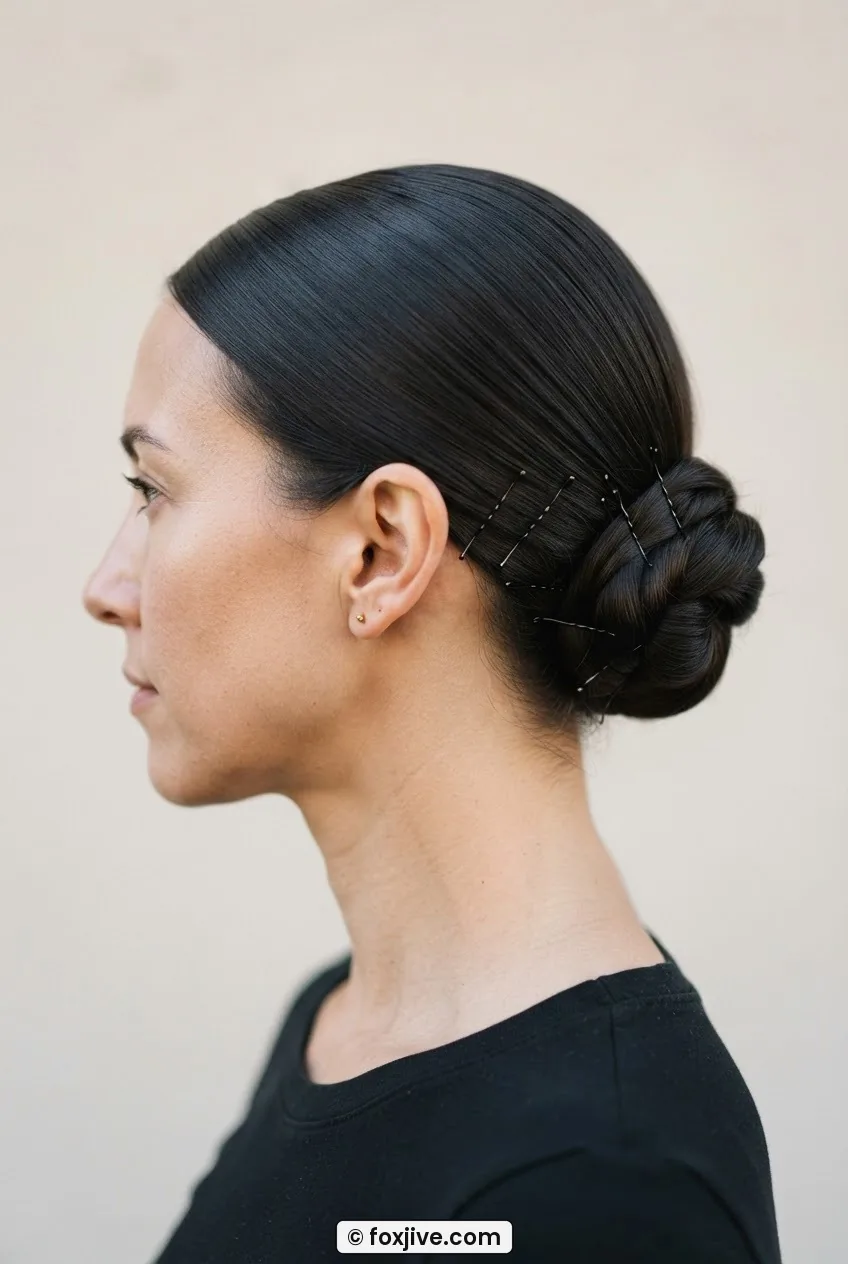
Pin count: 10–14. This is where the 1940s lives permanently in my heart. The rolled nape bun is softer than it sounds — instead of a flat coil, the hair is gathered into a cylindrical roll that sits horizontally across the back of the neck, ends tucked under and secured. The roll has volume and dimension. It flatters square and heart-shaped faces particularly well because it keeps all the drama below the ears.
The necklines it loves: jewel necks, scoop necks, anything that exposes the full back. If you can see the roll from the front at all, something has gone wrong. It should be a surprise when someone circles around you. I find this one eats pins at a moderate pace — you need them placed along the top edge of the roll and along the bottom, crossing through the hair at opposing angles so the whole thing behaves as one unit.
3. The French Pleat
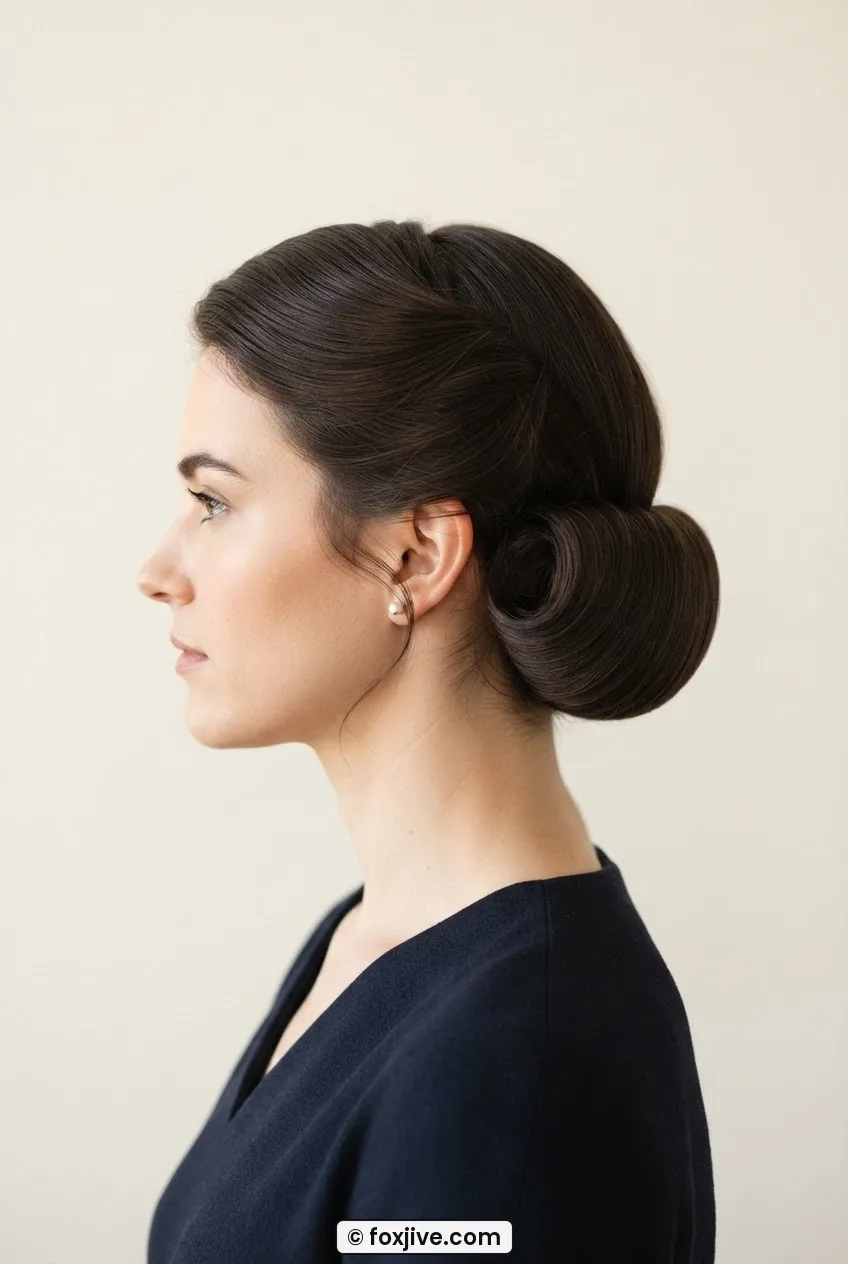
Pin count: 12–16. The French pleat — sometimes called the French twist — starts at the nape and travels upward in a single vertical seam along the back of the head. It is mid-weight: the base lives at the nape, but the pleat carries visual interest all the way up to the crown. That vertical line is genuinely elongating, which makes this a go-to for anyone wanting to add perceived height.
I learned to do a proper French pleat by watching my grandmother’s hands in a bathroom mirror, and I still think there’s no faster way to look pulled-together. You gather all the hair to one side, roll it inward toward the center of the back, then tuck and press. The opening of the pleat faces to the right traditionally. It flatters long necks beautifully — the vertical seam becomes an extension of the neck’s own line. Best necklines: high Victorian collars, keyhole backs, anything with interesting back detail because the pleat creates a frame for it.
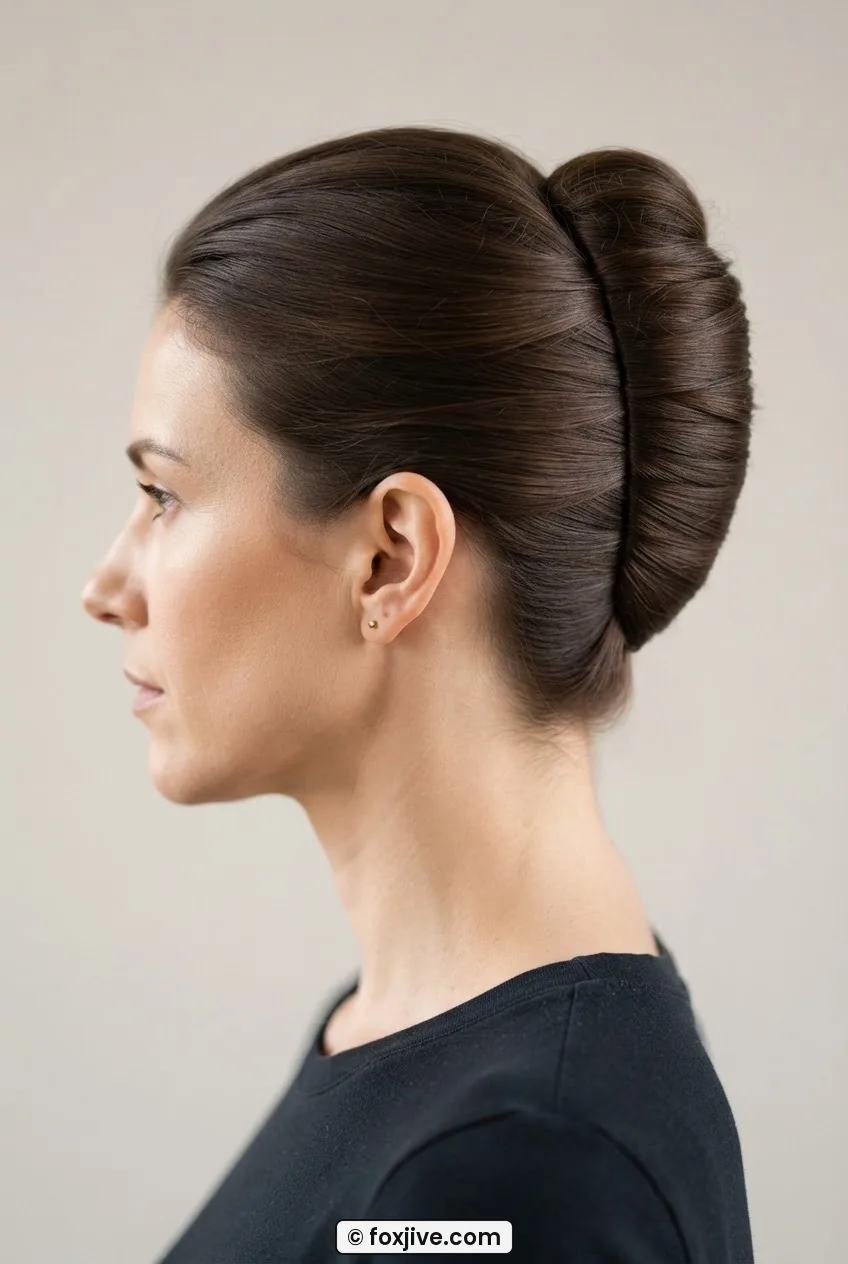
4. The Side-Swept Victory Roll
Pin count: 6–10. Now we start climbing. The single side-swept victory roll places its mass slightly above the ear on one side, with the opposite side swept back smoothly — an asymmetry that is about as flattering as it gets. I’m a little obsessed with this one. It reads less theatrical than the double roll, which makes it more wearable for people who feel nervous about leaning hard into a retro look.
If you want a full breakdown of variations and how long each actually takes to set, the guide on 9 victory roll ideas ranked by how long they take is genuinely useful — I keep coming back to it. The side-swept version flatters round faces especially because the asymmetry interrupts the circle. You can find more beautiful takes on this silhouette in the victory rolls gallery here too.
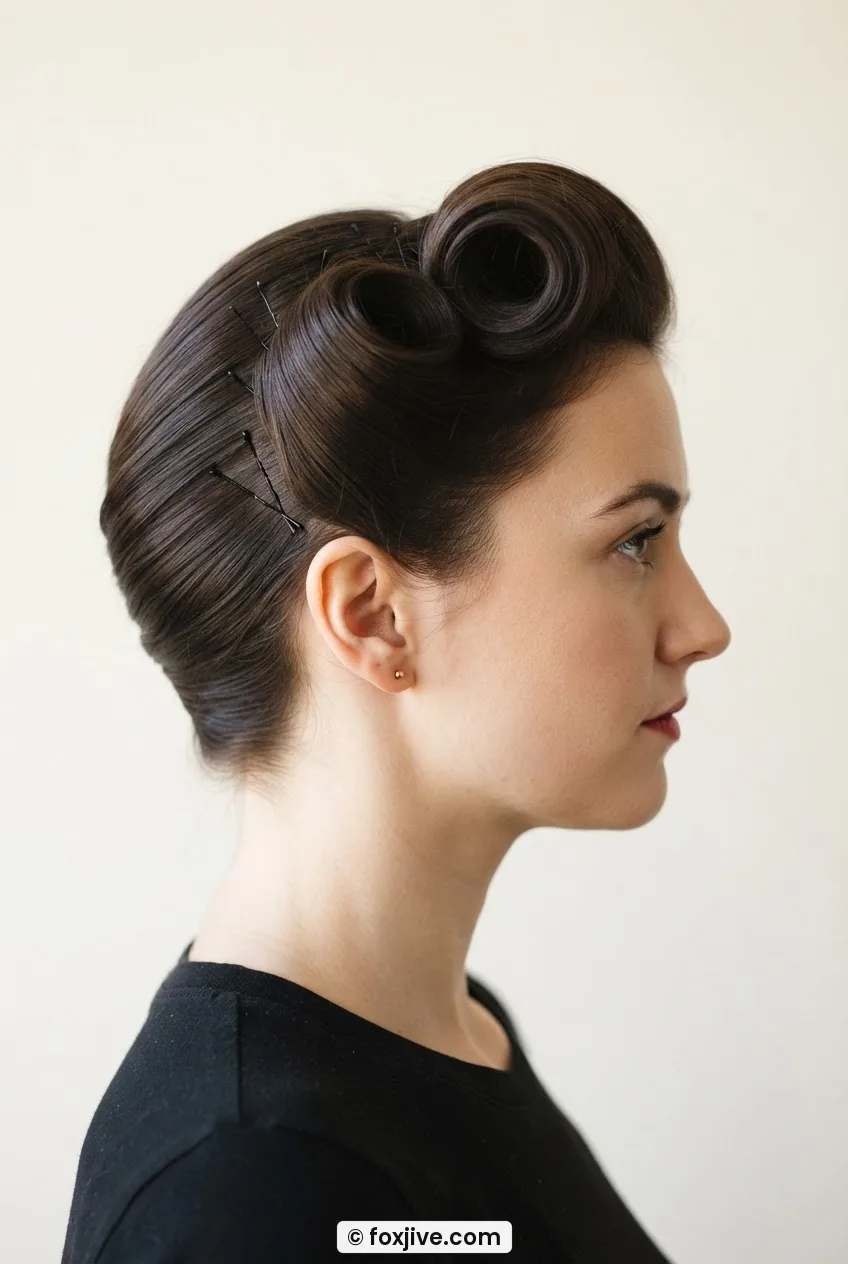
5. The Double Victory Roll
Pin count: 12–18. If the single roll is a suggestion, the double victory roll is a declaration. Two matching cylinders of hair rolled forward and pinned at either temple — this is 1940s wartime glamour at its most iconic, and it earns every pin it eats. The weight sits symmetrically above the ears, which creates a visual widening effect at the temples. Flattering on narrow faces. Possibly overwhelming on very wide ones, though I’d argue confidence outweighs geometry in almost every case.
The key mistake people make is rolling the hair too loosely so the cylinders look floppy. The roll needs firm internal structure — setting the hair on large rollers first, letting it cool completely, then shaping the curl into the roll gives you something that holds its edge all night. How to set hair on rollers is the underlying skill that makes or breaks this look. Best necklines: wide sweetheart necklines, off-shoulder styles, anything with horizontal emphasis that mirrors the rolls themselves.
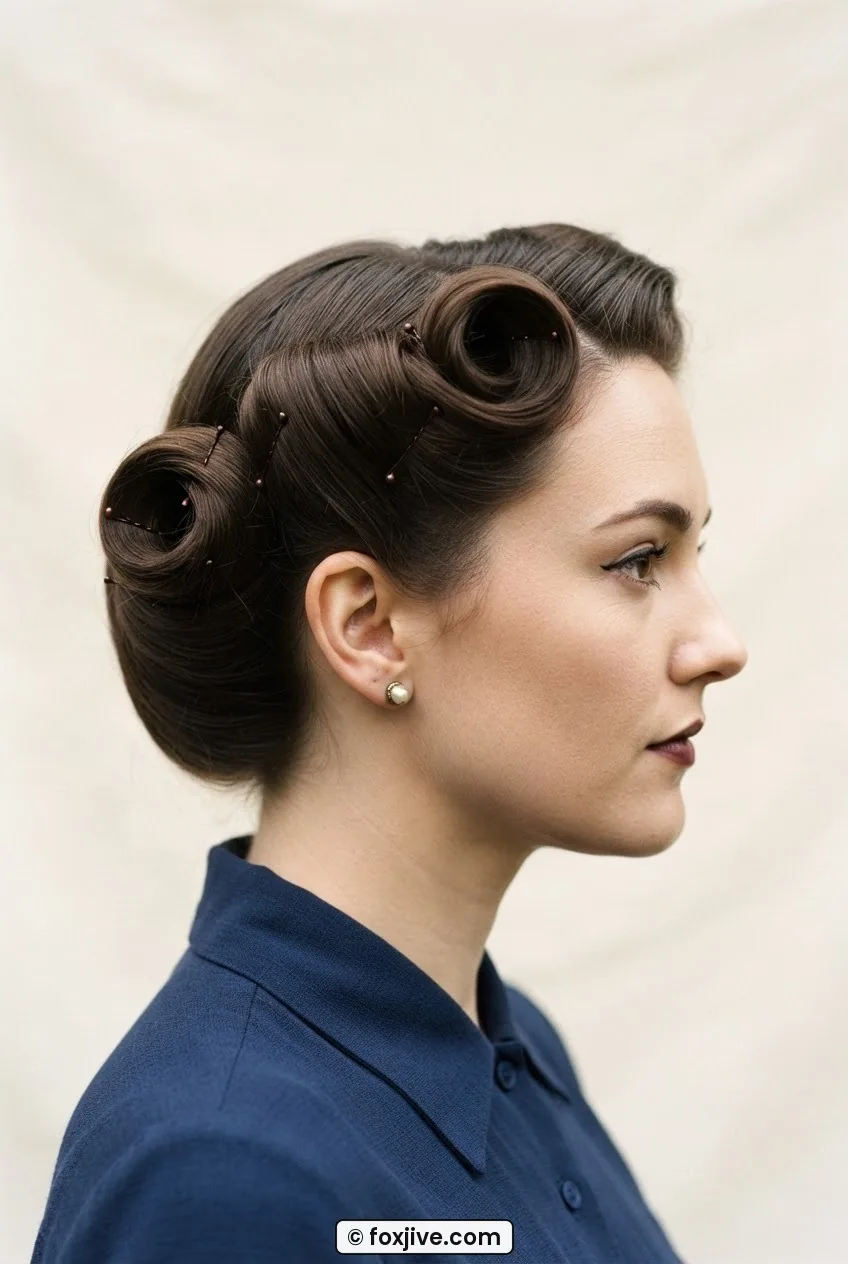
My personal favourite in this whole gallery is the double victory roll. I’ve worn it to weddings, to garden parties, to a particularly formal pub quiz, and it has never once failed to make the evening feel like an occasion. Yes, it takes 18 pins. Yes, it’s worth every single one.
A Tutorial That Shows the Roll Tension
6. The Pompadour Swoop
Pin count: 8–12. The pompadour swoop is the 1950s answer to the question: how do you make a ponytail look like a sculpture? The front hair is lifted, looped back in a high smooth swoop, and the ends disappear behind a rolled section or simply vanish into a back ponytail. The visual weight lands at the front-top of the head — that transitional zone between crown and forehead.
She’s wearing hers here with beautiful height right above the hairline, and that lift is what I mean when I say the pompadour adds inches. It’s the most face-framing style on this list because the swoop curves directly toward the face before pulling back. Flattering on oval and long faces. Less suited to very high foreheads unless you adjust the lift to be more of a soft wave than a full arc. The neckline question is almost irrelevant with this one — all eyes go to the front.
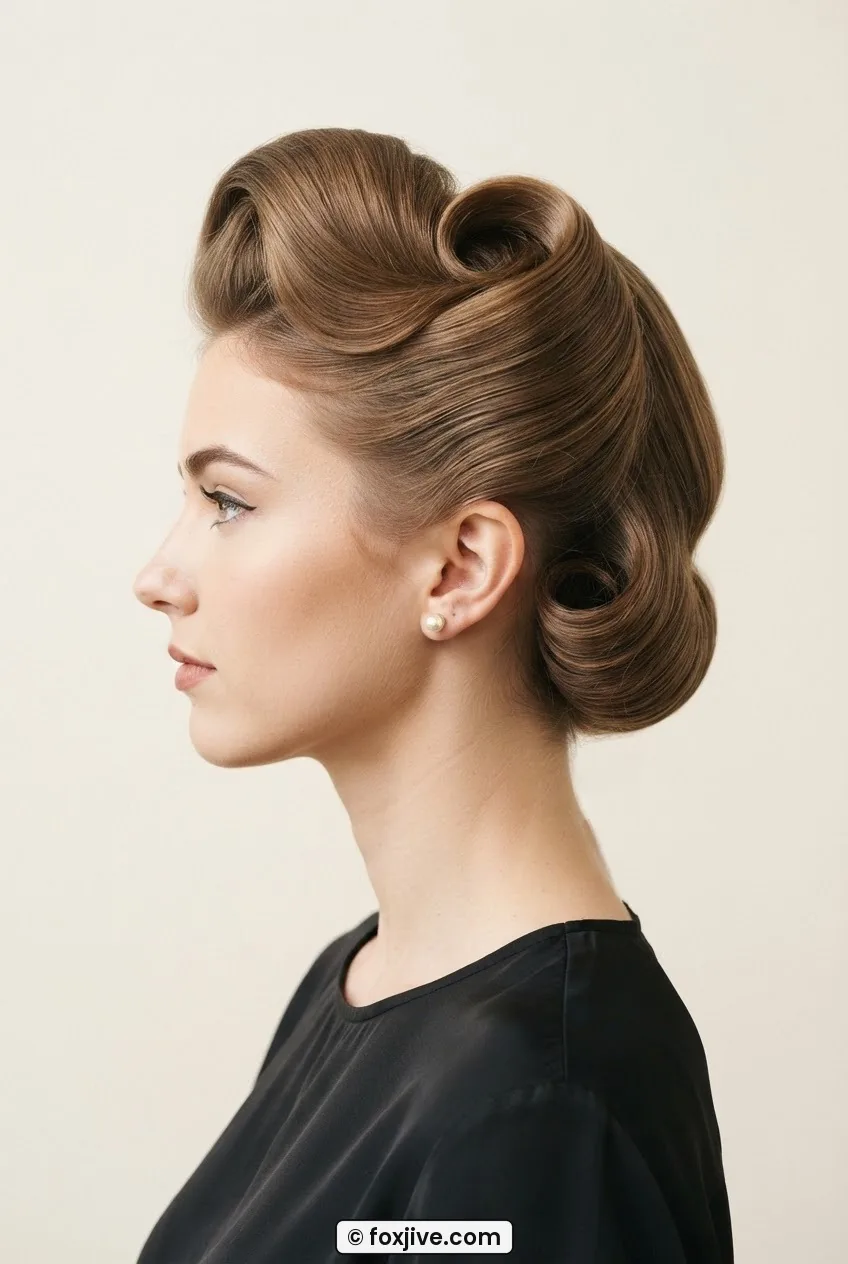
7. The Banana Roll
Pin count: 14–20. The banana roll is not as cute as its name — it is one of the more demanding vintage updos on this list. The hair is gathered, coiled lengthwise into a long horizontal cylinder that runs vertically up the back of the head from mid-nape to crown, and the ends tuck under at the top. The whole thing looks like a seam running straight up the back of the head, which sounds austere but is actually strikingly elegant in motion.
Weight is distributed along the full length of the roll rather than concentrated at one point, which makes it paradoxically comfortable to wear for long periods — nothing is pulling heavily in a single spot. I have long hair and this is genuinely one of the most secure updos I’ve attempted. It devours pins along both edges of the roll, so budget for 20 if your hair is thick. Flatters long necks, boat necklines, anything backless.
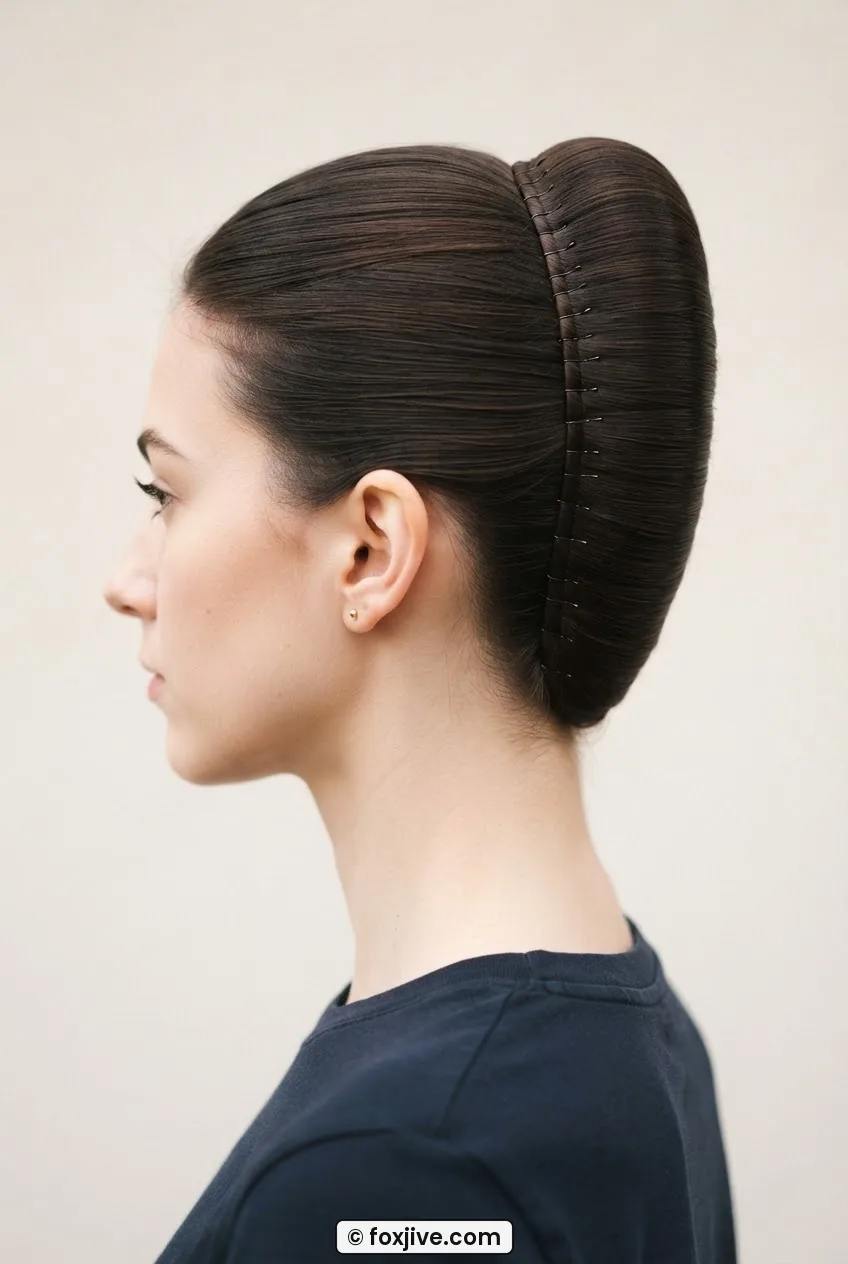
8. The Bouffant Crown
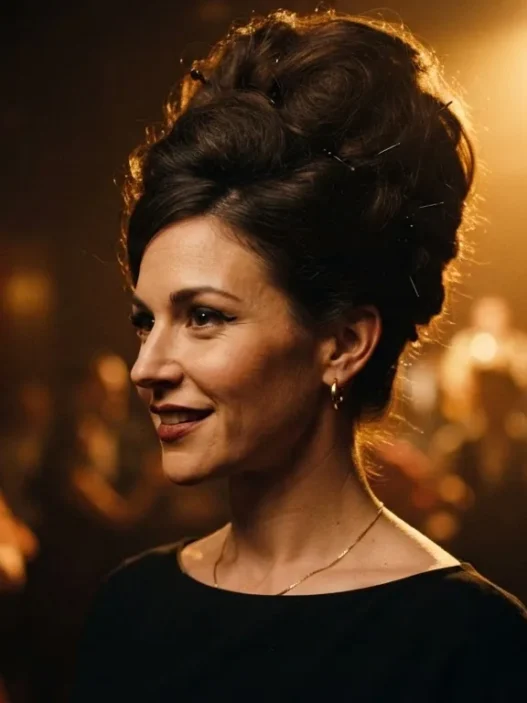
Pin count: 10–14. The bouffant crown is the 1960s on its best day. Teased, backcombed, shaped into a rounded dome of volume at the crown, then smoothed over the top to hide the architecture beneath. The weight — if you can call it that, because bouffant hair feels almost weightless — sits entirely at the top of the head, giving maximum height and a silhouette that photographs like a portrait from a different era entirely.
The secret to a good bouffant is the layering: backcomb the underlayers generously, then smooth a light top layer over them and spray it into submission before placing any pins. The surface should look polished even though it’s completely hollow underneath. Learning to properly tease and smooth is worth doing — you can look up backcombing techniques for vintage styles to get the fundamentals right before you try this on a special occasion.
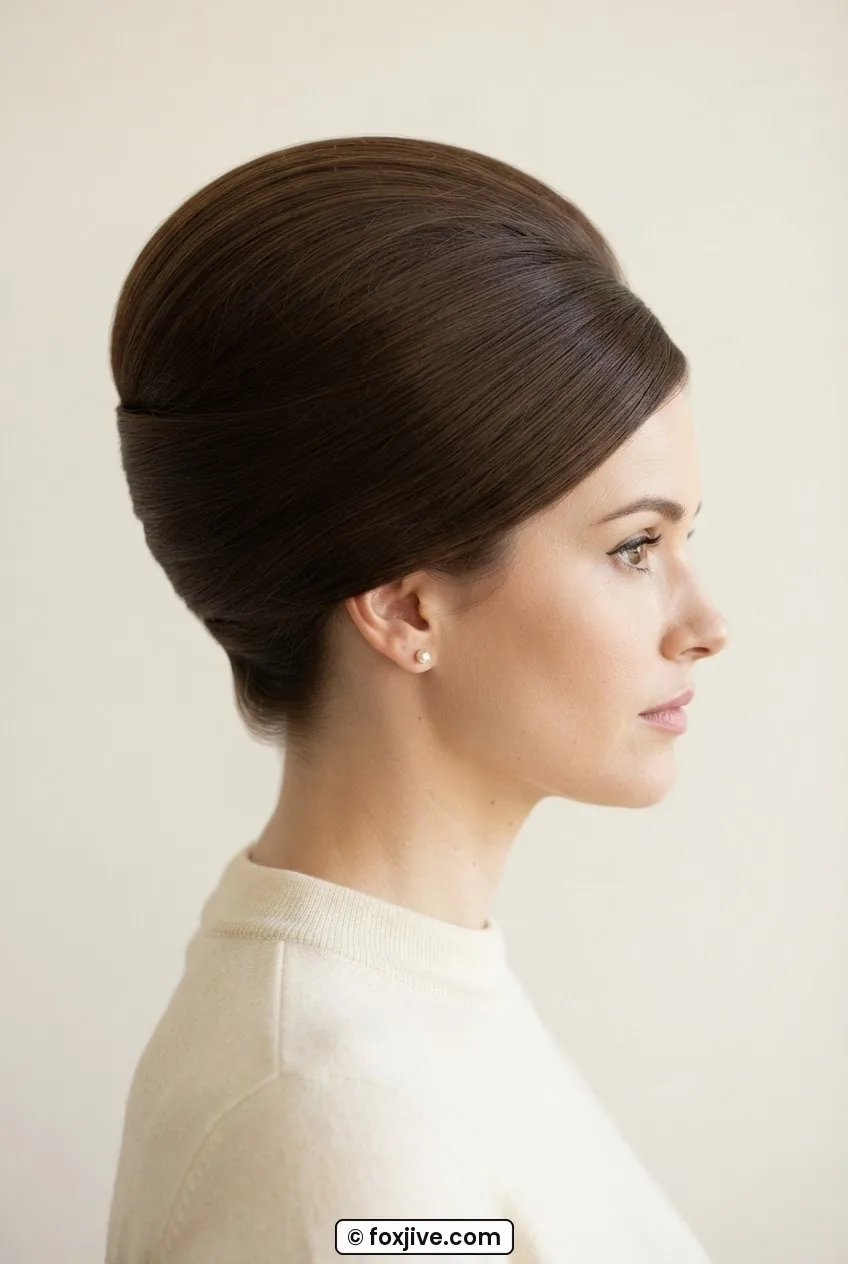
9. The Gibson Tuck
Pin count: 6–8. This one is technically from the 1890s–1910s, but it has appeared in every revival decade since and I refuse to leave it out. The Gibson tuck is the most minimal updo on this list in terms of pin count, which is almost miraculous given how finished it looks. Hair is gathered into a low ponytail, the ends looped under and pushed upward behind the elastic so a soft horizontal loop forms at the nape. That’s essentially it.
But look at the silhouette in this photo — that soft rounded tuck at the nape reads as genuinely vintage in a way that takes about four minutes to achieve. It’s my recommendation for anyone who’s new to retro hair and wants something that won’t collapse. The low placement flatters nearly every face shape by keeping attention centered. Necklines: off-shoulder, one-shoulder, V-back. Basically anything that leaves the neck clear.
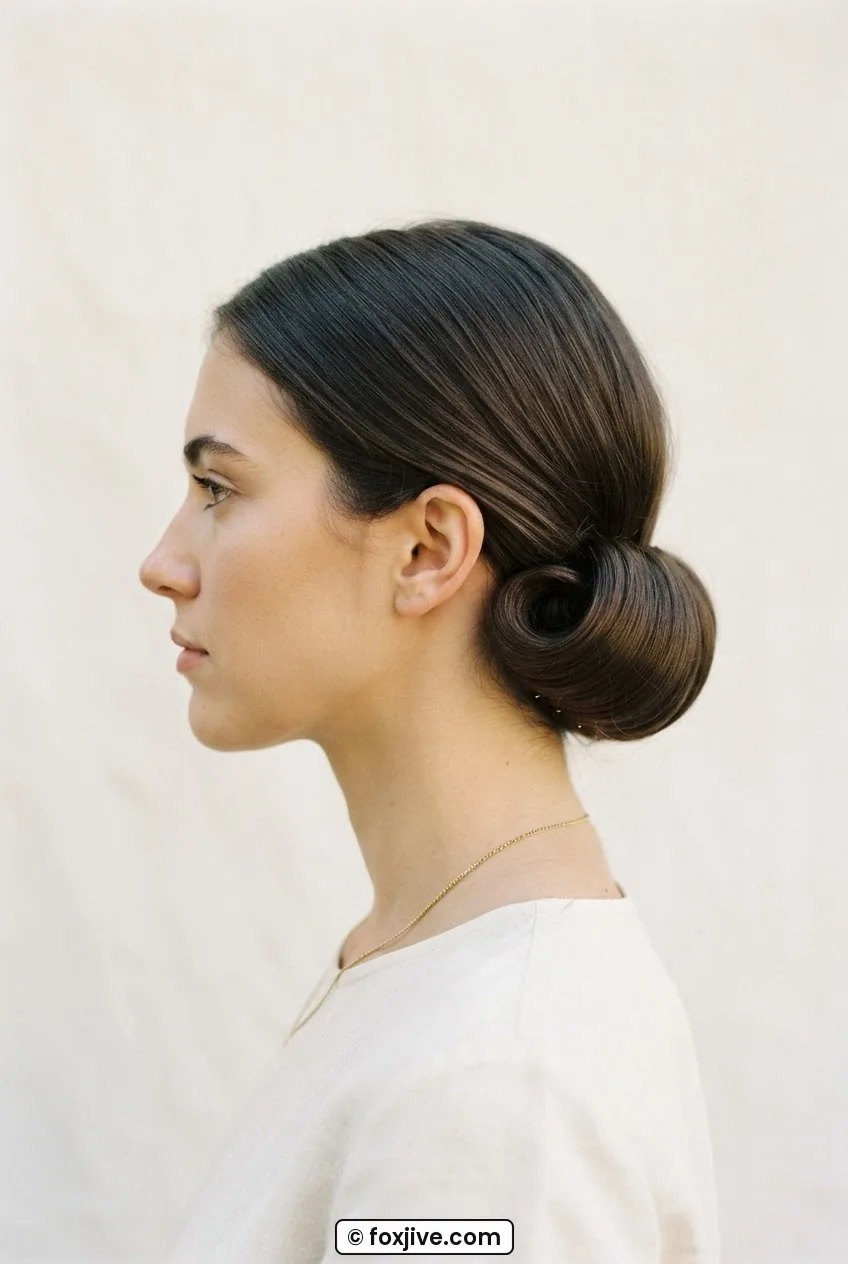
10. The Beehive
Pin count: 16–24. The beehive earns the top of this list on sheer architectural ambition. Everything sits at the crown — teased, built up, shaped into a conical or oval tower of hair that can add four to six inches of height. It is maximum vintage, maximum commitment, maximum hair. I love it unconditionally. I also respect that it is not an everyday undertaking.
The modern revival of the beehive tends toward slightly more relaxed proportions than the extreme towers of 1962, which actually makes it more wearable and less likely to look like costume. A medium-height beehive with clean sides and a smooth surface is genuinely striking at a formal event — and it will absolutely outlast the evening if you build it properly. What flatters: small faces, petite frames, anyone who wants to stand taller in a room. Necklines: anything simple, because the hair is doing all the talking.
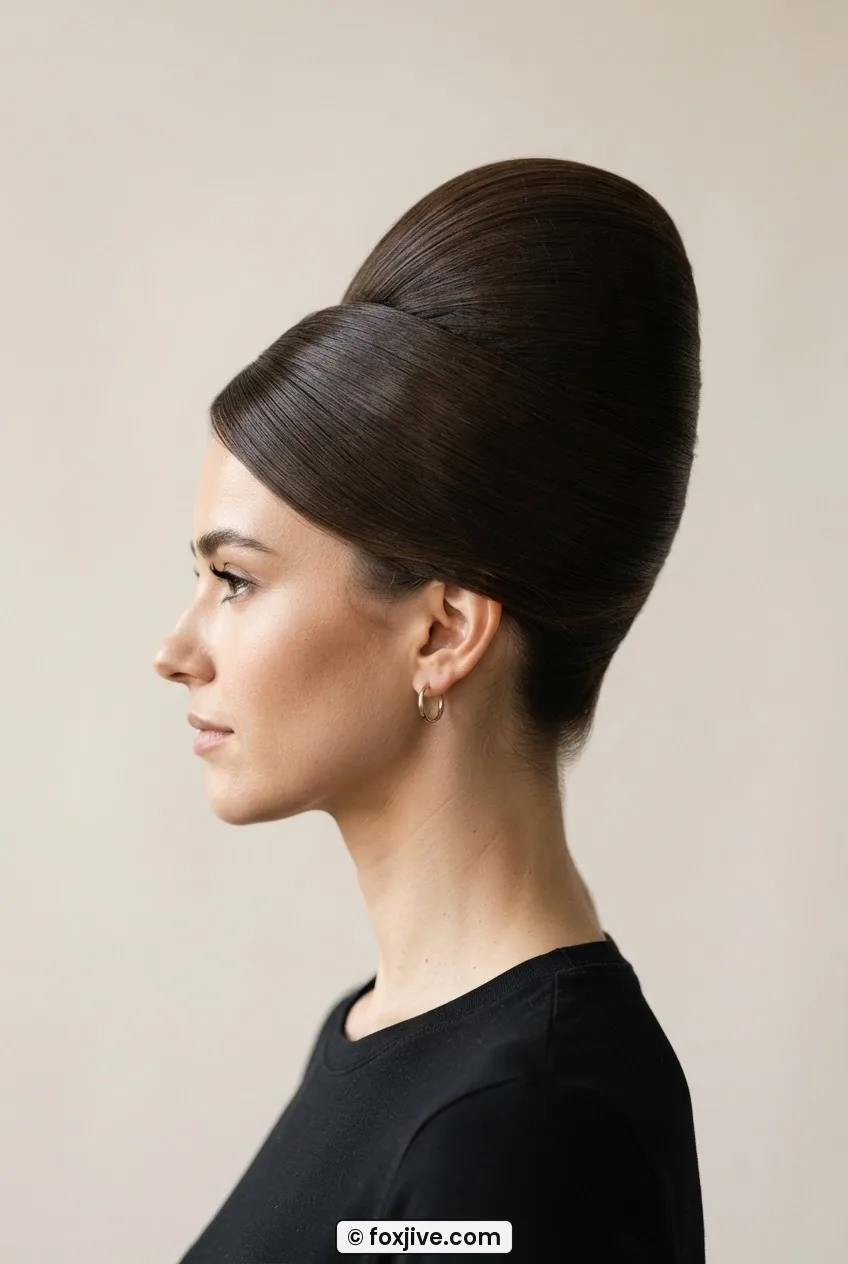
11. The Crown Coronet Braid
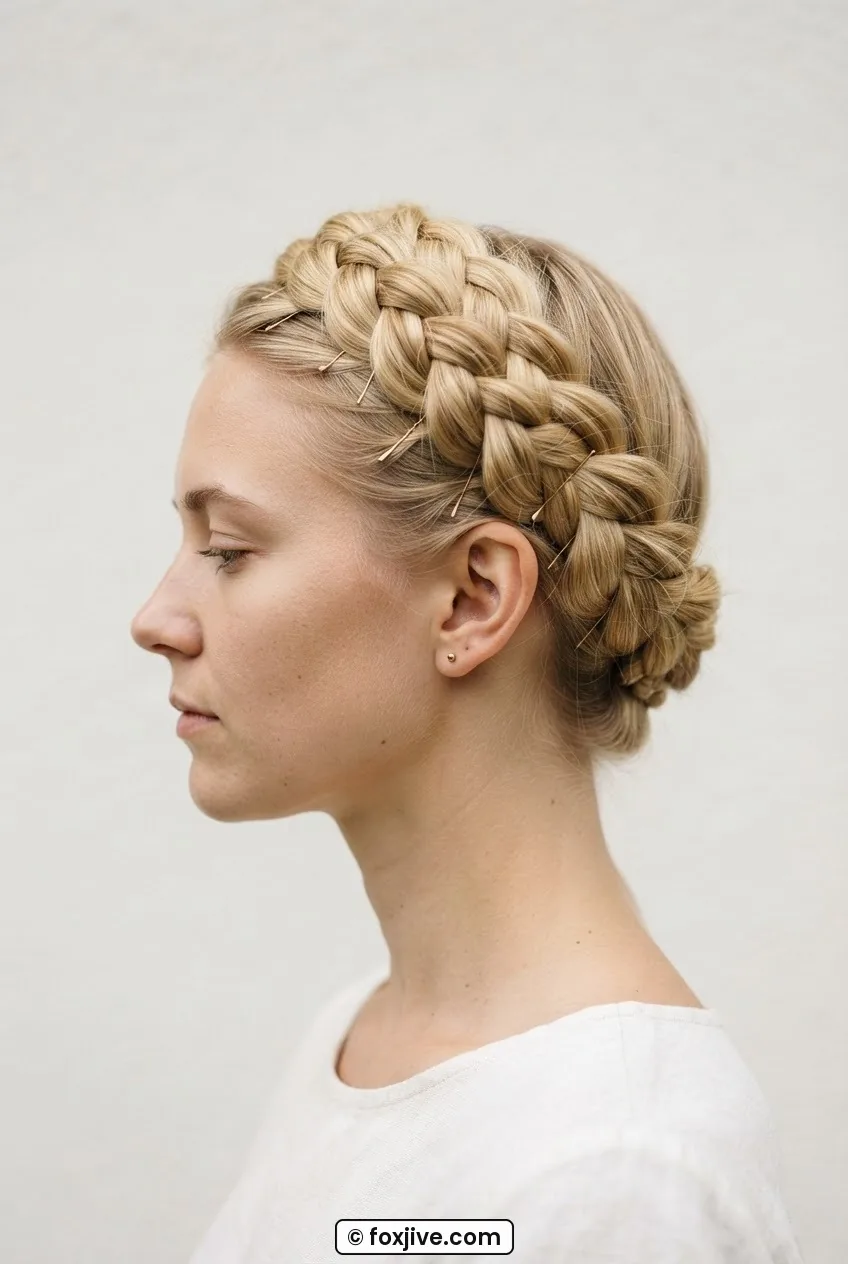
Pin count: 18–26. The crown coronet braid sits at the very top of the head in a halo of braided hair pinned in a complete or partial ring around the crown. It is the highest weight placement on this list and the one with the most romantic, almost Pre-Raphaelite quality to it — though it has roots in hairstyles worn across several decades from the 1930s through the 1960s depending on whether the braids are tight or loose, adorned or plain.
The braid itself needs to be uniform — uneven tension in the plait shows immediately once it’s pinned in a circle. I find this one the hardest to do solo and the most rewarding when someone else does it for you. It eats pins along the inside of the coronet and wherever the braid end tucks away. Flatters round faces by drawing the eye upward, and looks extraordinary against plunging necklines where the contrast between elaborate crown and exposed neckline is the whole visual point. This is the style I’d choose for a vintage wedding look without hesitation. You can find more formal vintage styling inspiration in the victory rolls and formal updo archive if you’re planning something special.
A Note on Slippery Hair — What Actually Helps
If I had to pick the single most common reason vintage updos fail, it’s slippery hair. Fine hair, freshly washed hair, over-conditioned hair — all of it slides. Pins lose grip. Rolls collapse. The whole structure gives up somewhere around hour two.
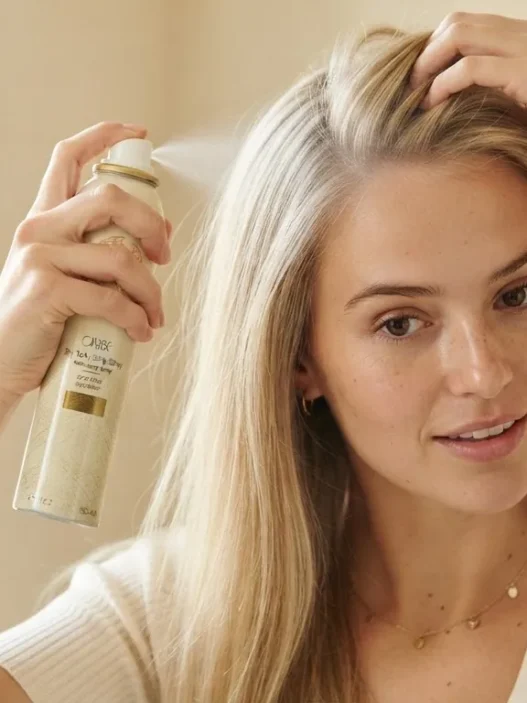
Here’s what genuinely works: dry shampoo at the roots before you start, not after. Backcombing the sections you’re about to roll before you roll them. Using pins with ridged surfaces rather than smooth ones. Setting the finished style with a firm-hold spray and letting it dry completely before you move — don’t test it while it’s still damp from the product. And when in doubt, add two more pins. You’ll never regret having too many pins in an updo that needs to hold through a party. You will always regret having too few.
For deeper reading on vintage hair techniques, the resources on vintage updo techniques are worth bookmarking if you’re serious about getting these shapes right. The details — grip, tension, spray timing — really do matter.
Quick Answers on Vintage Updos
How long does a vintage updo actually take to do at home?
Depends entirely on the style. The Gibson tuck takes four minutes if you’ve practiced it twice. The beehive or coronet braid can take forty-five minutes to an hour the first few times. I’d suggest picking one style, practicing it twice on a low-stakes evening, and then trusting yourself on the actual occasion.
Do I need to use heat to get these looks?
Not necessarily — several of these, including the French pleat, the Gibson tuck, and the low chignon, work perfectly on naturally smooth or wavy hair without any heated tools. The styles that benefit most from heat are the victory rolls and the pompadour swoop, where you want a set curl to hold the cylindrical shape. Pin curls set overnight on slightly damp hair are a heatless alternative that many vintage stylists actually prefer for a more authentic result.
Are vintage hairstyles suitable for short or medium-length hair?
Many of them are, yes. Victory rolls, the pompadour swoop, and the bouffant crown all work brilliantly on medium-length hair and some shorter lengths too. The styles that genuinely need long hair are the banana roll, the French pleat on fine hair, and the coronet braid. If you have a bob or shoulder-length hair, I’d steer toward the rolls and bouffant shapes first — they’re often easier at shorter lengths because there’s less weight pulling everything down.
What products should I use to make vintage styles hold?
Dry shampoo before styling, a light pomade or wax for smoothing surfaces, and a firm-hold hairspray applied in thin layers are the core trio. I also swear by a light-hold setting spray on sections I’m about to pin — it adds just enough grip that the pins catch properly. Avoid heavy conditioning treatments on the days you plan to style, and understand that hold products for pin curls and vintage sets can genuinely change how long your style survives the evening.
If you want to chat about any of these styles or share what you’ve been attempting, you’re always welcome to reach out — the contact page is there and I genuinely read everything. I’ll keep adding to this gallery as I try new shapes, so check back. And if you made it all the way to the coronet braid: I see you, I respect you, and I want to know how many pins you used.