



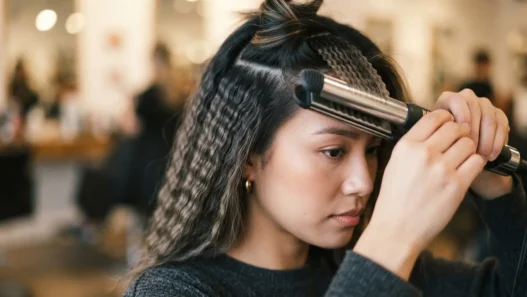

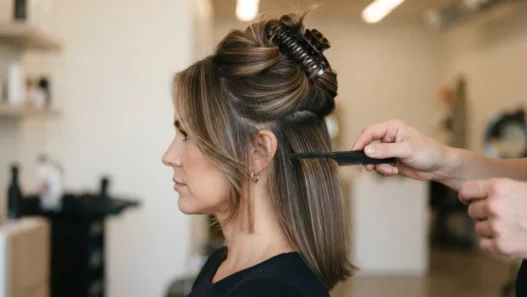

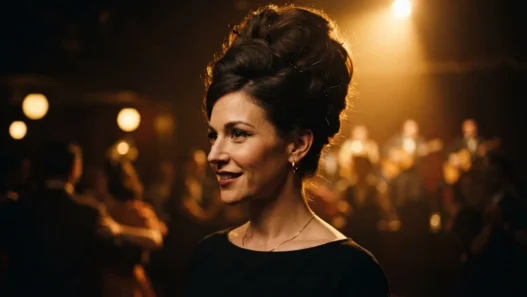

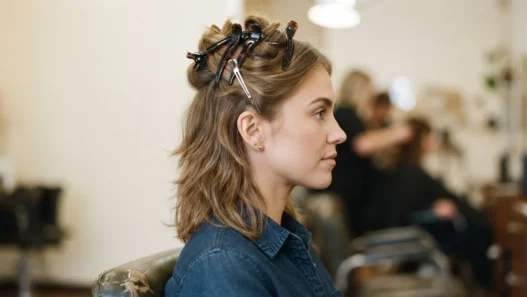
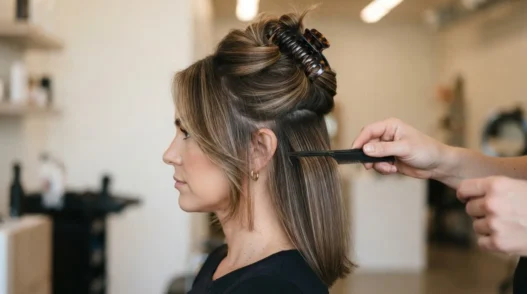
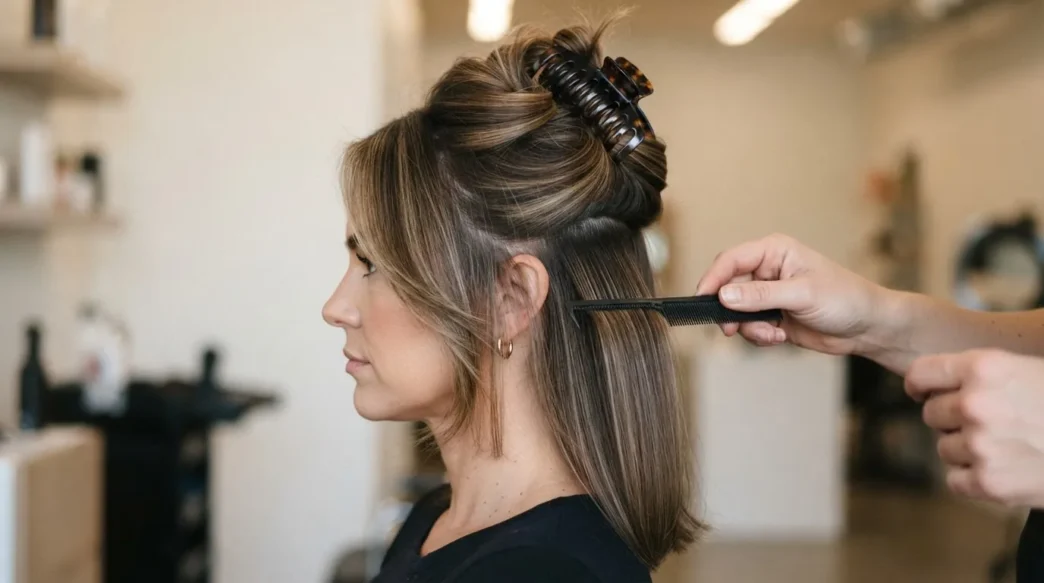
I have attempted The Rachel more times than I care to admit. The first few tries ended with either limp ends that flopped the wrong way by 10am, or so much hairspray that my hair made a crunching sound when I touched it. Neither is the vibe. I finally cracked the technique — not the cut itself, but the actual styling process — and it turns out the whole thing comes down to section size and one very specific brush pass that nobody talks about. This guide is that pass, spelled out properly, start to finish.
Jump to Any Step
- What You’ll Actually Need
- Step 1: The Prep That Makes or Breaks the Flick
- Step 2: The Section That Becomes the Volume
- Step 3: Drying the Base First
- Step 4: The Round Brush Pass That Sets the Flick
- Step 5: Pinning Underneath
- Step 6: The Cover Layer
- Step 7: The Finish That Holds Without Helmet Hair
- What to Do When Your Hair Is Flat
- Questions I Get About This
What You’ll Actually Need
Nothing exotic. The Rachel haircut is a 90s icon but the tools are completely timeless — and you probably already own most of them.
- A medium round brush — 38mm to 44mm barrel is the sweet spot for shoulder-length layers
- A good dryer with a concentrator nozzle (the nozzle matters enormously, don’t skip it)
- Lightweight volumising mousse — NOT foam that goes stiff
- A fine-tooth sectioning comb
- 4–6 butterfly clips or large duckbill clips
- 4 bobby pins (yes, exactly four — I’ll tell you where they go)
- A small amount of light serum or smoothing cream for the finish
- Flexible-hold hairspray — emphasise flexible
If you’re curious about the broader history of this shape and how it fits into the decade it came from, the about page here gives you a sense of why I’m so obsessed with nailing these vintage techniques properly. The context actually helps.
Step 1: The Prep That Makes or Breaks the Flick
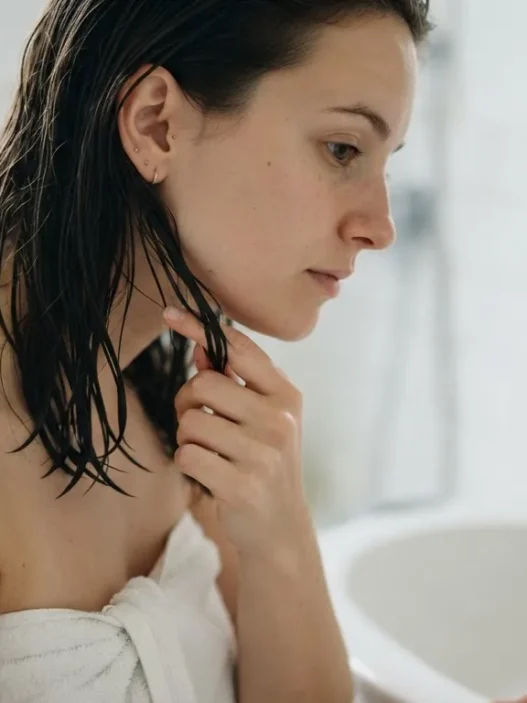
Wash your hair and towel dry it until it’s damp — not dripping, not half-dry. There’s a specific window here. If it’s too wet, you’ll be fighting the dryer for twenty minutes and the flick will never set properly. Too dry and the mousse won’t distribute.
Work a palmful of volumising mousse through the mid-lengths and ends. The roots get a tiny bit — just press it in with your fingertips rather than raking it through. Then comb everything straight back from the face with your wide-tooth comb. You want a clean, tangle-free canvas before you even think about sectioning.
The mistake I made for months: I was applying mousse to dry sections of already-styled hair trying to “fix” the flick after the fact. It doesn’t work. The mousse needs to be in the hair before the heat goes anywhere near it — that’s when it actually sets the shape.
Step 2: The Section That Becomes the Volume
This is where most home attempts fall apart. People take too small a top section, which means there’s not enough hair to create that signature lift and the whole thing looks flat by the time you’ve finished the sides.
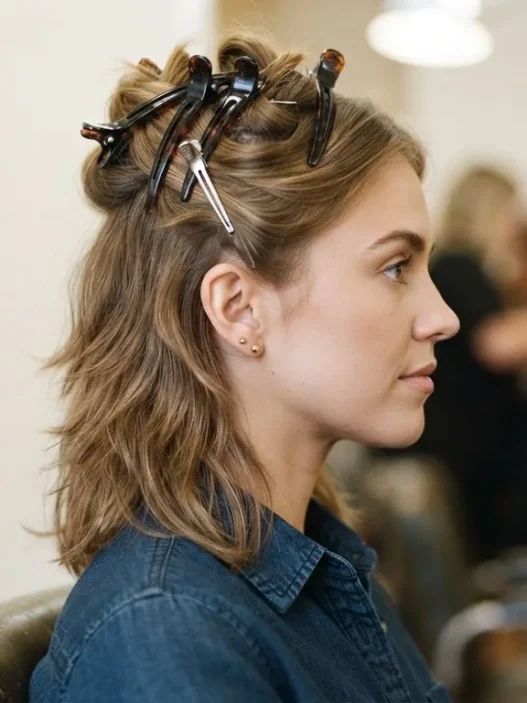
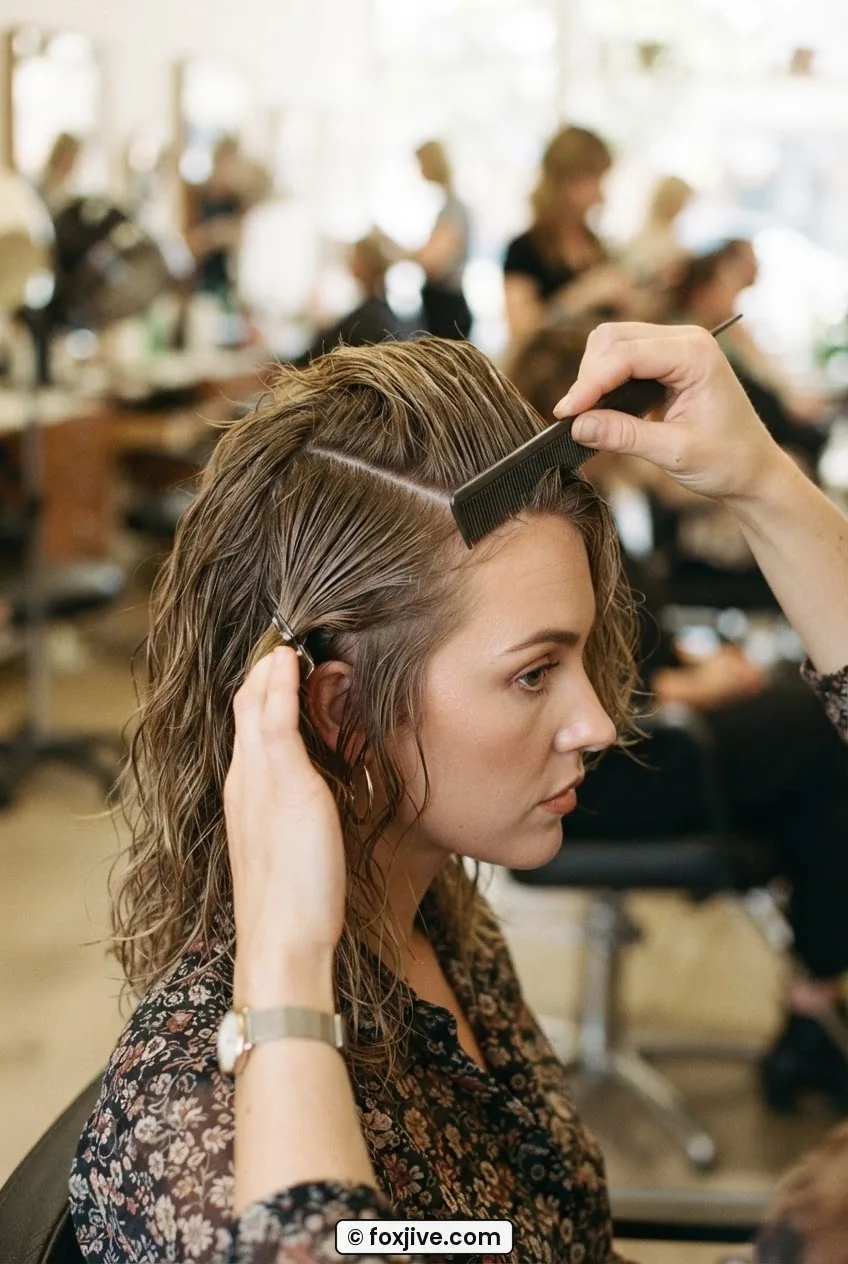
Take your sectioning comb and draw a line from just behind one ear, arching over the crown, to just behind the other ear. Everything above and forward of that line — so roughly the top third of your head — goes up into a clip. It should feel like a bigger section than makes sense. That’s correct. This is the volume section. Clip it loosely on top of your head and leave it alone for now.
The remaining hair — the bottom two-thirds — is what you’ll dry first. Split it further into a left and right panel and clip one side out of the way.
Step 3: Drying the Base First
Start with the lower panel you left down. Place the round brush underneath a one-inch section, position the concentrator nozzle pointing downward along the hair shaft, and dry from root to mid-length first. Don’t try to do the whole length in one pass at this stage. You’re building a smooth base, not the flick yet.
Work in horizontal sections, moving upward toward that clipped volume section. The goal here is just smooth, controlled hair — you’re removing the frizz and the bulk of the moisture so the next step can do its job cleanly. When you’ve finished one side, unclip the other panel and repeat.
This part takes about three minutes total if your hair is shoulder length. If yours is longer — more like the longer version of the Rachel that hits mid-back — add another minute per panel but keep the section sizes the same. The longer the hair, the more important it is to do this foundational dry before the flick pass.
Step 4: The Round Brush Pass That Sets the Flick
Here it is. The step that actually makes this haircut look like the Rachel rather than just a generic blowout.
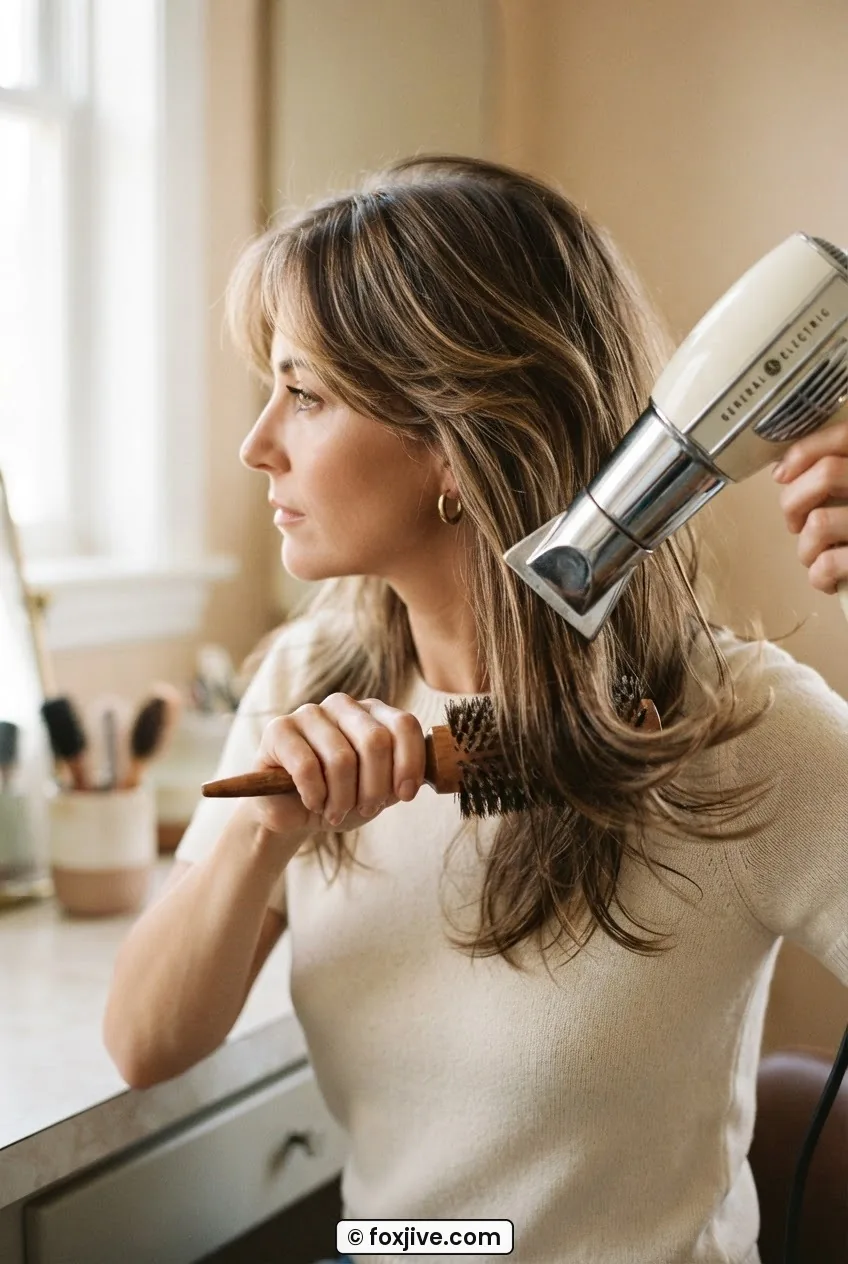
Take the same lower section, starting again from one side. Pick up a one-inch horizontal slice. Slide the round brush underneath it so the hair is sitting on top of the barrel. As you approach the last two inches of the ends, rotate the brush slightly outward — away from your face — so the ends begin to curl around the barrel in an outward direction. Then hold the dryer on that wrapped section for a full five seconds. Don’t rush this count. Then cool it: hit that section with the cool shot button for another three seconds before releasing the brush.
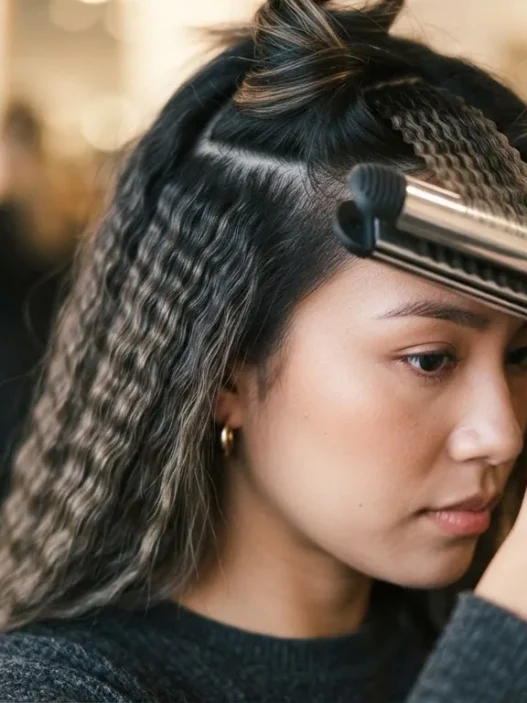
That cooling step is everything. The heat creates the shape; the cool air locks it. If you release the brush while the hair is still warm, the flick won’t hold. Look at how she has the brush angled in the photo below — that outward rotation at the ends is exactly the motion I’m describing. The flick is already forming while the hair is still on the brush.
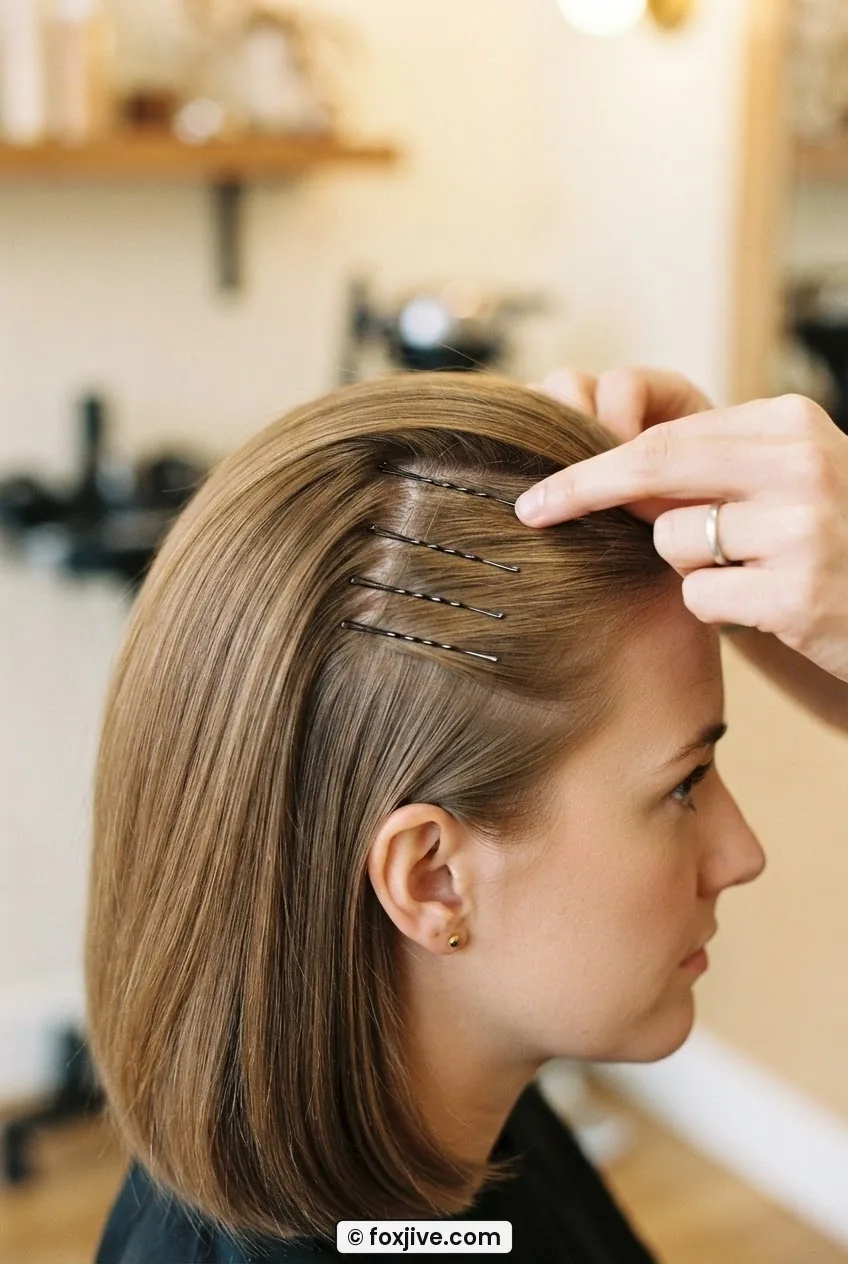
Repeat this pass on every section of the lower panels, both sides. You’ll notice the ends are starting to behave with a consistent outward flick rather than curling under or going straight. Good. That’s what you want.
Step 5: Pinning Underneath
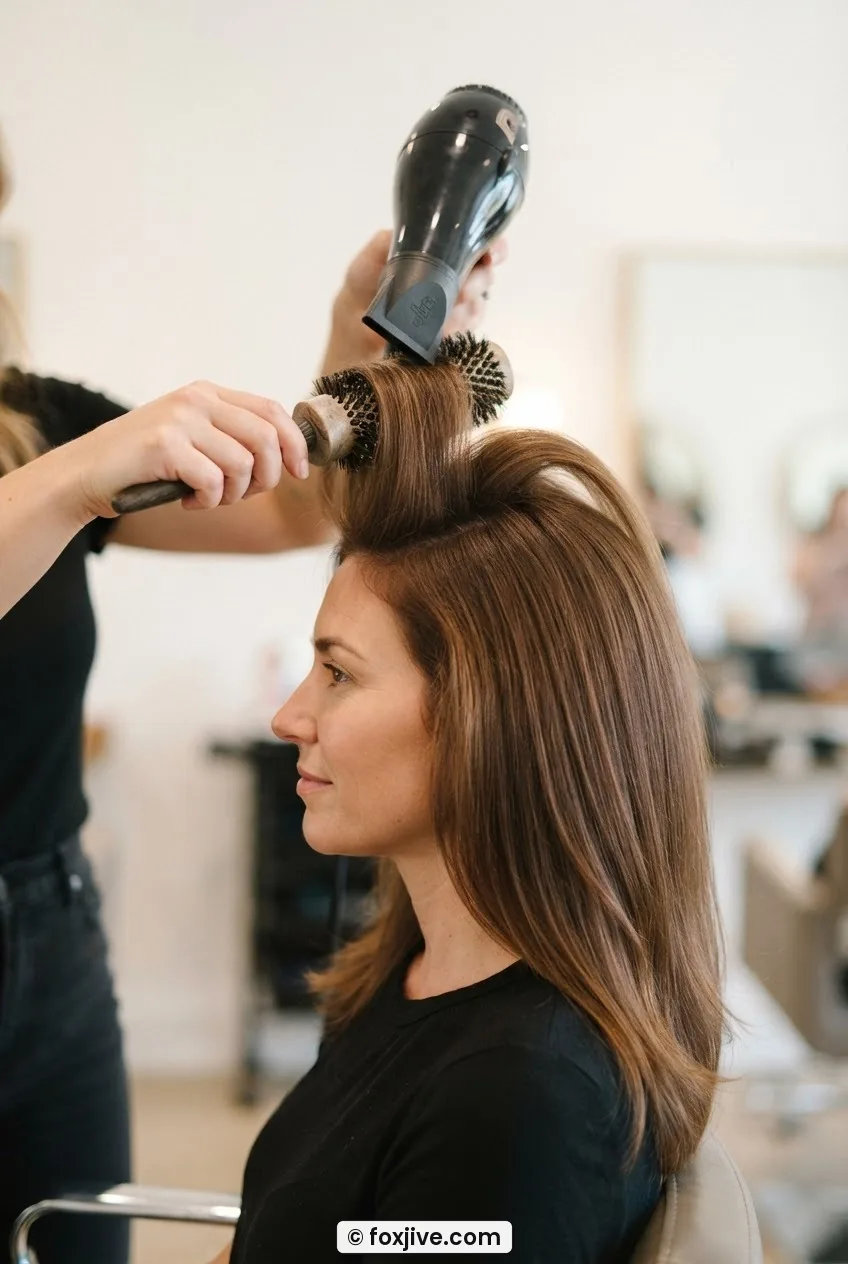
Now the clipped volume section comes down. Before it does, take your four bobby pins and place two on each side at the crown — sliding them in horizontally, close to the roots, right where the lower section meets the upper. This creates a hidden anchor that the top layer of hair will sit over and smooth across.
The pins don’t need to be perfectly placed — nobody sees them. But they do need to be flat to the head. If they sit up at all, you’ll see a ridge through the cover layer. Press them down firmly, check in the mirror that they’re invisible, and then release the top section.
Four pins is genuinely the right number here. I’ve tried six — too many ridges. Two — not enough anchor. Four, placed at the crown corners, is the number that works.
Step 6: The Cover Layer
This is the section that gives the Rachel its characteristic volume at the crown without looking like a round helmet. The top section you’ve just released needs to be dried with lift at the roots and smoothness through the mid-lengths — opposite of what you did down below.
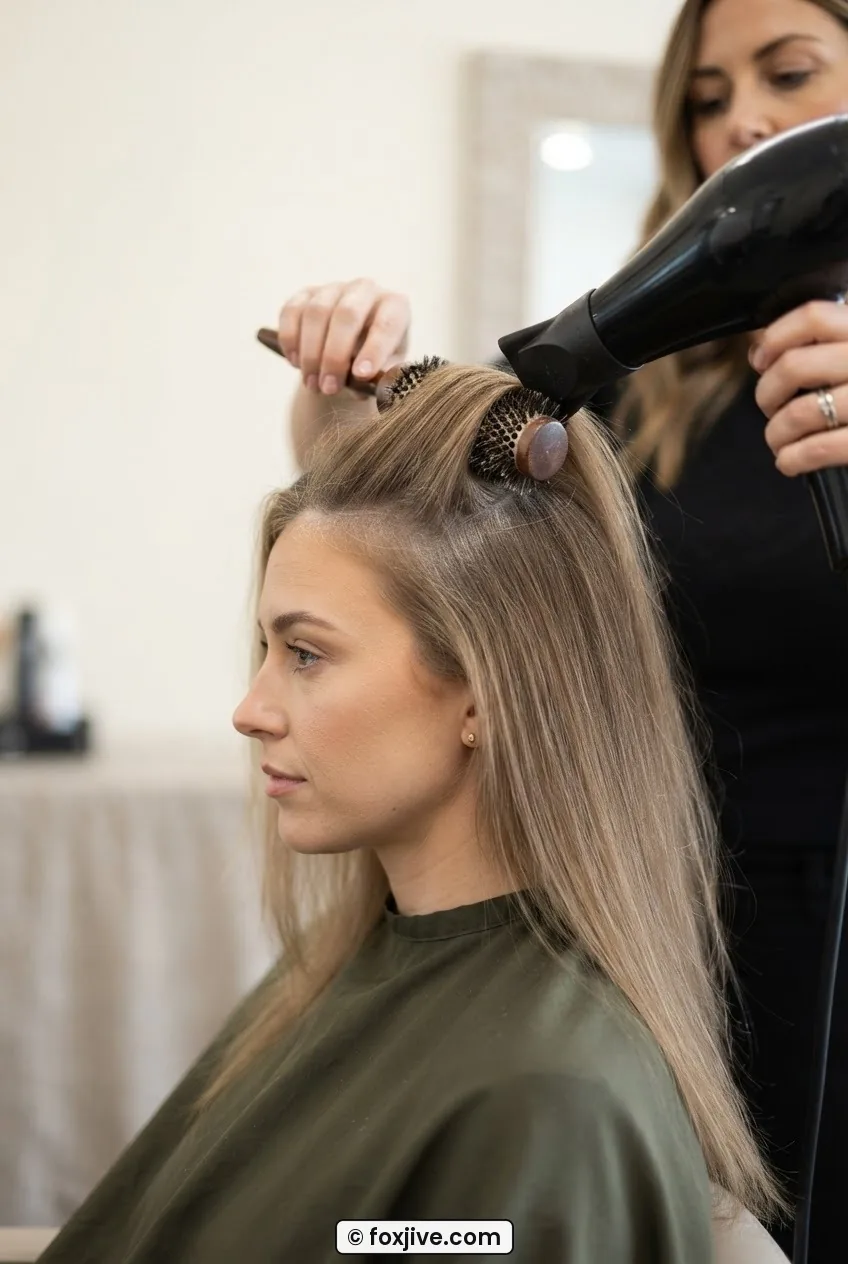
Take the round brush and work it underneath the root area, lifting upward and slightly back as you dry. The concentrator nozzle points toward the roots, not down the shaft. You’re directing volume into the crown. Move through the section in two or three passes — whatever keeps the sections manageable — always lifting from the root before smoothing through to the mid-length.
When you reach the ends of the top section, repeat the outward flick technique from Step 4. Same brush rotation, same five-second hold, same cool shot. The flick on the top layer should match the flick on the lower layers — they’ll blend into one consistent movement around the face and at the ends.
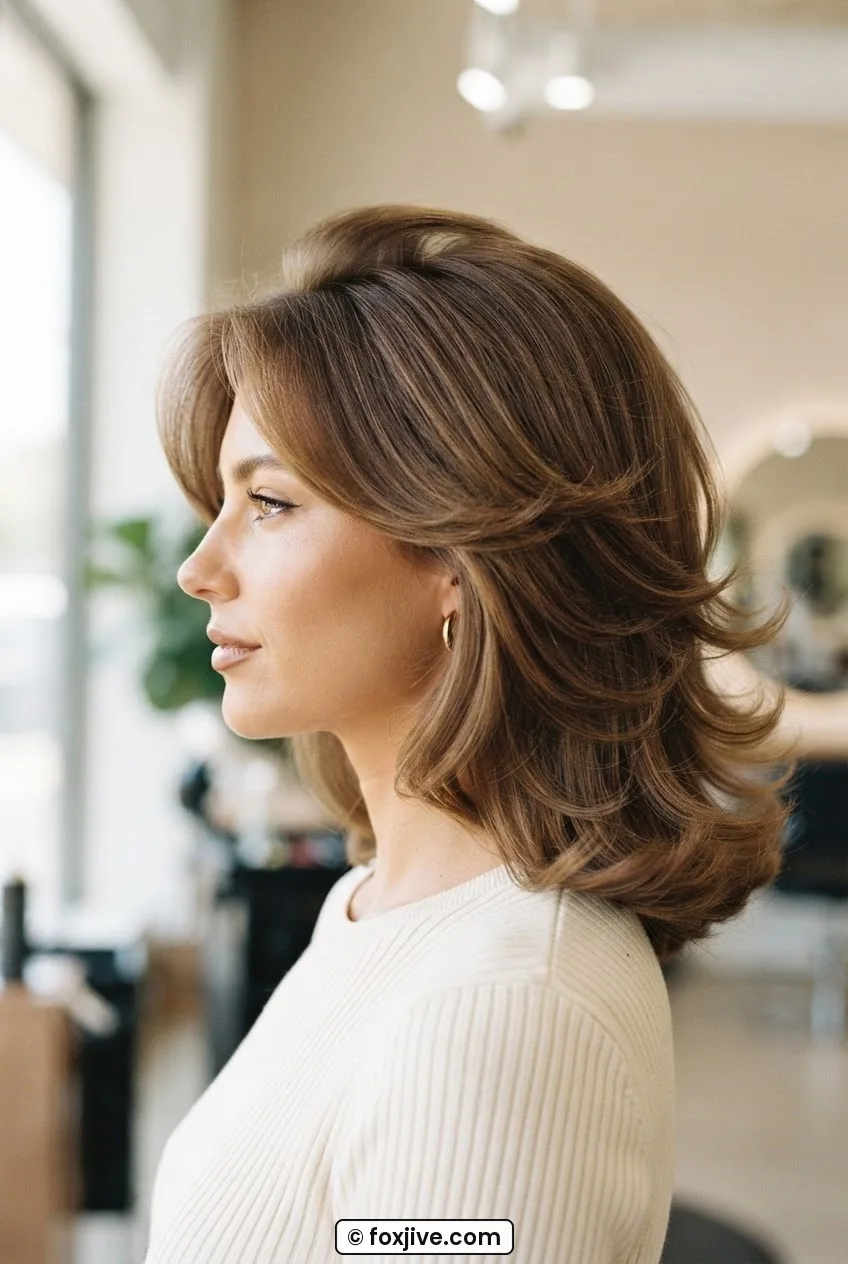
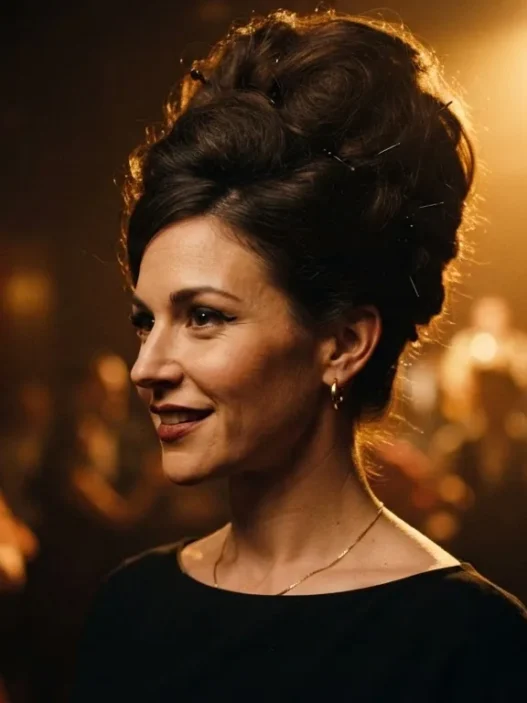
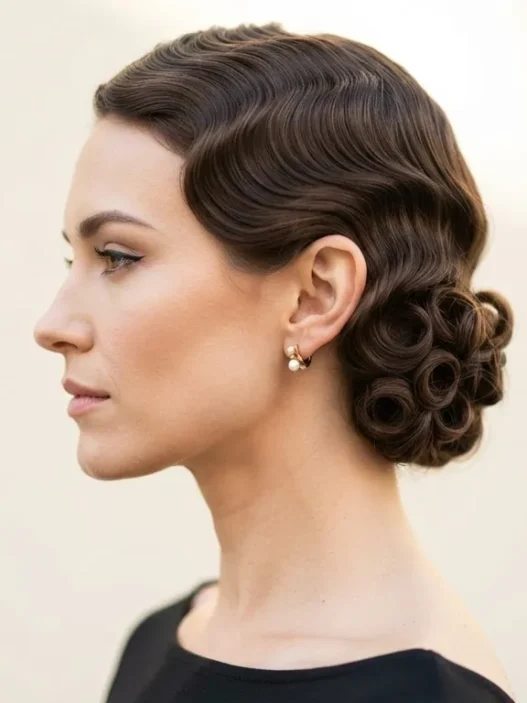
The technique of building volume with a round brush and then smoothing a cover layer over it is something you’ll also recognise in victory rolls — that same principle of hidden structure under a smooth shell. Different era, identical logic.
Step 7: The Finish That Holds Without Helmet Hair
Almost there. Rub a pea-sized amount of light serum between your palms until it’s nearly invisible, then run your hands lightly over the surface of the style. Not through it — over it. This is what separates a smooth, natural-looking finish from one that looks like you tried too hard. It calms any last frizz and gives the hair a slight sheen that reads as healthy rather than product-heavy.
Then the hairspray. Hold the can 30cm away from your head — further than you think — and give two short bursts at the crown for hold, and one burst aimed at the ends to lock the flick. That’s it. If you feel the urge to do more, walk away from the can. The flexible-hold formula will set over the next two minutes without you touching it.
Total pin count used: four. Total time from damp hair: around seven to eight minutes for shoulder-length hair. The round brush blowout technique matters more than any product here — get that right and everything else is maintenance.
What to Do When Your Hair Is Flat
Flat hair and the Rachel haircut have a complicated relationship. The cut itself — with its chunky face-framing layers — actually helps, because those shorter pieces around the face create the illusion of volume even when the overall texture is fine. But if your hair is genuinely flat and fine, there are a few things that actually help rather than just temporarily bluffing it.
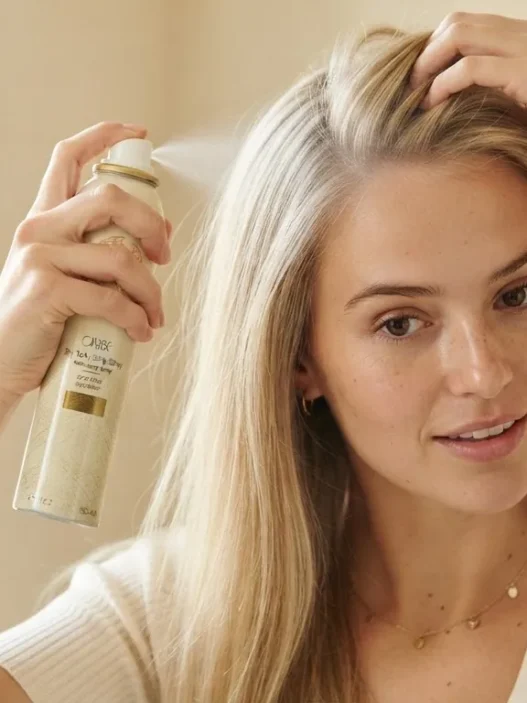
First: dry shampoo at the roots before you even start. I know that sounds counterintuitive when your hair is damp, but a light press of dry shampoo into the root area before the mousse creates texture that the heat can grip. Second: increase your top section size even more than I described in Step 2. Fine hair needs a larger volume section because individual strands contribute less lift. Third — and this is the one most people overlook — make sure your round brush barrel is the right size for your hair length. Fine, flat hair actually benefits from a slightly smaller barrel (32mm rather than 44mm) because it creates a tighter set that holds longer.
The volume techniques for fine hair are worth reading if you’re working with particularly stubborn flatness — there are a couple of root-lifting angles in there that I’ve adapted for this exact style.
One more thing for flat hair specifically: don’t touch the crown while it cools. Every time you run your fingers through freshly dried hair, you’re releasing the set. Leave the top section completely alone for at least three minutes after you finish Step 6. Go do something else. The patience is genuinely part of the method.
If you want to go deeper into what makes the 90s version of this style different from the longer or shorter adaptations that are circulating in 2026, the 90s hair history covers the decade’s defining shapes really well and puts the Rachel in context alongside everything else that was happening stylistically.
And if you love the idea of structured vintage volume but want to explore other techniques from the same era, the 9 victory roll ideas ranked by how long they take is honestly one of my favourite posts on this site — some of those time estimates will surprise you.
Questions I Get About This
Does this work on the longer version of the Rachel, past the shoulders?
Yes, with one adjustment: increase the number of sections in Steps 3 and 4. Longer hair means more panels to dry, and rushing that foundational dry creates frizz that the cover layer can’t hide. Budget an extra two to three minutes and keep your section sizes small — one-inch horizontal slices all the way through.
Can I do this without a round brush and just use a flat iron for the flick?
Technically yes, but it won’t look the same. A flat iron creates a sharper, more defined flick that reads as modern rather than 90s. The round brush technique gives you that soft, flowing outward movement that’s characteristic of the original style. If a flat iron is all you have, use it — but expect a slightly different result than what’s shown here.
How long will the flick actually hold?
With the cool shot step done properly and a flexible-hold spray at the end, I get six to eight hours before the ends start to relax noticeably. Humidity is the main enemy — if you’re in a very humid environment, a light anti-humidity spray over the finished style adds another couple of hours. Touching the ends throughout the day is the second biggest enemy, so hands off.
Does the Rachel haircut work on short hair?
The shorter version is genuinely underrated. If your hair sits at chin length or just below, the face-framing layers and outward flick actually read more dramatically because there’s less overall length pulling the style down. The sectioning process is identical — just reduce the size of the bottom panels proportionally.
Do I need the actual Rachel cut to get this result, or can I style any layered cut this way?
You need layers — specifically face-framing ones — to get the characteristic shape. Without them, the ends will flick but there won’t be that graduated, multi-length movement around the face that defines the look. If you have a one-length cut, this technique will still give you a nice blowout, just not technically the Rachel. If you’re thinking about the cut itself, bring a reference photo and ask your stylist about face-framing layer cuts to make sure you’re on the same page.
My result, for the record: the first time I followed this exact sequence — larger top section than felt natural, proper cool shot, four pins, hands-off cooling time — the flick held from 8am until I went to bed. I didn’t touch the spray can more than twice. The style finally looked like the reference photos I’d been chasing for years rather than a vague approximation of them. If you’ve been frustrated with this one, the section size in Step 2 is almost certainly where the problem starts. Change that first.