









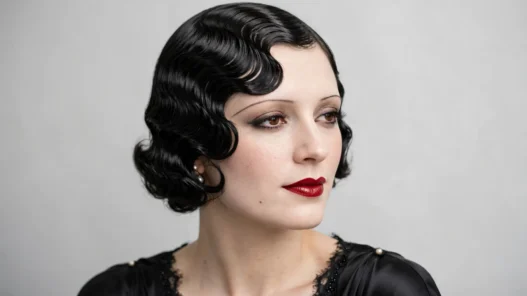
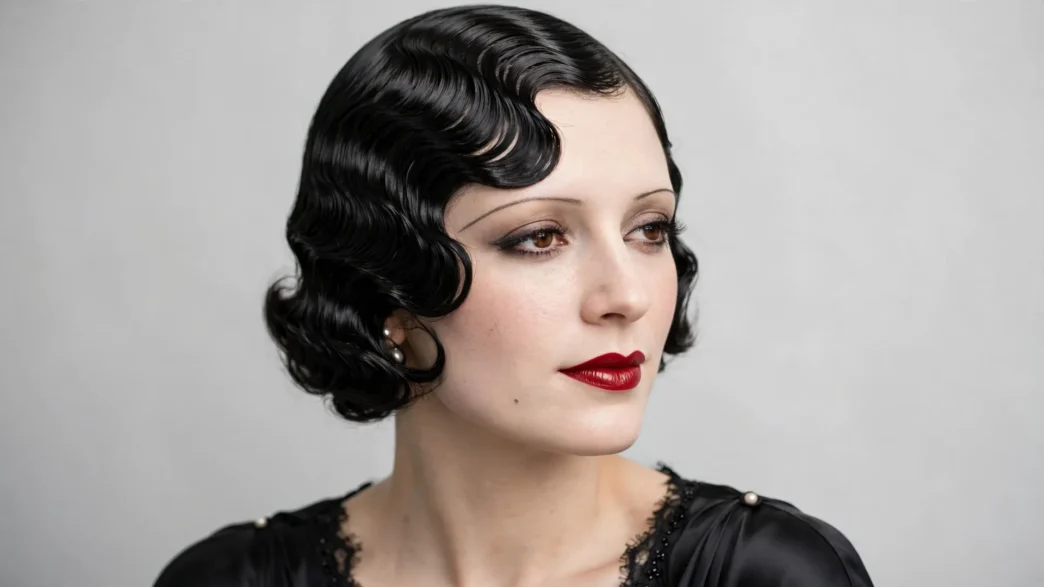
My hair does not want to do finger waves. It is thick at the back, slippery at the front, and it dries in about four minutes flat if I leave the window open. I wanted that smooth 1920s finish for a themed wedding, not a wavy-curly compromise.
I tried this three times before it clicked. What finally worked was treating finger waves as a comb-and-water technique with no heat anywhere, just wet hair, firm fingers, and patience. Once I stopped fighting the drying time, the ridges actually stayed.
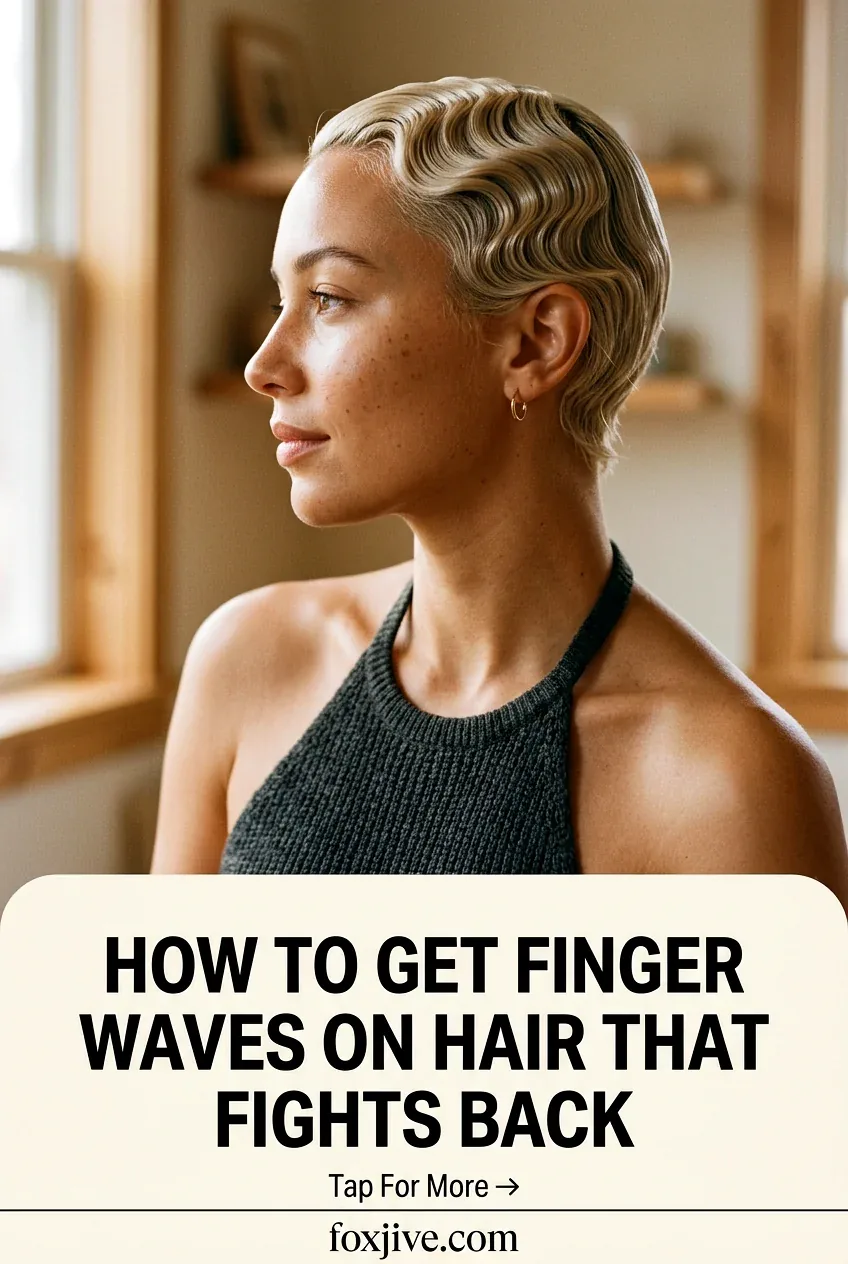
What You’ll Need
I keep my kit small because wet hands and clutter do not mix. You do not need a salon trolley for this, just a few well-chosen things within arm reach of your bathroom mirror. I lay everything on a dry towel to my right so my left hand stays free to hold ridges.
- A fine-tooth tail comb, the long skinny kind with close teeth, not a wide detangling comb
- A strong-hold setting lotion, I use Lottabody diluted half-and-half with water in a spray bottle for a flexible but firm hold
- A continuous-mist spray bottle filled with clean water for re-wetting
- Double-pronged wave clips or long duckbill clips, at least 8, the flat ones that do not dent
- A soft boar-bristle brush for smoothing the surface only
- A silk scarf or wave cap for drying, plus a hooded dryer or diffuser on cool if you are short on time
- Small butterfly clips for pinning the back out of the way while you work the sides
Skip mousse for your first try. I love mousse for old Hollywood waves because it gives that soft bounce, but for true sculpted finger waves it gets foamy and lifts the ridge. Setting lotion grabs damp hair and then goes hard like hairspray, which is exactly what you want here. If your hair is super fine, you can read up on setting lotions for fine hair before you dilute yours, because strength really matters.
Step 1: Wetting Down
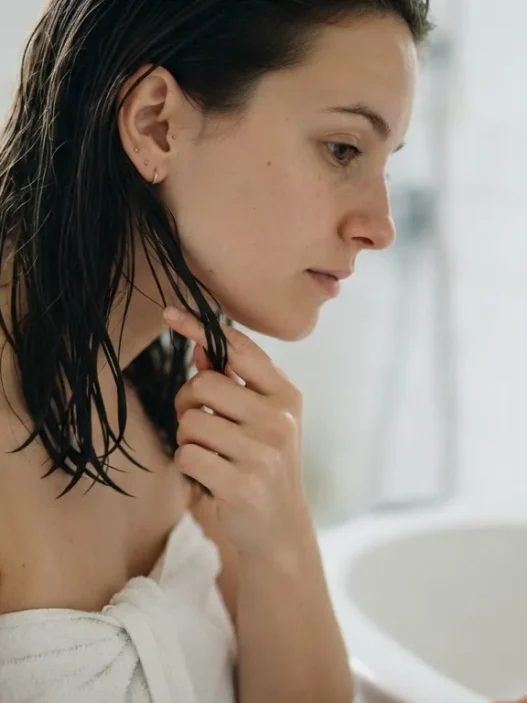
This whole style lives or dies on how wet you start. I need my hair dripping-but-not-pouring wet, like a wrung-out sponge. If I squeeze a section and water runs down my wrist, that is perfect. If it just feels cool and slightly damp, it is already too dry and the comb will drag.
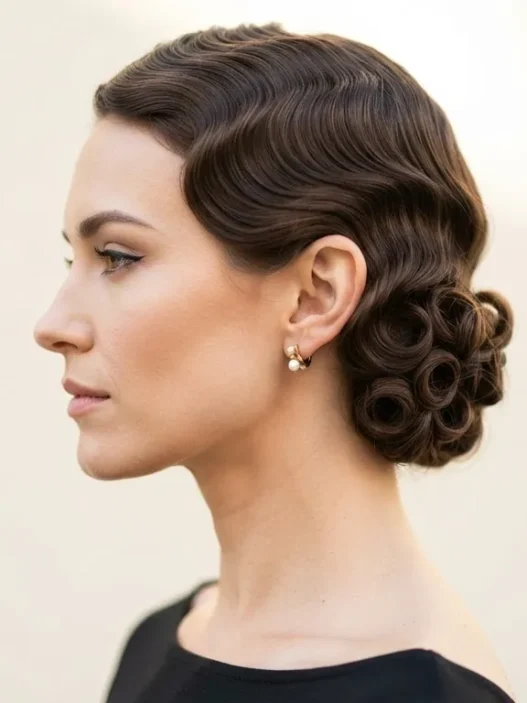
I start with clean hair, no conditioner on the roots and no oil anywhere. Then I mist all over, brush straight back, and create a deep side part on my left. My hair is chin-length on one side and longer in back, so I clip the back away and work one side at a time. Look at how she is wearing hers in this first photo, that low side part with everything combed flat to the head? That snug-to-the-scalp base is what I mean, no volume at the roots at all.
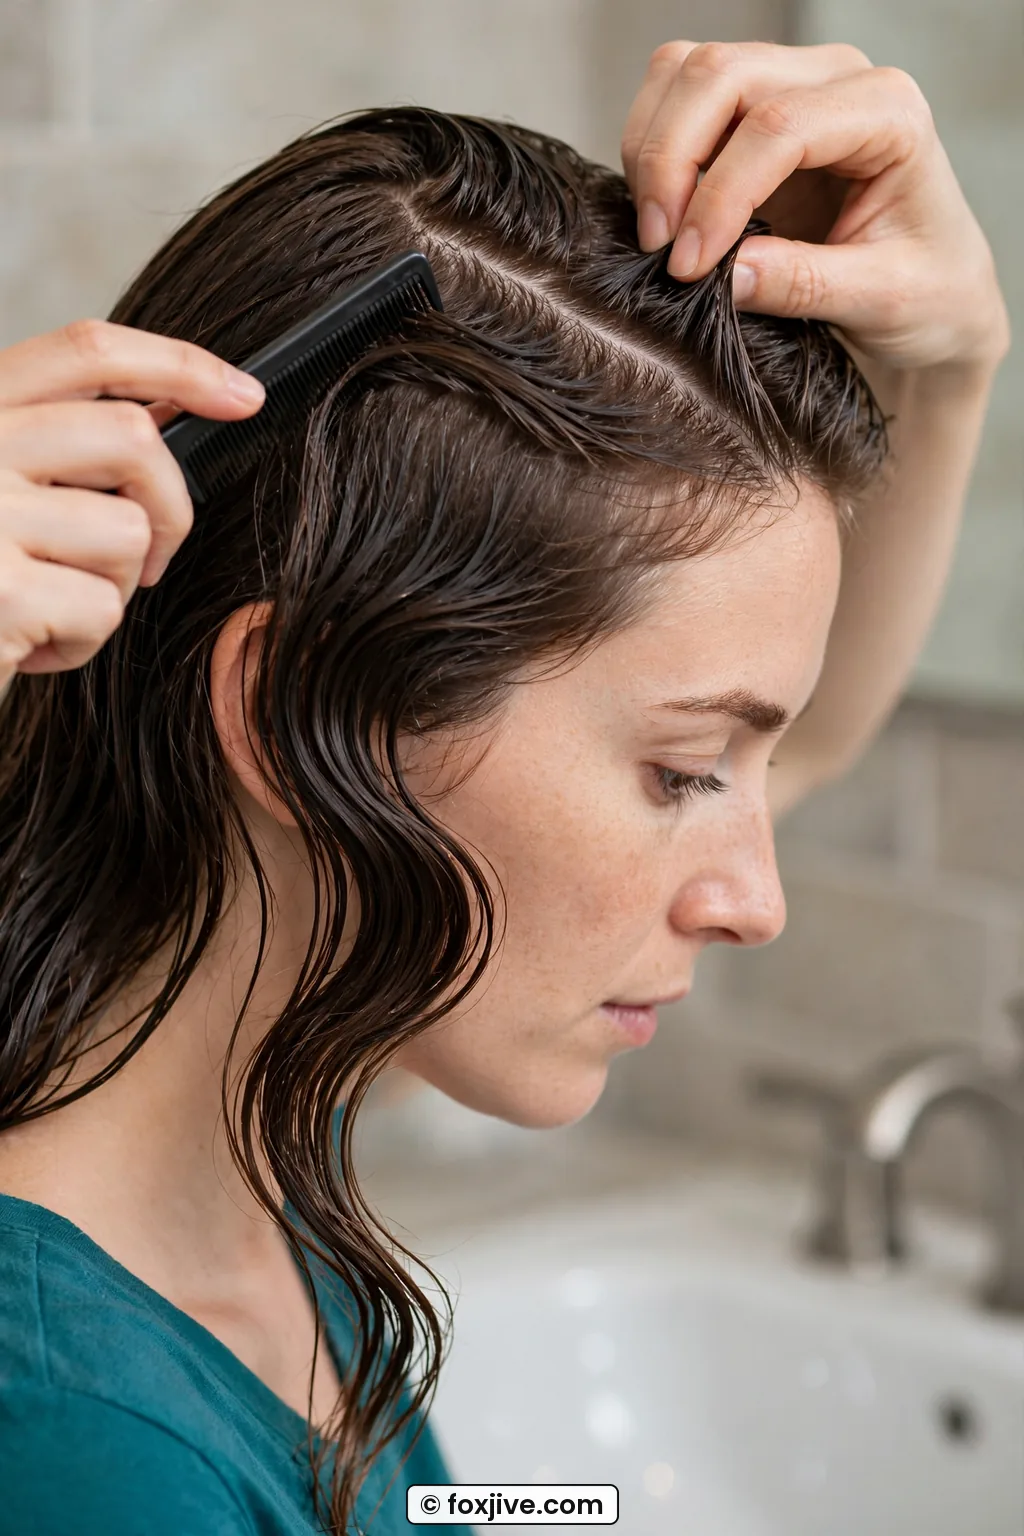
Once the part is in, I spray my diluted setting lotion generously from roots to ends on the working side. I mean generous. The hair should look shiny and feel slippery between my fingers, almost seaweed-like. I comb it straight down over my ear, then re-mist the top two inches because the crown dries first while you fiddle. This is not the time to be sparing. A light mist gives you a light wave that falls out by lunch.
Do you need sopping hair if yours is very porous? Yes, even more so. My friend with bleached ends thought her hair was wet enough and it puffed up halfway through. High-porosity hair drinks water fast, so keep that spray bottle in your non-comb hand the entire time. I spritz every 60 seconds or so while I am learning a section.
Step 2: Pushing the First Ridge
Here is where your hands finally make sense. I place my left middle and index fingers flat against my head, right next to the part, fingers pointing down toward my ear. I press firmly to hold the hair still. With my right hand I slide the fine-tooth comb just below my fingers and push the hair forward, toward my face, about half an inch.
That little push makes the hair buckle up between my fingers and the comb. That buckle is the ridge. It feels weird the first time, like you are making a mistake, but that raised bump is the whole point. I hold it with my left fingers while I keep the comb where it is. The section is held flat to the head, not lifted and not rounded. The comb stays parallel to my part, not tipped up on its edge.
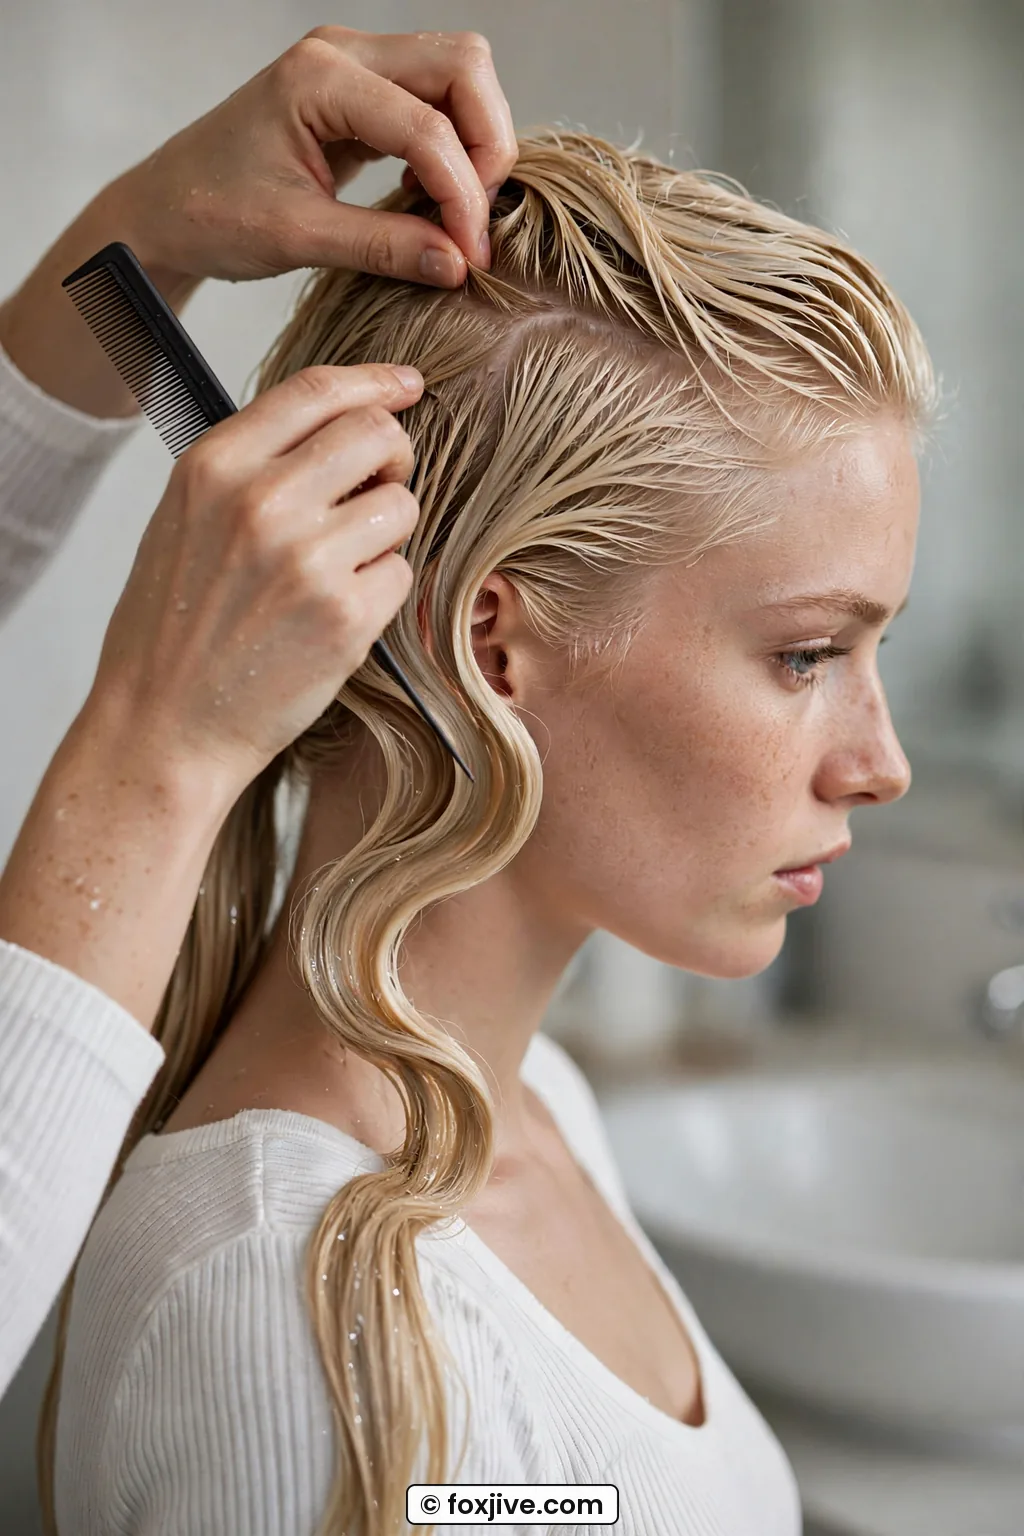
She is doing exactly what I am describing here, see how her fingers pinch that first raised ridge while the comb pushes the trough in below it? The S-curve is just starting to form and her fingers are doing most of the holding work. I keep staring at that photo because her finger pressure is so clean, no buckling nails, no loose hairs sticking up.
I place a wave clip right over that ridge while I am still holding it. One prong above, one below, straddling the bump. Do not drag the clip on. Open it, hover, and drop it straight down. I learned that dragging smears all your careful pushing. Clip from the part outward, two clips for a long side, one for a short side. You can also learn from how wave clips for sculpted hair sit flat without denting, since placement changes everything.
Step 3: Where the Comb Sits
This confused me for a week. The comb does not sit on the ridge. It sits in the valley below it. After I push the first ridge up, I keep my left fingers glued on top of that ridge to lock it. Then I move the comb down about an inch and comb everything below the ridge backward, toward my ear and nape, smooth and flat.
So the pattern is simple: fingers hold the high spot, comb creates the low spot. Push forward for the ridge, pull backward for the trough. Forward, backward, forward, backward. The direction of each push alternates, and that back-and-forth is what draws the S on the side of your head. If both pushes go the same way you just get combed-over hair, not waves.
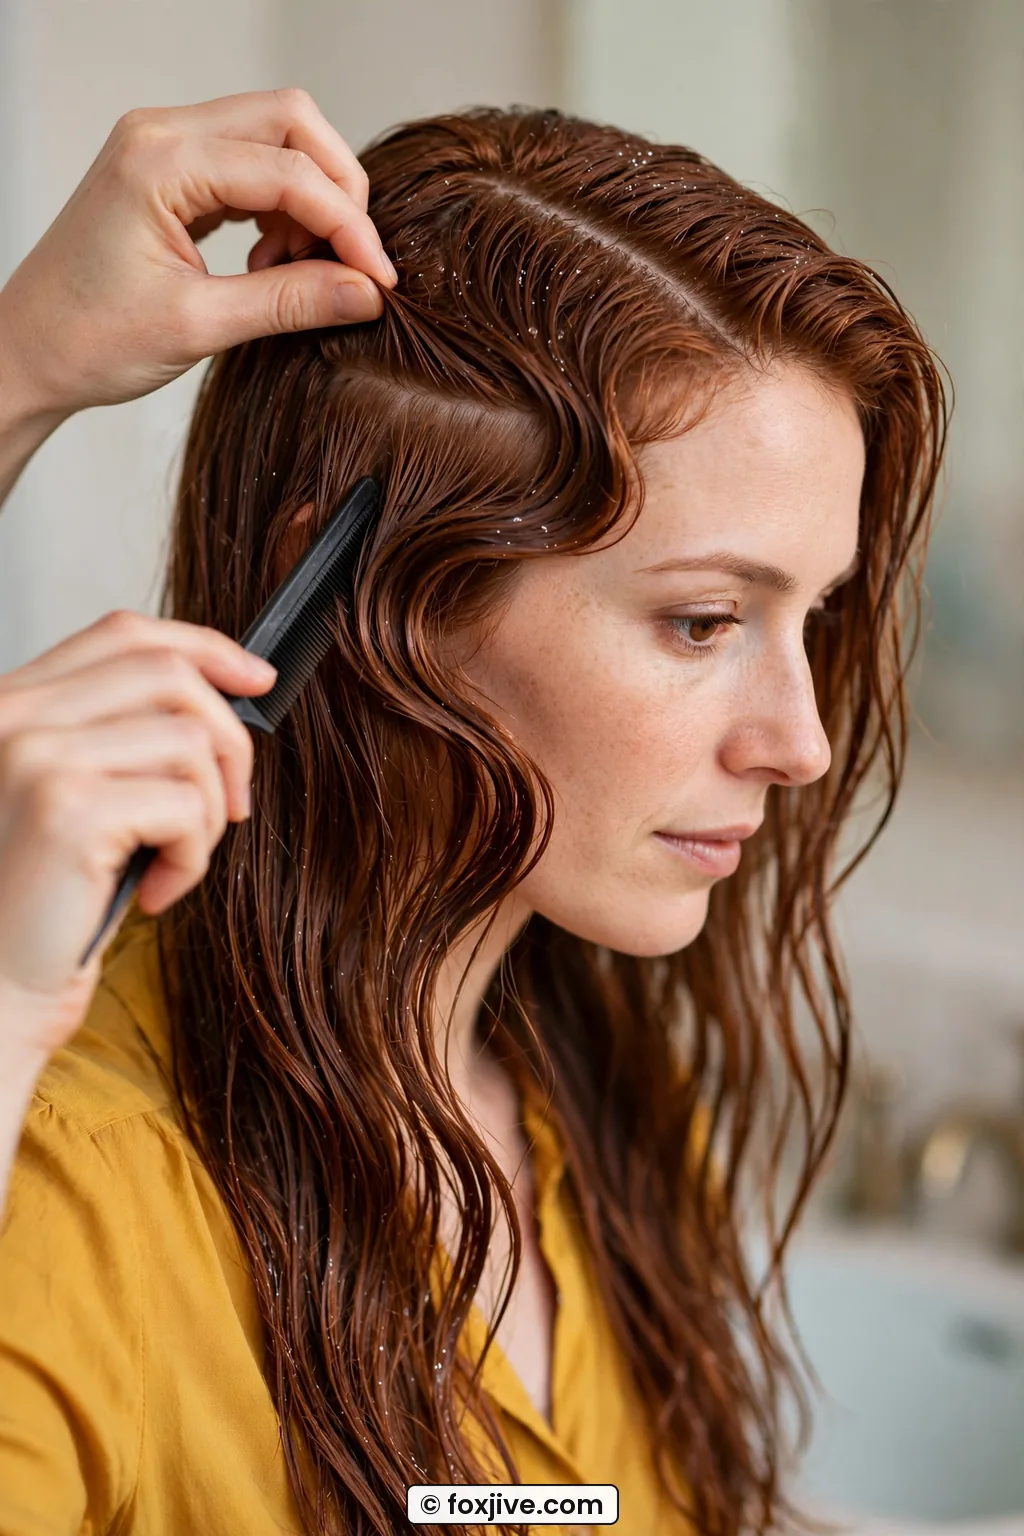
This close view shows what I mean about the comb placement. See how the teeth are tucked right under the ridge in that scooped-out channel? The hair above looks raised and shiny with lotion, the hair below looks painted flat. That contrast is your check. If you cannot see a shadow line, you did not push far enough.
I keep the hair almost painfully wet through this stage. If the comb starts making a scratchy sound, stop and mist. Dry combing on a wet set creates frizz that no amount of lotion will glue down later. I also wipe my comb teeth clean every few passes. Lotion builds up and then skips, and a skipped trough is a wobbly wave.
My big mistake was using a rattail comb upside down and digging with the tail to carve the wave. It left a sharp dent and broke the ridge in half. Use the teeth only, keep them flat, and let your fingers do the pinching.
Step 4: Shaping the Second Wave
Now you repeat, but mirrored. My left fingers move down and clamp right below the first trough, holding that backward-smoothed hair tight. With the comb below my fingers, I push everything forward again, toward the face. A second ridge pops up, parallel to the first, about an inch below it.
This second one is harder because you are working on slightly drier hair and you are scared to mess up the first one. I rest my left pinky lightly on the first clip to remind myself not to bump it. Push slowly. The hair wants to stick to the comb and travel with it, so use short, inch-wide pushes working from the part line back toward the ear, not one long yank.
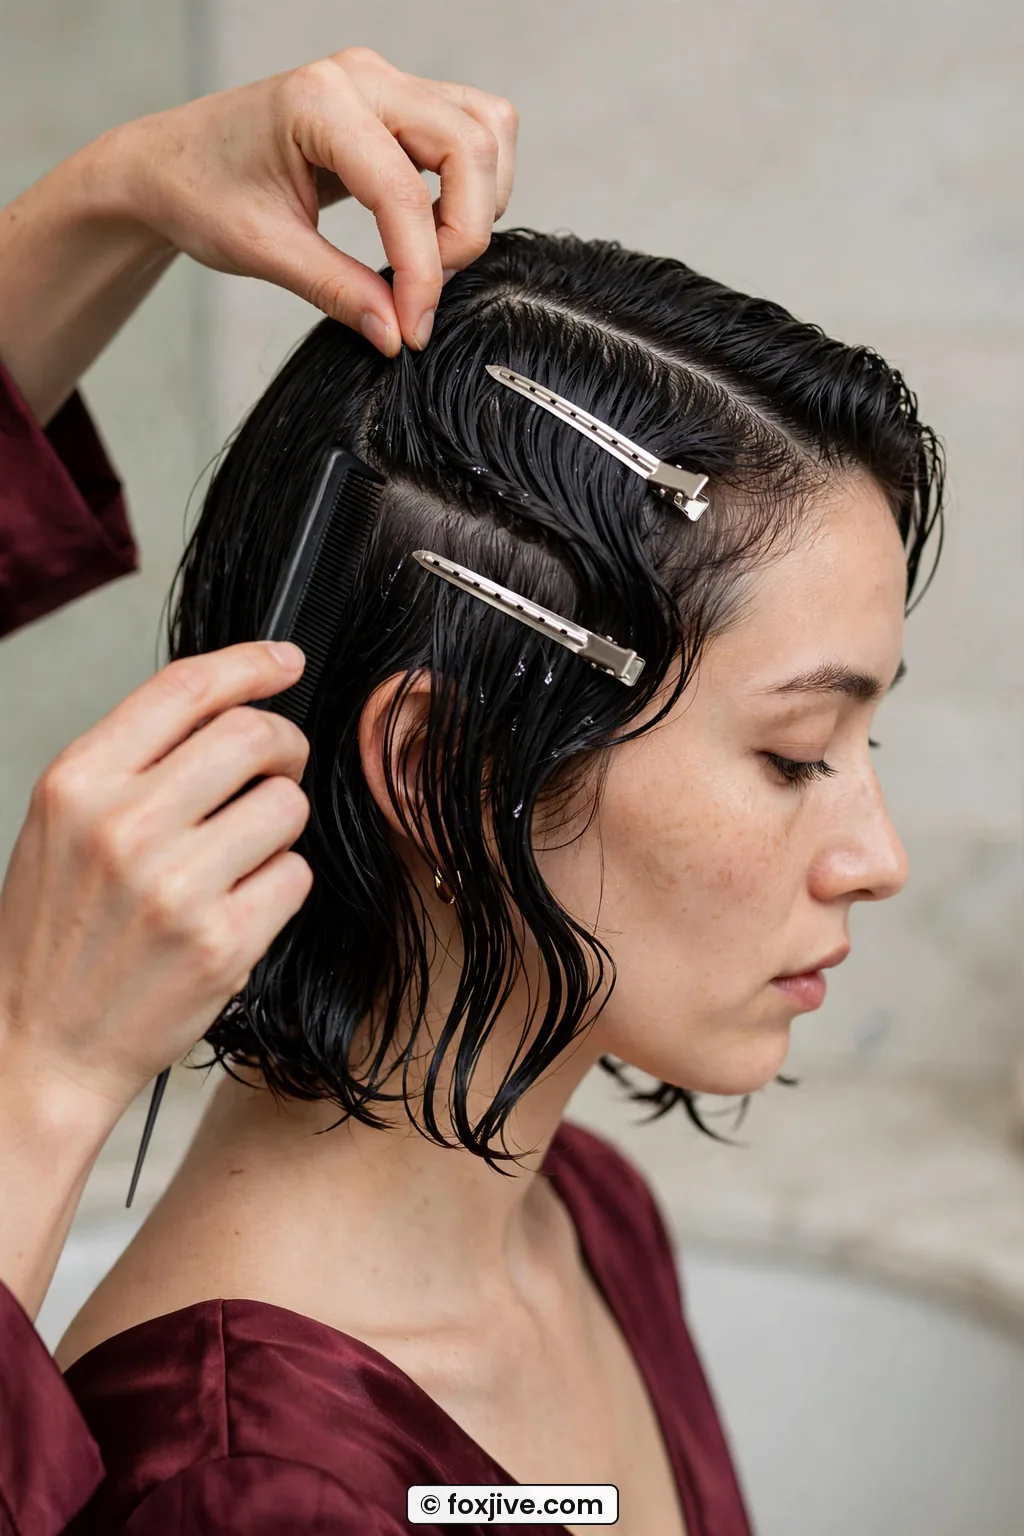
She has a similar hair length to mine on this side, and honestly her second wave is cleaner than my tenth attempt was. Notice how both ridges run straight back from her face in parallel lines? Mine used to swoop down like a smile. The fix was keeping my fingers horizontal the whole time. The second I tilt my fingers, the wave tilts too.
Clip the second ridge immediately, same straddle method. Then comb the hair below it backward again to form the second trough. On chin-length hair you might only get two full waves per side, and that is completely authentic. Longer hair can get three. Do not stretch for a third if the ends are drying out. A crisp two-wave finish beats a fuzzy three-wave mess every time. This is where pin curls can help at the ends if you want a little curl to finish, I often do that on longer back sections.
And check your lotion level. If the ridges look dull instead of glossy, add more diluted lotion with your fingertips and smooth, do not spray water alone. Water without product just speeds up drying. You need that slick, almost gel-like coating to mold the S-shape.
See the Second Ridge Form Live
Step 5: Working Around the Head
One side done, now the other side has to match. I re-wet the second side completely, reapply lotion, and repeat the same forward push for ridge one and backward smoothing for trough one. The trick is mirroring the direction, not copying it. Both sides still push toward the face first, so stand in the mirror and think face-ward, then ear-ward.
For the back, I have two choices depending on length. On my bob I just continue the side waves straight back and let them melt into the nape. On longer hair I sculpt two waves down to the ear and then brush the rest into a low roll or tuck. A full 360-degree wave around the whole head is gorgeous but brutal to do on yourself. I did it once and my arms ached for a day.
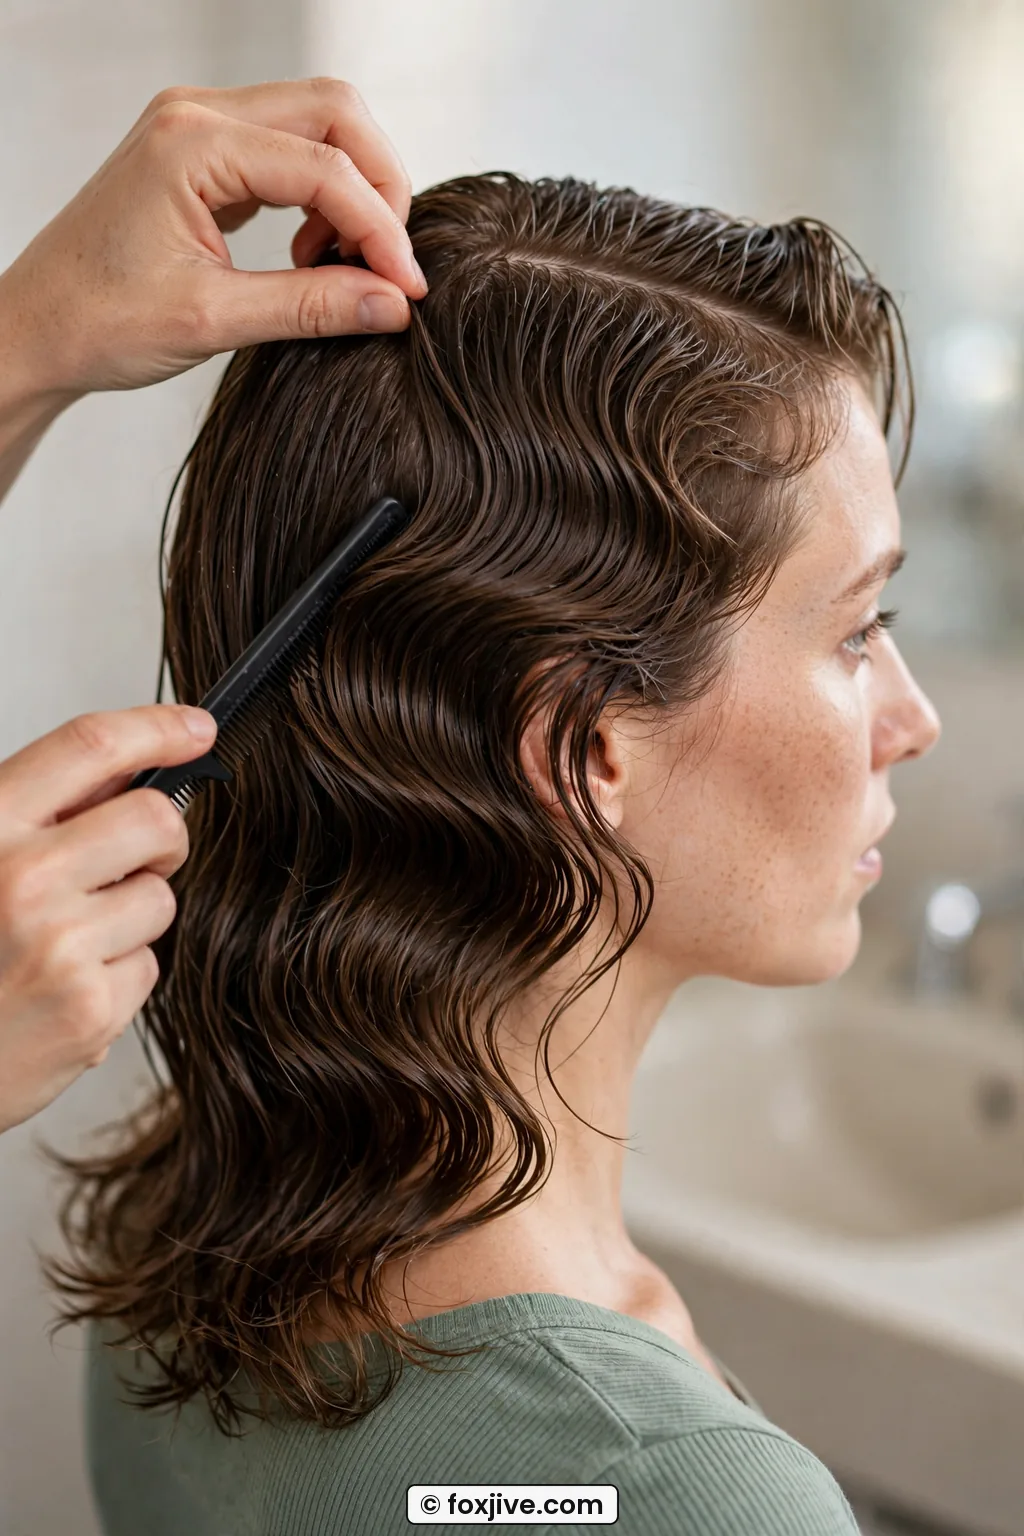
This back view is the length I am talking about. See how her waves flow into that smooth tucked nape with no harsh line? That is exactly how I finish mine when I do not have time for a full back set. It keeps the vintage mood without requiring eyes in the back of your head. If you want more drama back there, vintage updos pair beautifully with a waved front.
Keep checking symmetry in two mirrors. My right side always wants to sit higher because I am right-handed and push harder. I count comb teeth or use the ear as a landmark, first ridge starts at mid-ear height on both sides. And re-clip anything that lifts. Gravity is rude to wet ridges. If you love sculpted sides but want heat styling for the back, my guide to Old Hollywood Hair: How to Get Waves With a Curling Iron is my go-to hybrid, though pure finger waves need no heat at all.
I also smooth flyaways now, not later. I dip the corner of my comb in setting lotion and paint down any frizzy bits along the part. Once this dries, what you see is what you get. There is no flat-iron touch-up without ruining the whole wet-set magic. People who also like structured texture sometimes play with crimped hair on other days, but that is a totally different animal with heat and volume.
Step 6: Drying and the Long Wait
Here is the unsexy truth no one posts about: you have to wait. My chin-length set takes 2 to 3 hours to air-dry completely, longer hair can take 4 to 5 hours. If the hair feels cool to the touch, it is still damp inside, even if the ridges look dry. Taking clips out early is how you get sad, soft ripples instead of sharp ridges.
I tie a silk scarf gently over the clipped waves to hold everything snug, then sit under a hooded dryer on low warm heat for 25 to 35 minutes if I am in a hurry. Or I diffuse on cool for 15 minutes and then air-dry the rest. You can learn more about drying sculpted waves safely before you pick a method, because too much heat softens lotion. Never use a hot flat iron or curling wand to speed this up. Heat melts the ridge you just built.
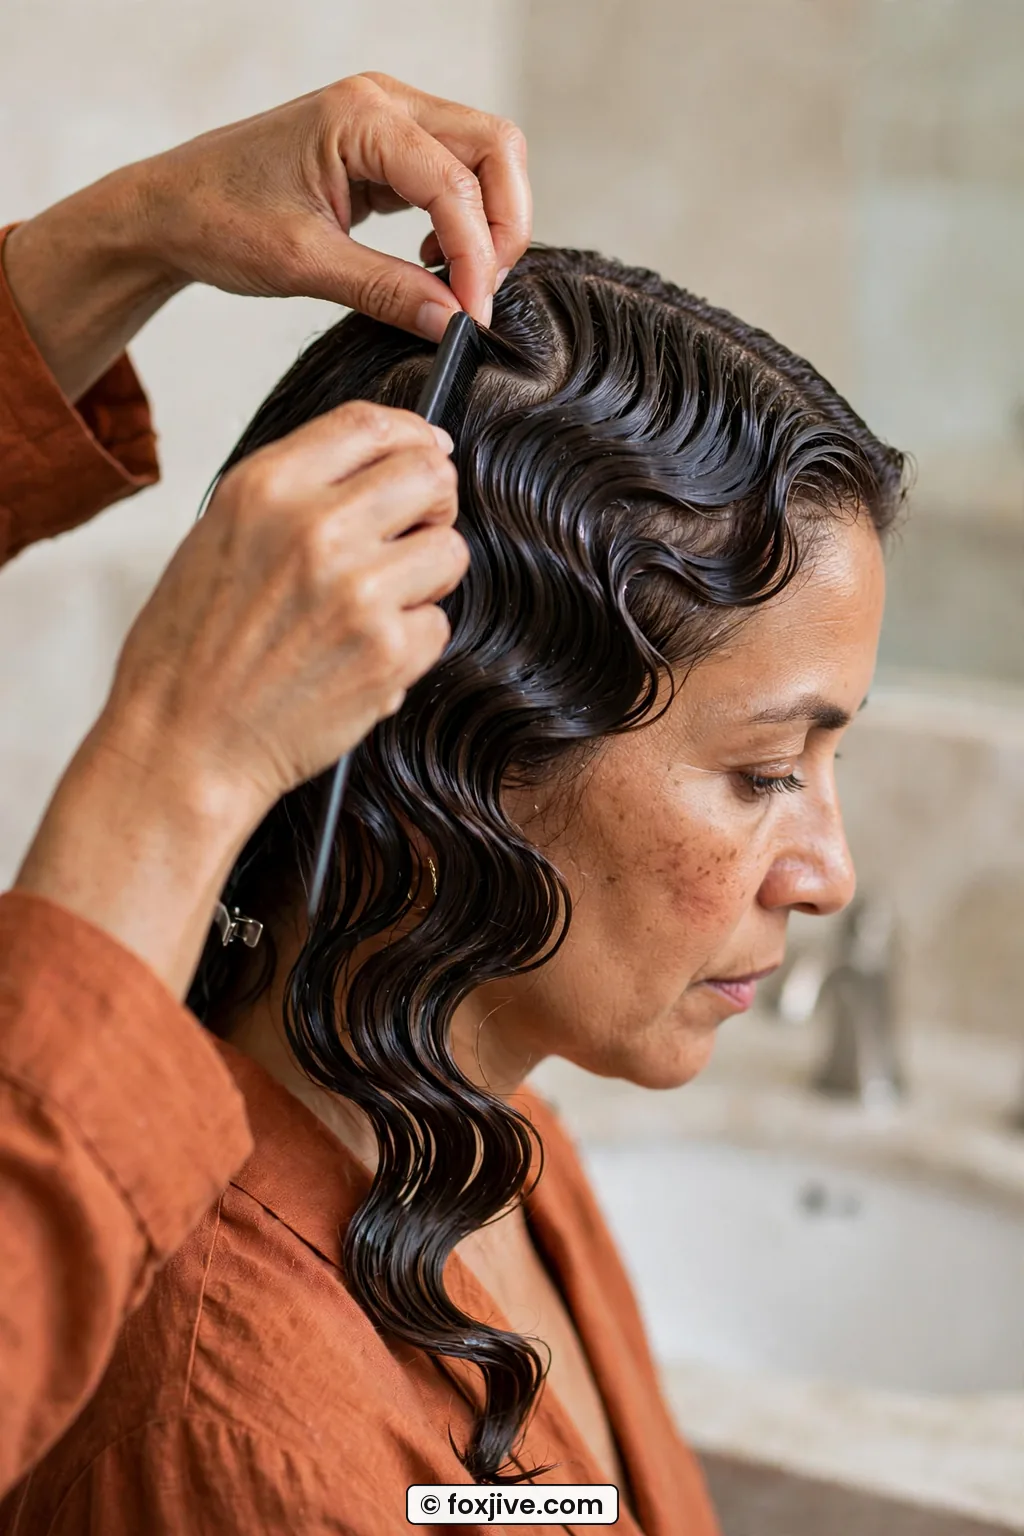
Look at her finish here, those glassy, well-defined ridges with clips just coming out? That high-shine, almost lacquered surface is what dry setting lotion looks like when it is fully set. I love how the light catches each crest. Mine looked just like this after my hooded dryer session, hard to the touch and a little scary before I softened the ends.
Remove clips straight up, never slide them out sideways. Then do not brush. I mean it. I gently palm the surface, and if the ends feel crunchy I rub one drop of light serum just on the very tips, never on the ridges. If you need softness, wait 20 minutes. The lotion continues to relax slightly as it cools. Brushing too soon turns crisp finger waves into vintage-ish fluff.
The Ridge That Always Collapses First
Can we talk about that one ridge right in front of the ear? Mine collapses every single time if I rush. It is the second ridge on my right side, the one I make with my non-dominant hand while craning my neck. It looks great wet, then an hour later it is just gone.
Why does it happen? Three reasons I have narrowed down. First, that spot dries fastest because it is thin and near your warm skin. Second, we push softer there because we are afraid of poking our ear with the comb. Third, the hair behind the ear pulls forward when we turn our head, tugging the trough flat. It is a perfect storm of a too-dry base, a too-timid push, and movement.
My fix is boring but it works. I re-wet that zone twice, double-dose the lotion there, push that ridge a little taller than the others, and add an extra clip crossing in an X over the first one. Then I do not touch my head, no phone tucked between ear and shoulder, no pulling sunglasses on and off. I even put that side toward the dryer first.
If it still softens, I do not re-wet the whole head. I mist just that ridge, re-push with fingers and comb, re-clip, and give it another 20 minutes. Spot-fixing blends invisibly because setting lotion reactivates with water. That little rescue has saved me before parties more than once.
Finger Wave Questions From My Chair
Can I do finger waves on very short or layered hair?
Yes, and short hair is actually easier to set because it dries faster. You may only get one deep wave plus a tucked end, which looks adorable. Use smaller clips and a little extra lotion on those short layers to keep ends glued down.
How long do finger waves last once they are dry?
On my hair the sharp ridges last a full day and soften into a pretty vintage wave on day two. I sleep with a silk scarf wrapped flat, not in a bun. Humidity is the enemy, so a light mist of hard-hold hairspray helps in summer.
Can I use gel instead of setting lotion?
You can, but pick a clear, alcohol-free gel and dilute it. Straight gel goes too stiff and flakes when you remove clips. I prefer lotion because it combs through wet hair more smoothly and gives that glossy, touchable-hard finish.
Why do my waves look frizzy instead of glossy?
Usually the hair was not wet enough when you sculpted, or you combed after it started to dry. Next time keep misting until the lotion looks shiny, and do not touch the ridges while drying. A boar-bristle smoothing before you start also helps a lot.
Mine finally held all the way through that wedding, hugs and dance floor included. The ridges stayed sharp in photos and the back stayed smooth under my hair flower. My favorite part? Taking the clips out and seeing those clean S-curves for the first time. It feels like magic every time, even when my arms are tired.