






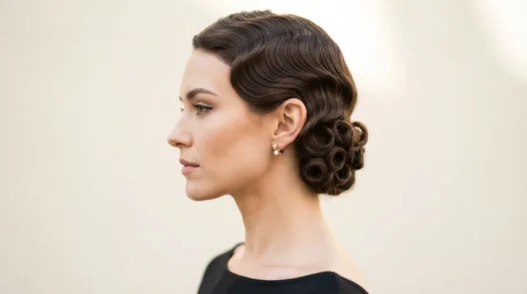
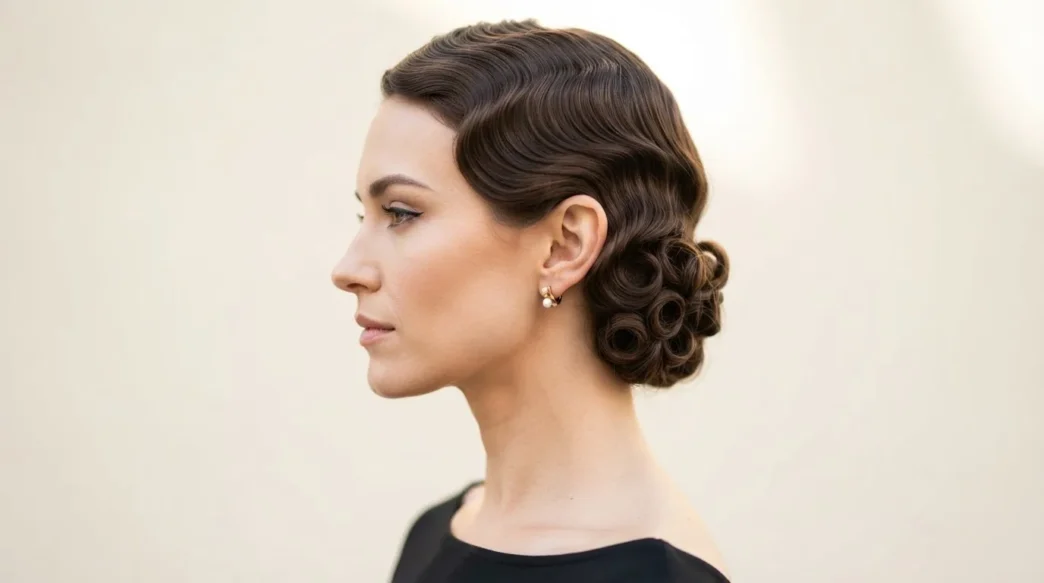
There is a photograph I have on my desk — a studio portrait, probably taken around 1927, of a woman I know nothing about. Her hair is the whole subject. I found it in a bundle of old prints at an estate sale years ago, and I have been studying it ever since. It taught me more about how 1920s finger waves were actually constructed than any tutorial I have ever watched. What I want to do here is walk through what the camera captured and, just as importantly, what it didn’t — because archive images are wildly useful references if you know how to read them, and actively misleading if you don’t.
The Photograph I Keep Returning To
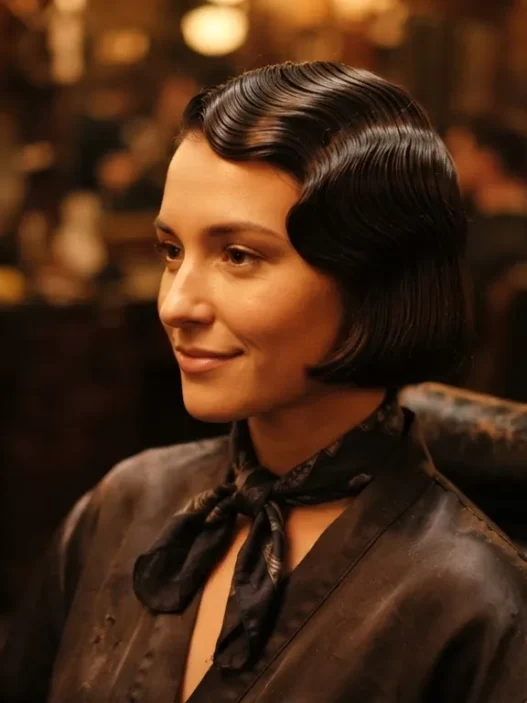
The image is shot from the front-left, slightly above. High-key studio lighting — the kind that was standard for the era — floods from the upper right and eliminates almost all shadow on the face. The hair, a deep chestnut, has been marcelled into two clear rows of horizontal waves that follow the skull from the crown down to just below the ear, where they dissolve into a cluster of flat pin curls laid against the nape. The surface is matte. Entirely matte. There is no shine at all, which tells you something important before you even start analyzing the wave shape.
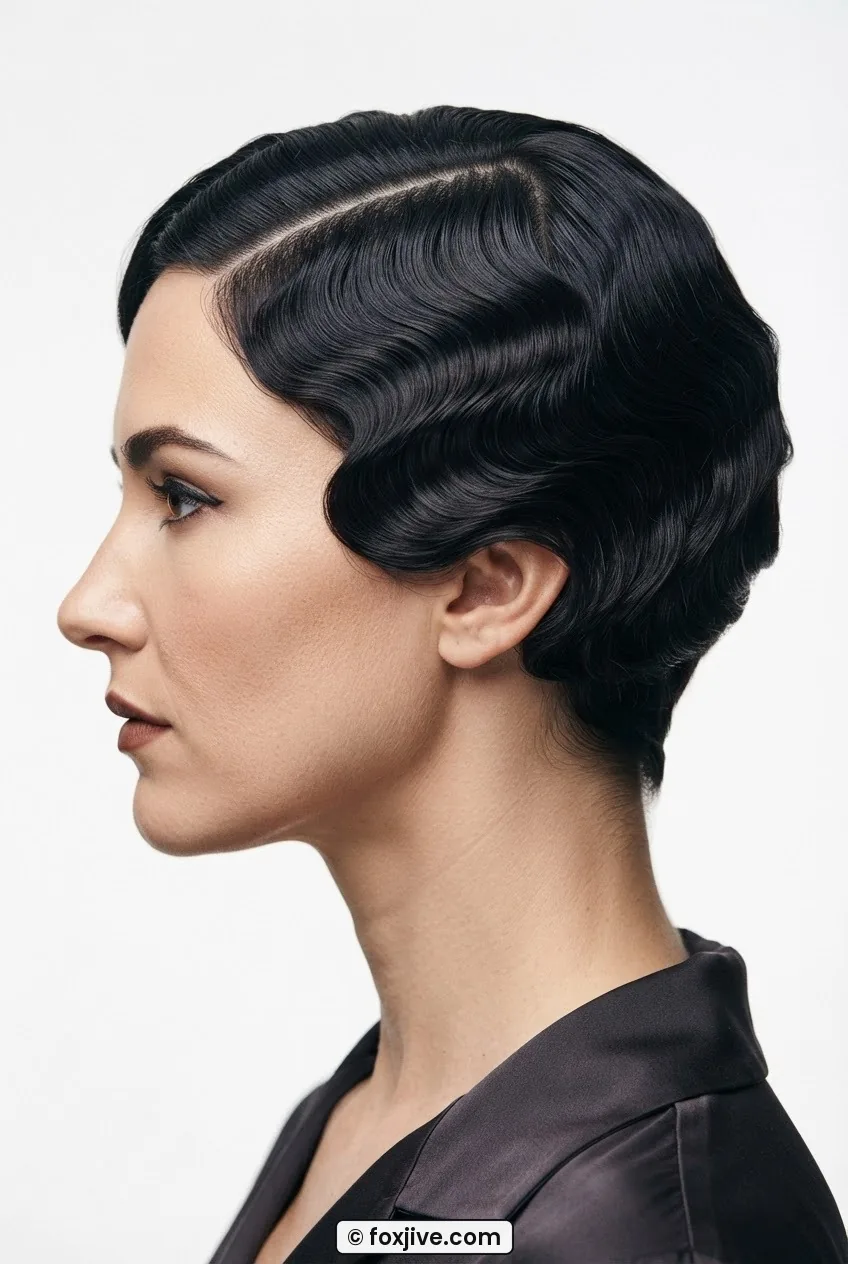
The whole composition is essentially a beauty advertisement for a technique. Whoever set up this shot understood exactly what they were showing. The side part is sharp, the ridges run parallel, and each trough sits at roughly the same depth as the one above it. It looks almost mechanical. It wasn’t. That regularity is the result of remarkable skill and a significant amount of time — which the photograph, in its neat stillness, completely fails to communicate.
This is the photograph I reach for whenever someone asks me what Gatsby hair actually looked like on a real head rather than on an actress with a team of stylists. It is documentation. But documentation is never neutral.
The Parting
The first thing worth reading in any 1920s portrait is the parting. In this photograph it sits far to the left — not in the middle, and not a modern “side part” either. It is extreme. Severe, even. The line is razor-straight and runs from the front hairline back about four inches before the hair is absorbed into the wave pattern, at which point the parting as a visible feature disappears.
That extreme parting was structural. It established the asymmetry that made the wave pattern feel intentional rather than accidental. The hair on the heavy side — the wider section — carried three full wave ridges. The hair on the light side managed only two before it reached the ear. And that imbalance created movement, even in a static image. Your eye travels from the shallow side across to the deeper side and back again. It is a designed path.
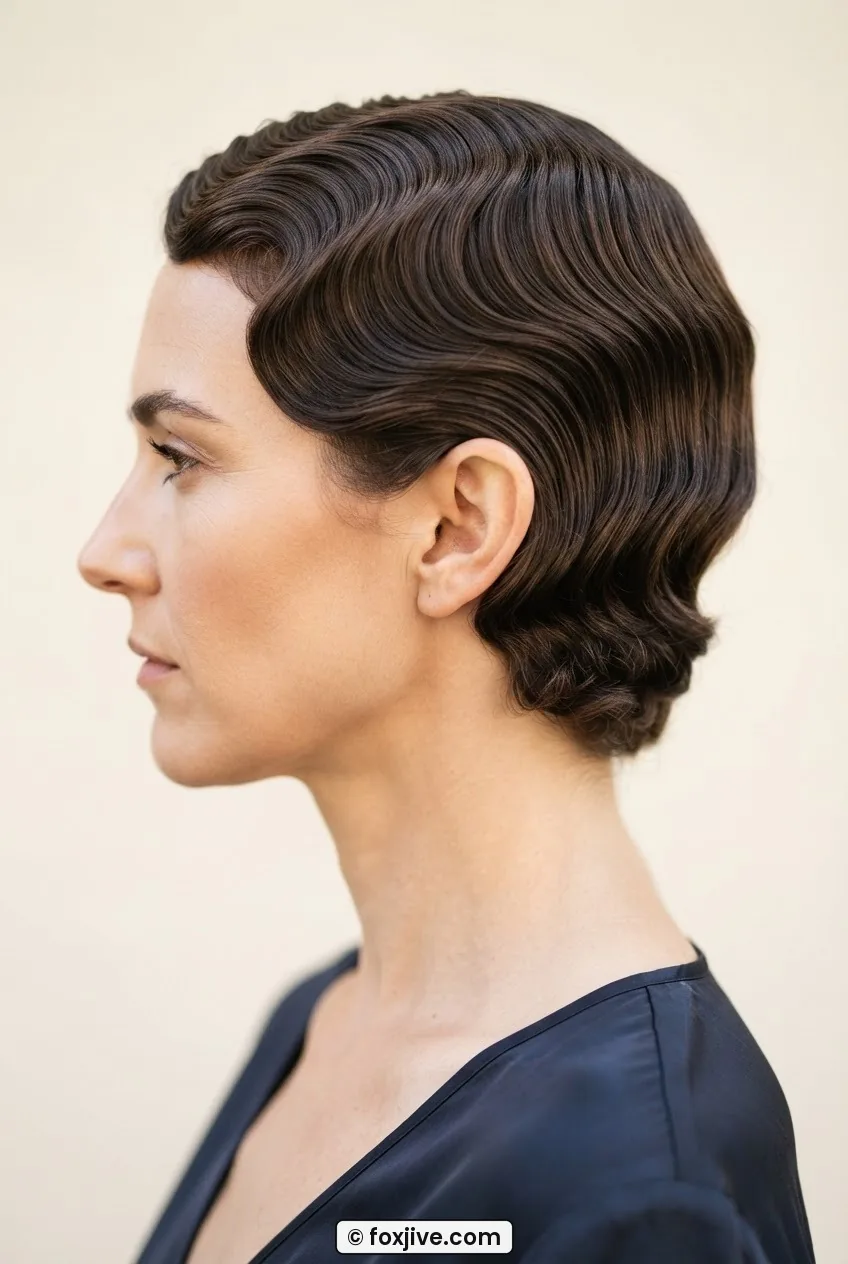
What the photograph cannot tell you is how the parting was achieved. Was it combed wet? Pressed in with heat? Both, almost certainly. The precision parting technique that professionals used in the 1920s involved a rattail comb, water, and pomade — and the part was drawn before a single wave was started. The parting is the foundation. Everything you see in the finished image was organized around that first line.
The Wave Depth
This is the feature that most people try to replicate and most often get wrong, and I say that from painful personal experience. The ridges in the photograph appear shallow. Clean, but shallow. The trough between each ridge is narrow — maybe a centimeter of depth at most. People see this and assume the waves were created with very light pressure. The opposite is almost certainly true.
Shallow finished waves that hold their shape under studio lighting are the result of waves that were set deeply and then partially brushed out. The setting process — whether by finger wave or Marcel iron — created ridges significantly more pronounced than what the camera shows. Brushing compresses and softens them. The final image captures the compressed version, not the set version. When I tried to reproduce this look by setting shallow waves and leaving them shallow, I got a limp, undefined result. It wasn’t until I learned to over-set and then brush back that the surface started to look like the archive portraits.
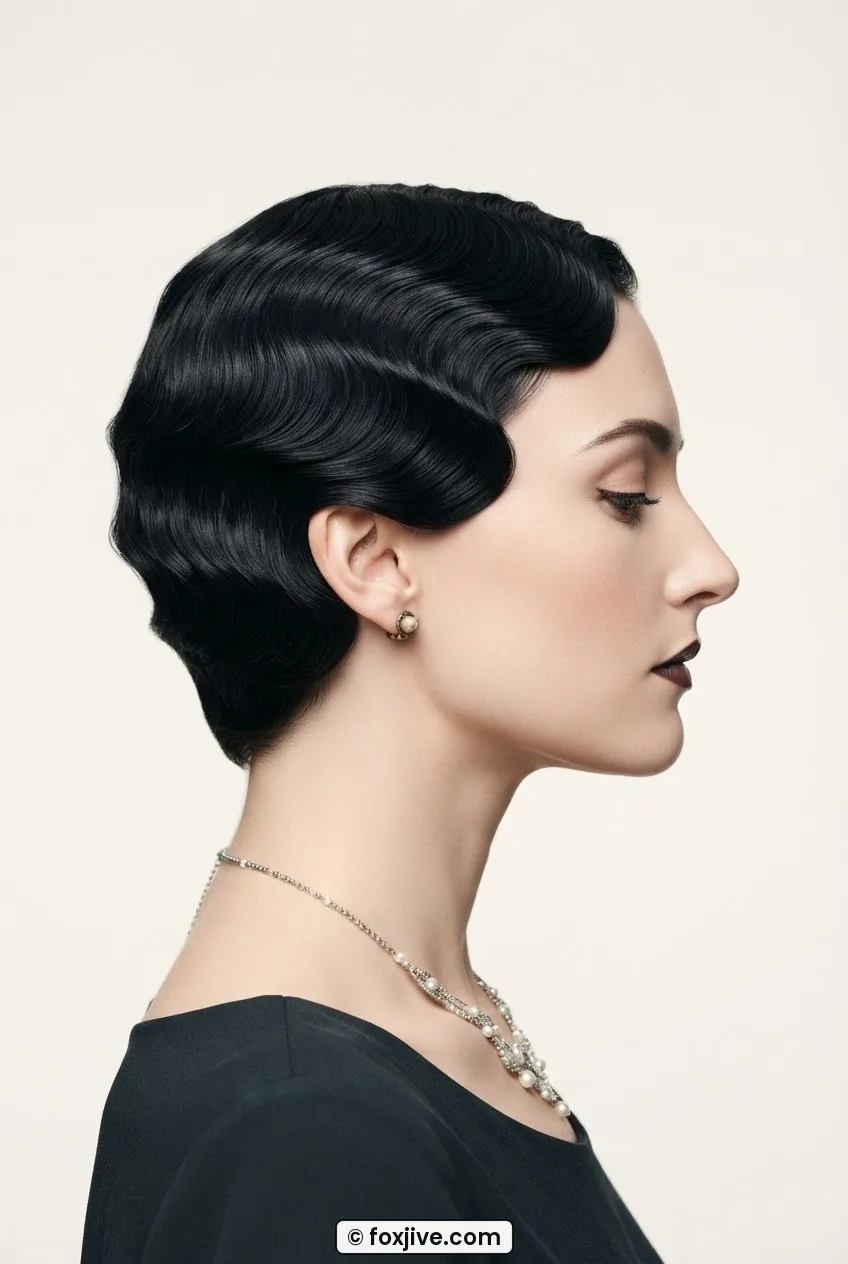
Look at this portrait here — see how the wave on the top section reads as almost flat while the one at the temple has slightly more definition? That difference in depth isn’t inconsistency. It is the natural result of the hair at the crown being set first, handled more during brushing, and therefore softened the most. The temple waves were set last and disturbed least. The archive image is recording a process, not just a result.
The 1920s wave pattern that defined the flapper era was almost always tighter at the hairline and progressively softer as it moved toward the crown. This is genuinely difficult to achieve and rarely discussed in modern tutorials, which tend to focus on replicating the finished look rather than understanding the build. If you want to go deeper into how finger waves were built, there are some excellent historical costuming resources that approach it from a technical rather than aesthetic angle.
What the Lighting Hid
Here is the thing about high-key studio photography from the 1920s: the lighting was not designed to be flattering in the modern sense. It was designed to eliminate shadow, maximize contrast between the hair and a light background, and make the wave pattern read as cleanly as possible in the print. That meant blown-out highlights and completely flat shadows. Which means the photograph is missing an entire dimension of information.
Texture, for one. The surface of a finger-waved set in the 1920s was not as glassy as these portraits suggest. Period-accurate setting lotions — sugar water, beer, flaxseed gel, early commercial wave sets — created a surface that had slight grip and occasional tackiness. A matte finish, yes, but not a smooth one. The high-key lighting flattens all of that into an even tone. The photograph looks like porcelain. The actual hair would have felt entirely different.
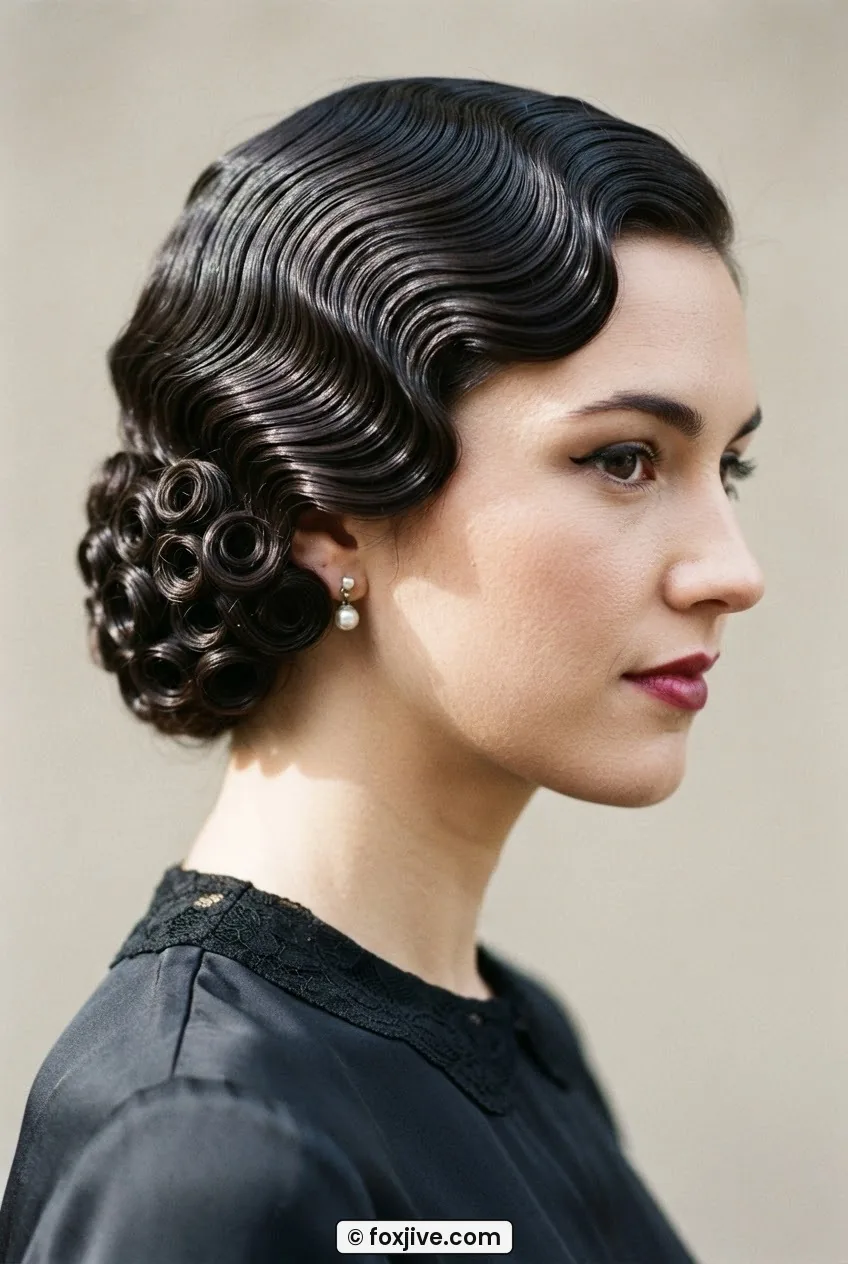
Volume is also invisible in these images. Or rather, volume is present — the wave pattern requires some lift at the ridge — but the flat lighting and the overhead angle conspire to compress the apparent silhouette. The hair in my archive portrait almost certainly had more three-dimensionality from the side than the photograph suggests. This matters enormously if you are using these images as a reference for a costume, a wedding, or any styled recreation. You need to mentally add volume back in.
And I will say something potentially unpopular here: I think the flawless quality of these portraits has made us significantly overestimate how perfect the average woman’s hair was day-to-day. Studio portraits were their best version. Retouched. Freshly set. Shot under ideal conditions. The ordinary woman in 1926 was not walking around with this level of precision on a Tuesday. The archive is a curated record, not a diary.
The Pins You Cannot See
This is my favorite section to write because it is about everything the camera literally cannot see. The pin curl cluster at the nape of my archive portrait is smooth and flat. It sits tight against the skull. In the photograph it looks like it simply grew that way. It did not. Those curls were individually pinned, dried under heat, unpinned, and then pressed with either a finger or a wide-toothed comb into that arrangement. The pins are gone in the final image but their work is entirely visible — you just have to know to look for it.
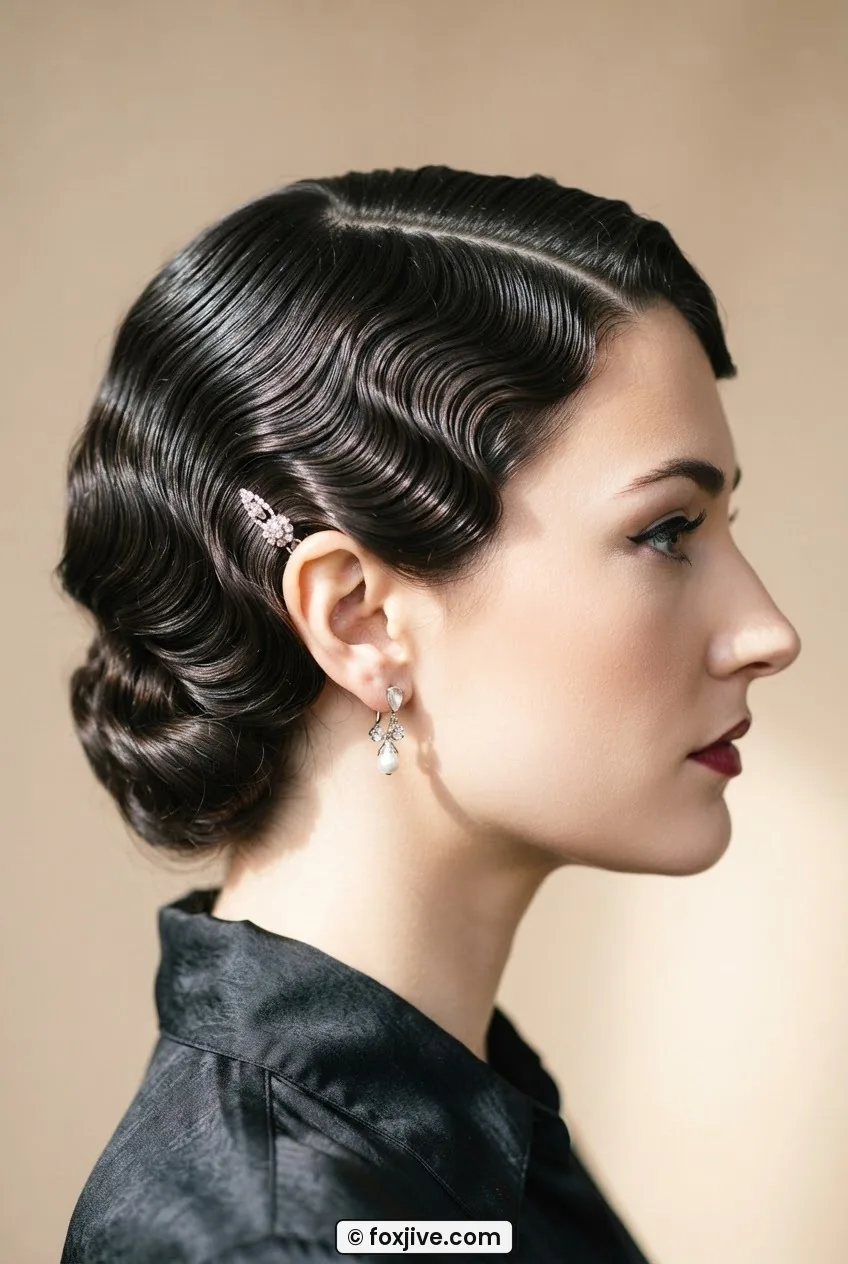
The same is true of the wave ridges themselves. A finger wave is formed by pressing the hair into a ridge between two fingers while a comb shapes it — and then holding it in place with a pin or clip until it dries. Every ridge in this portrait was pinned at least twice: once at the crest and once where the ridge meets the trough. Depending on the length and density of the hair, a full head set of this kind could require sixty to eighty individual pins. Sixty to eighty. The camera shows zero of them. All you see is the final surface.
This is why archive images can be so misleading for DIY recreation. You are looking at the result of an infrastructure that is entirely hidden. The setting lotions, the sectioning, the pins, the drying time, the heat source — none of it is visible. What reads as effortless in a 1927 portrait was, in practice, a multi-hour process usually carried out by a trained professional. And that’s before we get into the hair accessories that finished the look: the headbands, the bandeau ornaments, the silk flowers — all the great gatsby accessories that photograph so beautifully but only make sense once the underlying wave structure is already locked in place.
It’s worth noting that the architectural approach to setting hair didn’t vanish with the 1920s. The same pin-and-dry logic carried directly into the 1940s — into victory rolls, for example, which are also often misread from archive photographs as simpler than they are. And I’ve ranked some of the faster modern approaches to those in 9 victory roll ideas ranked by how long they take, if you want a sense of the spectrum from quick to elaborate.
Using Archive Images Without Being Misled
So what’s an archive image actually good for, if it hides so much? Quite a lot, as it turns out — you just have to know which questions to ask it.
Ask it about proportion. The ratio of wave width to wave depth, the position of the parting relative to the facial width, how far down the neck the set continues — these are all readable and accurate. Photographs don’t distort proportion the way they distort texture and volume. The proportional decisions are exactly what makes a 1920s silhouette look period-correct rather than vaguely retro.
Ask it about direction. The angle at which each ridge runs relative to the face, whether the waves curve toward or away from the hairline, where they break horizontally — this is all visible and meaningful. Direction is the thing that separates an authentic recreation from a costume-shop approximation.
Don’t ask it about product. Don’t ask it about volume. Don’t ask it about how long anything took or how many pins were used. And don’t mistake the stillness of a studio portrait for simplicity. The best use of an archive image is as a destination photograph — a picture of where you are trying to arrive — combined with separate, process-based knowledge about how to get there. The period hairstyling techniques required to build these looks are well-documented in costuming and wig-making literature, and I’d recommend going to those sources for the engineering. Come back to the photograph to check your proportions.
She’s in the portrait on my desk right now as I write this — this unknown woman from 1927 with her immaculate chestnut waves. I still don’t know her name. But I know the exact angle of her side part, the number of ridges on each side, and the approximate circumference of each pin curl at her nape. That’s what the camera gave me. The rest I had to learn elsewhere. And honestly? That combination — archive image plus process knowledge — is the whole method. There’s no shortcut around it, and I’ve stopped looking for one.
Questions I Get About Reading Archive Hair Photos
Can I use a modern curling iron to recreate Gatsby hair?
You can get close, but a Marcel iron — even a modern Marcel-style waving iron — produces a more authentic ridge than a standard curling wand. The key difference is the flat channel that presses the trough while the crest forms. A round barrel creates curl; a Marcel iron creates a wave with a defined ridge and a defined hollow. If you are going for proportional accuracy rather than costume-party approximation, the tool matters.
Did 1920s women with long hair wear finger waves too?
Yes, though less commonly — the bob was the dominant silhouette of the era and most finger wave photographs feature short-to-medium lengths. Long hair was often waved at the top and sides and then worn pinned up at the nape, which is why you see that smooth crown-wave-plus-chignon combination in some portraits. Fully waved long hair does appear in archive images, but it required even more infrastructure than the short bob version and was considerably harder to maintain.
What setting product is most historically accurate for this style?
Commercially produced wave sets had been available since the early 1900s, and by the mid-1920s products like Stacomb and various wave lotions were widely marketed. At home, women commonly used sugar water, flaxseed gel, or even beer — all of which create a firm hold with a matte finish. Modern equivalents that behave similarly include strong-hold flaxseed gel and certain old-school pomades. Avoid anything with silicones if you want the authentic matte surface the archive portraits show.
How do I know if my wave proportions are right when using an archive photo as reference?
Count the ridges and measure the side they appear on relative to the total head width. In most 1920s portraits the wave ridges are wider than they are deep — roughly 3:1 or 4:1 ratio of width to depth in the finished, brushed-out set. If your ridges look taller than they are wide, you haven’t brushed out enough or you’ve over-set the depth. The other check is symmetry of direction: each ridge should run at the same angle as the one above it. Diverging angles are a sign the sections were set inconsistently.
If you want to talk archive images or vintage hairstyle research, I genuinely love this kind of correspondence — you can find me on the contact page. And if this kind of close-reading approach to vintage hair is new to you, there’s more where this came from over at Foxjive.