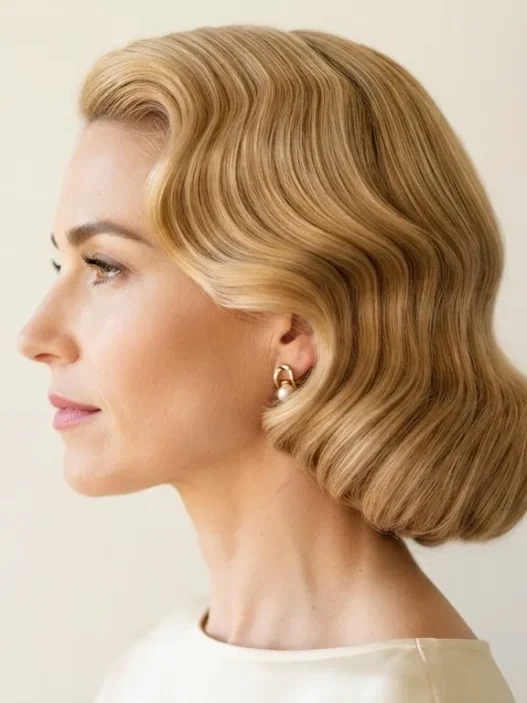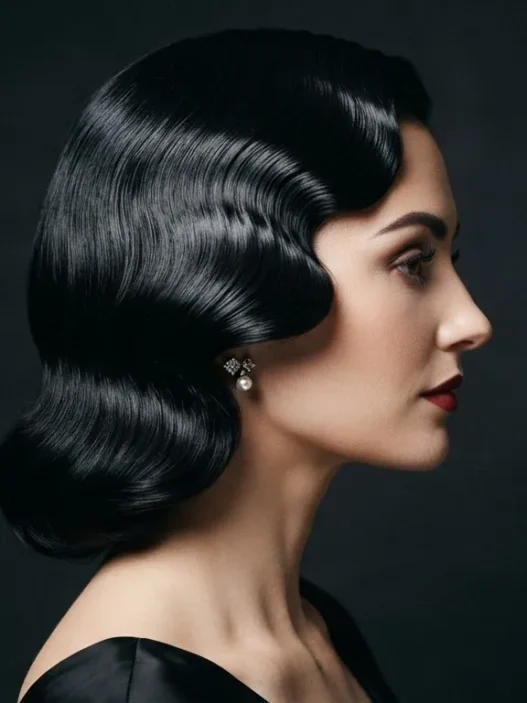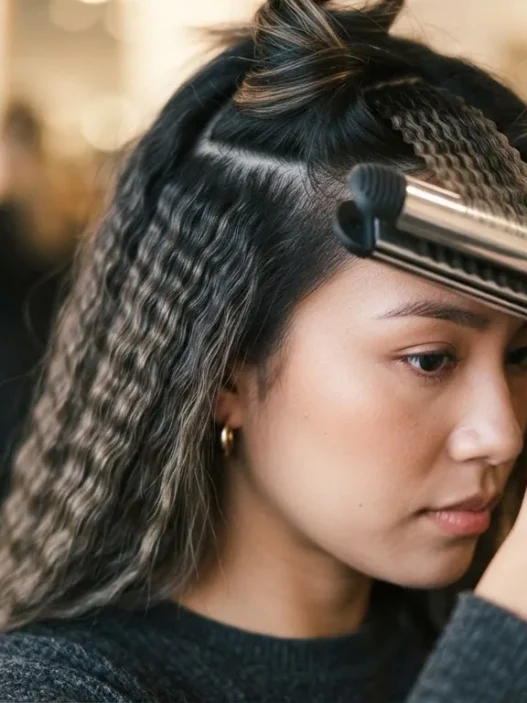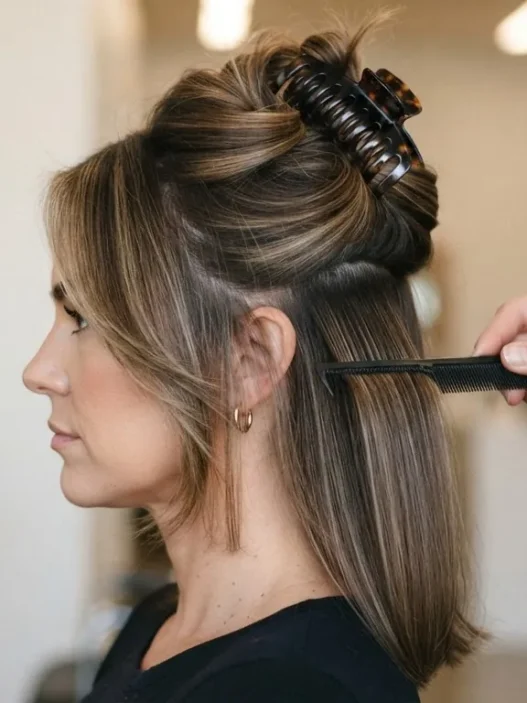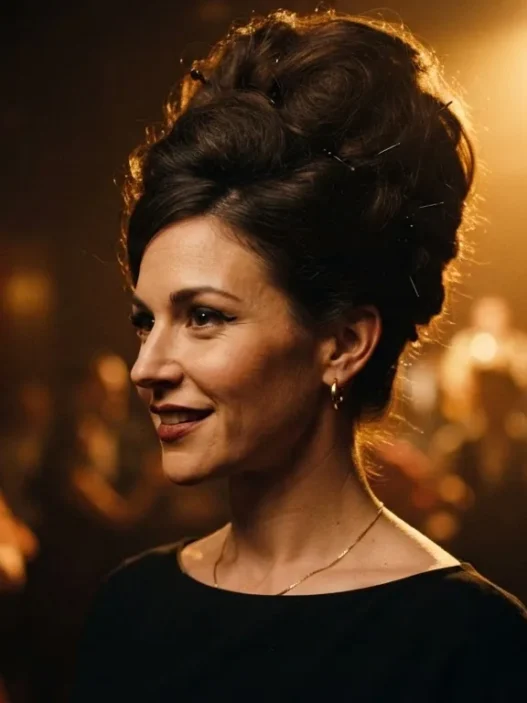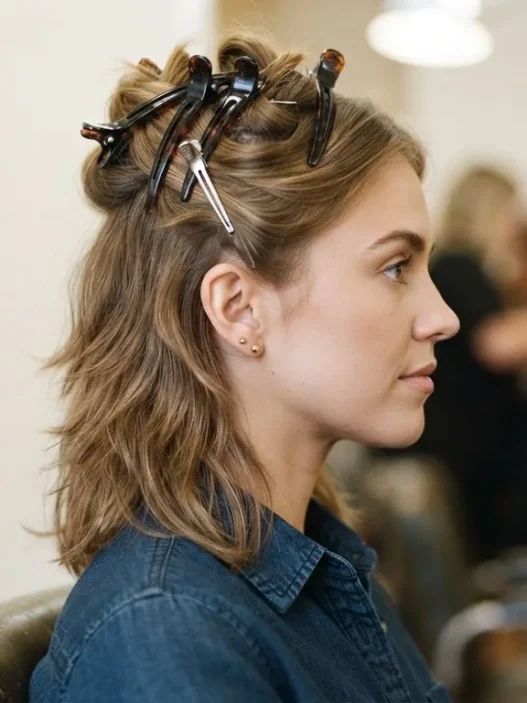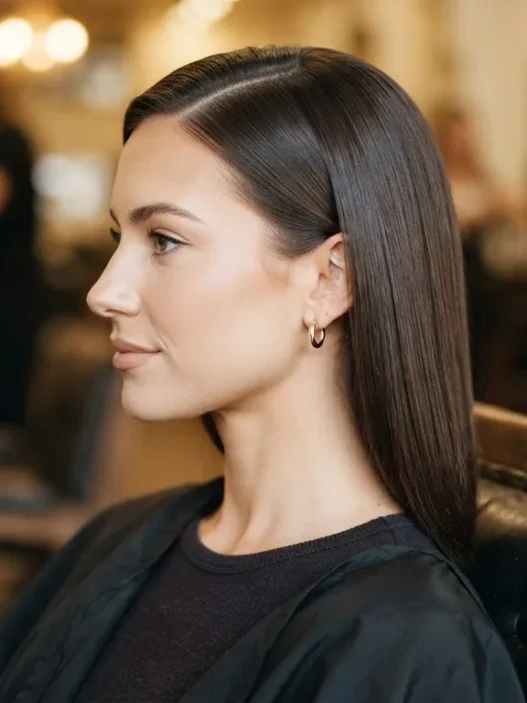







Studio hair departments worked early. Like, 5am early. The women whose hairstyles we still pin, screenshot, and attempt in our bathrooms before work had a team — a hairdresser, sometimes two, a can of lacquer that could hold up a small building, and hours to get it right. I think about this every single time I try to recreate a Brigitte Bardot look and it comes out looking like I slept on it funny. She didn’t wake up like that. Nobody did. But knowing how those looks were engineered? That changes everything. It’s the difference between trying to copy a vibe and actually understanding the structure underneath.
What follows are eleven of her most recognizable shapes — pulled from film stills, photoshoots, and those gorgeous black and white photographs that still circulate everywhere — broken down by how they were actually built on set, what length of hair you need, and what a realistic home version looks like. No glamour filter. Just the mechanics.
The Looks, Listed by Year
- 1. The Tousled Crown, 1956
- 2. The Half-Up Bump, 1958
- 3. The Side-Pinned Wave, 1959
- 4. The High Chignon, 1961
- 5. The Loose Bun with Face Framing, 1963
- 6. The Deep Side Part Blow-Out, 1964
- 7. The Low Twisted Updo, 1965
- 8. The Overgrown Fringe Look, 1966
- 9. The Bardot Braid, 1967
- 10. The Wispy Ponytail, 1968
- 11. The Natural Wave-Out, 1969
1. The Tousled Crown, 1956
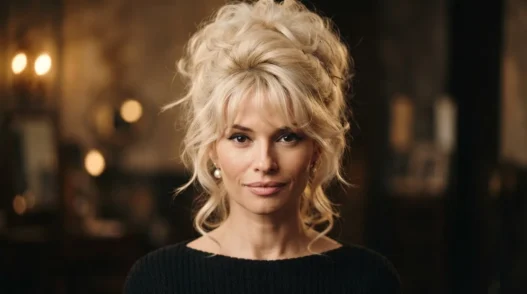
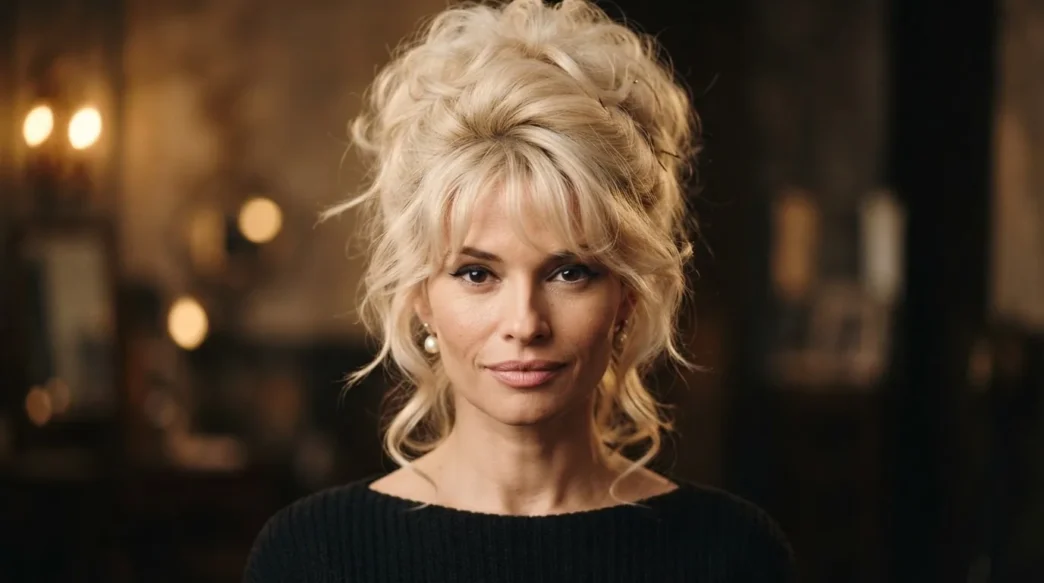
This is the one that launched a thousand Pinterest boards. That piled-up, slightly chaotic mass of blonde on top of her head with pieces falling around her face — it looks like she just twisted it up and pinned it haphazardly. It was not haphazard.
Studio version: Hair was set overnight on large rollers to create volume and curl. The next morning, sections were backcombed extensively at the root, then coaxed upward and pinned from underneath. Every loose piece around the face was placed deliberately — pulled out and positioned, not left to chance. The finish was misted with lacquer to hold the intentional messiness in place.
Length needed: Shoulder-length minimum. You need that mass to create the visual weight on top.
Home version: Sleep with hair in a loose bun or large braids. In the morning, add dry texture spray, backcomb the crown section, twist upward and pin with bobby pins from beneath. Leave the shortest layers around your face loose. Do not touch them after that. The less you fuss, the better it reads.
2. The Half-Up Bump, 1958
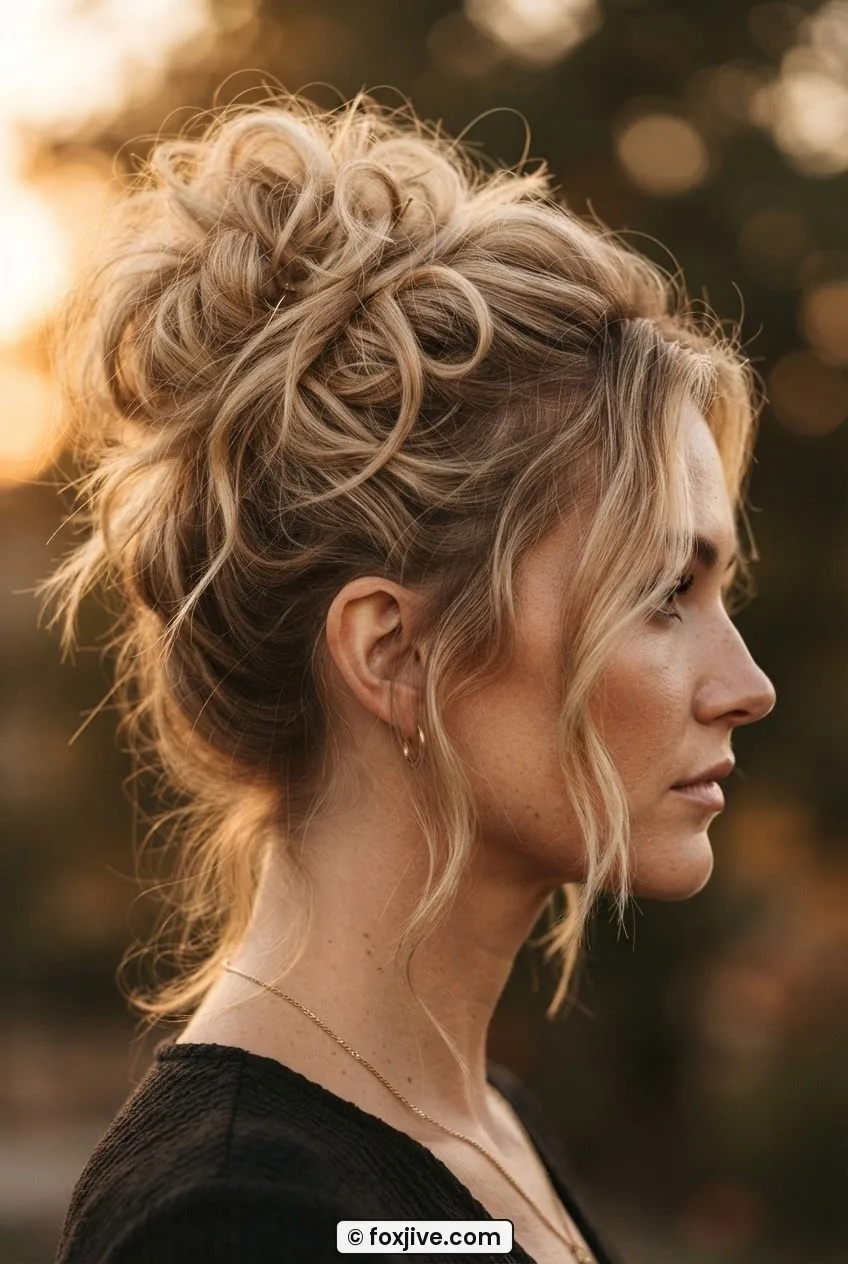
Softer than the full crown, this one pulls the top section back with a gentle pompadour-style lift at the front. It’s more polished. More date-ready.
Studio version: The front section was rolled back over a small pad (literally a pad of hair or a foam form) and pinned flat at the back. The rest of the hair was left down in loose waves. The bump had to be smooth at the surface and voluminous underneath — the padding is what made it look that lush without using the model’s own hair mass.
Length needed: Collarbone or longer for the wave to read properly at the back. The front section can be as short as four inches if it reaches back far enough to anchor.
Home version: Use a teasing comb on just the crown section, smooth the top layer lightly, roll back and secure with two crossed bobby pins. The key is that smooth surface over volume underneath — don’t let the backcombing show on top. Add a velvet ribbon behind the bump if you want the full effect.
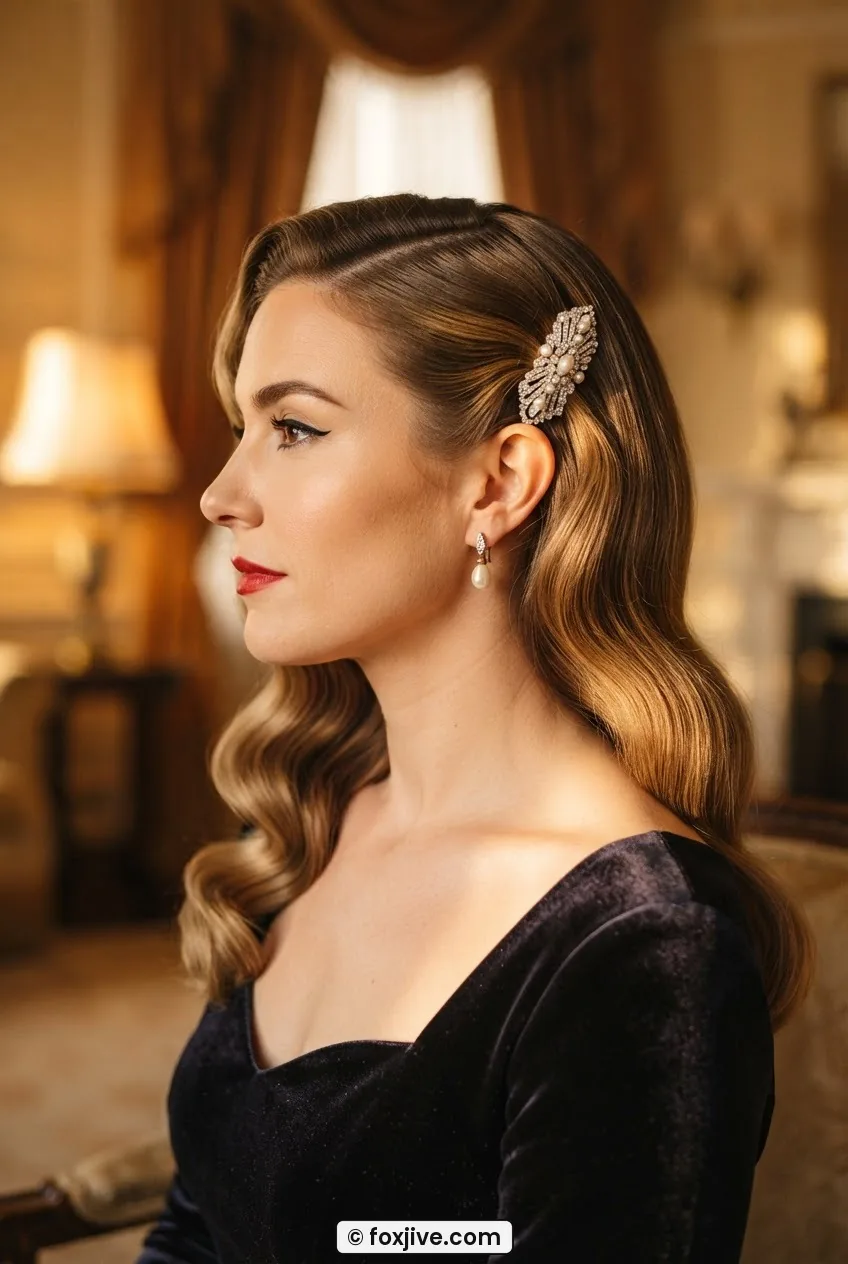
3. The Side-Pinned Wave, 1959
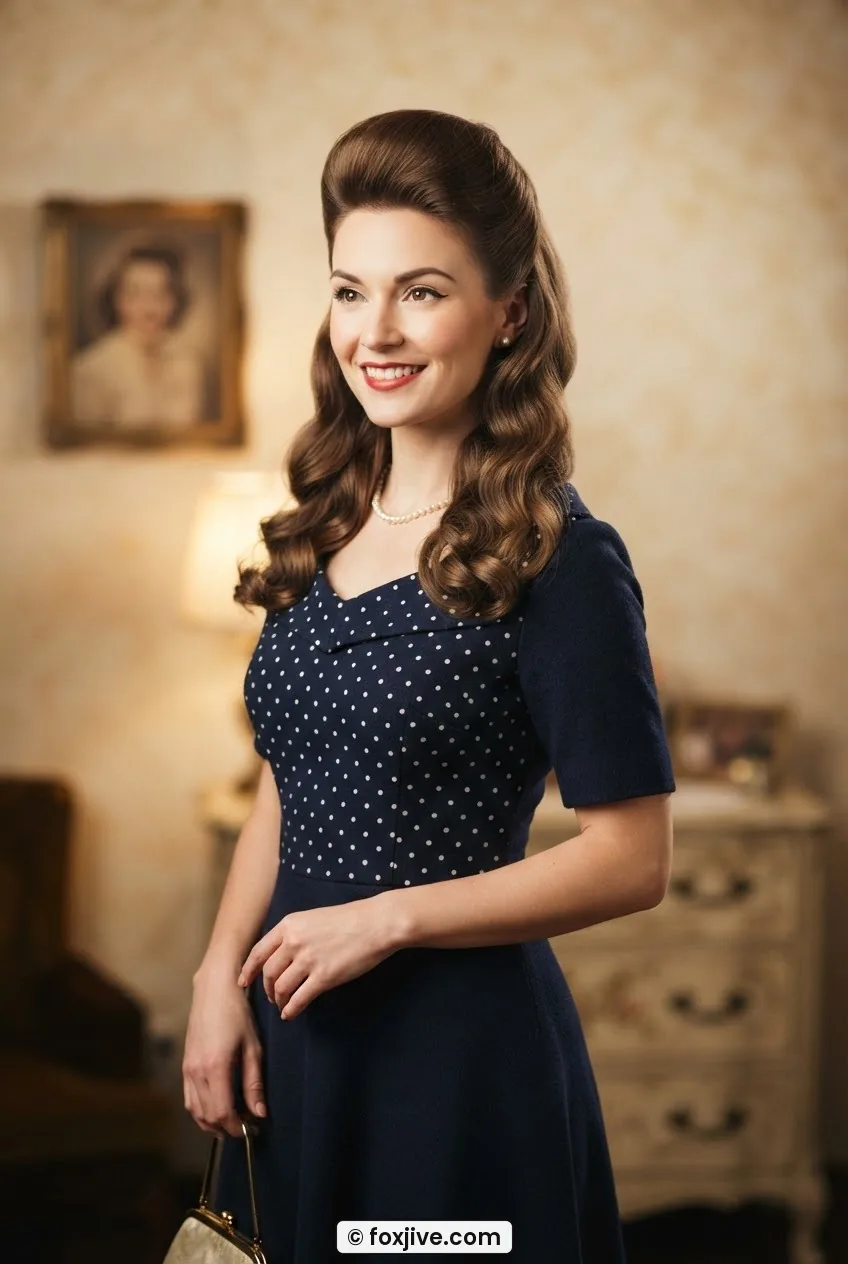
This shows up in quite a few of her film stills from this period — a deep wave pinned back on one side, the rest falling over the opposite shoulder. It’s classic and it works on almost every face shape.
Studio version: Set on pin curls and large rollers. Once dry, the wave was combed out and directed. A section from the temple was drawn back and secured with a clip or pin, often decorated. A wave set spray kept the S-curve sharp all day under hot lights.
Length needed: Chin-length minimum — longer helps the wave fall more dramatically. This is one of the more length-flexible looks on the list.
Home version: Use a large-barrel wand on dry hair. Direct all curls the same way, then comb through with a wide-tooth comb to merge them into waves rather than ringlets. Pin one side back with a decorative clip — a tortoiseshell piece feels period-appropriate. Don’t try to make the wave too precise; soft is more accurate than sharp here.
4. The High Chignon, 1961
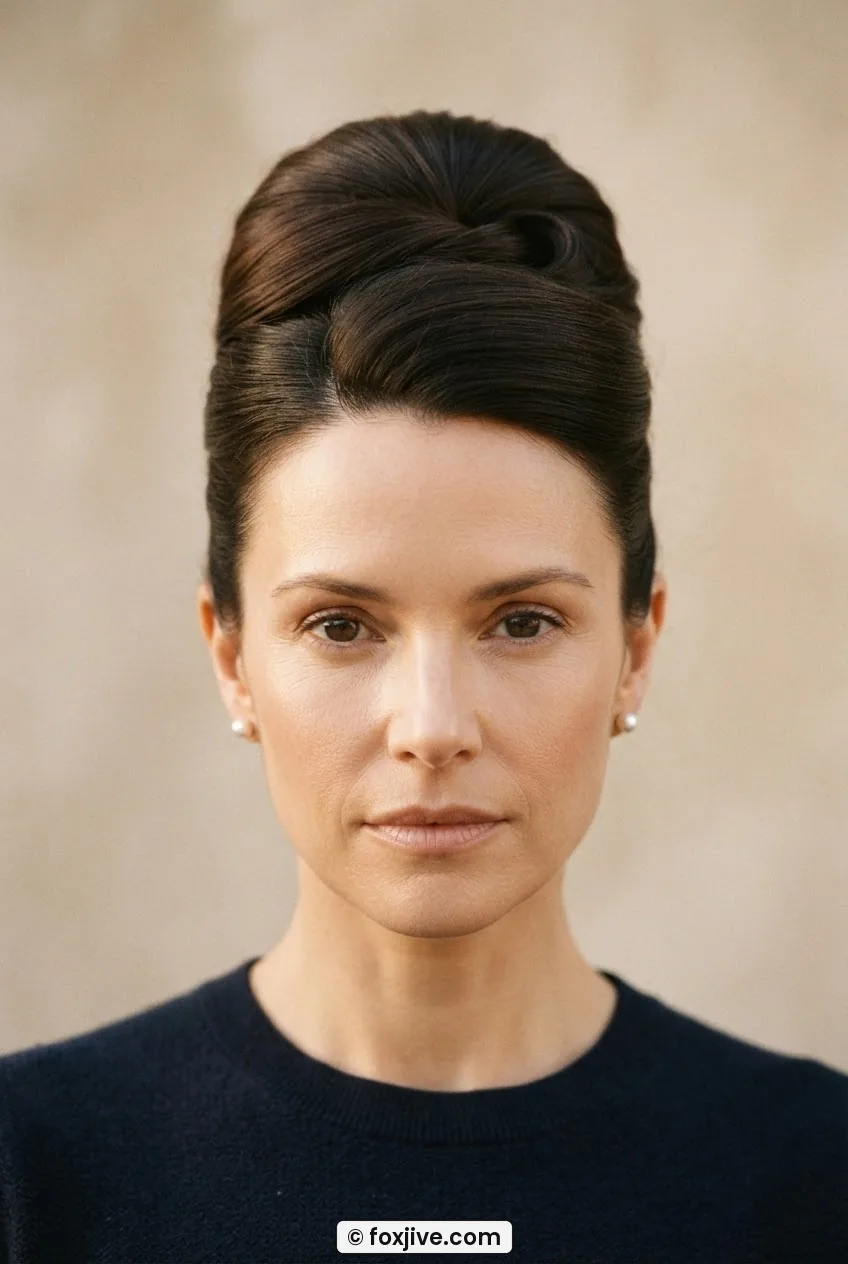
By the early 60s her styling shifted toward something more structured. The high chignon is the most updo-forward look on this list — and the most underrated when it comes to formal occasions. If you love vintage updos, this one deserves your attention. I’ve written about how 9 victory roll ideas ranked by how long they take can help you plan your updo time — a similar calculation applies here.
Studio version: Hair was sectioned, smoothed with pomade, and twisted upward into a high chignon positioned at the crown rather than the nape. Extra hairpieces were often used to bulk it out. The result was architectural — more sculpture than hairstyle.
Length needed: Medium to long — at least collarbone. Shorter hair will struggle to make it to the crown without extensions or a hairpiece.
Home version: Gather hair into a high ponytail, backcomb the tail for density, then wrap and pin into a chignon shape. Smooth the surface with a boar bristle brush and a small amount of pomade. Secure stray ends with pins and finish with a light mist of shine spray. A structured chignon like this genuinely looks better on day-two hair — the natural oils help it hold.
5. The Loose Bun with Face Framing, 1963
This is my personal favorite. I’ve attempted it approximately forty times. Maybe ten of those were successful.
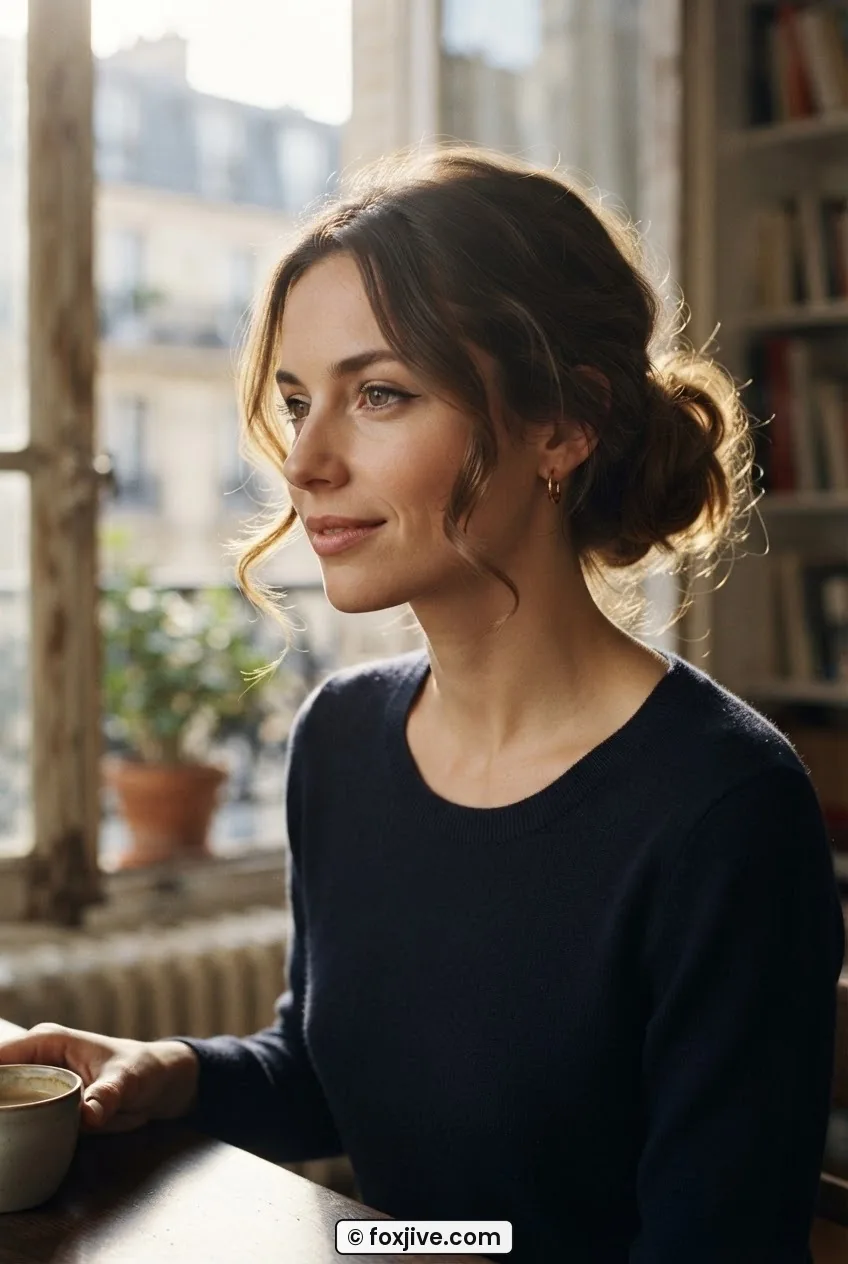
Look at the way she’s wearing it in those 1963 photoshoot images — the bun sits low-ish at the back, but what sells the whole thing are those two or three strands left loose at the temples. They’re not accidents. They’re placed. That’s the distinction between a bun that looks “done” and one that looks like you gave up halfway through.
Studio version: The bun was pinned loosely with visible movement in the twist. Face-framing pieces were pulled from the very front and front temples before the bun was pinned, not dragged out afterward. This distinction matters — pulled-out pieces tend to puff instead of curl gracefully.
Length needed: Mid-back to long. The looser the bun, the more length you need to still have enough volume in it to look intentional.
Home version: Reserve those front temple pieces before you put the bun up. Curl them with a small wand and set them aside with a clip. Assemble the bun, then release the curled pieces. Do not curl after — the framing pieces should curl toward the face and hold that direction. This is where most people go wrong.
6. The Deep Side Part Blow-Out, 1964
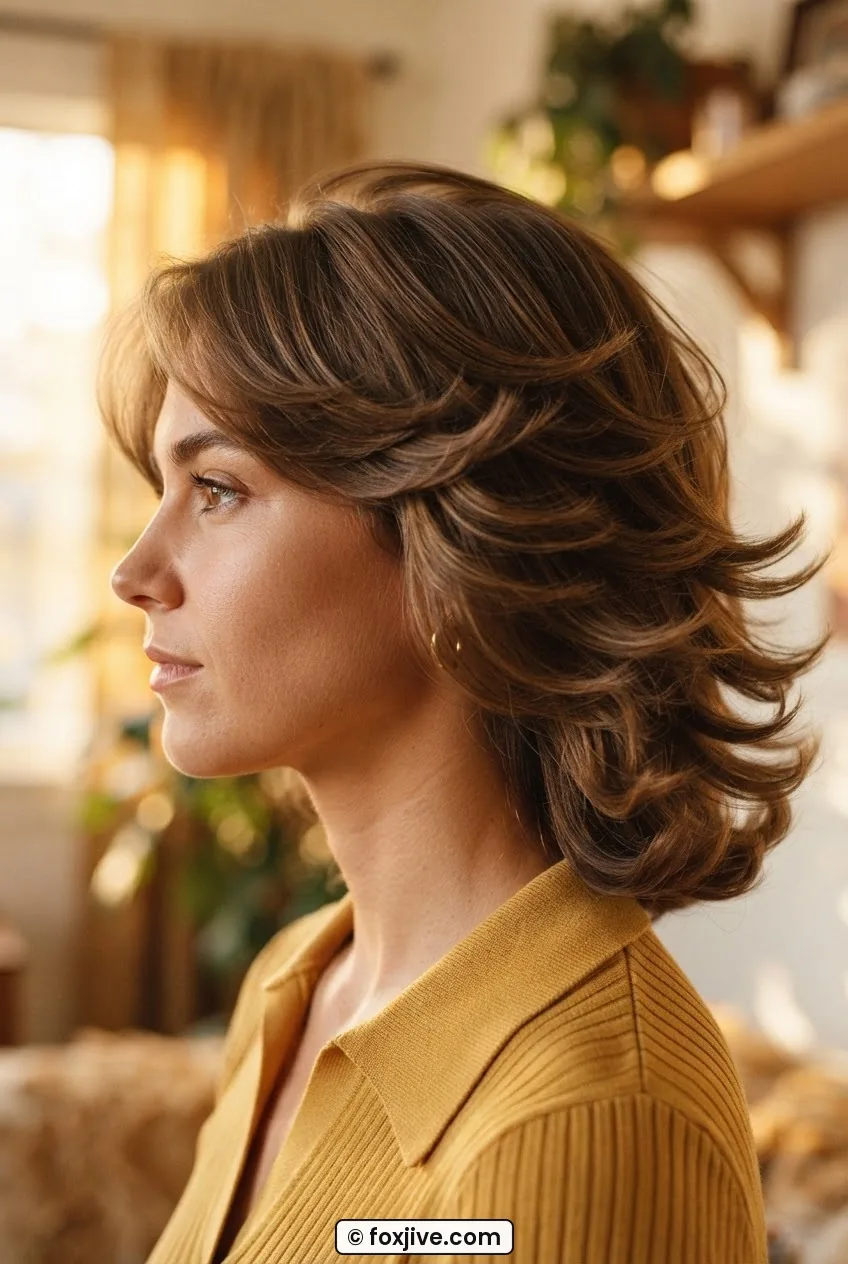
Straight or very slightly waved, parted almost at the ear on one side, blown into a full, lifted shape that sweeps across the forehead. This is the glossy magazine cover look — and it’s arguably the most wearable on this list for modern hair textures.
Studio version: Blow-dried section by section with a large round brush, always directing the air downward along the hair shaft for shine. The deep part was set with a rat-tail comb and then held with a fine mist of setting spray before drying. Volume at the crown came from lifting each section upward while drying, then letting it fall once cool.
Length needed: Chin to collarbone. Much shorter and the deep part becomes severe rather than sweeping.
Home version: Flip your deep part to the opposite side before you begin — drying against the natural fall builds immediate root volume. Use a boar-bristle round brush and take small sections. The finish needs to be glossy, so swap your normal product for a blow-dry oil rather than a foam. Understanding blow-dry techniques for volume makes a significant difference in getting this particular look right at home.
7. The Low Twisted Updo, 1965
This one overlaps slightly with territory covered by the classic victory rolls of the previous decade — but it’s softer, more bohemian, placed at the nape rather than the crown.
Studio version: Hair was divided into two or three horizontal sections. Each was twisted separately and then wound together at the back in a low, loose rope formation. The surface was smoothed but not lacquered flat — texture was part of the look. This was quick for a studio team but takes practice solo.
Length needed: Long. This is the one look on this list where short or medium hair genuinely cannot achieve the same effect without extensions.
Home version: Divide into two sections front-to-back. Twist each section away from your face, wrap them around each other at the nape, and secure with pins. Pull a few pieces loose around the hairline. It sounds simple, and in theory it is — the difficulty is in making it look deliberately casual rather than just unfinished. Slightly textured hair holds this better than freshly washed.
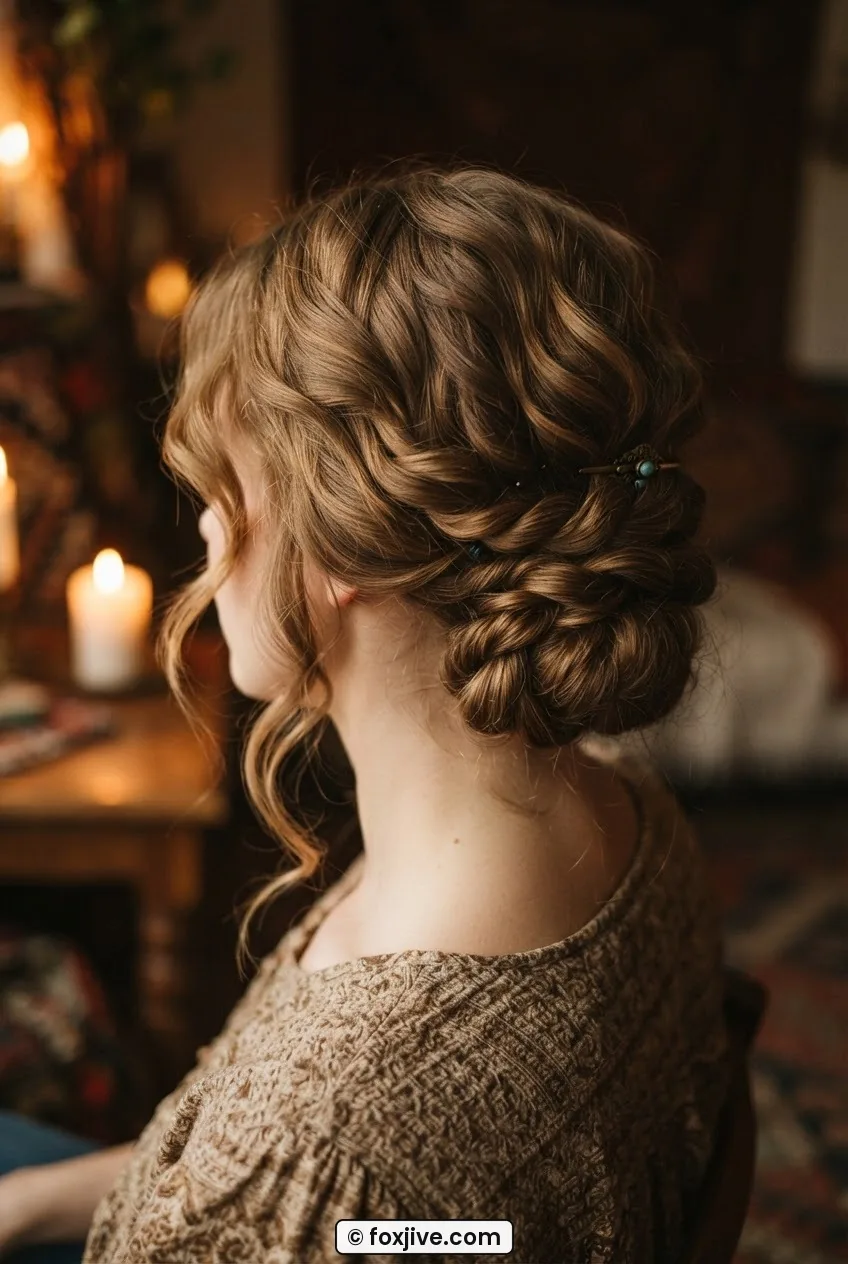
8. The Overgrown Fringe Look, 1966
Mid-60s Bardot started letting things get a little longer, a little more undone. The fringe — if you can call it that — was past the eyes, sometimes pushed to the side, sometimes swept back as part of the overall texture. This is the period where the real “Bardot hair” archetype started to crystallize.
Studio version: The length was intentional — grown out, not freshly cut. Stylists worked with the existing texture rather than imposing curl. Light pin curling at the ends, a lot of backcomb at the root, and a very deliberate decision to leave the fringe ambiguous. Sometimes pinned back. Sometimes not. The direction changed shoot to shoot.
Length needed: Fringe that reaches your nose minimum. Shorter won’t give you the sweep. The rest of the hair wants to be at least shoulder length.
Home version: Embrace the in-between stage. When your fringe is at that awkward length, use a small amount of wax or pomade to push it to the side with clear purpose — the problem with overgrown fringe is usually indecision, not the length. Backcomb at the root behind the fringe for lift and volume through the crown.
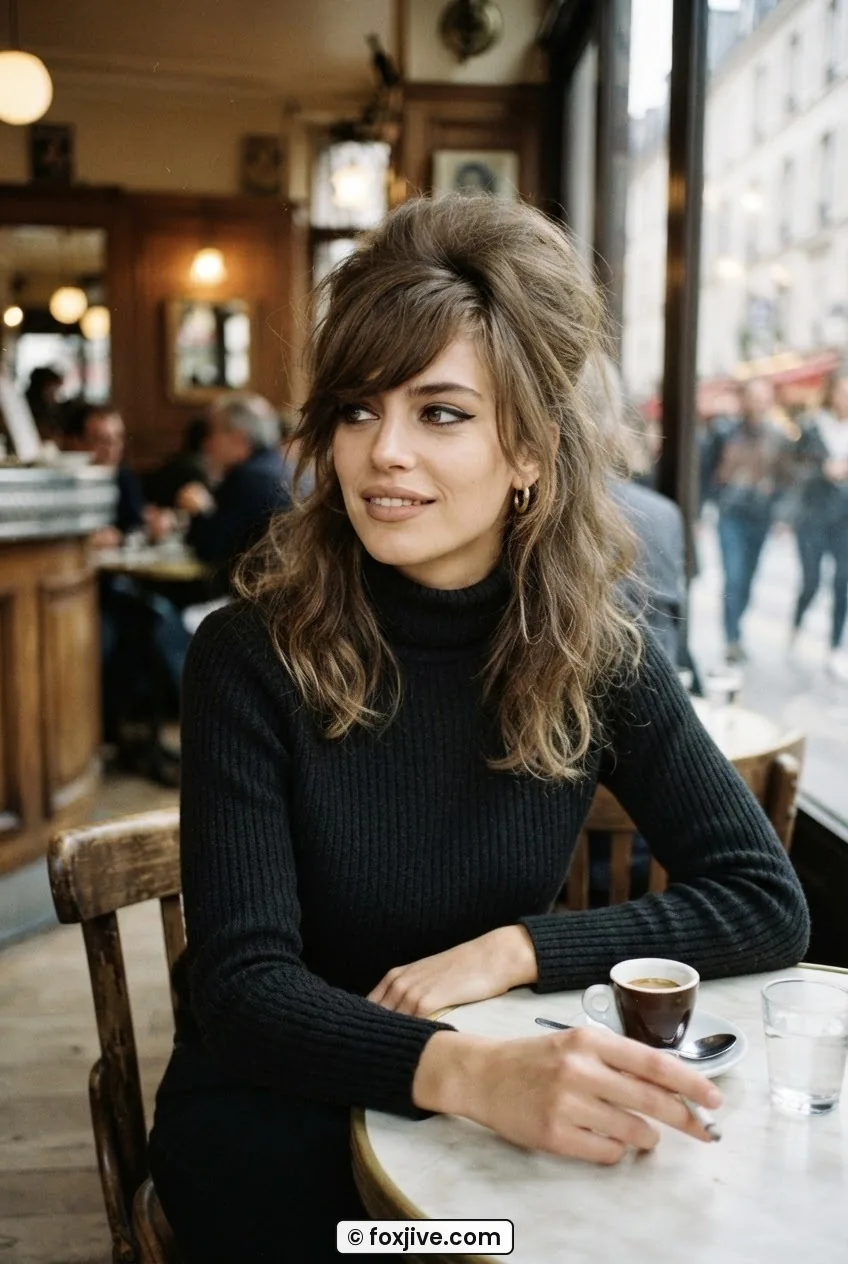
9. The Bardot Braid, 1967
A crown braid — or halo braid — worn loosely with tendrils escaping at the temples and nape. This is the look most people now call a “Bardot updo” when searching for inspiration, and honestly it’s a fair descriptor. It has become her most imitated structured style.
Studio version: Two braids were made from sections parted at the ear and brought up and over the crown in opposite directions, pinned at each side. The braids were deliberately loosened by pulling gently on each section after pinning. The stylist then arranged specific pieces to fall at the temples — these were often curled separately with pin curls before being released.
Length needed: Long — ideally past the shoulder blade so the braids reach the crown comfortably without tension.
Home version: Do this on slightly dirty hair — it grips better and the braid loosens more naturally. Make two low pigtail braids, bring each up and over the head and pin across the crown. Then loosen immediately by pinching and pulling each loop of braid outward. This is the step people skip, and it’s the step that makes it look like hers versus looking like a gym braid. Pull pieces at the temple. Always pull pieces at the temple.
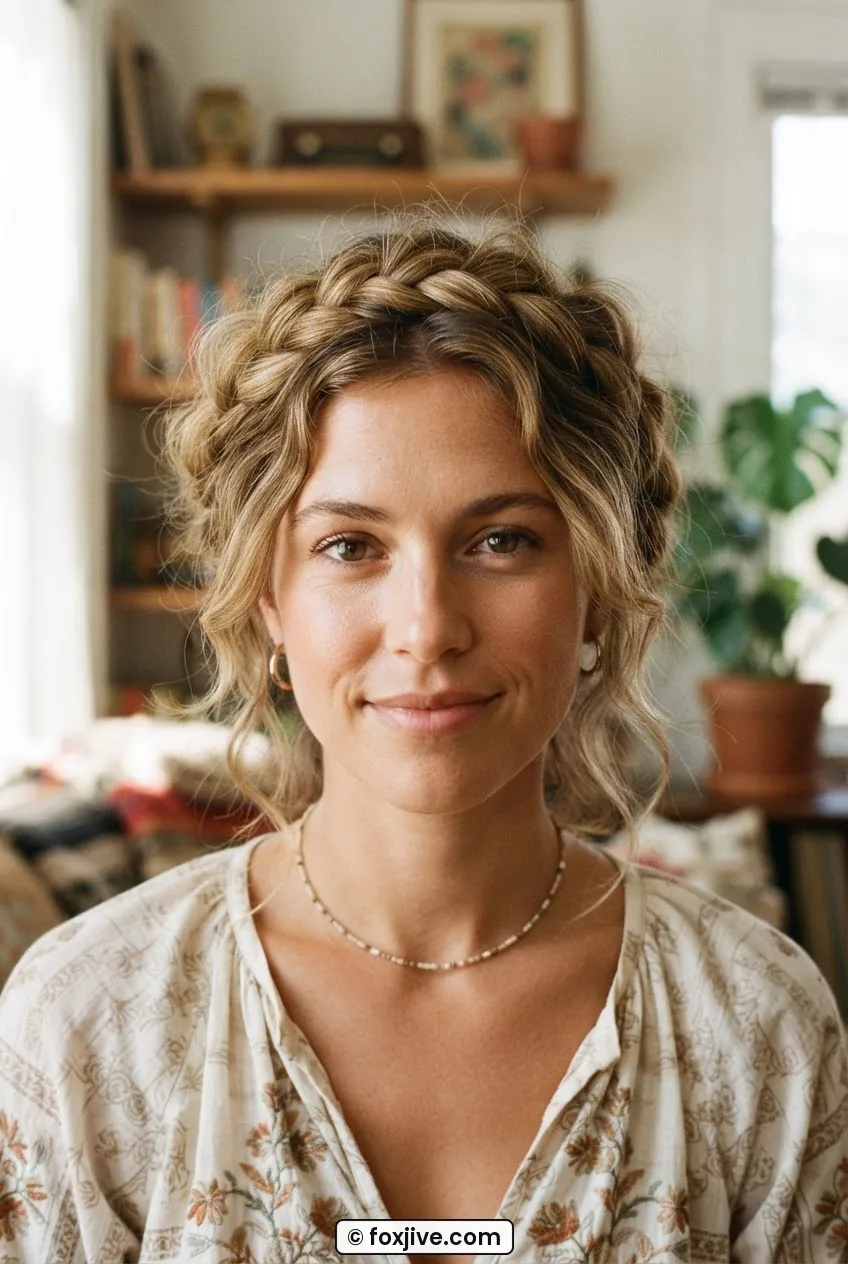
10. The Wispy Ponytail, 1968
Low, loose, swept with volume rather than sleekness. This is not a ballet ponytail. Not a cheerleader ponytail. The whole point is that it looks like it’s barely held in place — and yet somehow it doesn’t fall.
Studio version: Hair was backcombed at the crown before being gathered. The ponytail itself was secured loosely — stylists used multiple small elastics stacked rather than one tight one, which allowed the shape to puff rather than pull. A section was sometimes wrapped around to hide the elastic. Individual wispy sections were pulled around the face and at the nape after the ponytail was set.
Length needed: Shoulder-length or longer. The ponytail needs to have enough length to look intentionally loose rather than just short.
Home version: Backcomb your crown before gathering — do not skip this. Use a soft elastic. Wrap a small section around it. Then immediately loosen the ponytail by gently tugging sections apart at the base. Pull four or five pieces out around your face. This ponytail should take you eight minutes. If it’s taking longer, you’re overdoing it.
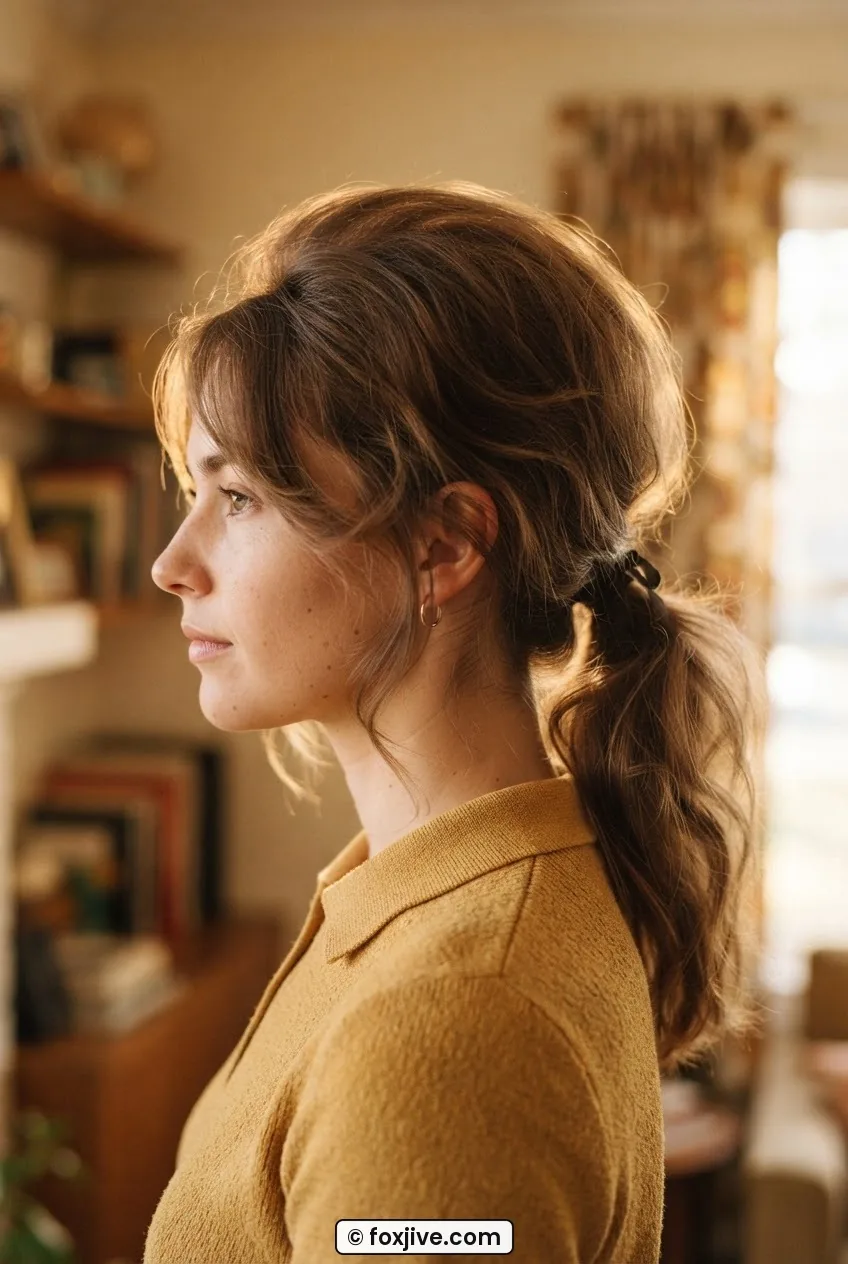
11. The Natural Wave-Out, 1969
The last of the decade and the one that arguably left the biggest mark on the 1970s that followed. By 1969, she was wearing her hair longer, wavier, less controlled — the tight sets of the 50s were gone. What replaced them looked free but was still engineered, just differently. You can see this look echoed in everything from Farrah Fawcett’s feathered flicks to the kinds of styles that feathered hair styling guides help recreate today.
Studio version: Hair was diffuse-dried or air-dried after a light wave lotion was applied. Stylists then separated the waves by hand — not with a brush, which would frizz — to define each movement. A light oil was used to add sheen without weight. The goal was controlled naturalness: every wave visible and intentional, none of the frizz or flatness of genuinely unmanaged hair.
Length needed: Collarbone or beyond. This look gets better the longer the hair — shorter hair turns it into a wave that reads more 1940s, which may or may not be what you want.
Home version: Apply a curl cream or wave gel to towel-dried hair. Scrunch and air dry or use a diffuser on low heat. Once fully dry, break the cast by scrunching with a small amount of hair oil. Separate the waves gently with your fingers — go slowly, section by section. The right way to understand natural wave definition techniques is to think of this as carving rather than combing. You’re revealing structure that’s already there.
See the Wave Separation Technique in Action
Questions About These Looks
Do I need naturally wavy hair to pull off Bardot styles?
Not at all — most of her looks from the 50s and early 60s were set with tools on straight hair. The wave came from rollers, pin curls, and setting lotions, not her natural texture. Straight hair that holds a curl actually tends to produce cleaner results with the more structured looks on this list.
Which of these works best for fine hair?
The half-up bump (look 2) and the tousled crown (look 1) both work well for fine hair because they rely on backcombing and padding rather than natural density. The key is using a texturizing or dry shampoo spray before you start — it gives fine hair something to grip without weighing it down.
Are these styles achievable without professional help?
Most of them, yes — with practice. The high chignon and the low twisted updo are the two that benefit most from a second pair of hands, purely for the back positioning. Everything else is genuinely doable solo once you understand what the structure is supposed to be doing. Start with the wispy ponytail and work your way up.
What products were used on set that I can replicate now?
Setting lotion, pin curl clips, large rollers, and lacquer were the main studio tools. Modern equivalents: a good curl mousse or wave spray for the set, large velcro rollers, fine-mist hairspray for the hold. The biggest product shift is that modern sprays give you more flexibility — you can still brush through after without the 1960s helmet effect.
Can I get any of these looks if my hair is shoulder-length or shorter?
Looks 1, 2, 3, 6, 8, and 10 all work at shoulder length. The updo-heavy looks (4, 5, 7, 9) need more length to land correctly. If you’re working with a shorter cut, the side-pinned wave and the deep side part blow-out are your best bets — both look intentional and polished on medium-length hair. If you’re curious about period-appropriate updo alternatives, exploring victory rolls gives you great structural options without needing as much length. You can also reach out via the contact page if you want a recommendation for your specific length and texture.
The thing I keep coming back to is this: studio hair was a collaboration between a skilled professional and an iconic subject, produced under controlled conditions with professional-grade tools. That’s the starting point. We’re working backwards from a finished image with a blow-dryer and whatever bobby pins we can find in the bathroom drawer. The fact that any of these looks translate at all is honestly remarkable — and the closer you get, the more satisfying it becomes. Pick one look. Learn the structure. Then adjust until it works for your texture and your face. That’s more useful than trying to copy the whole era at once. And if you want to go deeper into decade-by-decade styles, the about page has more on what this site covers — there’s a lot of ground still to go through.