




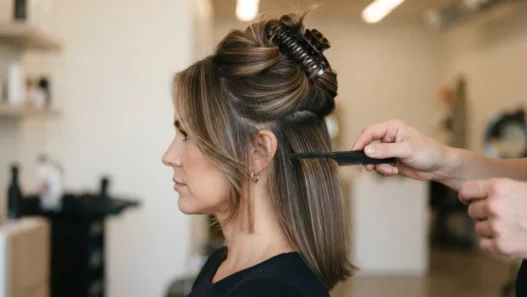

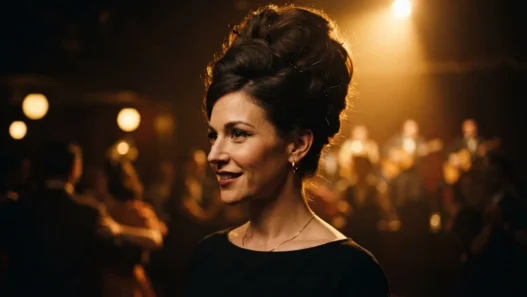

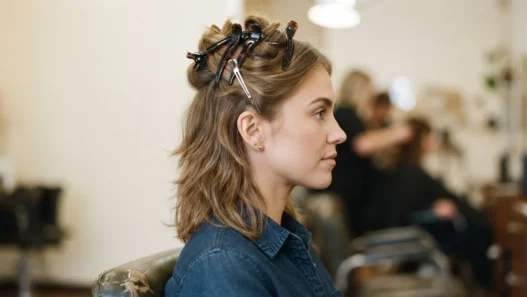
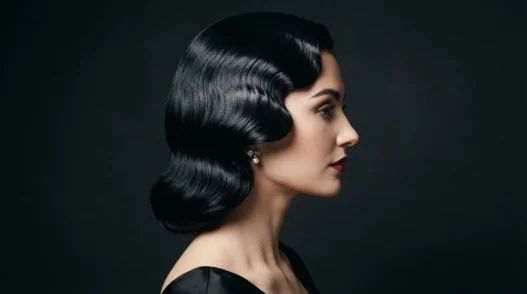
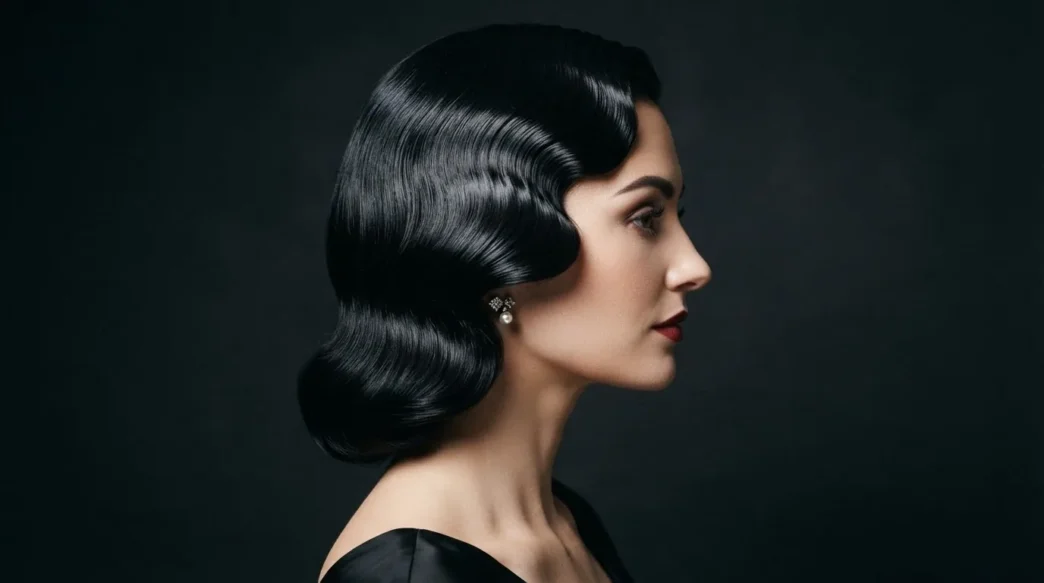
I have ruined more nights than I care to count by spending forty-five minutes on a hairstyle that looked incredible at 8 p.m. and completely defeated by 10:30. A half-dissolved wave slouching behind one ear. A pin curl so floppy it might as well be a regular curl. The difference between a look that starts well and one that ends well is enormous, and nobody really talks about it. So that’s what this list is — eleven old-school Hollywood Glamour inspired styles, judged honestly on how they hold up after five sweaty, dancing, laughing hours. I’ve tested every single one of them.
What You’ll Find in Here — Your Night-Out Style Guide
- 1. Done in Fifteen, Before You Leave
- 2. Worth Starting an Hour Early
- 3. The One That Gets Better at Midnight
- 4. Built for the Dance Floor
- 5. Old School, New Hold
- 6. The Finger Wave That Actually Endures
- 7. Victory Roll Without the Meltdown
- 8. The Velvet Headband Hack
- 9. Pin Curl Set for Night People
- 10. The Sleek Side Part That Never Quits
- 11. The Big-Hair Finale
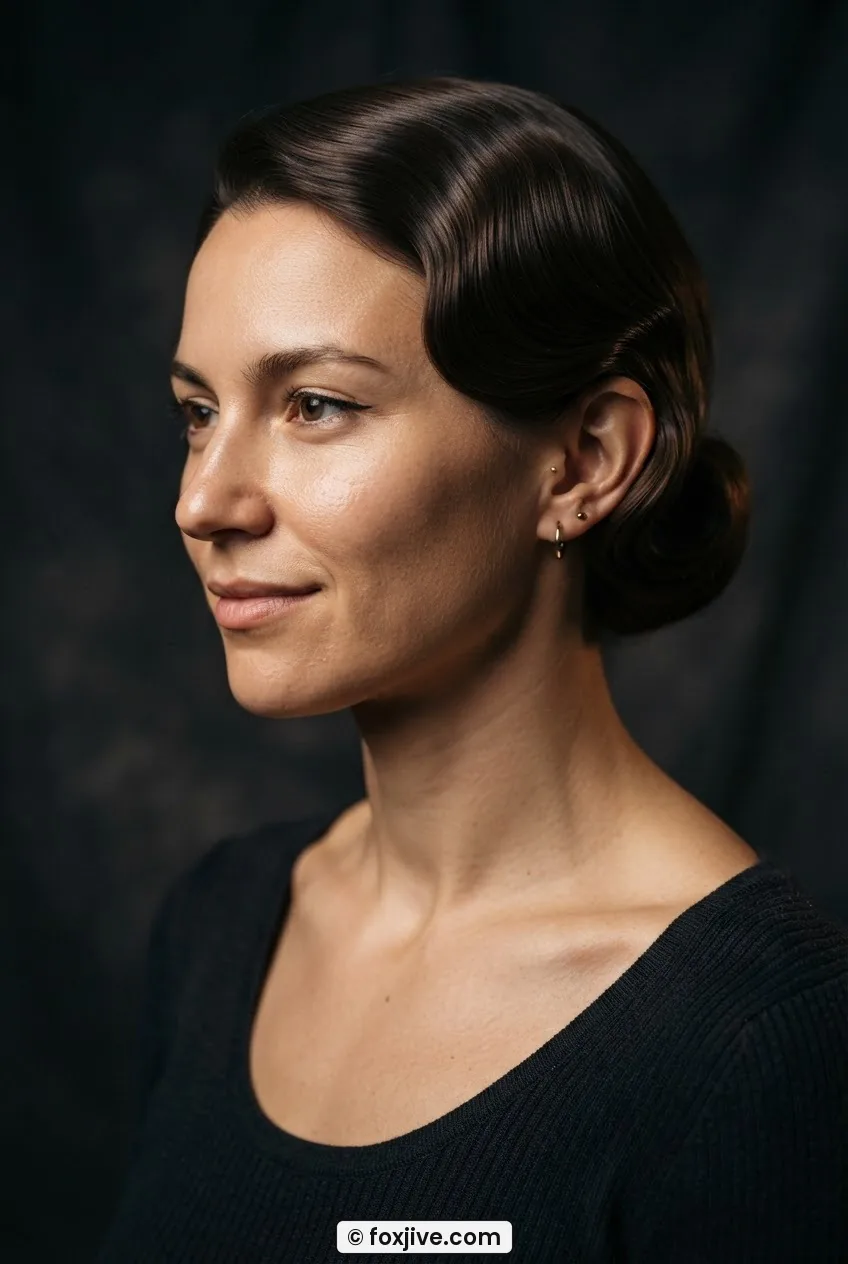
1. Done in Fifteen, Before You Leave
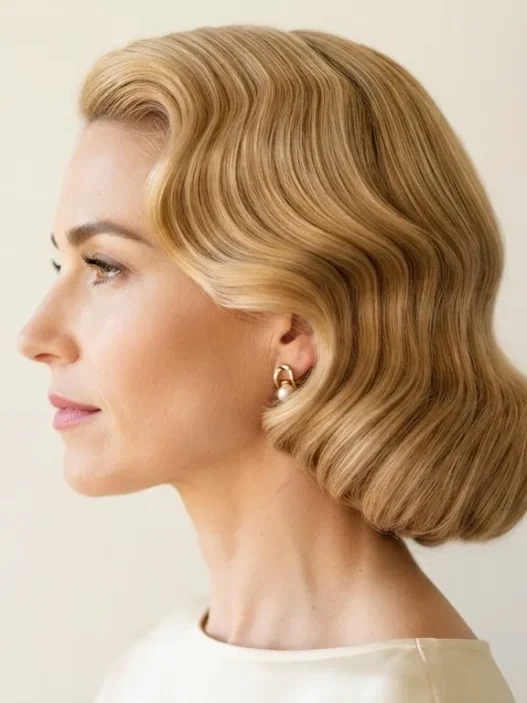
The classic deep side part with a single sweeping wave tucked behind one ear. You blow-dry your roots with a round brush, pull everything hard to one side, mist with a strong-hold hairspray, and walk out the door. That’s genuinely it.
The product that holds it: a medium-hold pomade worked through the top section before you even pick up the dryer. Just a fingertip’s worth. At midnight this looks intentional — slightly loosened, a little lived-in, which honestly reads more like old-school screen siren than a freshly set wave does. Five hours in, she’s still got it. Look at how she’s wearing hers in the photo below — that single dramatic sweep is exactly what I mean about this style aging gracefully on a night out.
2. Worth Starting an Hour Early
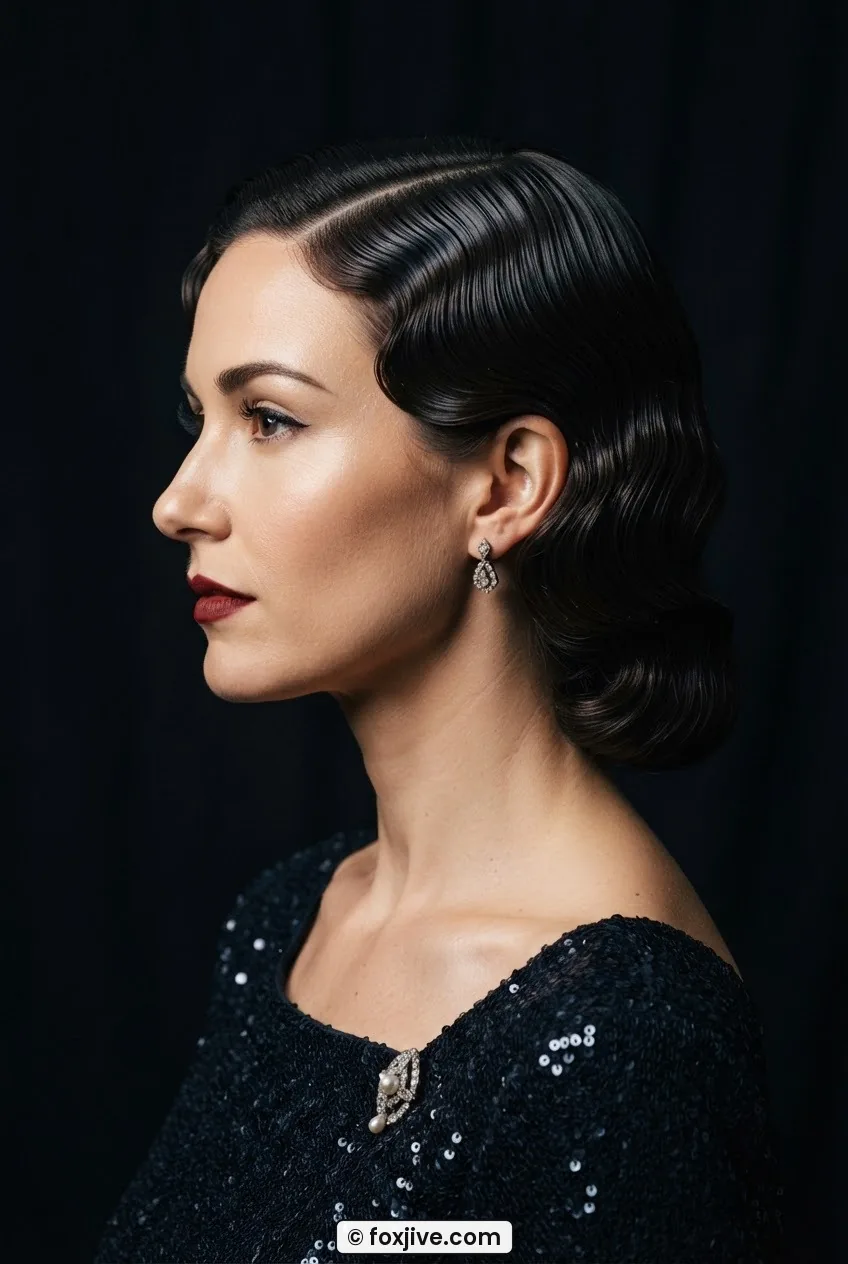
The deep-set Hollywood wave — think Veronica Lake, think liquid silk pressed into a single glossy ridge. This one requires a Marcel iron or a wide-barrel wand, about forty minutes of actual work, and a full cool-down period before you touch it. It’s not fast. But this is the look that makes people stop mid-sentence to ask who did your hair.
Hold product: a light-hold shine serum applied to dry hair before curling, then a fine mist of flexible-hold spray after. Never lacquer it stiff — the wave needs to move just slightly or it looks like a wig. At midnight, after five hours? The ridge softens about twenty percent but the overall shape holds. She’s still unmistakably old Hollywood. Worth every extra minute of prep — you can see in the image here how that deep ridge catches the light in a way no other style really does.
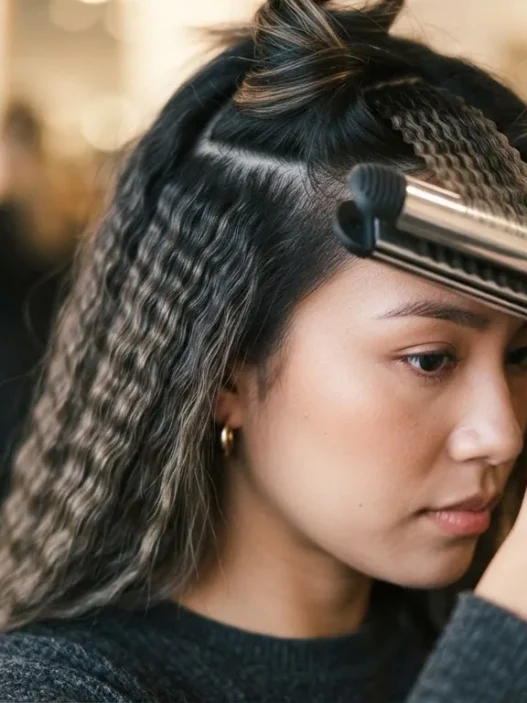
A Tutorial That Shows the Wave Ridge Forming
3. The One That Gets Better at Midnight
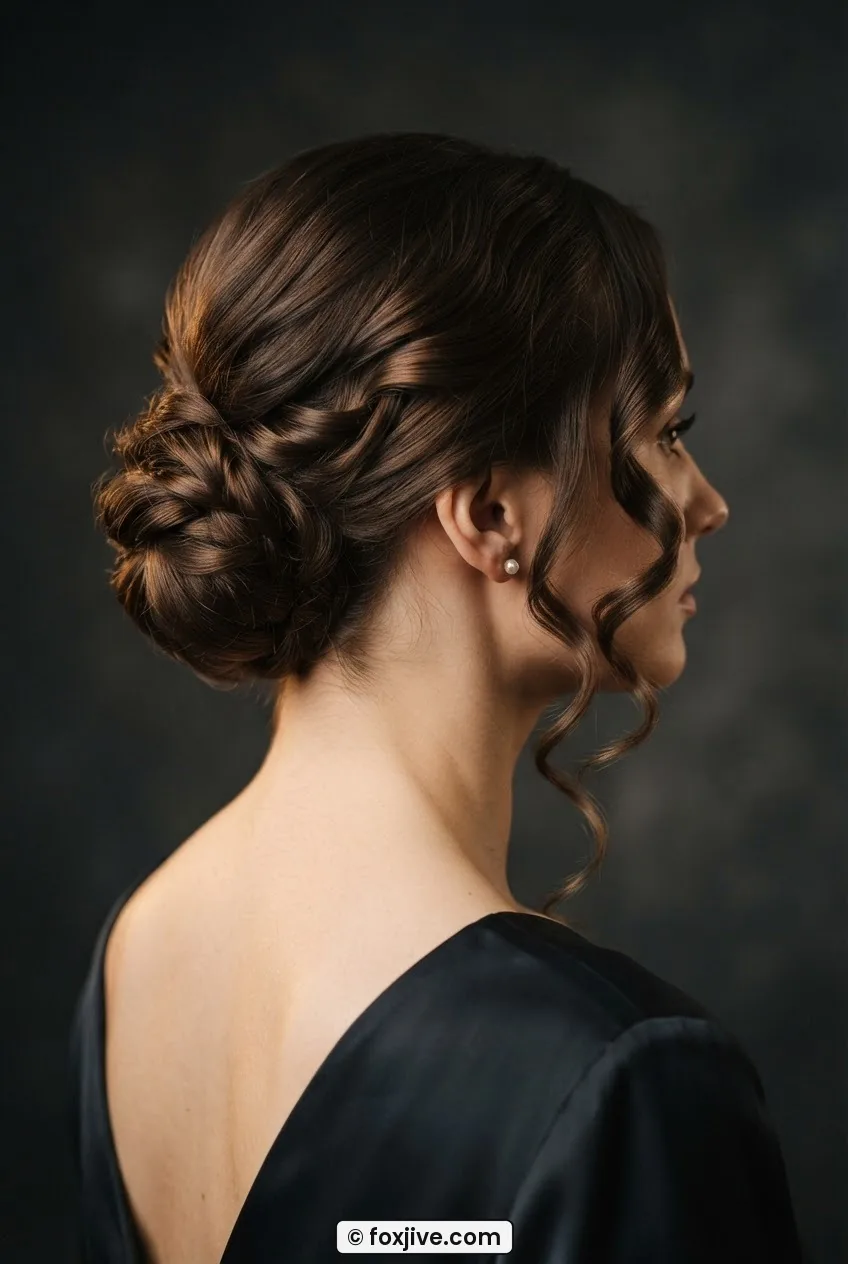
A low chignon with face-framing tendrils curled in a retro-ish loop — one of those styles that starts looking slightly stiff and formal and then, as the night goes on and the tendrils relax, becomes genuinely beautiful. I’ve noticed this happens around the three-hour mark. Something loosens and it just works.
The single product: a flexible wax paste for the tendrils, nothing else. Don’t spray the bun — let it move. By two in the morning, a few extra pieces have escaped the pins and the whole thing looks effortlessly undone in exactly the right way. This is the style I wear when I actually want to dance all night and not worry once.
4. Built for the Dance Floor
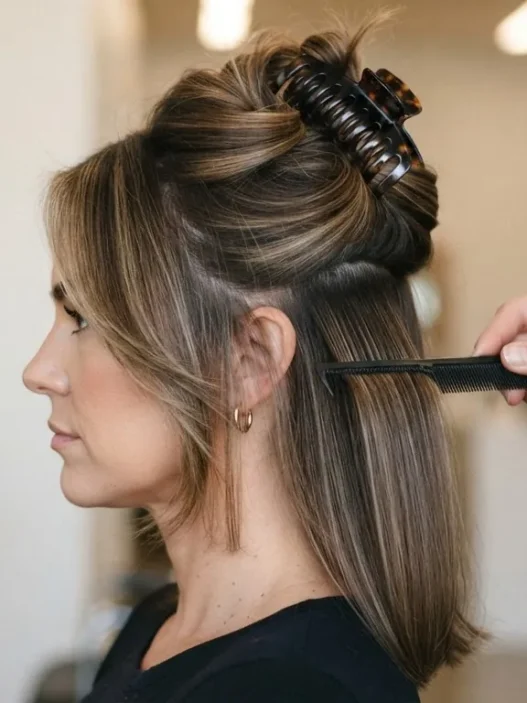
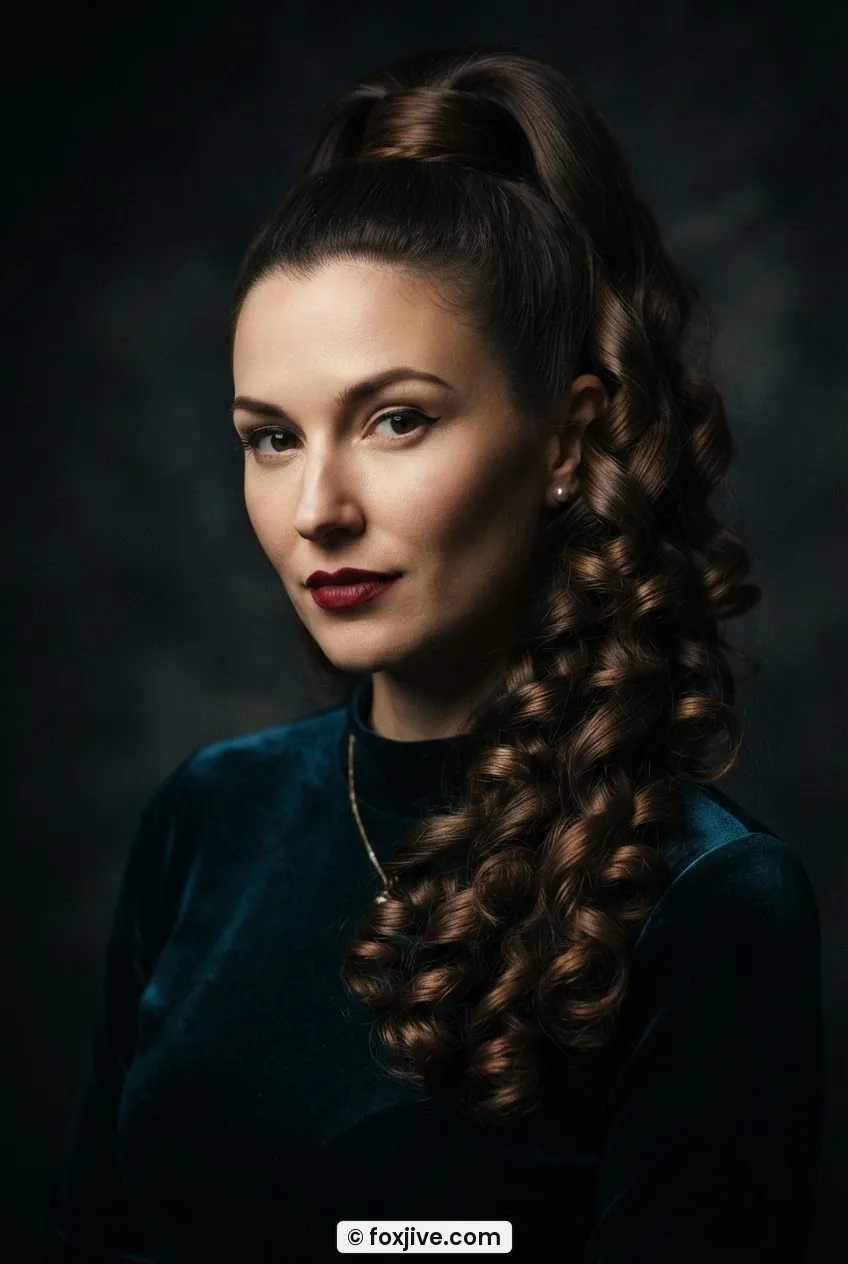
A high, sculpted ponytail with a vintage twist — literally. You wrap a small section of hair around the base, pin it, and then curl the tail into uniform retro rings. It sounds fussier than it is. The prep time is about twenty-five minutes and the result is genuinely jaw-dropping.
What holds it: a strong elastic (the fabric-covered kind — the rubber ones give up), a couple of bobby pins, and a generous hit of maximum-hold spray on each curl before it sets. The height of the pony means it stays away from your neck, which matters enormously when you’re actually moving. At midnight the curls have relaxed into looser rings, which is honestly even prettier. The woman in the photo below has her curl tension perfect — notice how each ring stays distinct even under that warm lighting.
5. Old School, New Hold
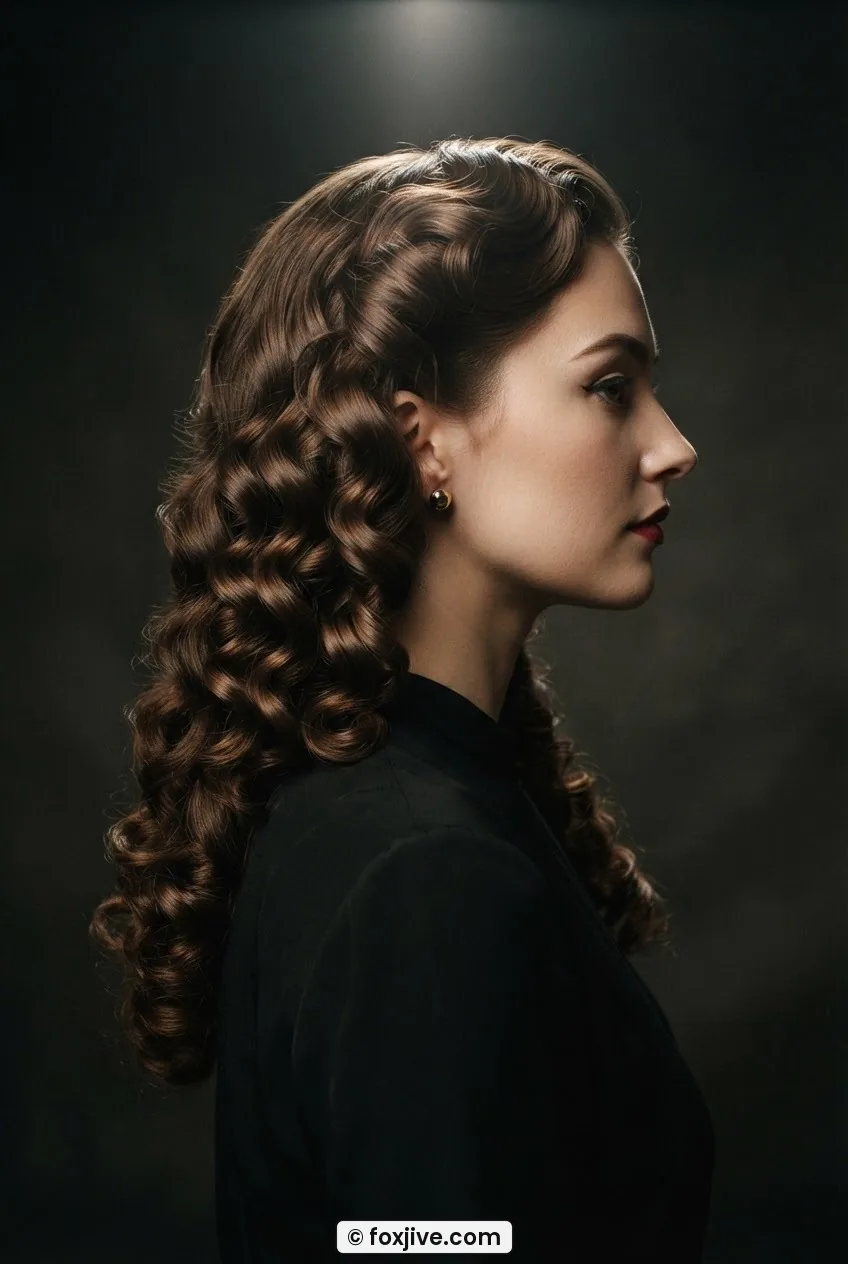
Vintage-style barrel curls worn down — the kind you see in every 1940s portrait but rarely attempt for a night out because you assume they’ll collapse. Here’s the thing: they collapse because people use the wrong iron temperature and the wrong product sequence. Get both right and these curls survive a full evening.
The sequence is what counts. A light mousse on damp hair, fully dry, then section and curl from the ends up (not the roots down), then — this is critical — let each curl cool completely in a pin before releasing. One product to hold: a firm-hold mousse, nothing sprayed on top until the very end. At midnight the curls have expanded into waves, which is still completely lovely, and completely on-theme for that old Hollywood Glamour aesthetic. You can read up on the how barrel curls are set technique before you attempt this one.
6. The Finger Wave That Actually Endures
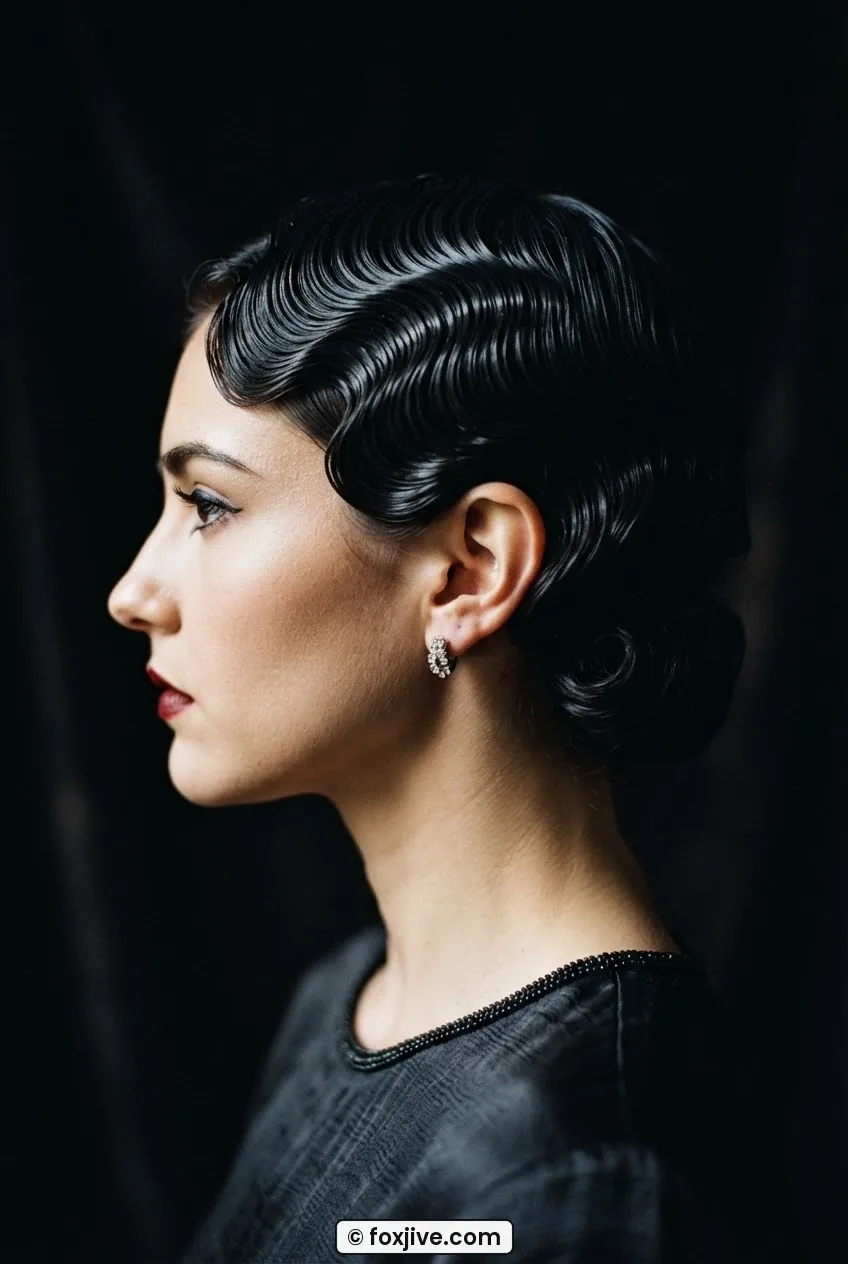
I need to be honest with you: most finger waves do not survive a night out. They’re a styling-gel construction pressed into shape while wet, and humidity or sweat can undo them faster than you’d believe. But — and this is the version worth knowing — a hybrid finger wave, where the waves are shaped with a curling iron first and then defined with gel, holds significantly better.
My personal pick for anyone who wants to commit to the full twenties-and-thirties aesthetic is this hybrid finger wave. I wore it to a summer rooftop party once — three hours of humidity — and it was still recognizably a finger wave at the end of the night. Not perfect. But still there. That alone felt like a miracle.
Single product: a firm-hold sculpting gel applied over pre-curled hair, smoothed with your fingers and a fine-tooth comb, then left completely alone. Do not touch it. Do not add more product. At midnight you’ll have a slightly softer version of the original, which is fine. It’s the 1920s look that actually makes it to last call.
7. Victory Roll Without the Meltdown
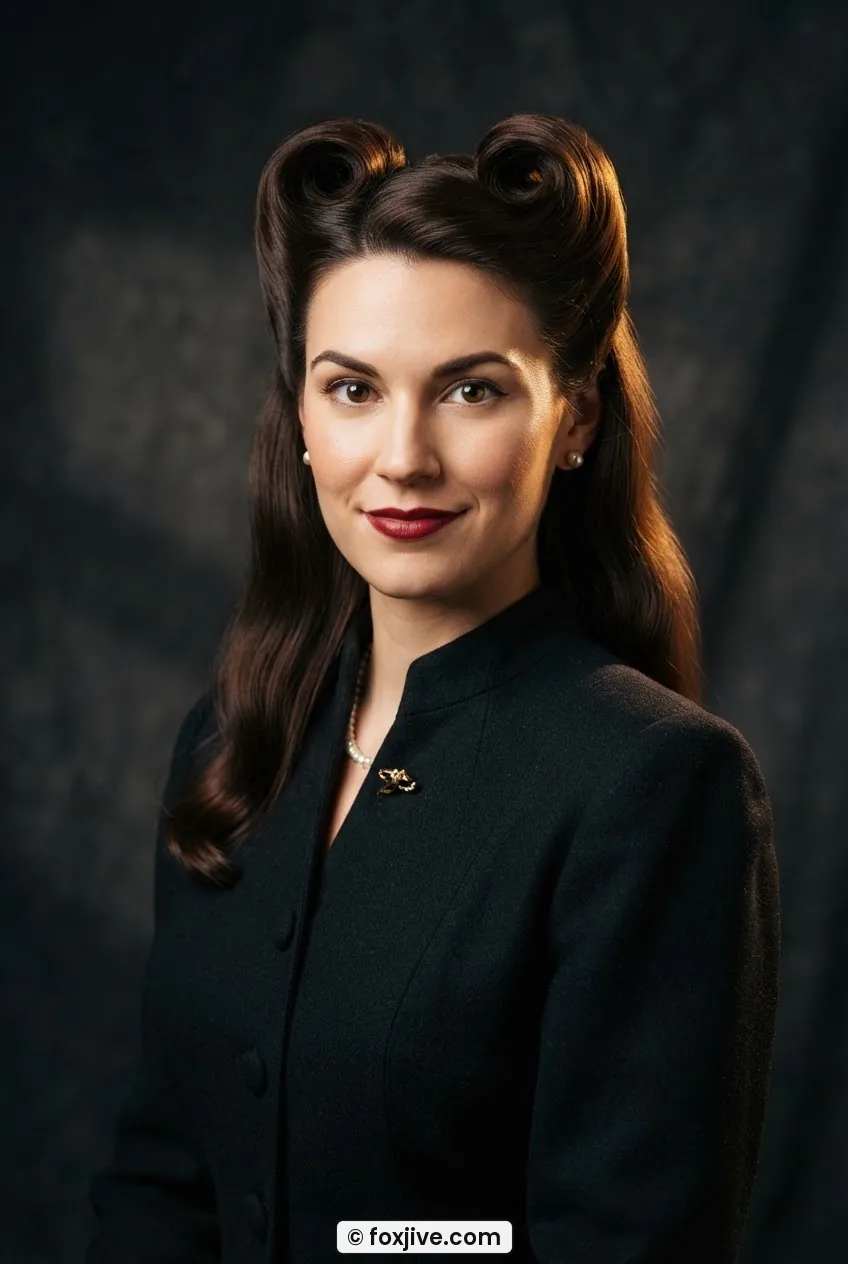
If you’ve spent any time exploring victory rolls as a style, you already know the heartbreak of a roll that unravels mid-evening. The structural problem is almost always the same: not enough pinning at the base, and hair that’s too silky to grip itself. Here’s the fix.
Backcomb the hair that will form the roll before you even attempt to shape it. Use a texture spray on that section specifically. Then form the roll, pin it generously with bobby pins that cross over each other (the X formation holds better than parallel pins), and spray only the surface. Prep time: about thirty-five minutes for both rolls. At midnight, the rolls may have softened slightly at the base but the visual read stays. Five hours in, she looks vintage-perfect and completely intentional.
8. The Velvet Headband Hack
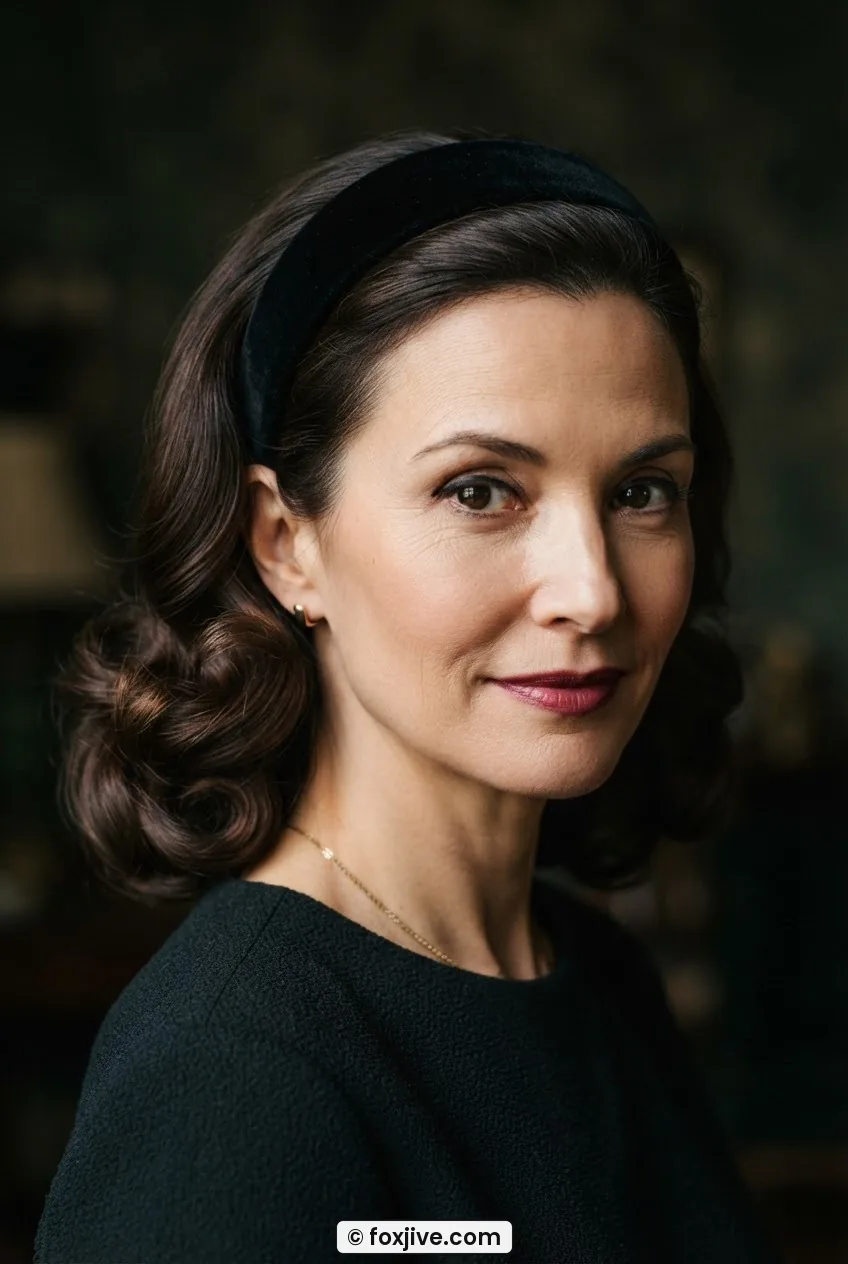
This one barely counts as a style and completely counts as a look. A wide velvet headband pushed back from the hairline about two inches, with the hair below it smoothed into a loose wave or left in a simple blowout. The band does enormous visual work — it gives the whole thing a 1940s screen-siren quality without requiring actual skills.
Prep time: fifteen minutes including the blowout. Single product: a light shine spray on the visible hair. At midnight? Exactly the same as it looked when you left. Nothing moves. Nothing falls. The headband is structural by design, and velvet grips hair without pins. This is my emergency option for nights when I’m already late and my backup style fell apart.
9. Pin Curl Set for Night People
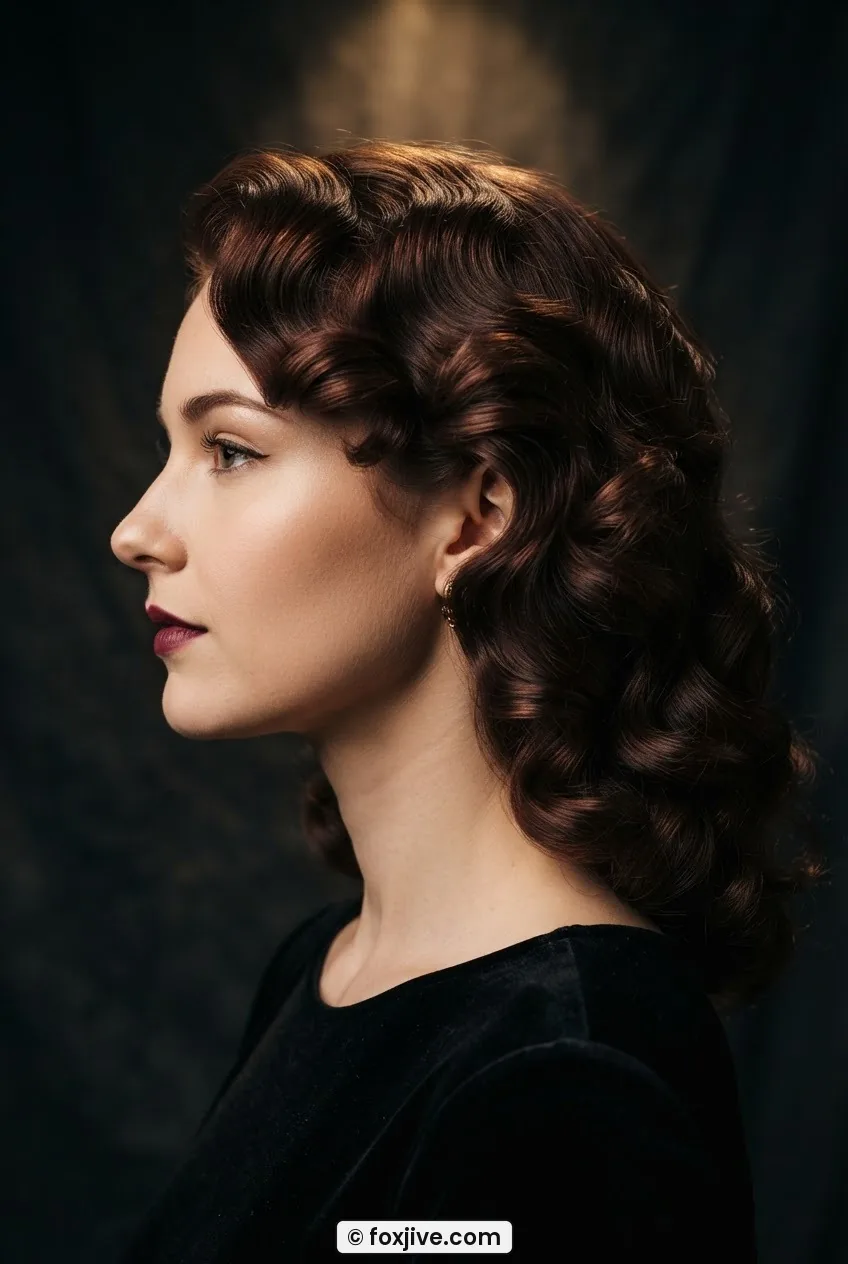
Set the pin curls the night before — or during the day while you’re doing other things — and release them right before you go out. This is the most underrated night-out prep move I know. The curls that have been setting for six or eight hours are dramatically more resilient than anything you can produce with an iron in twenty minutes.
Product for setting: a light hold lotion on damp hair, nothing else. When you release them, separate gently with your fingers, hit with a shine spray, and go. At midnight these are still full, soft, bouncy curls — the kind that look impossibly perfect. The five-hour version is arguably even more beautiful than the fresh release. You can explore more about the pin curl technique to get the sizing right for your hair texture. This is everything on Foxjive.com that I love about retro styling philosophy: slow prep, fast results, long wear.
10. The Sleek Side Part That Never Quits
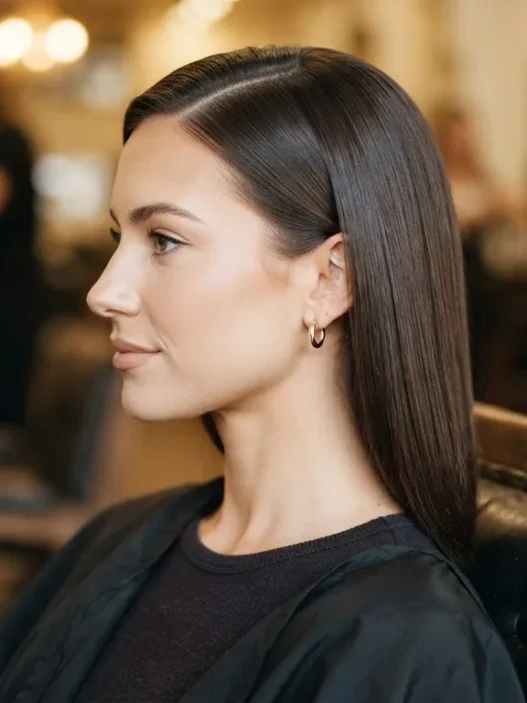
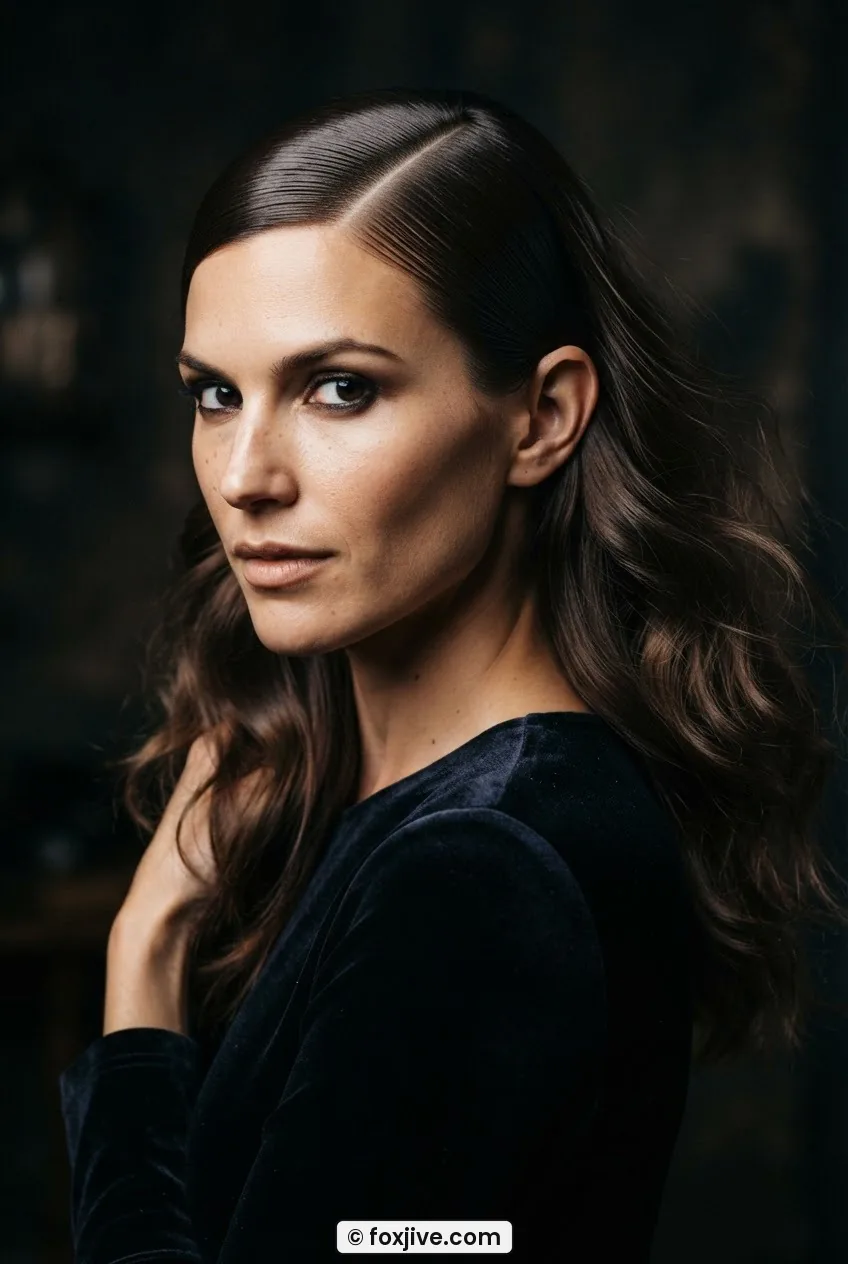
A deeply off-center part, hair slicked smooth on the heavy side, loose and soft on the light side. This is probably the most genuinely low-maintenance entry on this list, but it photographs like you tried for hours. The contrast between the sleek side and the softer side is what sells it as vintage-inspired rather than just a regular blowout.
Single product: a light pomade or hair oil on the heavy, slicked-down side. Nothing else. Prep time under twenty minutes. At midnight, the slicked side may have relaxed slightly, but because you used an oil-based product rather than gel it won’t flake, crack, or go stiff. It just looks like a beautiful, lived-in old Hollywood wave. The woman in the photo below has this technique dialed in — look at how the contrast between those two sides reads as completely intentional even in low light. That’s the goal.
11. The Big-Hair Finale
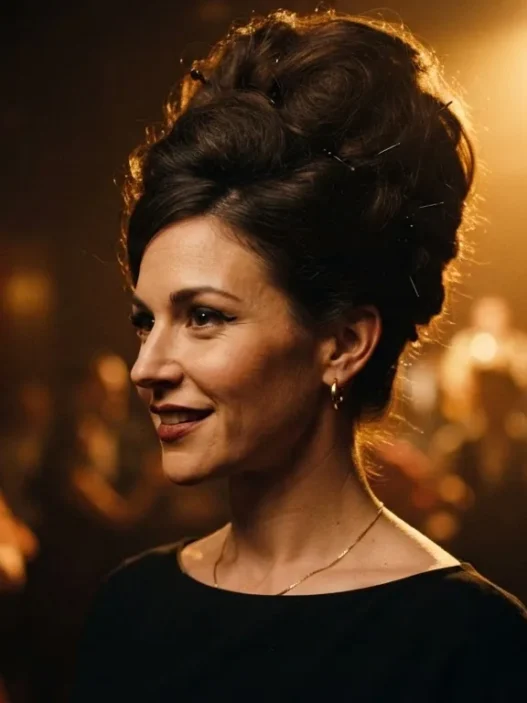
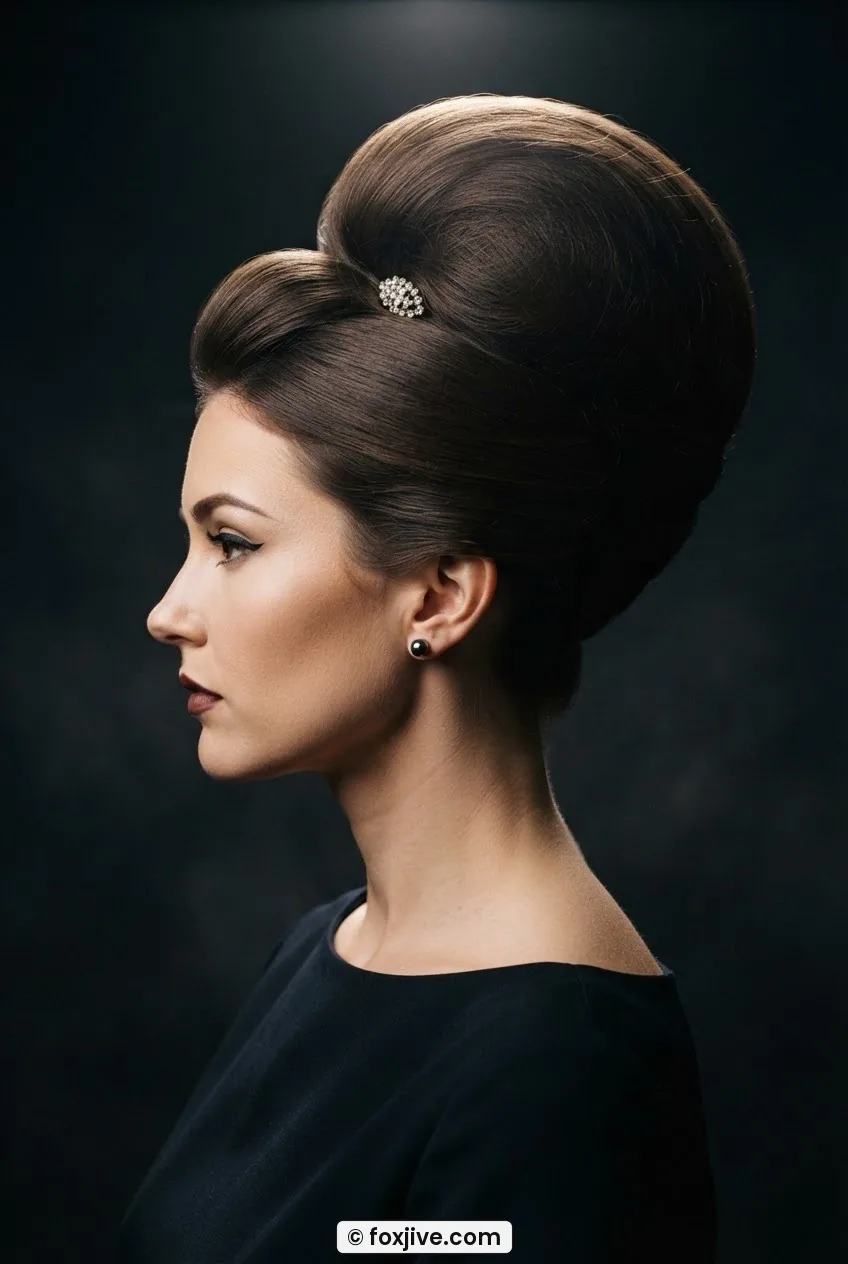
This is the full-commitment option: a voluminous, backcombed, sprayed-within-an-inch-of-its-life retro updo. Think late fifties, early sixties — massive structured volume at the crown, smooth sides, maybe a small decorative pin. It takes forty-five minutes minimum and requires genuine dedication to the bit.
Product: maximum-hold hairspray, used generously and built up in layers while the structure forms. At midnight this is still enormous. Backcombed volume, when properly set with spray and not disturbed, is genuinely one of the most durable constructions in all of vintage hairstyling. I’ve seen this look go six hours completely intact. The key is not touching it — every time you smooth it down or fuss at it you undo the backcombing. Leave it alone and it rewards you. For even more context on the styling history behind this era’s aesthetic, the era overview behind these volume styles is genuinely worth a read before you start experimenting. And if you want to know more about the site behind all this vintage hair obsession, the about page says it all.
Questions I Get About This
Does humidity actually kill these styles, or is that a myth?
It’s not a myth, but it’s highly product-dependent. Gel-based styles (like finger waves) are the most vulnerable to humidity because gel absorbs moisture and re-activates. Pomade and wax-based styles are far more resistant. If you’re going somewhere warm or dancing hard, reach for a wax or oil-based product over anything water-soluble.
Do I need professional tools or will a regular curling iron work?
A regular curling iron works for most of these. The deep Hollywood wave benefits from a Marcel-style iron because the technique is different, but for barrel curls, pin curls, and the victory roll prep, any decent iron at the right temperature is fine. What matters more than the tool is the product sequence and letting things cool completely before releasing.
What’s the single best hairspray for vintage styles that last?
I always recommend a flexible-hold spray over a maximum-hold lacquer for most vintage styles — counterintuitive, I know, but stiff hair cracks along the wave ridges and looks artificial after a few hours. Save maximum hold for backcombed volume styles where you genuinely need structure, not for waves or curls where you want movement. A light flexible spray, applied in multiple light coats, outlasts a single heavy hit every time.
Can any of these work on short hair?
The finger wave and the deep side-part wave are actually better on shorter hair — they’re historically accurate to chin-length and shorter cuts anyway. The sleek side part works beautifully on a vintage bob. The styles that struggle on short hair are the chignon and the pin curl set, which both need at least shoulder length to fully work.
If you made it this far, you’re clearly someone who takes their night-out hair as seriously as I do — which I respect enormously. My honest advice? Pick the style one level above what feels comfortable. The finger wave feels ambitious until you’ve done it twice. The victory roll feels terrifying until the second pin goes in and suddenly it’s obvious. Go bold, set your hair properly, and stop touching it after you leave the house. That last part is genuinely the whole secret. Questions or style victories to share? The contact page is always open.