






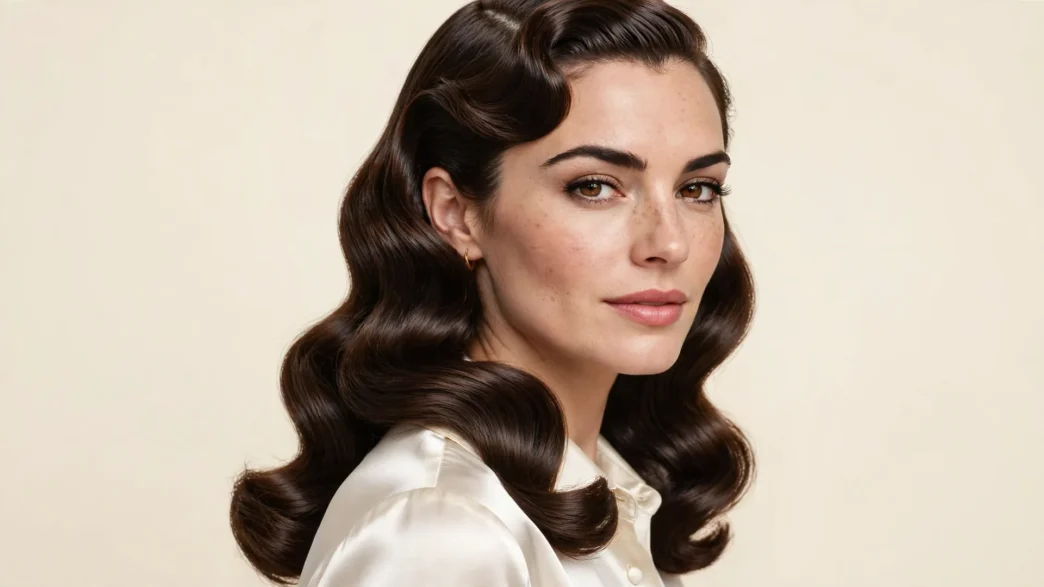
I love old Hollywood glam more than is probably reasonable for someone who works from home in sweatpants. But every time I tried to do vintage waves myself, I ended up with separated prom curls or worse, a frizzy triangle. I wanted that soft, connected, liquid S that moves as one piece.
After a lot of trial and error, and one very flat Christmas party look I still think about, I finally landed on a heat-set routine that works for me and does not require sleeping in a wet set. I will not do an overnight wet set. I toss and turn, the pins stab me, and I wake up cranky. This is my no-overnight method using a curling iron, clips, and a lot of patience while the curls cool.
Here is the one rule that makes all of old Hollywood hair work. Every single curl has to go the same direction. If you alternate like a modern beach wave, you break the S and you will never get that smooth vintage ripple. Once I committed to that, everything clicked.
What You’ll Need
I keep my kit really simple because too many products make this heavy and stringy. You do not need a salon trolley. Just the right heat, the right brush, and a good long-cooling window.
- 1-inch curling iron with a smooth barrel, no clamp ridges if you can help it
- Heat protectant spray, a light-weight mist not a thick cream
- Small duckbill clips or single-prong pin-curl clips, about 12 to 15
- Soft boar-bristle brush or a vintage-style cushion brush for the brush-out
- Wide-tooth comb and a rat-tail comb for shaping the S
- Light-hold hairspray and a pea-size drop of serum or pomade
- Side-part comb and two small sectioning clips
My hair is fine but I have a lot of it, just past my collarbones, with a side part. If yours is thicker or longer, grab a few extra clips. And if you love a deep side part like the classic Old Hollywood stars, decide that now. The part dictates which way you wind everything.
Step 1: One Direction, Every Curl
This is the step that changed my waves from pretty curls to actual old Hollywood hair. Pick one direction and do not cheat. For my right-side part, I wind everything away from my face on both sides, which means clockwise on the right and counter-clockwise on the left if you are looking in the mirror. It feels weird on the second side. Do it anyway.
I start with dry, day-old hair with a light mist of heat protectant. Clean, slippery hair falls out too fast for me. You can read up on how heat protectant shields fine hair before you plug in your iron, because heat plus no barrier is how I fried my ends in 2023. I set my iron to 320 degrees for my fine hair. If yours is coarse or resistant, go up to 340 or 350 degrees, but I would not go hotter than that for this look. We want a smooth, moldable curl, not a crispy ringlet.
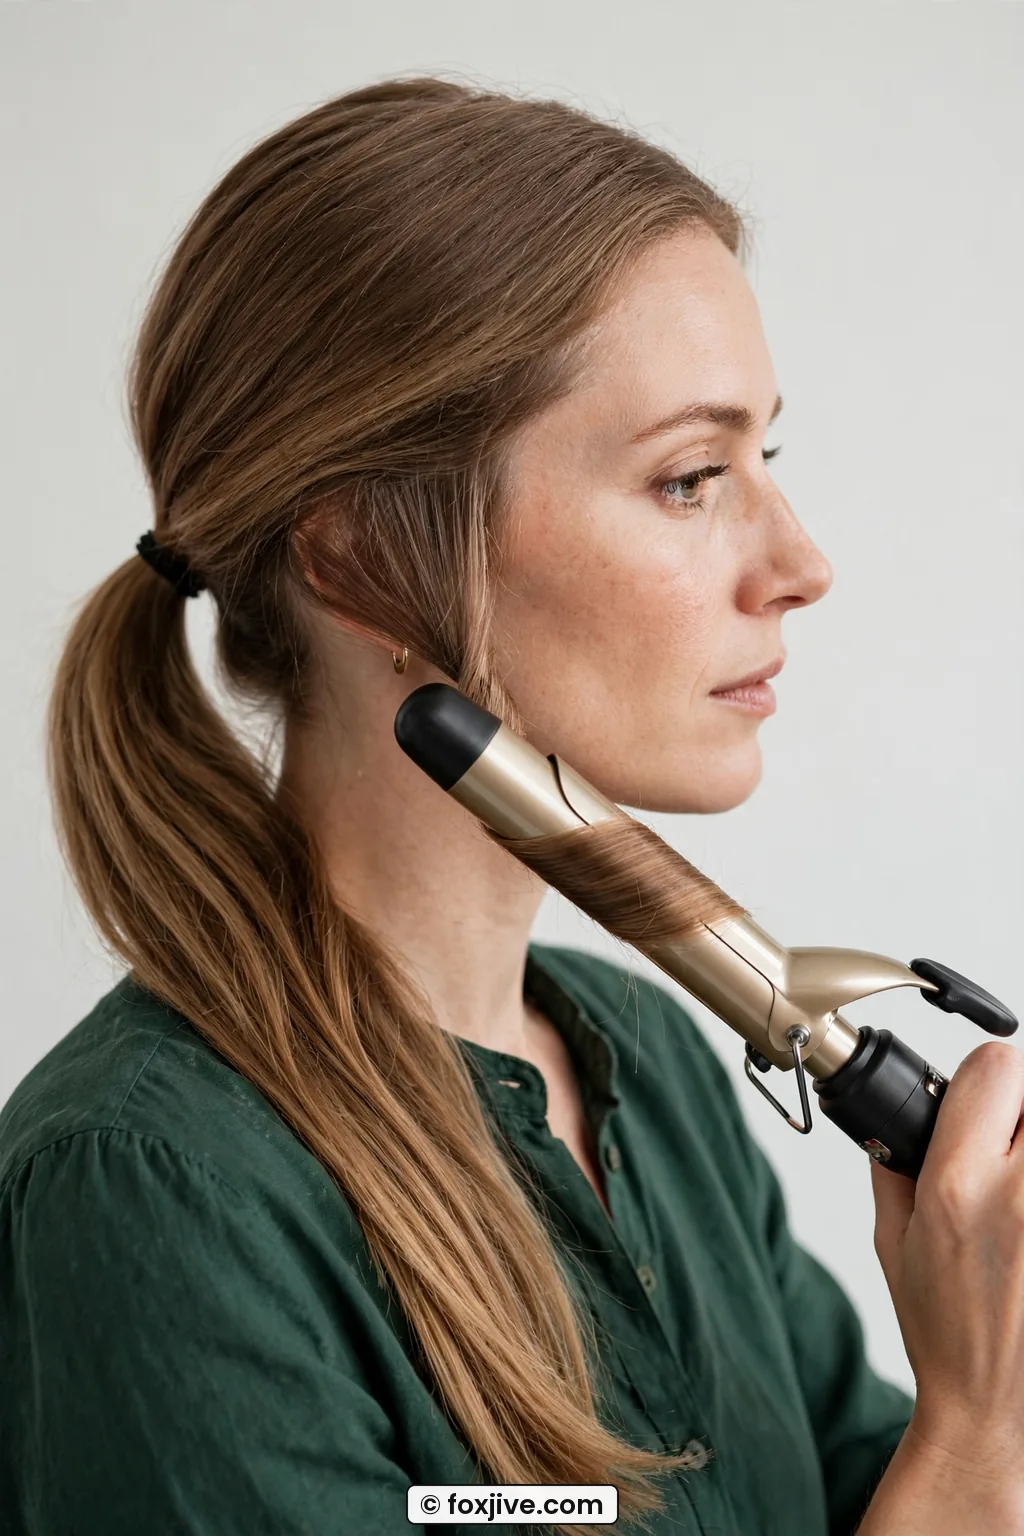
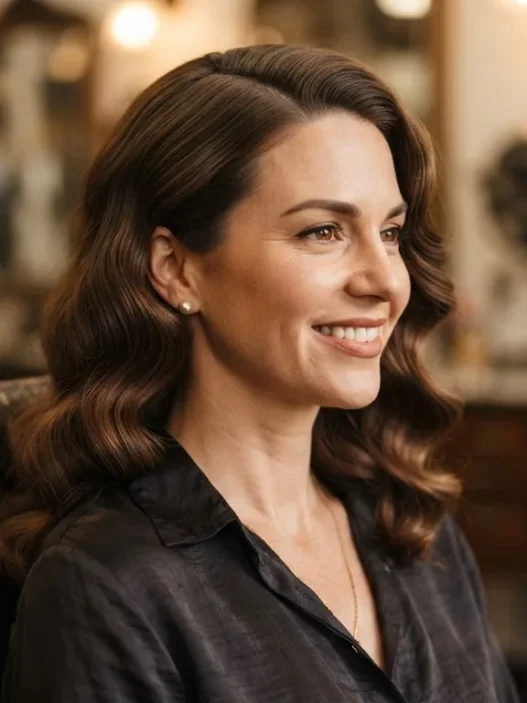
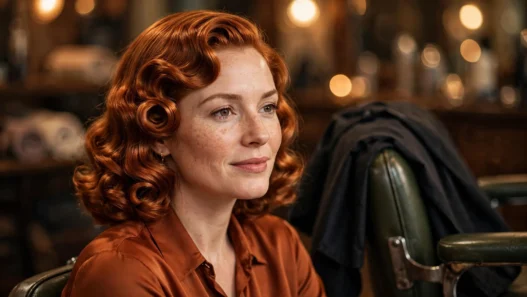
Look at how she is holding that section. That is exactly the tension I mean. Smooth at the roots, iron about an inch off the scalp, then wrap the hair flat around the barrel like ribbon, not twisted like rope. I take one-inch, clean-cut sections, comb each one smooth first, then wrap from mid-lengths to ends with the ends tucked neatly. Hold for 8 to 10 seconds, then slide the iron out without pulling the curl straight.
Why does mixing directions destroy the S? Think of it like water ripples. When all the curves lean the same way, they nest inside each other when you brush and form that long, continuous S. When I tried alternating for more volume, I got a zigzag. The waves fought each other, the front pieces flicked out, and no amount of brushing would marry them. It looked modern and cute, but it was not vintage at all. My favorite reference for this is true Old Hollywood Waves, where you can see the light hit in one unbroken line.
I work from nape to crown, then sides last, always winding the same way. I do not brush between curls. I just let each hot tube fall into my palm for two seconds, then move to pinning. That rhythm matters. Hot, release, pin. Hot, release, pin. Once you find it, you will fly through it in about 20 minutes.
Step 2: Pinning to Cool
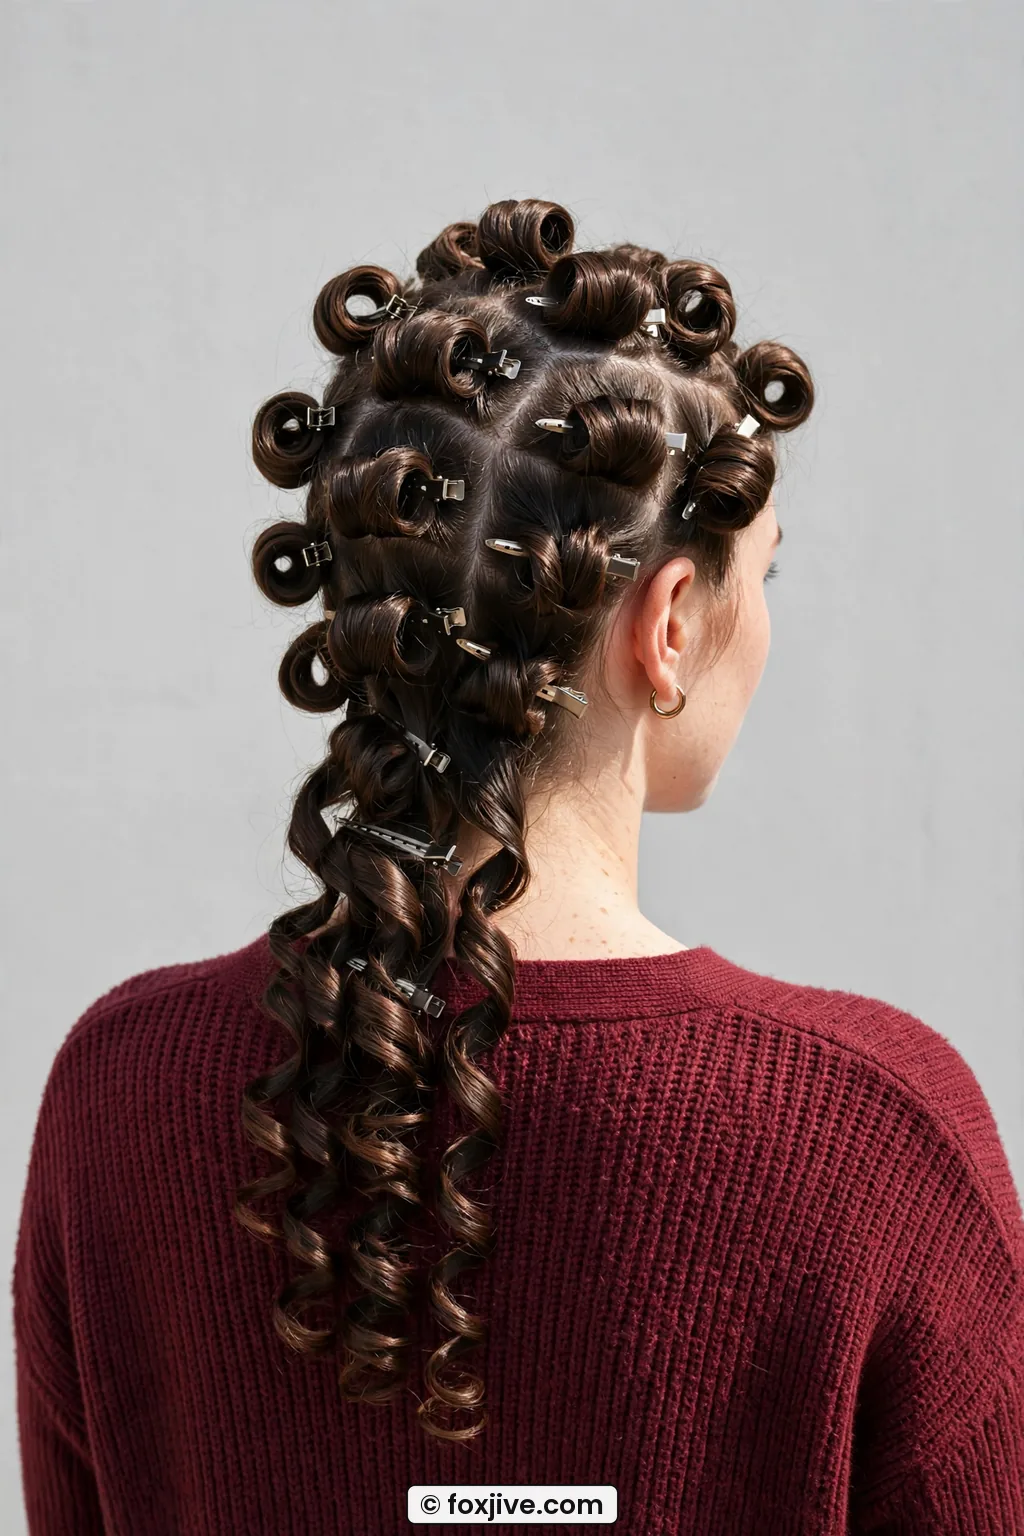
If Step 1 is the shape, Step 2 is the memory. A hot curl has no commitment issues, it will do whatever you tell it while it cools. A curled-and-dropped curl cools stretched out by gravity and you lose half the pattern before you even brush. Pinning is what gives you that bouncy, high-shine, long-lasting finish without cranking the heat.
Here is my method. As soon as I release a curl, I scoop it back up into a flat spiral donut against my head, following the exact circle the iron made. I do not twist it tighter. I just re-coil it. Then I clip it flat with a duckbill clip in an X. The curl should sit close to the scalp but not pulled. Do this for every single curl, and yes, you will look a little silly. My husband calls this my 1940s robot helmet.
Now wait. This is the hard part for impatient people like me. Let everything cool for a minimum of 15 minutes, 20 if you can. I set a timer. I do my makeup, I pick jewelry, I steam a dress. The clips need to feel completely room-temperature when you touch them. If there is any warmth left, give it five more minutes. That cool-down is what sets the hydrogen bonds or whatever the science is. All I know is when I rush it, my waves fall by lunch.
My mistake? The first time I tried this I unpinned after four minutes because I was late. The curls looked amazing for about 20 minutes, then dropped into sad bends. Now I pin first, then do everything else. Cool curls brush out like butter, warm curls brush out into frizz.
For context, this pin-and-cool trick is the same idea behind classic 1950s Hairstyles sets, just with heat instead of wet hair. My friend who does authentic wet sets laughs at my shortcut, but honestly, on my hair type this holds just as well for a dinner out. And if your hair is very straight and resistant, you can lightly mist each section with hairspray before you wind it. Just keep it light. Too much and the brush will snag.
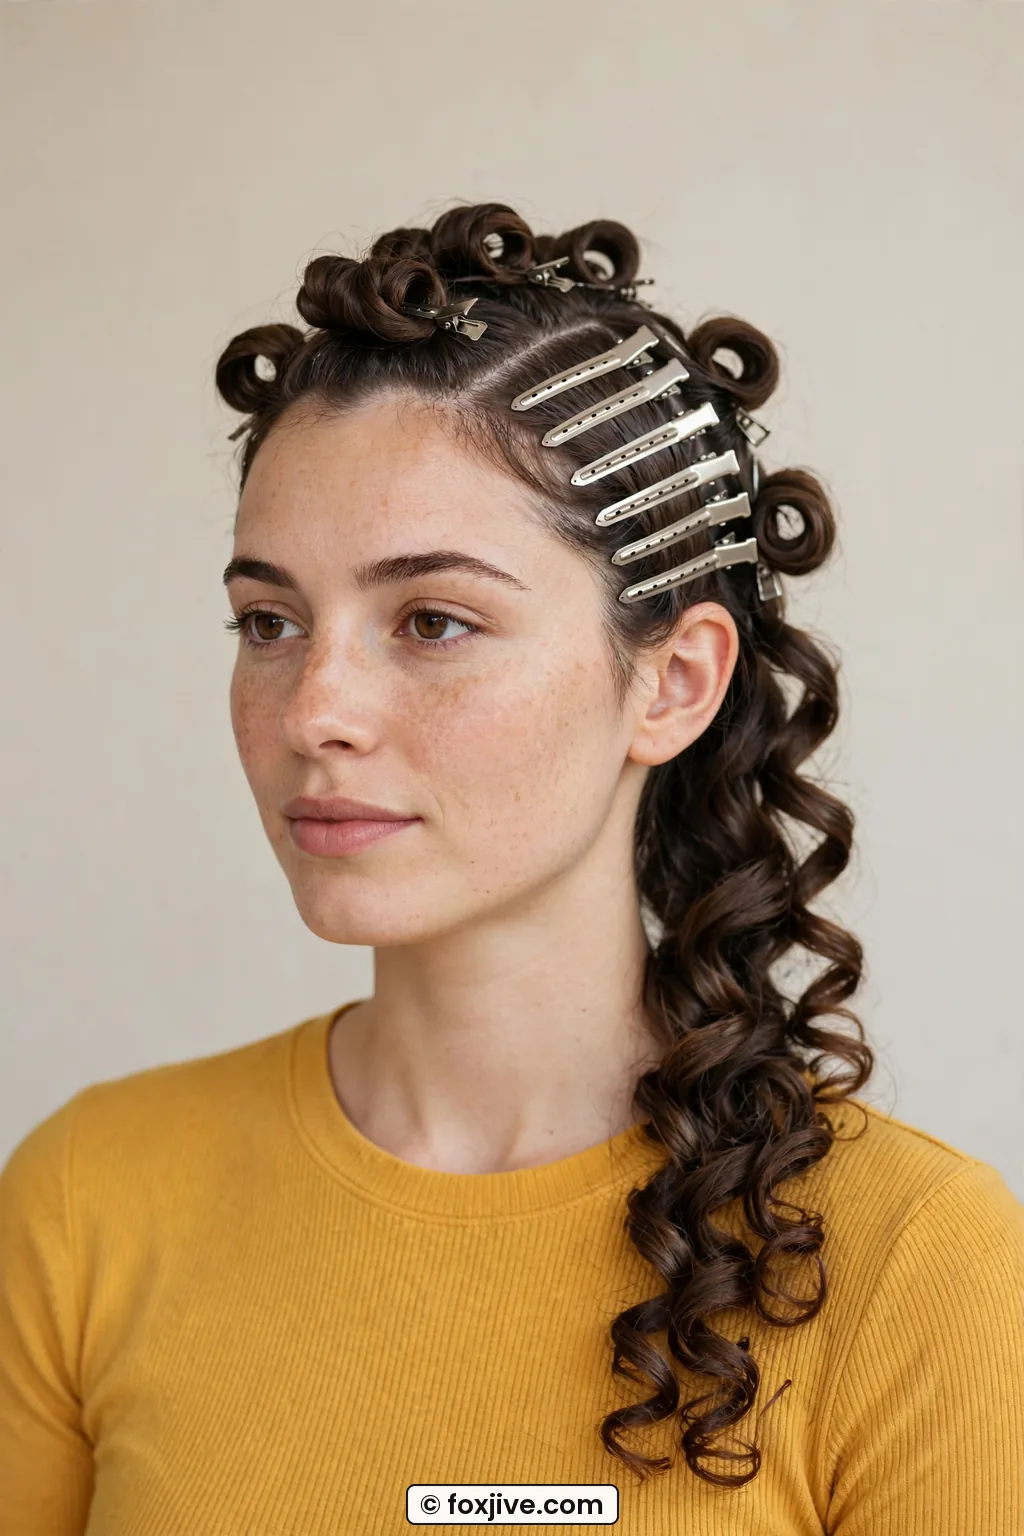
Step 3: The Brush-Out and the Comb
This is my favorite part, and also the scariest if you have never done it. You take out all the pins and you look like Shirley Temple. Do not panic. That is correct. The magic is in the brushing, not the curling.
Take every clip out first. Let them hang. Then lightly mist your brush, not your hair, with a touch of anti-static spray or just breathe on it. I start at the nape and brush in long, slow strokes from scalp to ends, following the direction of the curl. Count on at least 30 to 40 full strokes for the whole head. I know that sounds like a lot. At stroke 10 you will think you ruined it. At stroke 25 you will see the отдельные ringlets melt into one soft, side-swept sheet. Keep going.
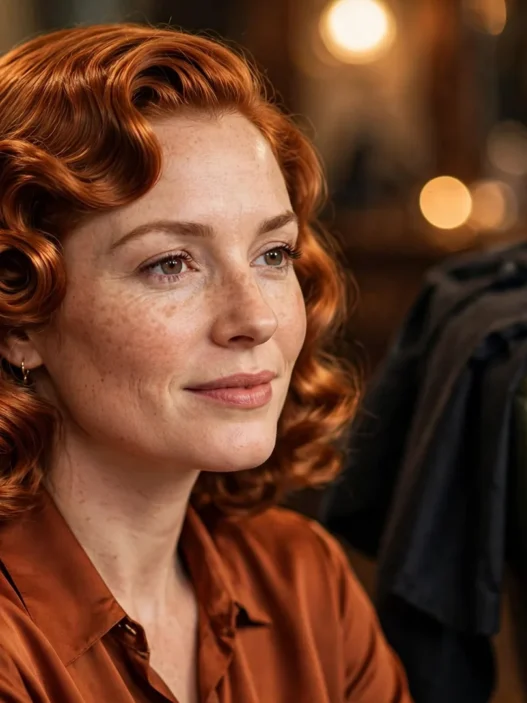
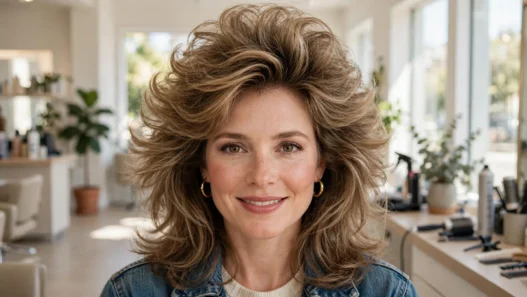
She is right in the middle of this moment in the photo. See how one side is still a tight ringlet and the other side has already melted into that smooth, connected wave? That contrast is exactly what you are looking for around the halfway mark. The brush is doing the blending, pulling all those one-direction curls into a single ripple. I use a soft boar-bristle brush for this because it polishes without tearing. You can learn more about proper curl brush-out techniques if your brush tends to poof things up, since pressure really matters here.
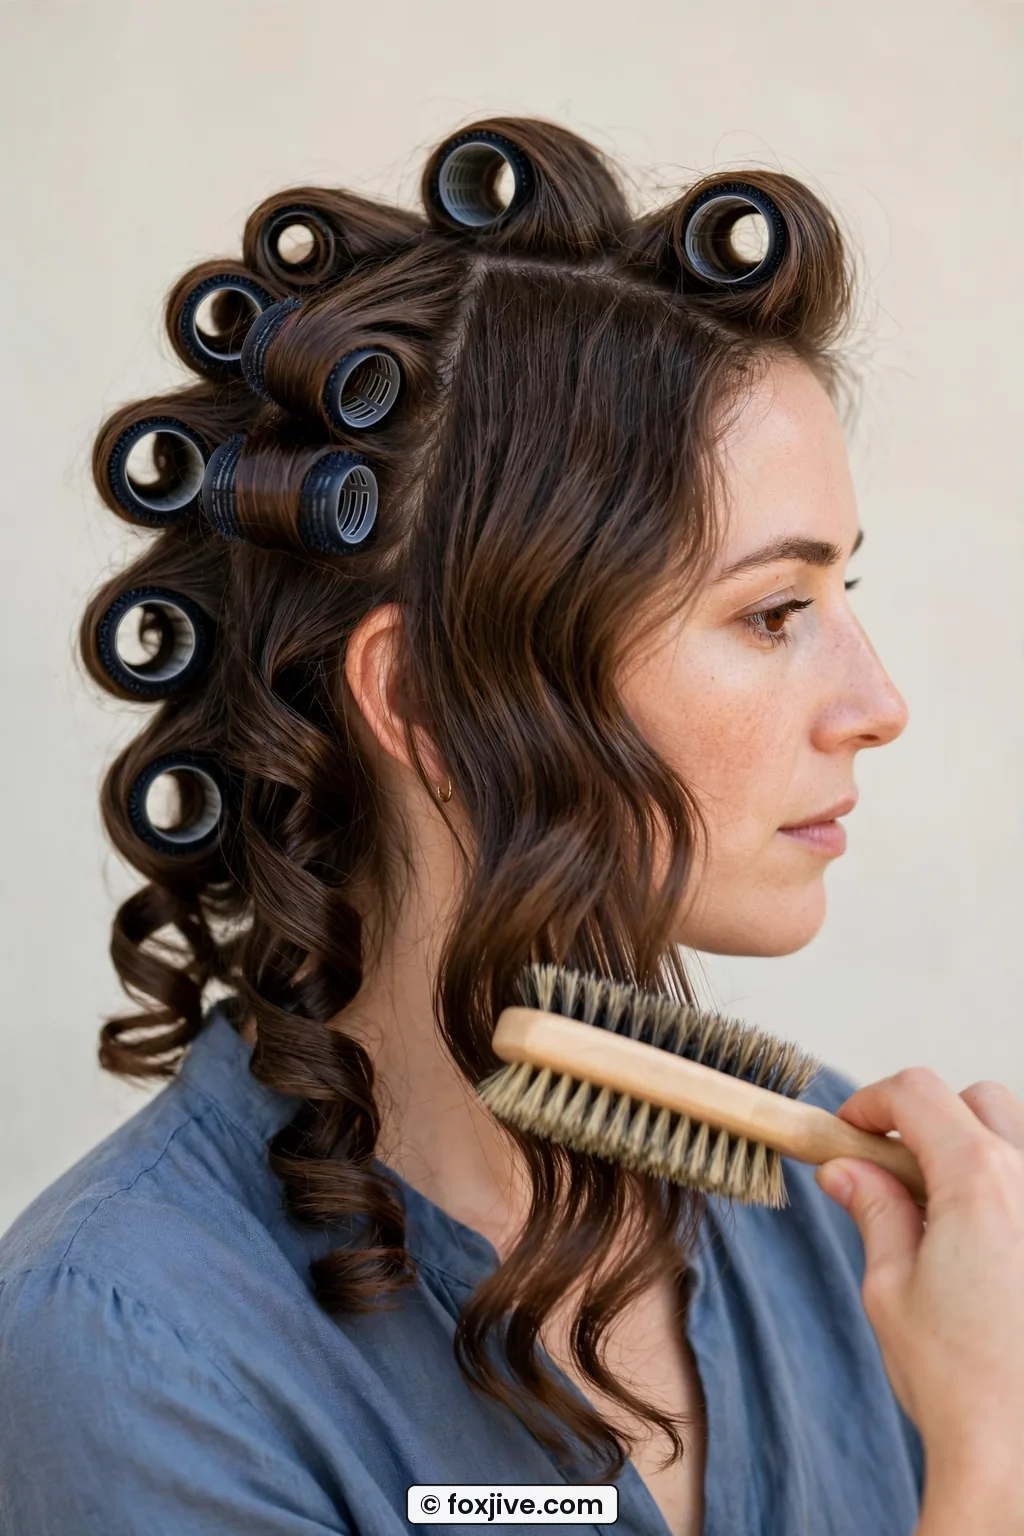
Once it is brushed into one piece, I switch to the comb for shaping. With a wide-tooth comb, I coax the front into that deep S. Push in at the temple to make a ridge, scoop out below the cheekbone to make a valley. I use the tail of my rat-tail comb to nudge, not drag. And I use my palm to smooth the top. If a piece wants to separate, I press it back into the wave with my hand and hold for 10 seconds. Heat from your palm helps.
What about the part? I re-establish my side part with the tail comb and flatten the heavy side over my forehead just a touch. That low, eye-skimming sweep is so 1930s. I wrote more about why that decade reads costume-y when you get it wrong in my post on 1930s Hair Without the Fancy Dress Problem, and the fix is always softness at the hairline. No hard gelled ridge. Just a brushed, touchable roll.
If you get frizz at this stage, do not re-curl. Smooth a pea-size amount of serum over your palms and press, do not rake, over the surface. Raking separates. Pressing marries. That little wording shift helped me so much.
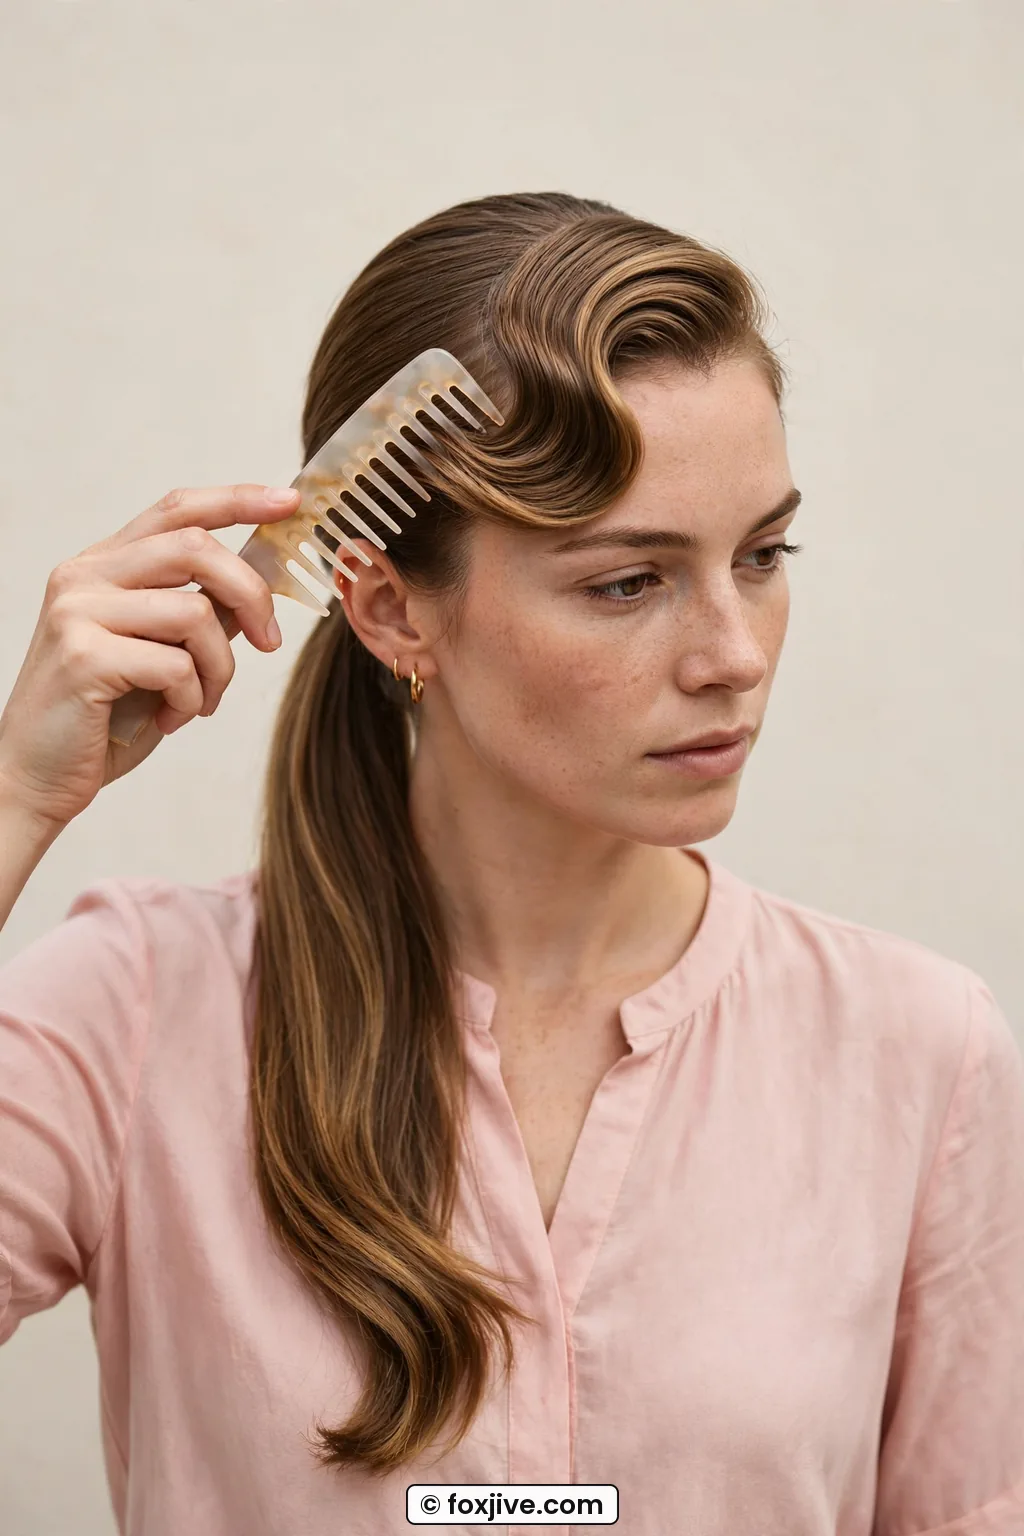
See the Brush-Out Come Together
Step 4: Locking in the Hold
Okay, your S is smooth. Now we have to keep it there past the front door. Vintage hair falls faster than modern texture because it is brushed so clean. Any humidity or neck sweat wants to break it apart. So I lock it in layers, not with one helmet blast.
I lift the top layer gently and mist a light-hold hairspray underneath, about 10 inches away. Then I let it drop and mist the surface very lightly. I do not use a strong-hold, helmet-head spray for this. It makes the brush-out look crunchy and dull. A flexible, brushable formula keeps movement. I also press the wave back into shape right after I spray, while it is still a little tacky. That tack is your friend.
For the front ridge that always wants to lift, I put one clip back in, right in the valley of the S at my temple, and leave it while I get dressed. Five minutes. It is like a little memory refresher. When I take it out, the dent stays. If I am going to an outdoor wedding or it is August in the South, I will add a tiny dot of pomade on the ends to keep them coiled under. Ends are the first to frizz and flip.
How long does mine last? On day one it is glossy and sculpted. On day two, after sleeping on a silk pillowcase with my hair swept over the top of the pillow, it relaxes into an even softer, more wearable wave. I just re-shape with the comb in the morning, no heat. By day three I usually pin the sides back into a simple twist, which is where my love of Vintage Updos comes in handy. The leftover wave makes updos look ten times better.
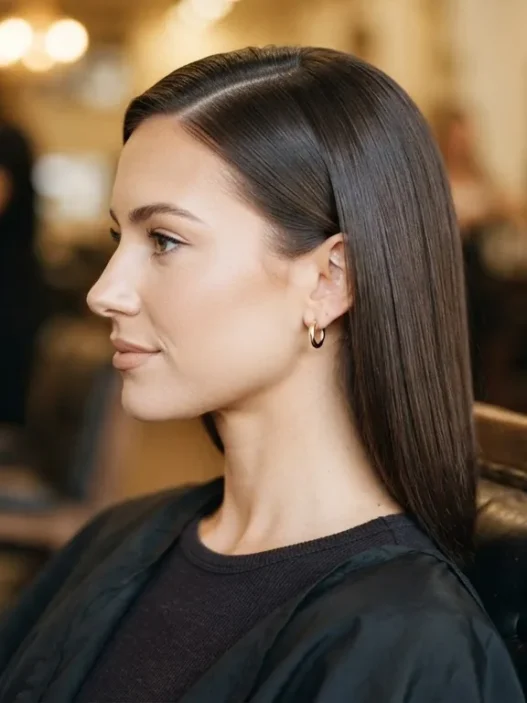
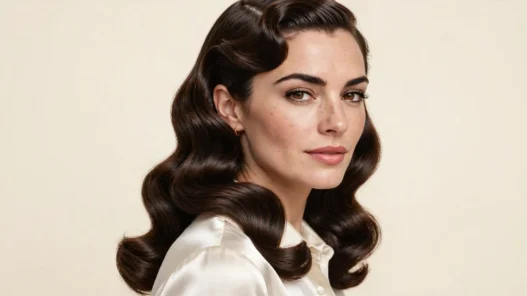
She has the hold I aim for in this last photo. See how the light runs down her hair in one clean ribbon with no separated curls? That is a well-locked brush-out. It still moves, it still shines, but nothing is flying away. And honestly, learning to use less spray was the key. You can read about flexible hold hairspray options to find one that brushes out clean, because a stiff spray will ruin day-two hair.
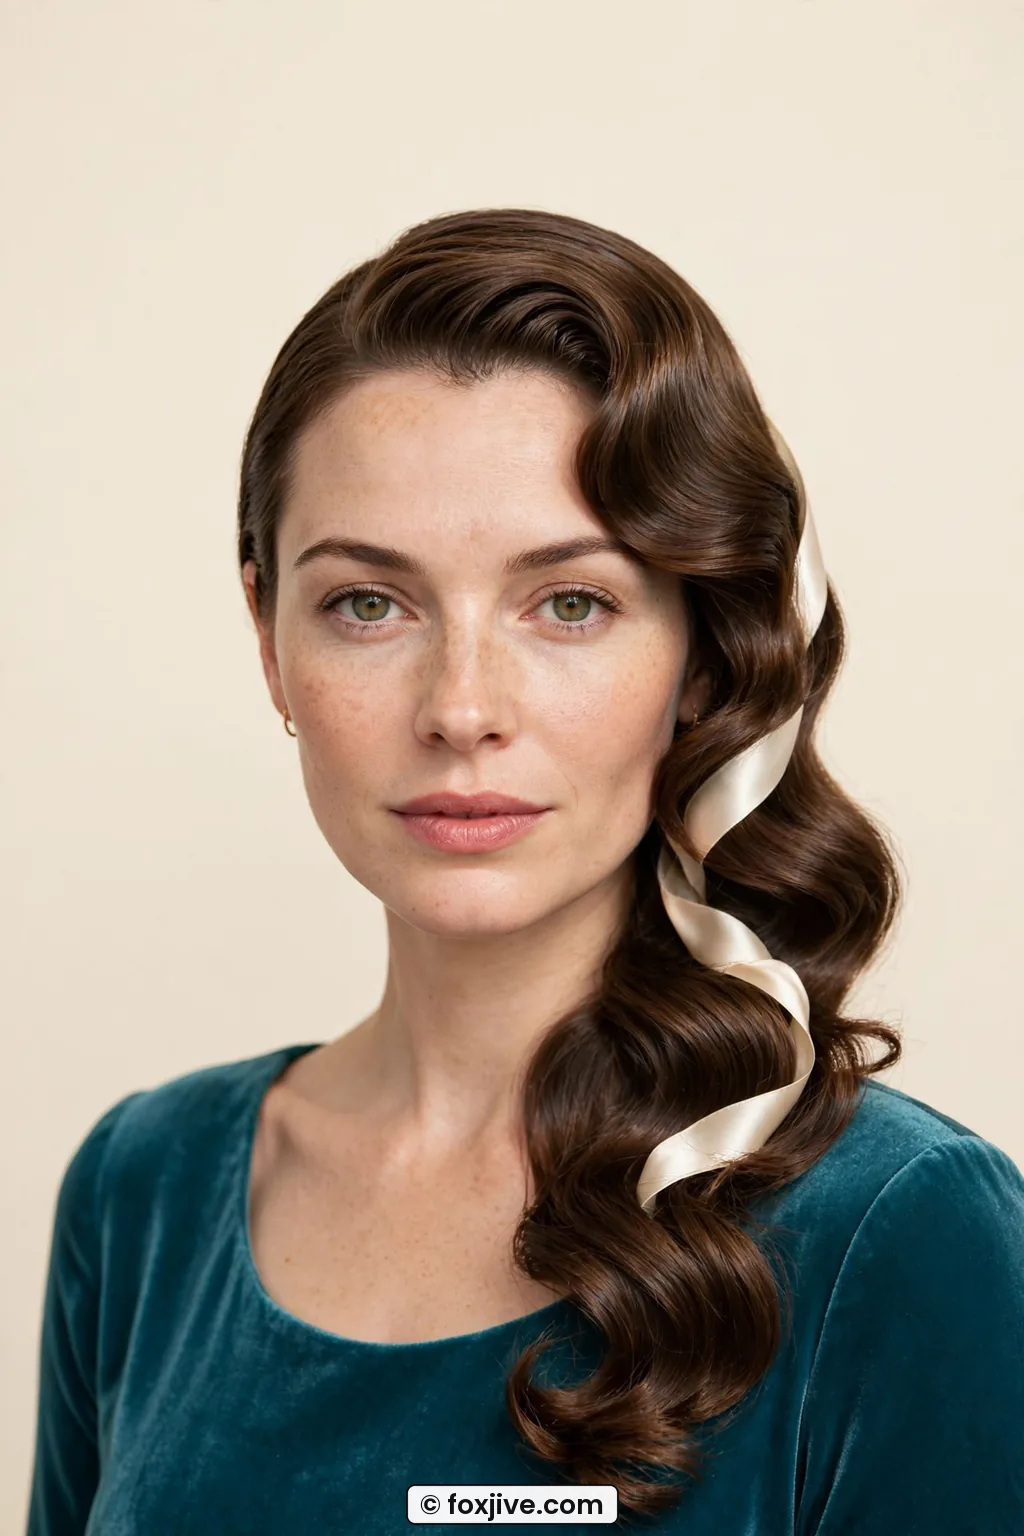
What I got in the end was the hair I had been picturing for years. Soft, side-parted, touchable waves that swung when I turned my head and photographed like satin. My neighbor thought I had gone to a salon. Nope. Just my bathroom, my one-inch iron at 325 degrees, 20 minutes of cooling while I did eyeliner, and a lot of brushing. If I can get this on my fine, fussy hair in 2026 without an overnight set, you can too.
Old Hollywood Hair Questions From My Chair
Can I do this on short hair or a bob?
Yes, and it is actually easier. Use a 3/4-inch iron, take smaller sections, and pin with tiny clips. The S will be tighter but just as pretty. Keep the brush strokes shorter so you do not pull the shape out.
What temperature is safe for fine, color-treated hair?
I stay at 300 to 320 degrees and never skip heat protectant. Coarse hair can go to 350 degrees, but higher than that gives you crispy ends that will not brush smooth. Cool time matters more than extra heat.
Why does my wave separate instead of staying connected?
Almost always mixed curl directions or under-brushing. Wind every section the same way and brush longer than feels comfortable. If it still splits, press with serum on your palms and re-clip the valley for five minutes.
How do I make it last in humidity?
Use a light-hold spray in layers and finish with a pea-size dot of pomade on the ends. Carry one clip in your bag. A five-minute temple clip refresh brings the S right back without adding more heat.
Try it this weekend when you have nowhere to be. That no-pressure run is how I finally stopped fearing the brush-out.