



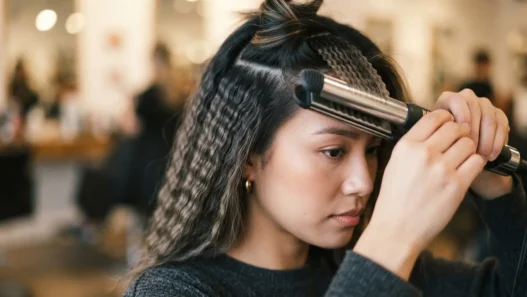

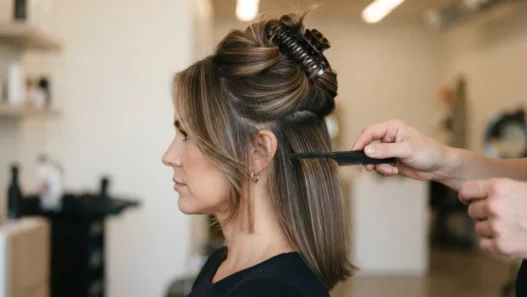

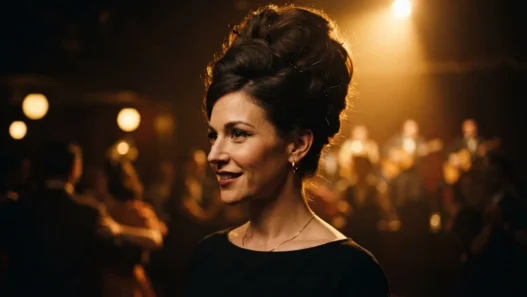

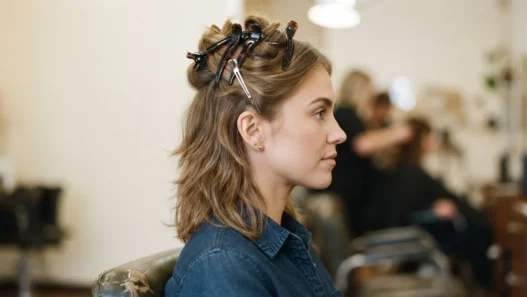
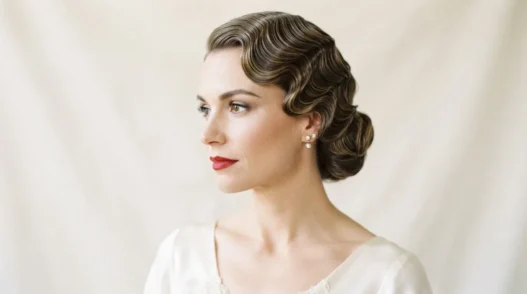
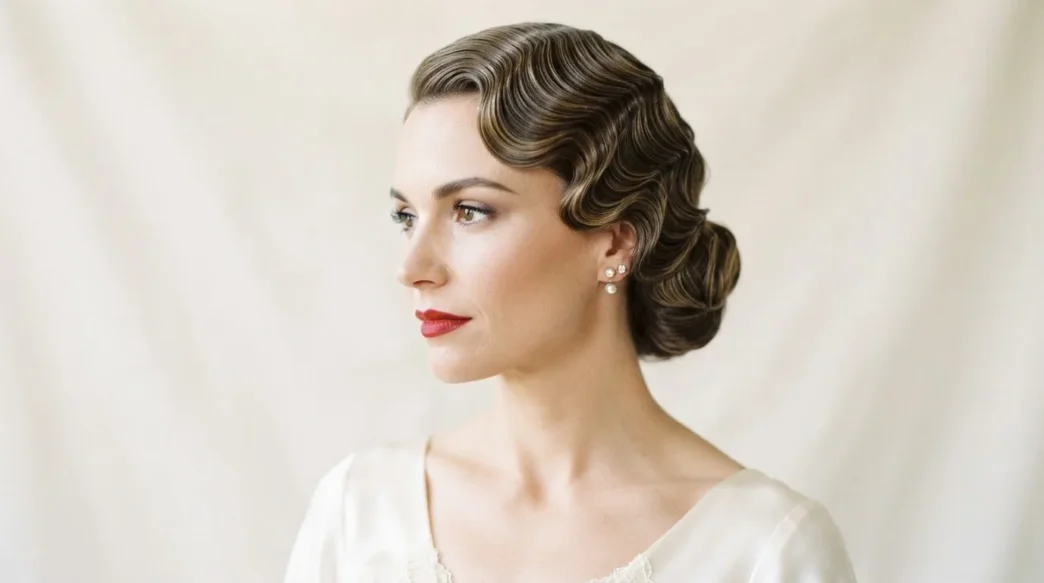
I booked my hair trial four weeks before the wedding and nearly cried in the salon chair — not because it looked bad, but because I realised I’d made every single decision too late. The decade, the accessories, the veil placement: all of it had knock-on effects I hadn’t considered, and a single trial session wasn’t enough time to fix them. If you’re planning a vintage wedding aesthetic, the decisions start much, much earlier than most people think. Here’s the order I wish someone had given me.
Your Vintage Bridal Planning Map
Six Months Out
This is when most brides are still pinning photos without committing to anything. That’s fine — but by the end of this phase, you need one decision locked: which decade. Because every single thing that follows — your hairstylist, your accessories, the weight of your veil — depends on it.
A 1920s finger wave wedding is a completely different undertaking from a 1940s victory roll setup. The tools differ. The holding products differ. The way the hair sits under a birdcage veil versus a cathedral-length veil differs enormously. I cannot stress this enough: the decade is the architecture. Everything else is decoration.
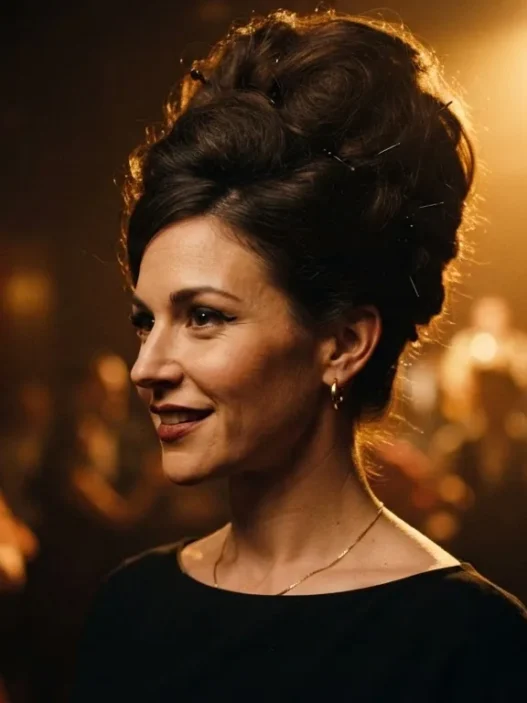
My honest, slightly controversial opinion? Most brides who say they want a “vintage” look actually want Old Hollywood waves — which is a 1930s reference — but they end up booking a stylist who gives them soft modern curls, and the two are not the same thing. Old Hollywood waves require intentional technique, specific barrel sizes, and a completely different finishing method than a contemporary bridal blowout. Know which one you’re asking for before you open your mouth in that first consultation.
Six months out, you’re also choosing your stylist — and this means finding someone who genuinely knows the decade you’ve chosen, not just someone who has a single Pinterest board labelled “retro.” Ask to see photos from actual weddings they’ve done in that era. Ask them what setting lotion they use. If they look confused, keep looking.
The decision made by the end of this phase: one decade, one stylist booked.
The Trial
Schedule it no earlier than three months out and no later than six weeks before the wedding. Earlier than three months and your hair length may change meaningfully. Later than six weeks and you don’t have time to pivot if something goes wrong.
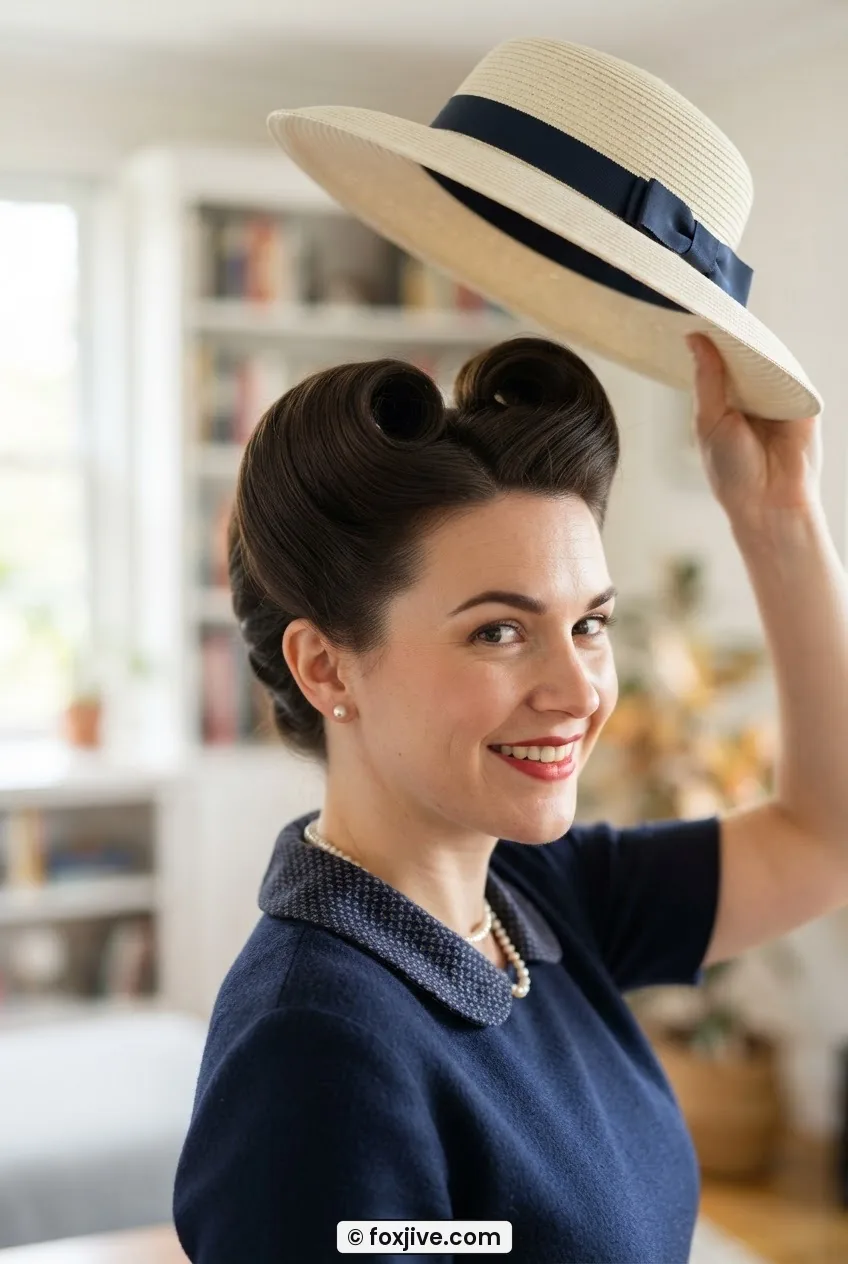
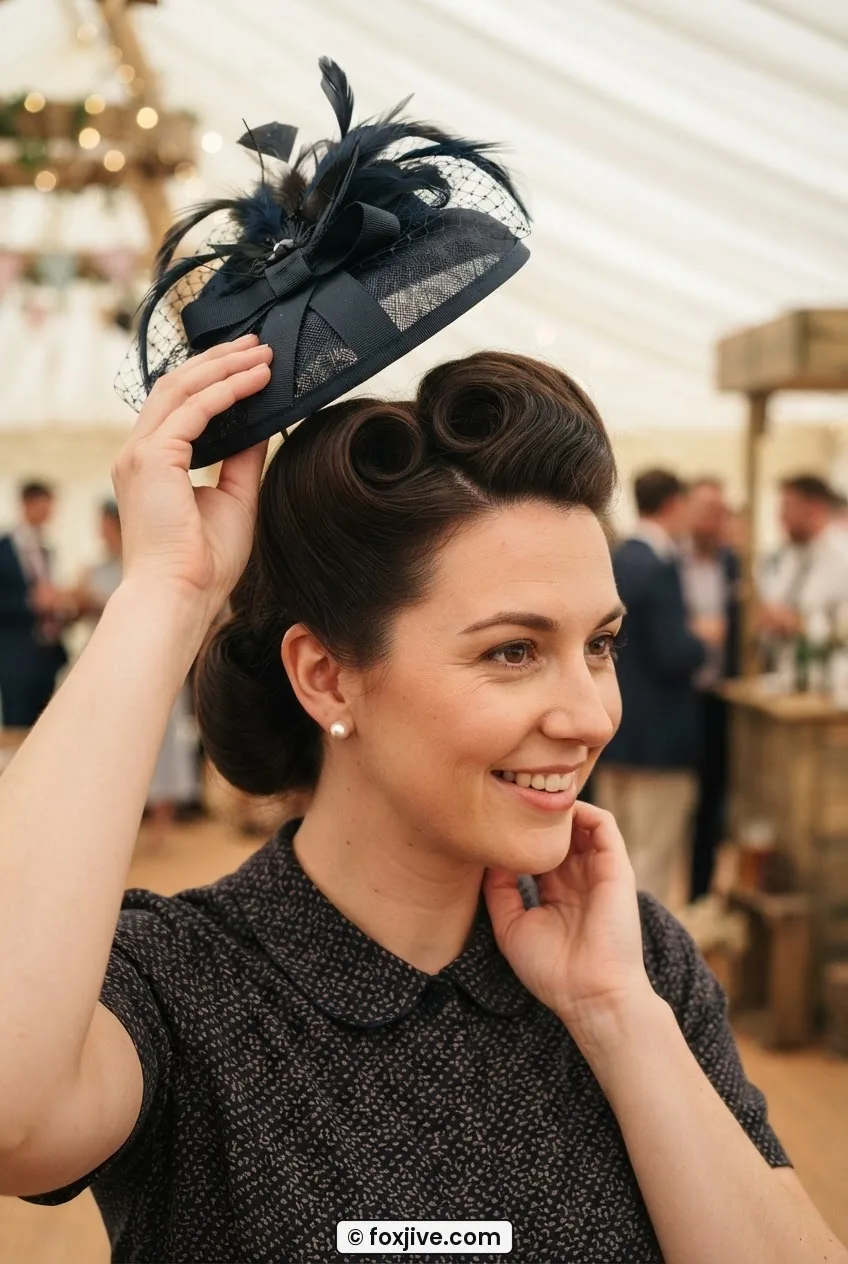
Bring everything to the trial. The headpiece, the veil, the fascinator, the birdcage net — whatever you’re considering, bring it physically. I brought three options to mine and I’m so glad I did, because the one I was convinced I’d love (a wide-brim picture hat, very Grace Kelly) completely flattened the height I’d had built into the crown of the style. The woman in the photo here is lifting hers away at exactly the moment you need to evaluate: see how the shape holds independently of the hat? That’s what you’re checking. Look at how the volume at the crown survives when the hat is removed — that’s the real test of whether the style will photograph well throughout the day.
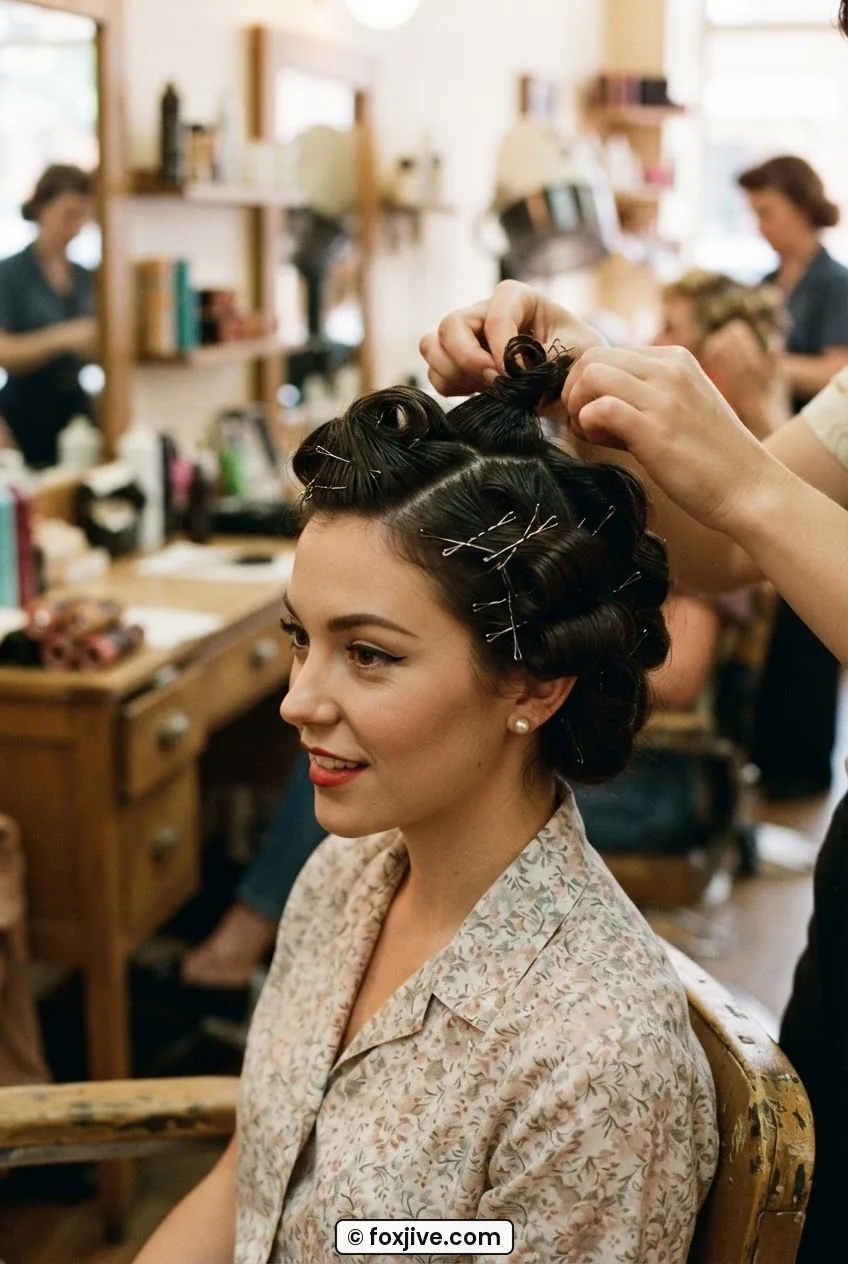
At the trial, you’re also testing longevity. The stylist will finish the look — then you wait. Wear it for four hours minimum. Go home in it. Eat lunch in it. Sit in a warm car. What you see at hour four is closer to what you’ll see at hour seven of your actual wedding day.
If you’re planning victory rolls as part of your look, the trial is non-negotiable — they’re structurally demanding and the way they’re anchored matters enormously for how long they hold. I’d also recommend reading through 9 victory roll ideas ranked by how long they take before the trial so you can have an informed conversation with your stylist about timing on the morning.
The decision made by the end of the trial: one confirmed style, one confirmed accessory, products approved and noted.
The Week Before
Stop washing your hair with a new shampoo. Stop doing anything new to your hair at all, actually. This is not the week for a deep conditioning treatment you’ve never used, a clarifying rinse, or a gloss. Your hair needs to be in its known, familiar, predictable state for the morning.
There are three things to confirm this week, and they are all logistical rather than aesthetic.
- Wash timing. Ask your stylist when they want your hair washed — the day before or the morning of. For most structured vintage styles, day-before is better. Second-day hair has more grip and holds pins far more securely than squeaky-clean hair.
- Timing on the schedule. Hair for complex vintage work takes longer than modern blowouts. If your stylist needs ninety minutes, block two hours. Something always runs over.
- The emergency kit. Confirm your stylist is bringing extra pins, the exact setting products from your trial, and a travel-size can of the same hairspray. Not a different brand. The same one.
The decision made by the end of this phase: wash schedule confirmed, timeline locked, emergency kit contents agreed.
The Morning Itself
You’ve done the work. The morning is not for new decisions.
The one thing I want to say about the morning that nobody warned me about: eat before you sit in the chair. This sounds obvious, but I had four bridesmaids who skipped breakfast because they were nervous and then had to have the kind of conversation mid-set where you’re trying not to move your head. Don’t do this.
The morning is also when the photographs begin — and the first photos, the getting-ready shots, are often the ones brides underestimate. The getting-ready photo styling stage is worth thinking about: how does your retro bridal hair look at the three-quarter point, before the veil goes in? Some styles are actually more striking in that in-between moment, and a good photographer will capture it.
If anything feels slightly off — a pin is pulling, a roll is sitting a millimetre lower than you wanted — say so clearly and immediately. Do not decide to live with it. You have time to fix small things in the morning. You do not have time at the reception.
The decision made by the end of the morning: nothing. Every decision was already made. You just sit, eat, and let the work happen.
What Actually Ruins It
Humidity. I wish I could give you a more glamorous answer, but it’s humidity. A structured 1940s updo that looked immaculate at 10am can develop a distinctly wilted quality by 3pm in a marquee in July. Understanding humidity-proof hairstyles for weddings is genuinely useful research, not just precautionary Googling.
The way to fight this is product layering from the inside out — not spraying more lacquer on top of a finished style, but building humidity resistance into the set itself. Your stylist should know this. If they respond to “what do you use for humidity resistance” with a blank look, that is information.
The second thing that actually ruins vintage wedding hair — and this is more common than people admit — is choosing a style that’s too period-accurate for your face. There’s a real difference between being inspired by the 1950s and recreating a hairstyle that was designed around beauty standards from seventy years ago. The best retro wedding inspiration takes the silhouette and the spirit of the decade and adapts it to your actual features. Your stylist should be doing this instinctively. If they’re copying a reference photo without any adaptation, push back.
And finally: photographs. Not all camera angles are kind to all vintage styles. Very high updos can look oddly elongated in straight-on shots. Very flat styles can disappear in profile. Talk to your photographer before the day — show them the trial photos, ask which angles they’ll prioritise, and between you, figure out how to light and frame the style to its best advantage. This conversation takes twenty minutes and saves enormous regret.
Questions I Get About This
Do I need a specialist vintage stylist or will any experienced bridal stylist do?
Honestly, it depends on how structured the look is. Soft waves with a retro feel? A skilled general bridal stylist can manage it. True finger waves, structured victory rolls, or period-accurate pin curls? You want someone who has actually trained in these techniques, not someone who’s watched a few tutorials. The setting methods and pinning patterns are genuinely different from modern work.
Should my veil match the decade of my hairstyle?
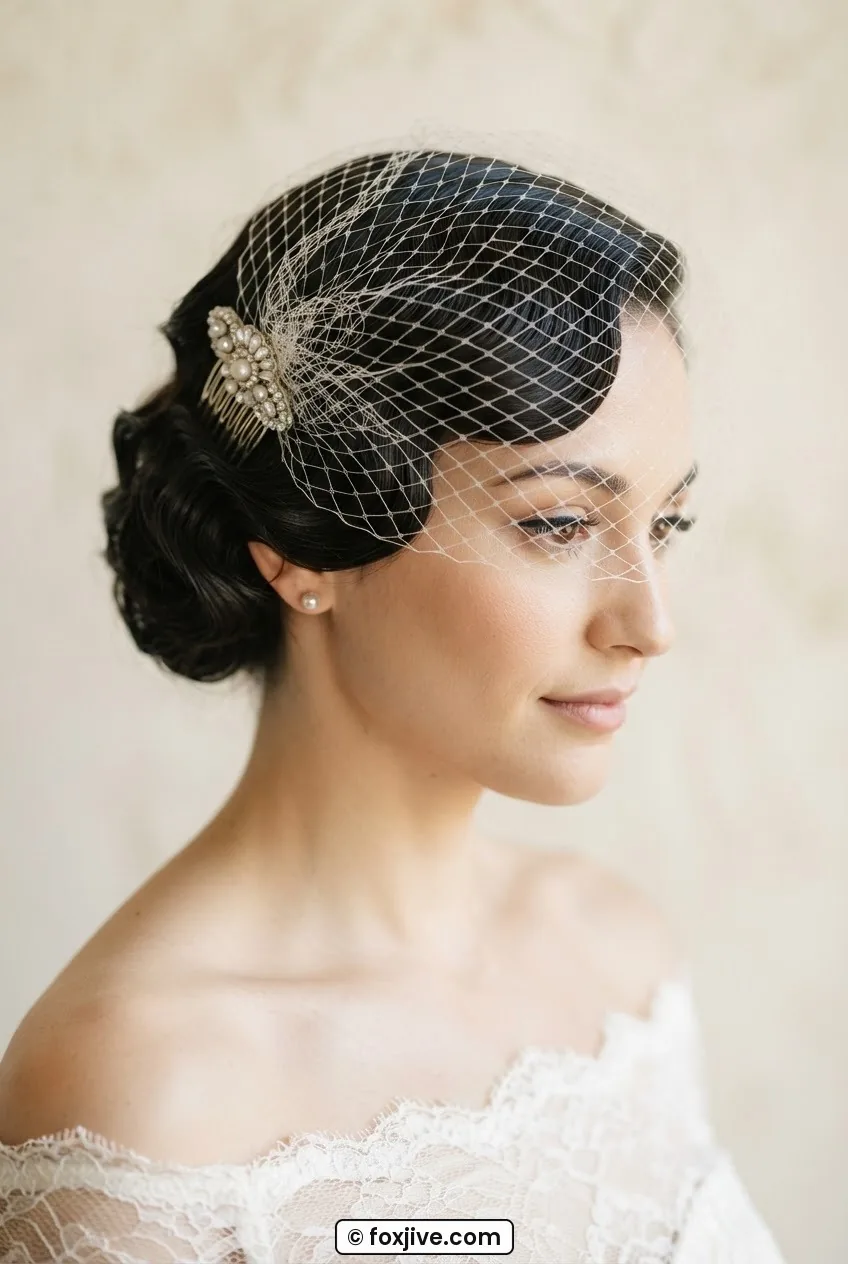
Not necessarily, but it should be in conversation with it. A cathedral veil over a tight 1920s wave feels incongruous in person, even if it looks appealing in a flat photo. Birdcage veils, mantilla styles, and shorter blusher veils tend to play better with structured vintage hair. Bring your veil options to the trial and test them physically — you’ll know immediately what works.
Can I wear vintage bridal hair with a modern dress?
Yes, and it can look extraordinary — but the contrast needs to be intentional. The styling has to feel deliberate, not like two separate outfits that happened to end up on the same person. Usually this means keeping accessories minimal and letting the hair be the statement. Some of my favourite classic vintage wedding photos are exactly this: a clean contemporary gown with deeply structured retro hair, and the tension between them is the whole point.
How much longer does vintage hair take than a modern updo?
Budget at least thirty to forty-five minutes more than a typical modern style. Finger waves on longer hair can take two hours alone. The setting, drying, and pinning process has stages that can’t be rushed without compromising the hold. This affects your entire morning schedule, so build it in early rather than trying to absorb it on the day.
If you’ve got specific questions about which styles suit which face shapes, or you want to talk through the decade options in more detail, feel free to get in touch — I read everything. And if you’re still in the research phase and want to know more about who’s behind this site, the about page has the full story. Now go book that trial. Earlier than you think.